
Bra Month | Jet Set Natural Sew Along Week C: Sewing the Main to Lining, Making Straps & Applying the Closure
At Sew Busty, June 2021 is bra month! Catch up on all the bra month posts here!
As part of bra month, we’ll be doing a sew along of the Firebrand Jet Set Natural bra. This bra, and all Firebrand patterns, are 20% off throughout June 2021 with code SEWBUSTY. See the full sew along here.
Meet the designer and ask all your fit questions! On June 27 at 3 PM Eastern USA time (UTC-4), the Jet Set designer, Kerry, and I will be hosting a LIVE chat to answer all your questions about this week’s sew along content! If you’re on Facebook, click here to pre-register. If you’re not on Facebook, no worries! Click here to join directly via Google Meet on June 27 at 3 PM EDT.
Per last week’s post over the past week, you should have:
- Sewn and topstitched your horizontal cup seam on your main and lining
- Sewn and topstitched the underband and wing onto the cups for your main and lining
- Sewn and topstitched the center front.
Today, we’re going to sew the main to the lining, make straps, figure out how long your wing needs to be, and apply the closure.
Finishing the Keyhole
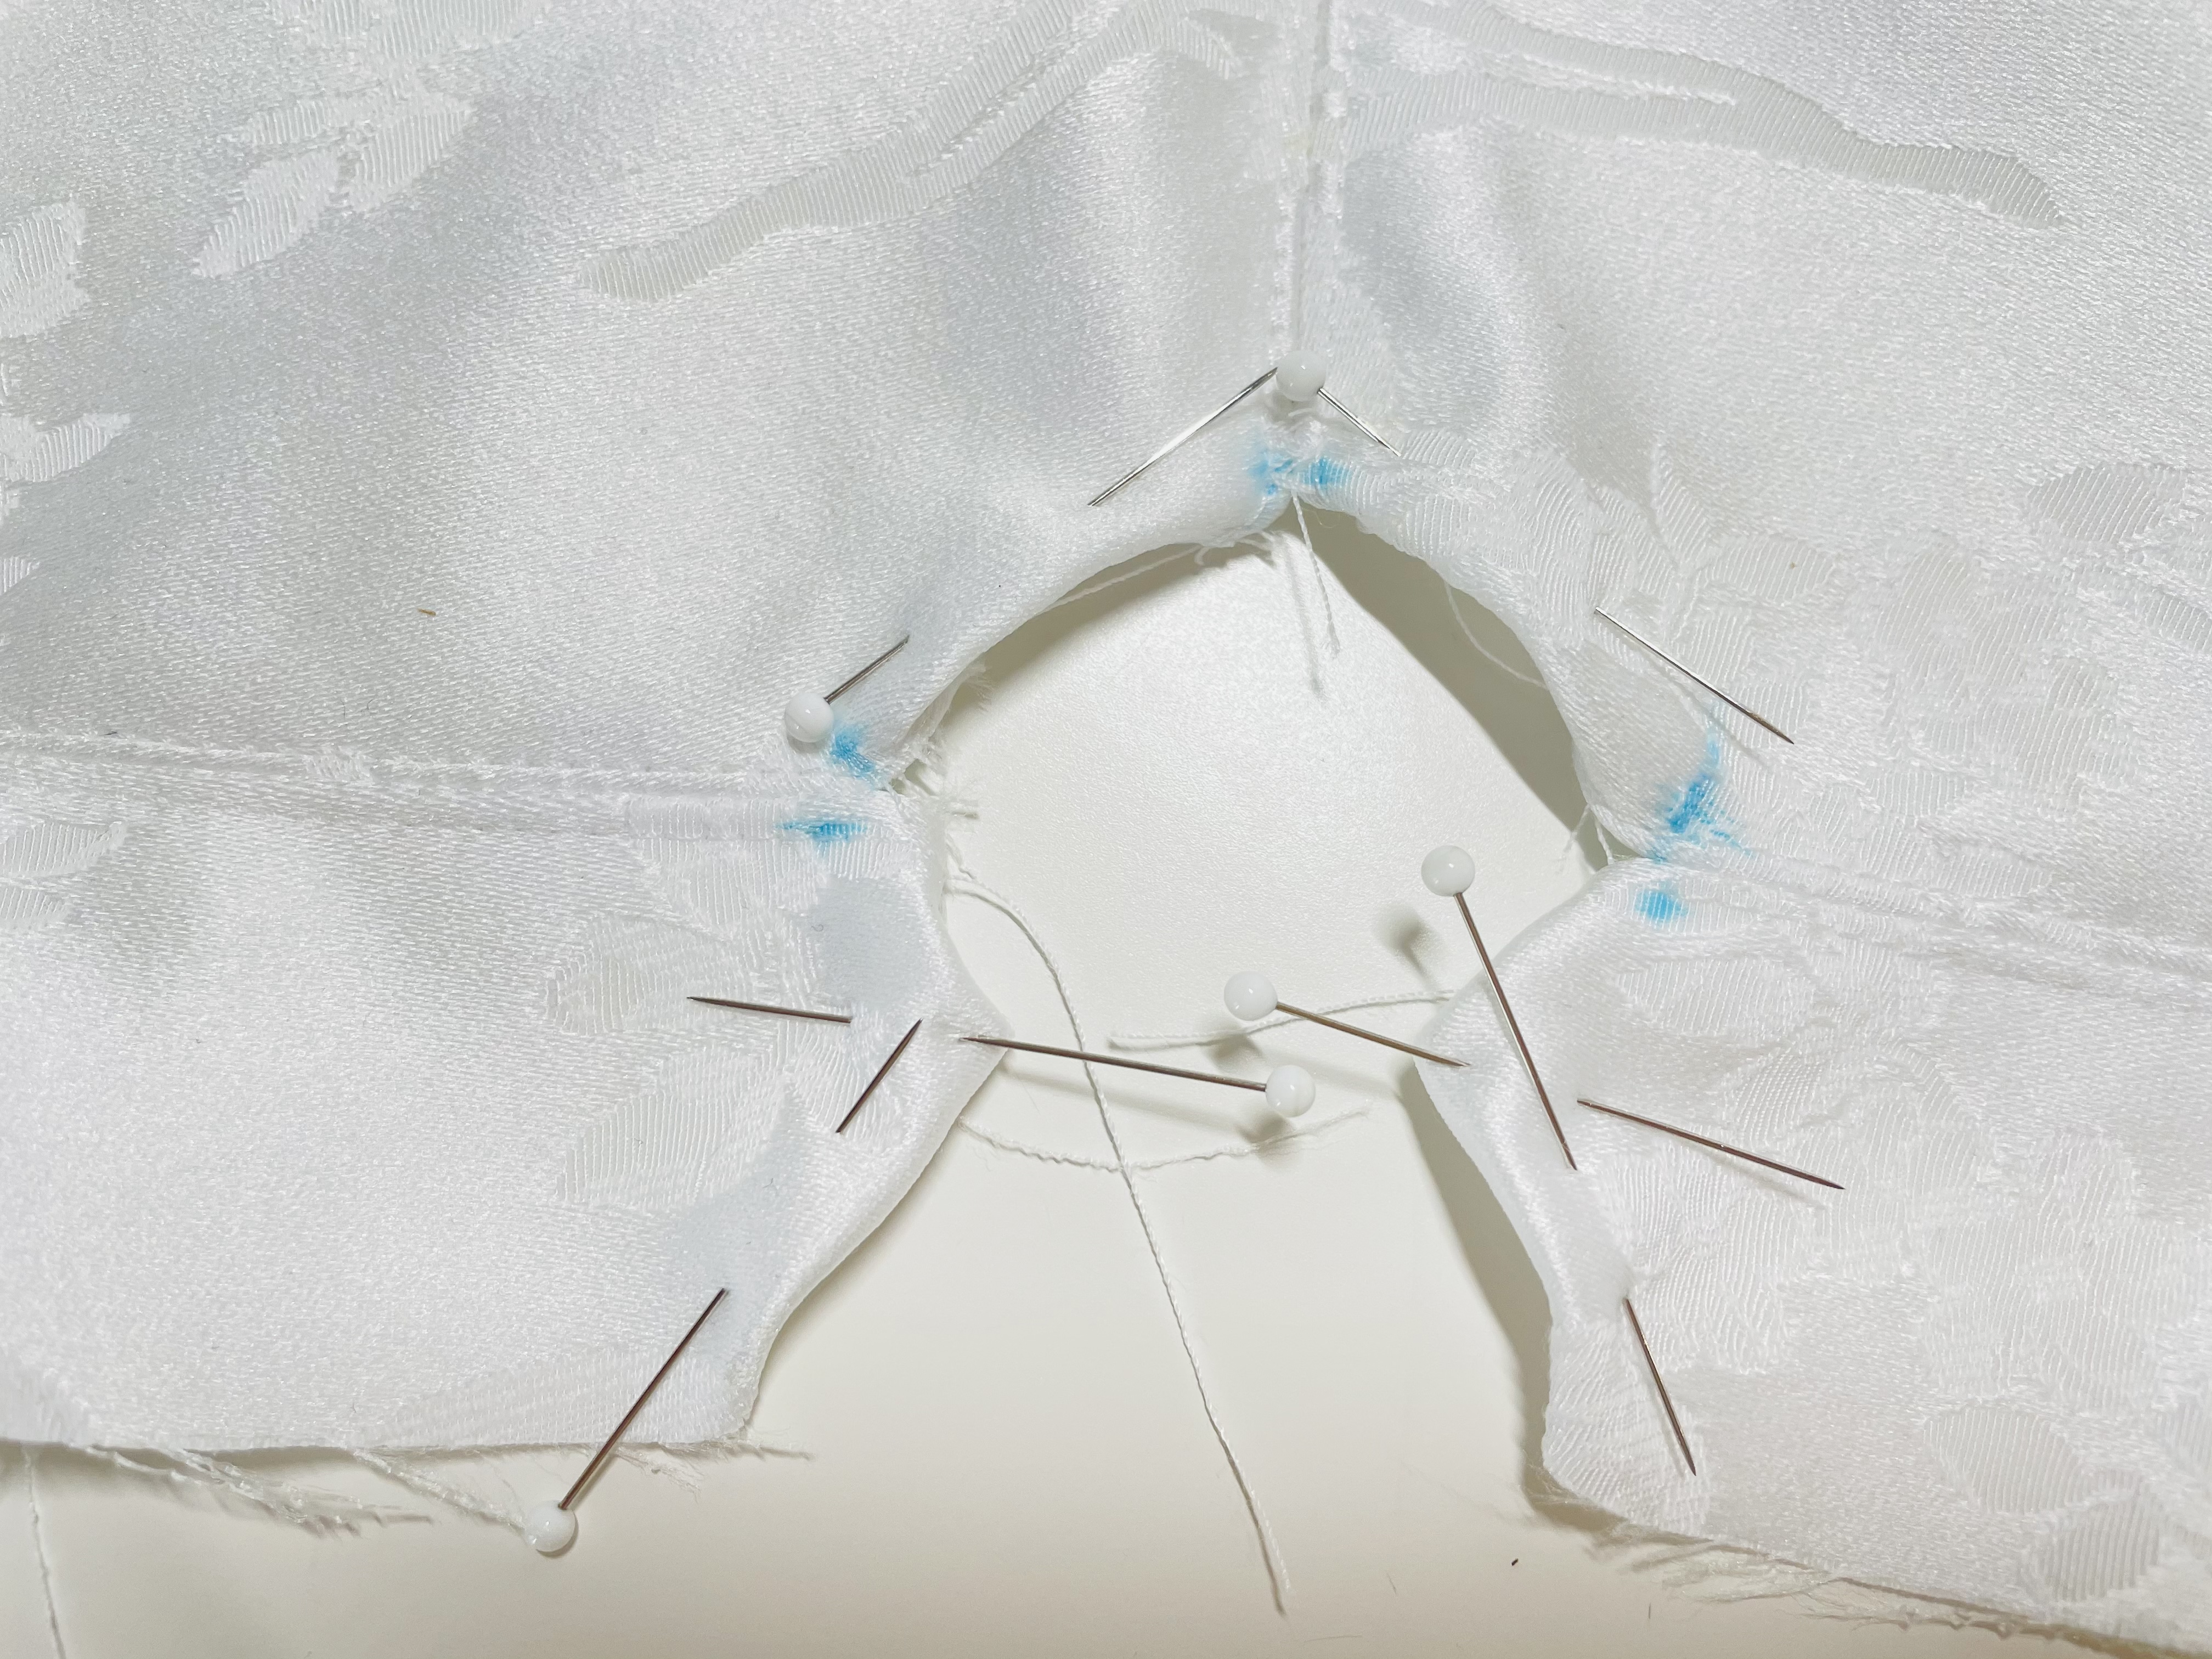
Before we can sew our main to our lining, we need to finish the keyhole. Remember how you stopped stitching at the pattern markings? Fold the 1 cm (3/8″) overhang inward, pinning it into place, like this:
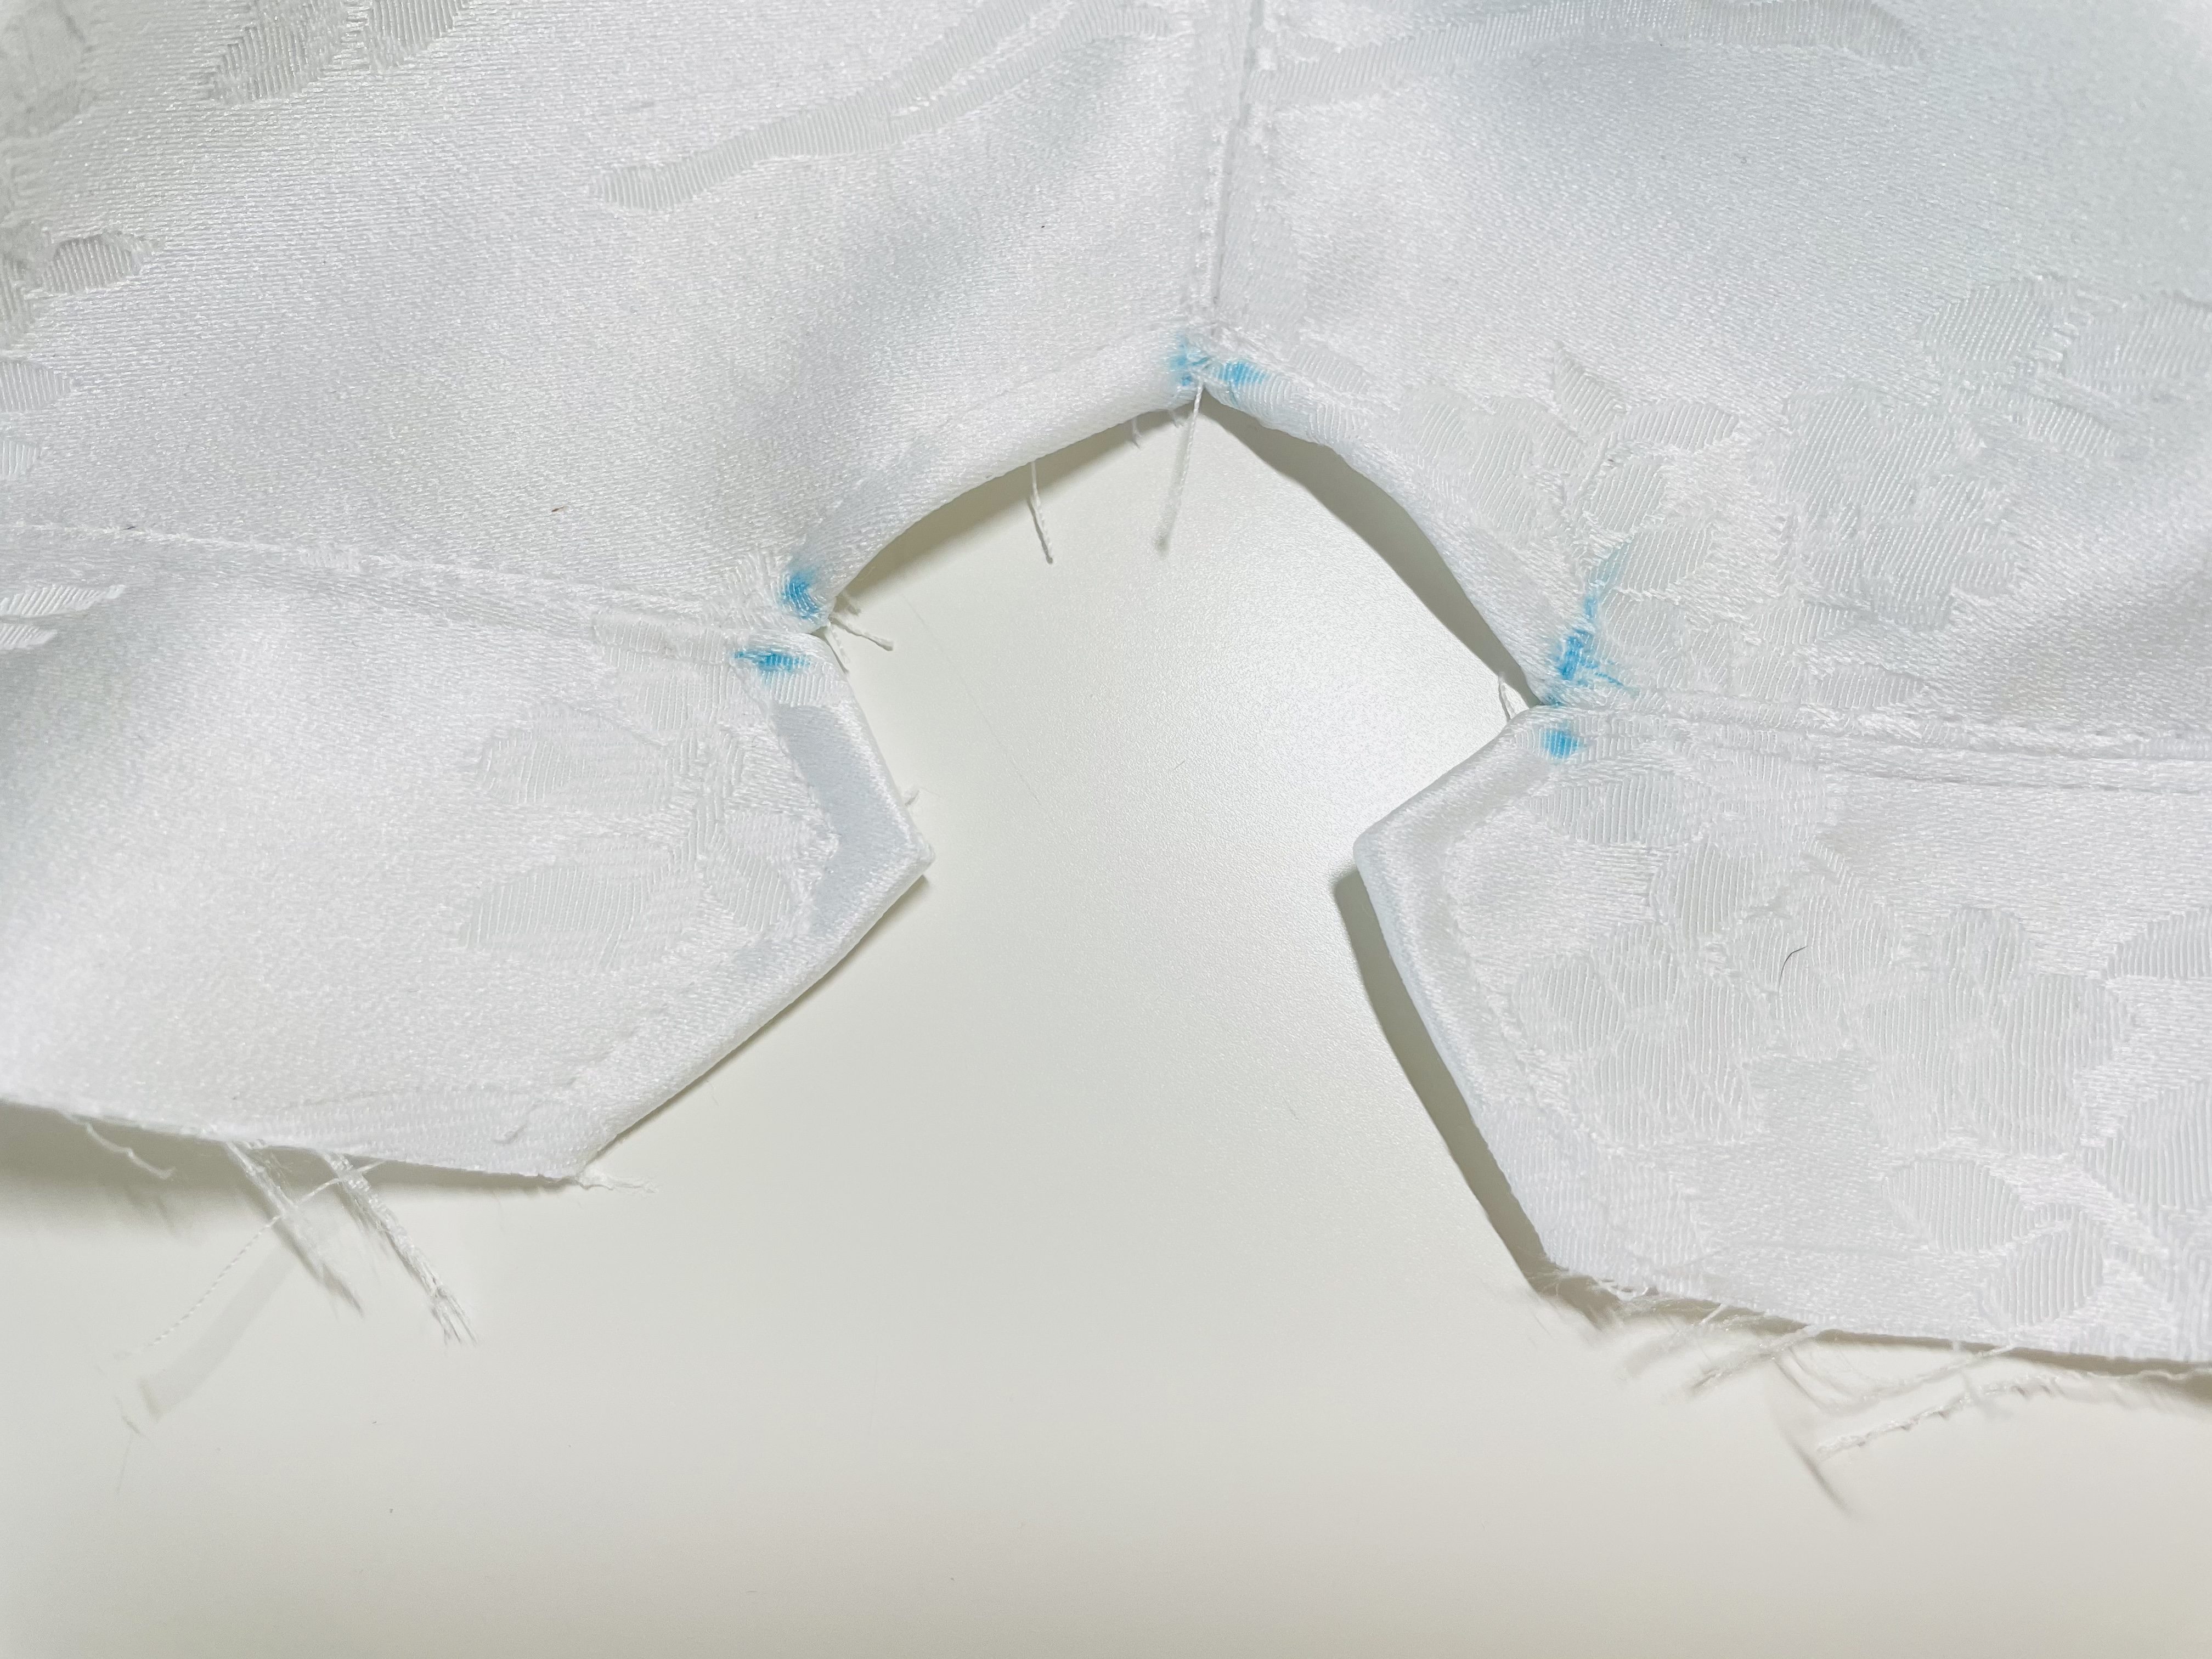
Stitch this about 3 mm from the folded edge. Do this on your main and lining. The result should look like this:
We will then attach the bottom band elastic. I like to cut about 3″ of your 1″ elastic for this, and we’re going to baste it to the lining.
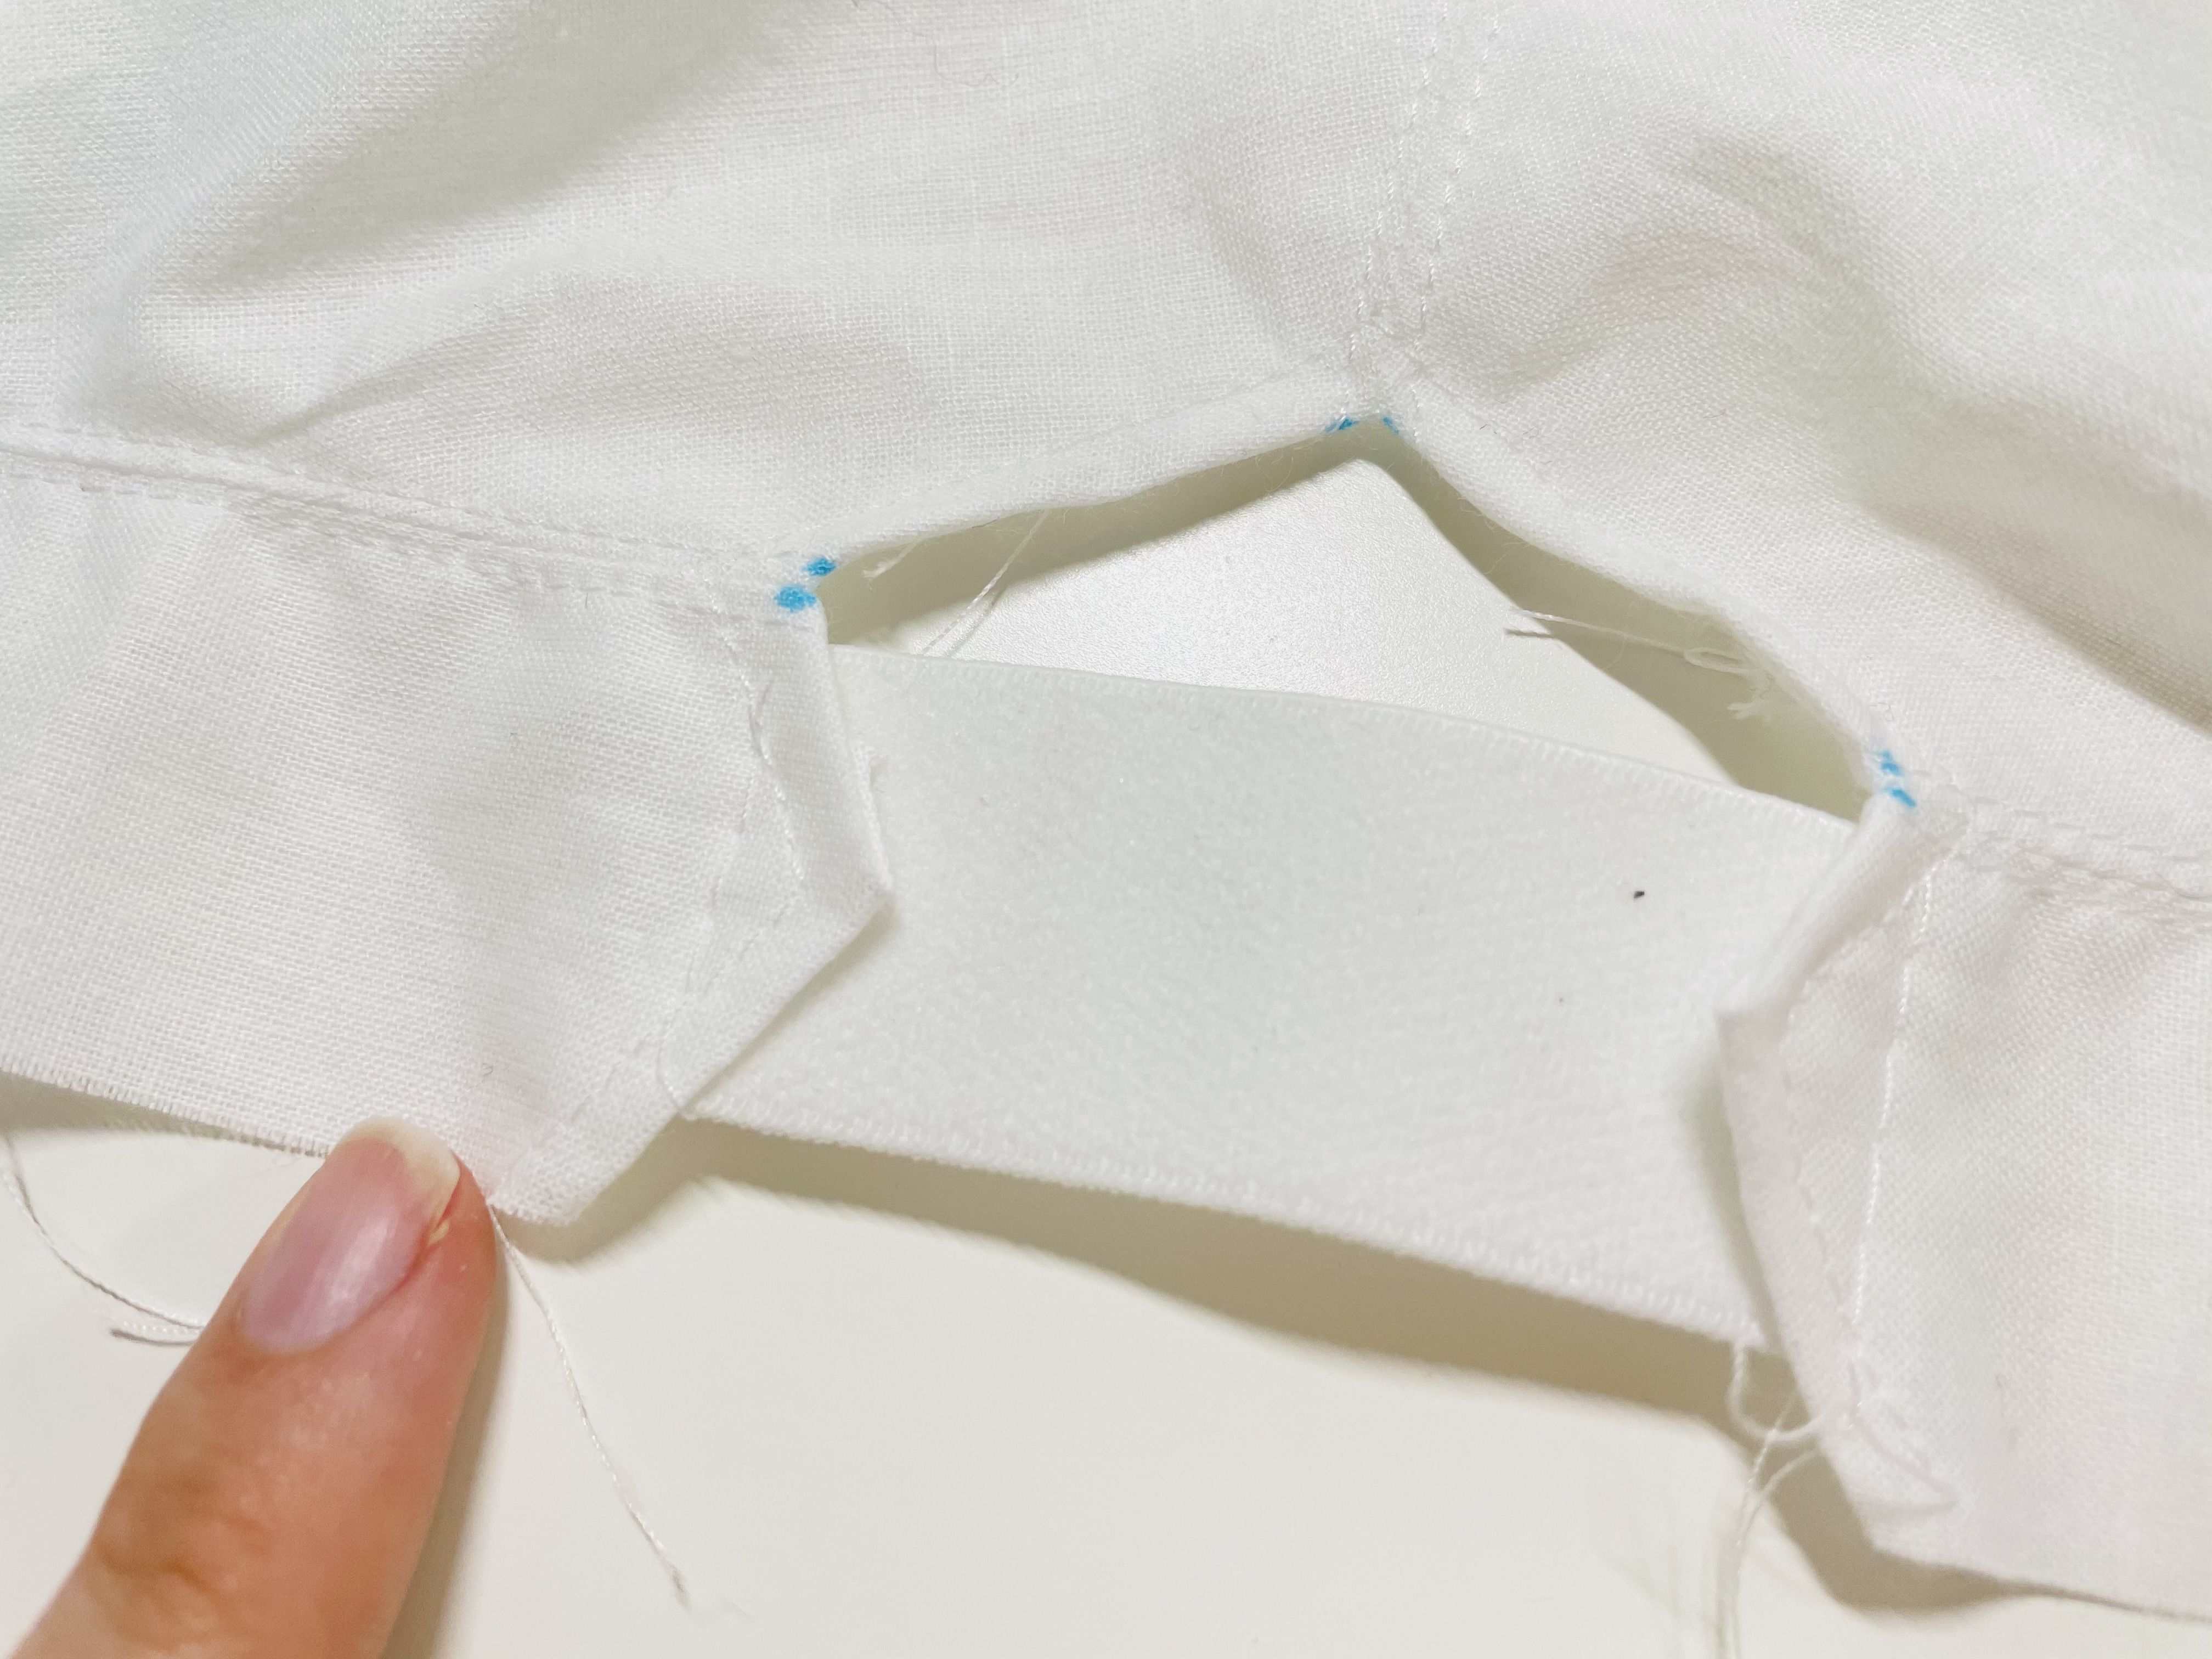
Place the elastic on the wrong side of the lining so that the points of the keyhole are centered. (Note that you don’t want the elastic centered with the whole band, since we currently have 1 cm of seam allowance.) If you’re using an elastic that is plush on one side, place the elastic with the shiny side up, so that the shiny side will eventually be facing the same way as the right side of the main fabric.
Baste at the edges of the elastic. The result should look like this:
Put this aside. Time to make straps!
Making Straps
In my opinion, the best way to decide how long to make your straps is to measure them on your favorite bra. Specifically, look at the length of the adjustable part of the strap and the length of the non-adjustable part. Keep in mind also that the Jet Set is higher-set than most bras, so you may need straps that are a bit shorter. We can fine-tune the strap length next week, so right now just focus on getting a good estimate.
You’ll need to cut four lengths of 3/4″ strap elastic – two for the adjustable part of your straps, and two for the non-adjustable part.
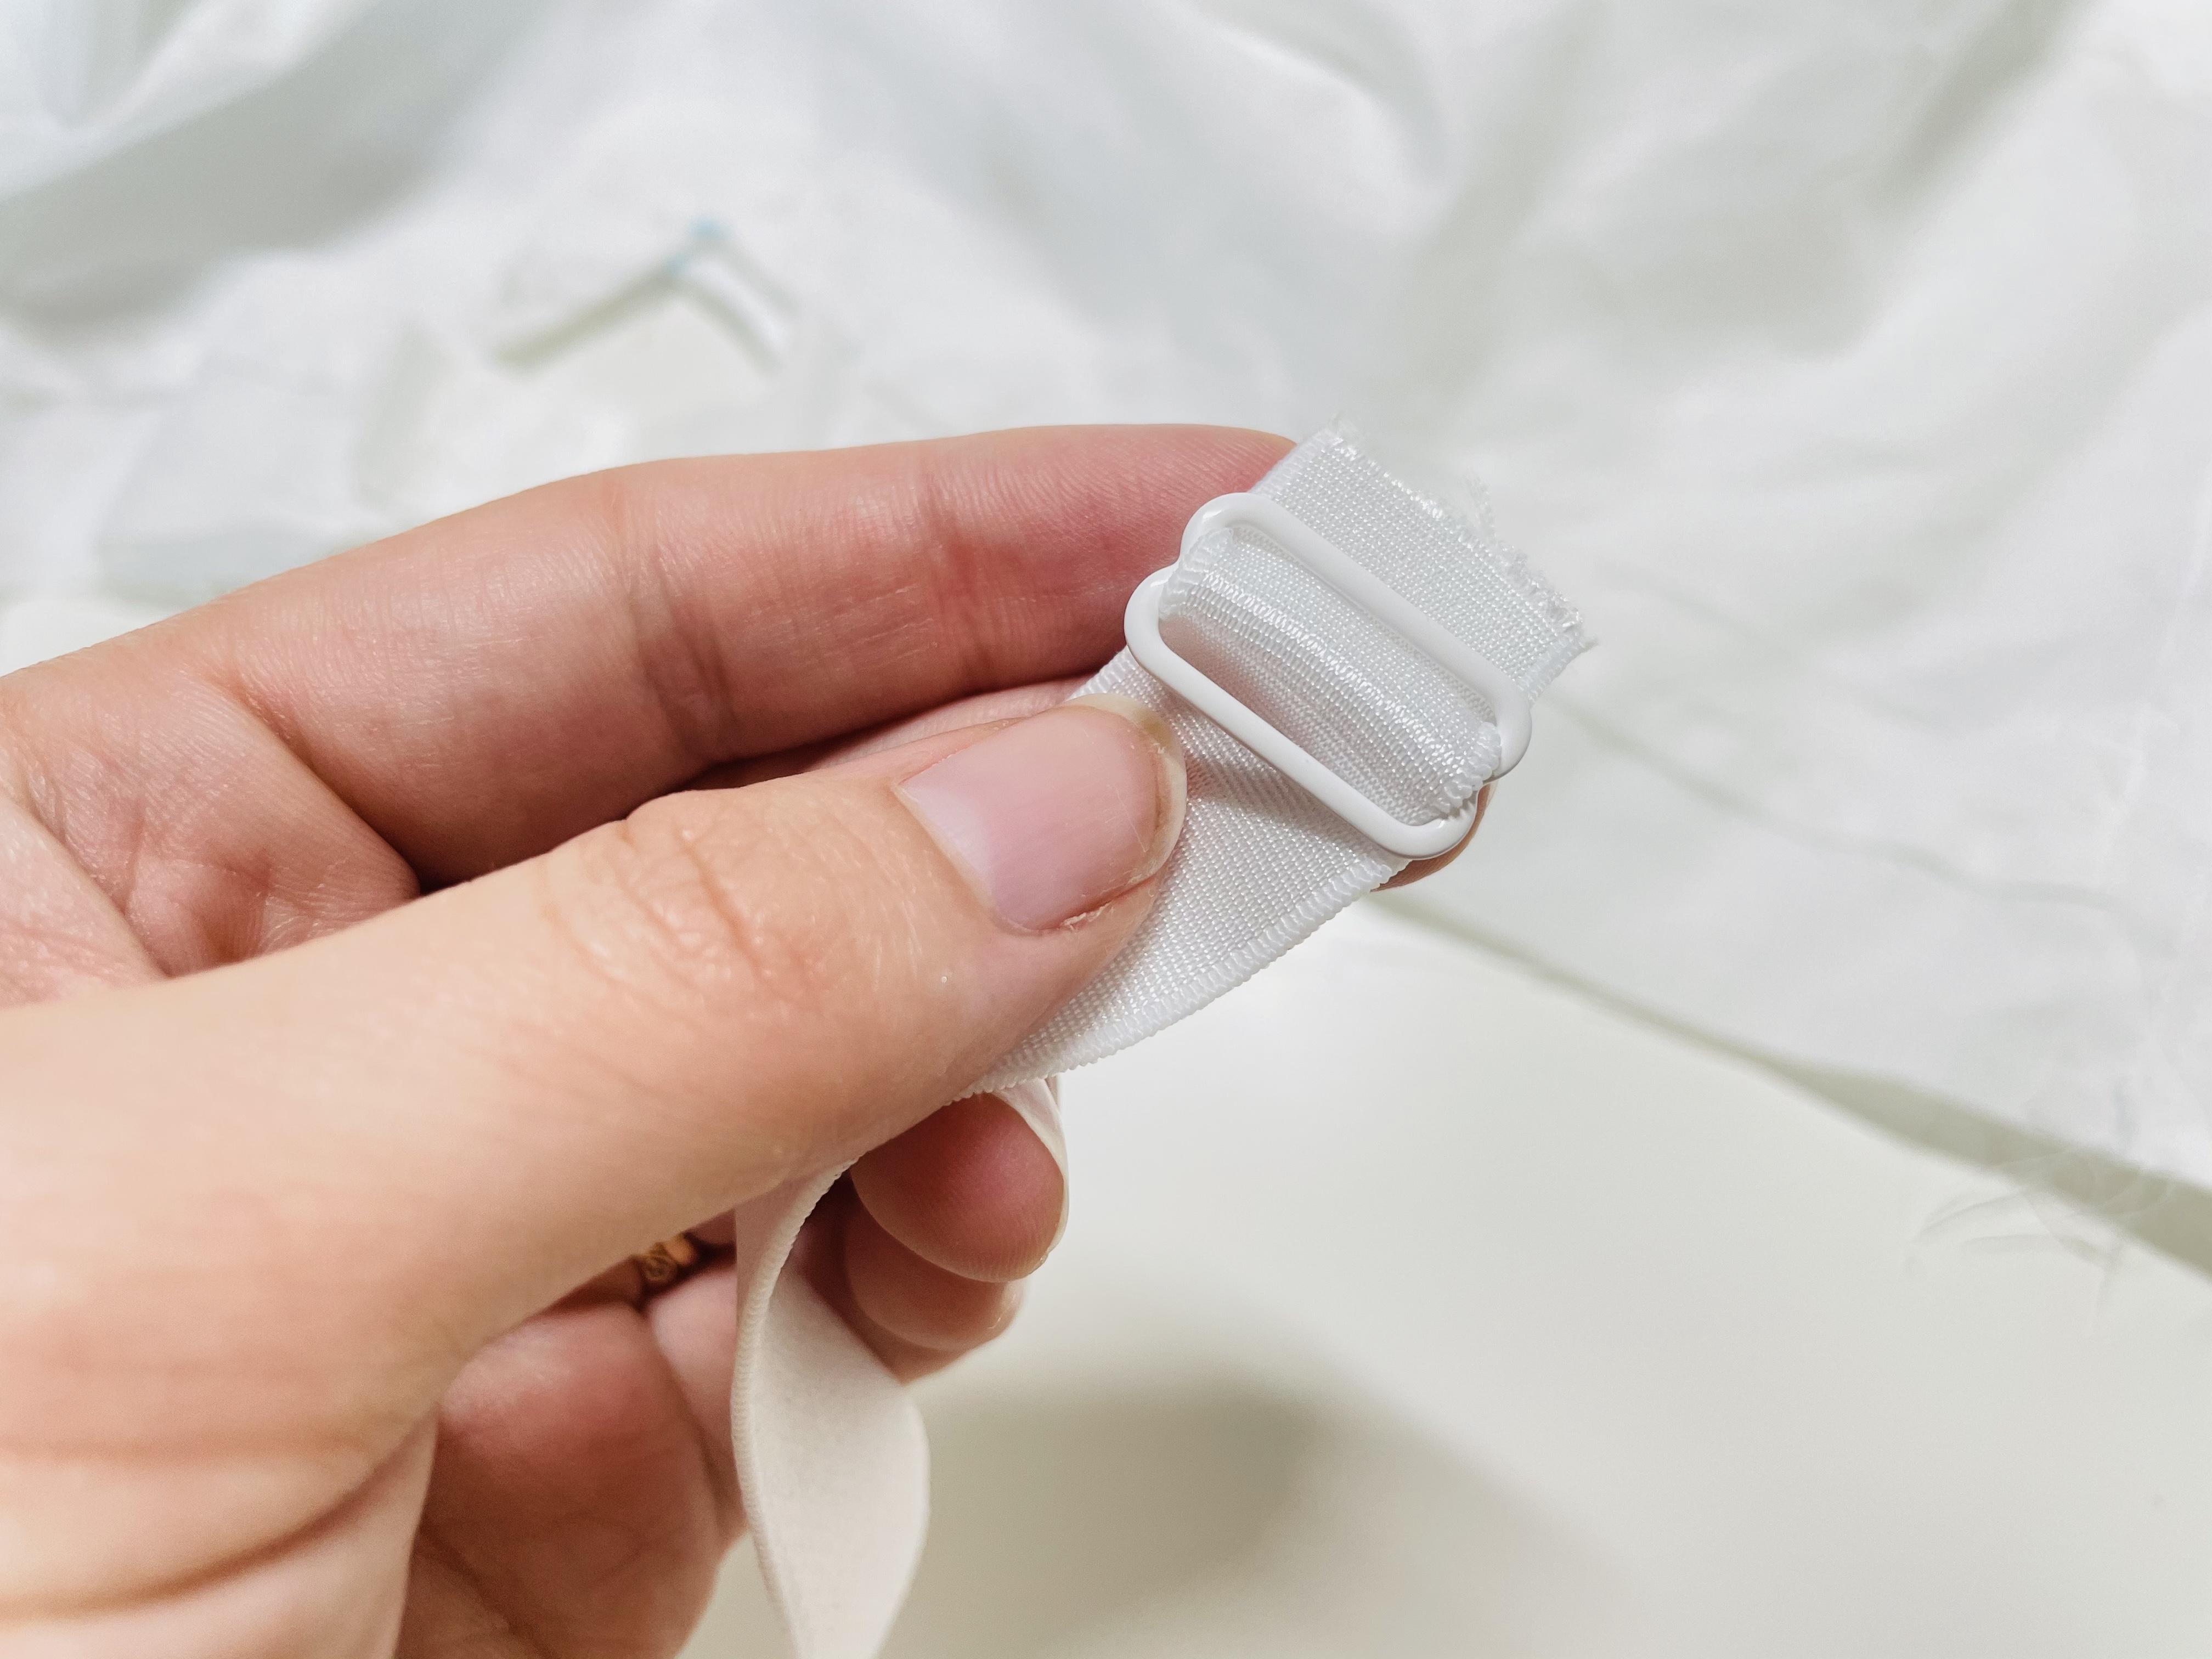
Once you have estimated lengths cut, you’ll need to take the piece you want to be adjustable and add a slide to the end. Put the strap through the slide so that the shiny side is facing up, like this:
Now, fold it inward, and using a narrow zigzag stitch, stitch over the raw end. I like to use a zigzag that is 3 mm wide and 2 mm long. You should end up with this:
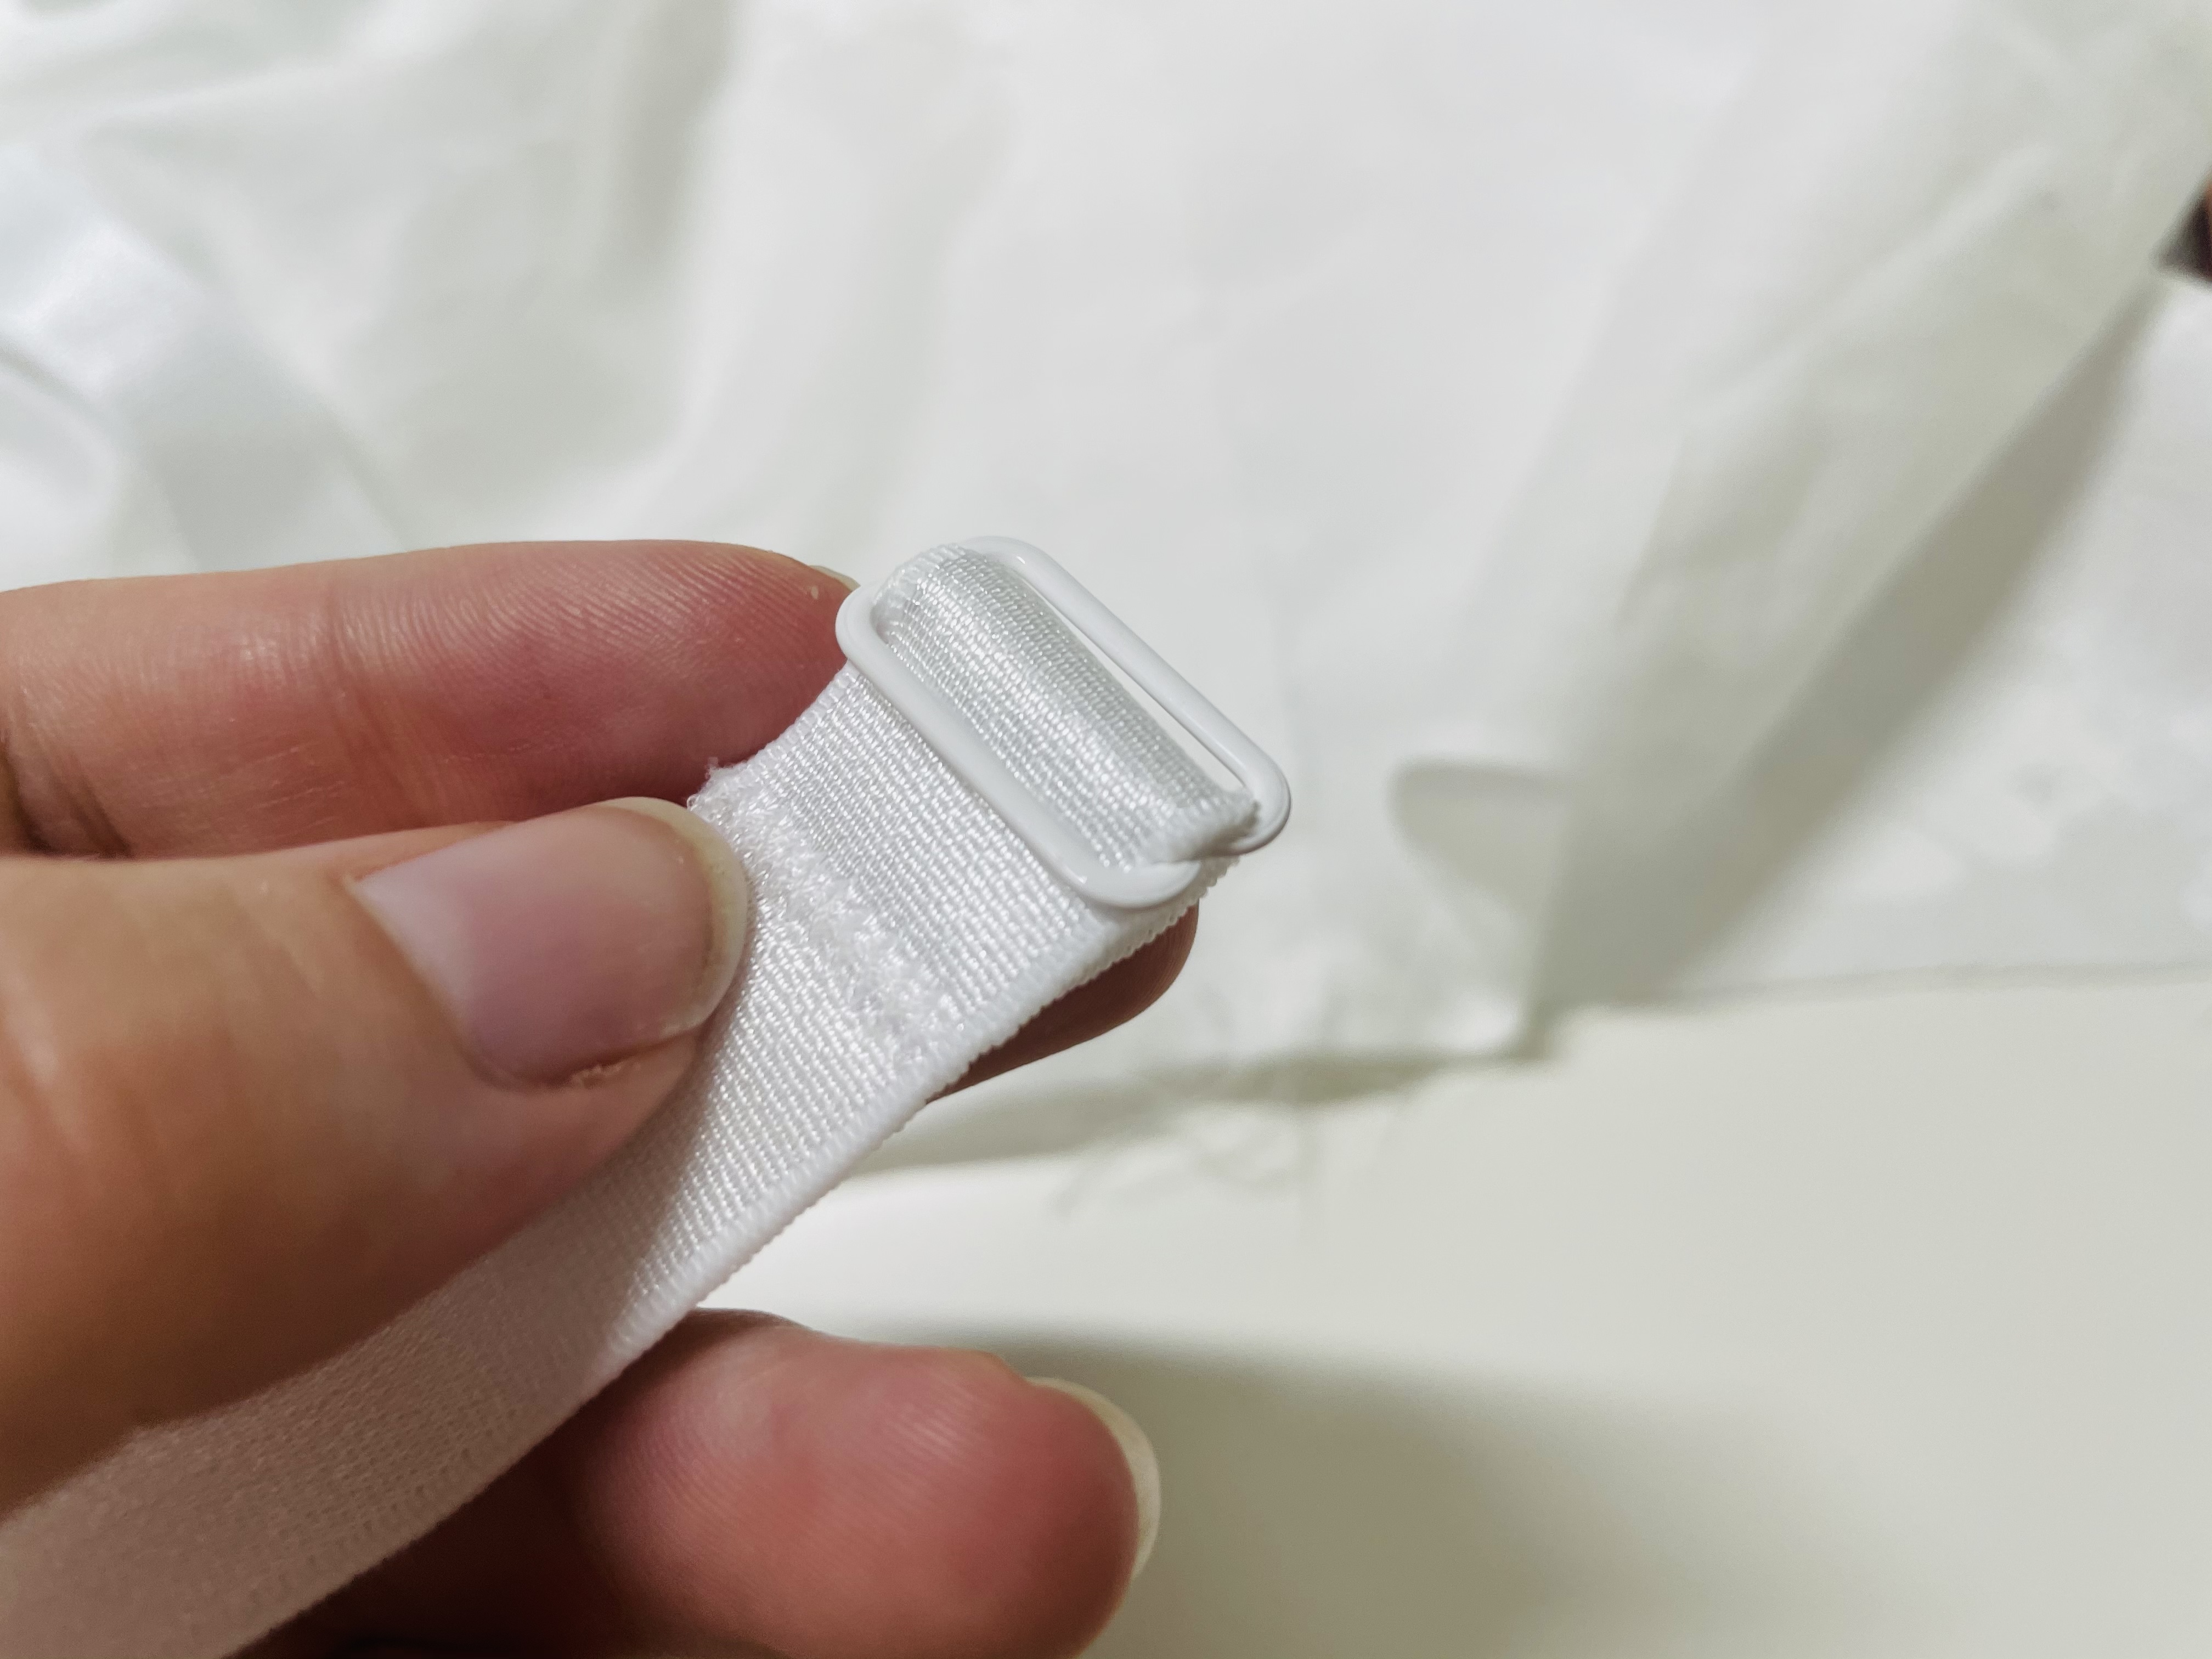
Follow this same procedure on the other adjustable strap length. Then, set your adjustable strap lengths aside.
The next step is to attach a ring to the end of your non-adjustable strap lengths. You’ll just feed the strap elastic through a ring, and stitch over the raw edge, as seen below:
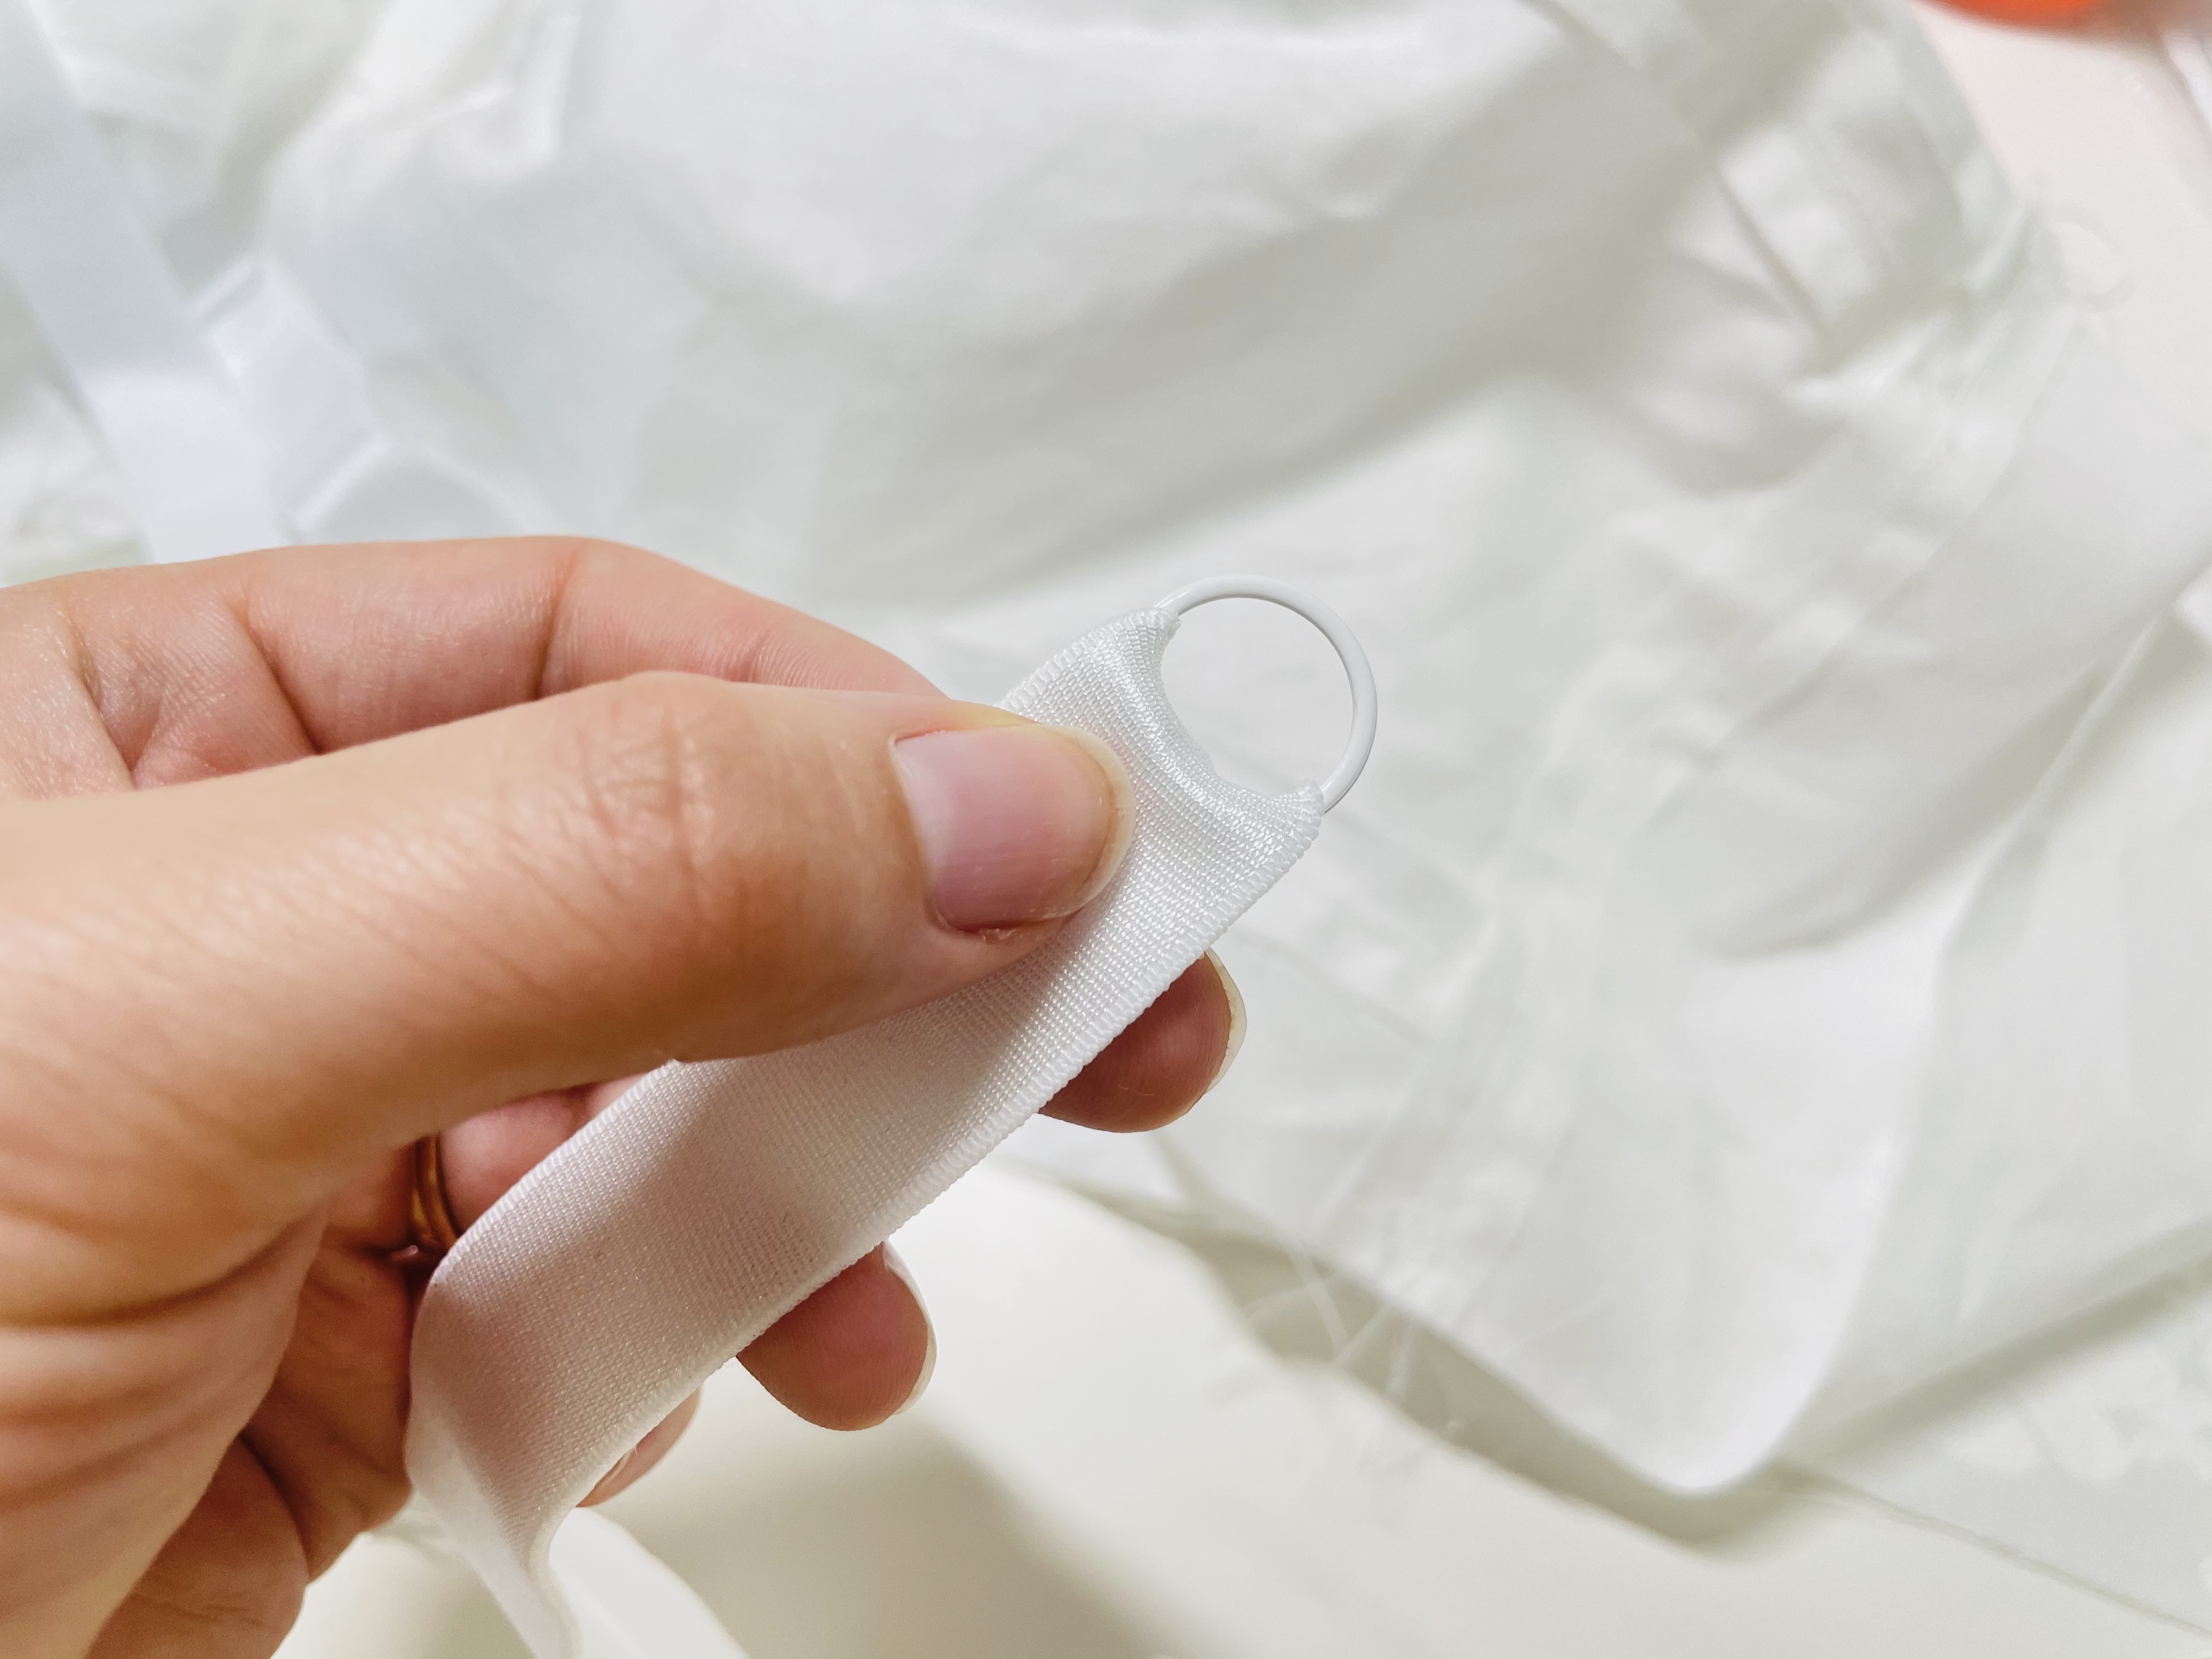
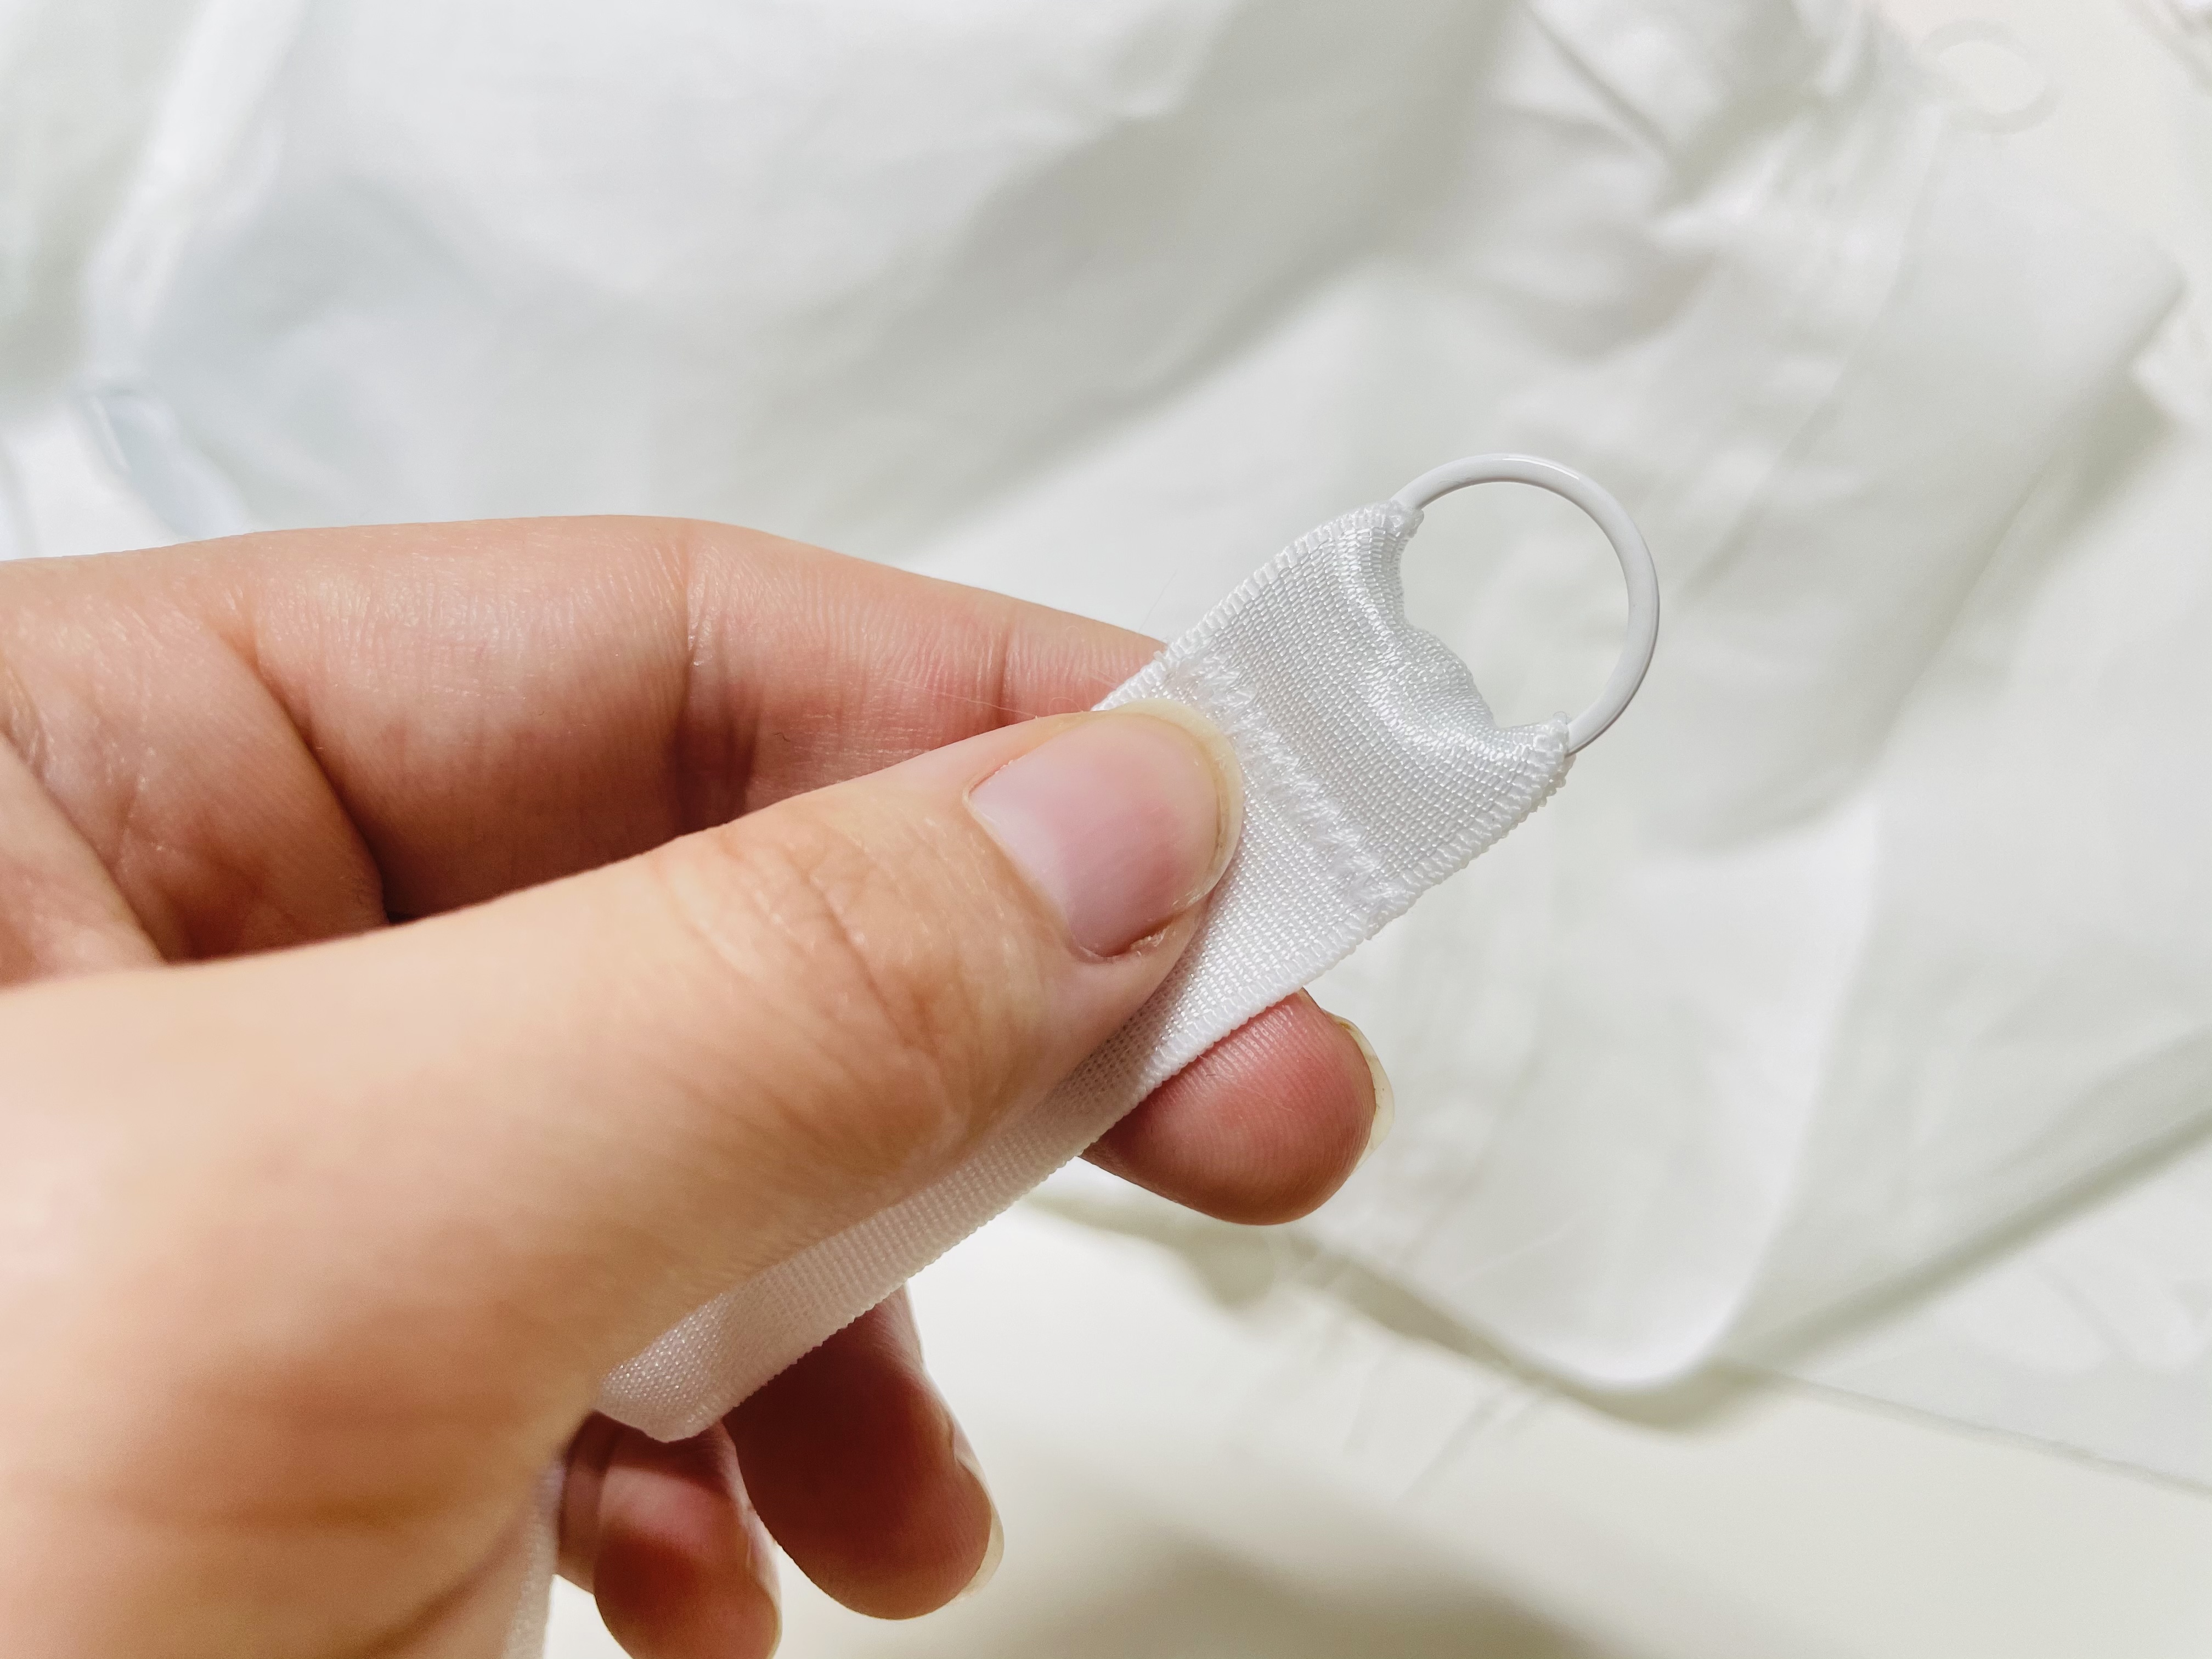
Now, grab the adjustable strap lengths. Plush side up, feed the adjustable strap up through the ring that’s attached to the non-adjustable strap, like so:
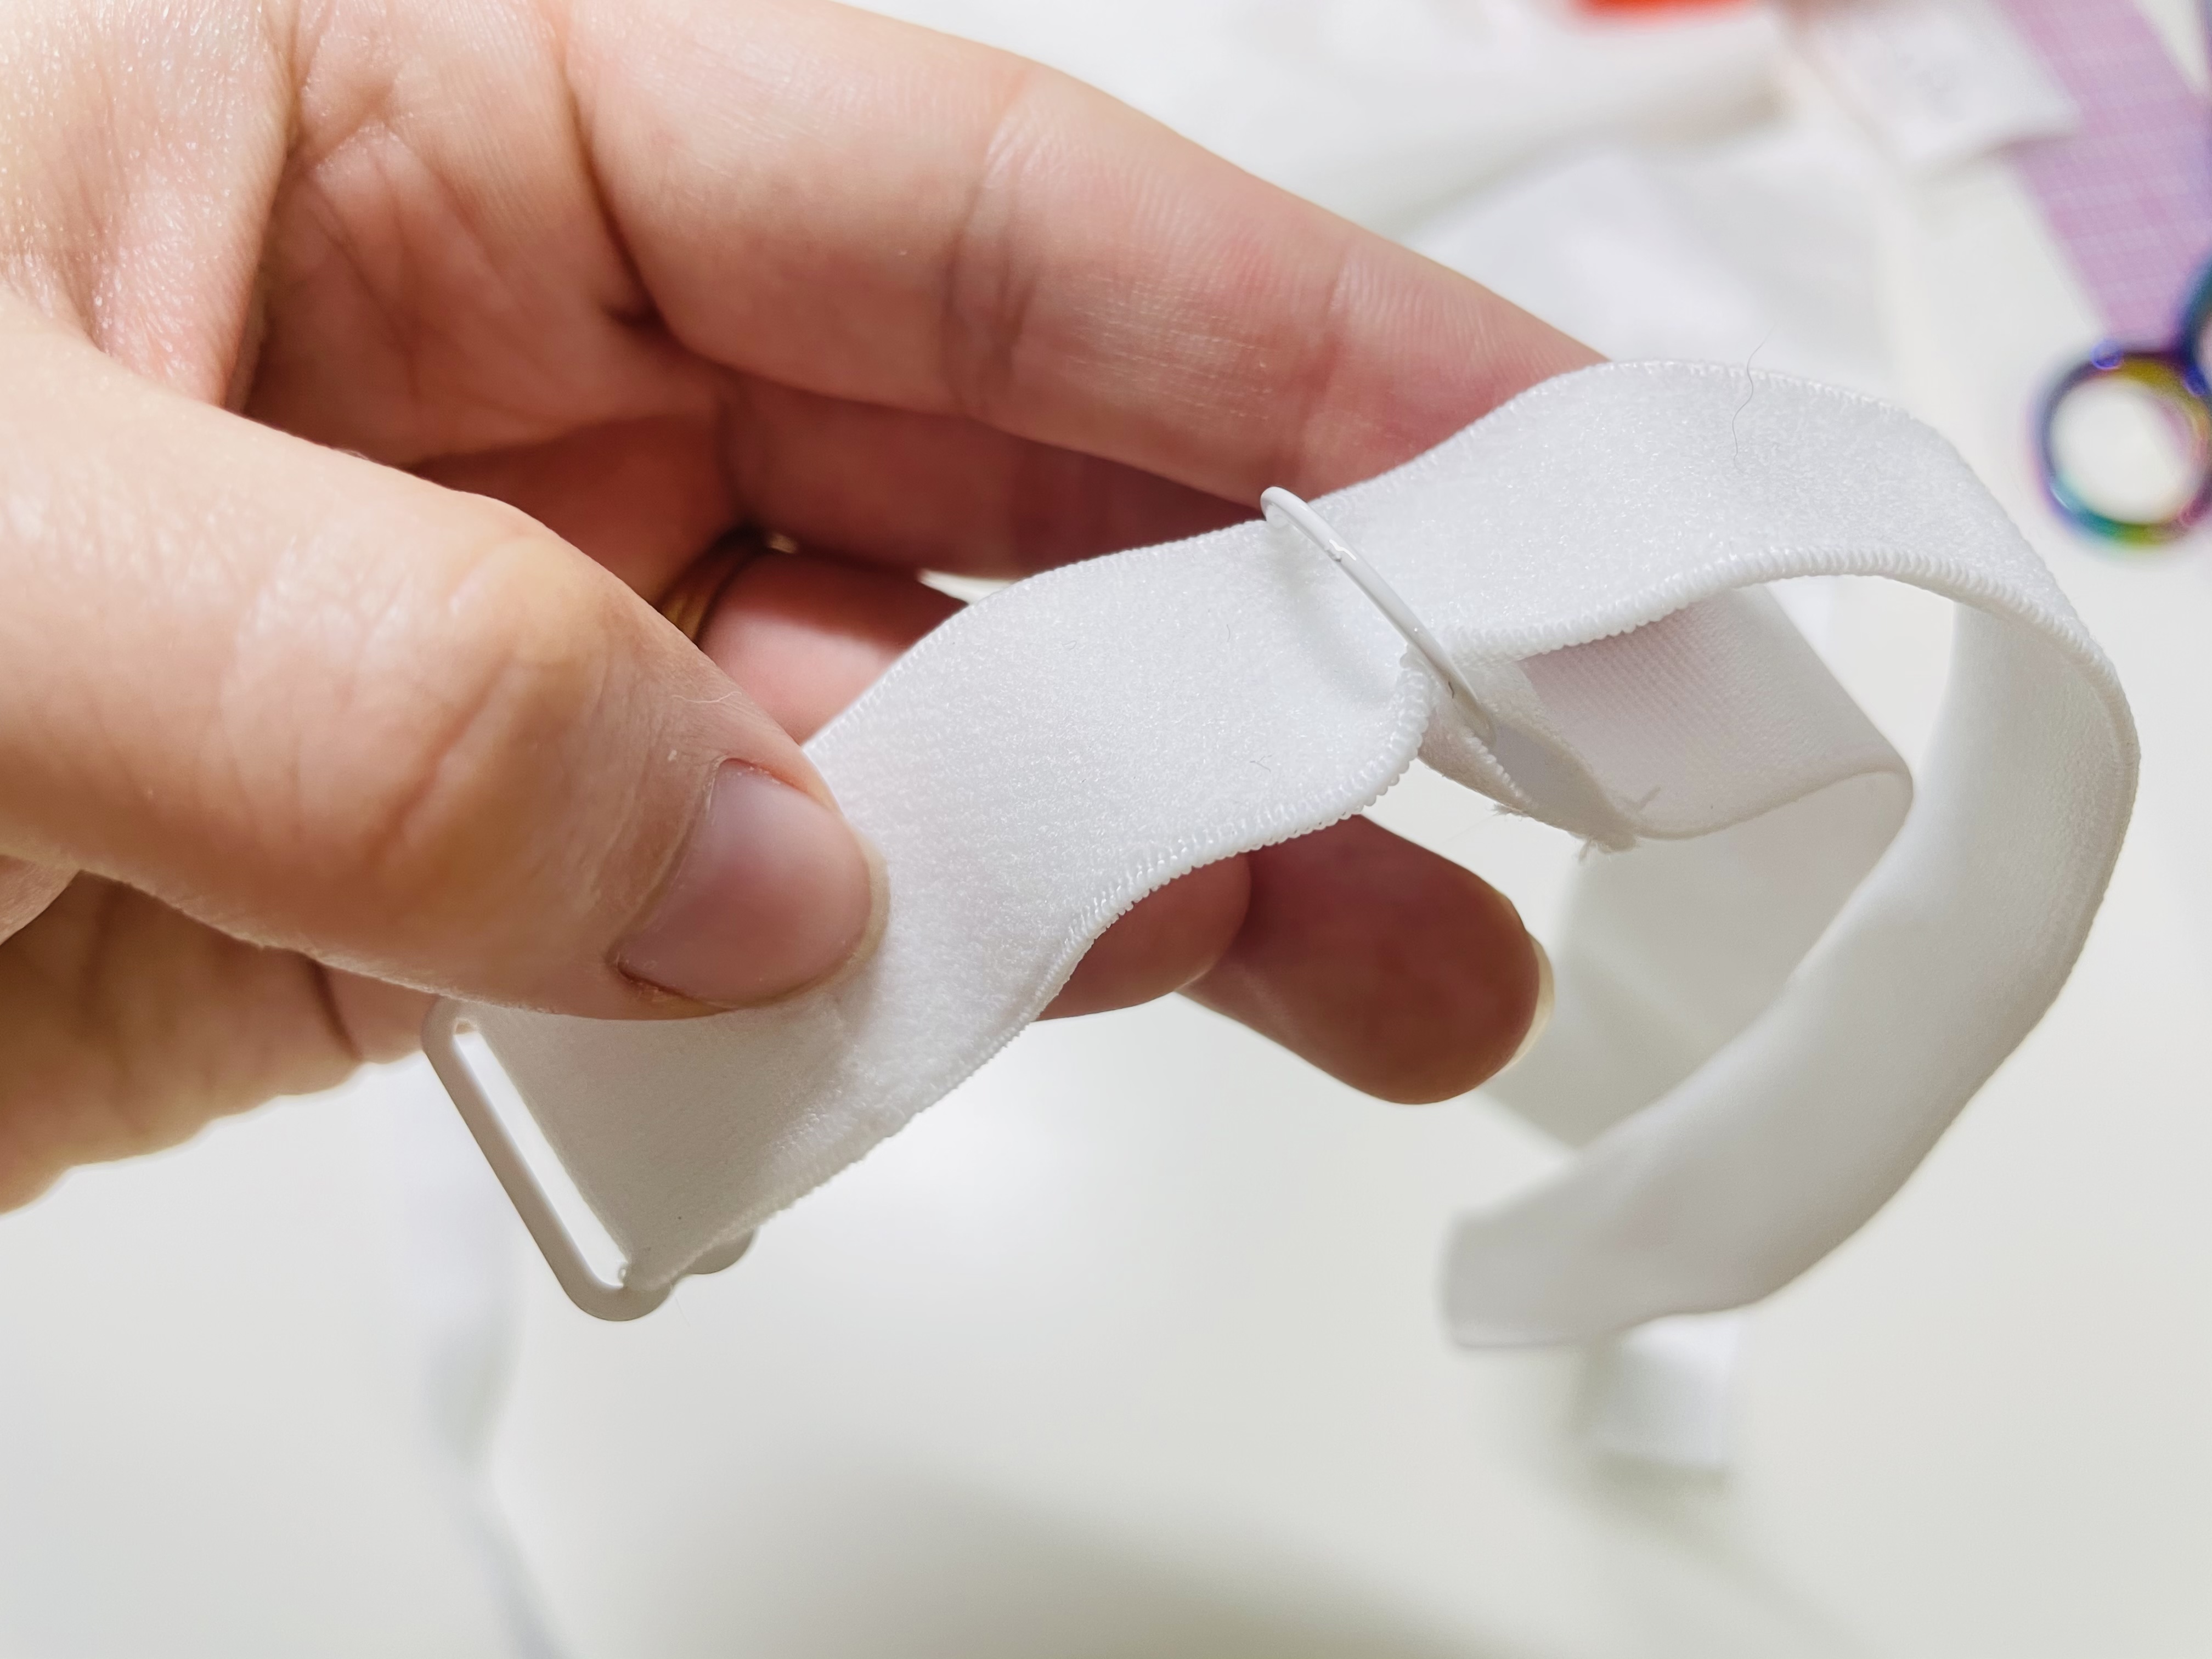
Then, fold the adjustable strap back and weave the end of it back through the slide. The shiny side should now be facing up, like this:
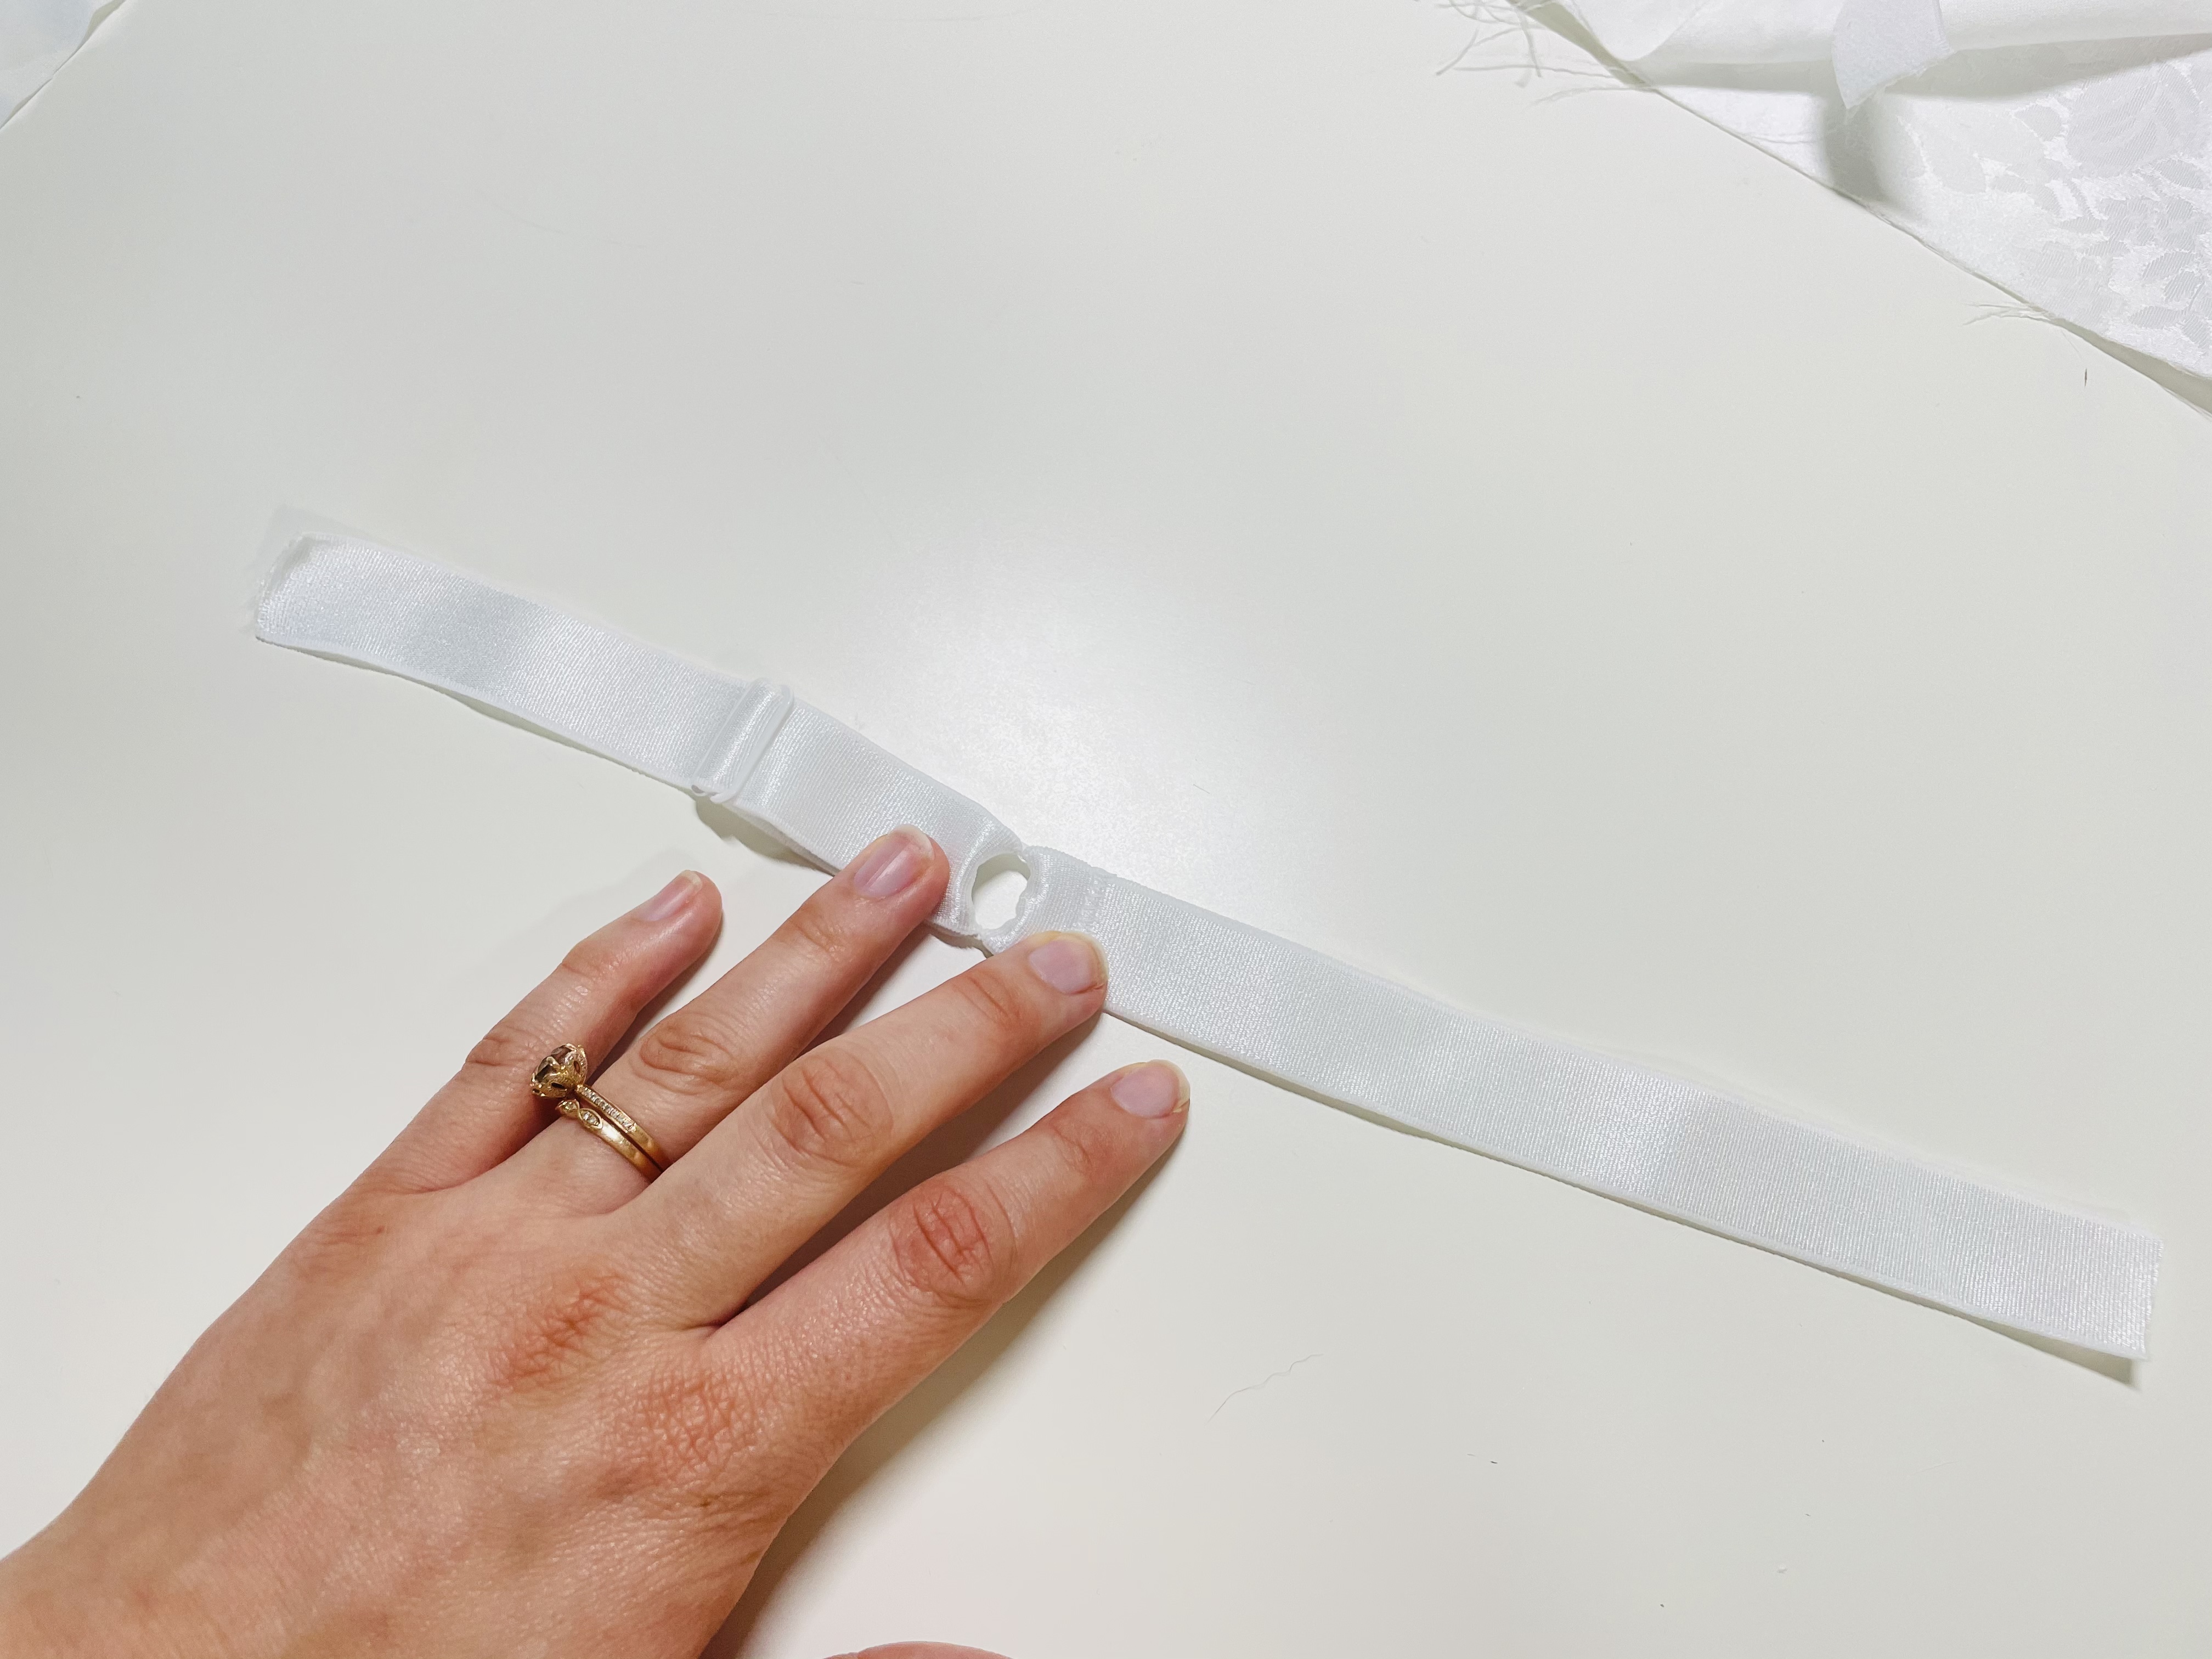
Repeat these steps for the other strap. Set your straps aside so we can start sewing the main to the lining!
Stitching the Main to Lining – Step 1
Right sides together, begin pinning your main to your lining, matching up each seam and corner. I like to start by pinning seams together, and then corners, and then fill in the rest.
As you sew, you’re going to leave 3 places open: the last 2.5″ or so of each wing (on the top, bottom, and side), as well as the keyhole. Stitch everything at a 1 cm (3/8″) seam allowance. Your keyhole should look like this when you’re done:
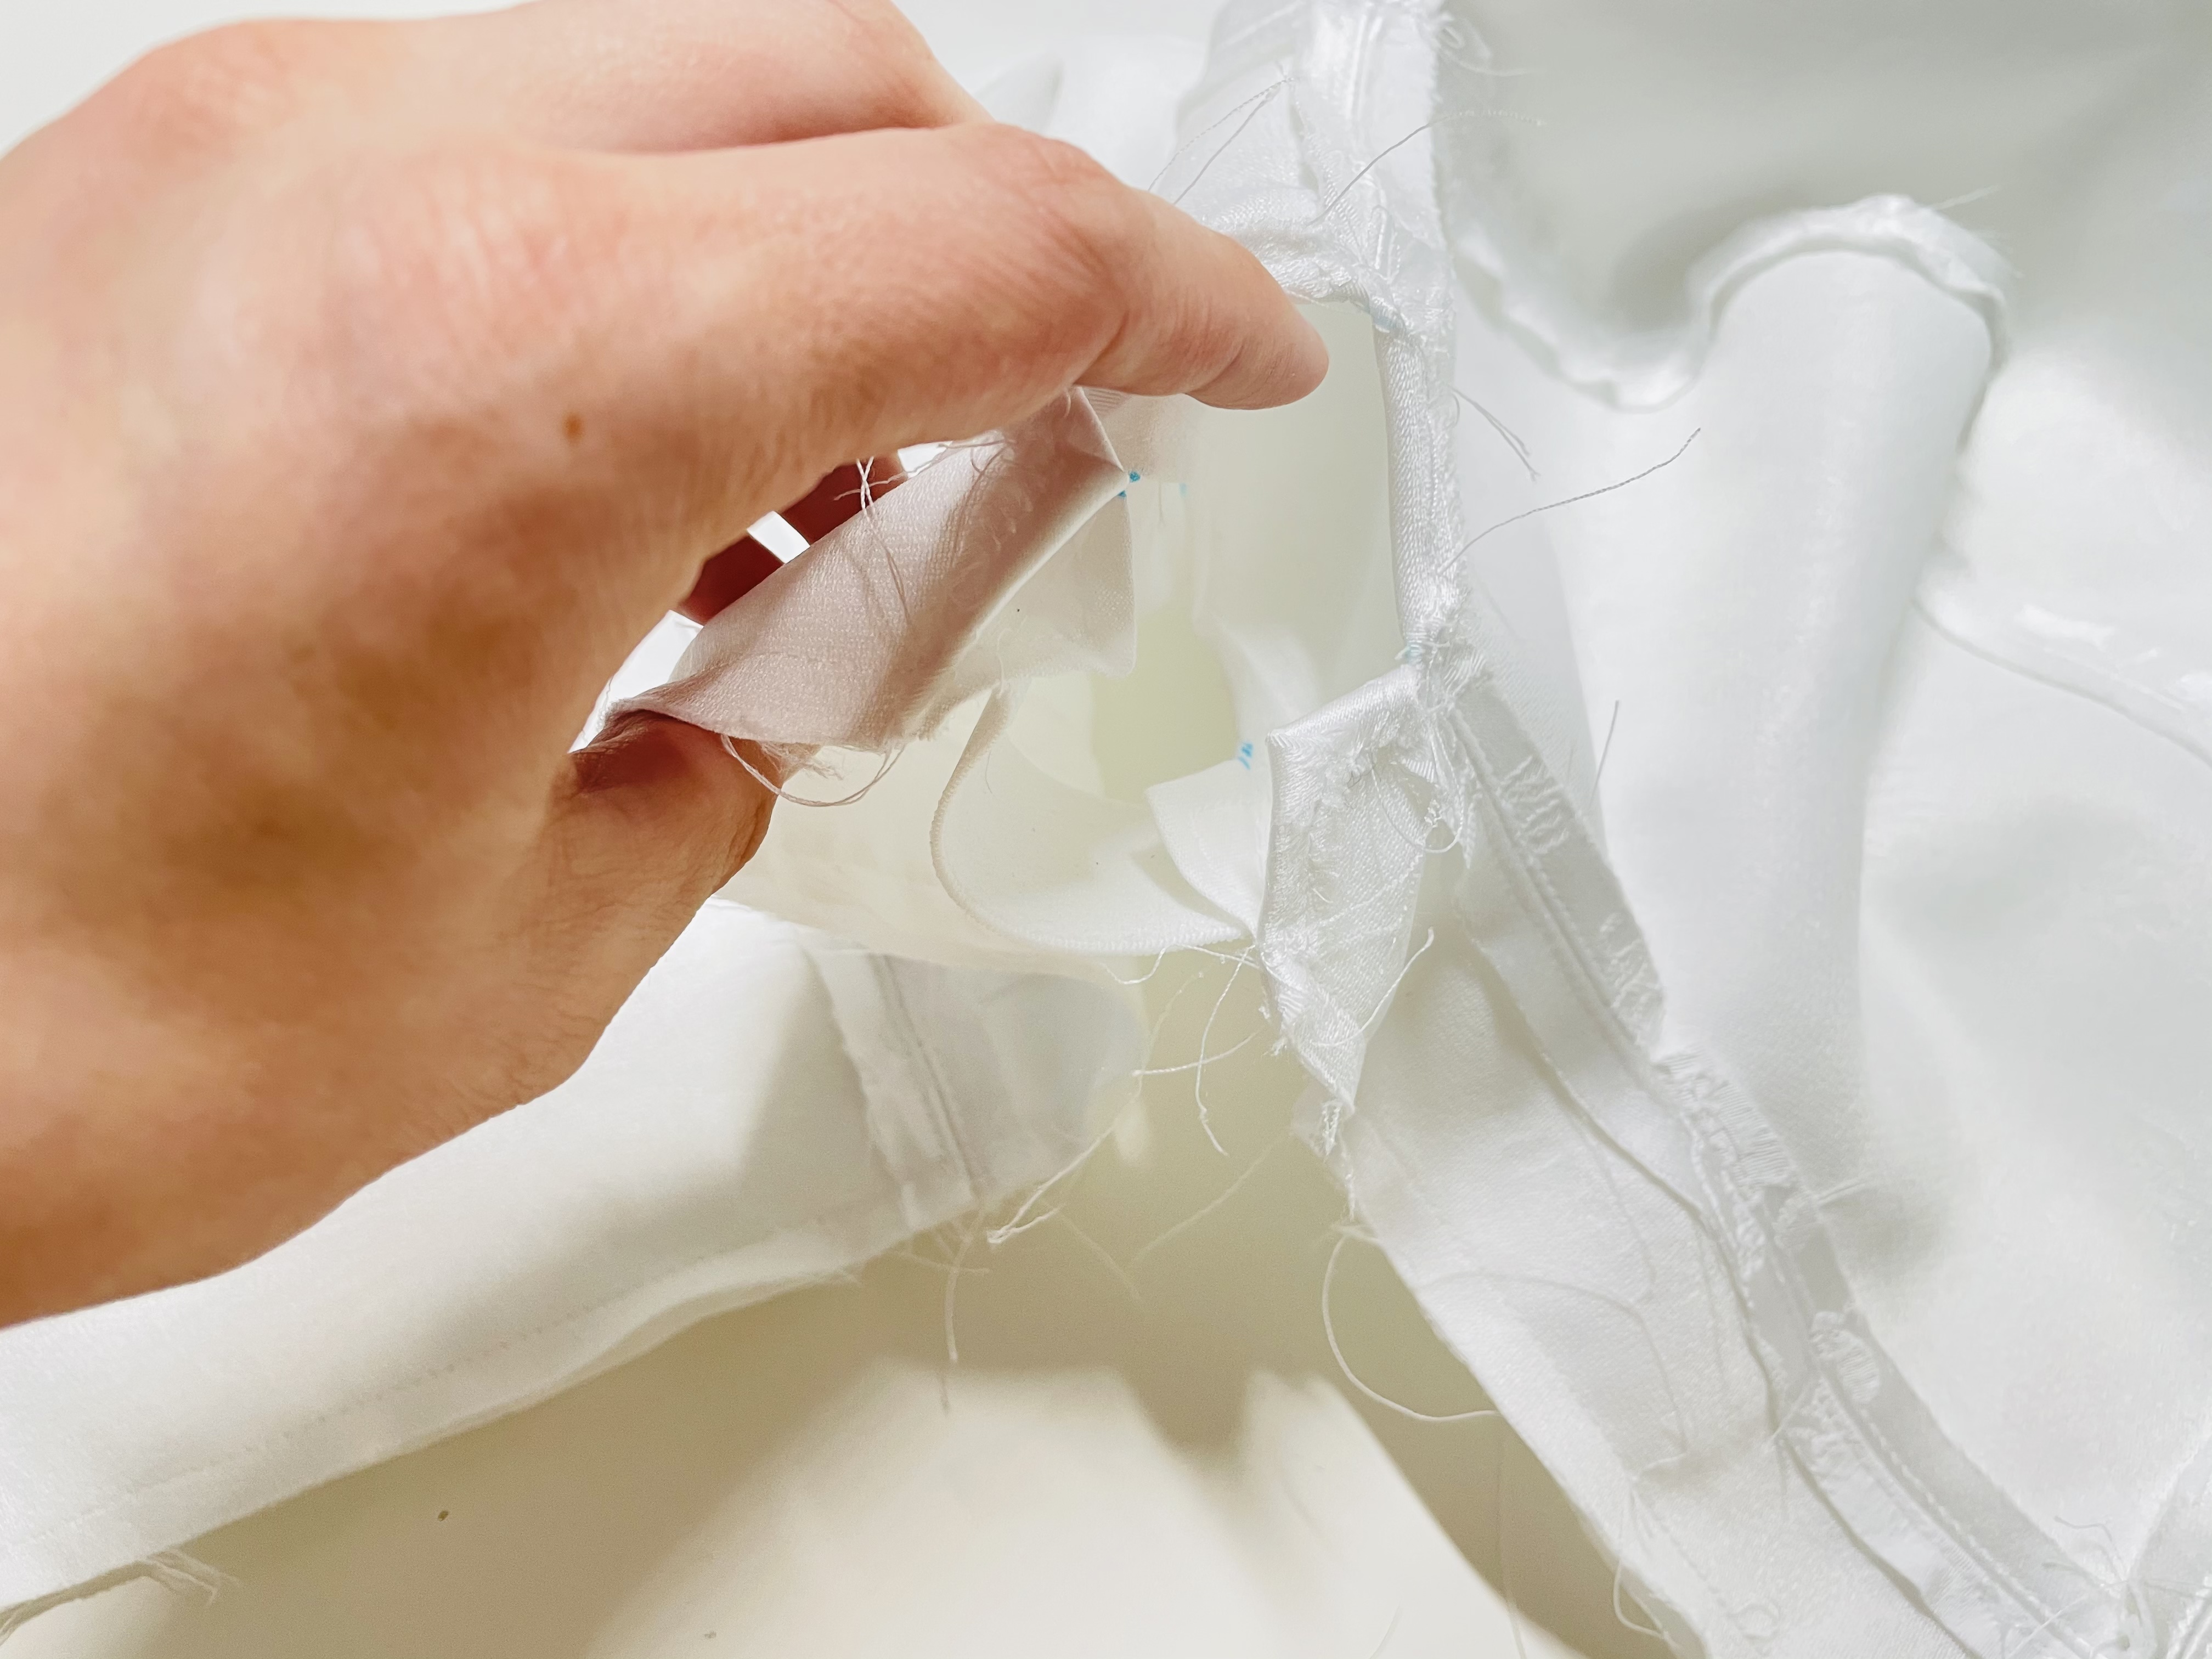
Unfortunately, I don’t have a great picture of my wings being unstitched, because I got very in the zone and stitched all the way around, then had to seam rip 🤦♀️ Do as I say, not as I do!
Figuring Out Your Wing Length
Now, try your bra on inside out! I know it doesn’t have a closure, but the purpose of this is to figure out where to cut the wing. It may be easier to have a friend or significant other help you hold it in place and mark it, but I did it all on my own, so it is possible 🙂
You want to have about a 3-4″ gap in the back, where the wings don’t meet. Mark on one wing where it would need to be cut in order to have such a gap. Here’s my mark:
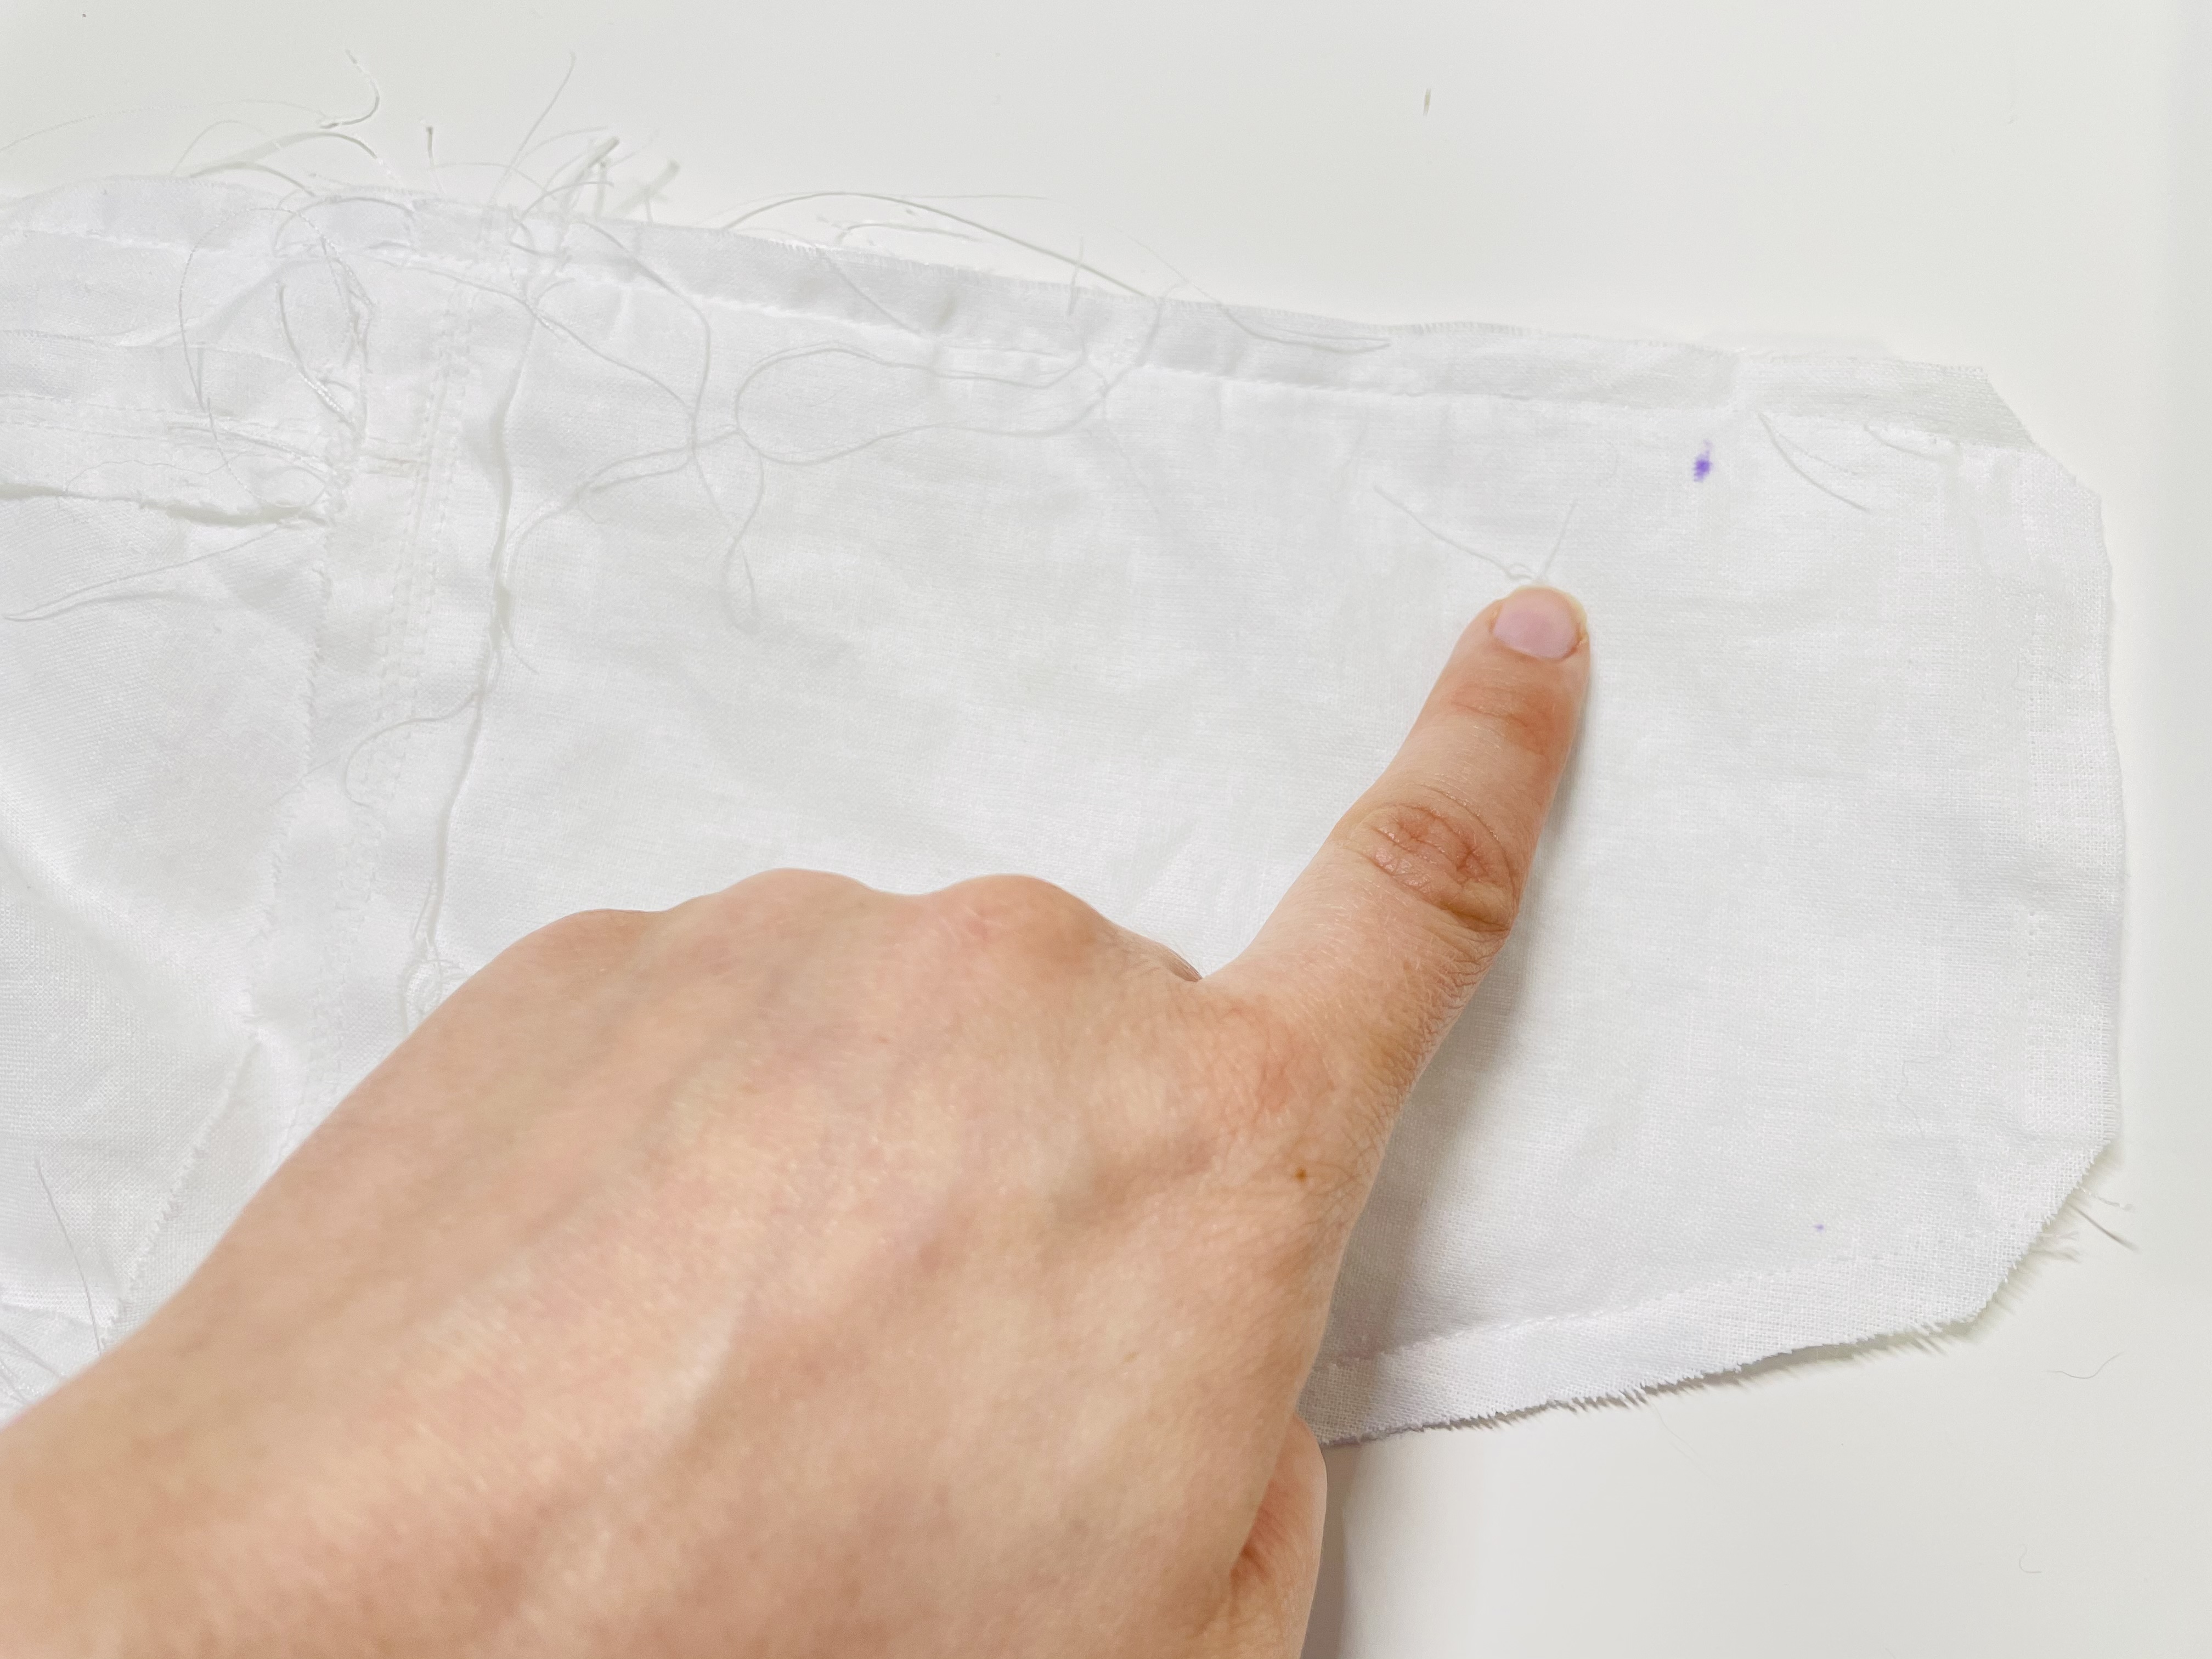
Then, extend this mark, making a line parallel to the current end of the wing:
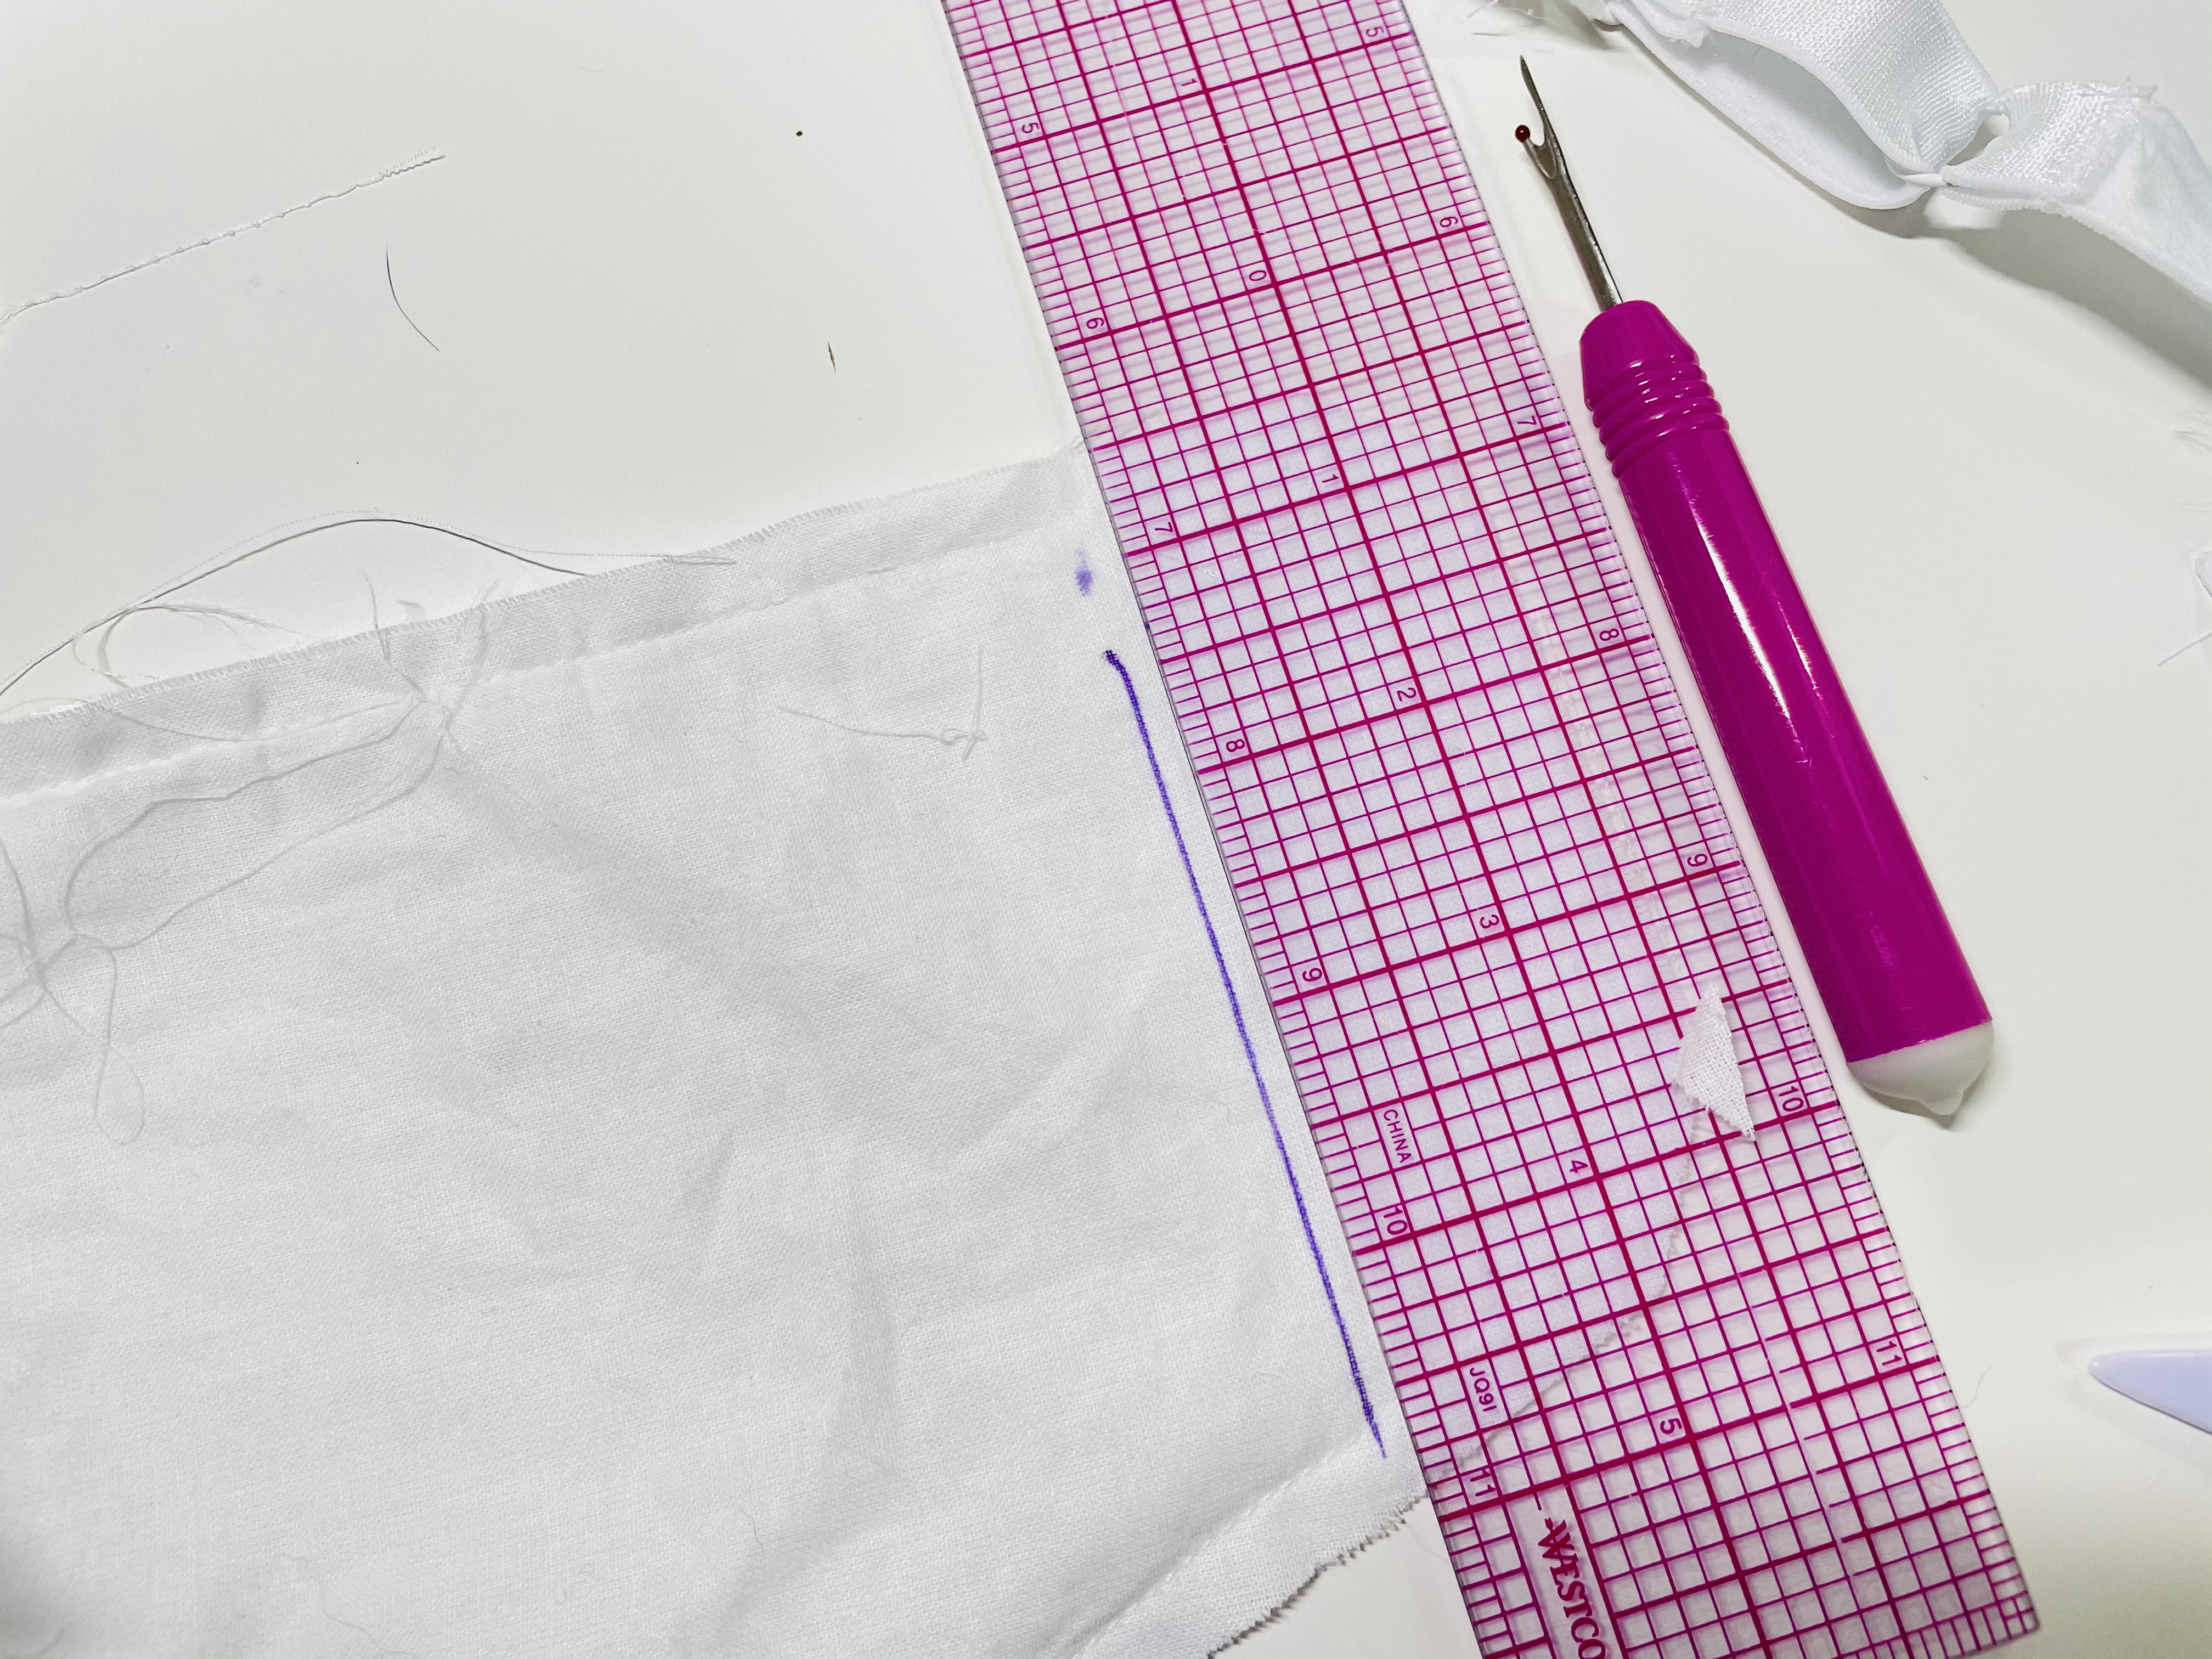
Cut along this line, cutting through both lining and main fabric. Now, take the scrap from this side and place it on the other wing, like so:
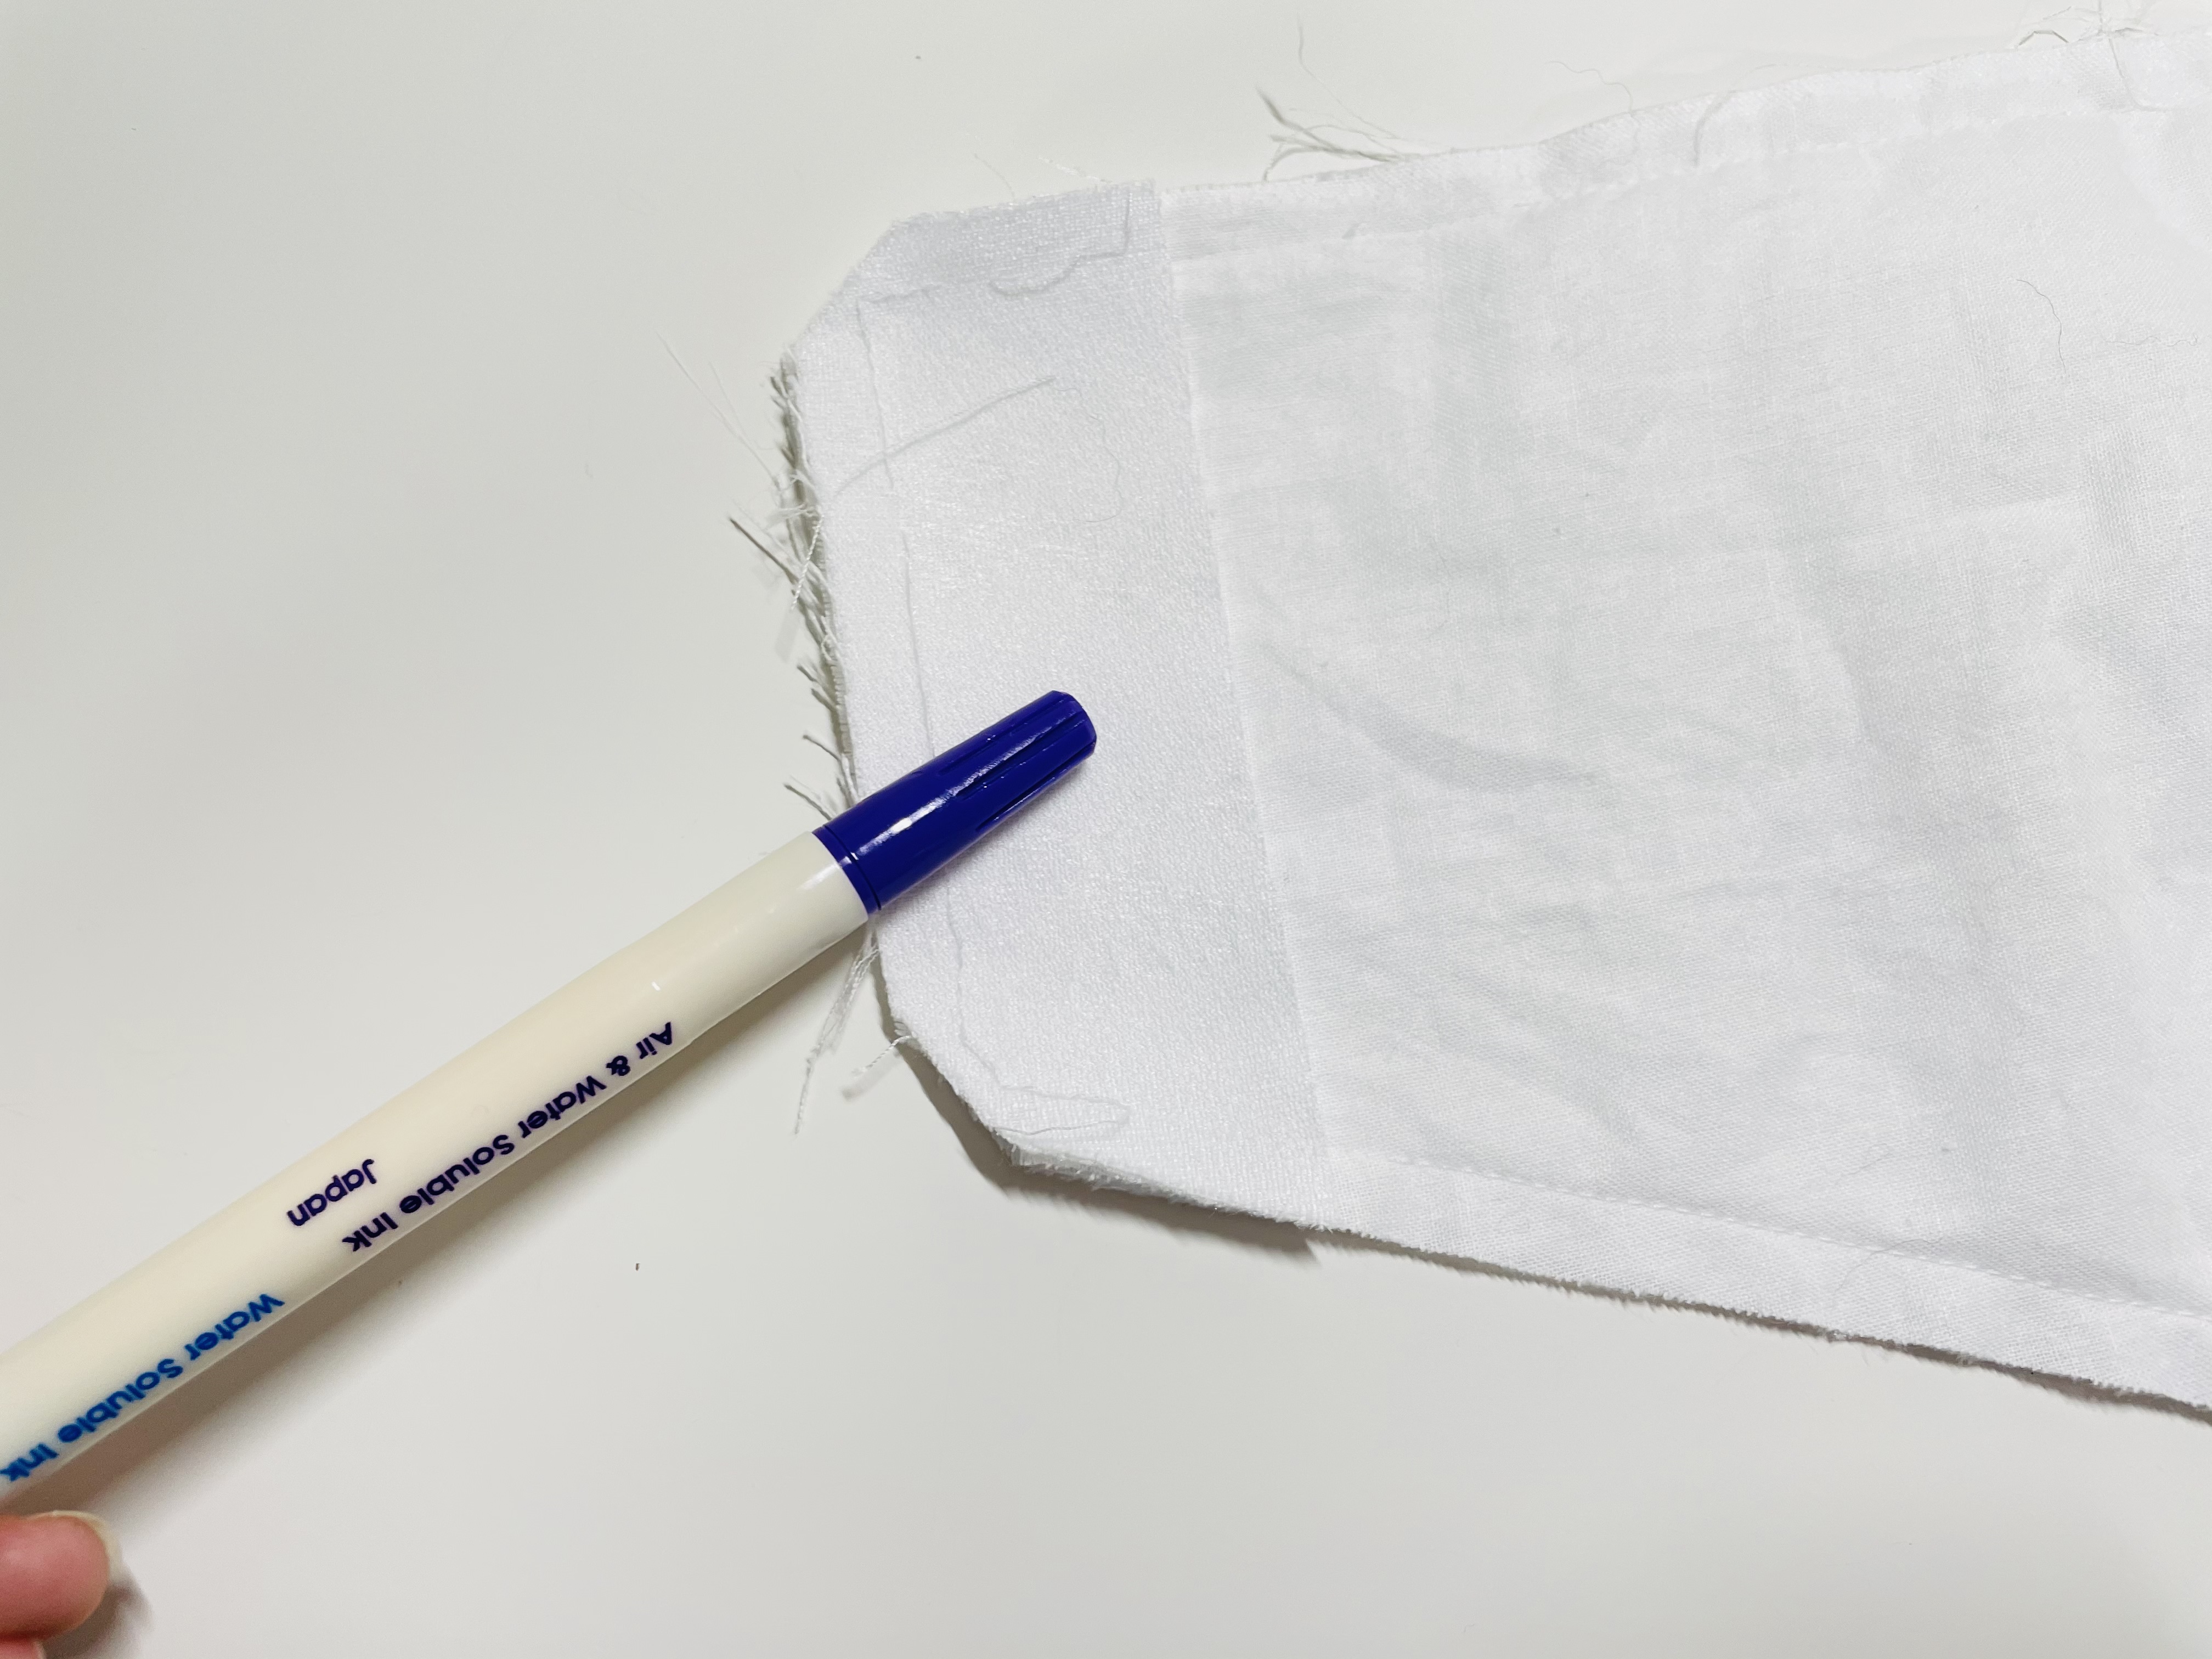
This will show you where to mark your other wing. Make a mark and cut through lining and main on this side as well.
Pinning the Straps and Preparing the Back Closure
You can now pin your straps onto your bra. Do this by lining up the raw end of your adjustable side of your strap to the top of your wing about 1″ from the edge of your wing. You want the shiny side of the strap to be facing the right side of your main fabric, and you want the angle of the strap to be slightly inward. Do this on both sides.
Next, we’re going to make an adjustable back closure, very similar to our adjustable straps. For this, we’ll use our 1″ elastic.
You want to start by cutting two strips of about 2″. Fold these and pin them onto the main fabric wing on the right when it’s facing you. I put mine about 5/8″ from the top and bottom of my wing, like this (you can also see the angle of the strap in this picture!):
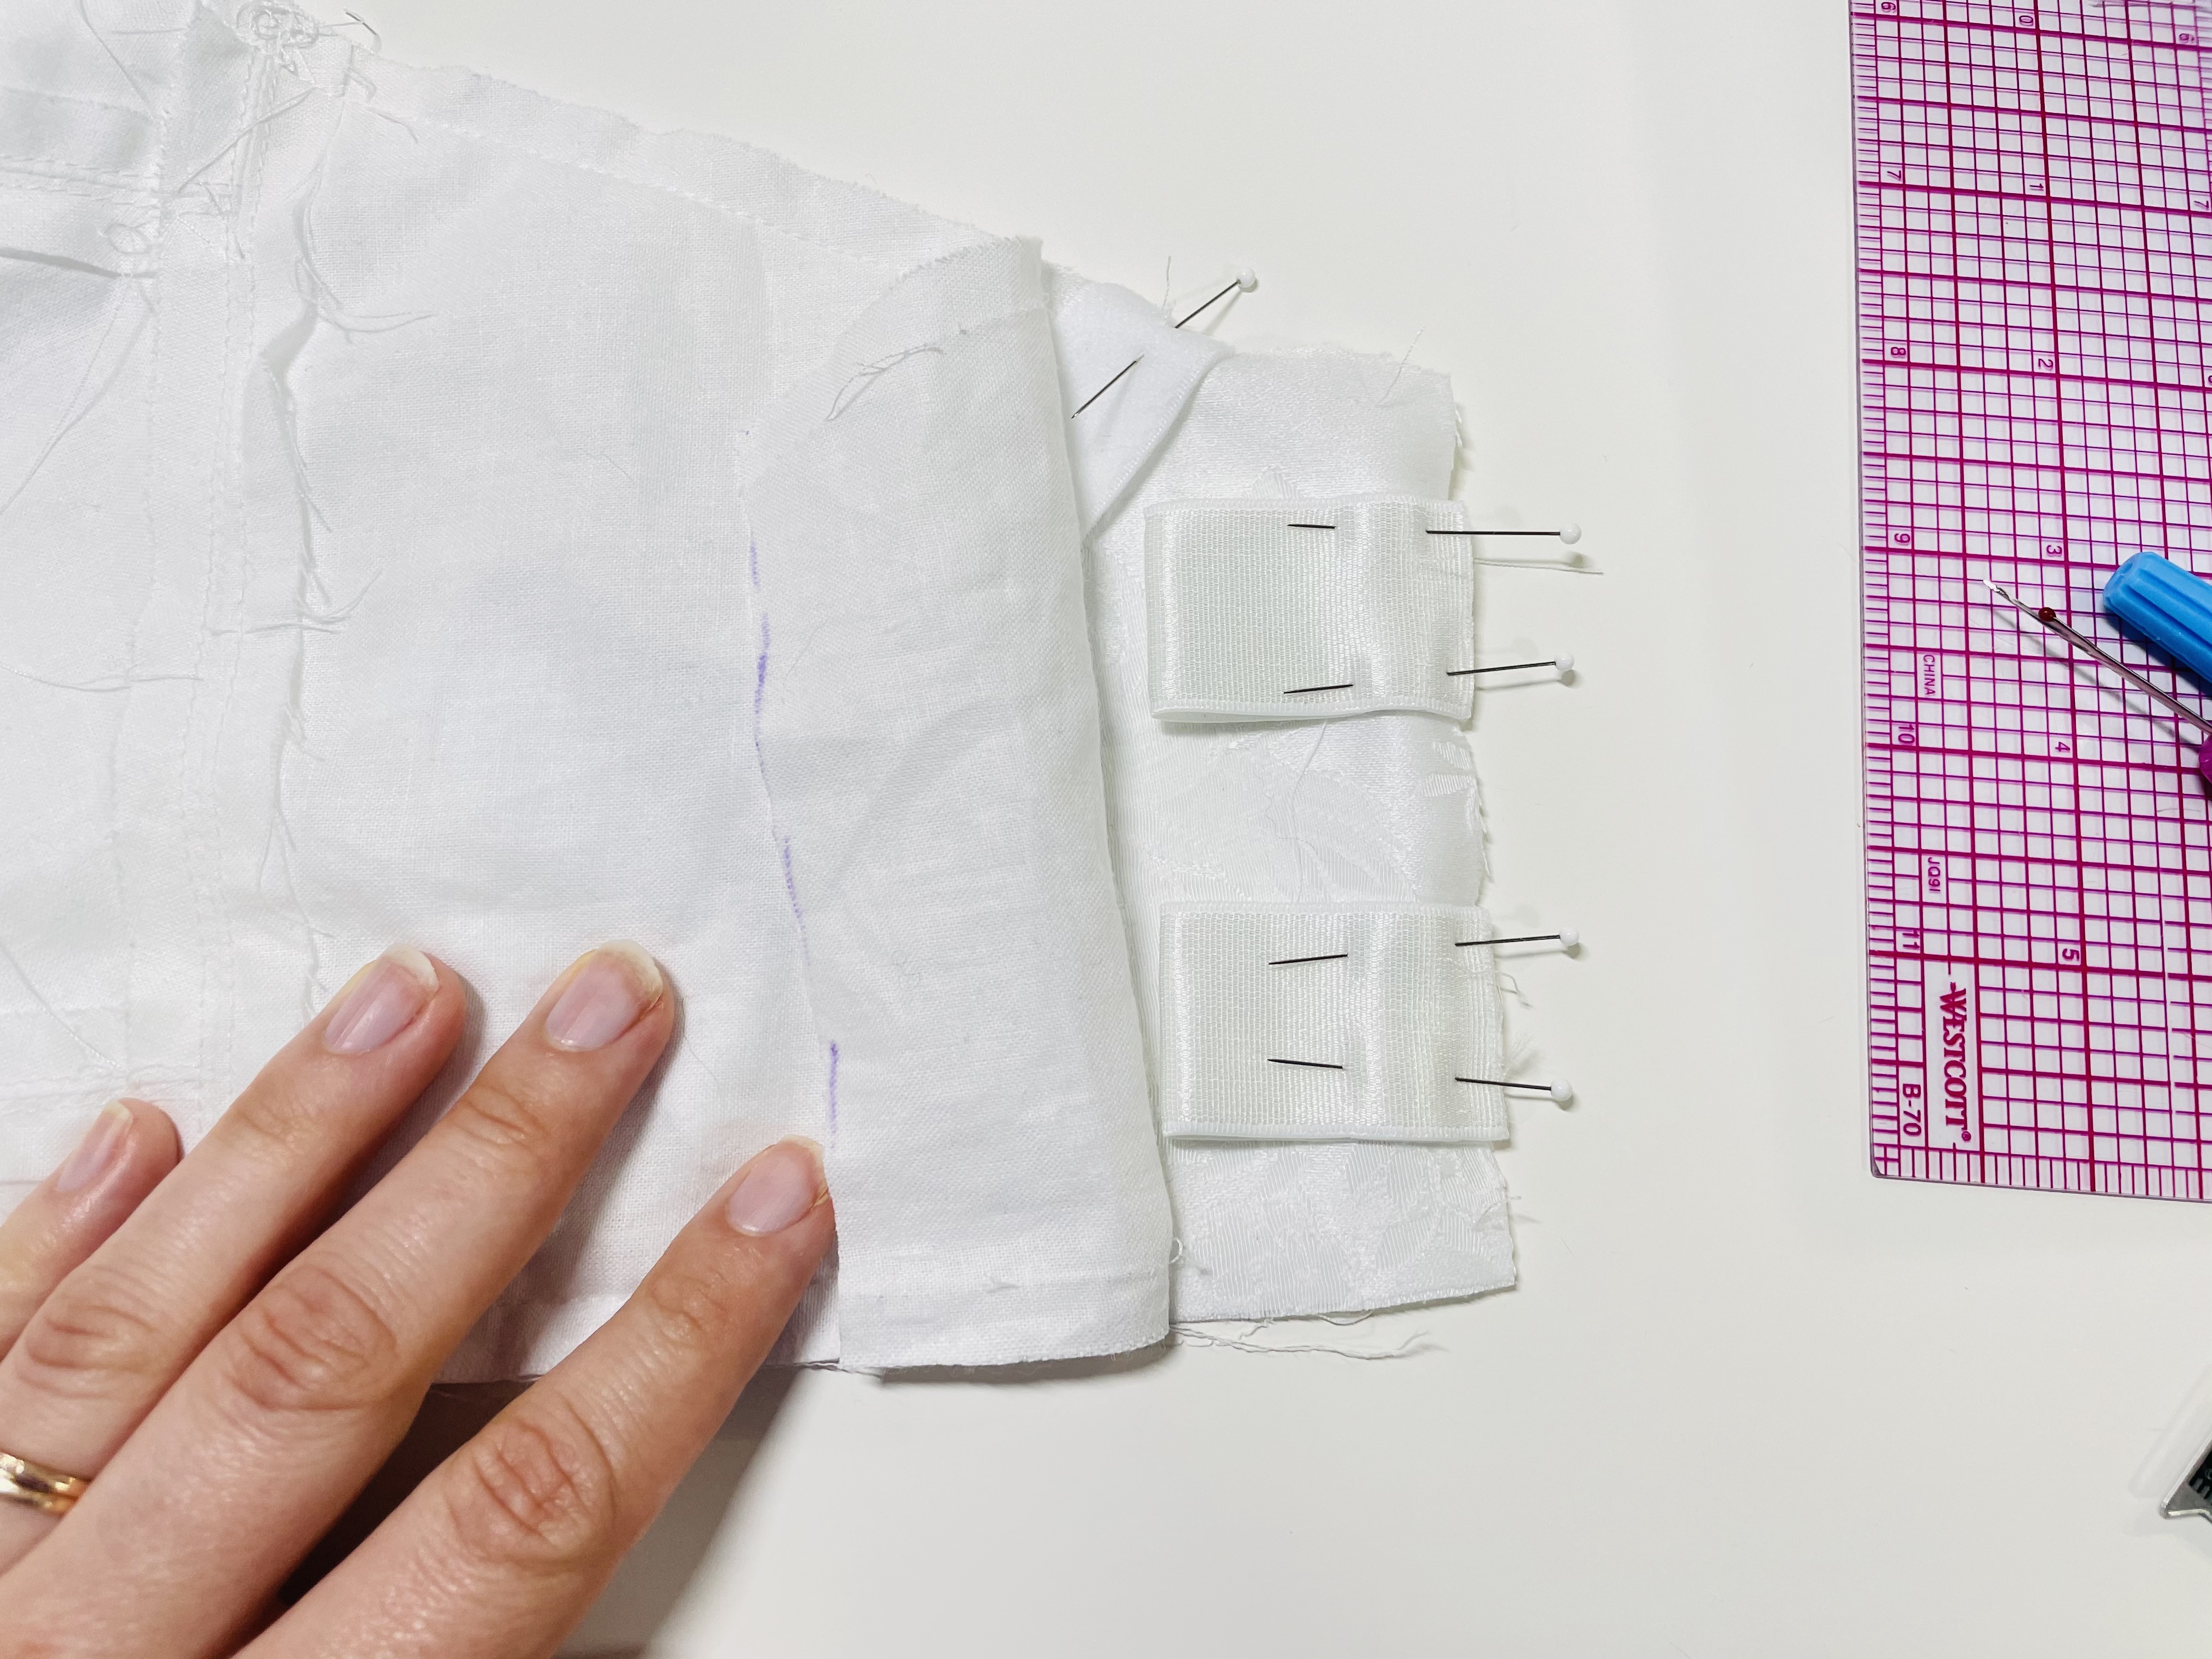
Adjustable back closure option (requires 2 1″ slides)
Now we’re going to make the adjustable side of the back closure. Cut two 5″ lengths of your 1″ elastic. This will almost certainly be longer than you need, but we will trim in the next step.
Follow the same procedure as above for putting it through a slide, then stitching. Then, thread the elastic through a G-hook. At this point, you need to decide whether you want your G-hook to face up or down. Down is more common, though I have one ready-to-wear bikini that uses an upward-facing G-hook, so I’m trying that this time. If you want your G-hook to face down, the open end must be downward when you’re looking at the back of the G hook, with the hook to the right.
Thread the elastic back through the slide. Repeat for the second length of 1″ elastic. The resulting straps should look like this. Again, remember that I am having my G hooks facing up this time:
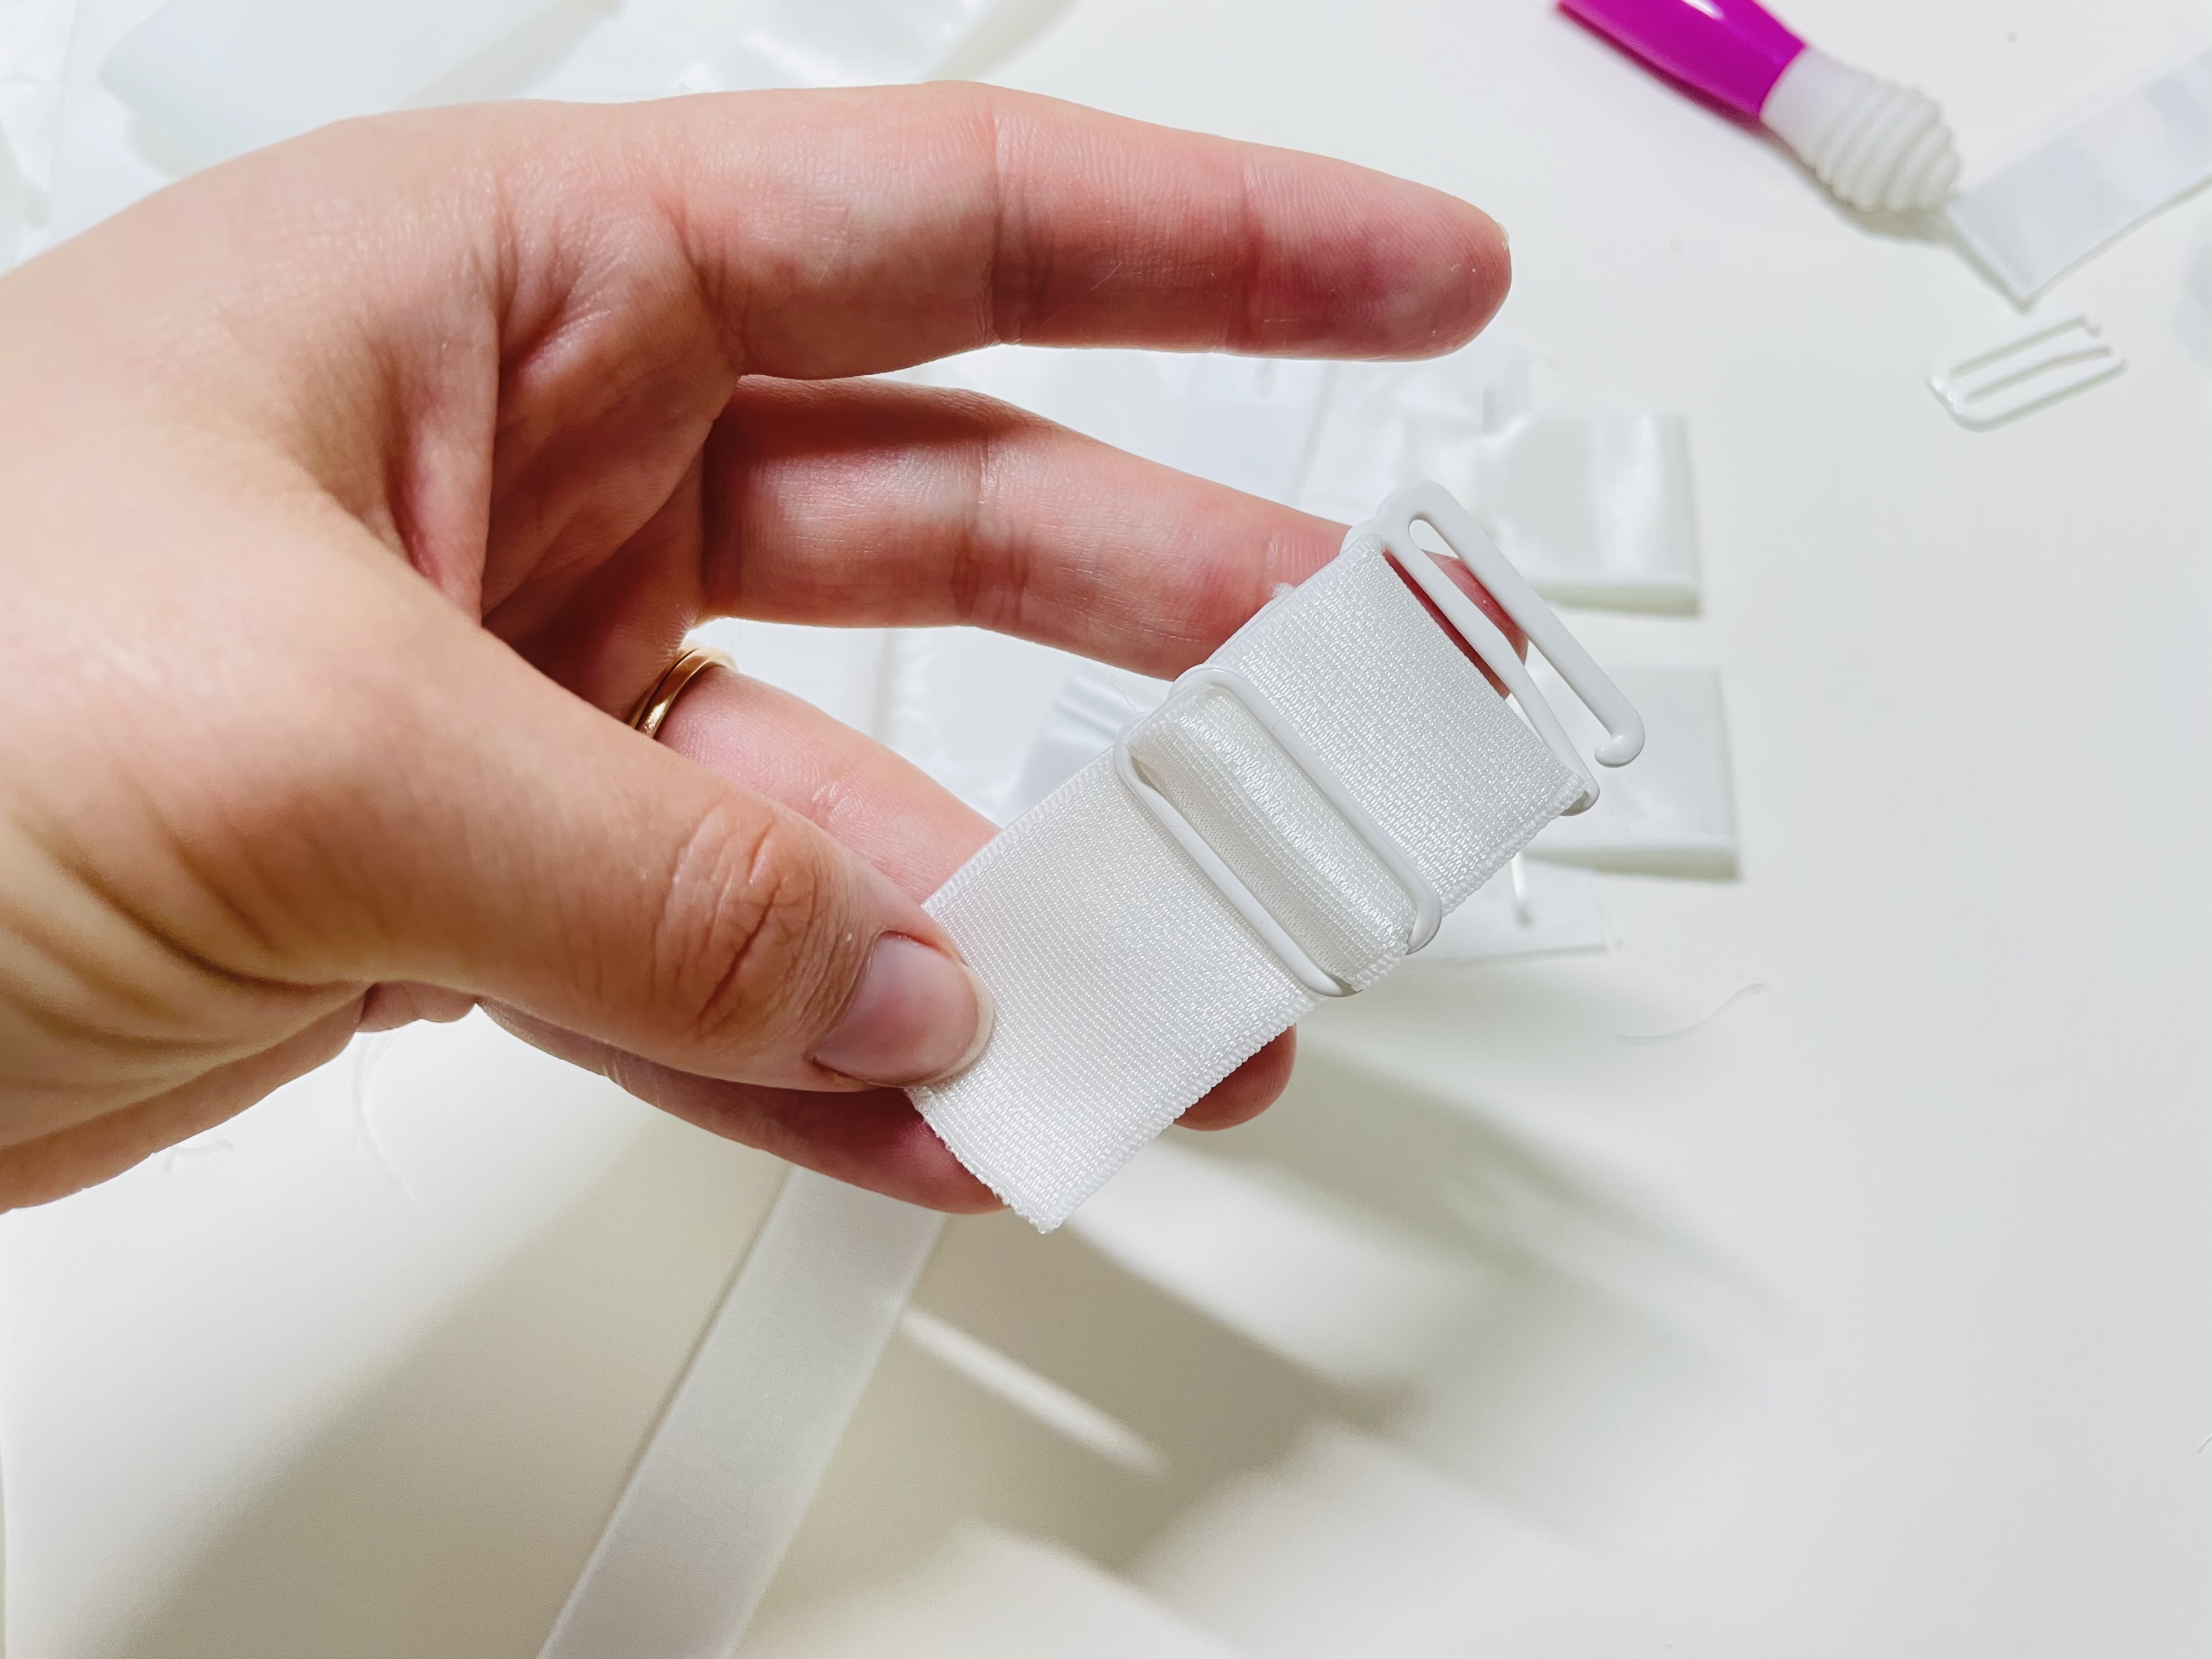
For the next step, you’ll want these straps on their longest setting, so wiggle that slide as close to the G-hook as it will go.
non-Adjustable back closure option (No 1″ slides required)
Cut two 3″ lengths of your 1″ elastic. Follow the same process as described for applying the ring to the non-adjustable part of the strap, above.
At this point, you need to decide whether you want your G-hook to face up or down. Down is more common, though I have one ready-to-wear bikini that uses an upward-facing G-hook, so I’m trying that this time. If you want your G-hook to face down, the open end must be downward when you’re looking at the back of the G hook, with the hook to the right.
Determining the Closure Length
Now, I want you to stitch closed only the right side of the wing (the side with the loops). Once you’ve stitched closed the right side, temporarily flip the bra right-side out. Hook the G-hooks into the loops, and try on the bra. While it’s on, you’re going to pin the adjustable side of your strap to the other wing such that your band is the right length. Mark the spot where the straps meet the wing with your marking pen or chalk.
Take the bra off and flip it back inside-out. Re-align your adjustable back straps so that they’re 5/8″ from the top and bottom of the left wing (when the right side of the main fabric is facing you with the bra upward), aligning the marking you made above with the edge of the wing. The shiny side of the elastic (if your elastic has a shiny side) should be facing the right side of your main fabric.
Pin into place and clip excess strap, like so:

Now, we’re going to close this side. If you’re not 100% sure about the placement or length of your back straps, you might want to baste this first so that you can easily remove the stitching and move things a bit. Once you’re sure the length and placement of the back straps is correct, though, use a regular stitch to finis the 1 cm (3/8″) seam allowance all the way around the bra.
Flipping the Bra Right Side Out
The only opening should now be the keyhole. Clip your corners at the front strap points and wings, not getting too close to the seam allowance, like this:
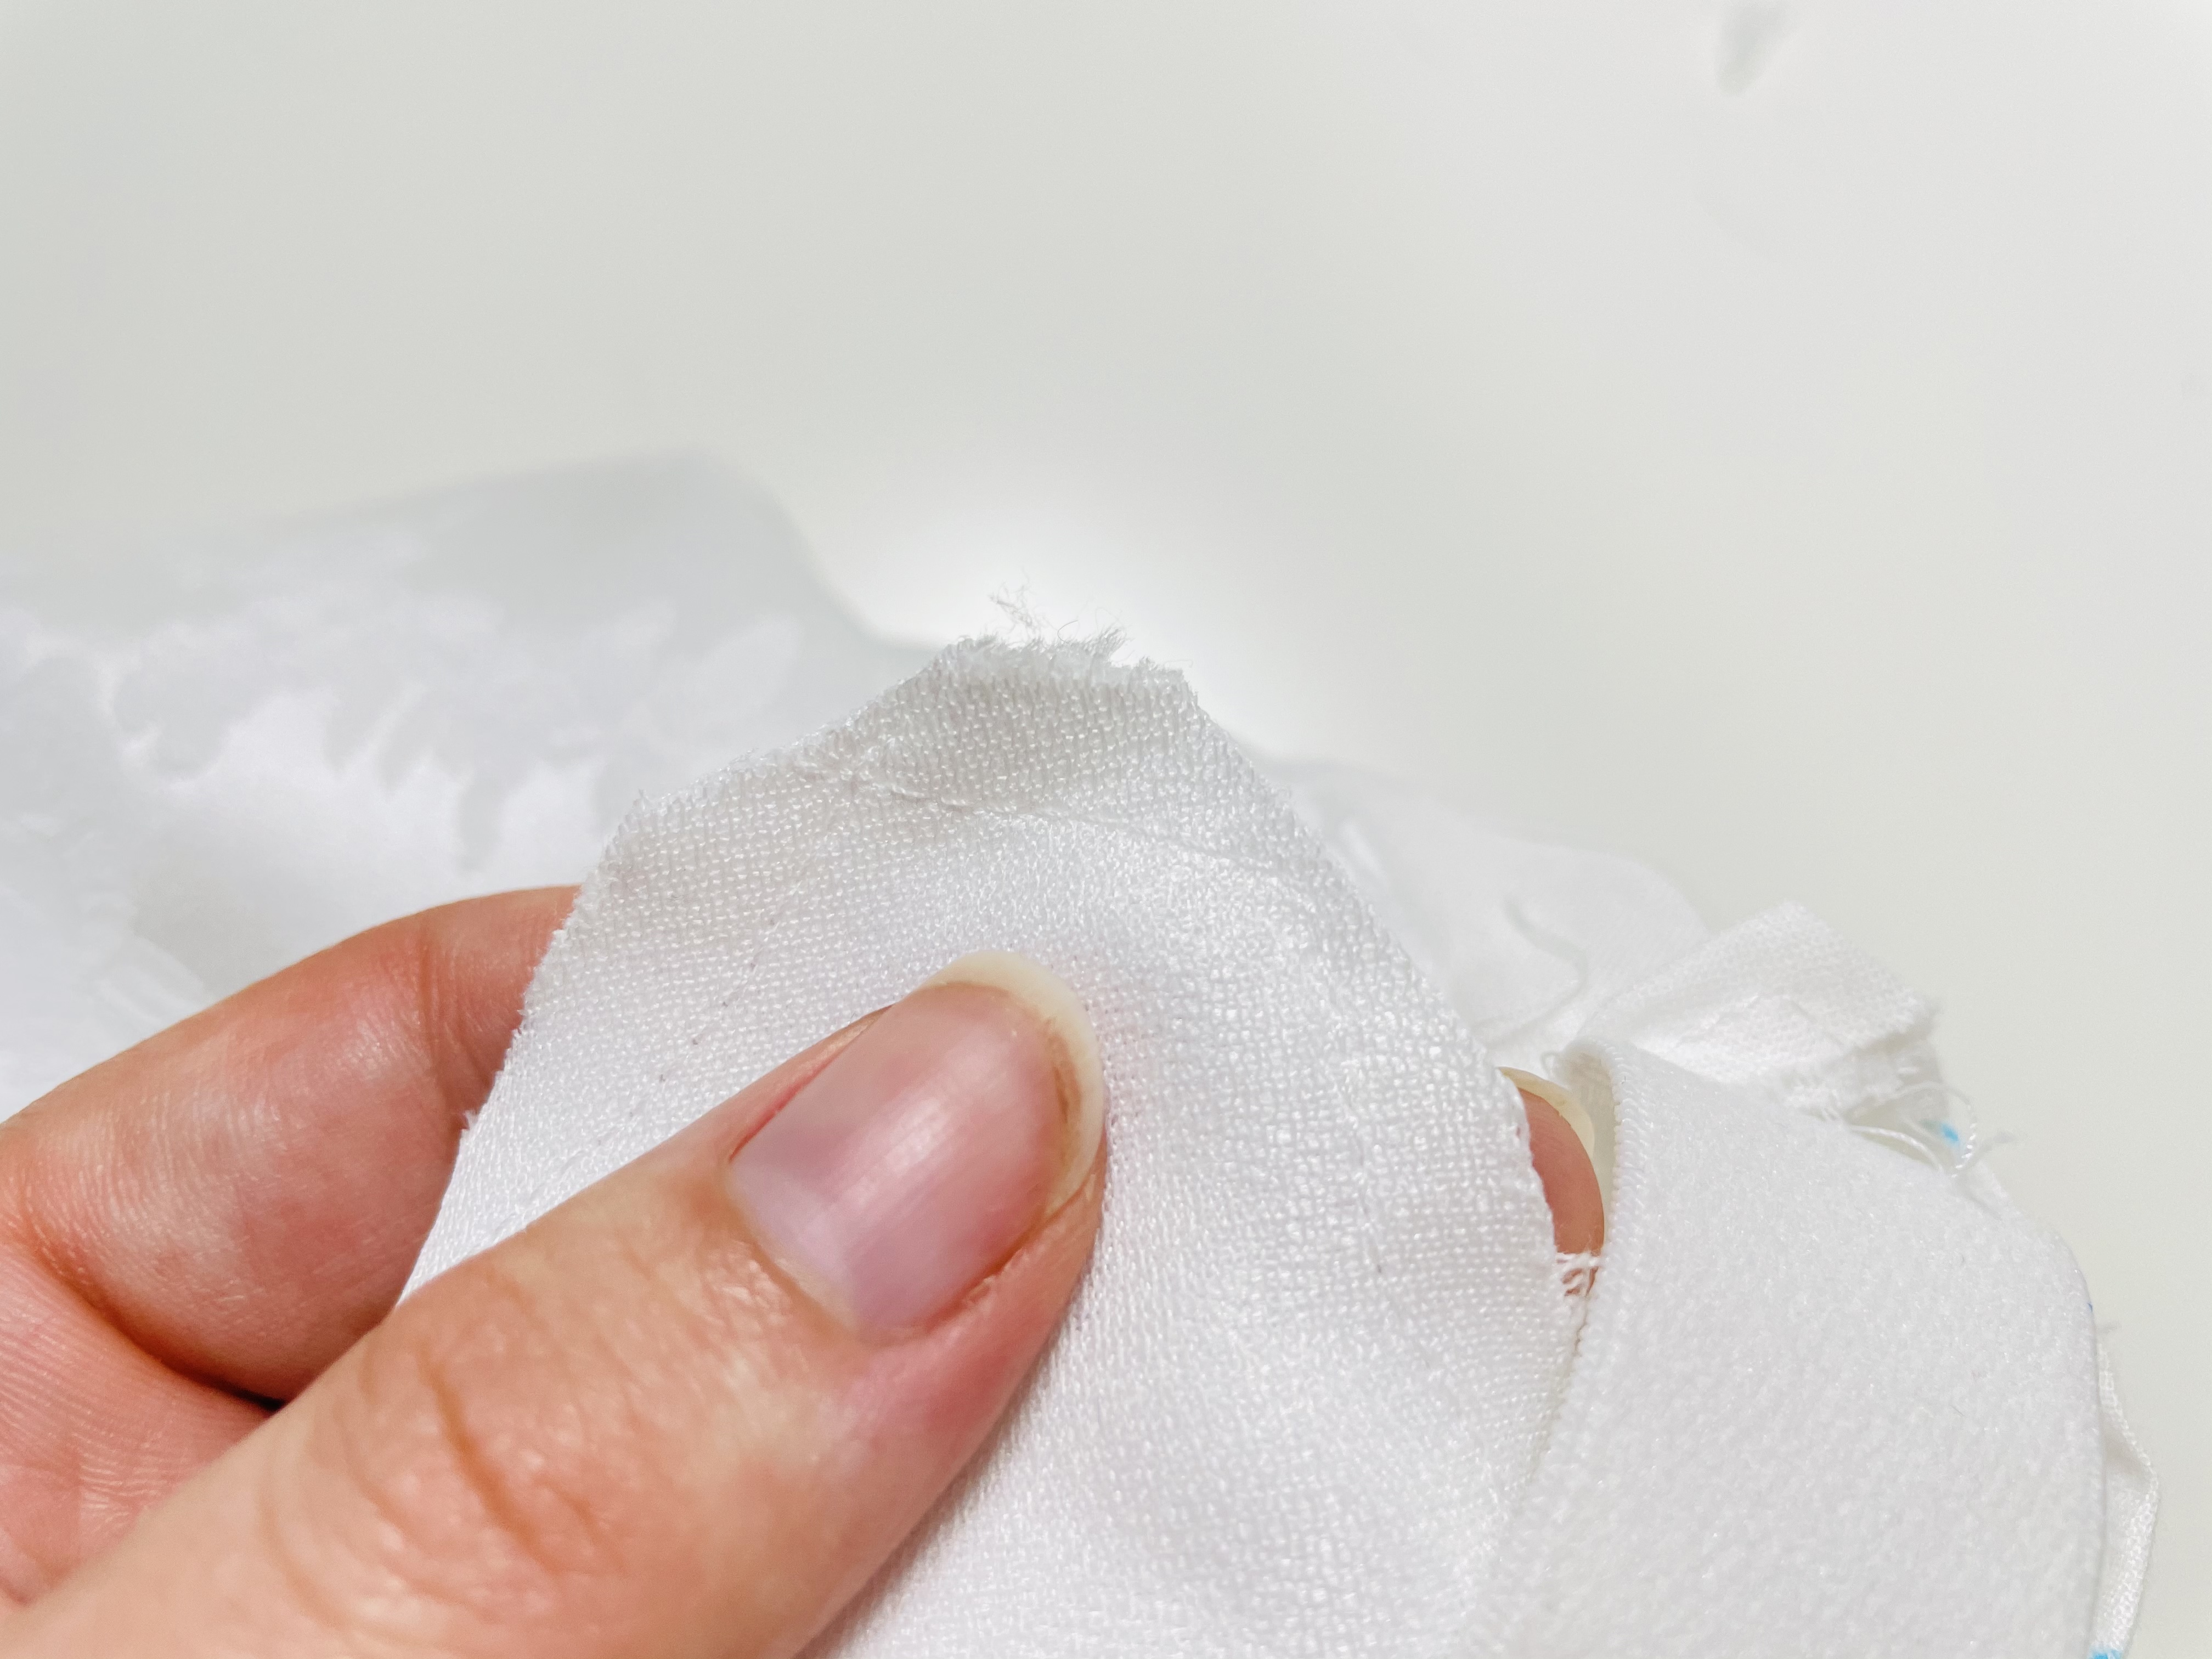
Flip the bra right side out, pulling it through the keyhole. You can use the straps to help with this. It should look like this:
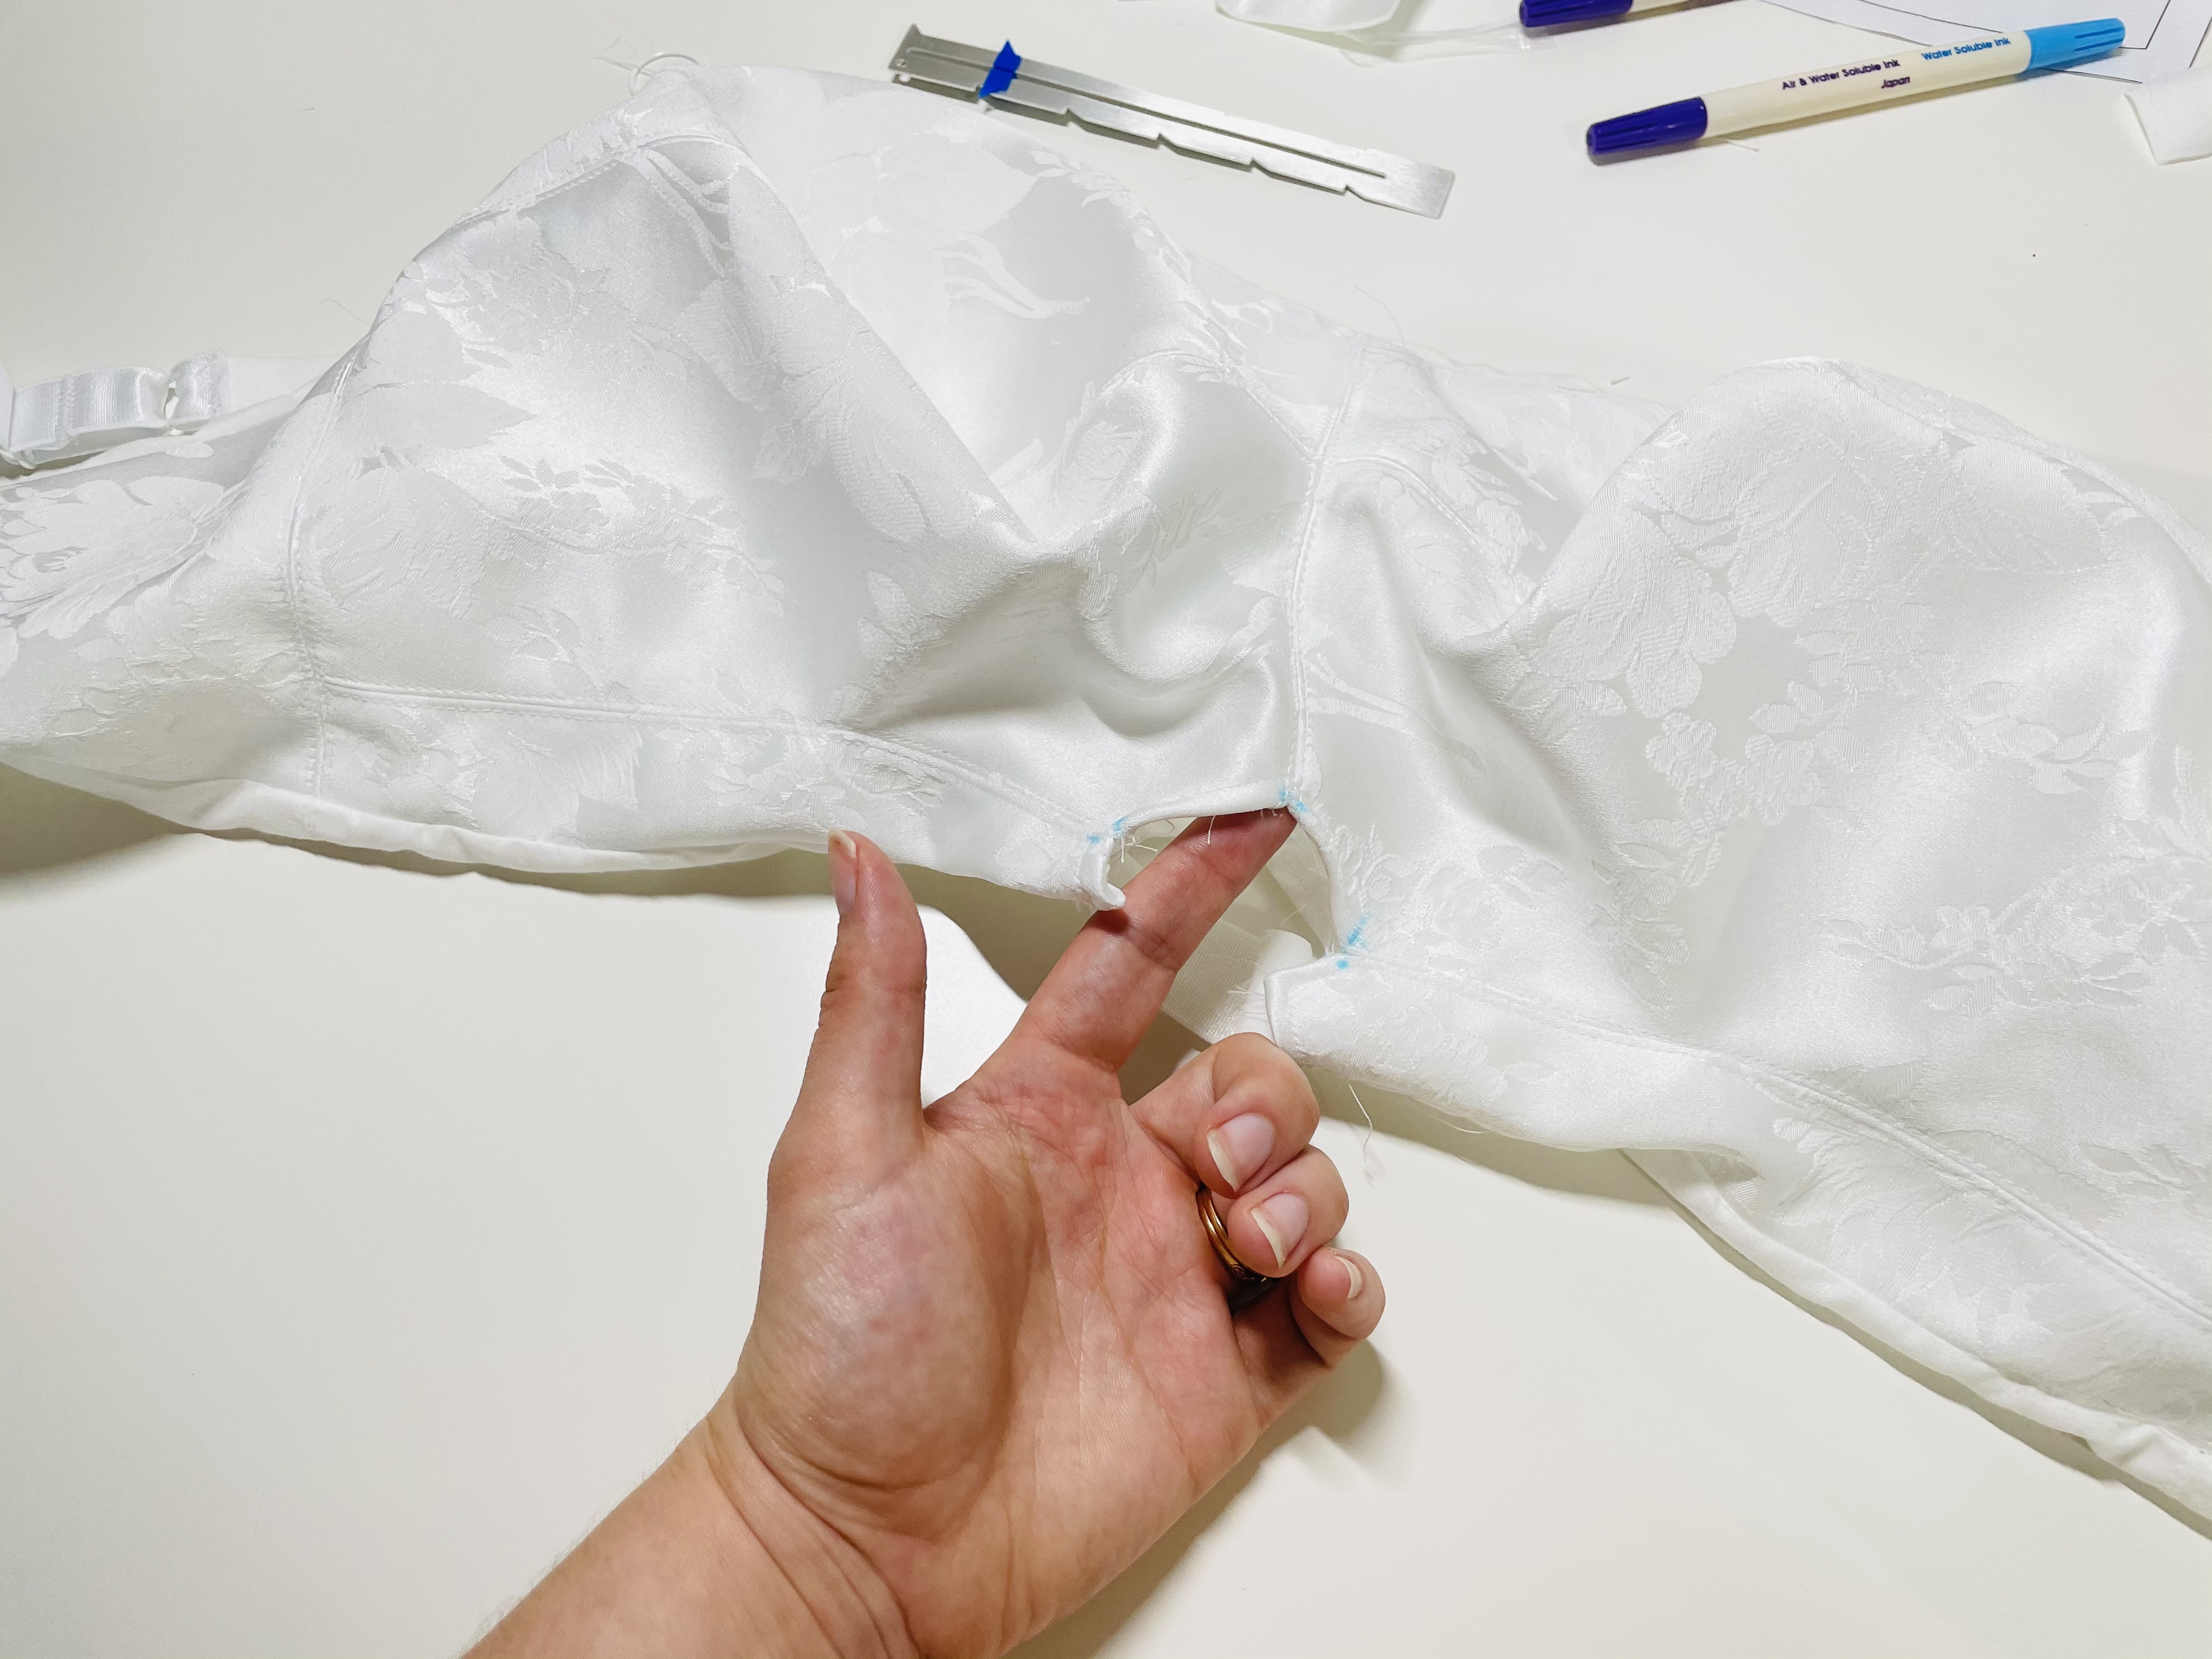
Use a point turner tool to massage the corners (at the front strap points and wings) into sharp points.
You should end up with something that looks like this:
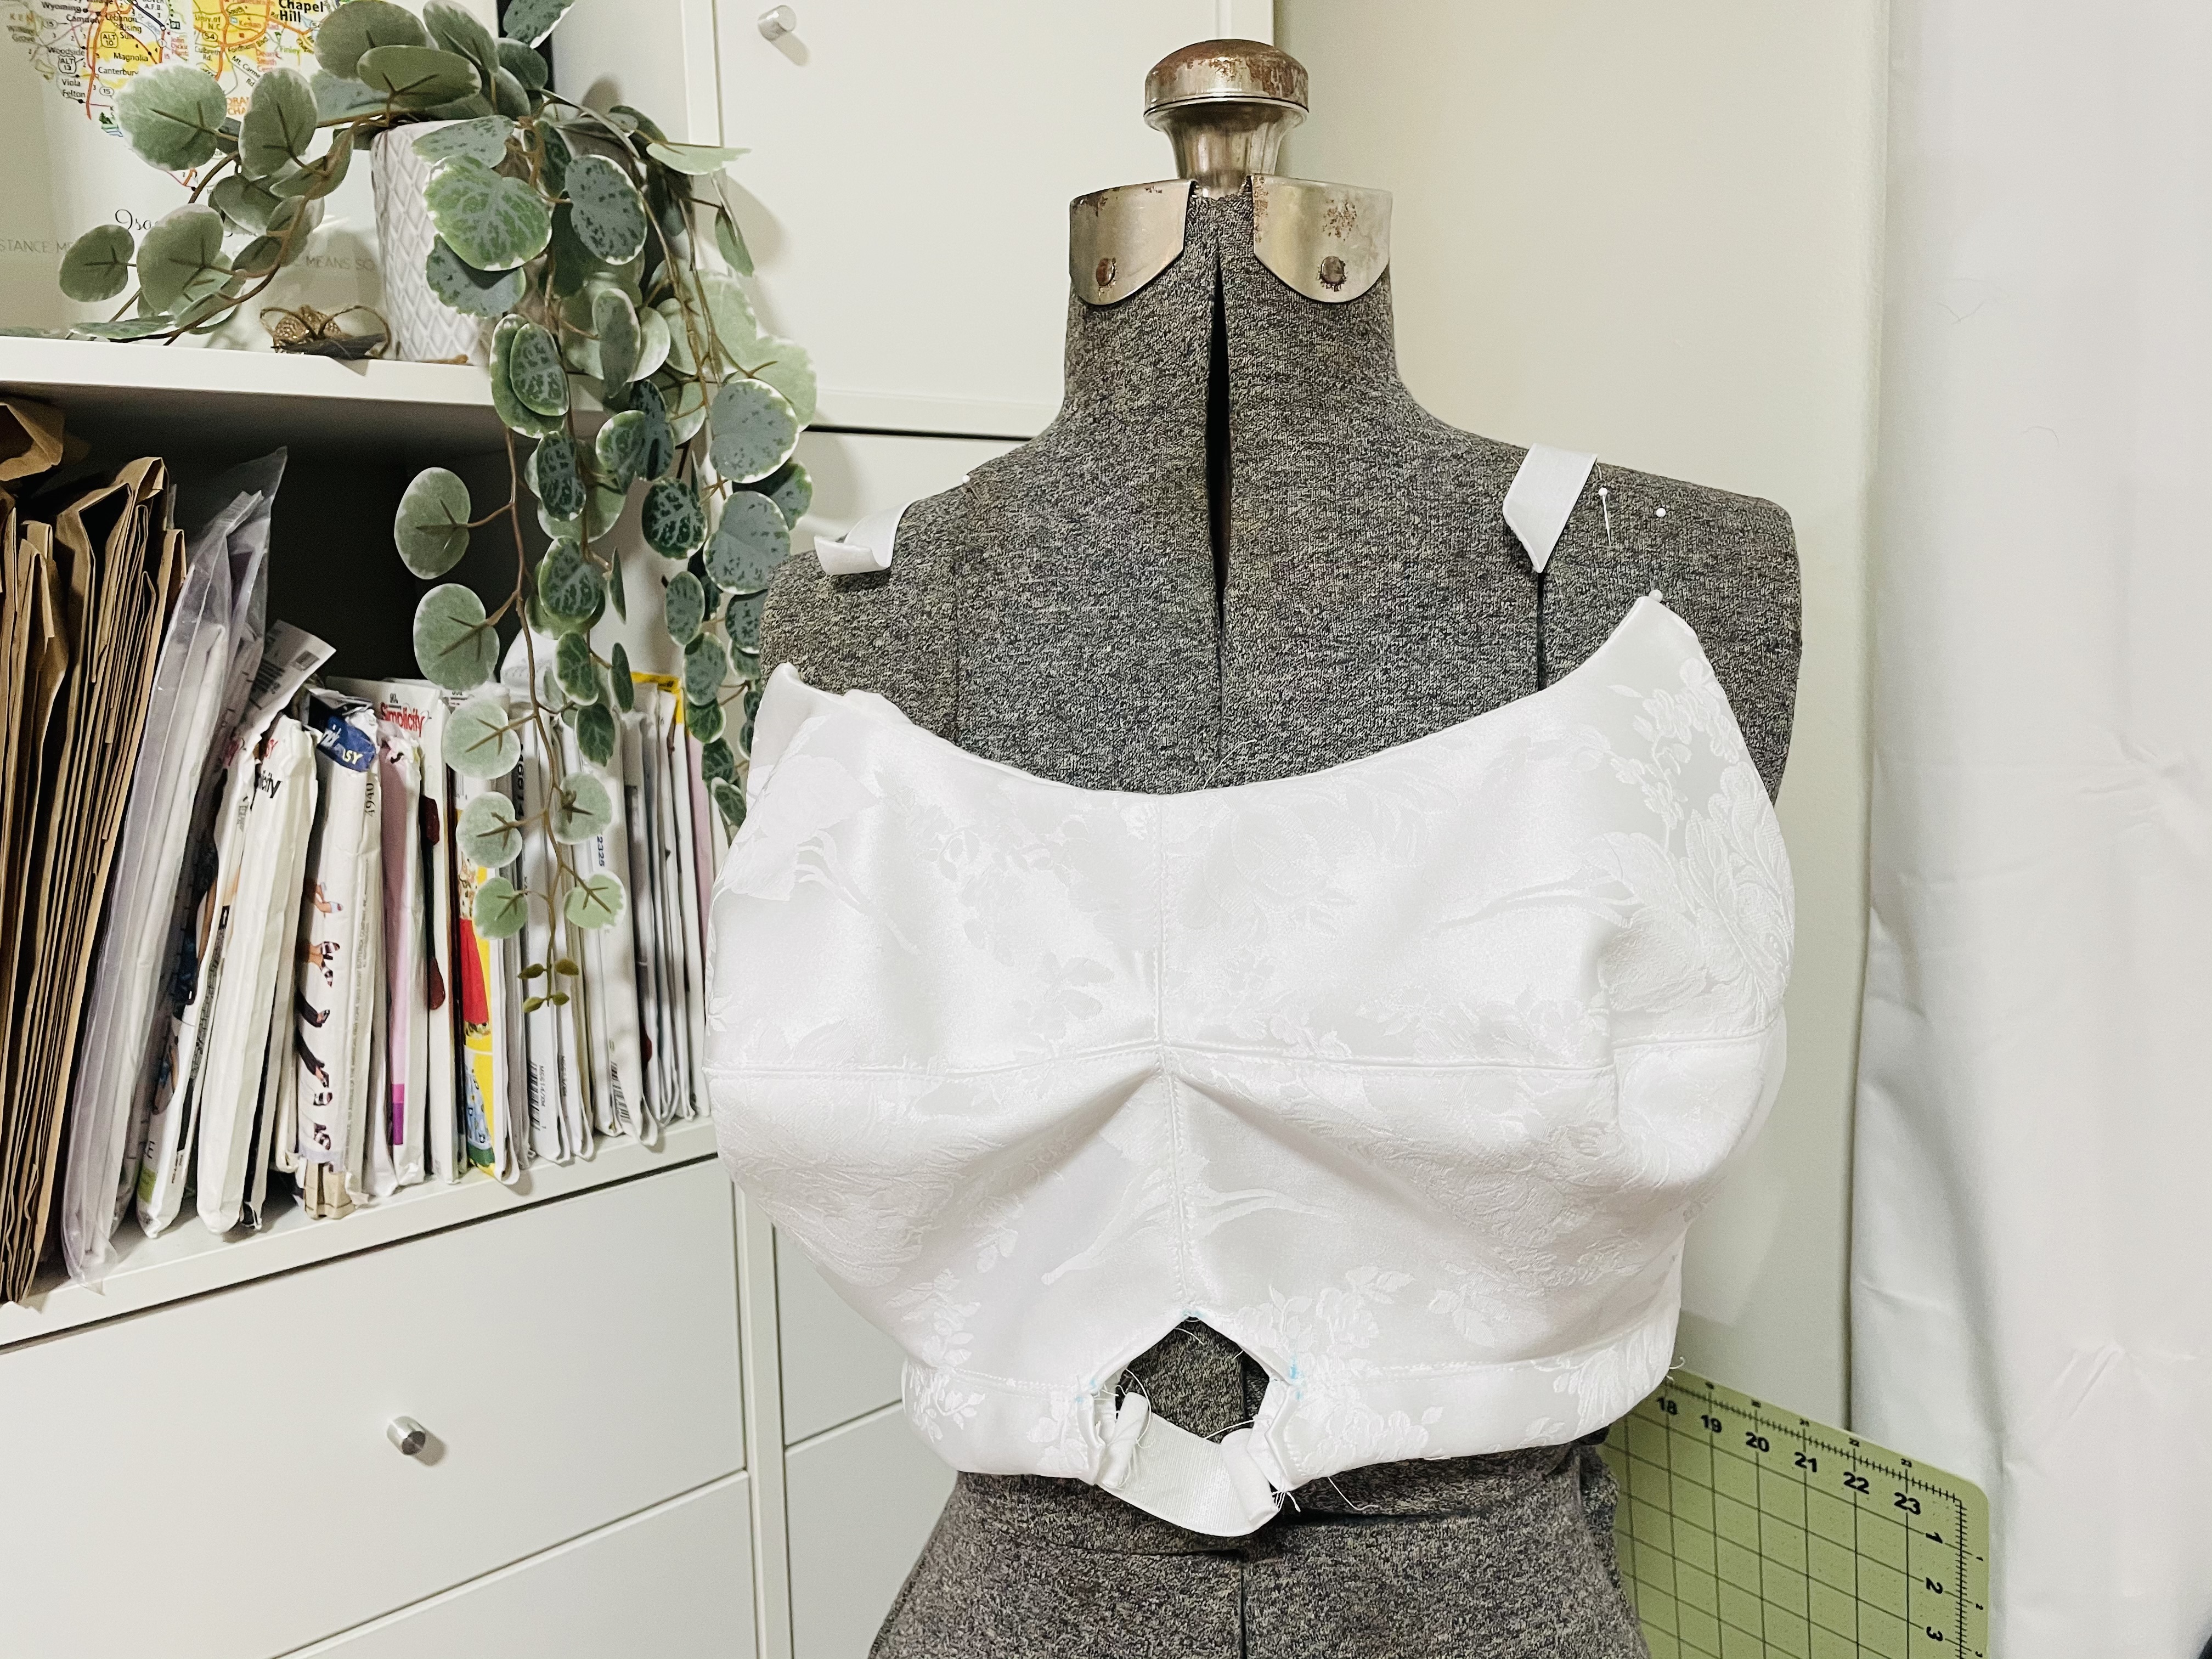
Your Homework
This week, you should:
- Sew together your main and lining
- Try on your bra twice – once to figure our your wing length, and once to figure out your closure length
- Create your straps and back closure
The next installment of the Jet Set Bra sew along will take place June 28! We’ll talk about some final topstitching and attaching your straps to the front.
Questions? Don’t forget to join our live chat on Sunday! More info here! Not on Facebook? No worries. Click here to join directly via Google Meet on June 27 at 3 PM EDT.
^Some of the links in this post are affiliate links. This means if you click on the link and purchase the item, I will receive an affiliate commission at no extra cost to you. All opinions remain my own.


