
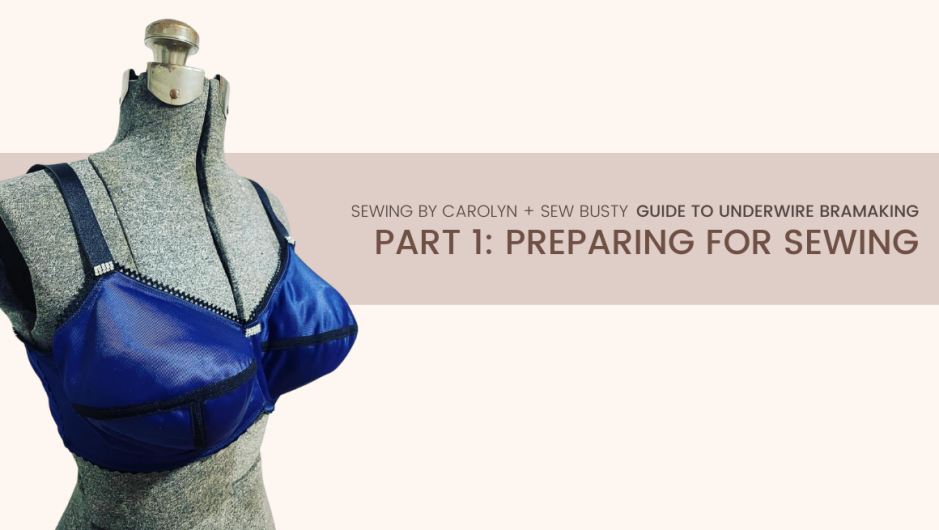
Guide to Underwire Bramaking with Kristen | Part 2: Bra Bands
Hello again, Busty Friends!! In Part 1 of this series, I shared the…

Hello again, Busty Friends!! In Part 1 of this series, I shared the…
Editor’s Note: I’m excited to attend the Great Bra Sewing Bee here in…
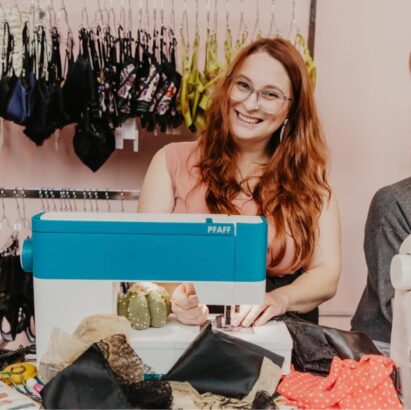
Meet Kristen Hello Busty Sewists!! As some of you may or may not…
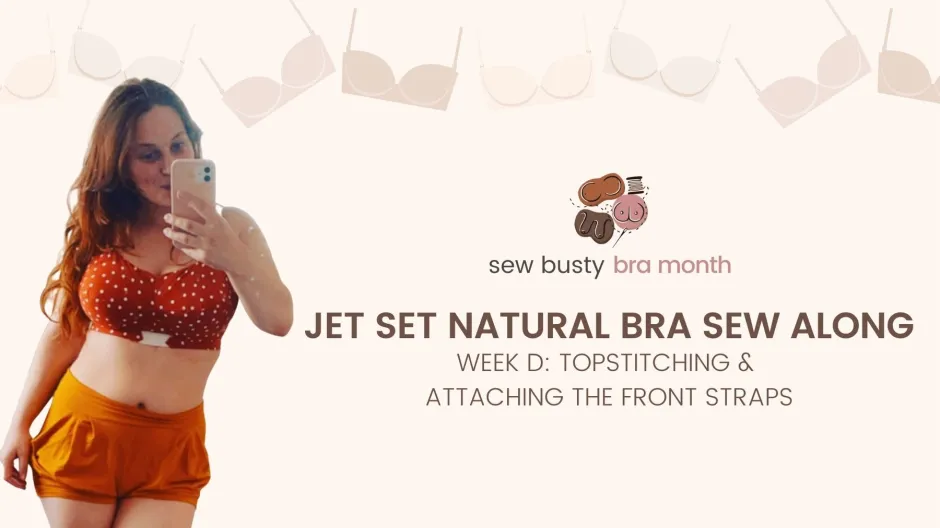
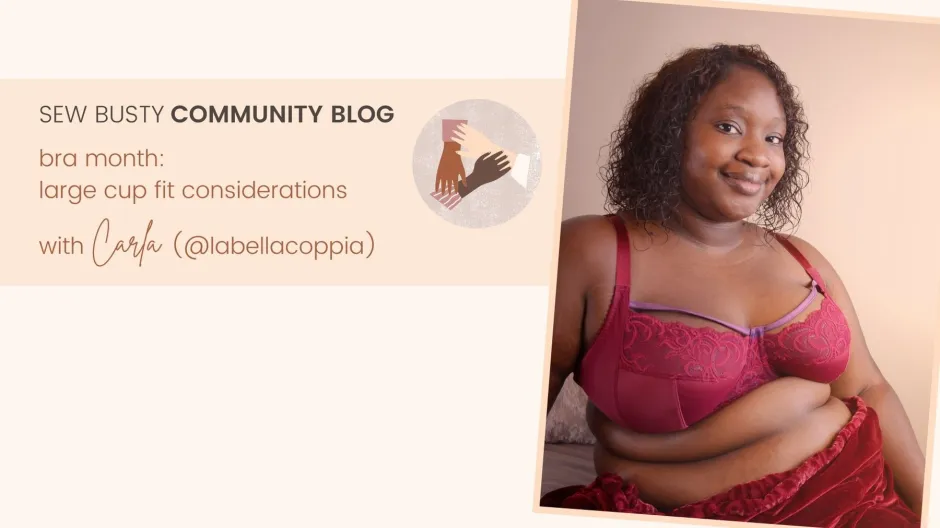
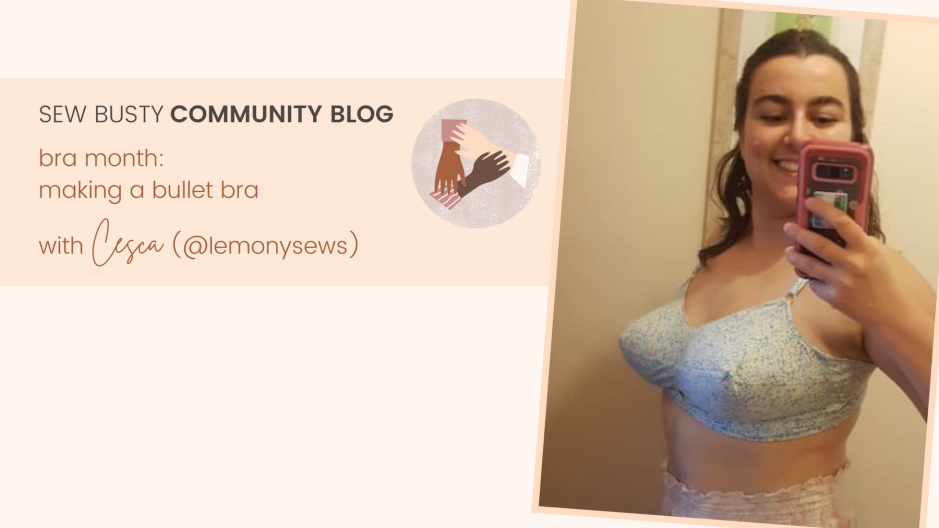
At Sew Busty, June 2021 is bra month! Catch up on all the…

A ready-to-wear look easy enough for Beginner bra makers?? It’s easier than you…
A broken leg, lockdown and lecture strikes led to me putting my university…
The Sew Busty Community is for anyone who is busty. Anyone who has ever had to do a full bust adjustment. Sew Busty Patterns focuses on folks with a 6"/15.2cm + full to upper bust difference, but all busty sewists belong here.