
Bra Month | Jet Set Sew Along Week B: Cutting and Sewing the Main & Lining
At Sew Busty, June 2021 is bra month! Catch up on all the bra month posts here!
As part of bra month, we’ll be doing a sew along of the Firebrand Jet Set Natural bra. This bra, and all Firebrand patterns, are 20% off throughout June 2021 with code SEWBUSTY. See the full sew along here.
On June 16 at 5 PM Eastern USA time (UTC-4), I’ll be hosting a LIVE chat to answer all your questions about this week’s sew along content! If you’re on Facebook, click here to pre-register. If you’re not on Facebook, no worries! Click here to join directly via Google Meet on June 16 at 5 PM EDT.
Over the past week, you should have:
- Taken your measurements and chosen your size based on last week’s post
- Purchased, downloaded, printed, and taped together your pattern. (Haven’t done this yet? Make sure to use our coupon code: SEWBUSTY for 20% off!)
- Adjusted your pattern to suit your HH and underbust measurements
- Gathered your tools, including fabric, elastic, strapping, slides and rings, and two G hooks
By the end of today, you’ll have something that looks like a bra! Woohoo!
Cutting your fabric
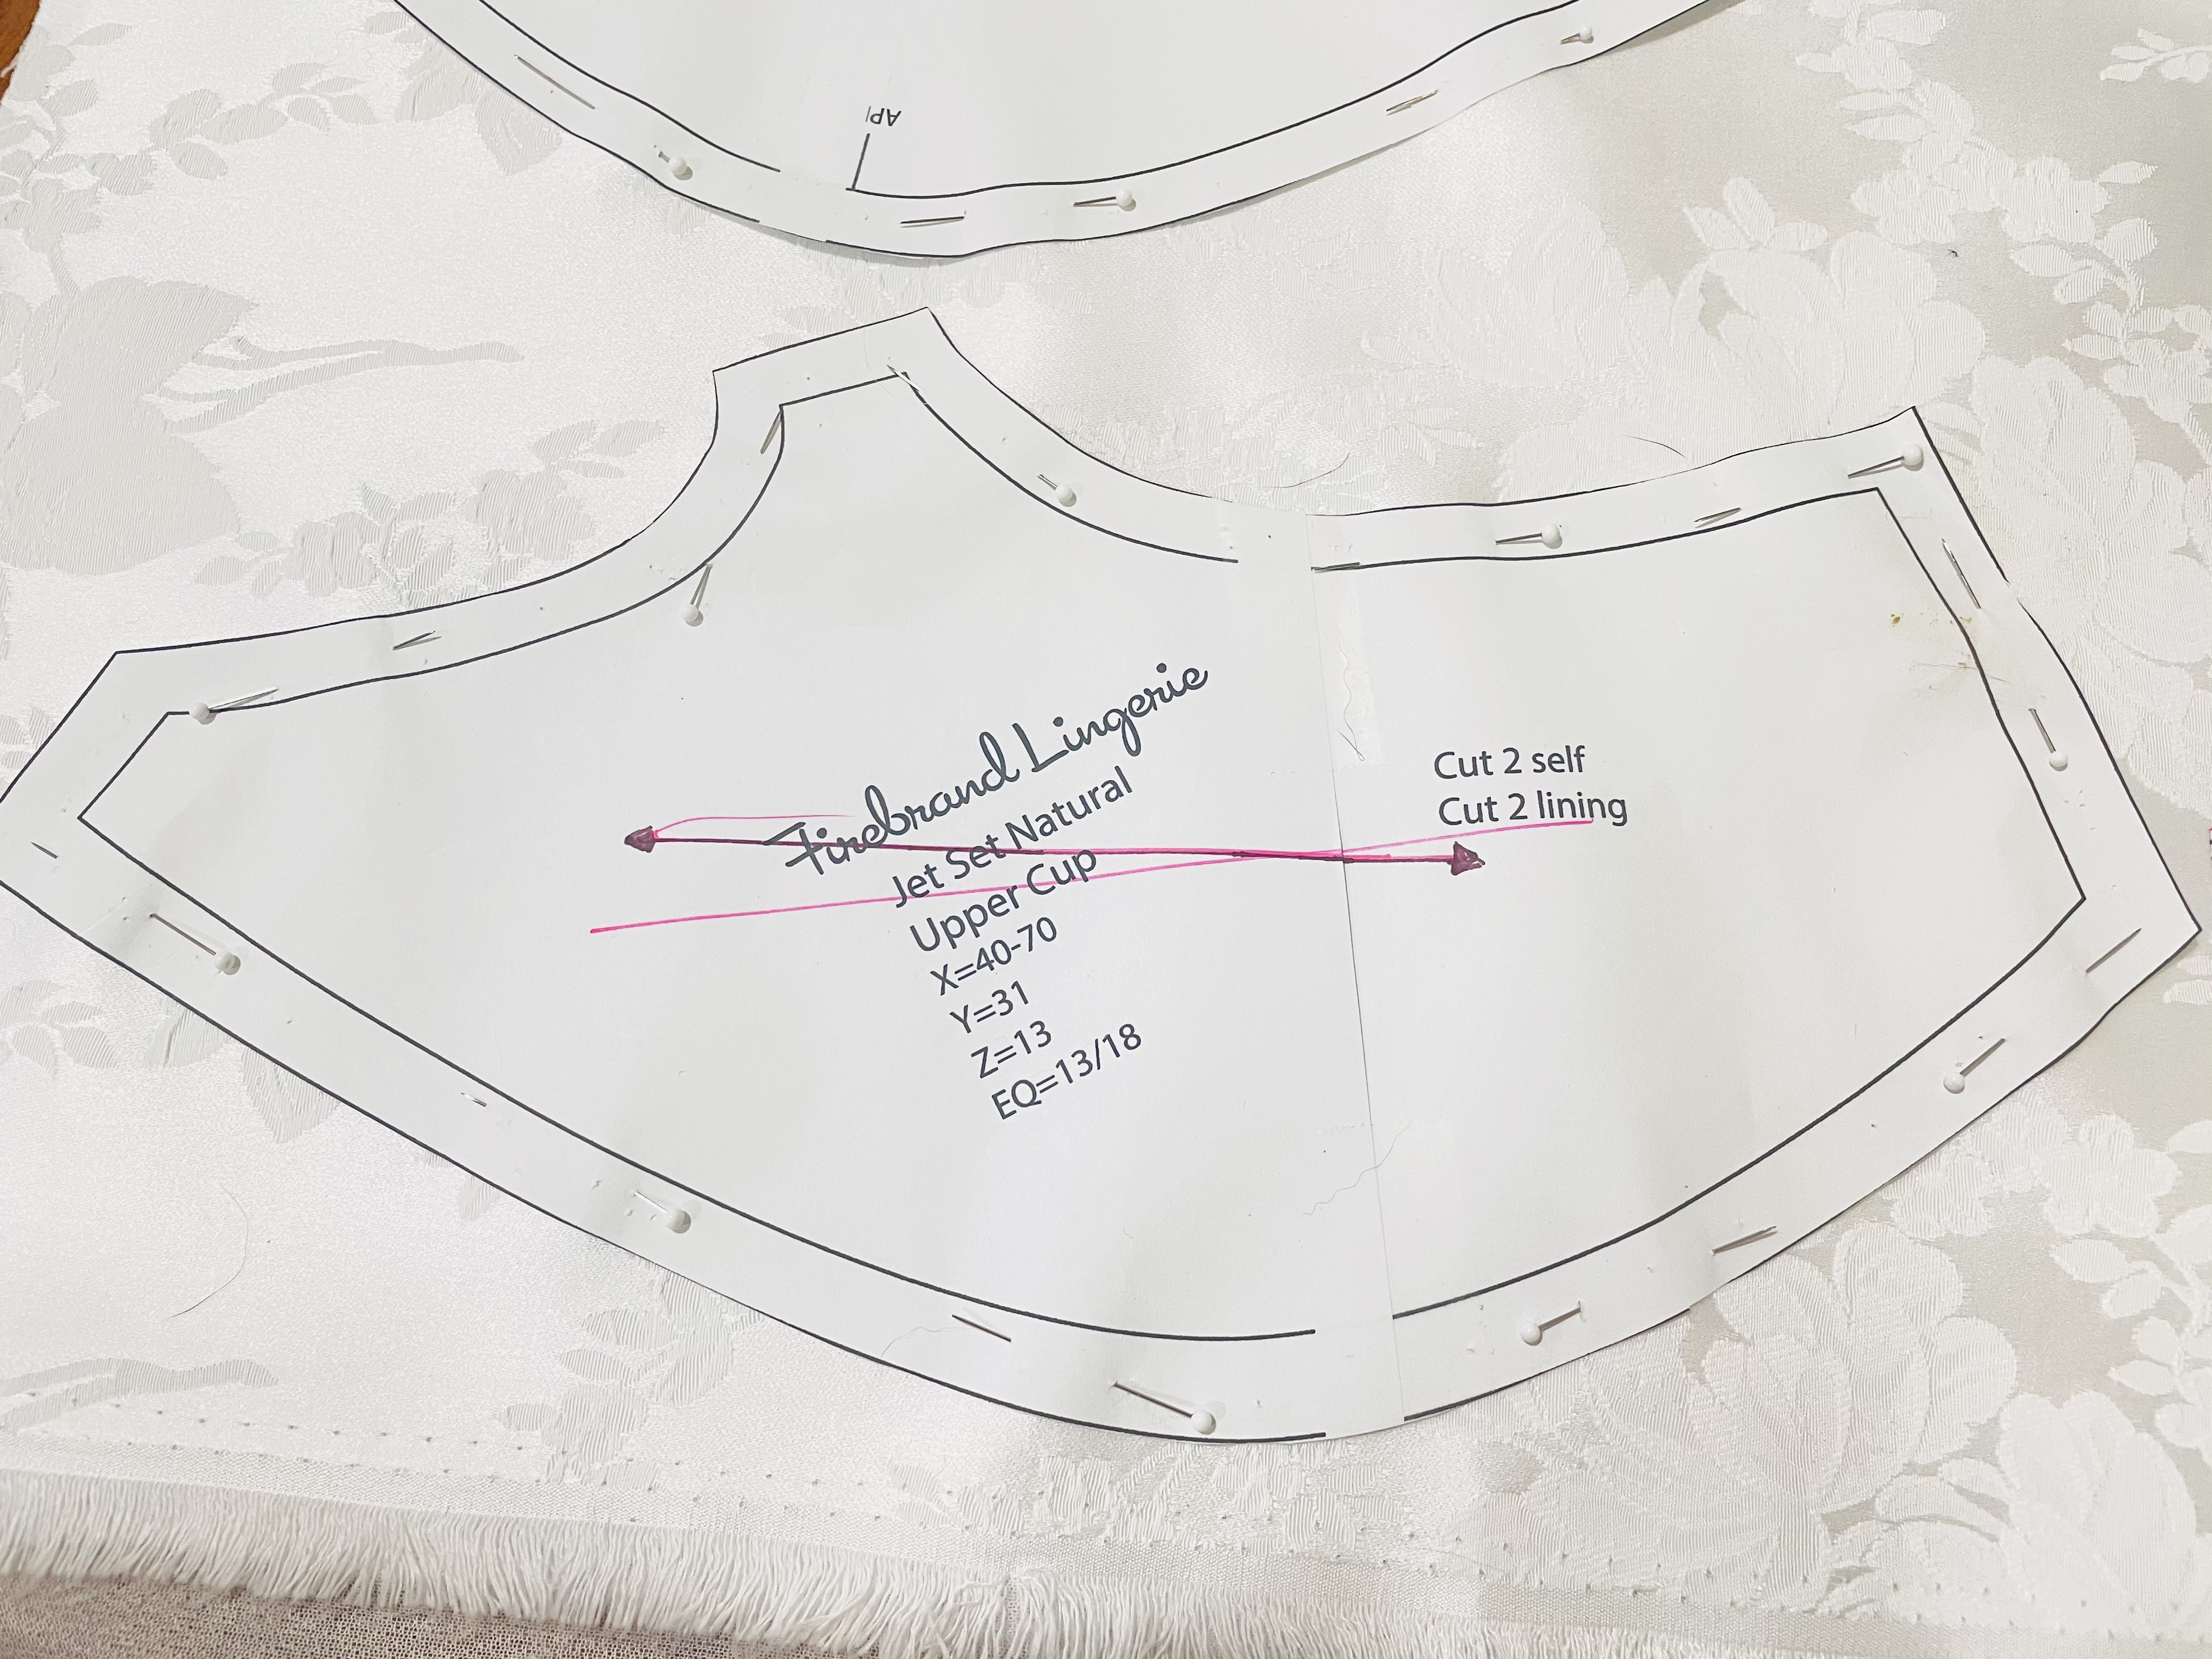
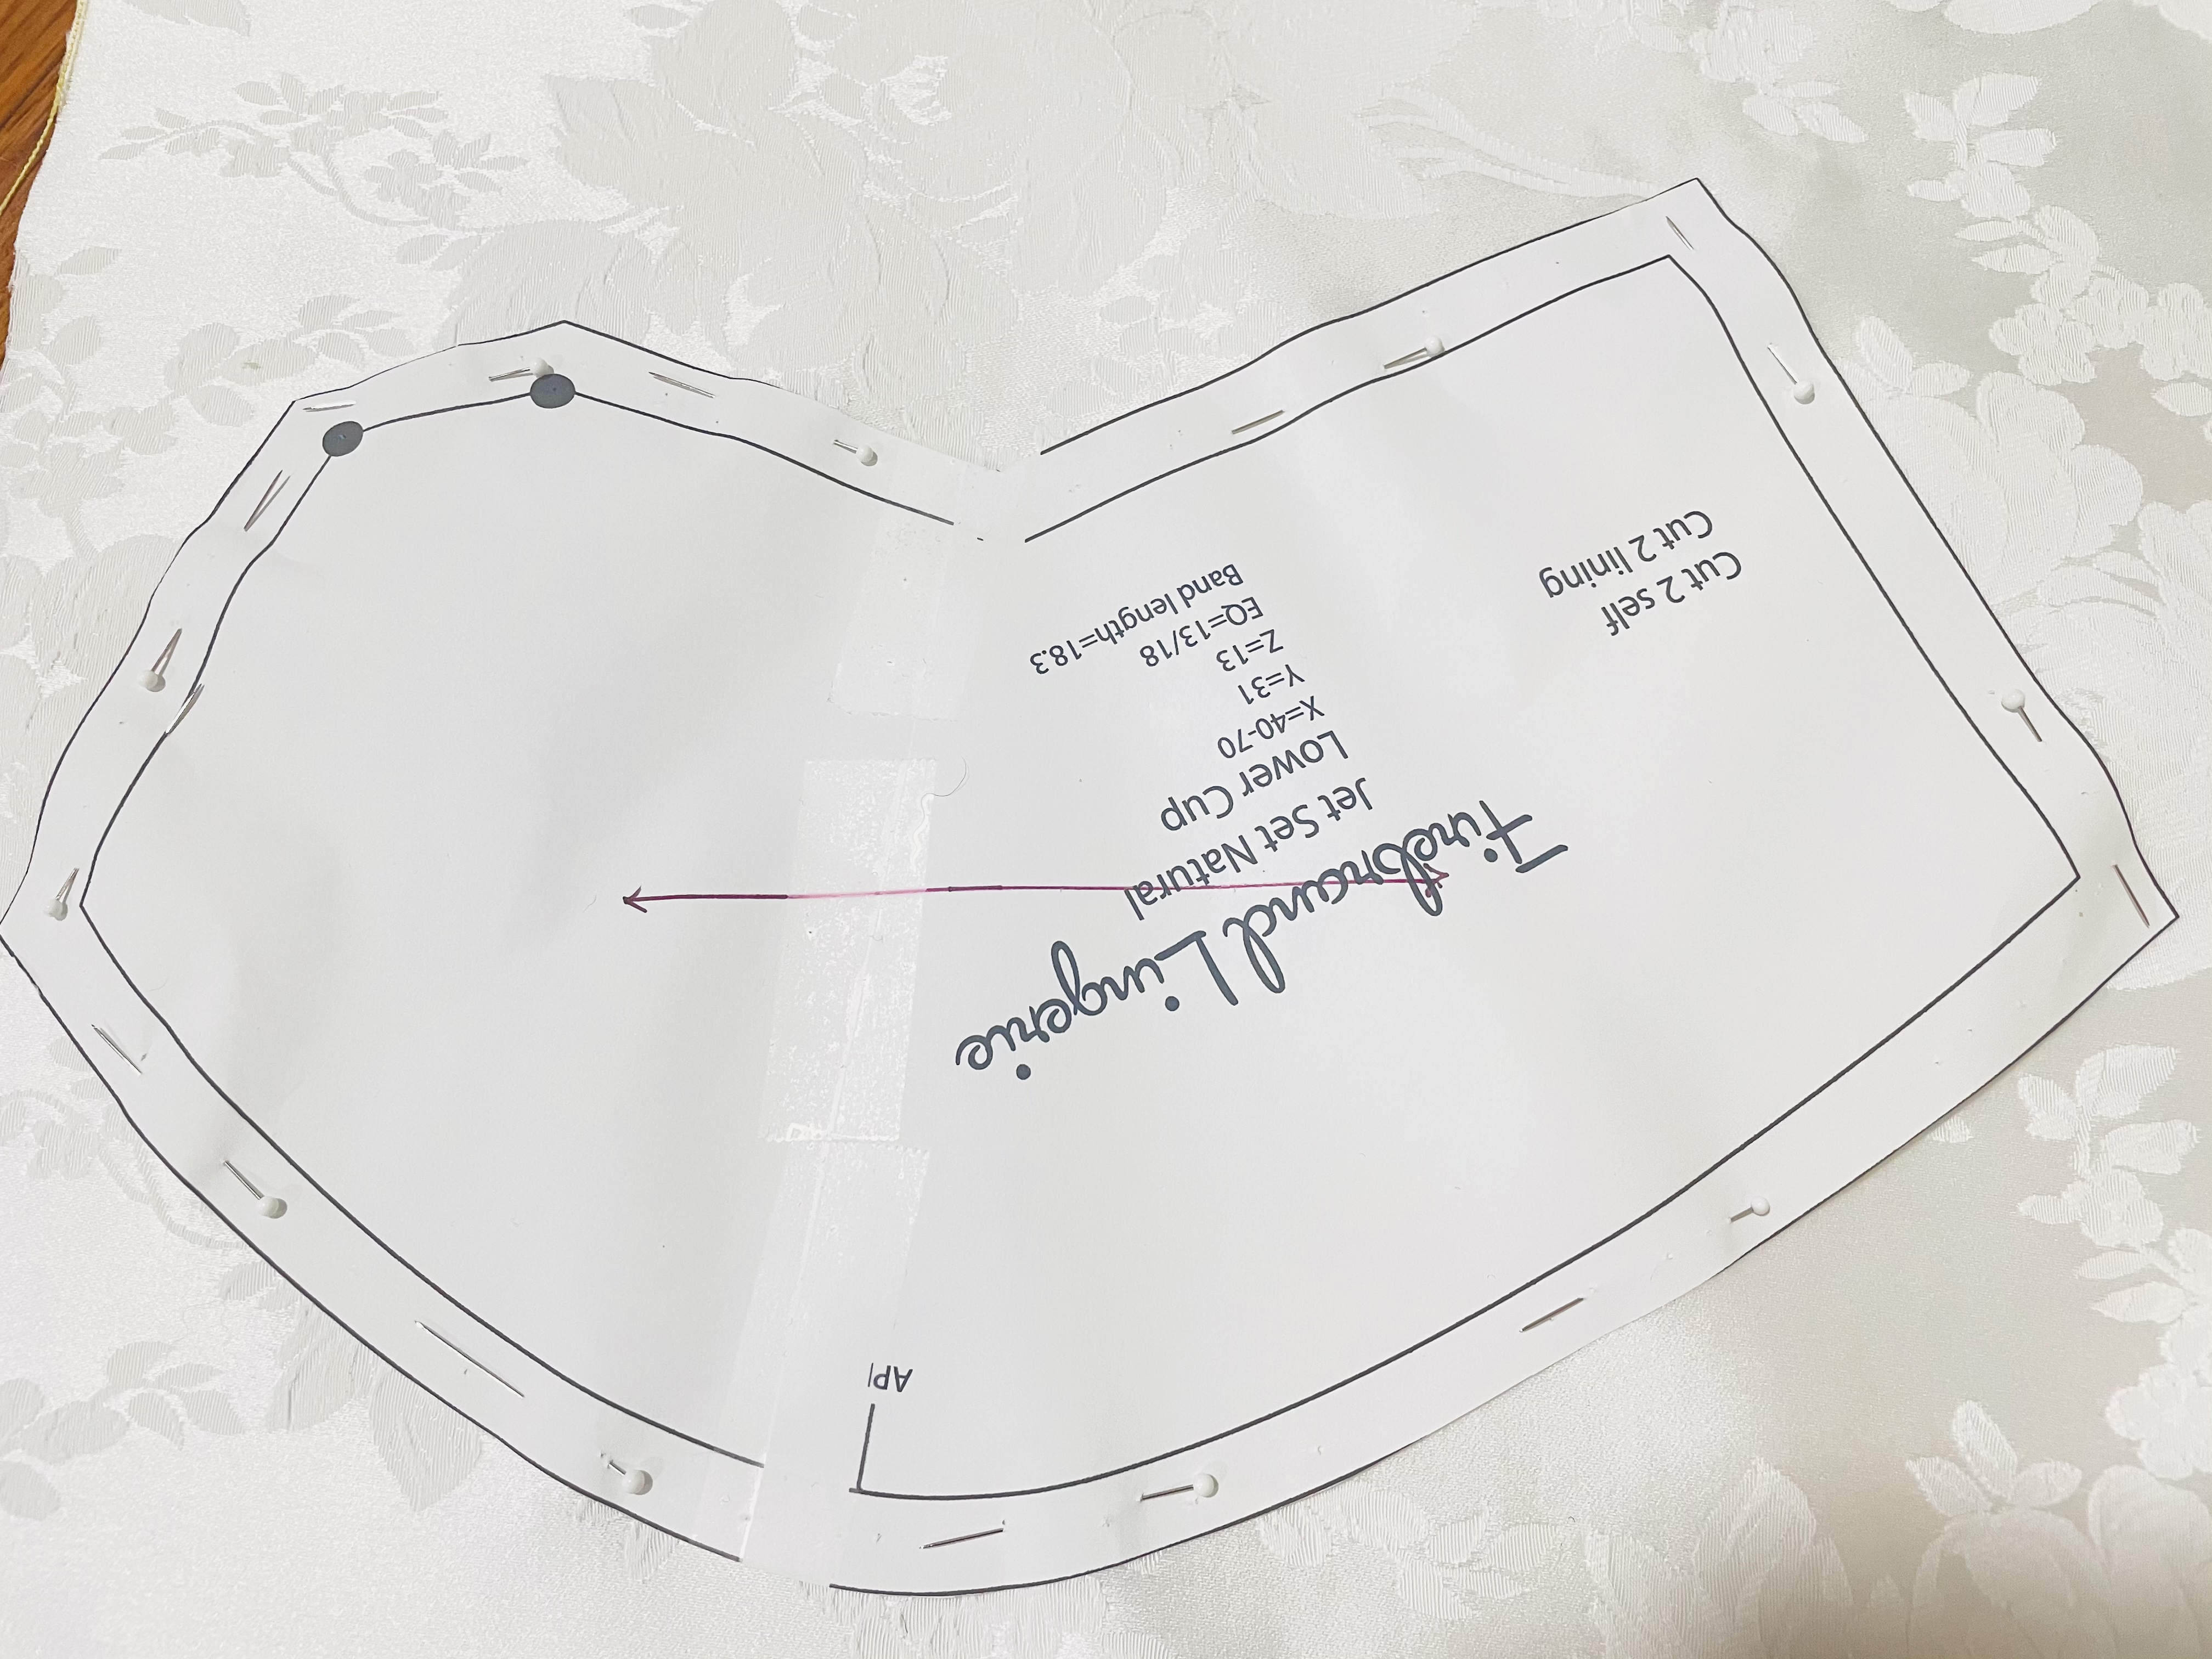
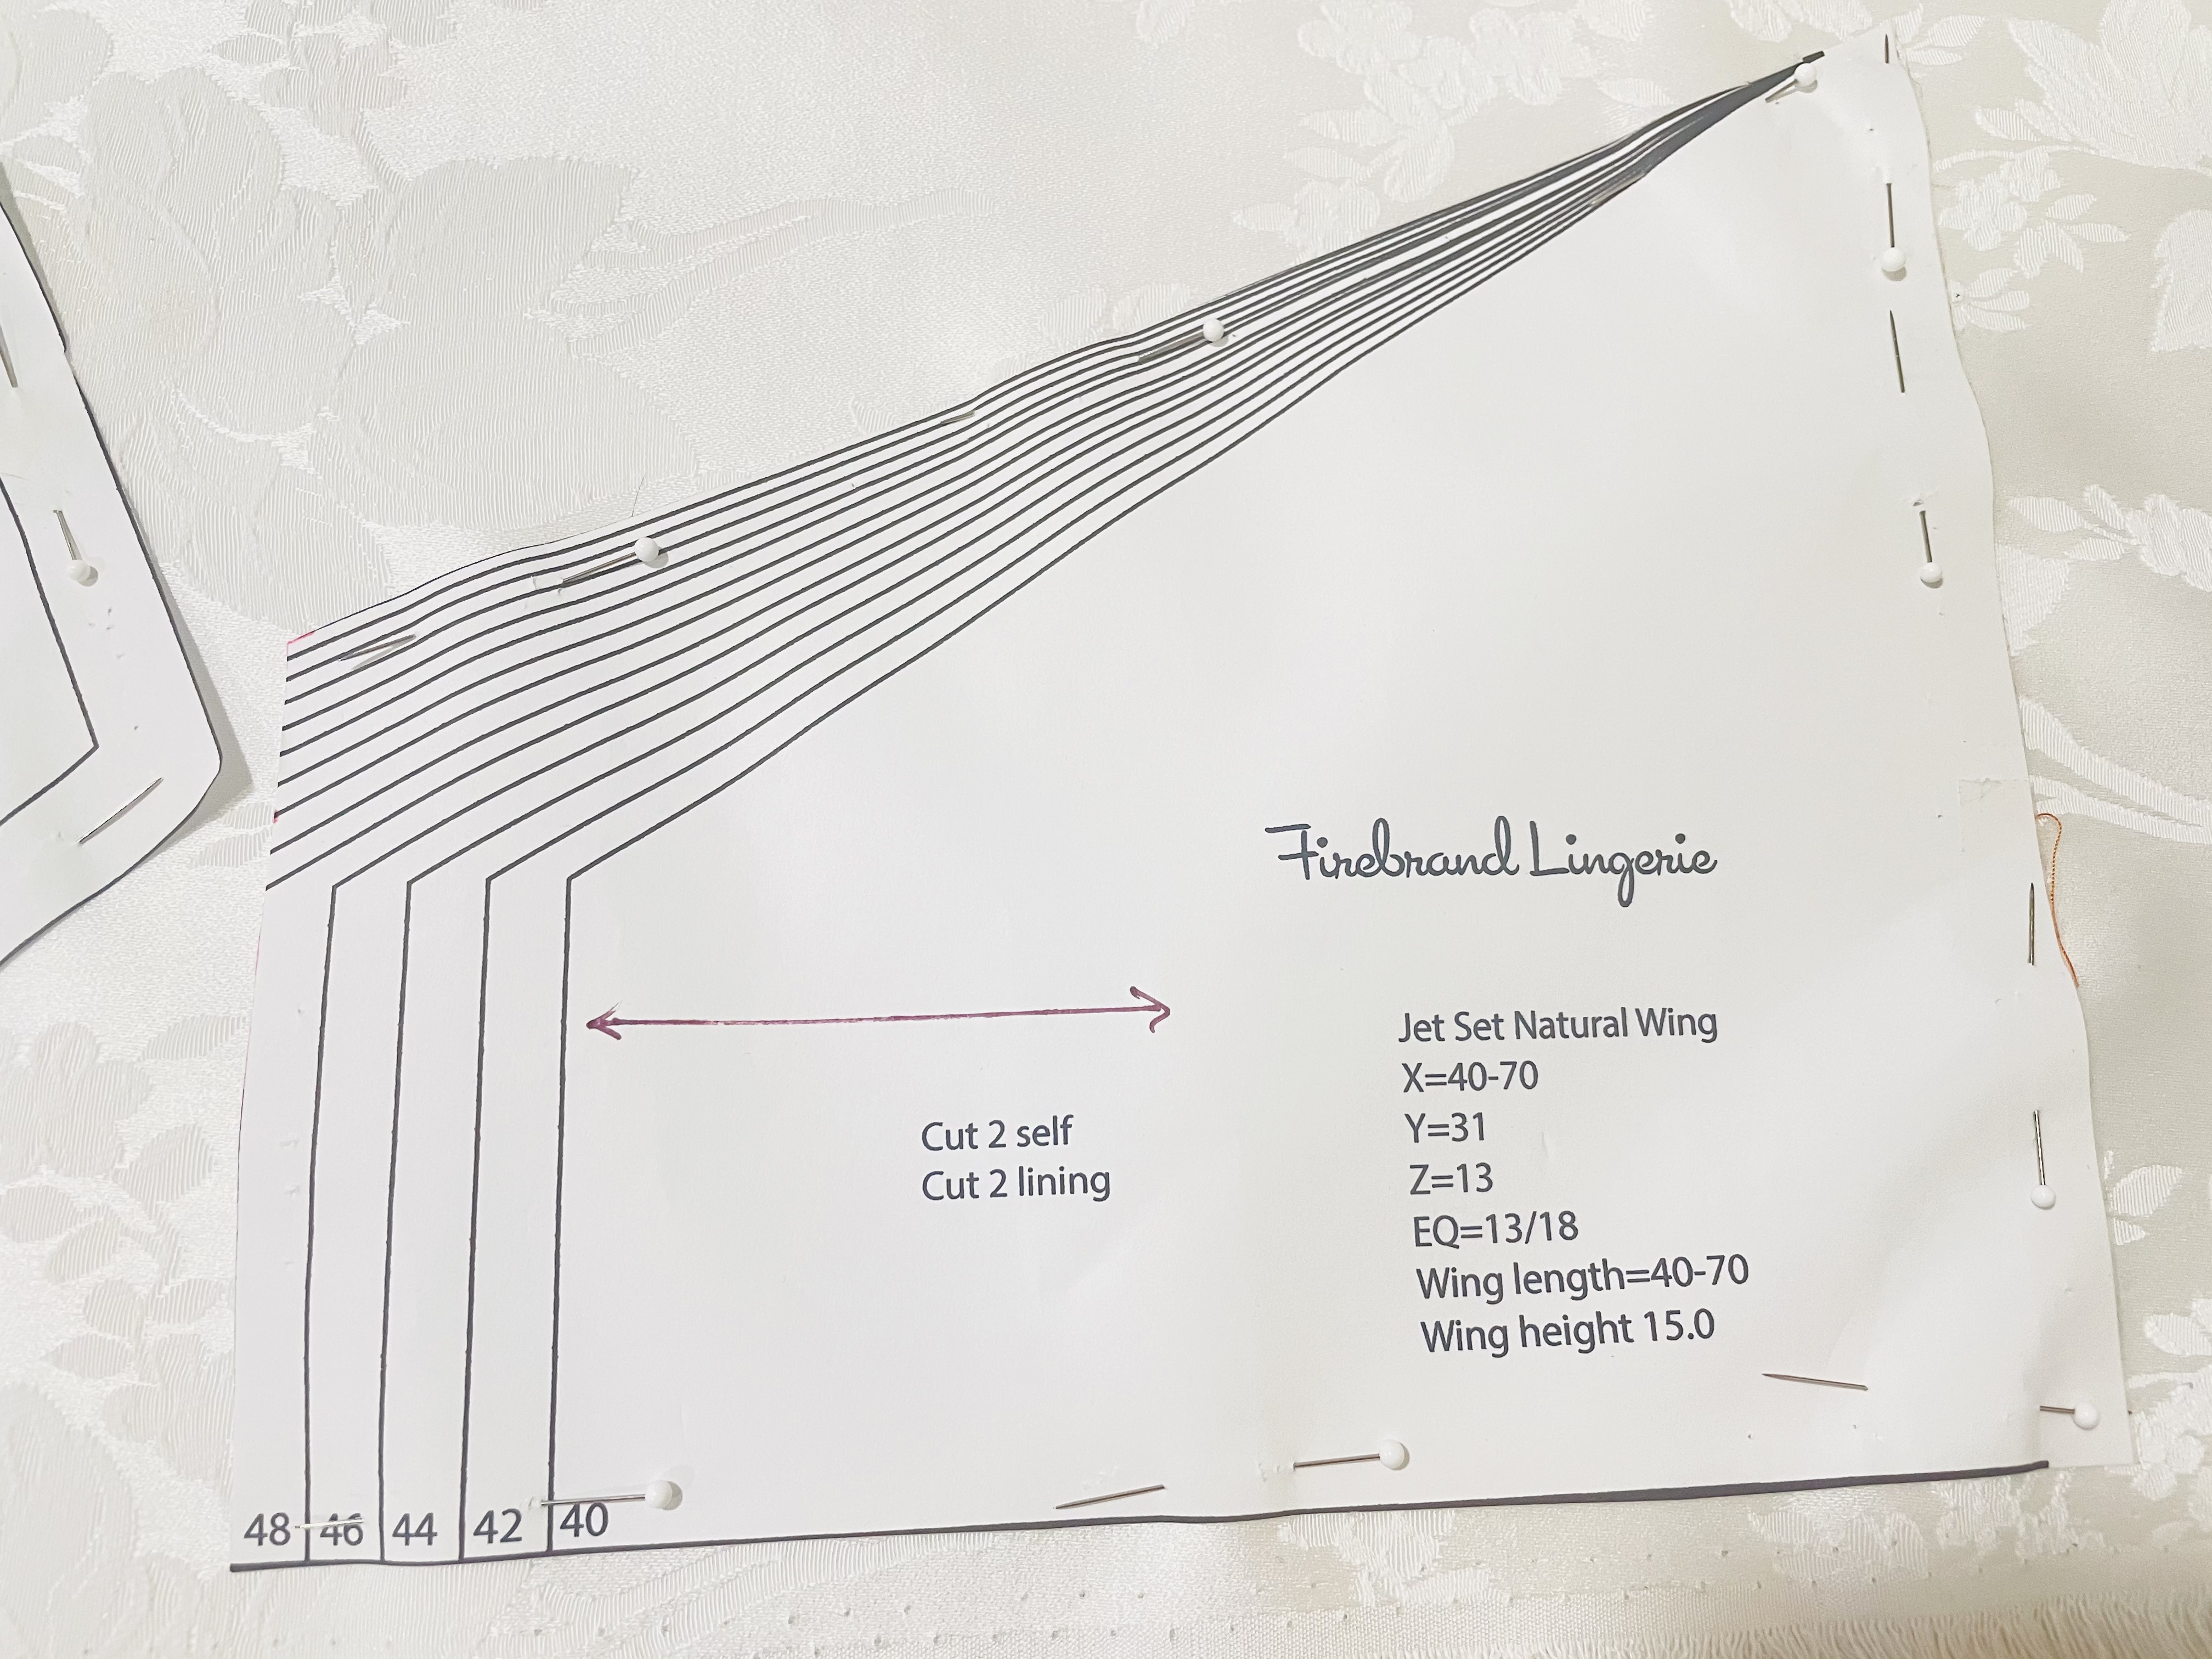
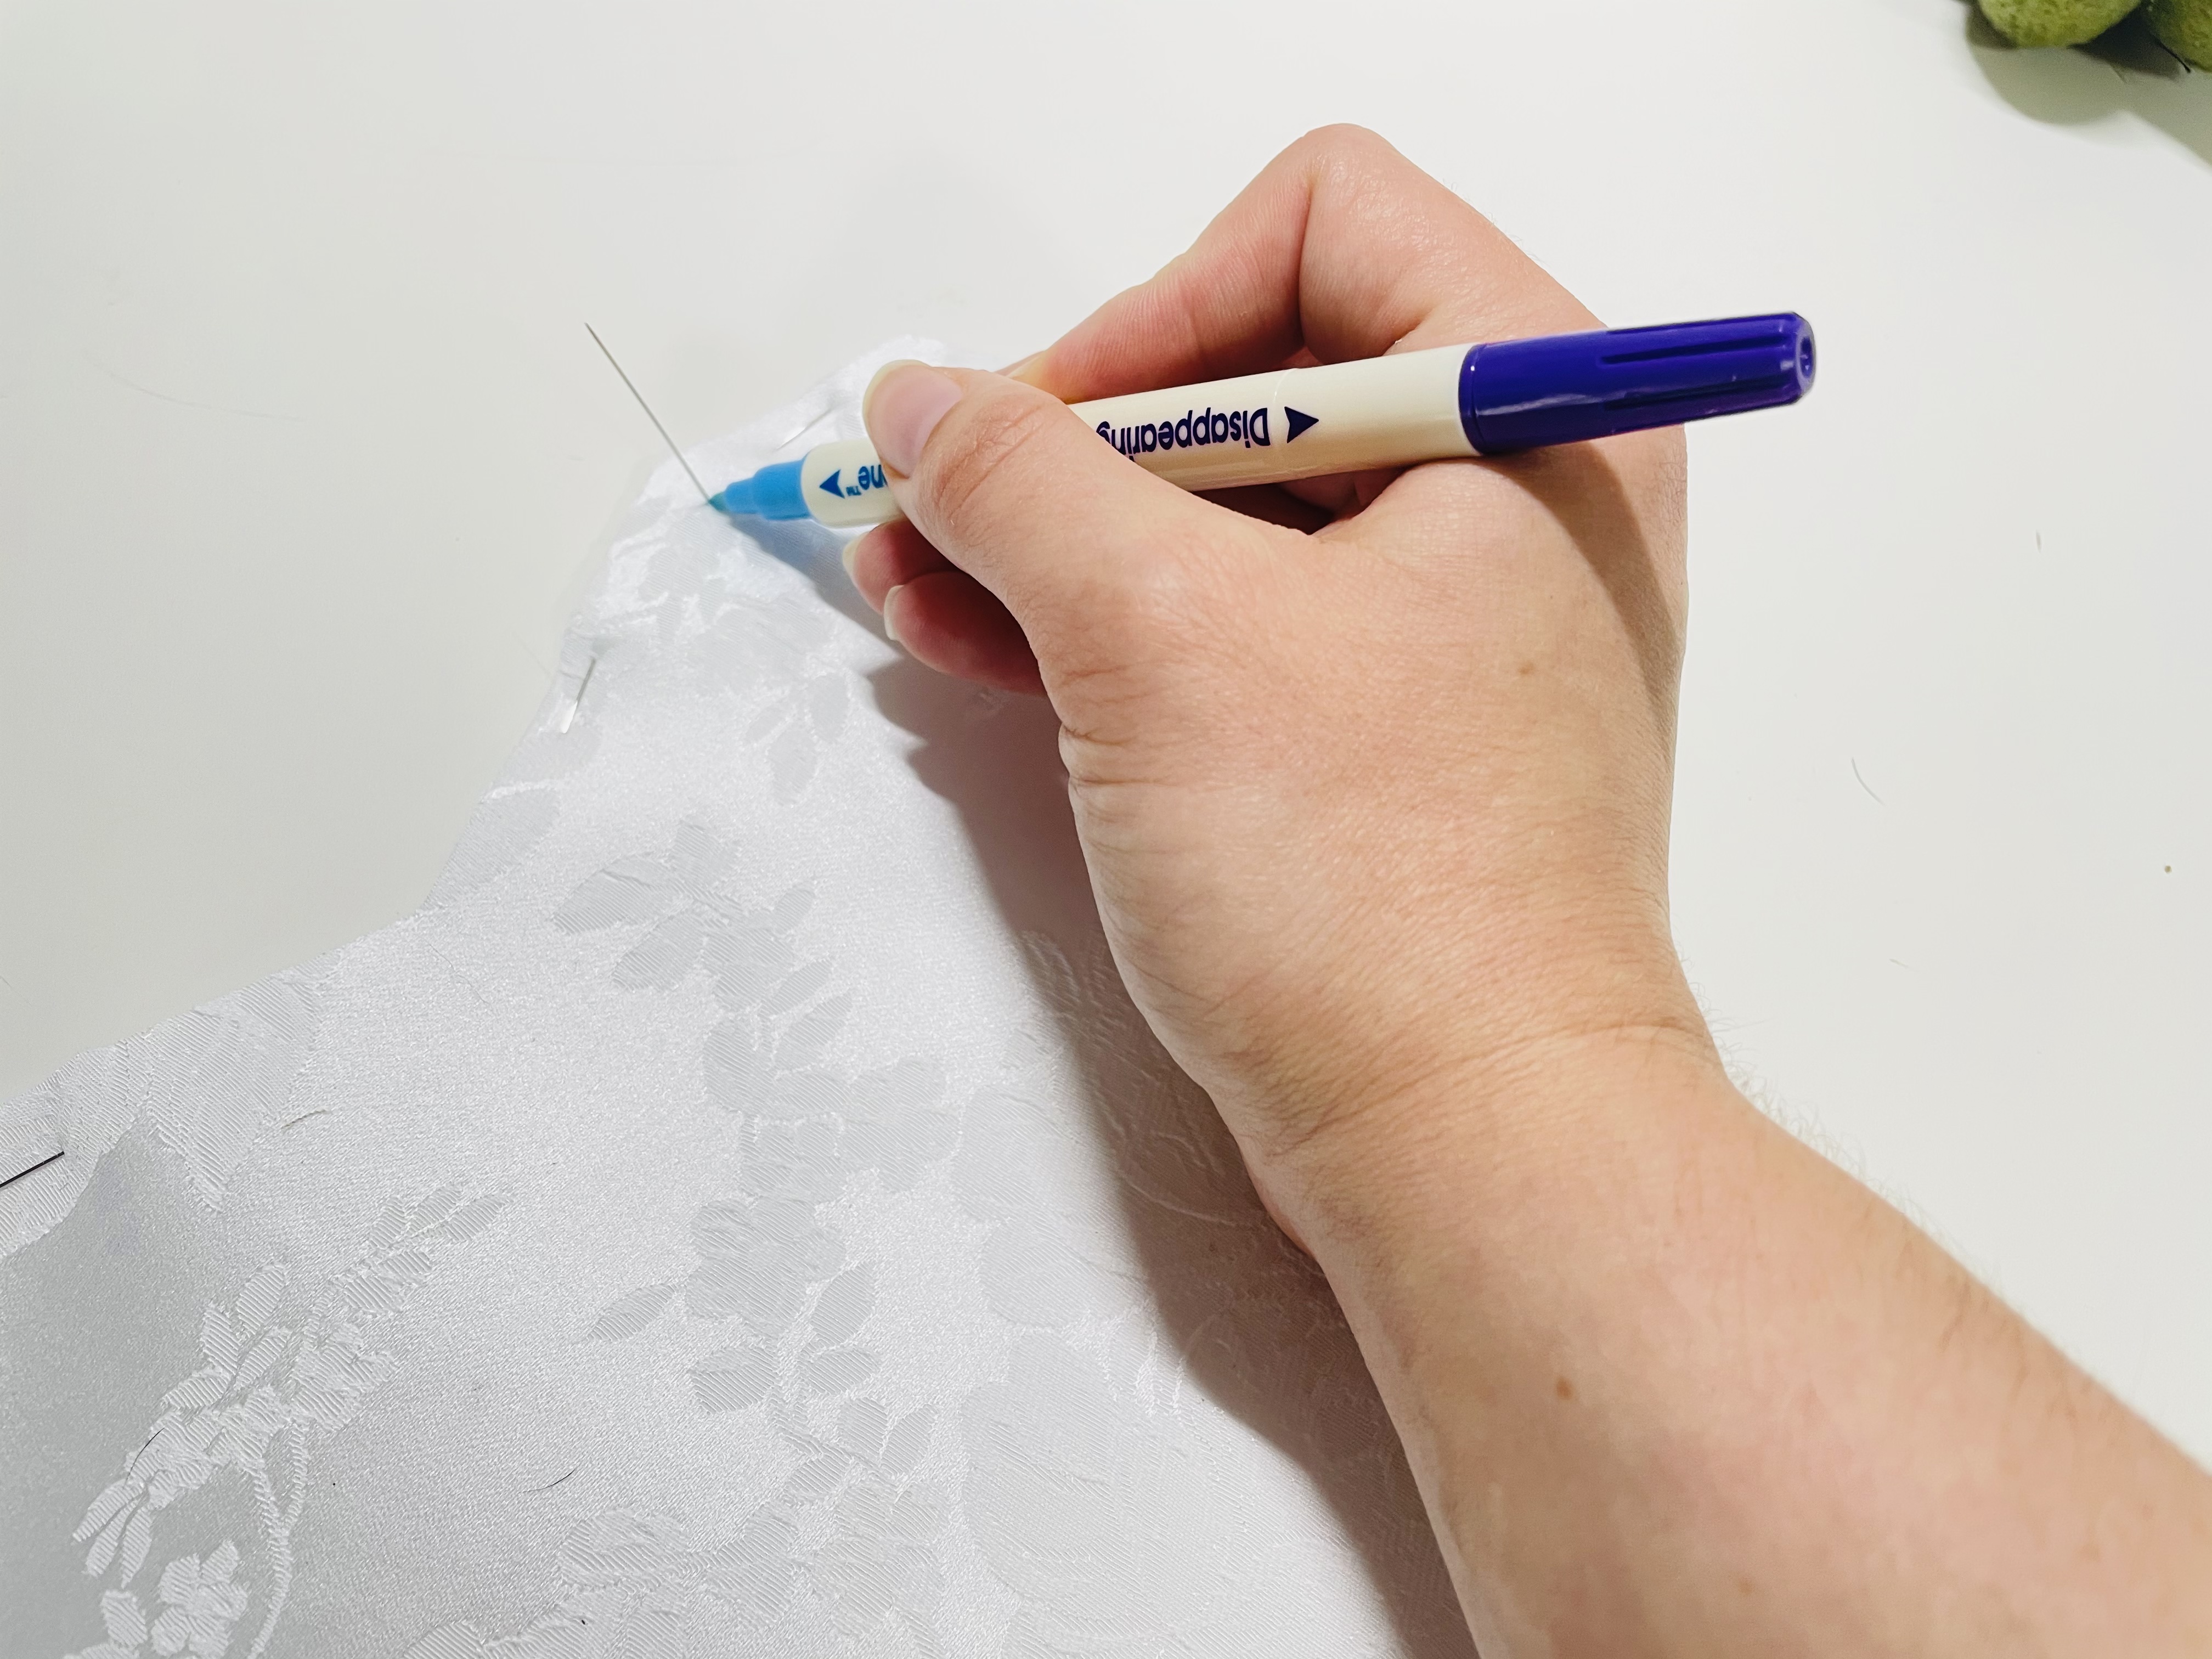
Some copies of the Jet Set Pattern don’t have grain lines drawn on them, so the first step is to draw on your grain line. It should be perpendicular to the apex on your cup pieces, and parallel to the bottom edge for your band and wing, as seen in this slideshow:
You’ll want to cut each pattern piece out of your main fabric and lining. For this post, I’m only showing you my main fabric. I’m using boring, cheap muslin for my lining! It’s not interesting. 😂
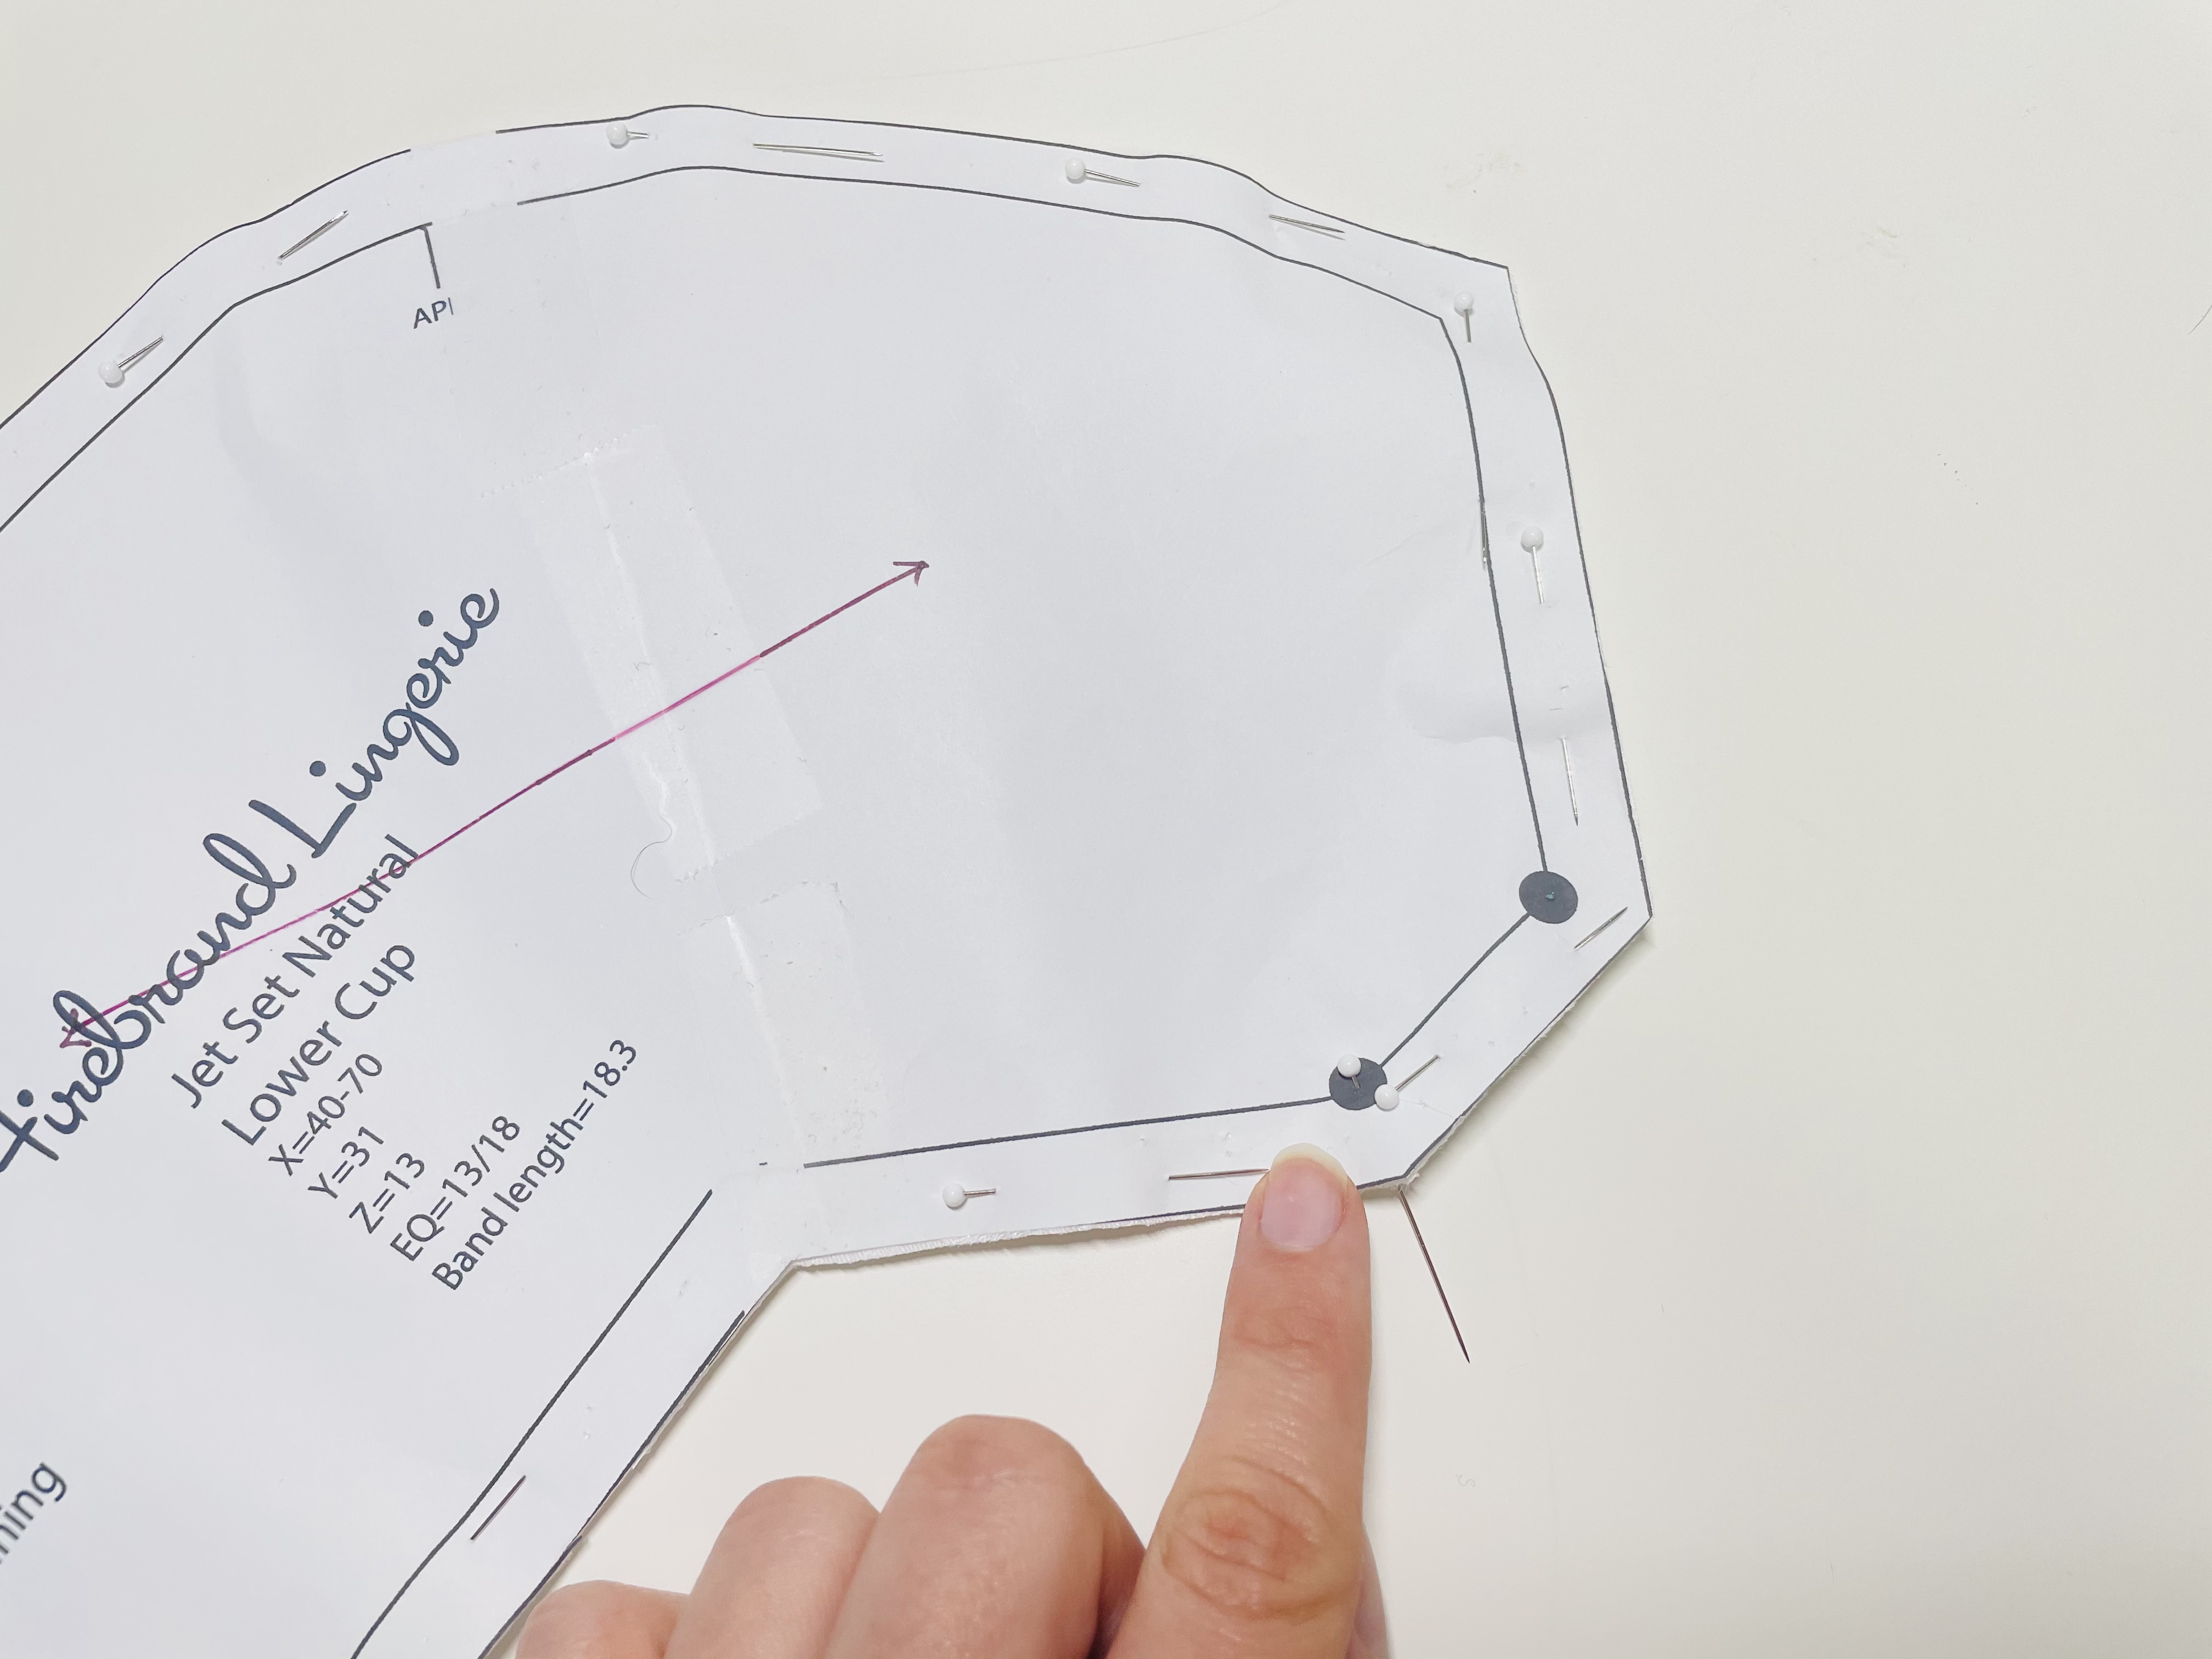
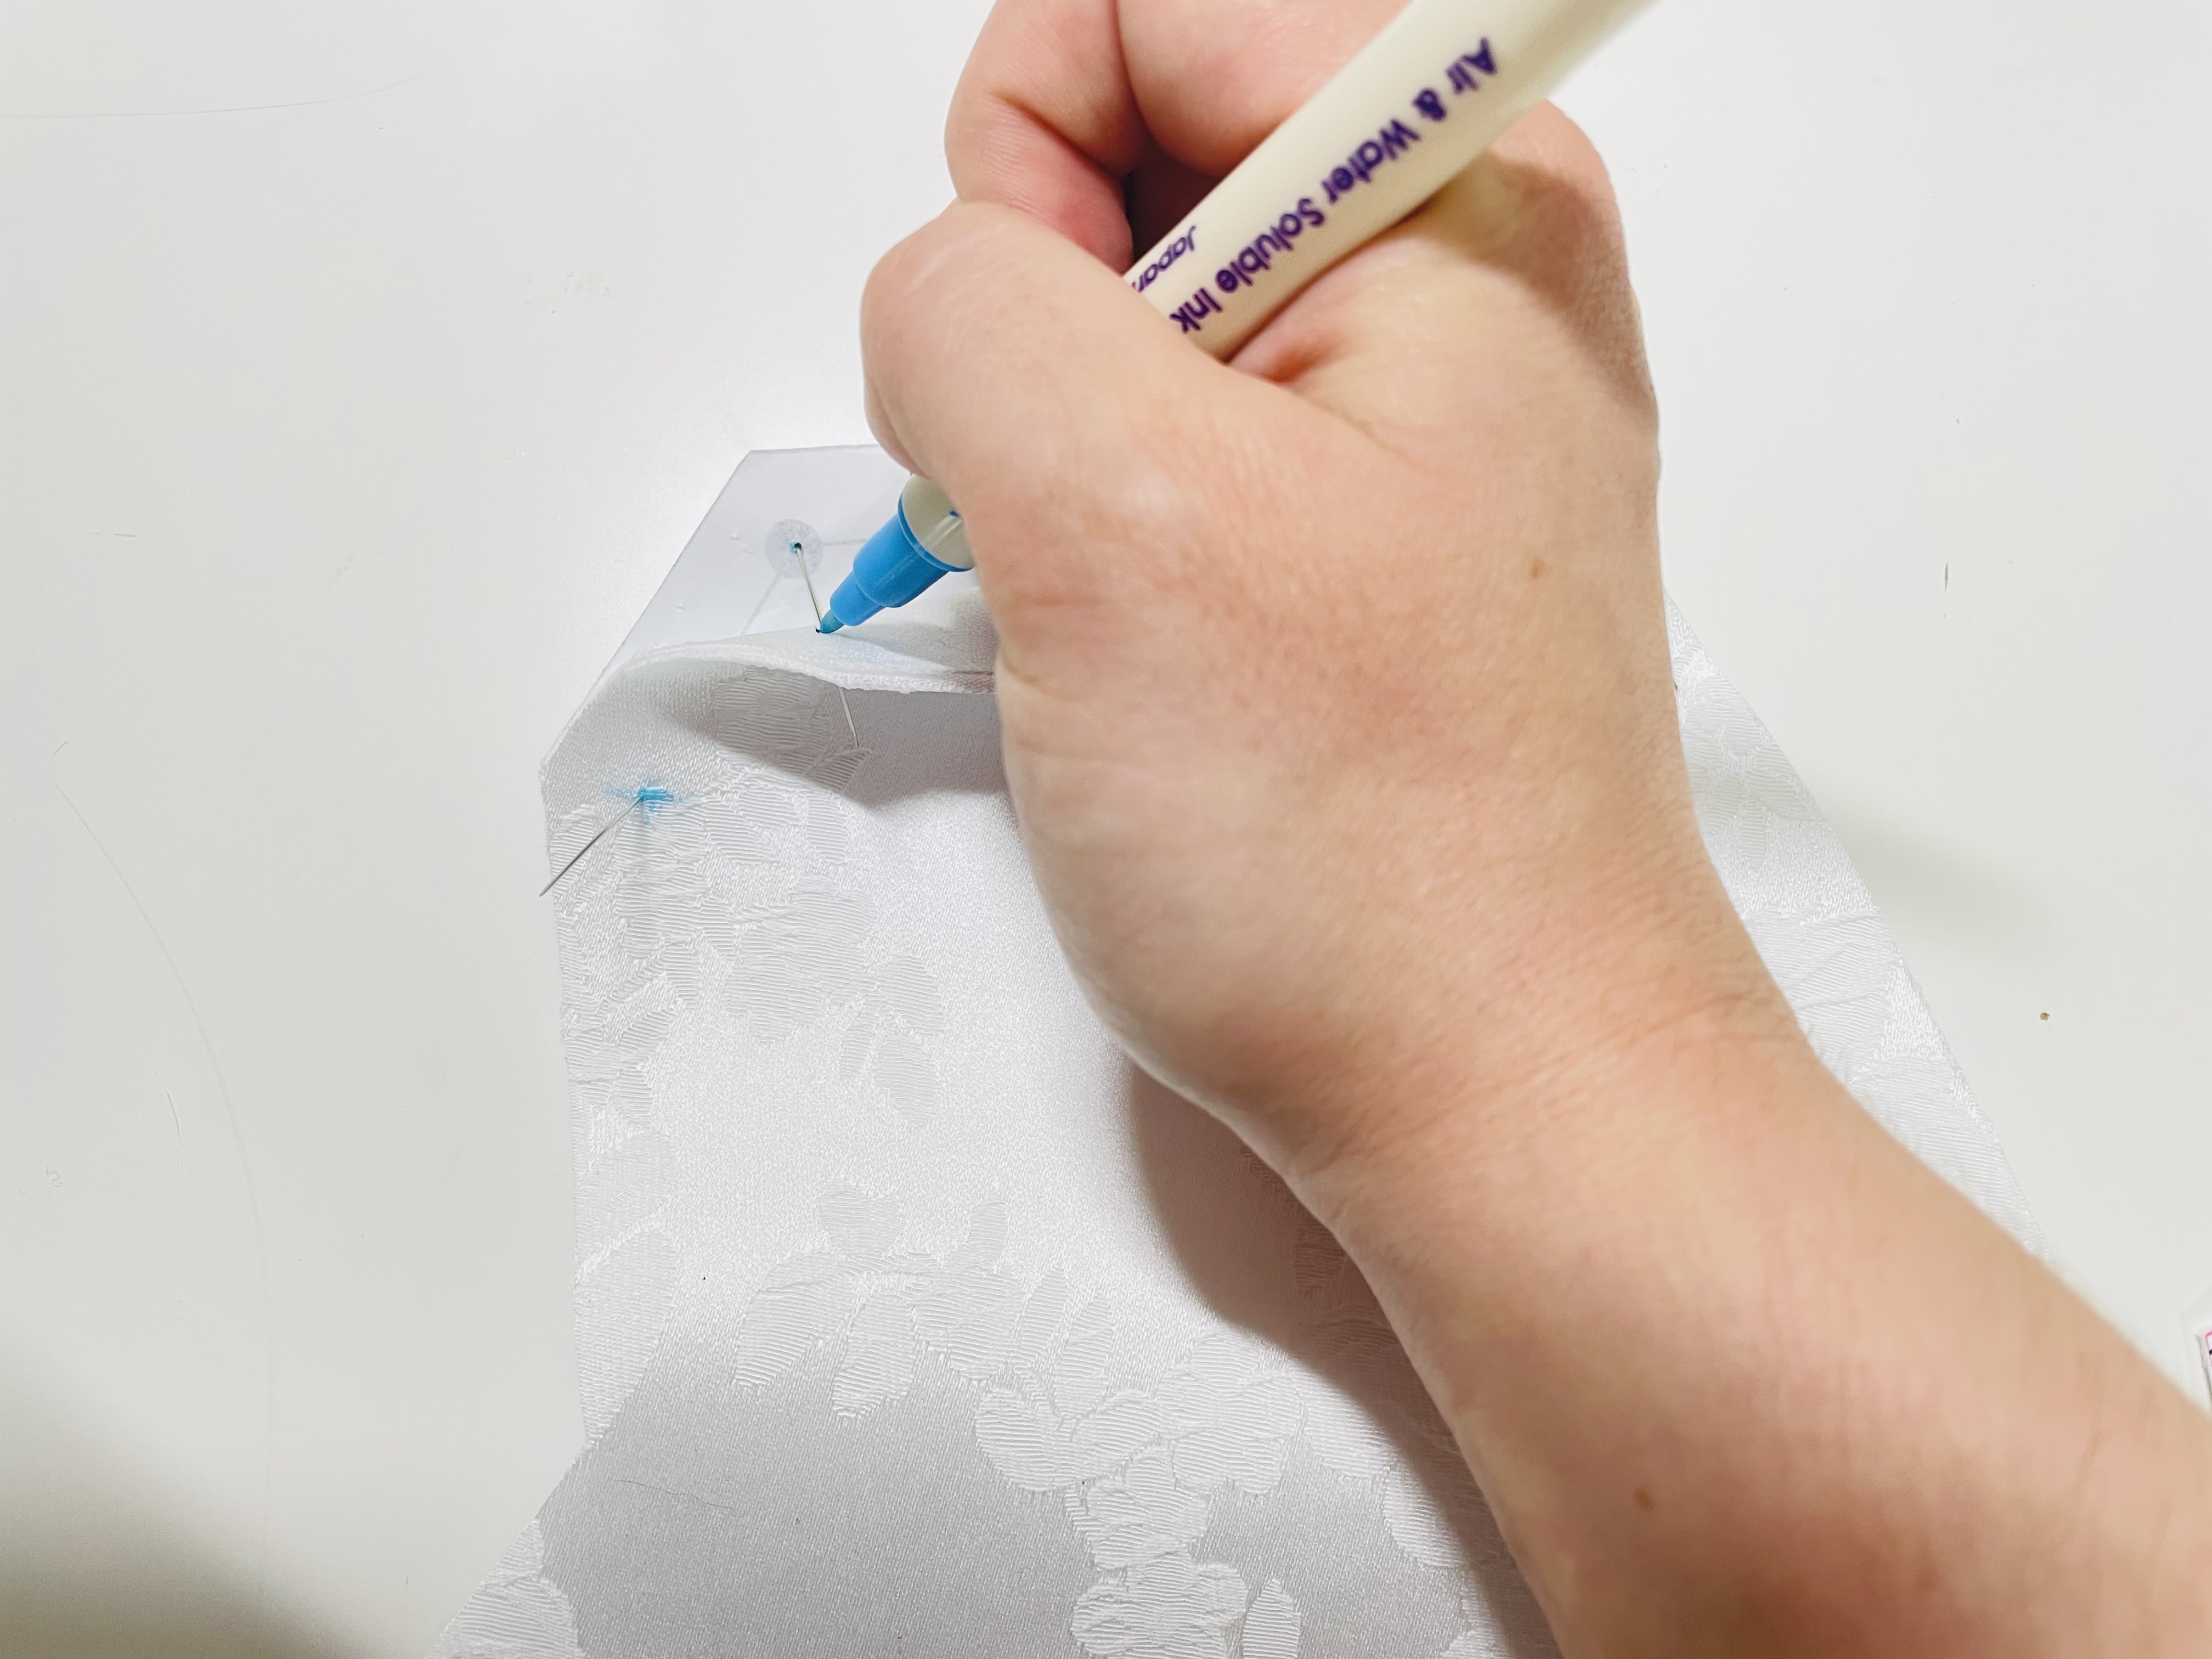
Before unpinning your pattern pieces from your fabric, be sure to transfer your pattern notations. I do this by sticking a pin through each mark and using my water-soluble fabric pen to make a dot on the fabric on each spot, pulling back the pattern paper to make my mark on the top fabric, as seen in this slideshow:
Sewing Your Cups
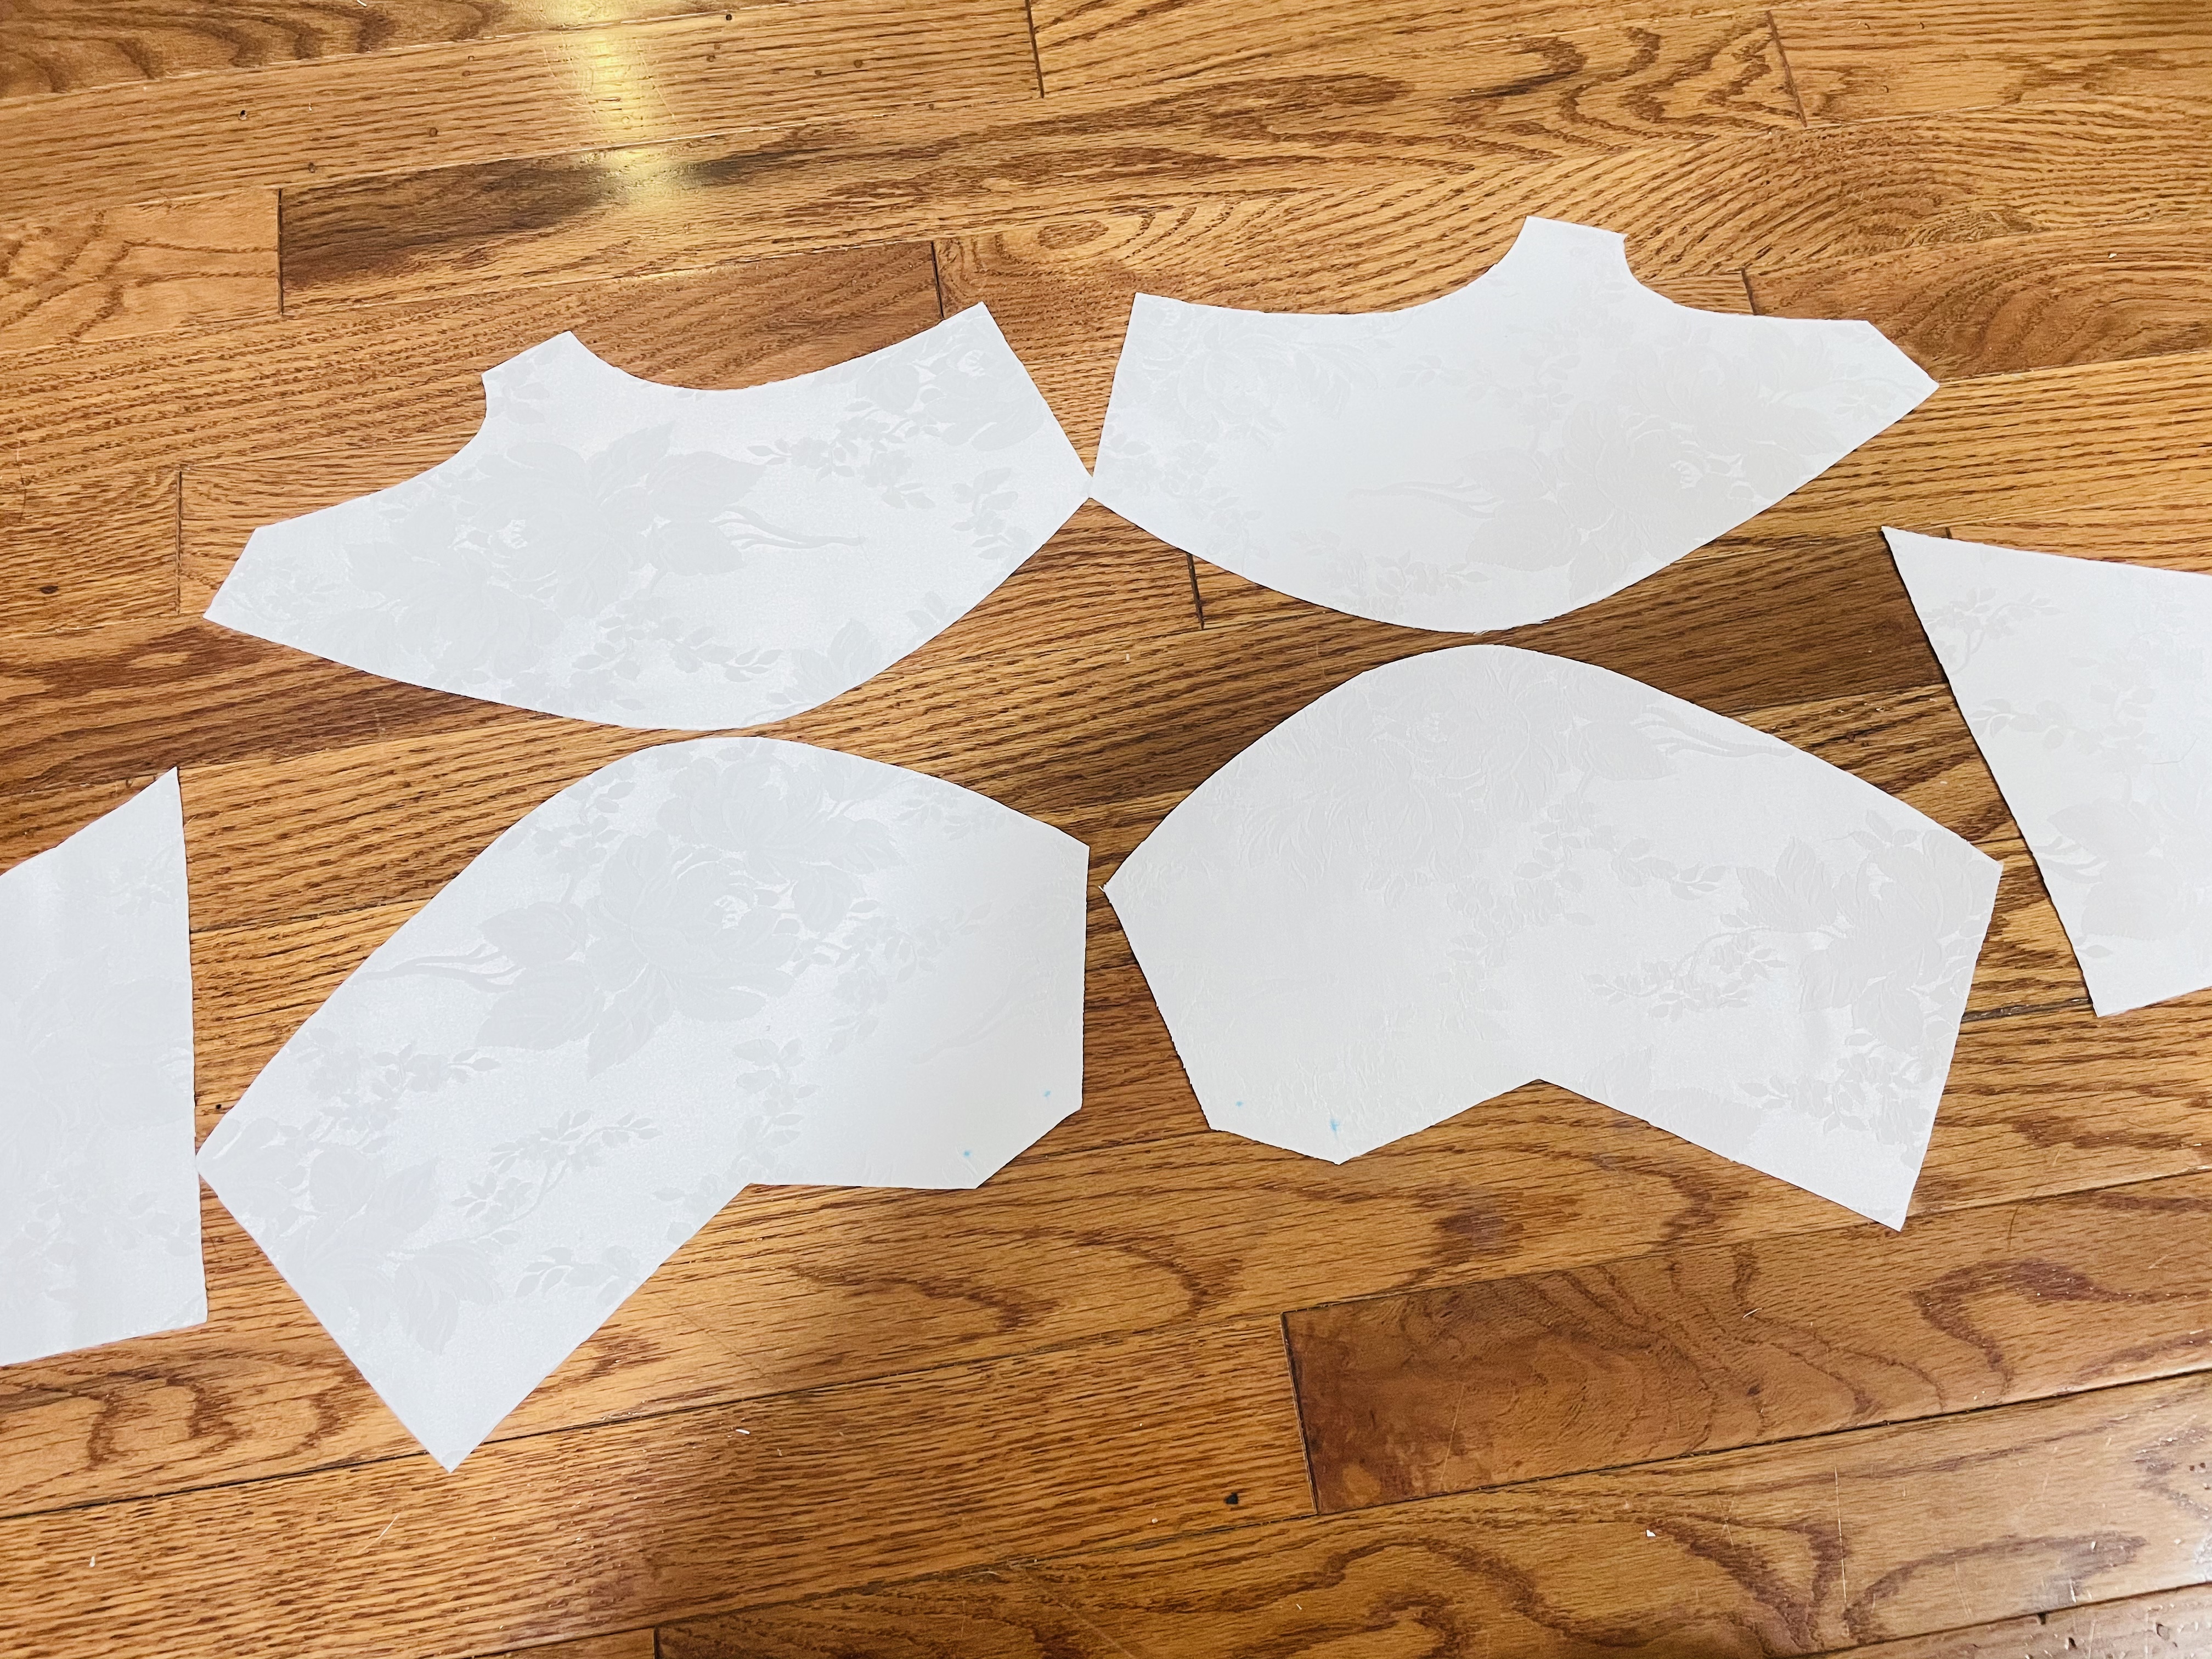
The first thing I like to do once I have all my pieces cut out and unpinned is to lay everything out, right side up. This helps me to make sure I don’t sew anything backwards, which, with bras, can be easy to do.
Then, I flip the upper left cup over on top of the the lower left cup, matching the apexes. Then I pin it together, starting with the apex, then each end, then filling in between those pins.
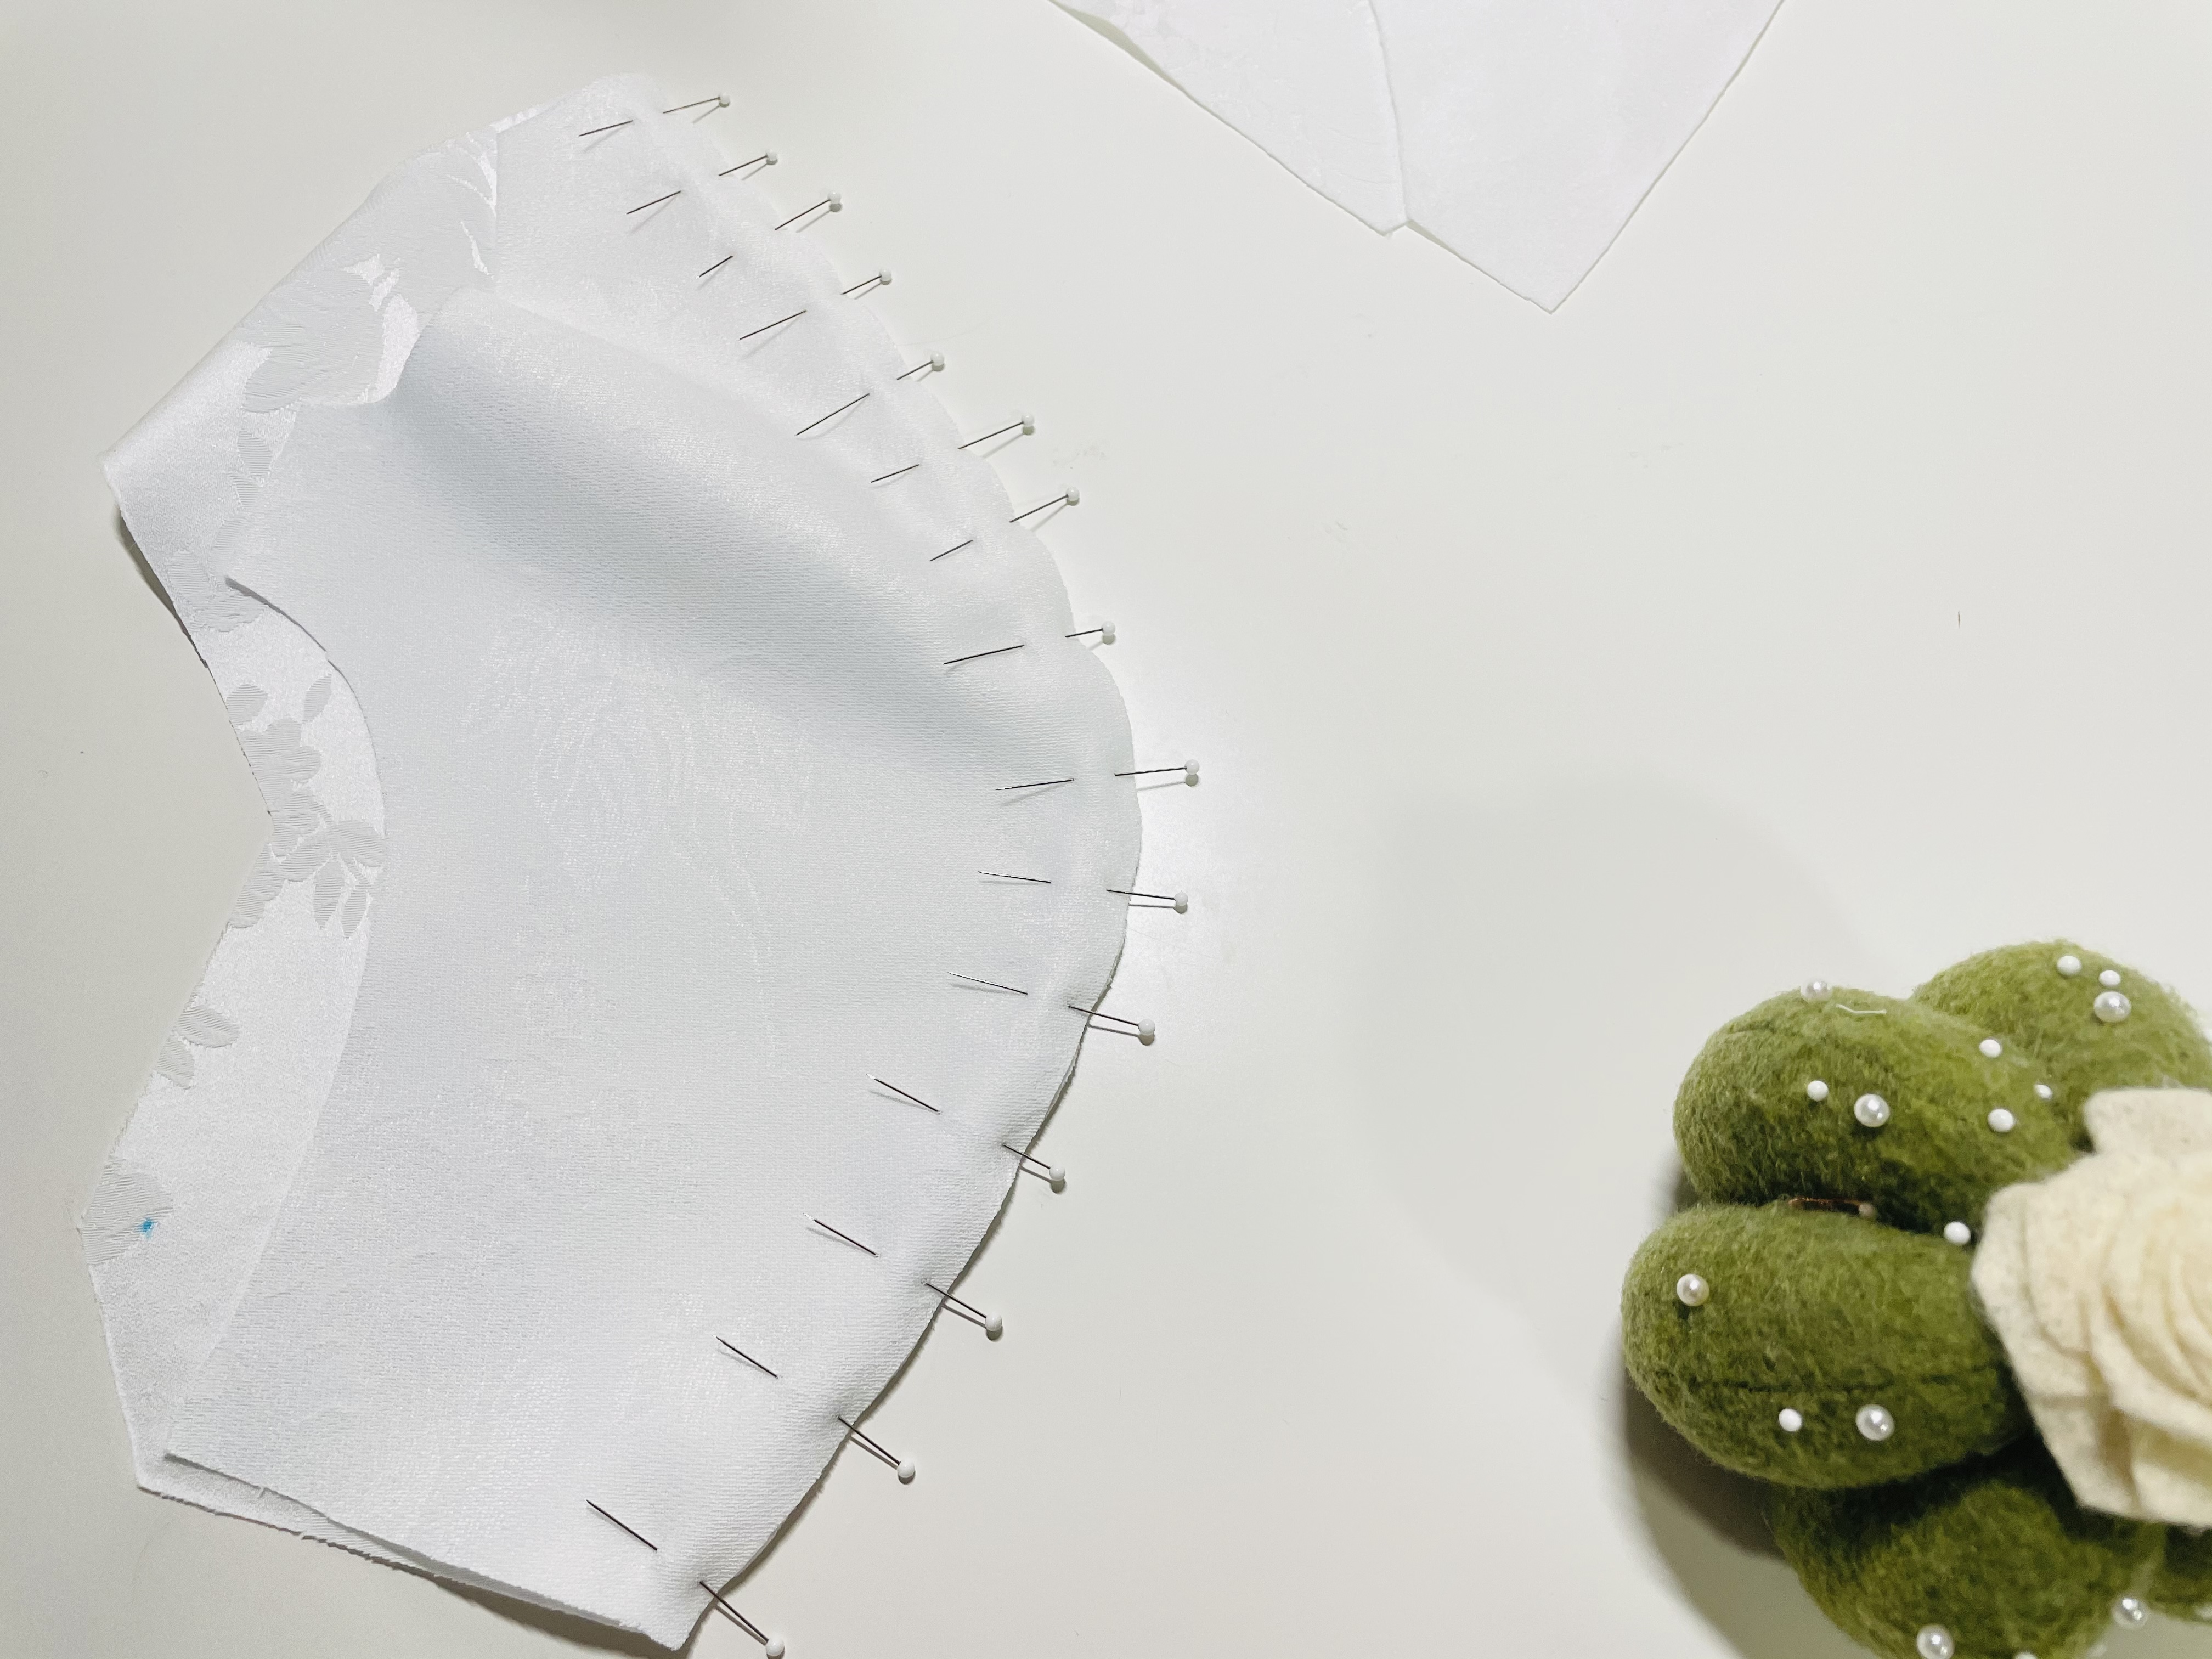
We’re then going to sew this with a 1 cm (3/8″) seam allowance. Do this on both main cups and both lining cups.

Topstitching the Cup Seam
Now, we’re going to finger press (or press, if you’re using fabric not easily finger pressed) the seam allowance open, and topstitch the horizontal cup seam. While topstitching, make sure to catch the seam allowance under each respective side.
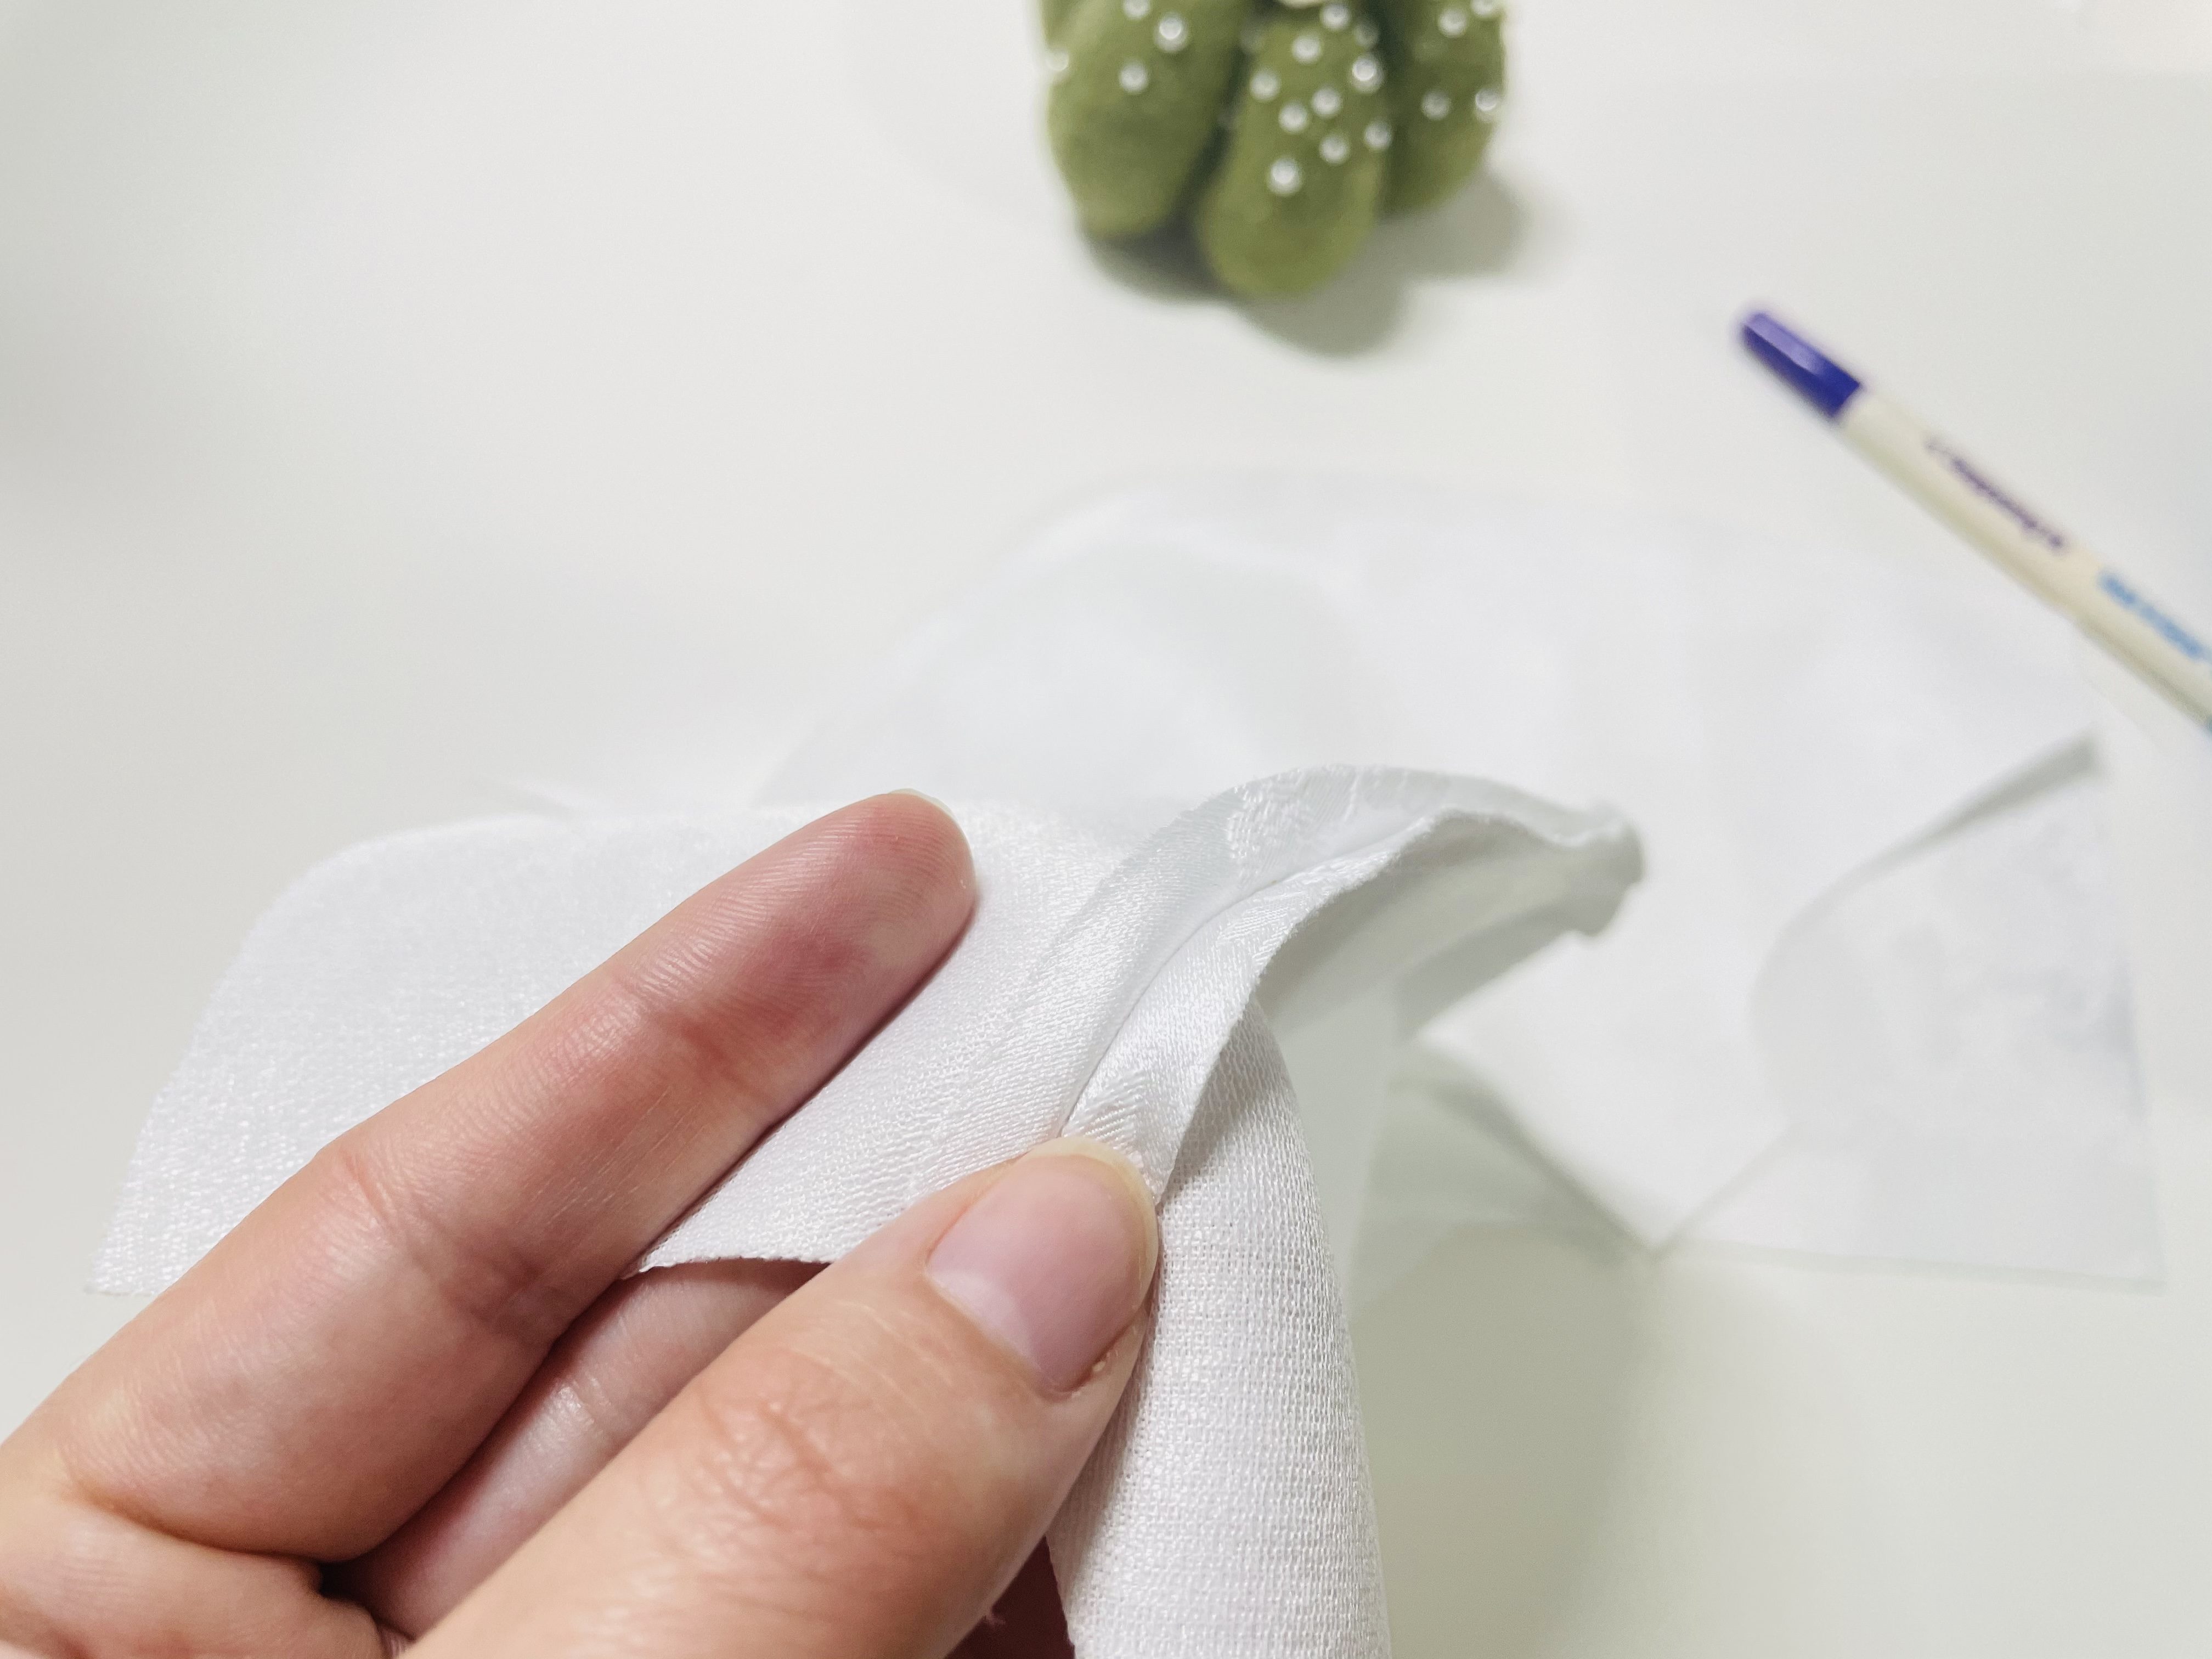
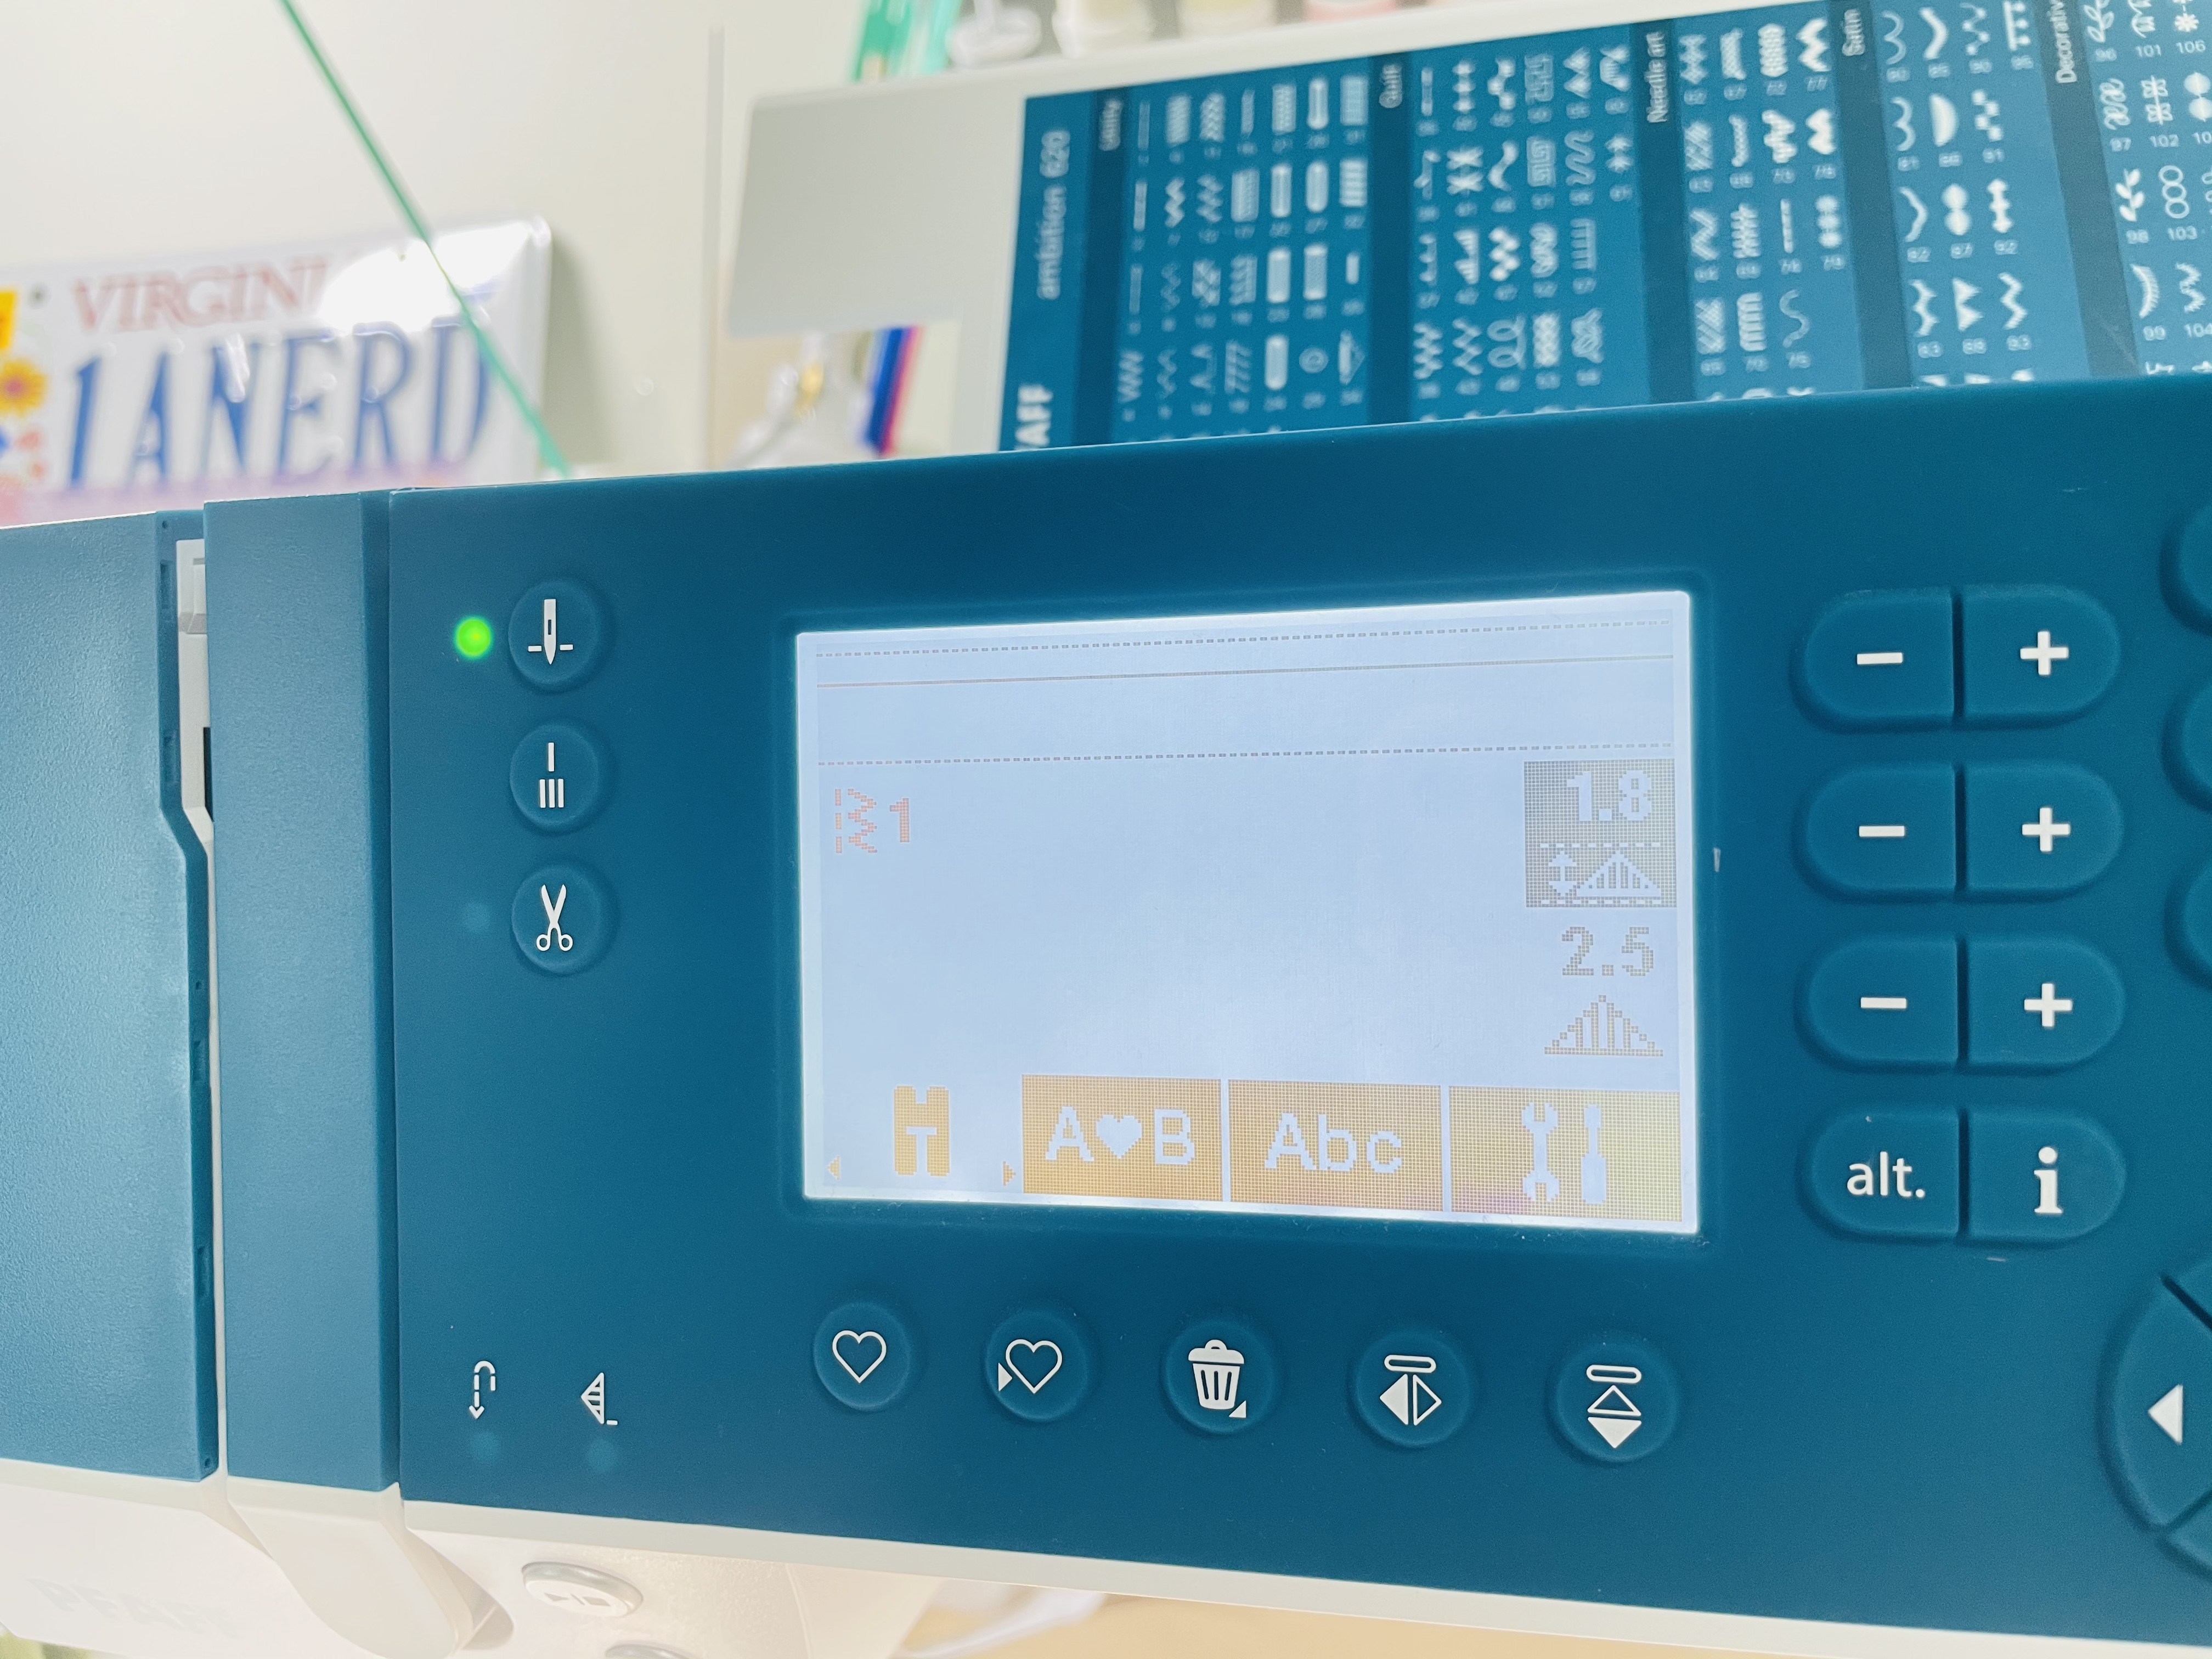
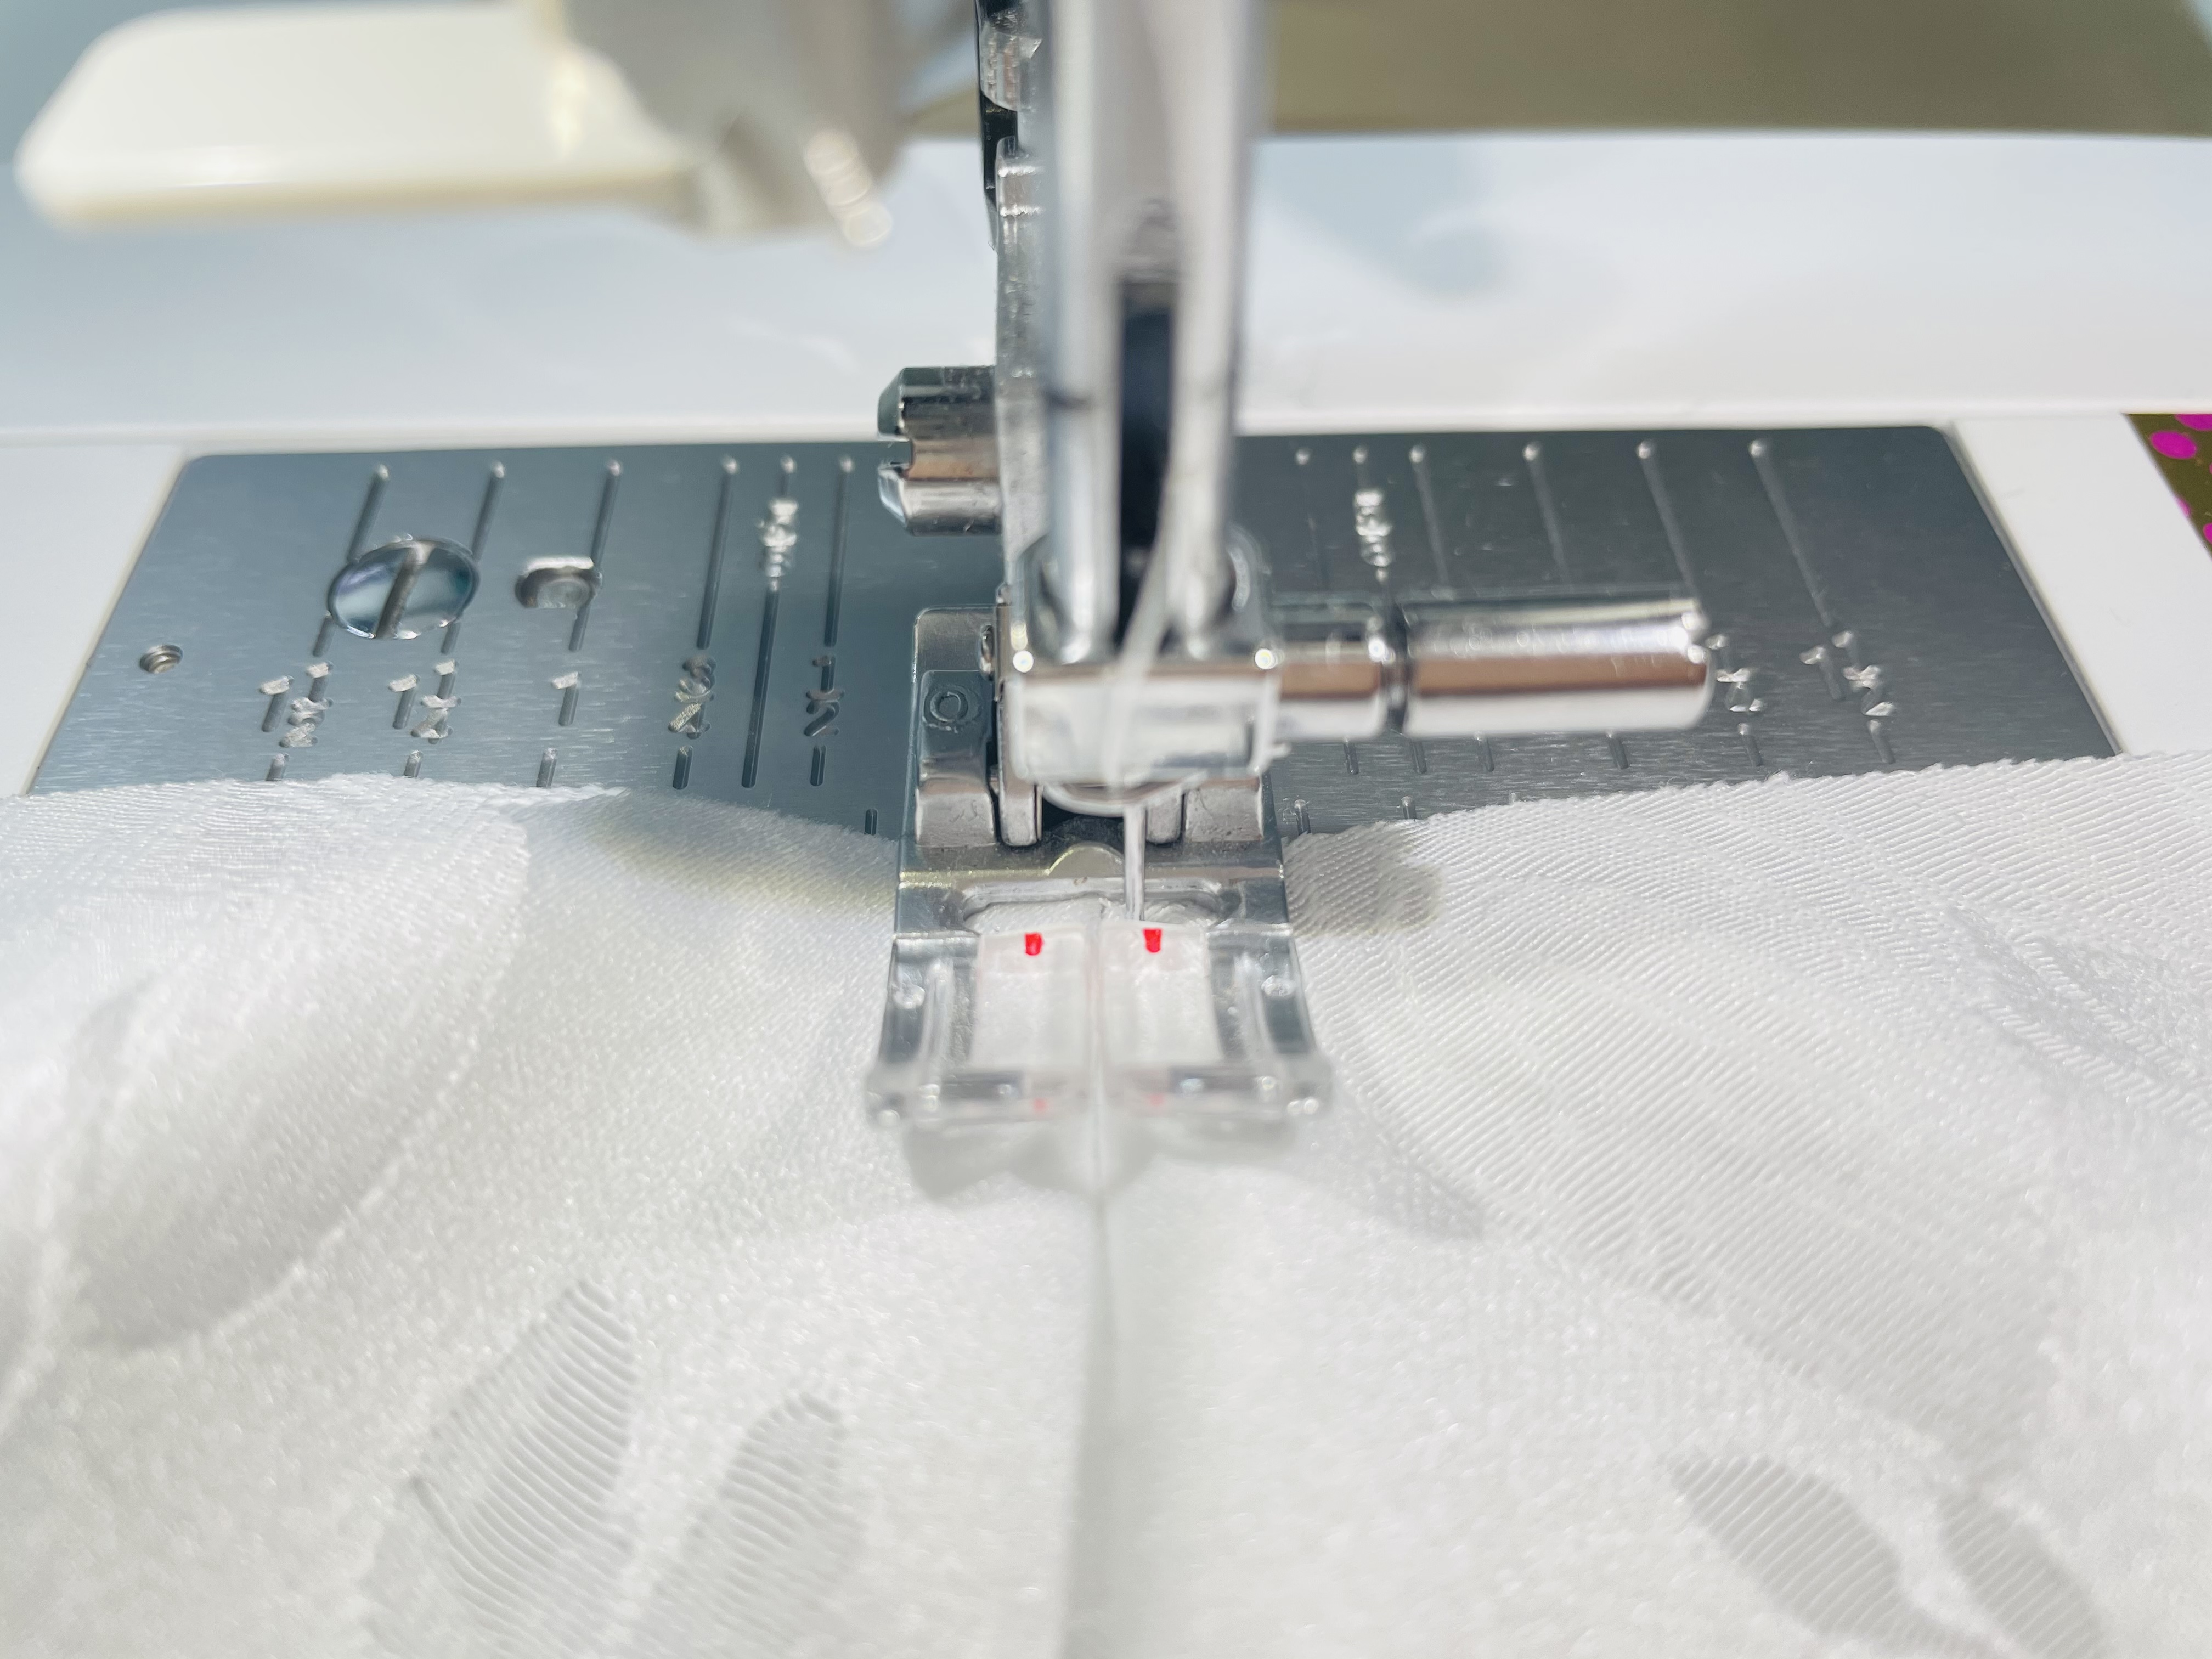
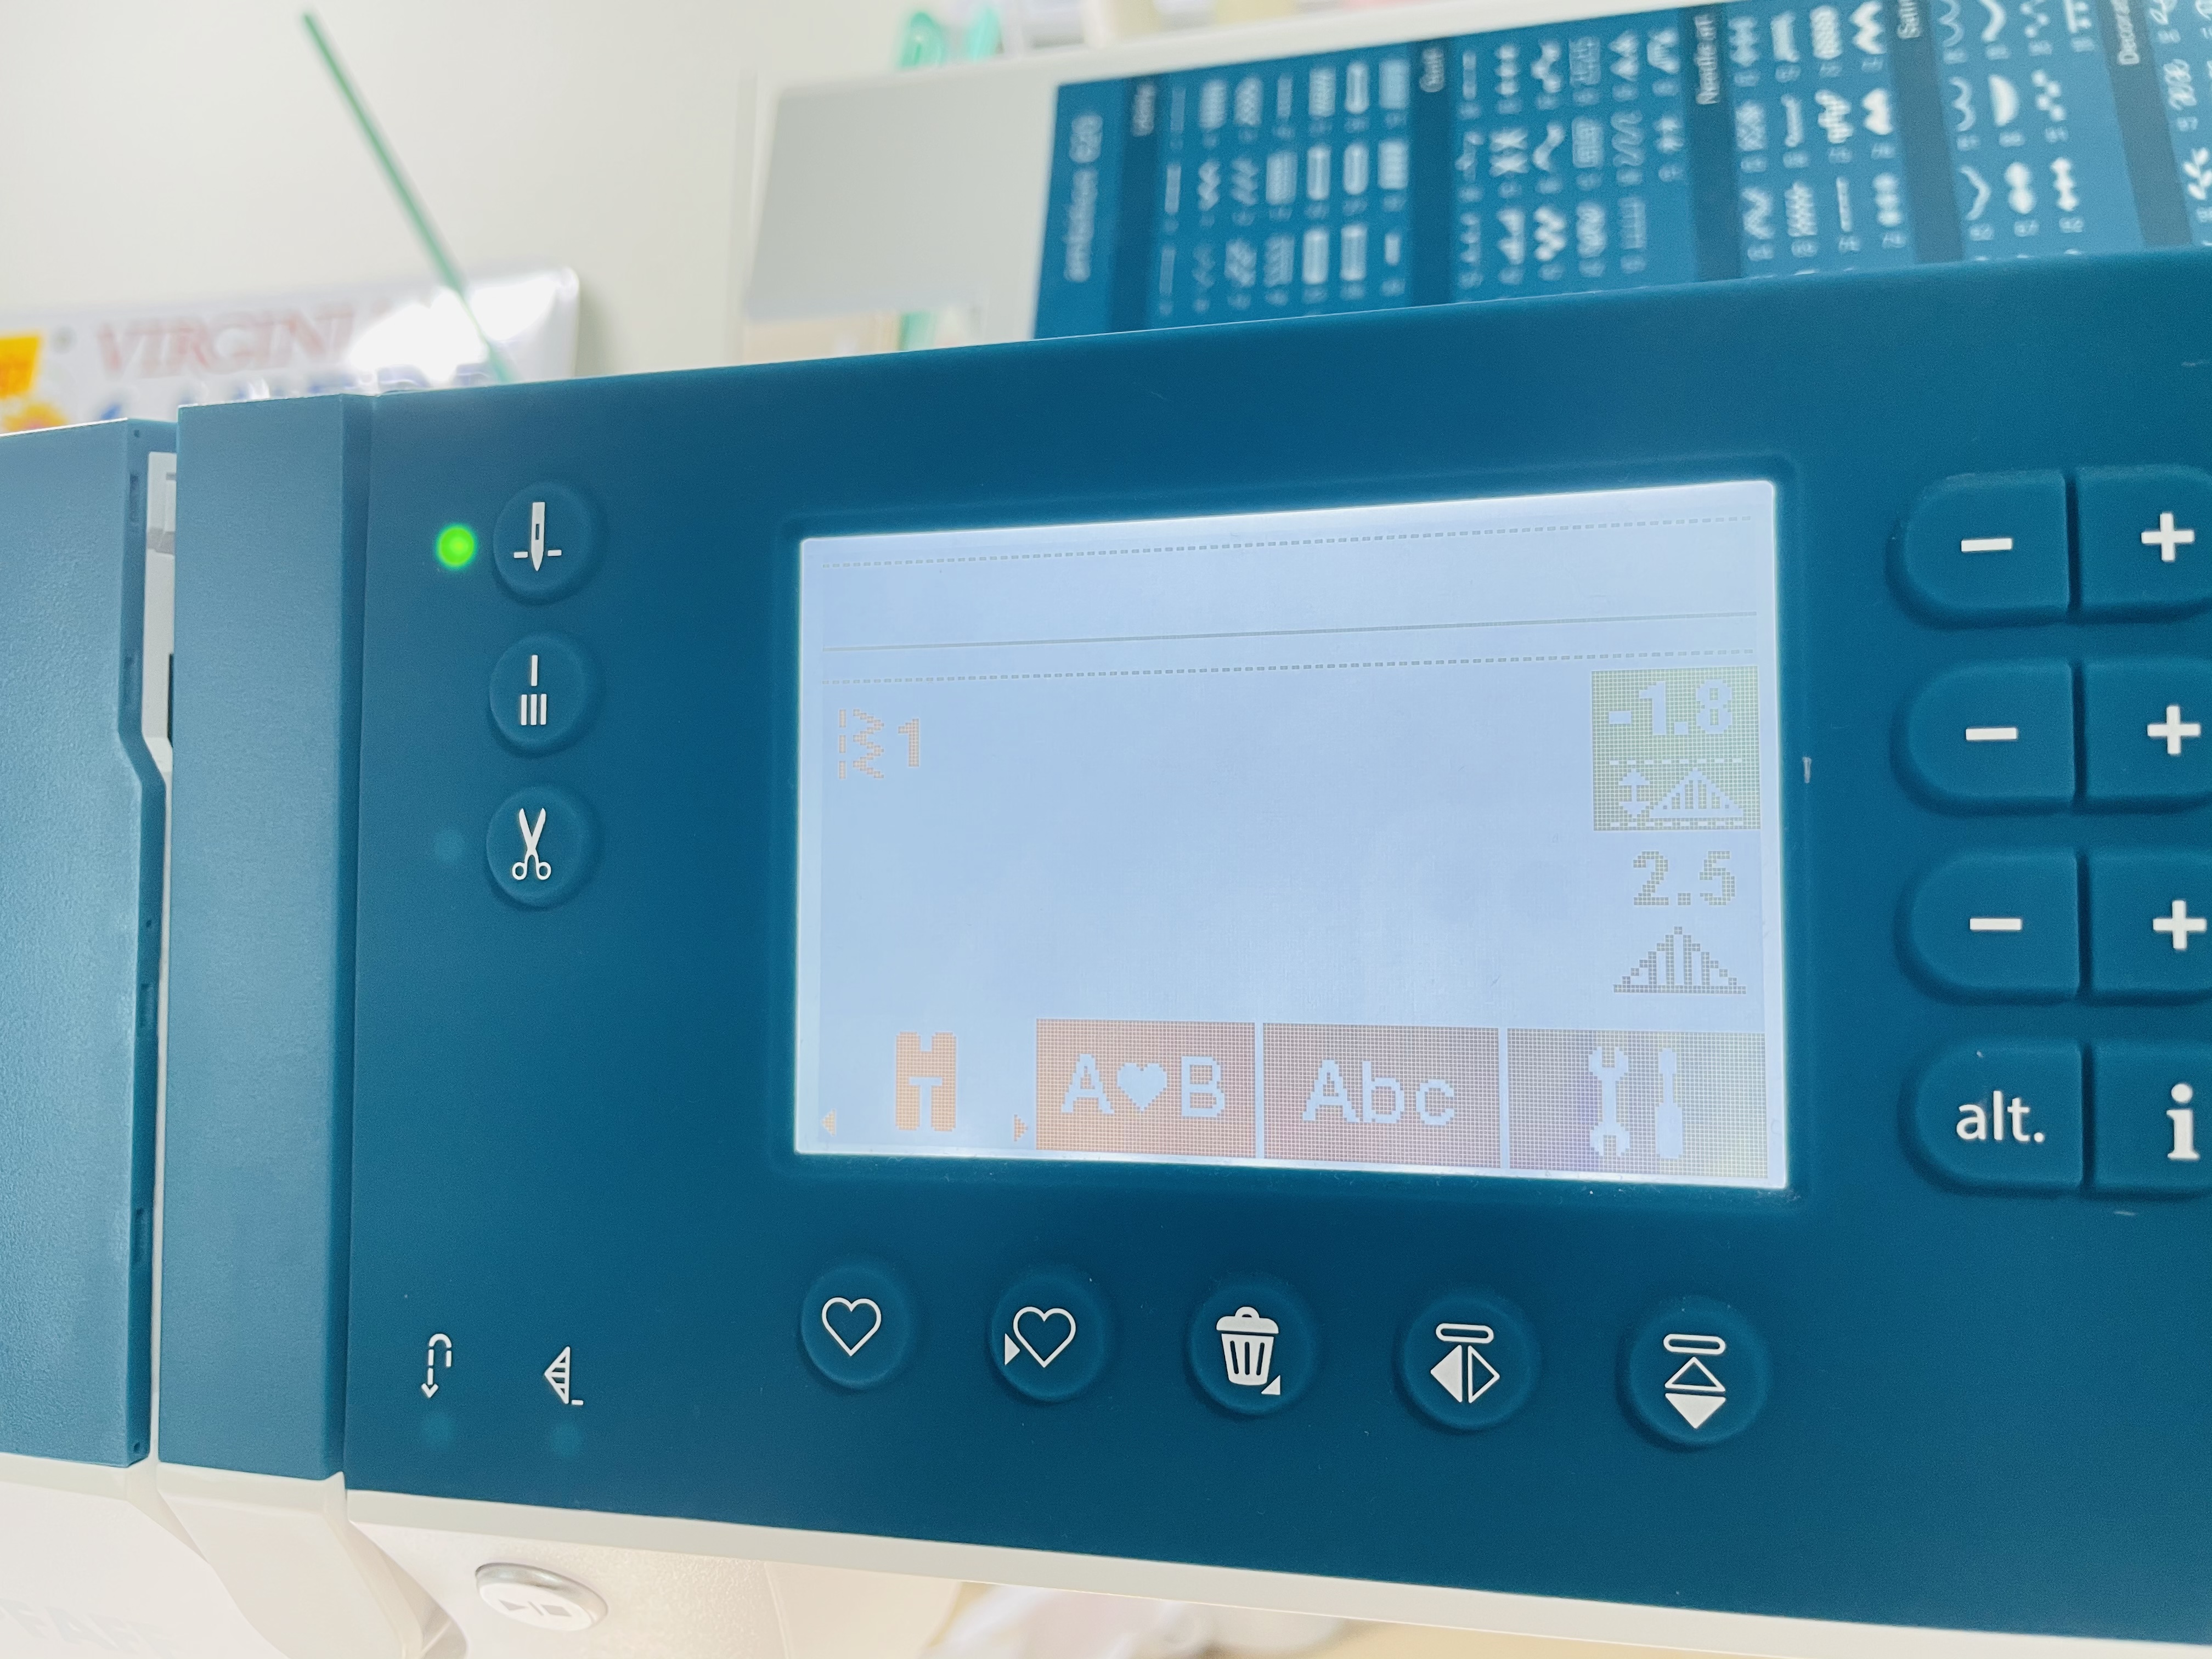
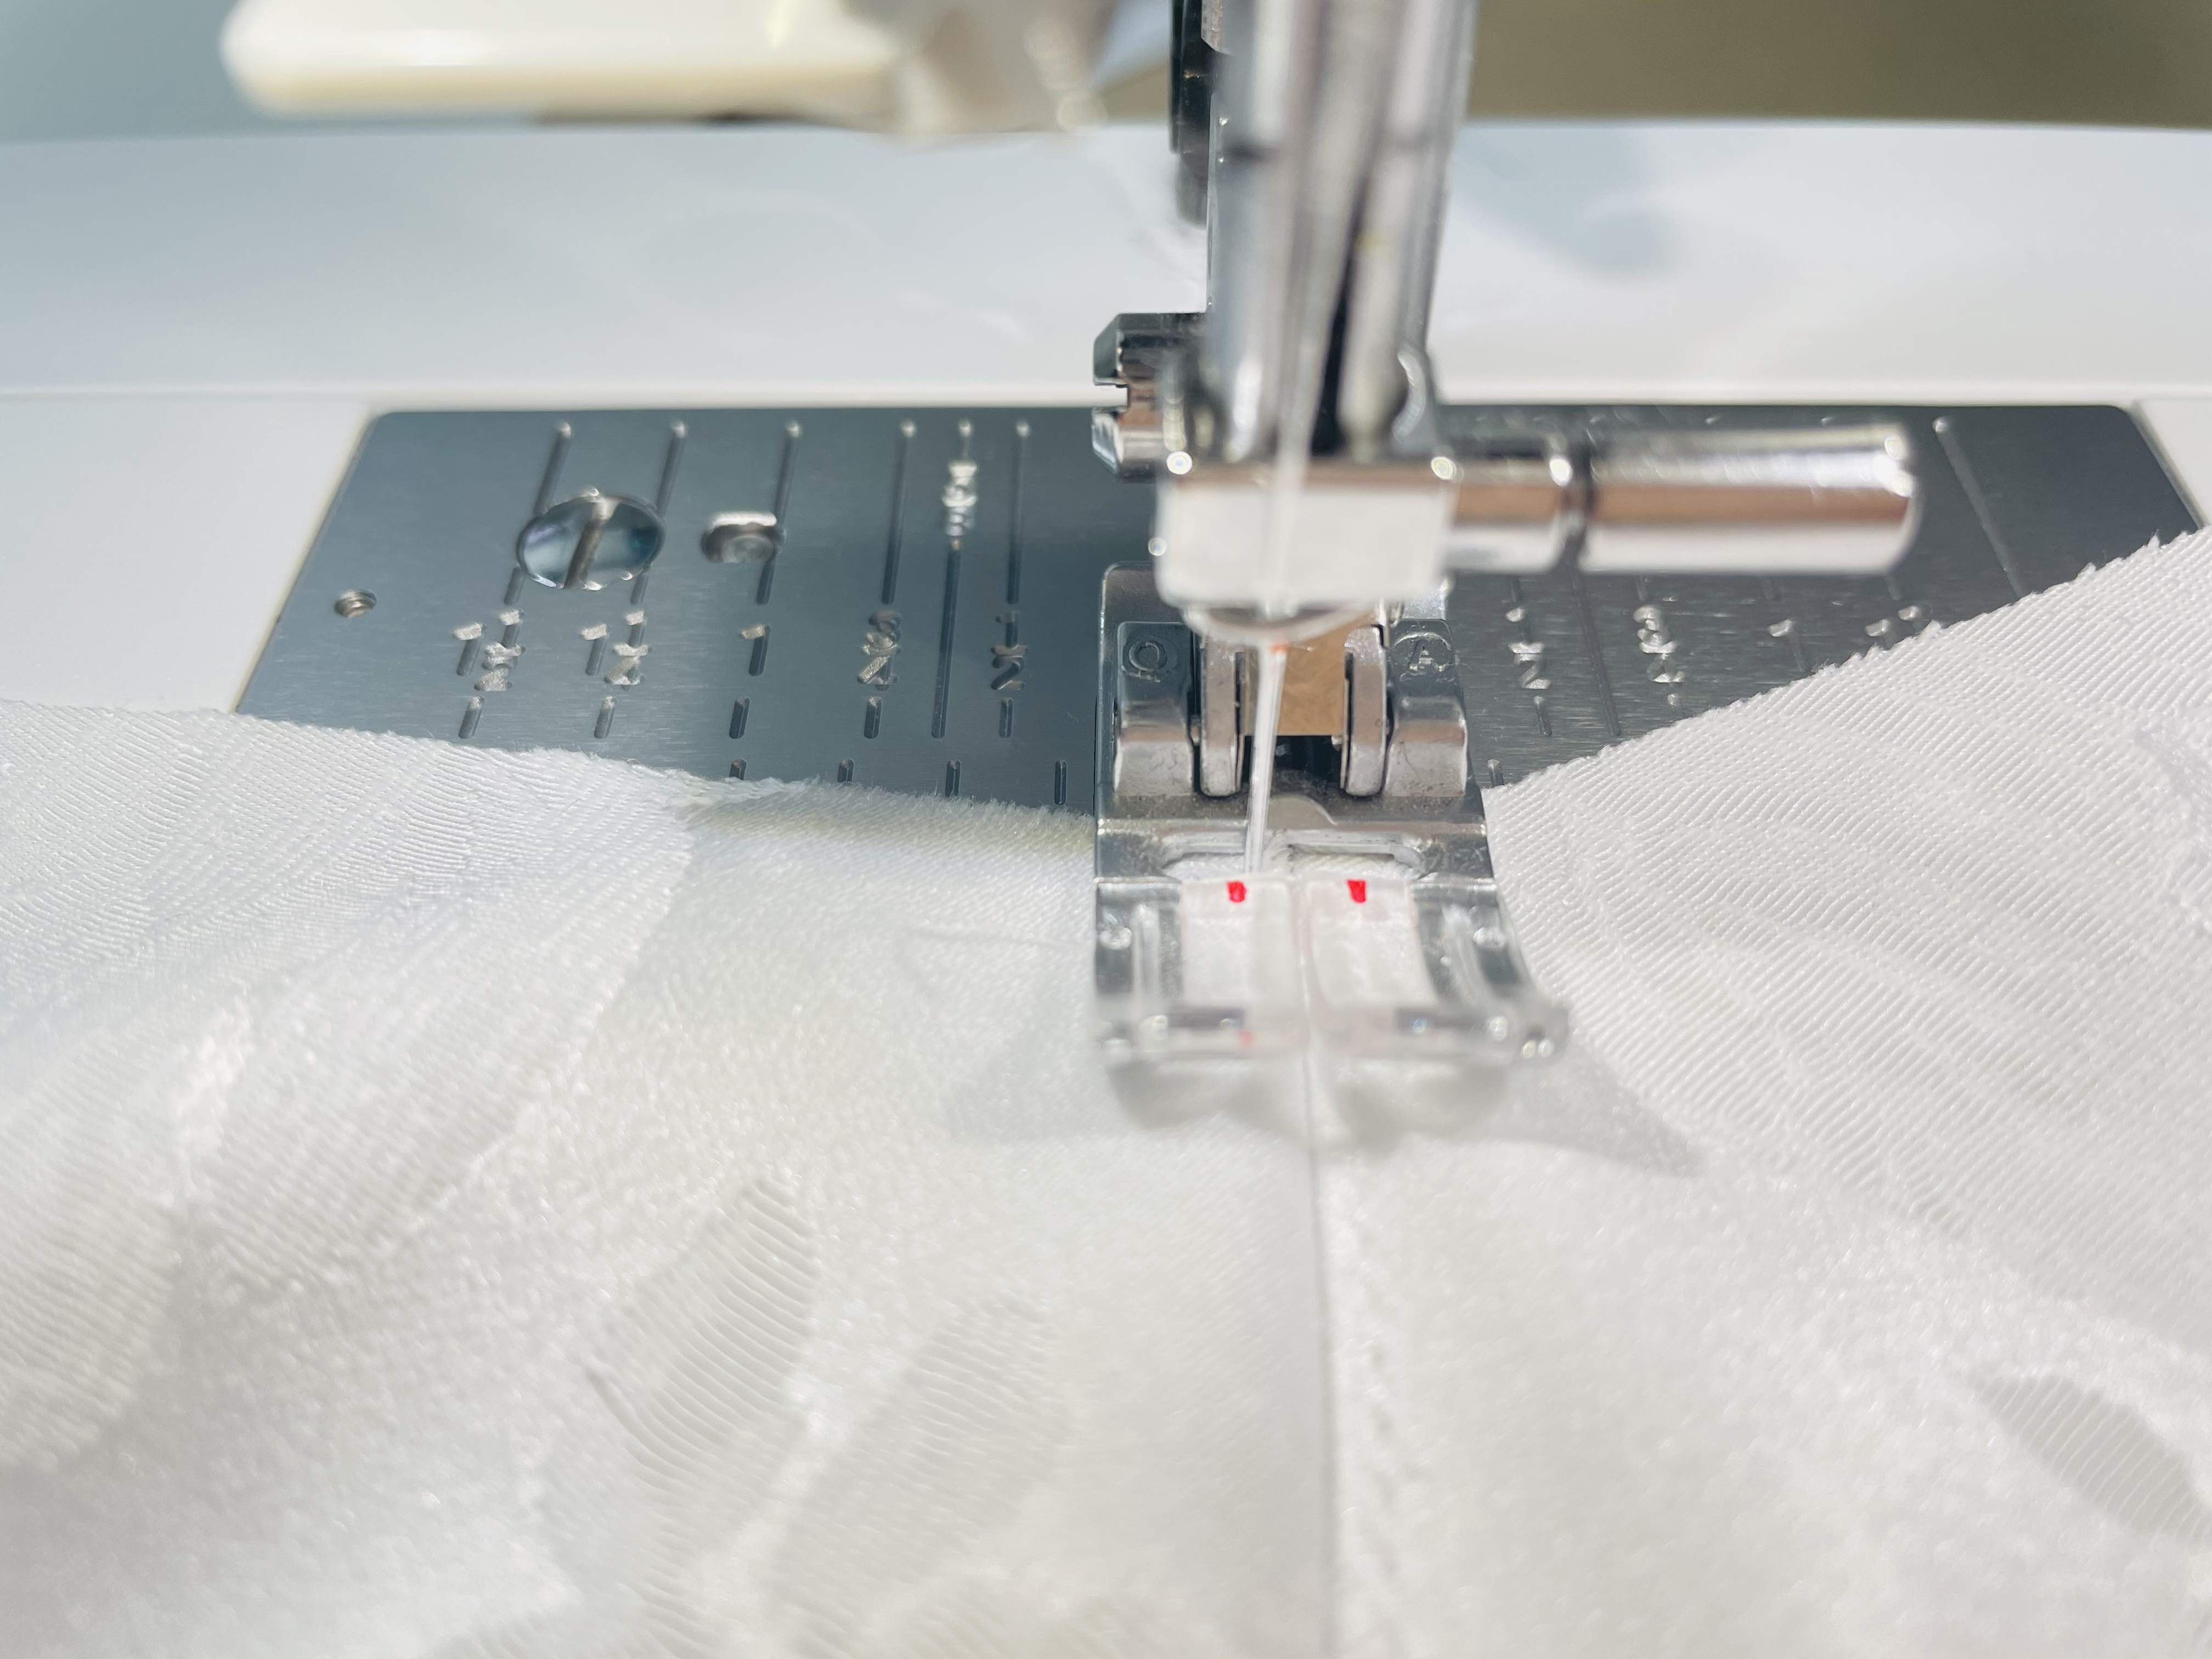
I like to topstitch by using a foot with a clear center point. I then set my needle to somewhere between 1.5-2 mm to the right to topstitch on the right of my seam, following the seam with the center point of my foot. Then, I switch my needle to be between 1.5-2 mm to the left (matching this amount with the other side), and topstitch to the left of my seam.
While topstitching, I check from time to time to make sure I’m still catching the seam allowance. Check out this slideshow to see the process, starting with setting my needle:
Why do I switch the needle from right to left like this? Well, it’s important to start from the same spot when topstitching each side. Trying to topstitch from outer cup in on one line and then from inner cup out on the other can cause some funky tension issues.
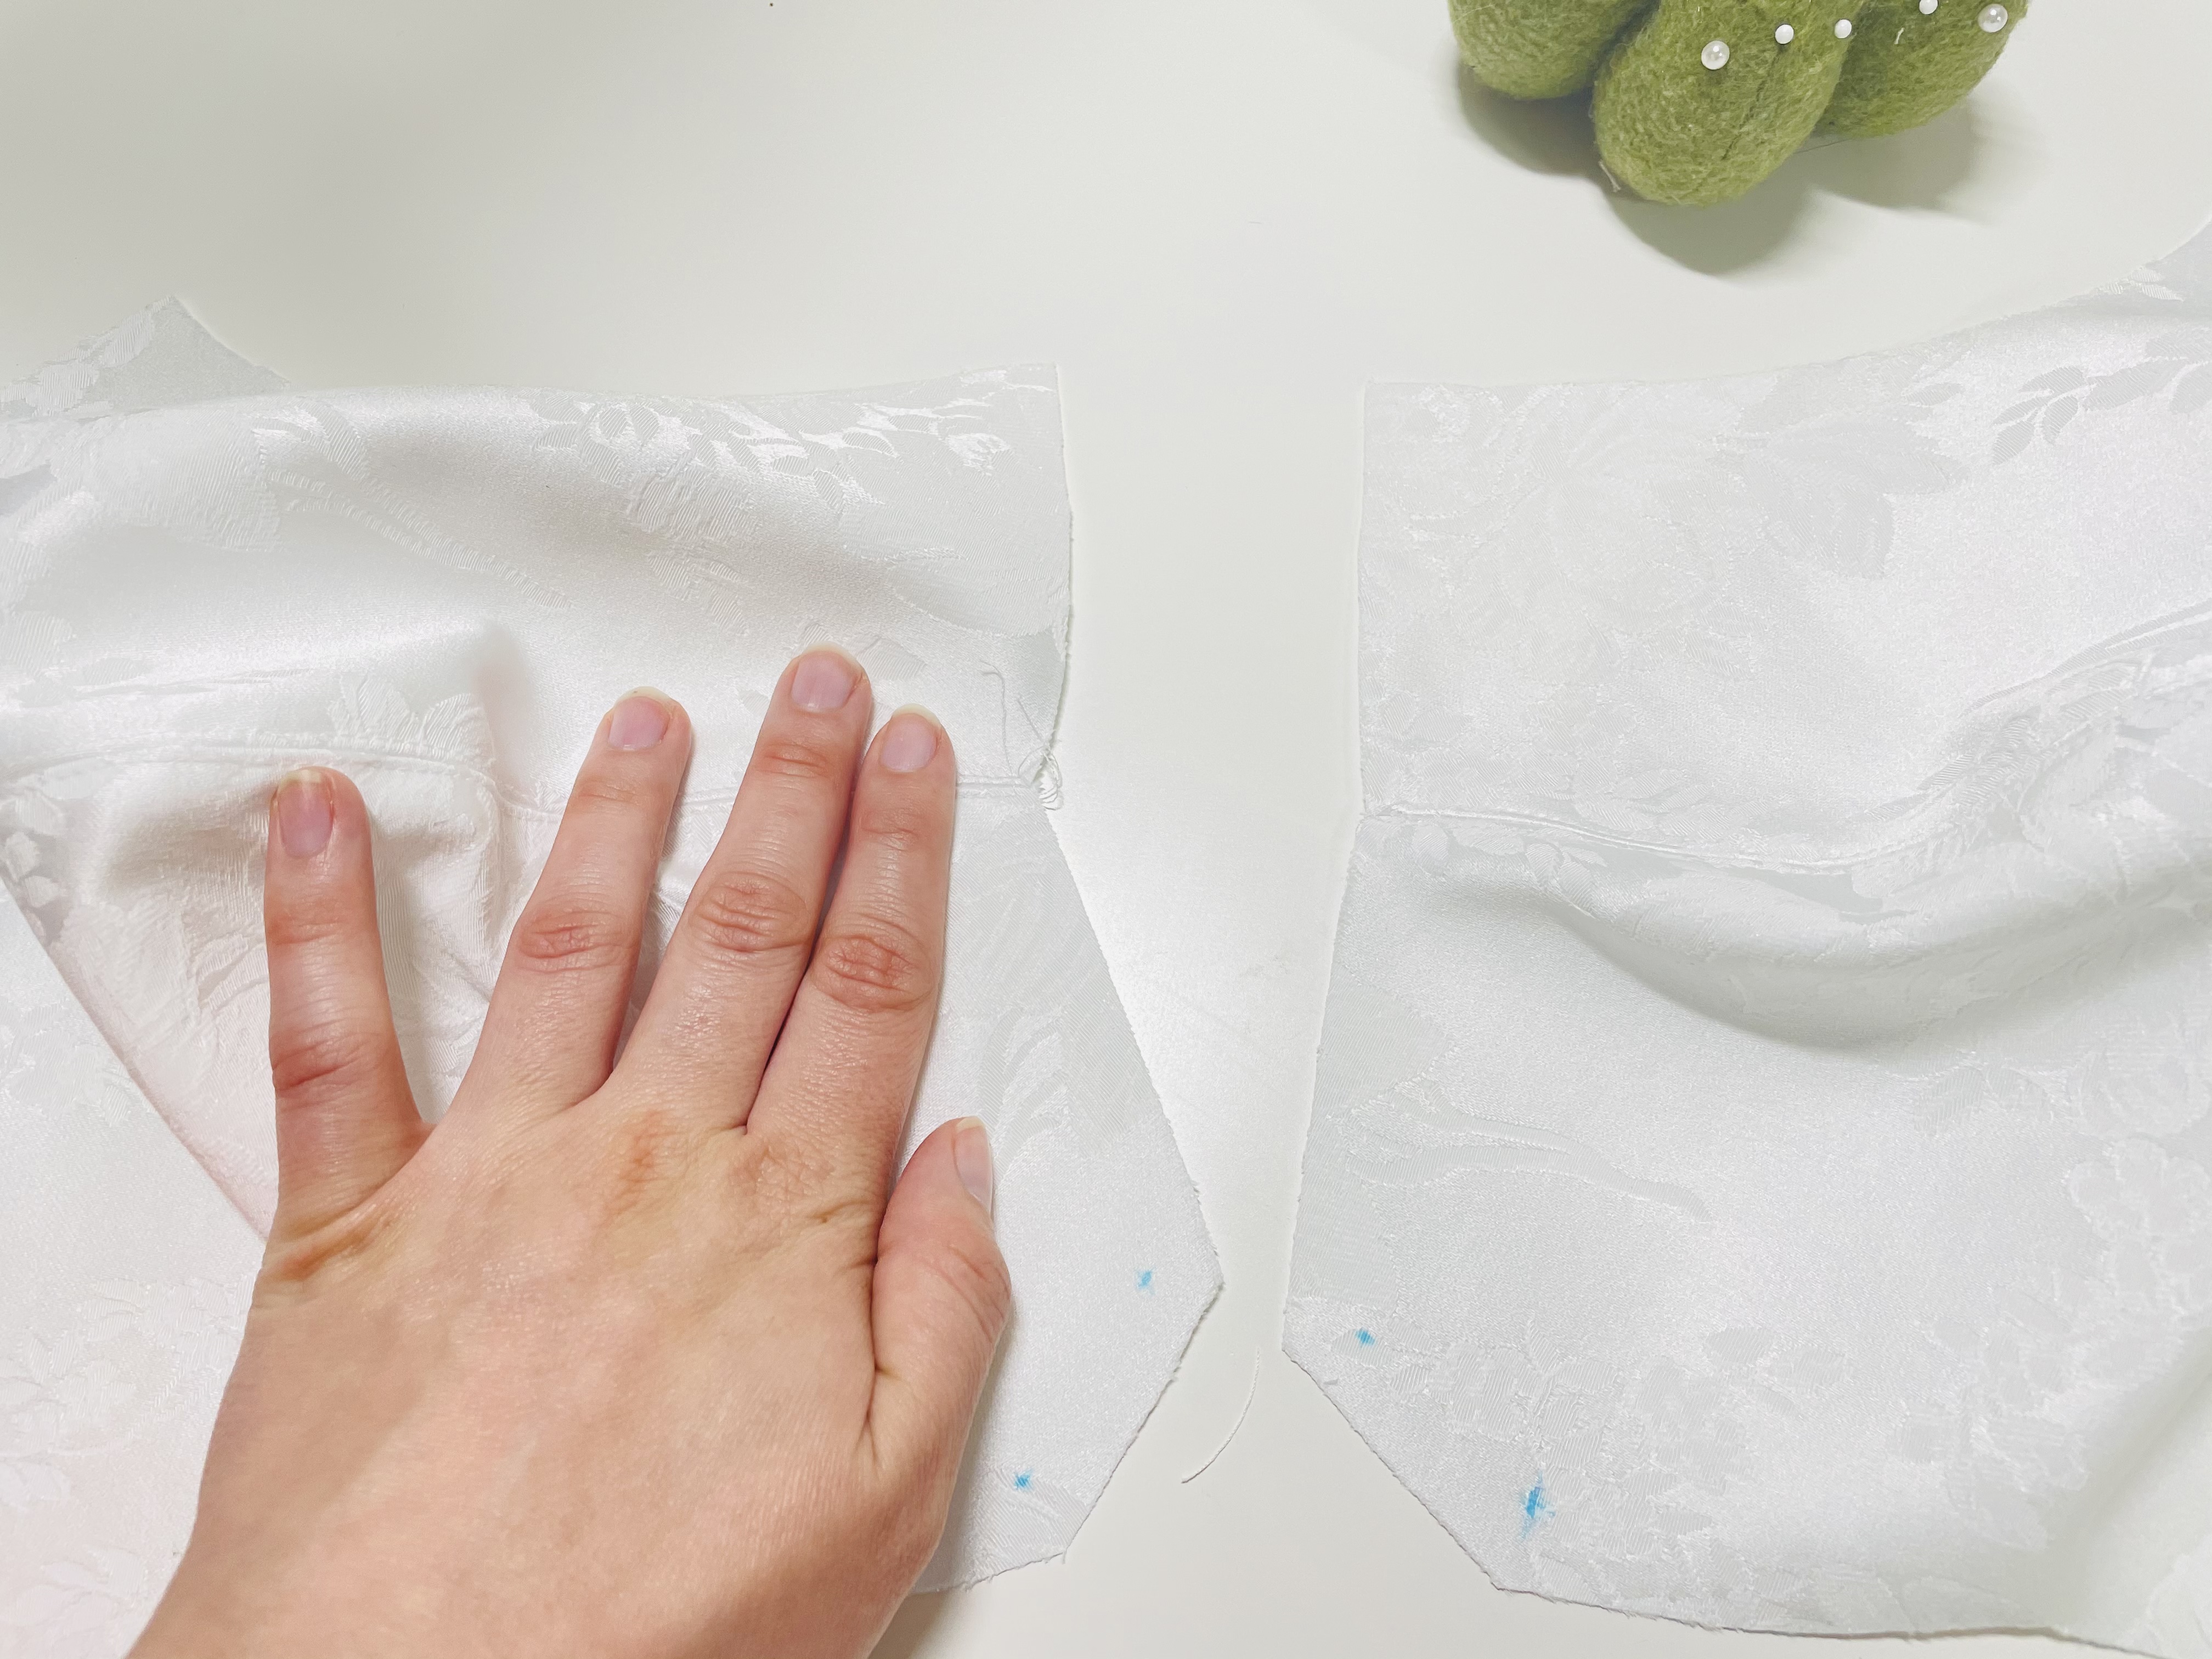
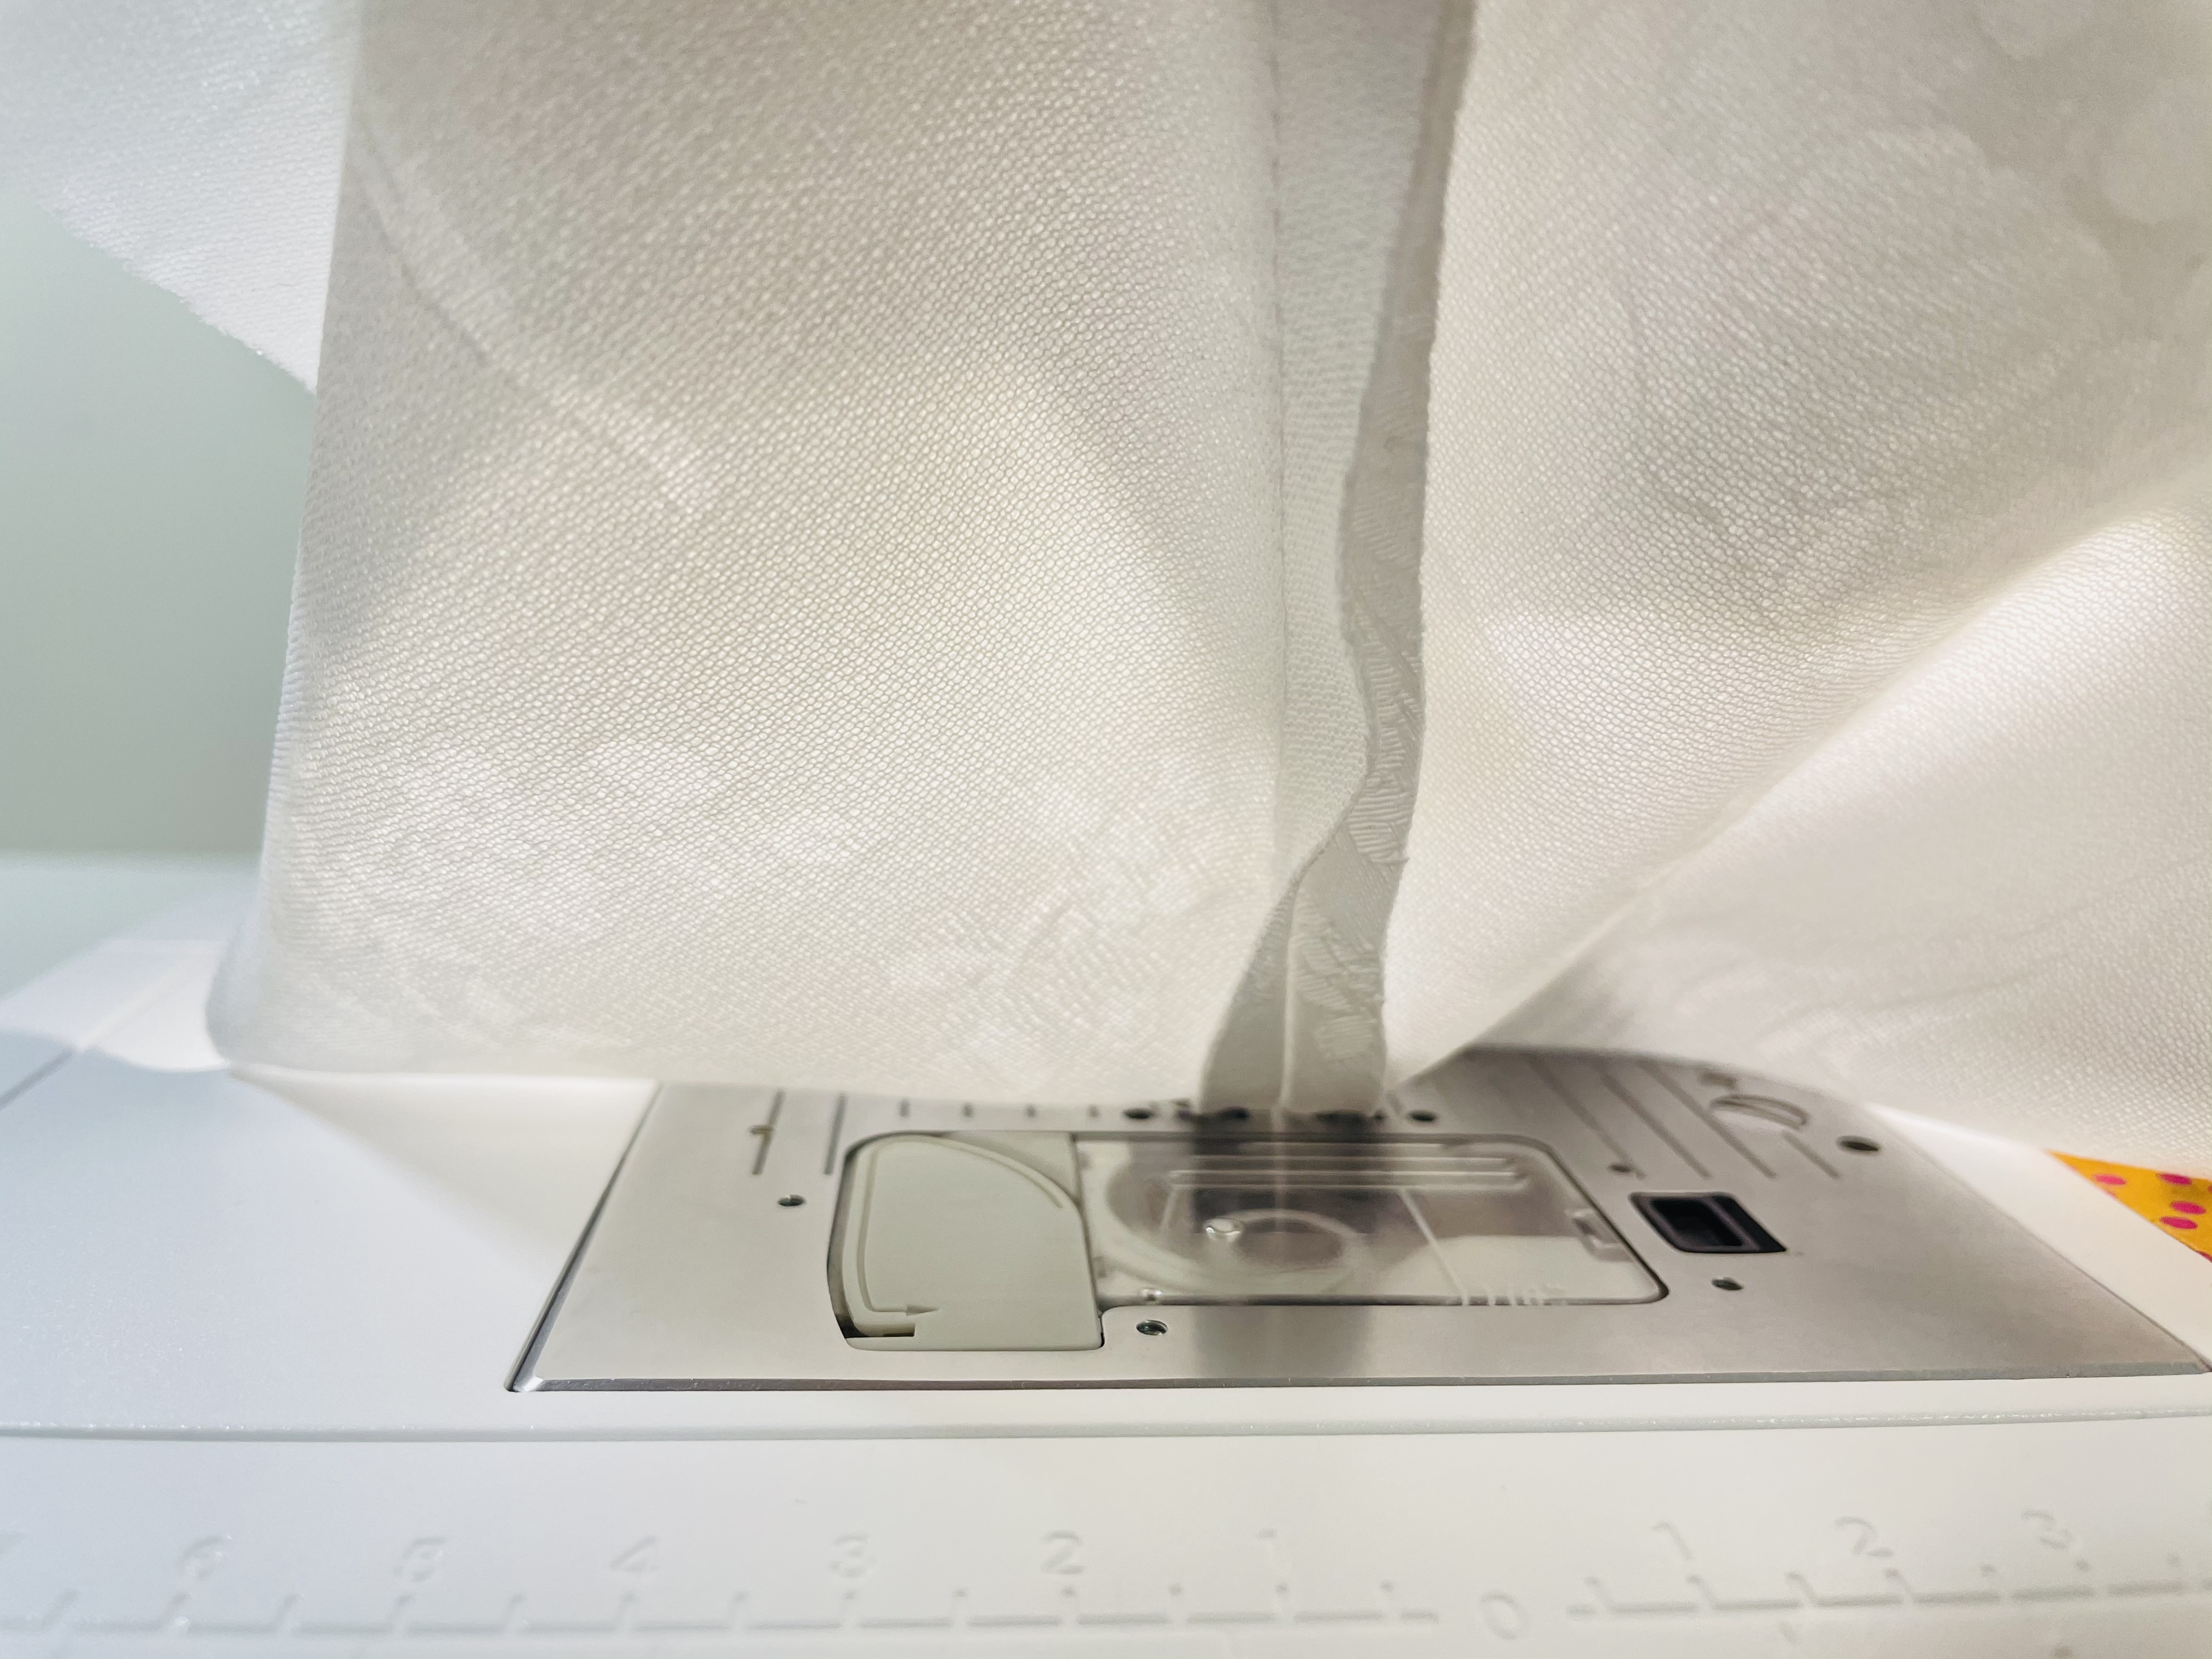
Once it’s all sewn together, you may notice that your center cup is not a straight line, but is instead a bit bent. This is correct! This is what will create bust separation!
Attaching and Topstitching the Underband
The next step is to attach the underband. Before you do this, you need to snip the bottom of your cup at the point, snipping just shy of 1 cm (3/8″), like so:
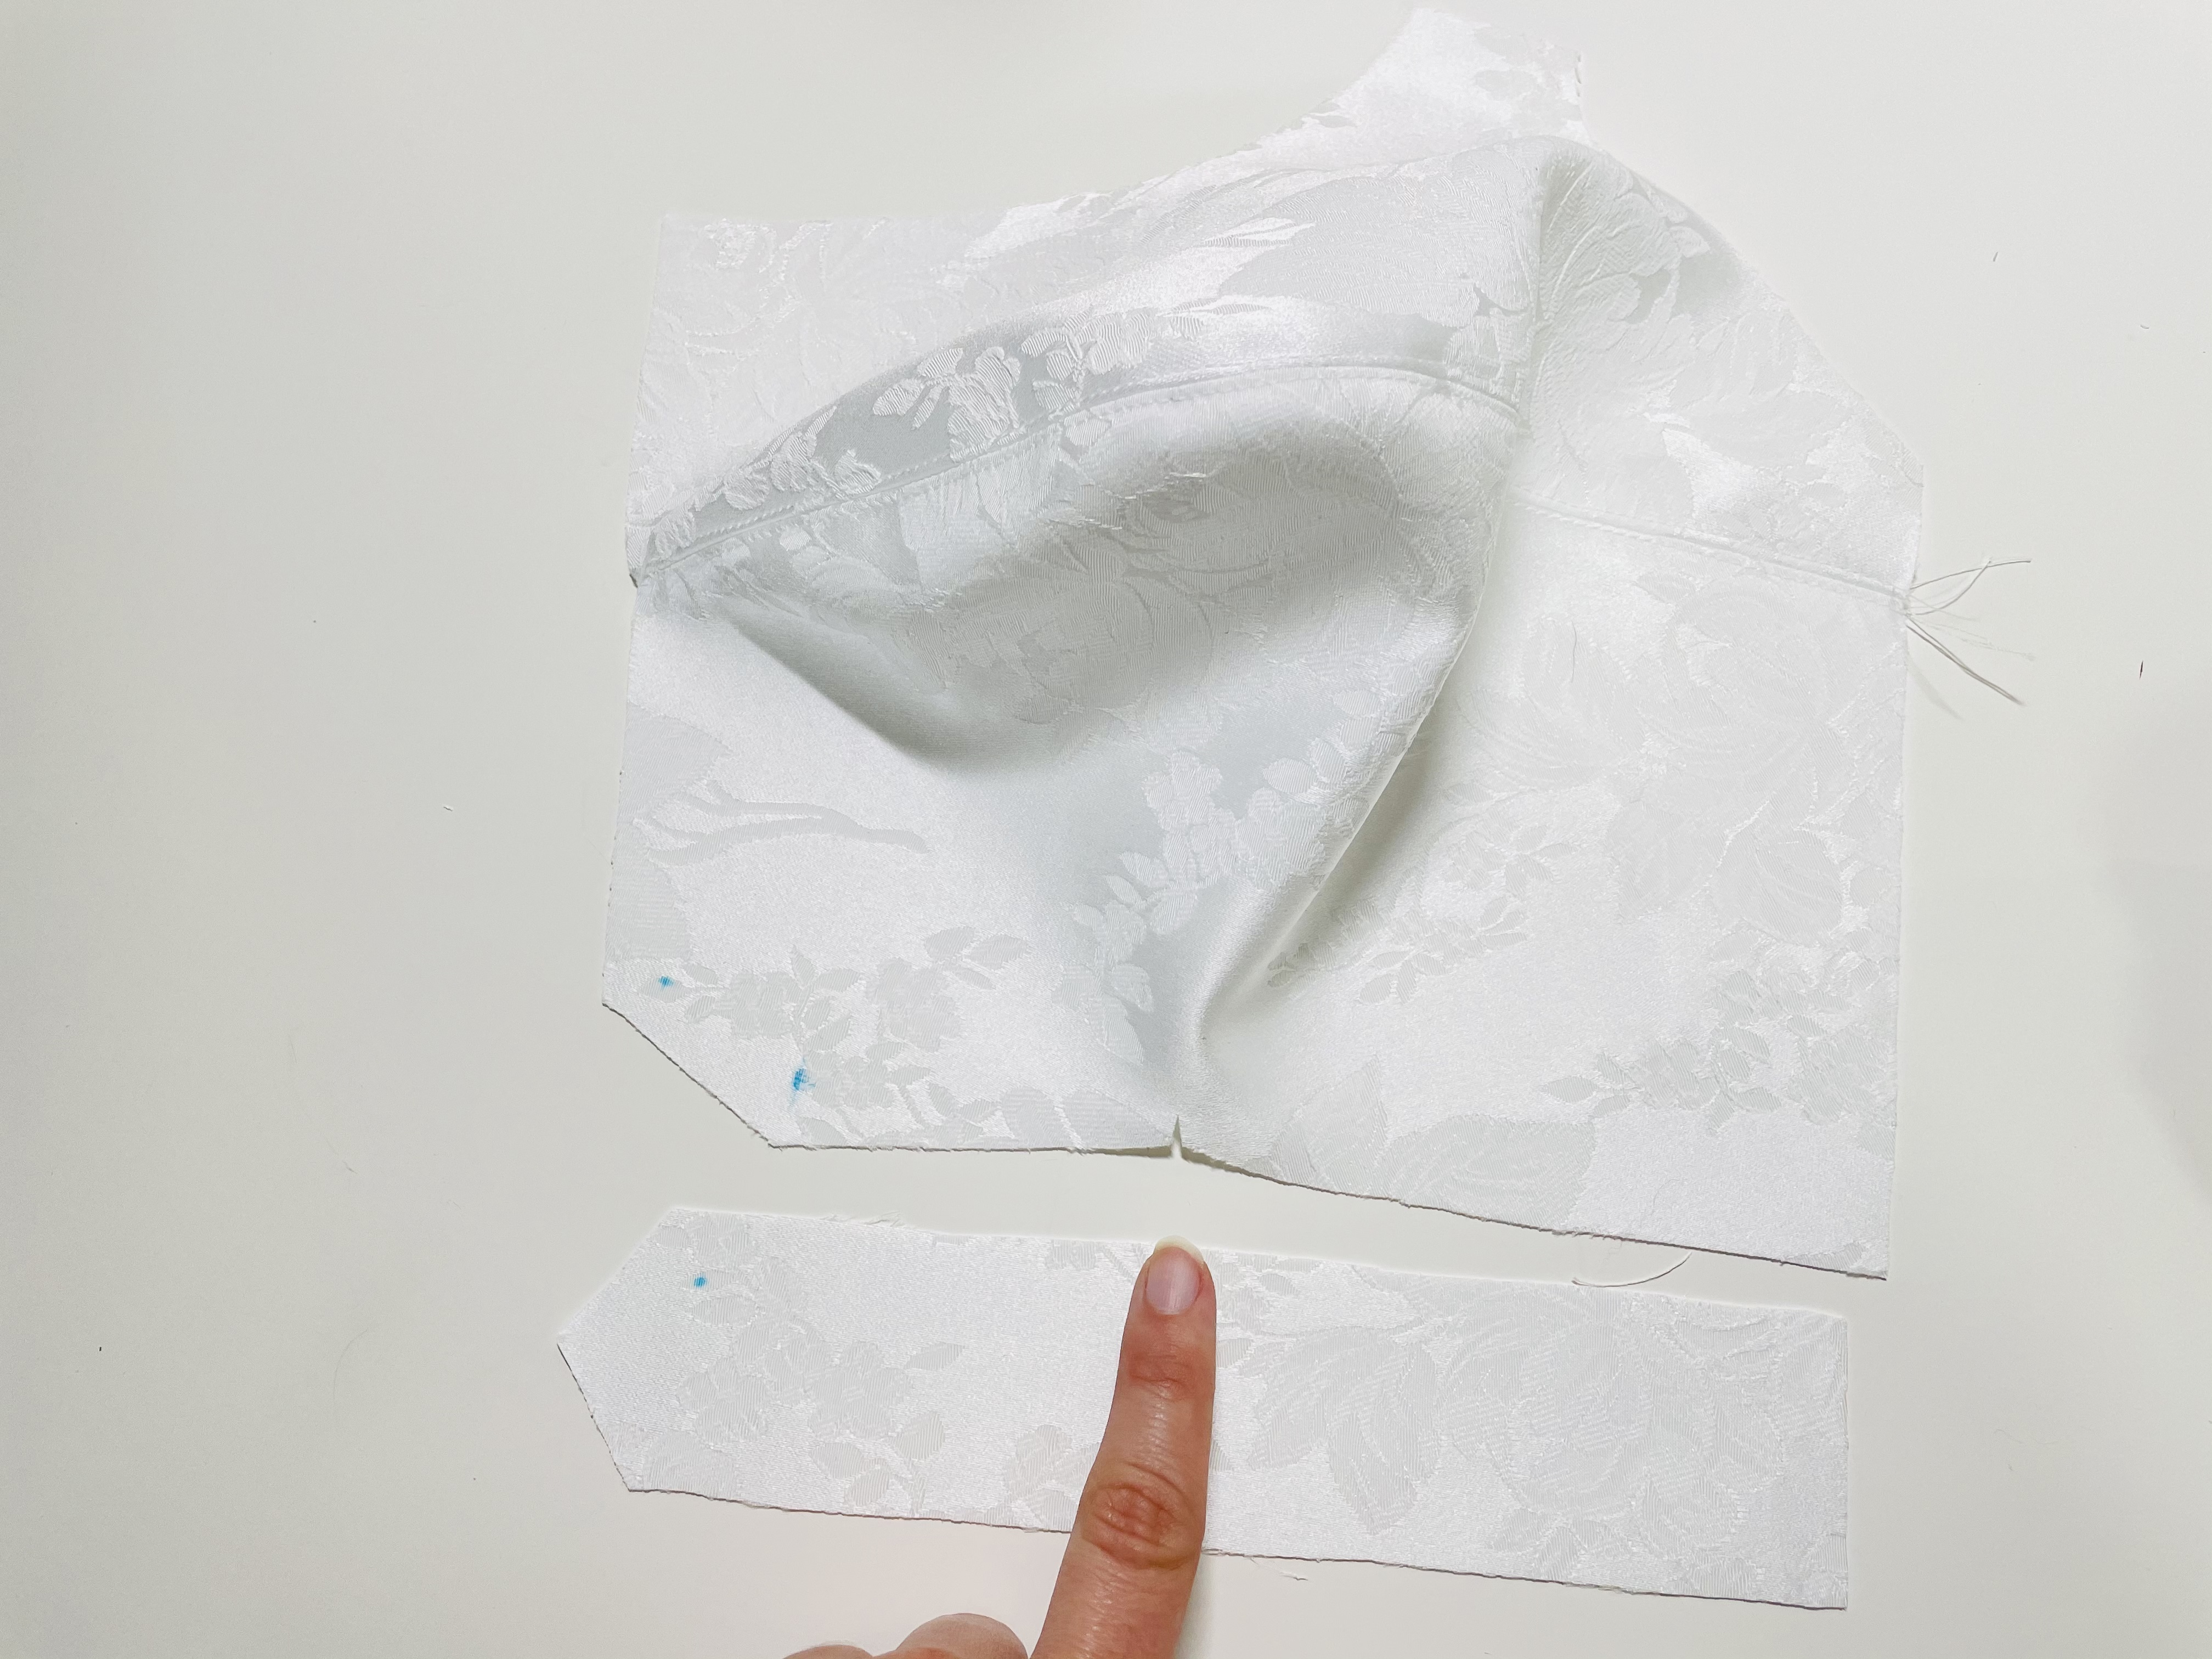
With right sides together, start by poking a pin through the pattern marking on the underband and then through the corresponding marking on the cup, aligning the fabric edge. Then pin the very end of the pieces together, finishing by matching between these two pins. Stitch this at a 1cm seam allowance, stopping at the pattern marking. Repeat for the other cup.
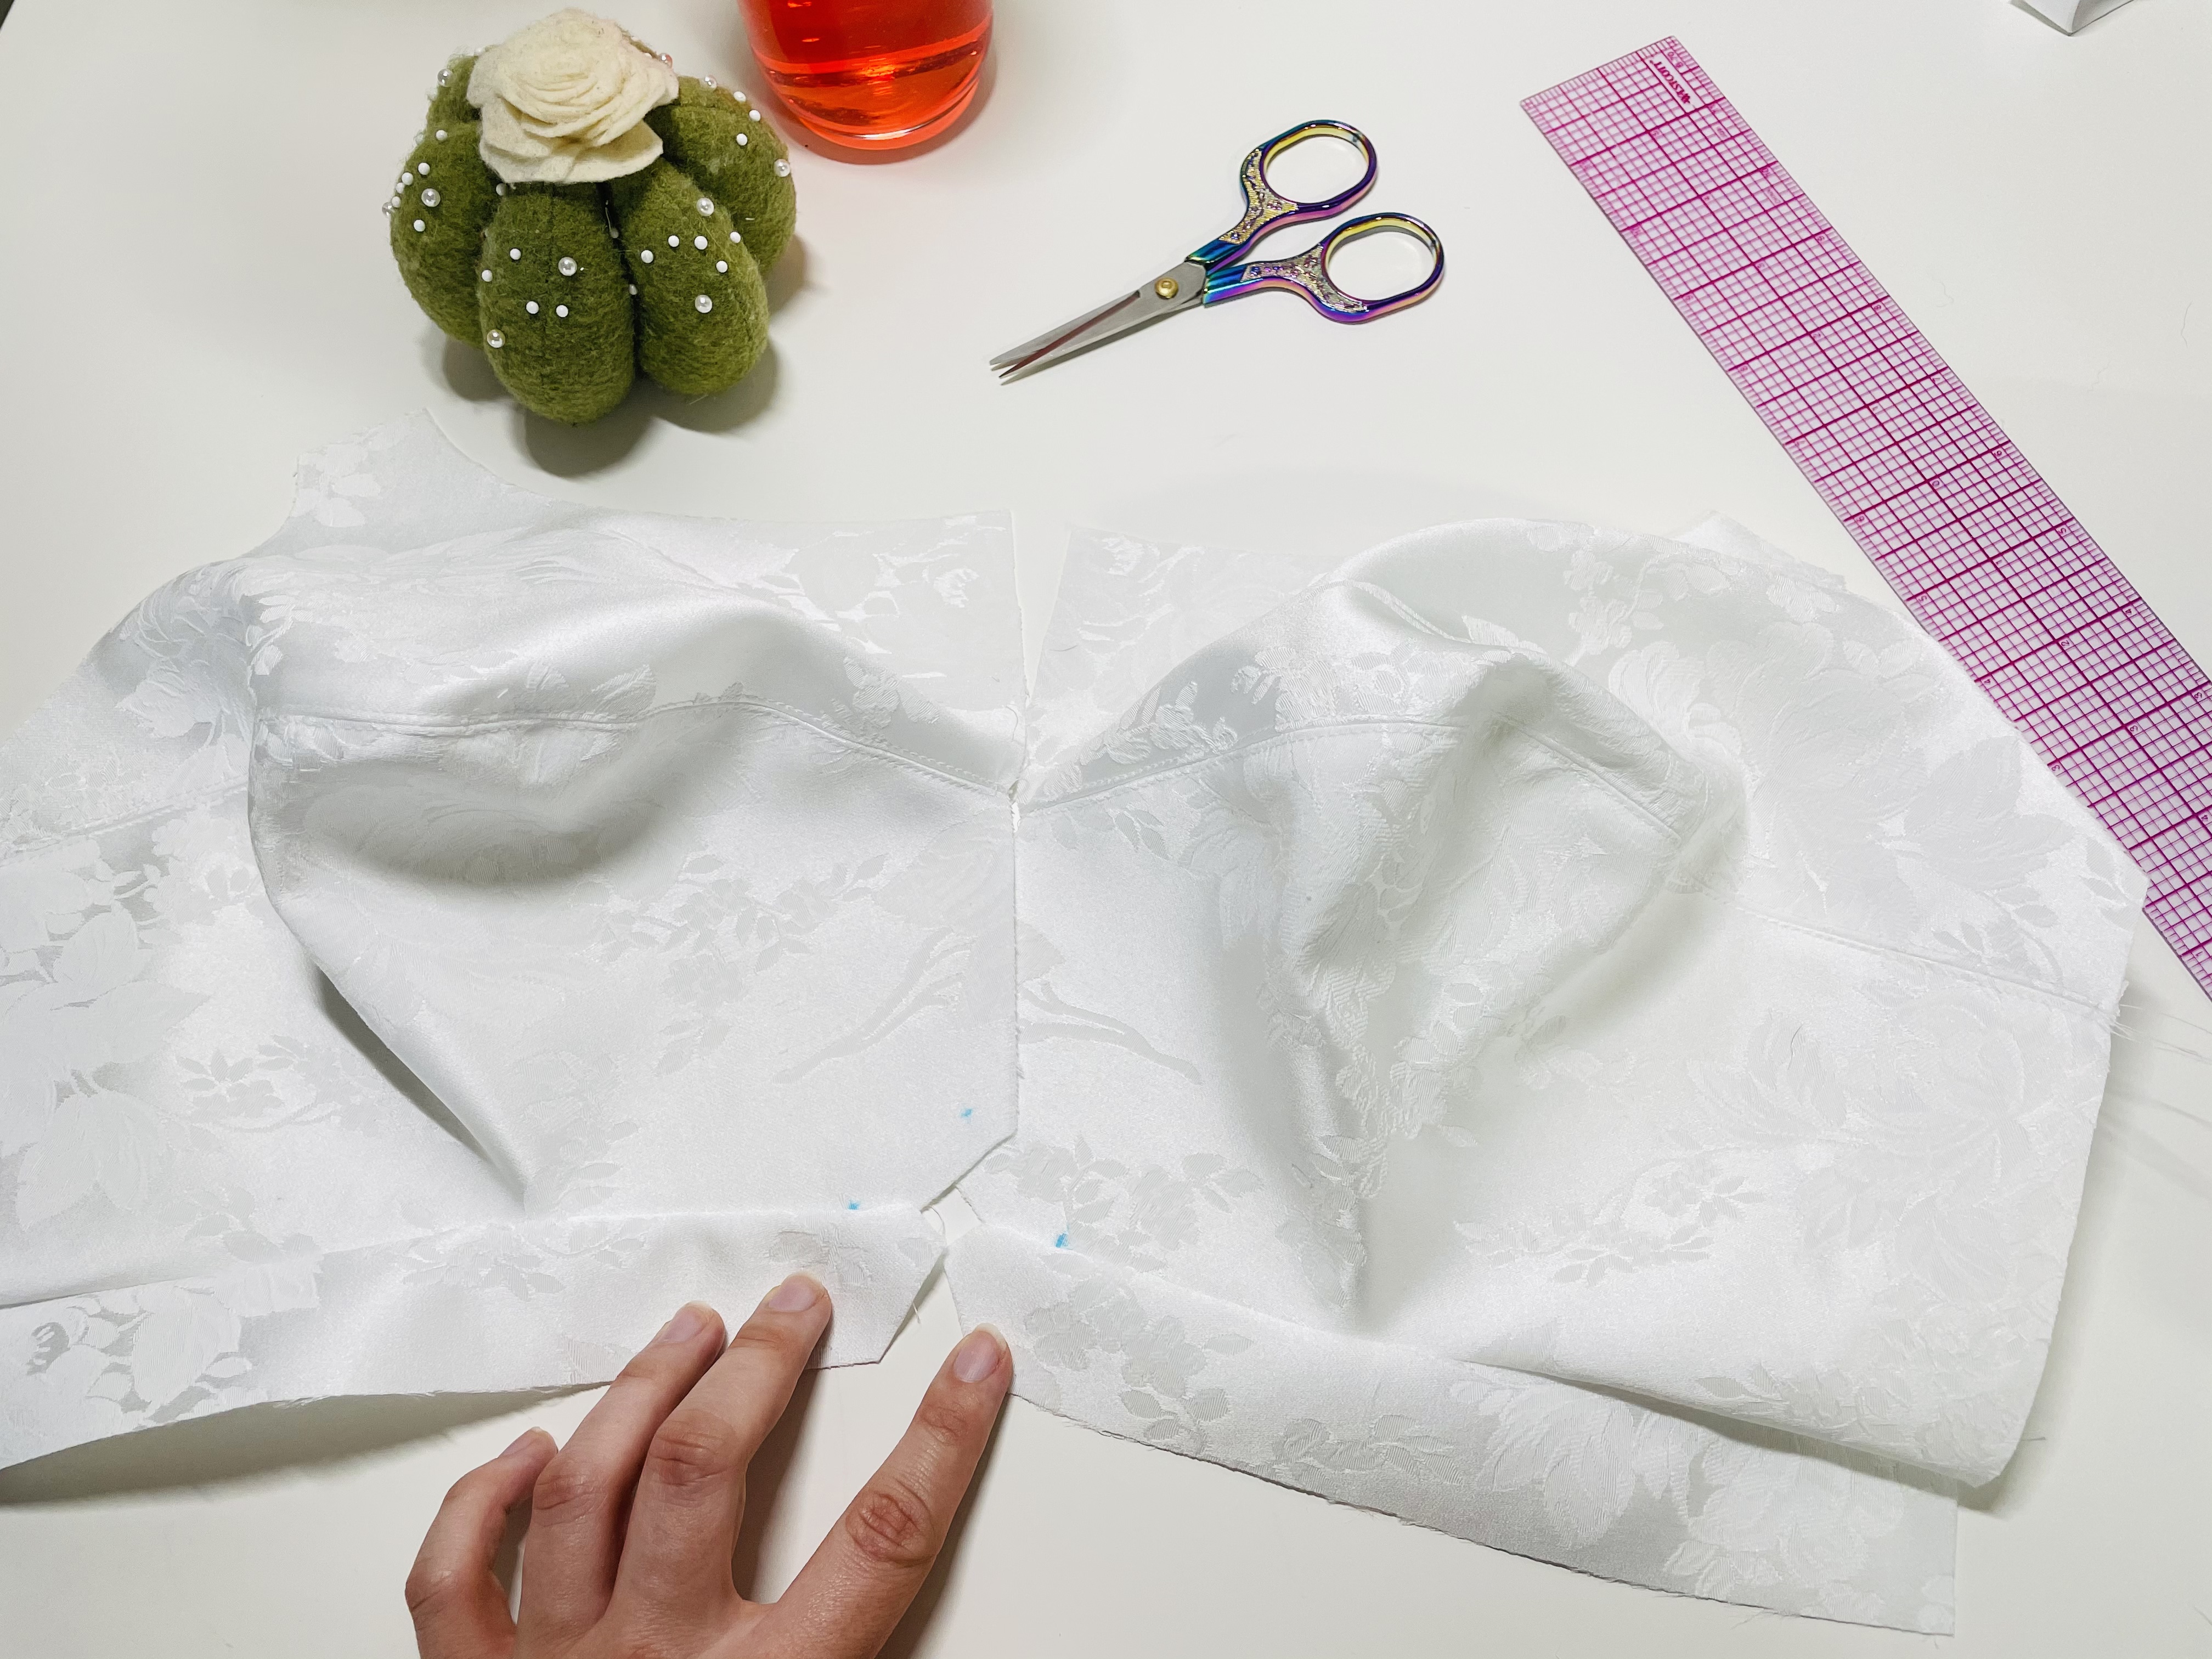
Once you have this sewn together, finger press the seam allowance open and follow the same topstitching method as discussed above: position your needle 1.5-2 mm to the right, stitch down that side of the seam allowance, then position your needle the same amount to the left and stitch down that side of the seam allowance.
Combining the Cups
The next step is to sew the cups together. You want to make sure your horizontal seams match, so I like to start by putting a pin through my horizontal seam on one cup, then through the horizontal seam on the other cup, pinning the cups together here. I then check each side to make sure the pin is aligned with the seam on each, as you can see in this image comparison:
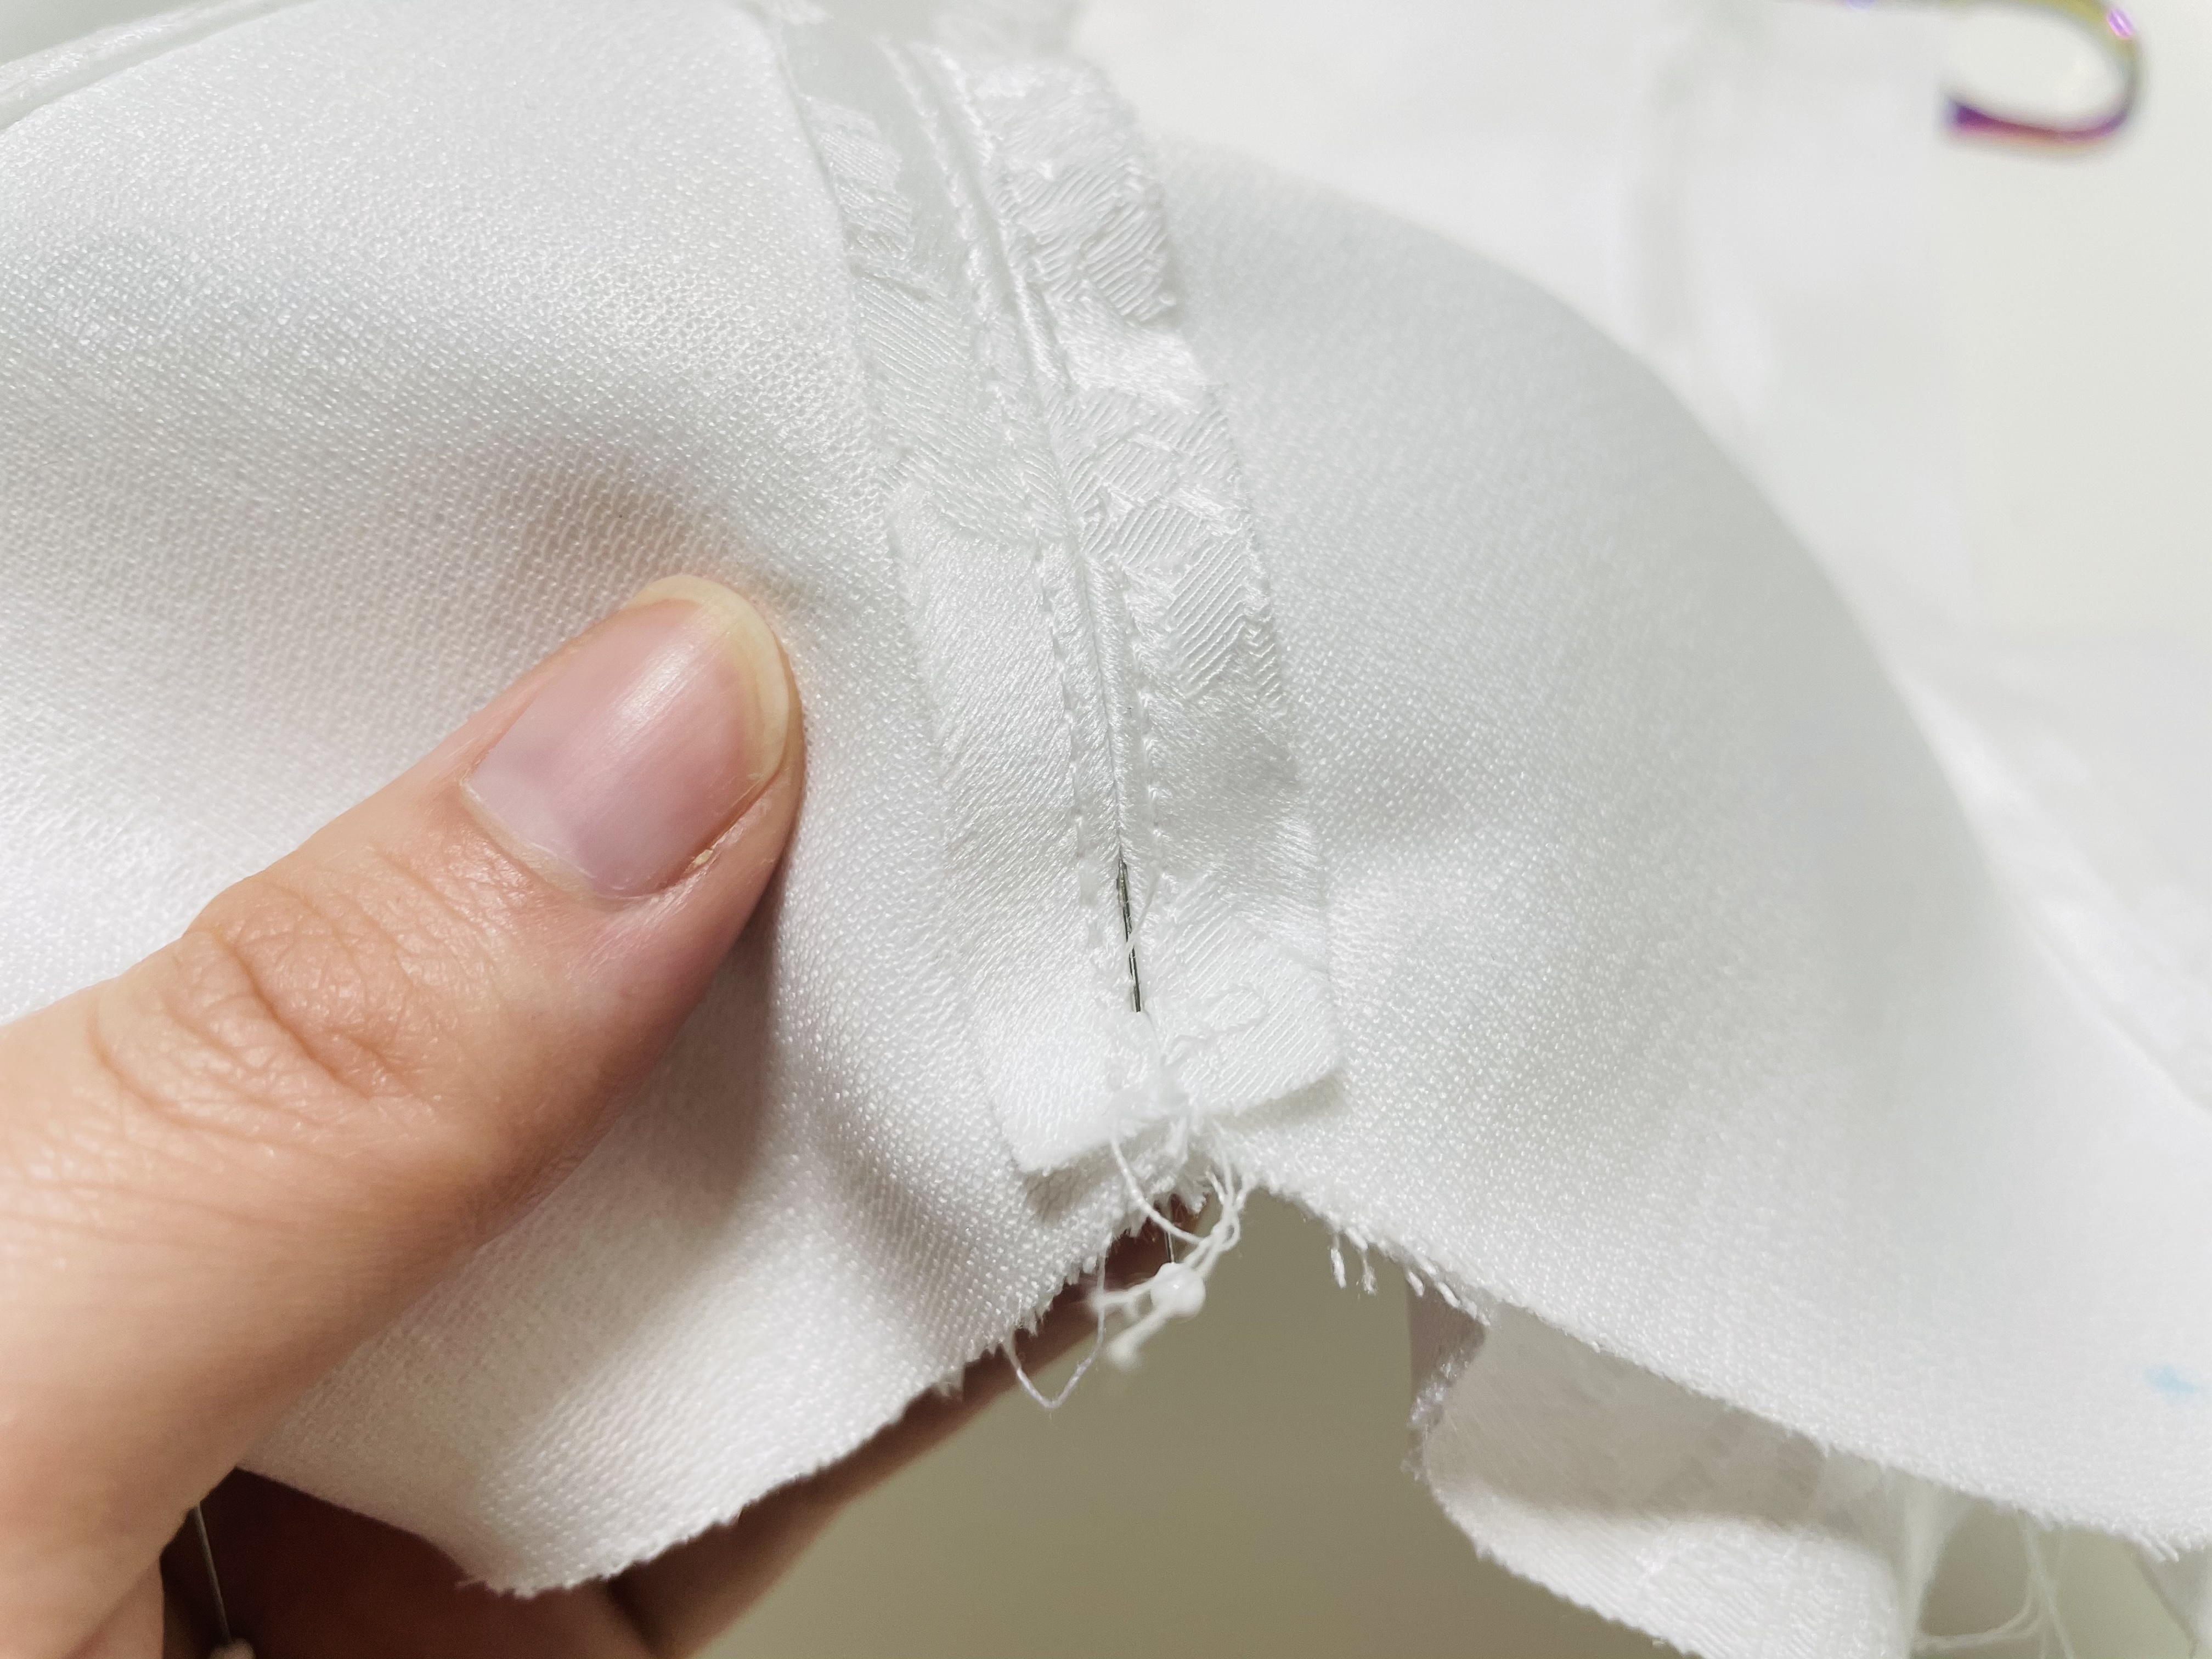
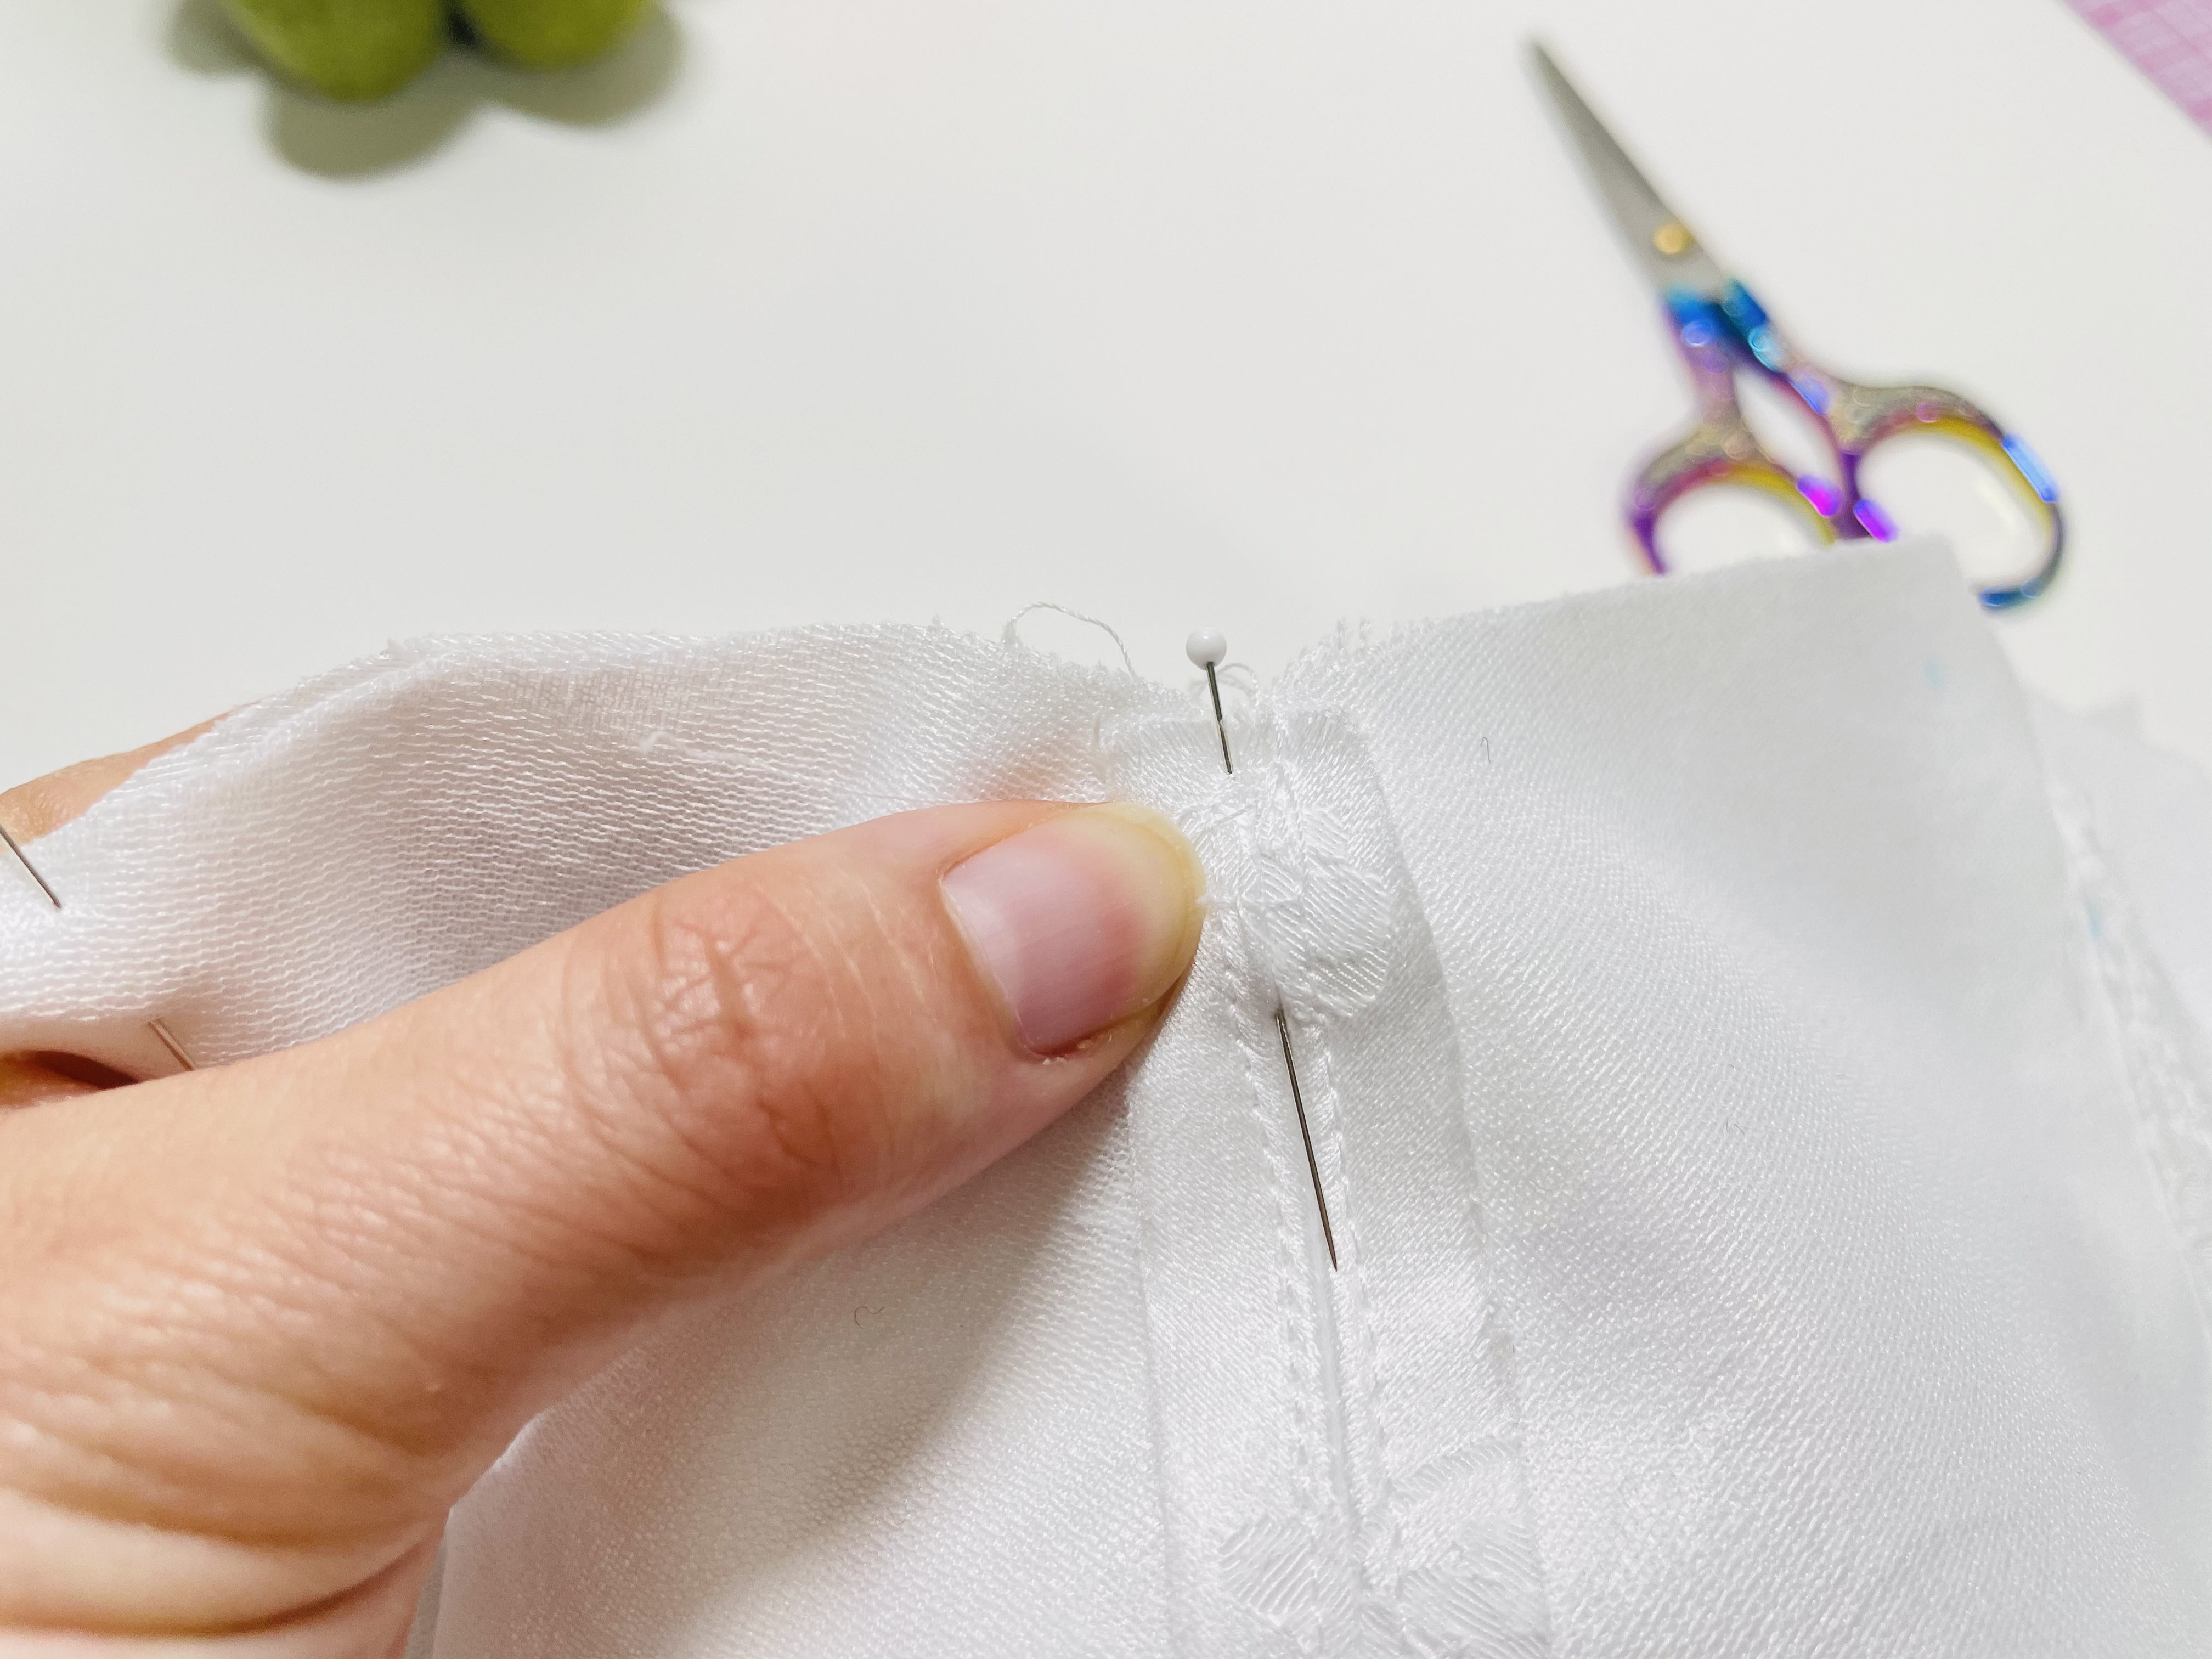
Pin the rests of the center seam up to the pattern marking.
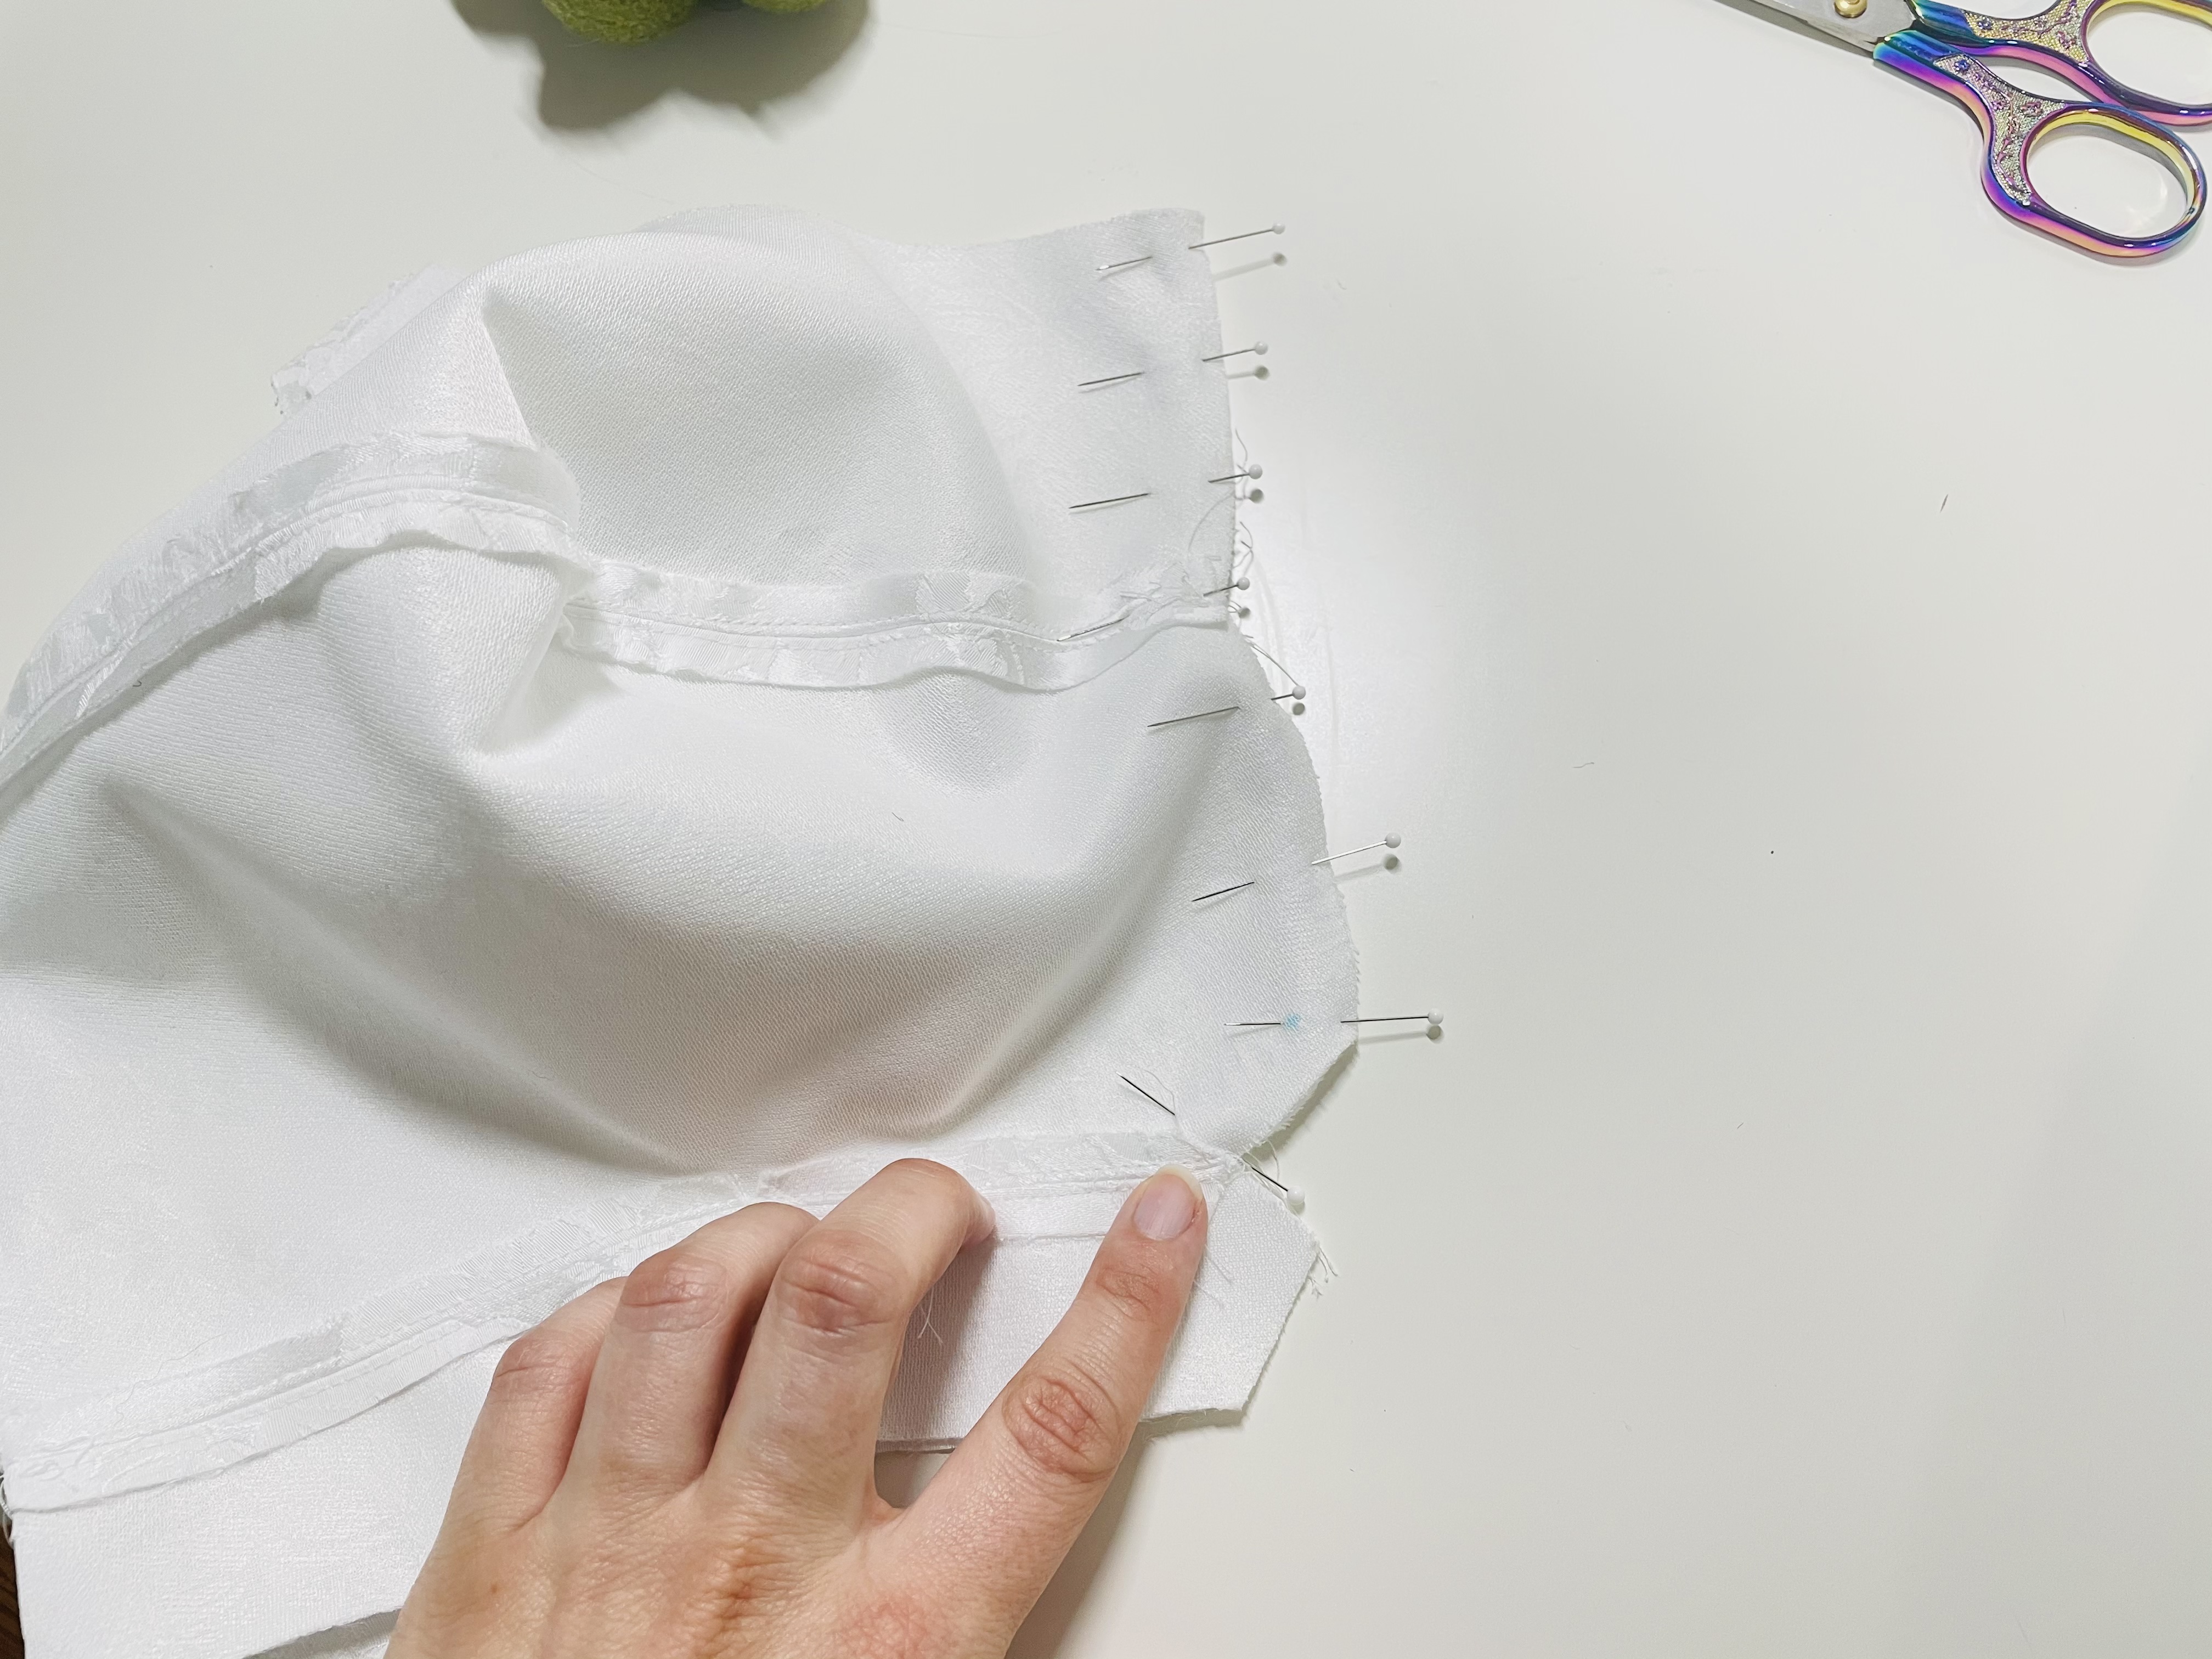
Now, we’re going to stitch from the top of this center seam down to the pattern marking. Be sure not to go past the pattern marking!
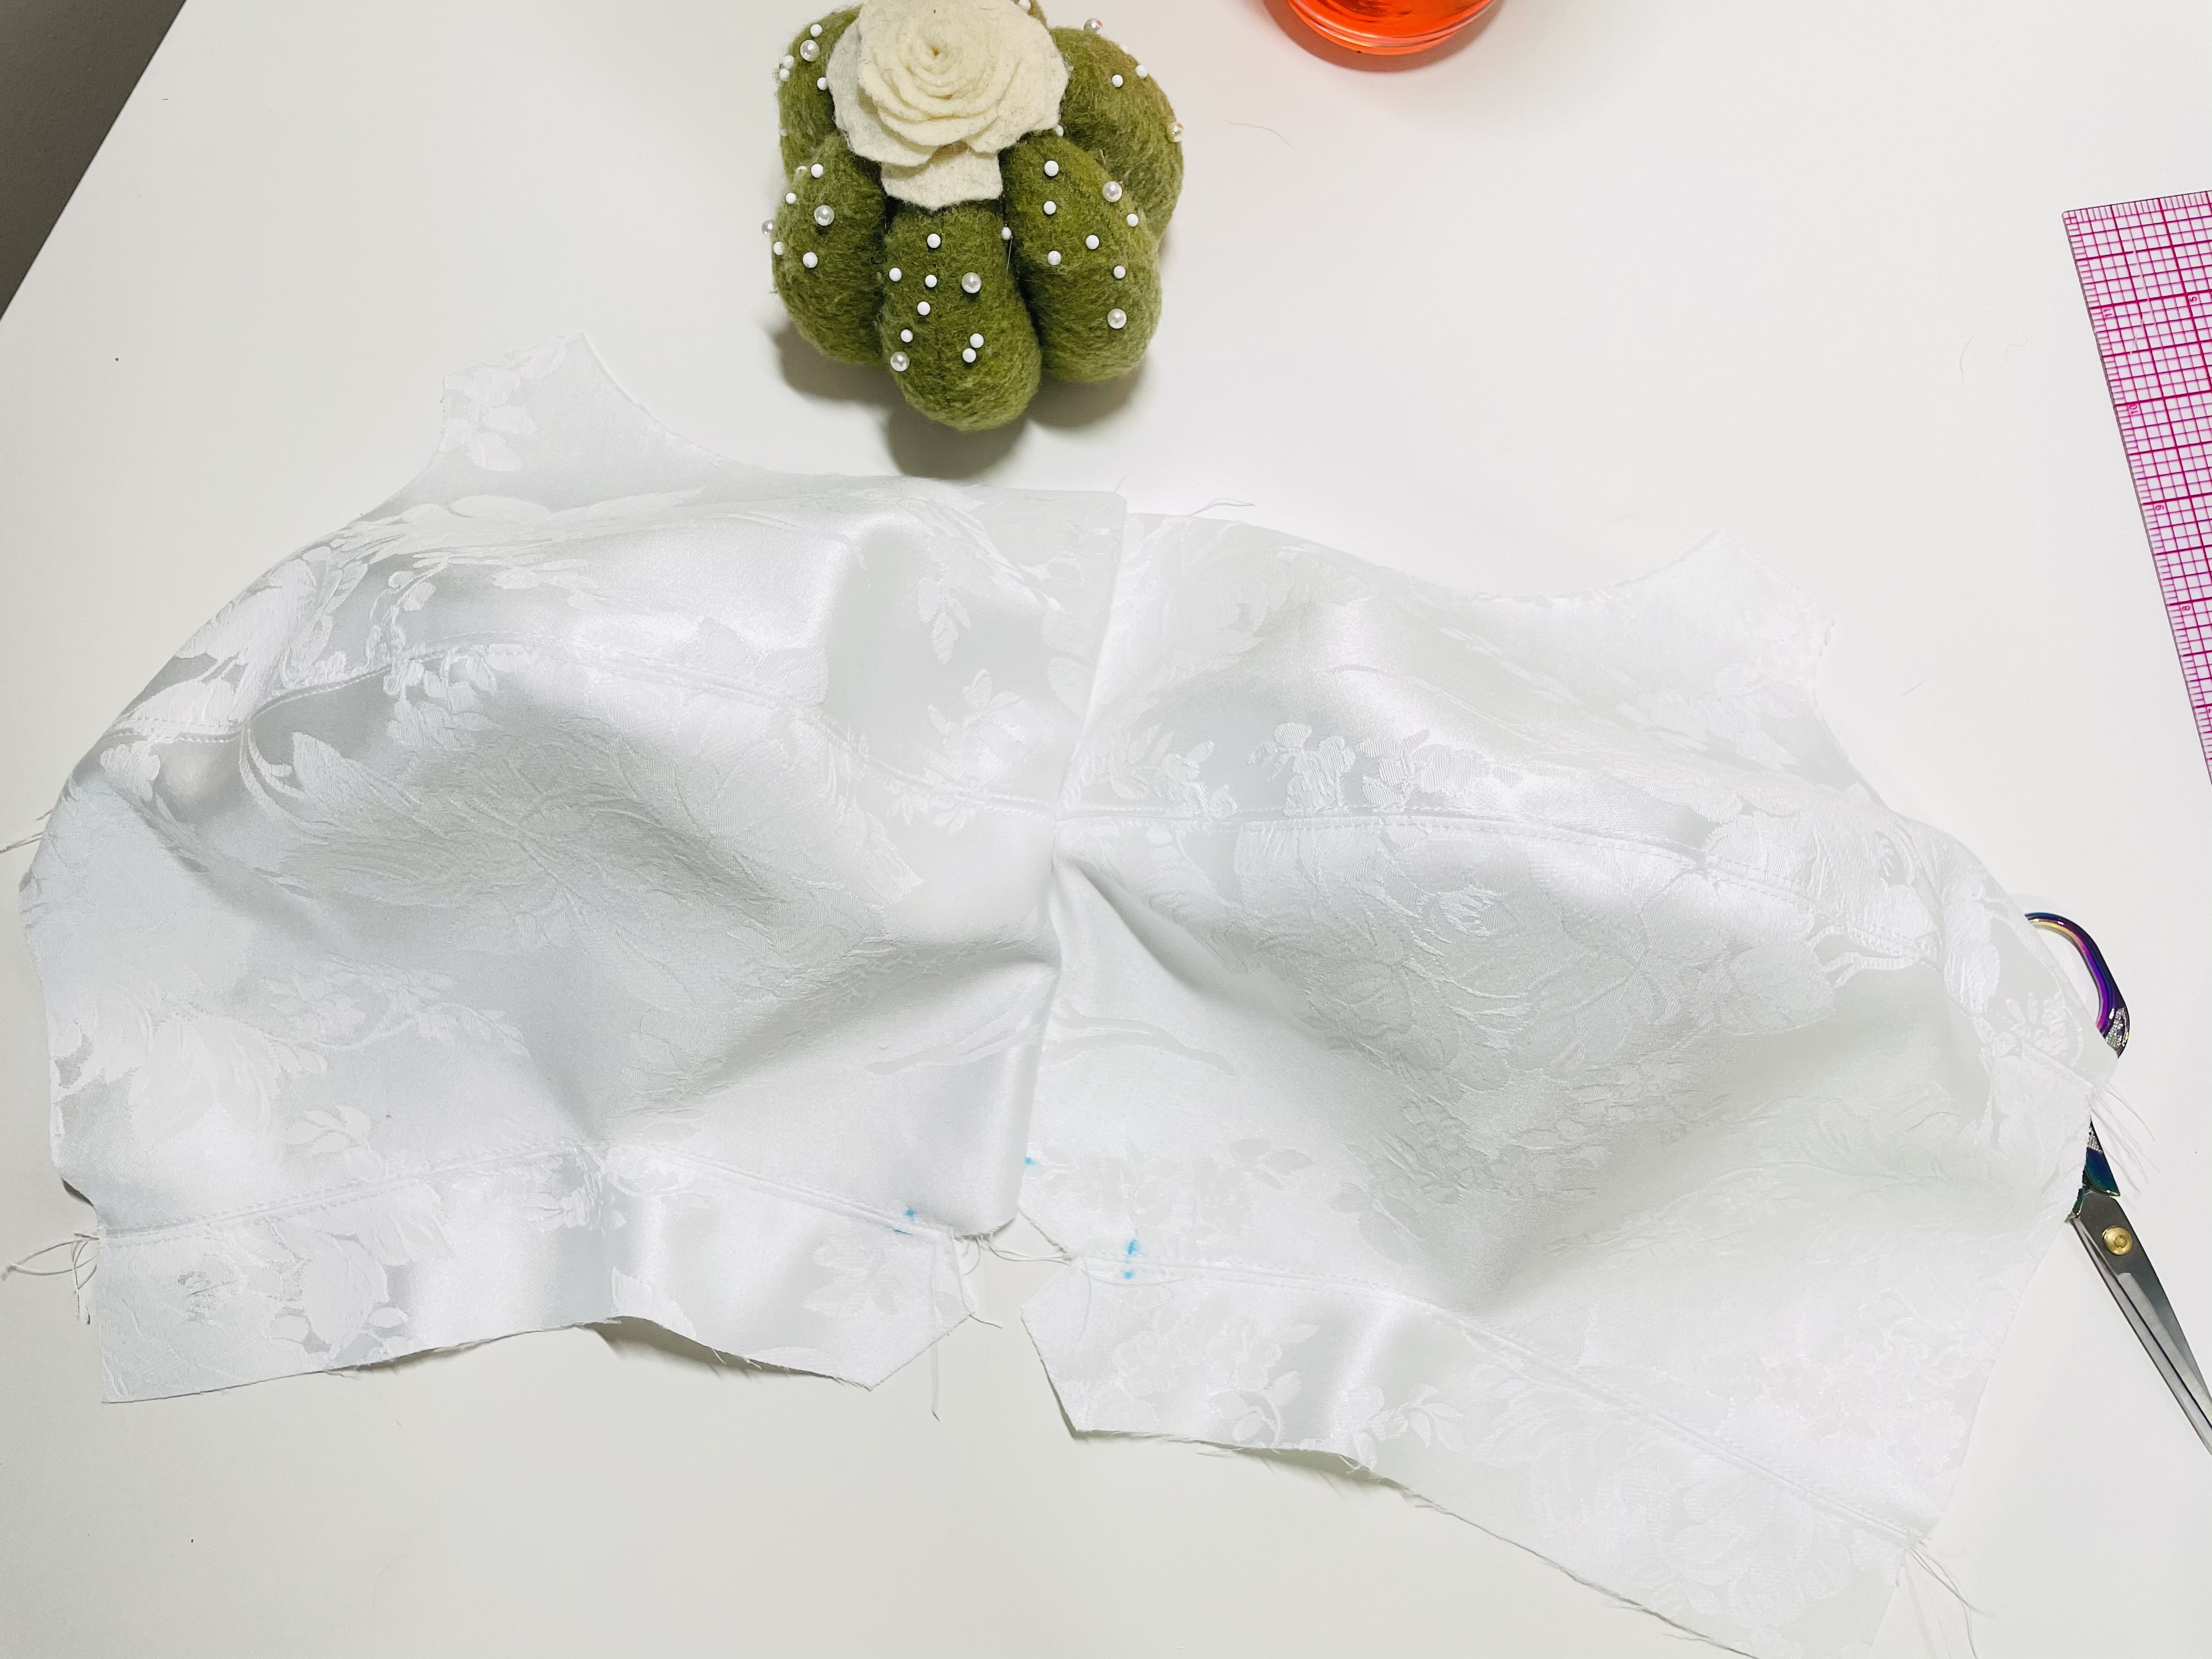
Finger press the seam allowance open and topstitch, using the method described above.
Attaching the Wing
Remember how I said that, if your underbust measurement is less than 40″, to cut the largest wing? And if your underbust measurement is above 40″ to add inches to the wing per the instructions in last week’s post? You are not going to trim it at this point. We will trim it next week, if needed.
So, for now, we’re just going to attach the wing you cut to the cup and underband. Start at the bottom of the underband, and pin upward. You may have a bit of overhang on one piece or the other at the top. Don’t worry about this.
Sew at a 1 cm seam allowance.
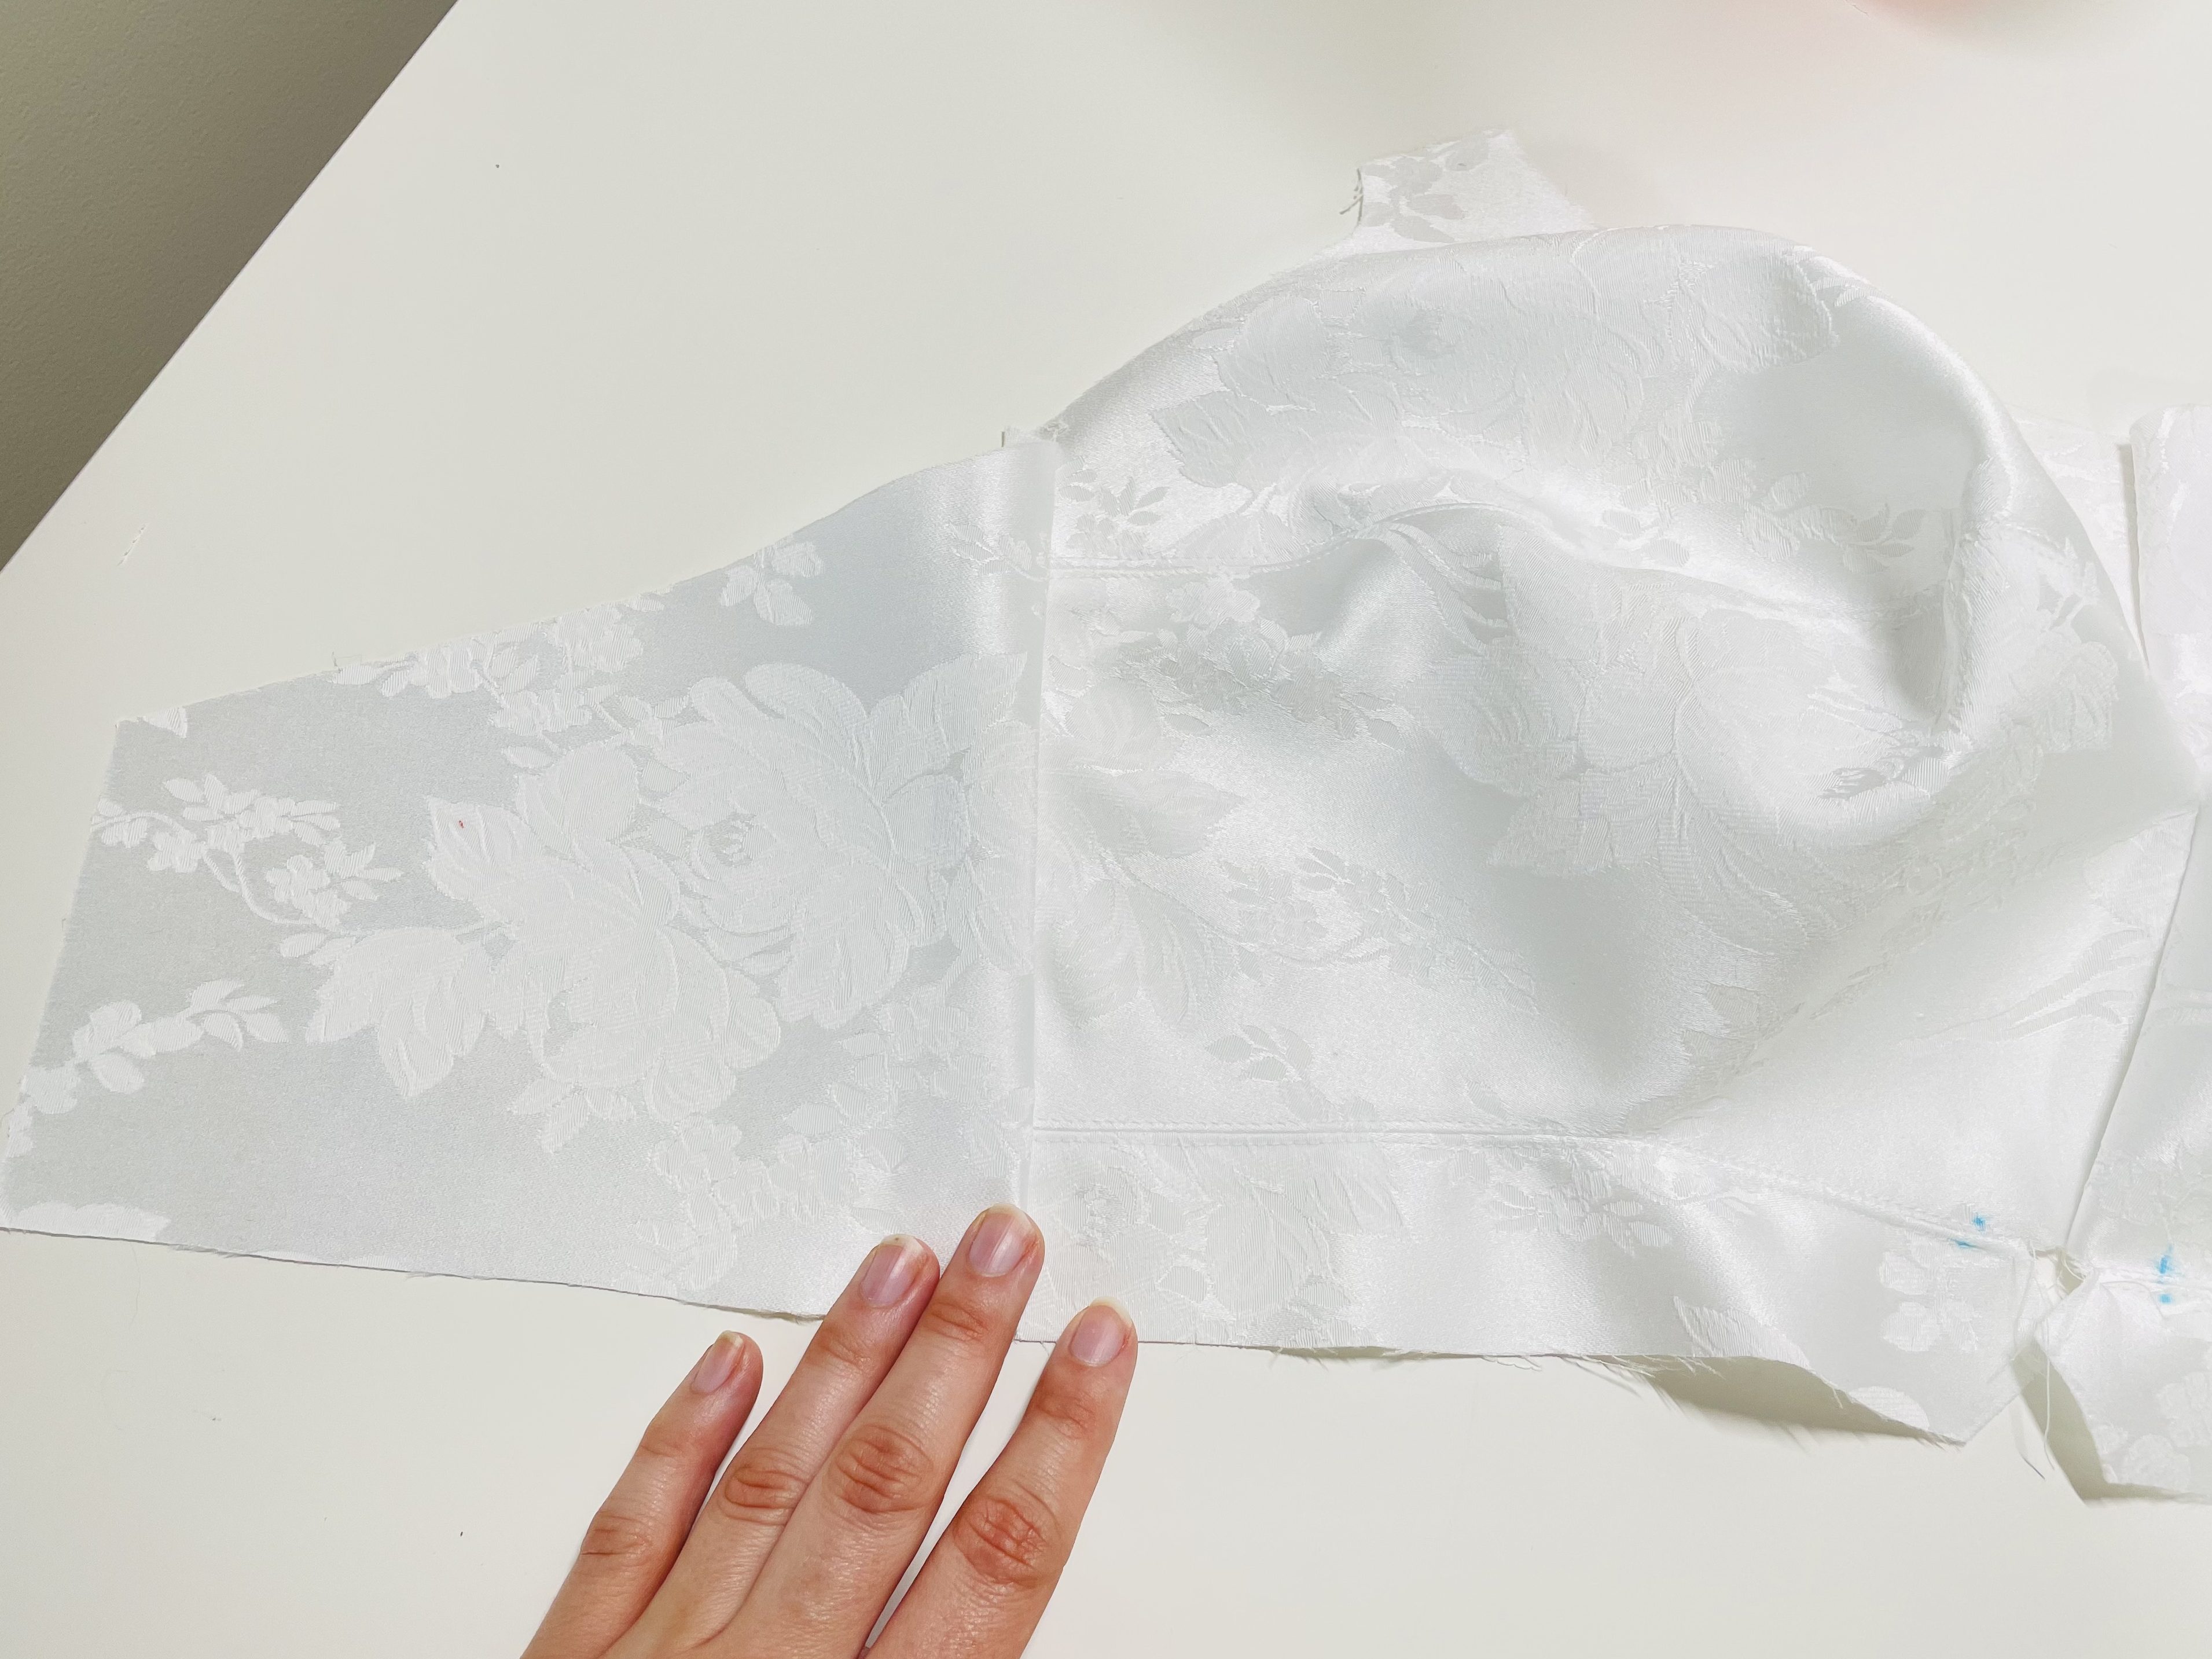
Once again, you need to finger press the seam allowance open and topstitch!
The last step we’re going to do today is to trim that little extra where the cup meets the wing. You may not have this extra, as I altered my wing a bit, and honestly may have introduced this issue. But if you do have this little extra, just trim it off like this:
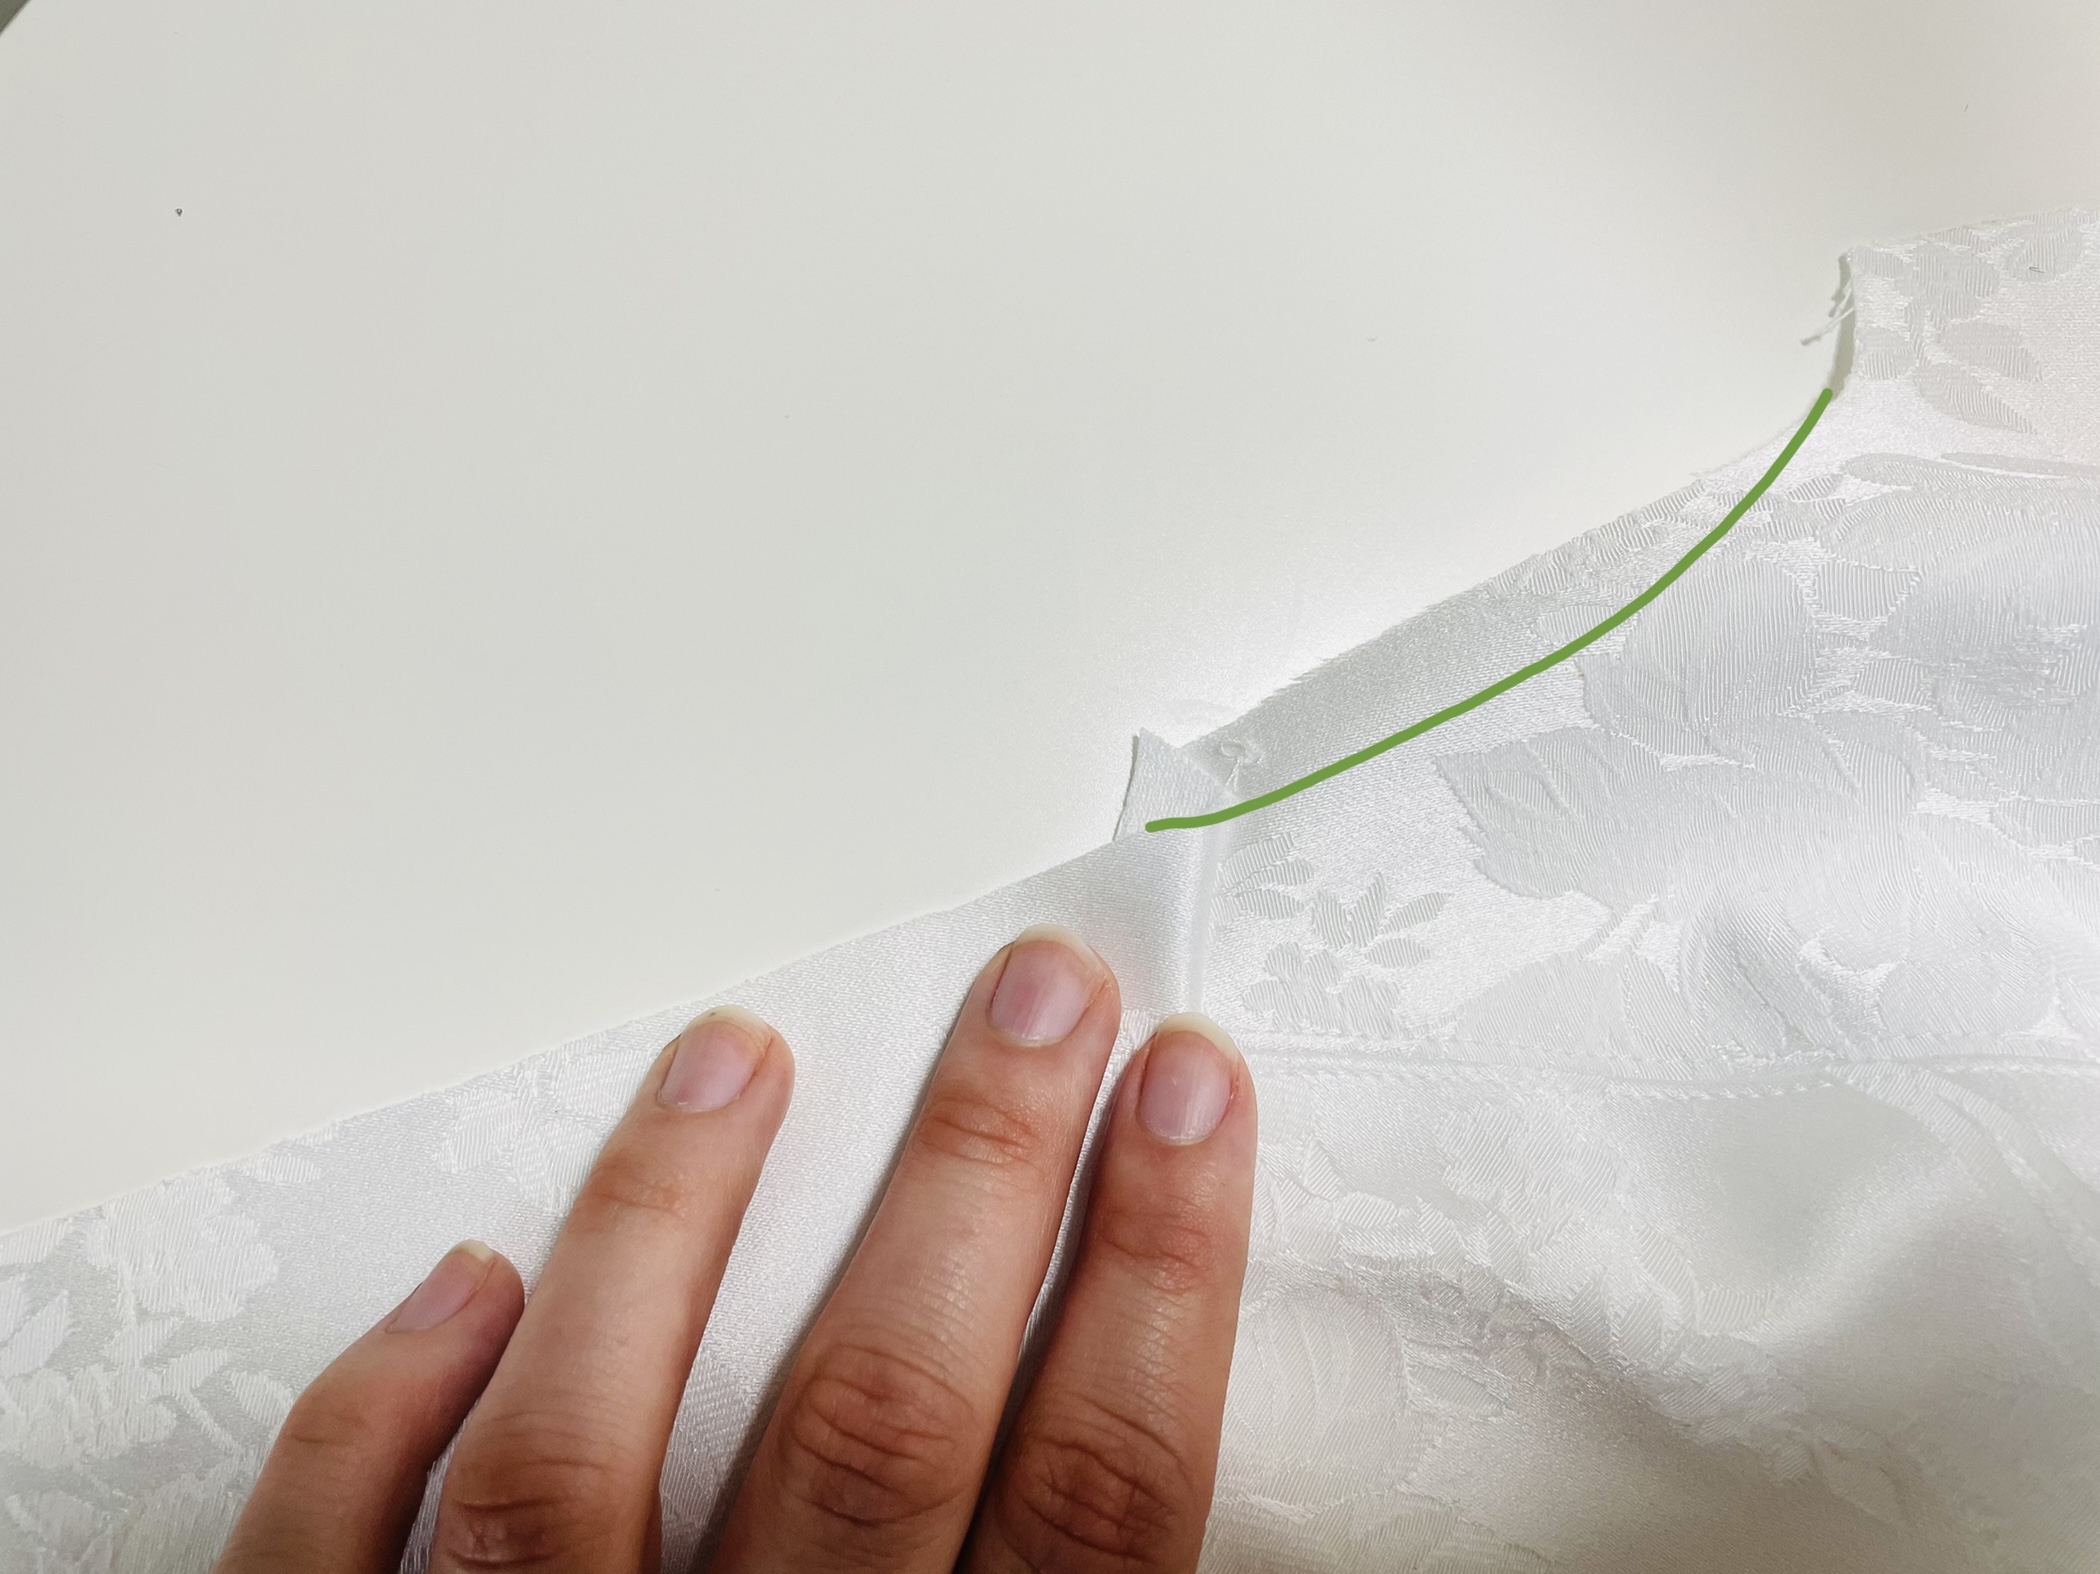
Make sure to do this entire process on both your main and lining.
Your Homework
This week, you should:
- Sew and topstitch your horizontal cup seam on your main and lining
- Sew and topstitch the underband onto the cups for your main and lining
- Sew the cups together and topstitch on your main and lining
- Sew the wing onto the cups, topstitch, and trim if needed on your main and lining
The next installment of the Jet Set Bra sew along will take place June 21! We’ll talk about combining your main and lining, inserting the band elastic, and start talking about your closure.
Questions? Don’t forget to join our live chat on Wednesday! More info can be found here! If you can’t make it, feel free to drop a comment below, or ask on the Sew Busty Facebook group or subreddit.
And, as a preview of things to come, on June 27 at 3 PM Eastern USA time (UTC-4), Kerry, the designer behind the Jet Set Bra, and I will host another live chat to talk with you about construction and fit! Click here to register on Facebook for the June 27 live chat. Not on Facebook? No worries. Click here to join directly via Google Meet on June 16 at 3 PM EDT.



Carol-Ann Drummond
June 14, 2021Is 7 cm increase in my y mean I purchased the wrong size?
sewbustycommunity
June 14, 2021My inclination is that no, as long as you’re sure you followed your BCD measurement, any increase in your Y is do-able. But I’m double checking with the designer just to be sure. Back at you in a bit!
sewbustycommunity
June 14, 2021Okay, so Kerry says that anything up to a 10 cm Y addition can be done the way she shows in the embedded video here. Then, you’ll want to make your first bra out of a non-precious fabric in case it needs tweaked (which is generally a good idea with any new bra pattern anyway!).
If this method doesn’t work super well, there’s a more detailed and precise (but more difficult) method that can be used wherein you take a split Y/horizontal hemisphere, then add to the HH in two places, on each side of the apex. I’ll describe that method here: On the pattern, you’ll see “EQ” with two numbers. You’ll take your measurement from apex to center front on your body. Figure out the difference between that measurement and the first number after the EQ on your pattern; that’s how much to add between apex and CF. Now, measure on your body from apex to the breast root on the outside of your breast. Figure out the difference between this and the second number after the EQ on your pattern. This is how much to add between apex and armpit. You may want to slightly play with those numbers to make sure the distance from apex to CF is smaller than the distance from apex to armpit, to encourage forward projection. If you go with exactly the differences between those numbers, you may end up with east-westing (where your breasts point outward instead of forward).
I hope this makes sense! I know it’s complicated!
Carol-Ann
June 14, 2021Oh wow. Well I added the 7 so I will whip up a one with cheap cotton and see how it fits.
Thank you for your response.
C-A
Hannah
May 26, 2022Do you know if that grainline marking is traditional grainline (length of fabric) or direction of greatest stretch? My pattern didn’t have it marked and I can’t figure out which way to orient the pieces.
If it is direction of greatest stretch, is that the bias? I’m trying to determine based on this article by Madalynne. Thank you!
https://madalynne.com/what-is-direction-of-greatest-stretch-or-pull-in-bra-making/
sewbustycommunity
May 27, 2022Hi Hannah! On the Jet Set, it’s a traditional grainline! Usually patterns that go by DOGS will note DOGS on the pattern. I hope this helps!