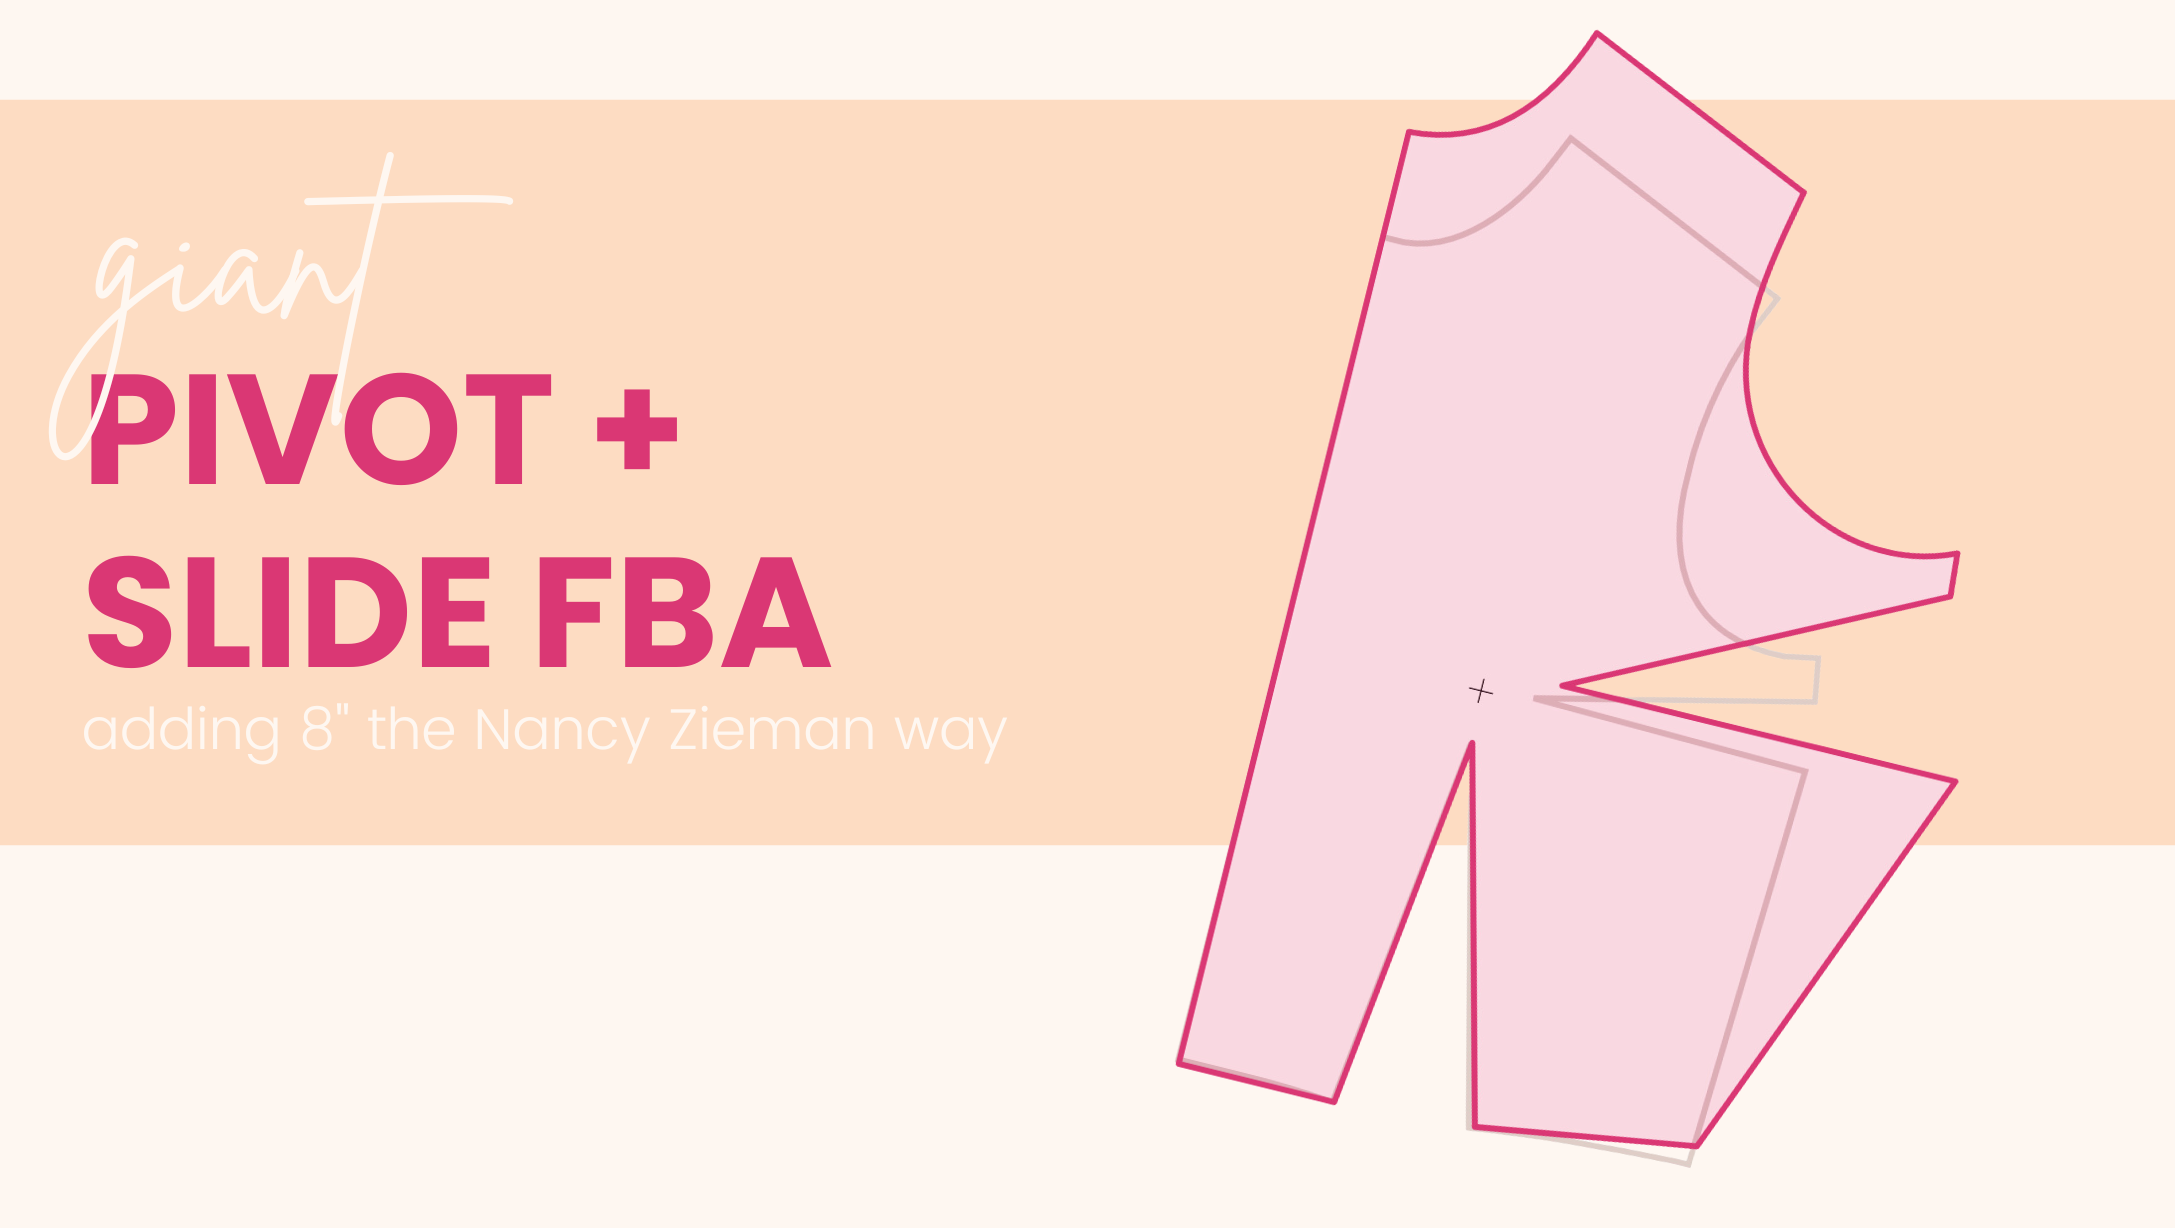
Full Bust Adjustment Guide | Pivot + Slide Giant FBA
What’s a giant FBA? This post is part of a series on “giant”…

What’s a giant FBA? This post is part of a series on “giant”…
Intro If you’ve been following Sew Busty for a while, you know that…
Once upon a time, not too long ago (like … three months ago),…
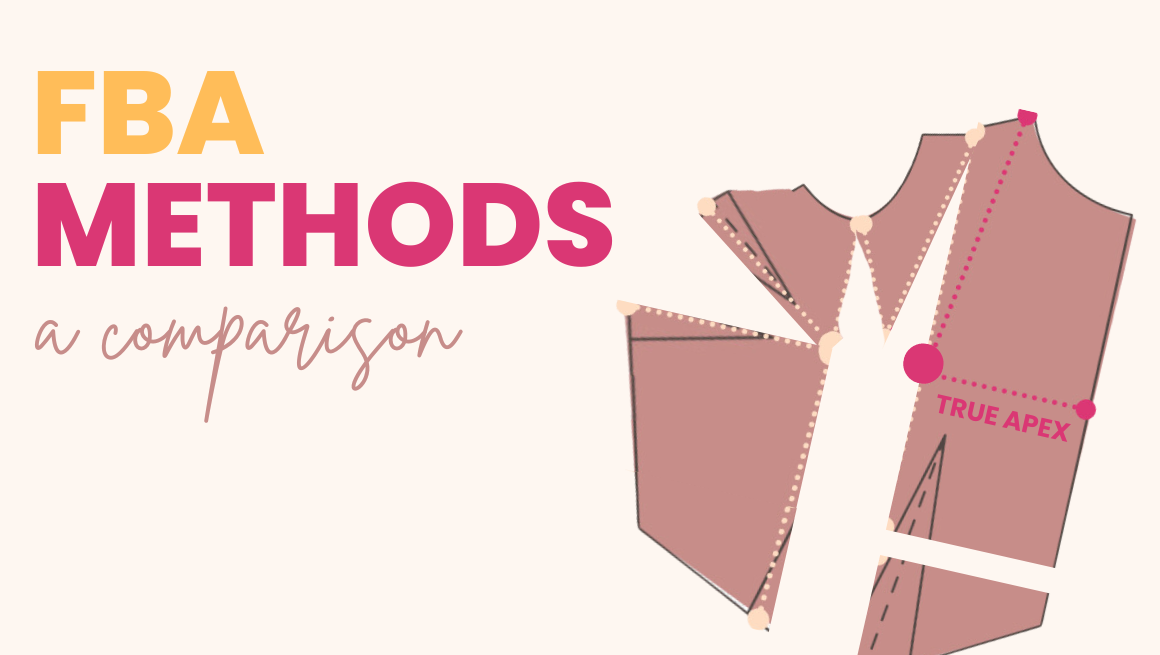
Jump to: Choosing a Base Size | Performing the FBA | Reducing the…
I’d like to start off by giving a little history on my personal story, mostly…
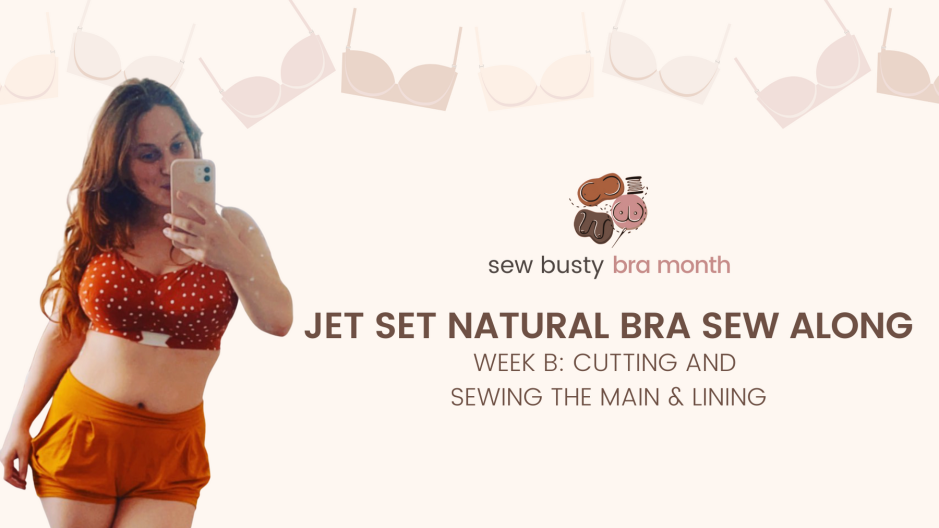
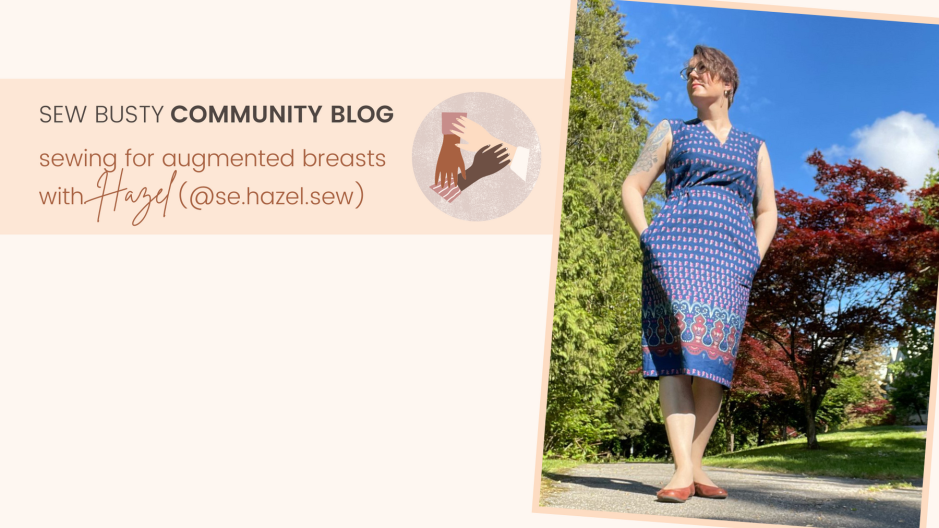
At Sew Busty, June 2021 is bra month! Catch up on all the…
The Sew Busty Community is for anyone who is busty. Anyone who has ever had to do a full bust adjustment. Sew Busty Patterns focuses on folks with a 6"/15.2cm + full to upper bust difference, but all busty sewists belong here.