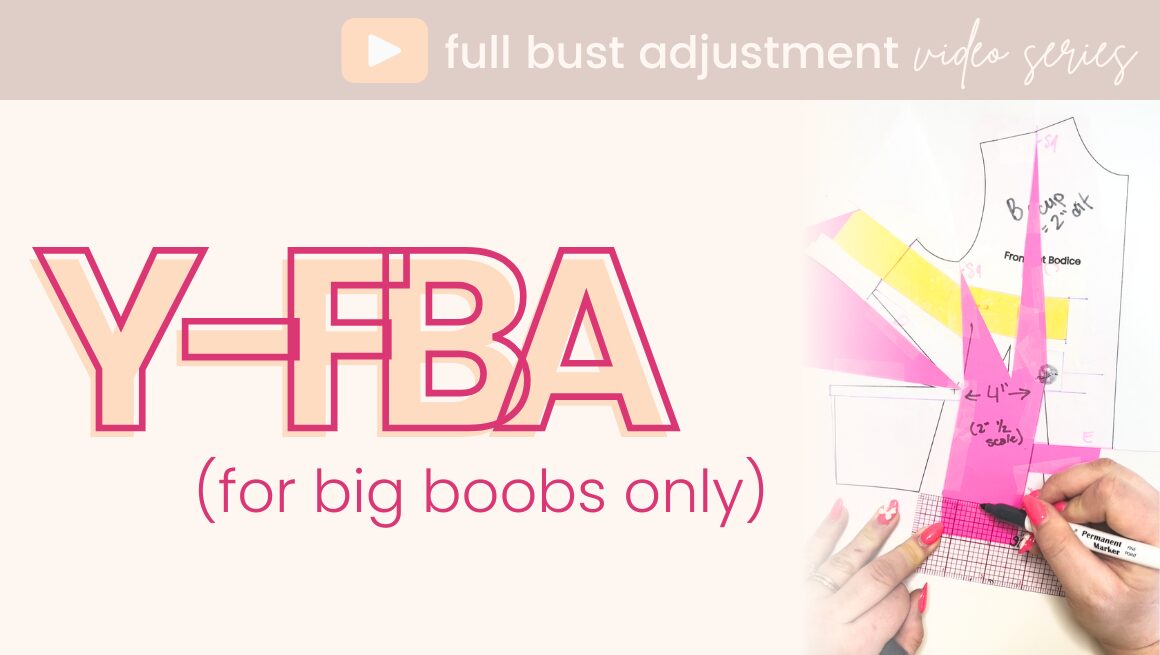
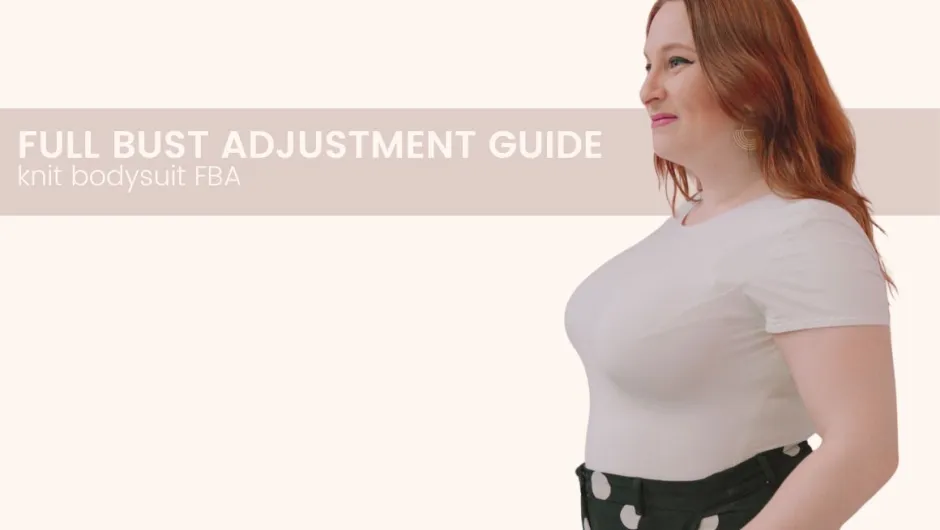
FBA Video Series Part 2: Y FBA
Bigger boobs? Bigger FBA! If you’re rocking an F+ cup (aka a 6”+…

Bigger boobs? Bigger FBA! If you’re rocking an F+ cup (aka a 6”+…
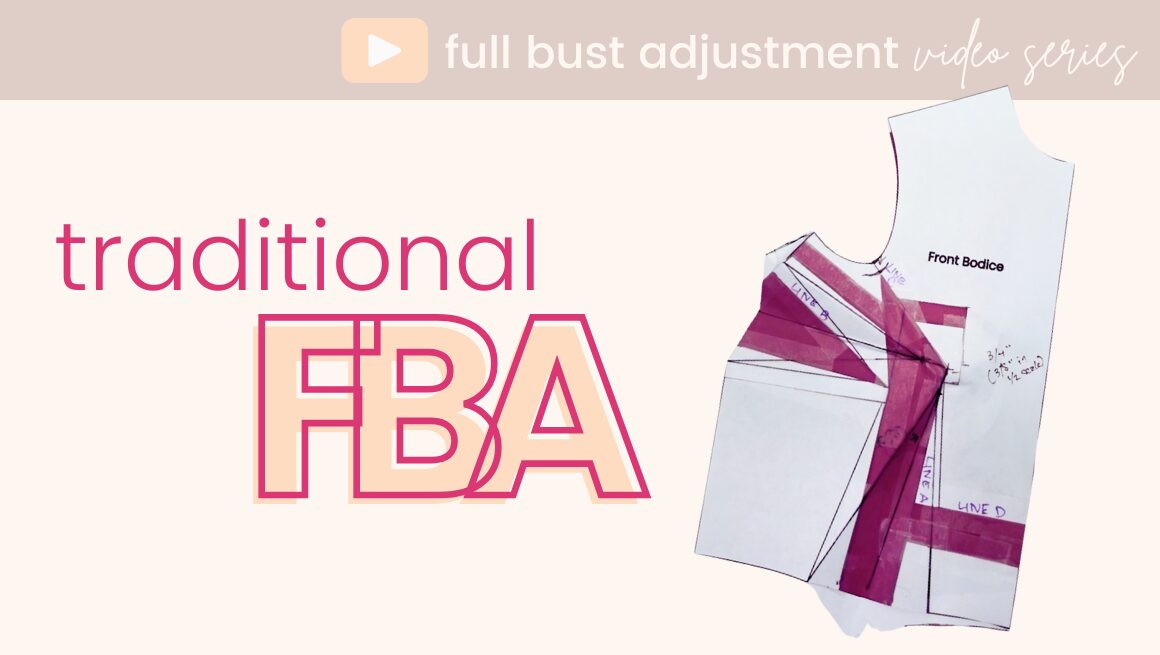
Got big boobs but your sewing pattern doesn’t? Time for a full bust…
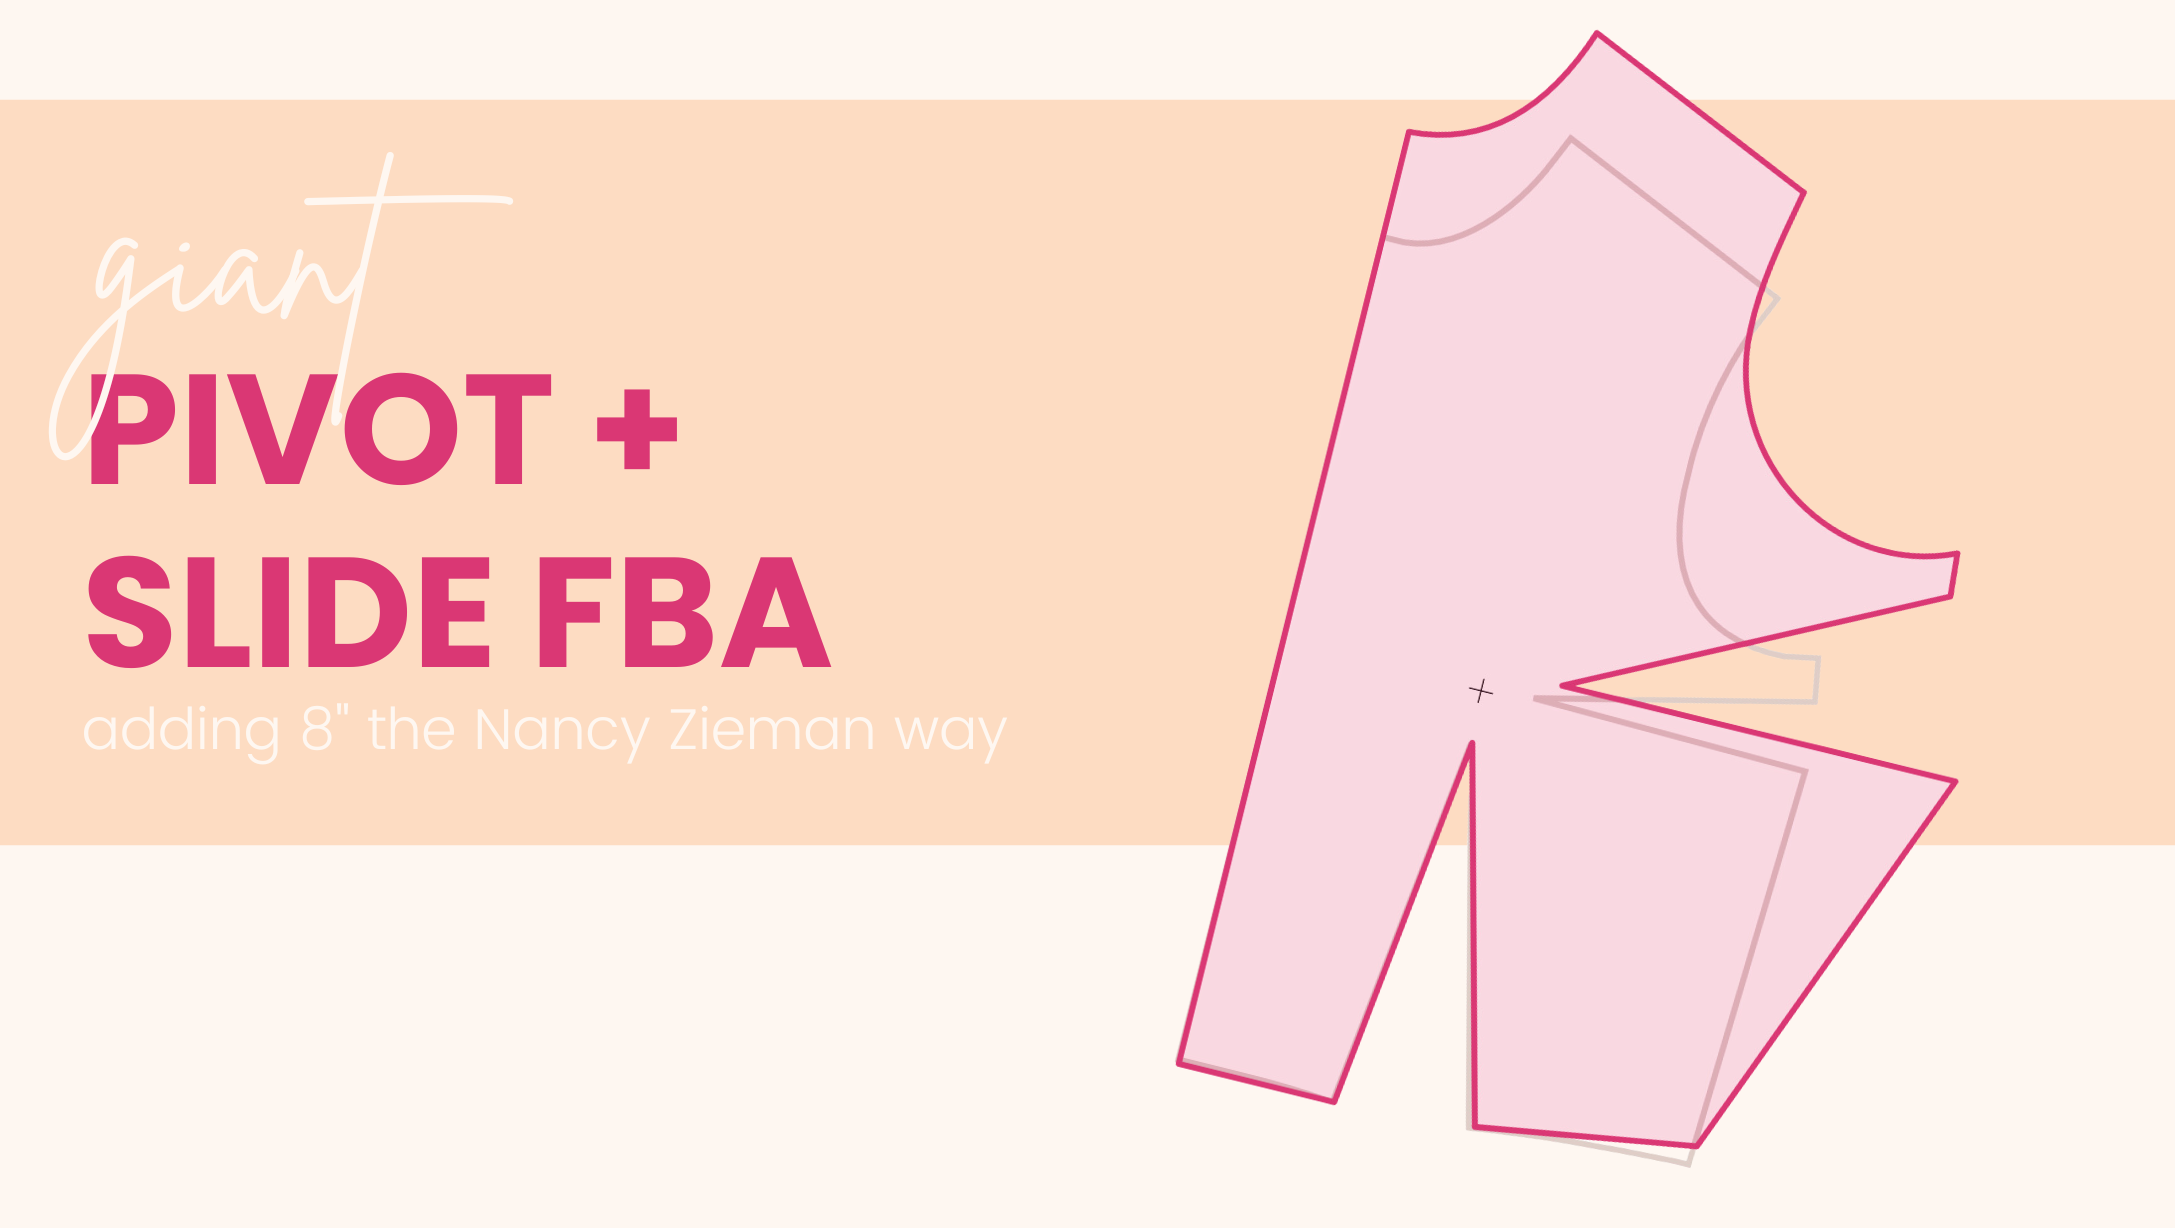
What’s a giant FBA? This post is part of a series on “giant”…
Intro If you’ve been following Sew Busty for a while, you know that…
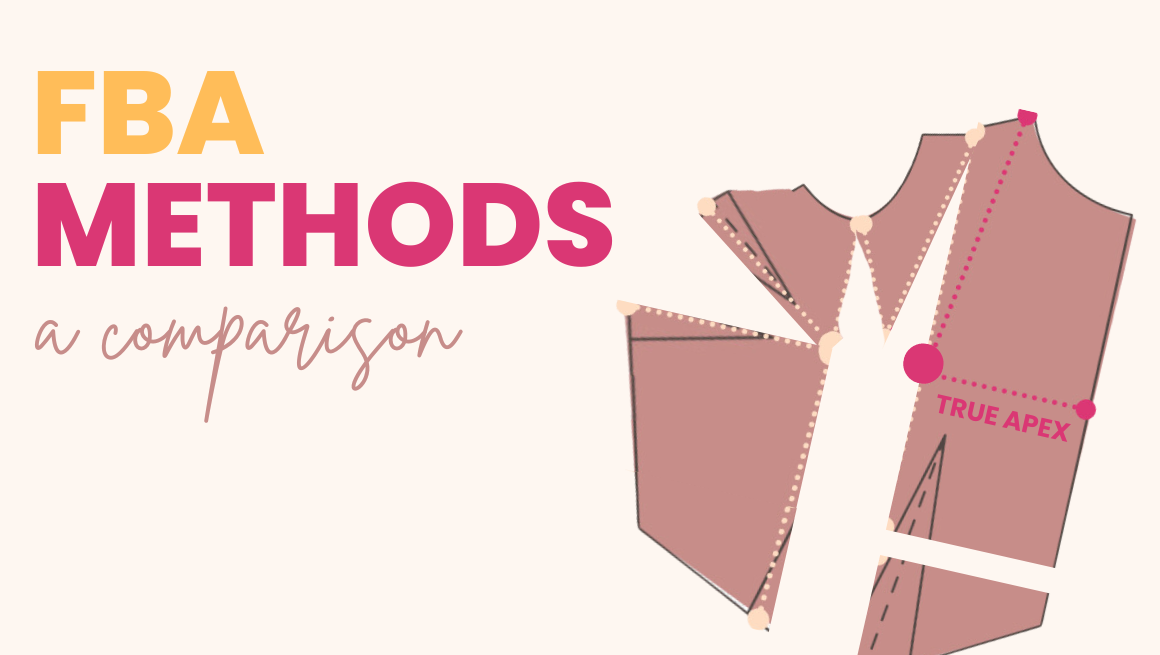
Jump to: Choosing a Base Size | Performing the FBA | Reducing the…
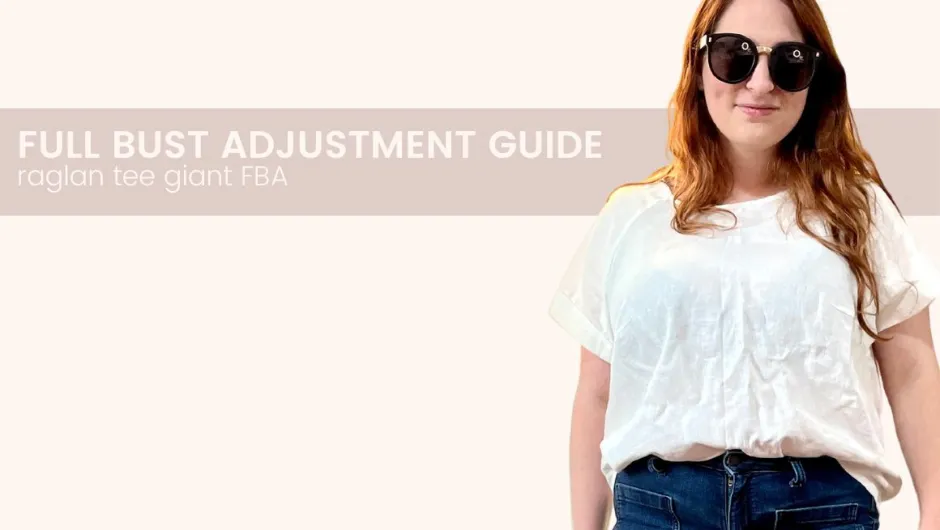
Giant FBA: Let’s Review This post is part of a series on “giant”…
The Sew Busty Community is for anyone who is busty. Anyone who has ever had to do a full bust adjustment. Sew Busty Patterns focuses on folks with a 6"/15.2cm + full to upper bust difference, but all busty sewists belong here.