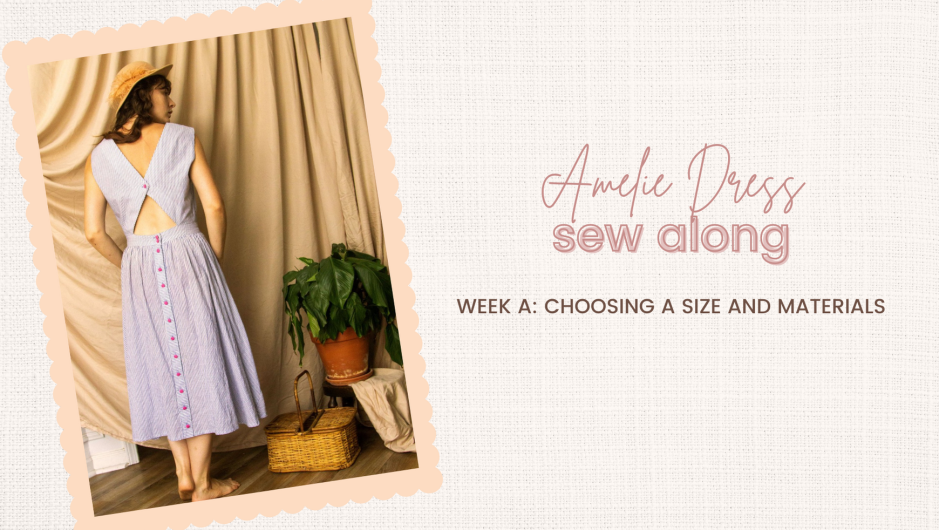
Amelie Sew Along Week A | Choosing a Size & Materials
For August and September at Sew Busty, we’re doing a button challenge! Post…

For August and September at Sew Busty, we’re doing a button challenge! Post…
The Great Bra Sewing Bee starts tomorrow with the Beginner Bee, a day…
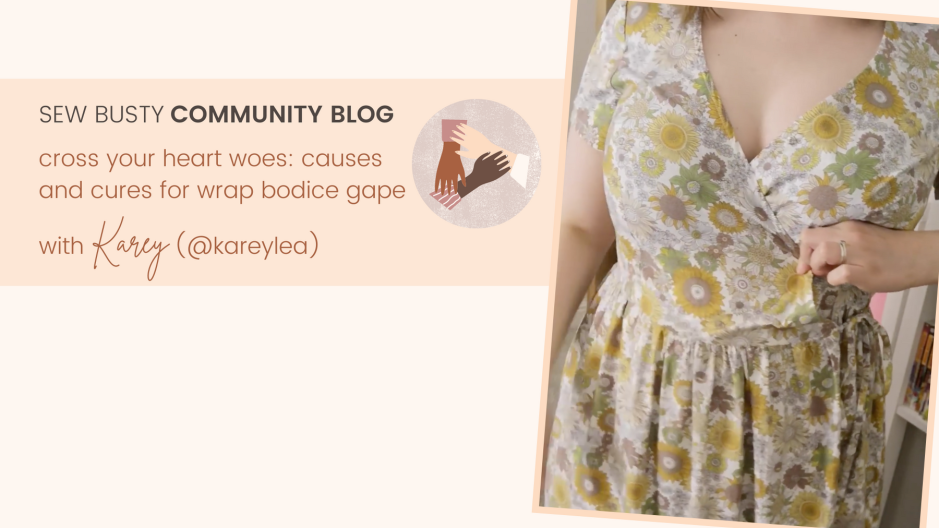
This post documents the lessons I applied from ‘Cross your heart woes’ to…
Brand new to sewing? Start here, with posts on gathering your tools, taking your…
Brand new to sewing? Start here, with posts on gathering your tools, taking your…
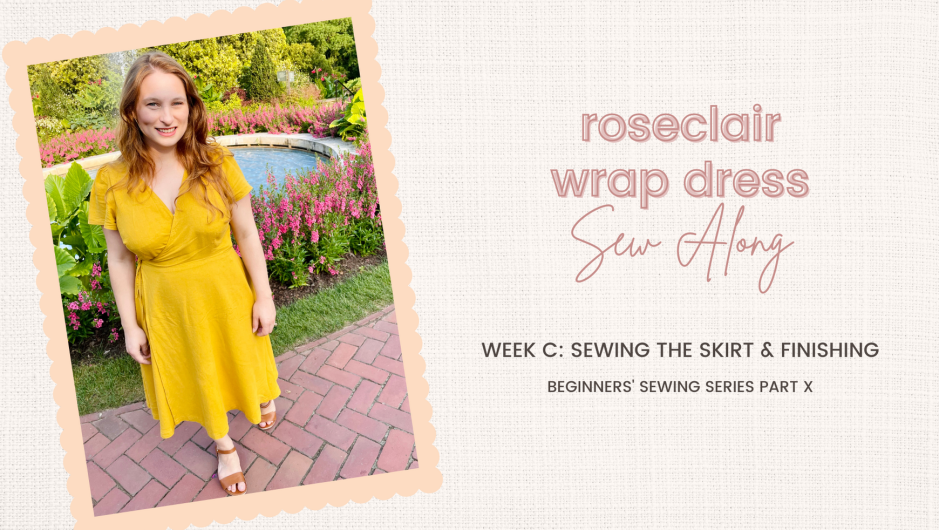
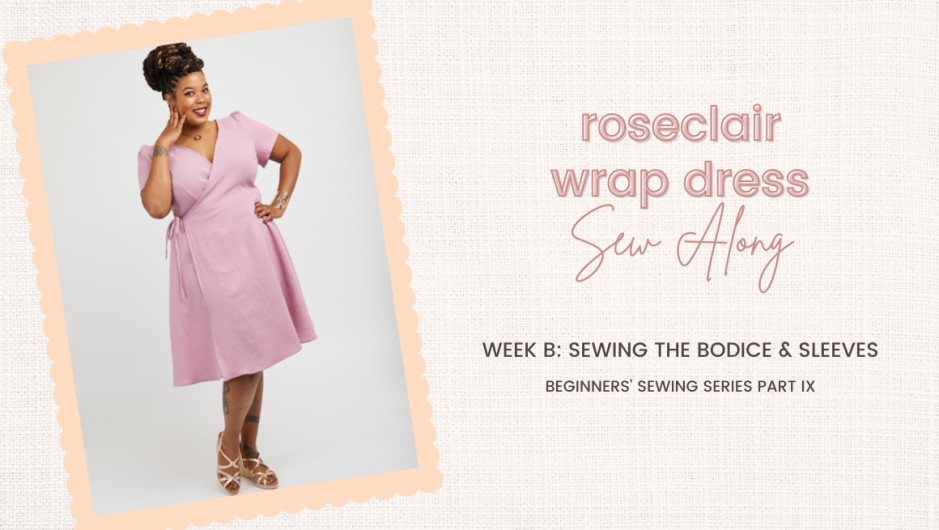
Editor’s Note: Since we are sewing up Cashmerette Roseclair wrap dress/peplum for the…
The Sew Busty Community is for anyone who is busty. Anyone who has ever had to do a full bust adjustment. Sew Busty Patterns focuses on folks with a 6"/15.2cm + full to upper bust difference, but all busty sewists belong here.