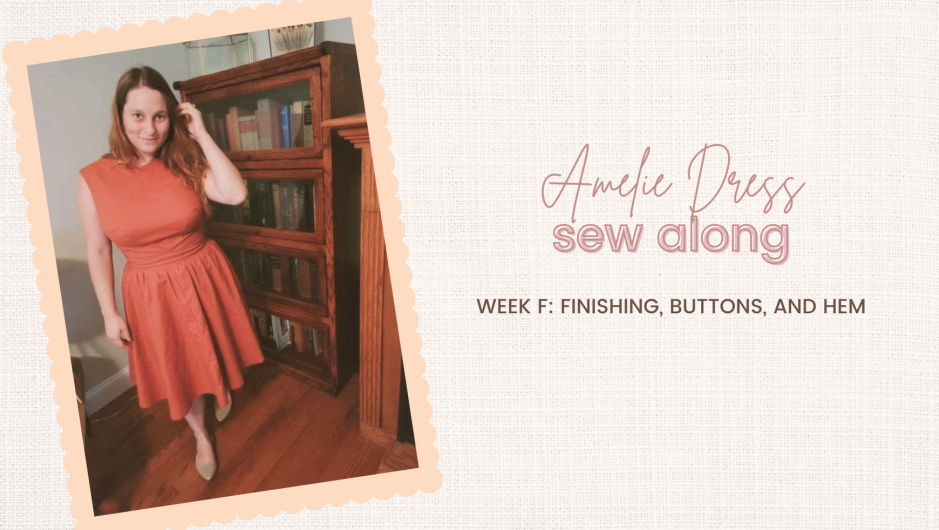
Amelie Sew Along Week F | Finishing, Buttons & Hem
For August and September at Sew Busty, we’re doing a button challenge! Post a…

For August and September at Sew Busty, we’re doing a button challenge! Post a…
For August and September at Sew Busty, we’re doing a button challenge! Post a…

For August and September at Sew Busty, we’re doing a button challenge! Post a…
For August and September at Sew Busty, we’re doing a button challenge! Post…
For August and September at Sew Busty, we’re doing a button challenge! Post a…
For August and September at Sew Busty, we’re doing a button challenge! Post a…
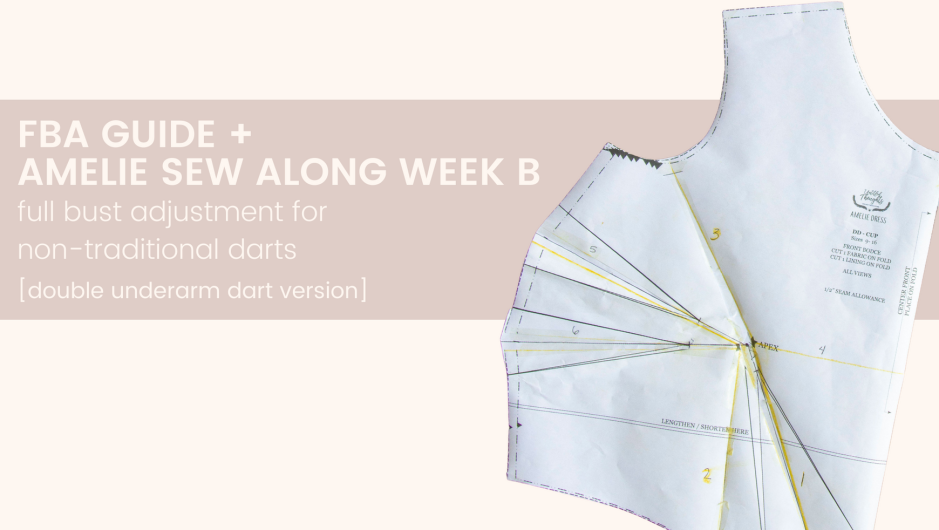
The Sew Busty Community is for anyone who is busty. Anyone who has ever had to do a full bust adjustment. Sew Busty Patterns focuses on folks with a 6"/15.2cm + full to upper bust difference, but all busty sewists belong here.