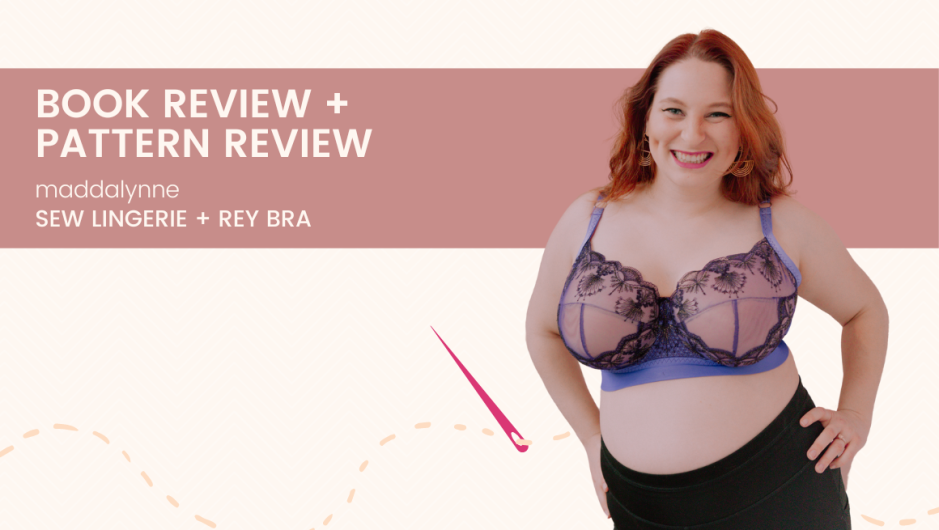
Book + Pattern Review | “Sew Lingerie” + Rey Bra from Madalynne
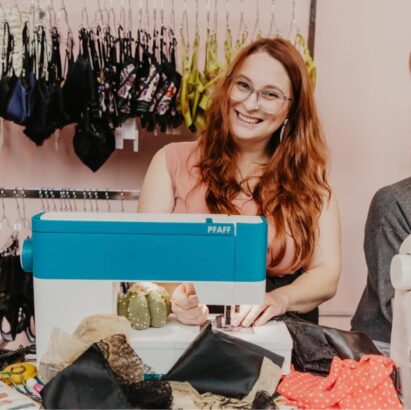
I remember Maddie Kulig, the girl boss behind Madalynne, talking about writing a…

I remember Maddie Kulig, the girl boss behind Madalynne, talking about writing a…
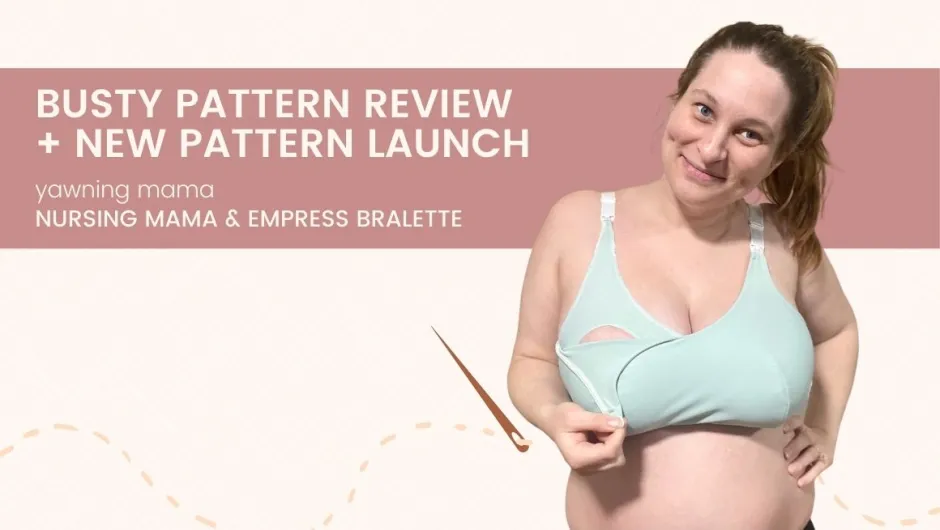
Ever since I became pregnant, there’s been a shift in my sewing. For…
As you may have read yesterday, my sewjo has been at a serious…
When I was creating the Sew Busty Pinterest boards, one suggested pin kept…
The Sew Busty Community is for anyone who is busty. Anyone who has ever had to do a full bust adjustment. Sew Busty Patterns focuses on folks with a 6"/15.2cm + full to upper bust difference, but all busty sewists belong here.