Community Blog | Sewing for Augmented Breasts with Hazel
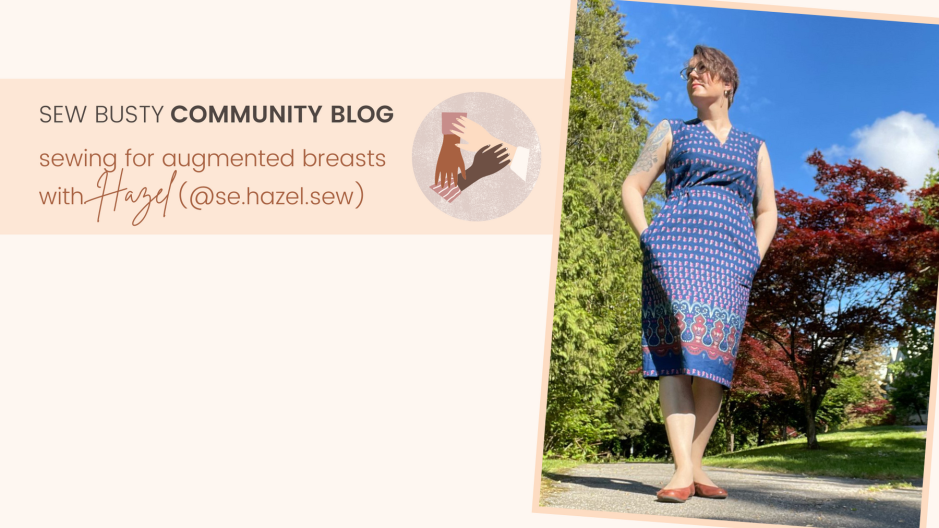
I’d like to start off by giving a little history on my personal story, mostly…

I’d like to start off by giving a little history on my personal story, mostly…

Hey it’s me, Sasha from Kingdom Daughter Makes and Im here with my…
Over the past couple years, I’ve gotten quite confident in my ability to…
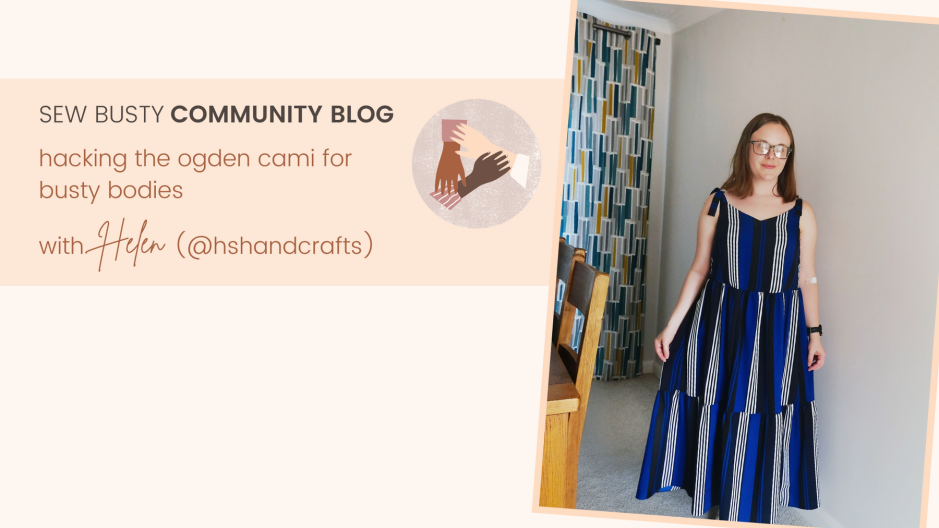
The Ogden Cami by True Bias seems to be one of those sewing…
This post documents the lessons I applied from ‘Cross your heart woes’ to…

Editor’s Note: For today’s community blog, Kei has been so kind as to…
The Sew Busty Community is for anyone who is busty. Anyone who has ever had to do a full bust adjustment. Sew Busty Patterns focuses on folks with a 6"/15.2cm + full to upper bust difference, but all busty sewists belong here.