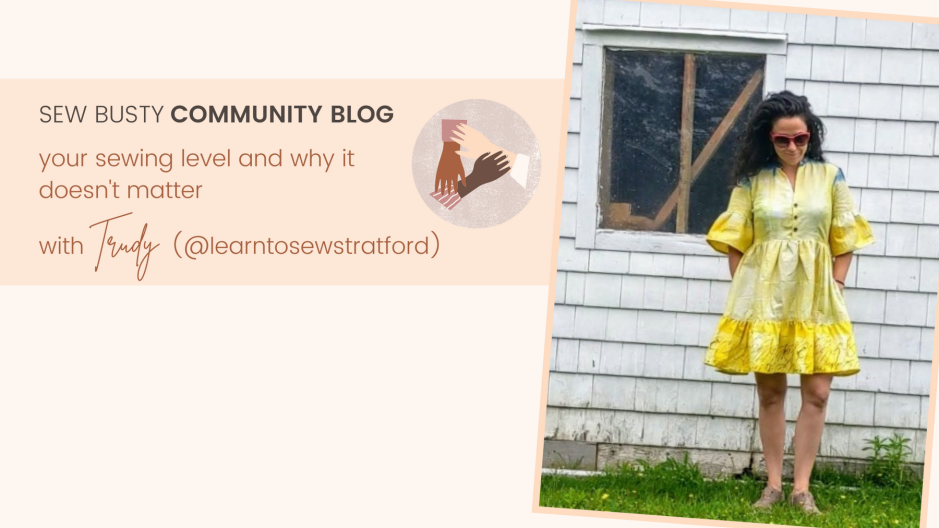
Community Blog | Your Sewing Level and Why It Doesn’t Matter with Trudy
Spoiler Alert! You start wherever you are and learn what you need to…

Spoiler Alert! You start wherever you are and learn what you need to…

Hey ho howdy! Did you know that the Great Bra Sewing Bee starts…

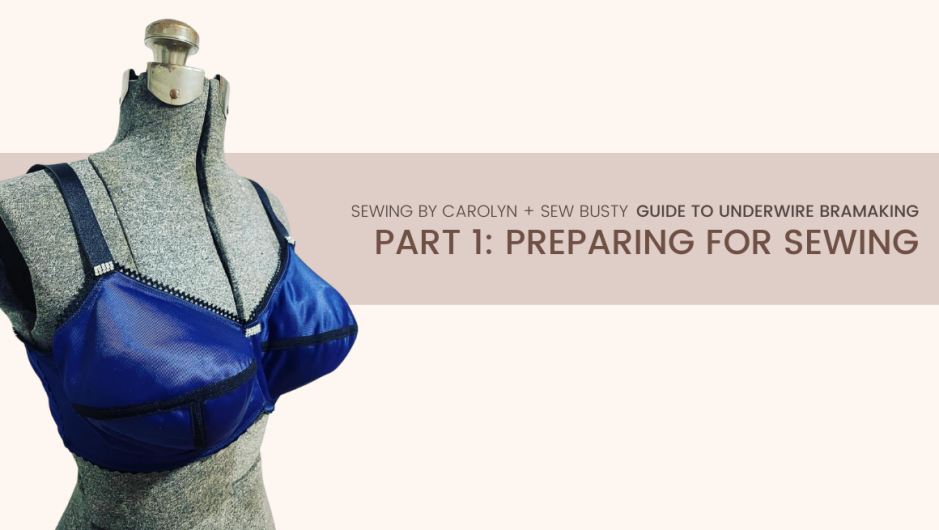
Hello again, Busty Friends!! In Part 1 of this series, I shared the…

Hello again, Busty Friends!! In Part 1 of this series, I shared the…
Editor’s Note: I’m excited to attend the Great Bra Sewing Bee here in…
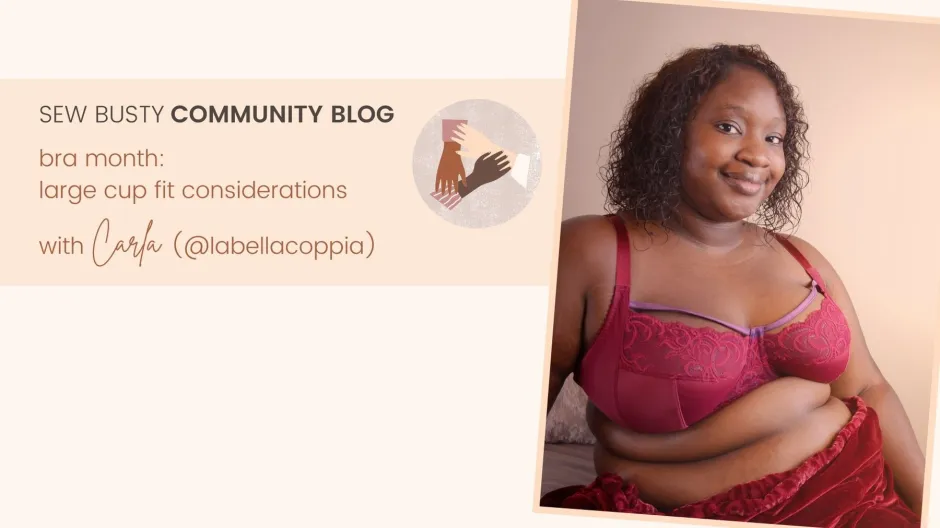
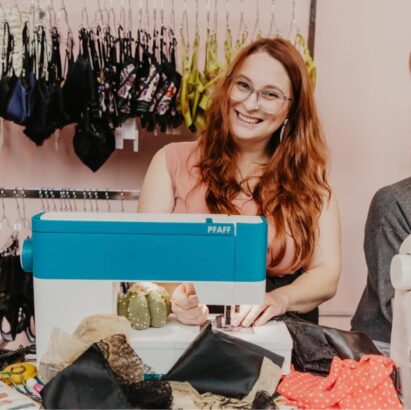
Meet Kristen Hello Busty Sewists!! As some of you may or may not…
The Sew Busty Community is for anyone who is busty. Anyone who has ever had to do a full bust adjustment. Sew Busty Patterns focuses on folks with a 6"/15.2cm + full to upper bust difference, but all busty sewists belong here.