
Community Blog | Bra Month | Historical Foundations with Rosie
Editor’s note: For our first Community Blog post during Bra Month, I thought it was totally fitting to start with someone who was on one of her first forays into lingerie making! What I think is super special about this post that you often don’t see on a lot of sewing blogs is that things didn’t work out perfectly, ESPECIALLY when you start making lingerie. We’re just over here keepin’ it real at Sew Busty.
I’ve been sewing for about five years predominantly making dresses from true vintage patterns. I currently wear a 34E bra so I have become quite proficient at adapting those patterns to my figure.
In pursuit of a more authentic look, I’ve focussed on the foundation garments worn underneath to create that correct period silhouette. There is a selection of ready-made reproductions bras for vintage enthusiasts like me. I have bought several but have yet to find one that meets all my requirements in terms of comfort and shaping. So I decided to make my own customised to me.
It was important to use an authentic 1950s pattern. I chose Depew Patterns #2001 which comes in bust sizes 32 – 44 inch. The pattern does not work to cup sizes and instead instructs you to choose your size by measuring the fullest part of the bust. I measured 41.5” so I decided to use the 42” pattern pieces.
I chose version two which is a bra corselet which creates a smooth line down to the waist essential for those mid-century styles.
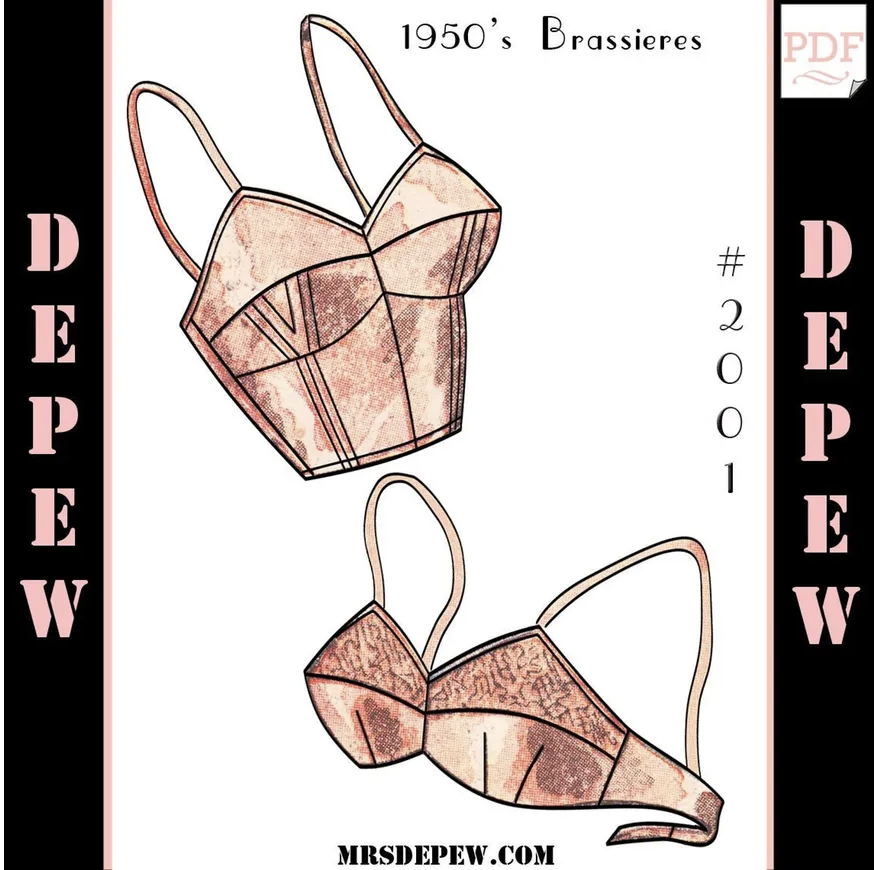
You need very little material for the bra corselet version I made and even less for the bra. I used small bits of leftovers from my stash so it was a great way to try the pattern out without committing to an initial fabric purchase.
Even though the instructions are quite limited there is a link to photo tutorial provided. Mrs. Depew provides lots of instructional materials on her blog about sewing lingerie and using vintage undergarment patterns, if you are new to this type of sewing. I was new to this type of sewing and did not consult these before I started – as I found out to my cost!
You will need extra notions, such as strap elastic and a closure method, in this case hook and eye tape. These are inexpensive and you only need a small amount, so I have lots leftover for my next attempt.
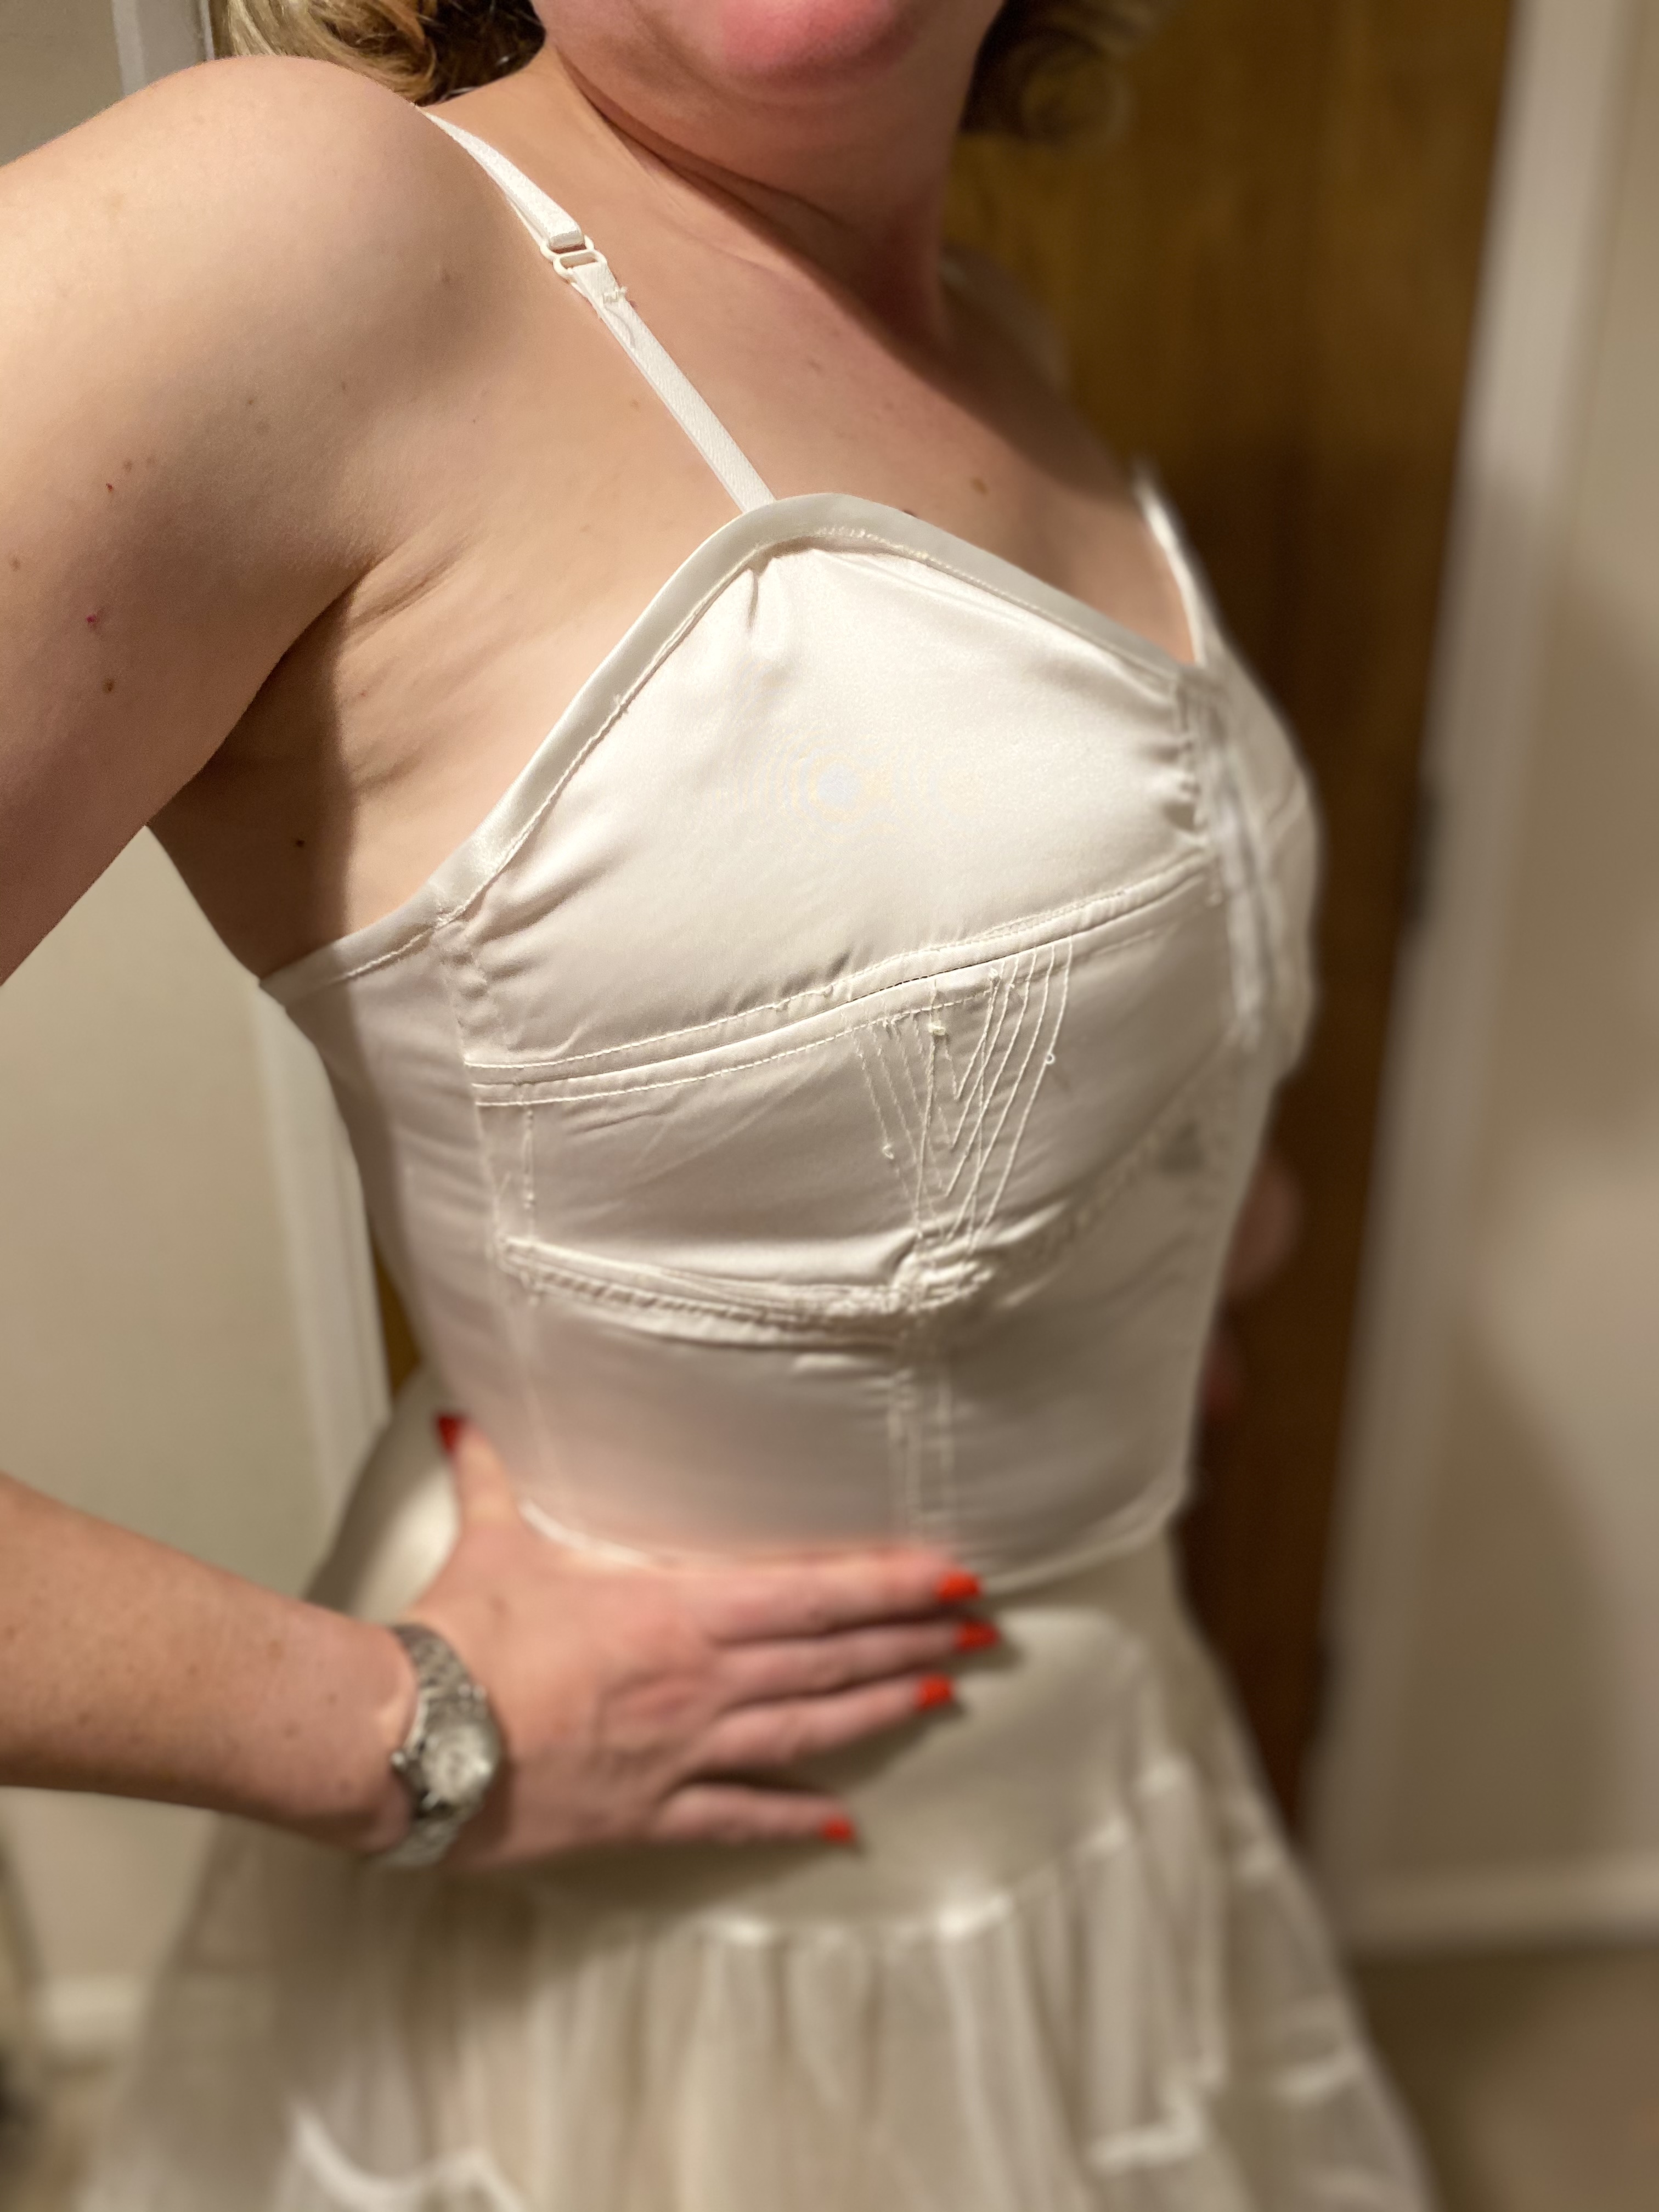
When it came to fitting, the bodice pieces came up far too large, which I was expecting given my larger cup size. I kept taking those seams in until they fit. Once they were in the right place I chose to add lightweight feather boning for extra shape. I found some on white satin tape which adds to the vintage feel and is comfortable against the skin. It was incredibly easy to work with and you can sew over it without damaging a needle.
The cups were much harder. They did not call for wires or pre-formed cups. I diligently did the top stitching as per the pattern and while it is giving me all 90s Madonna vibes, it doesn’t add to the shaping.
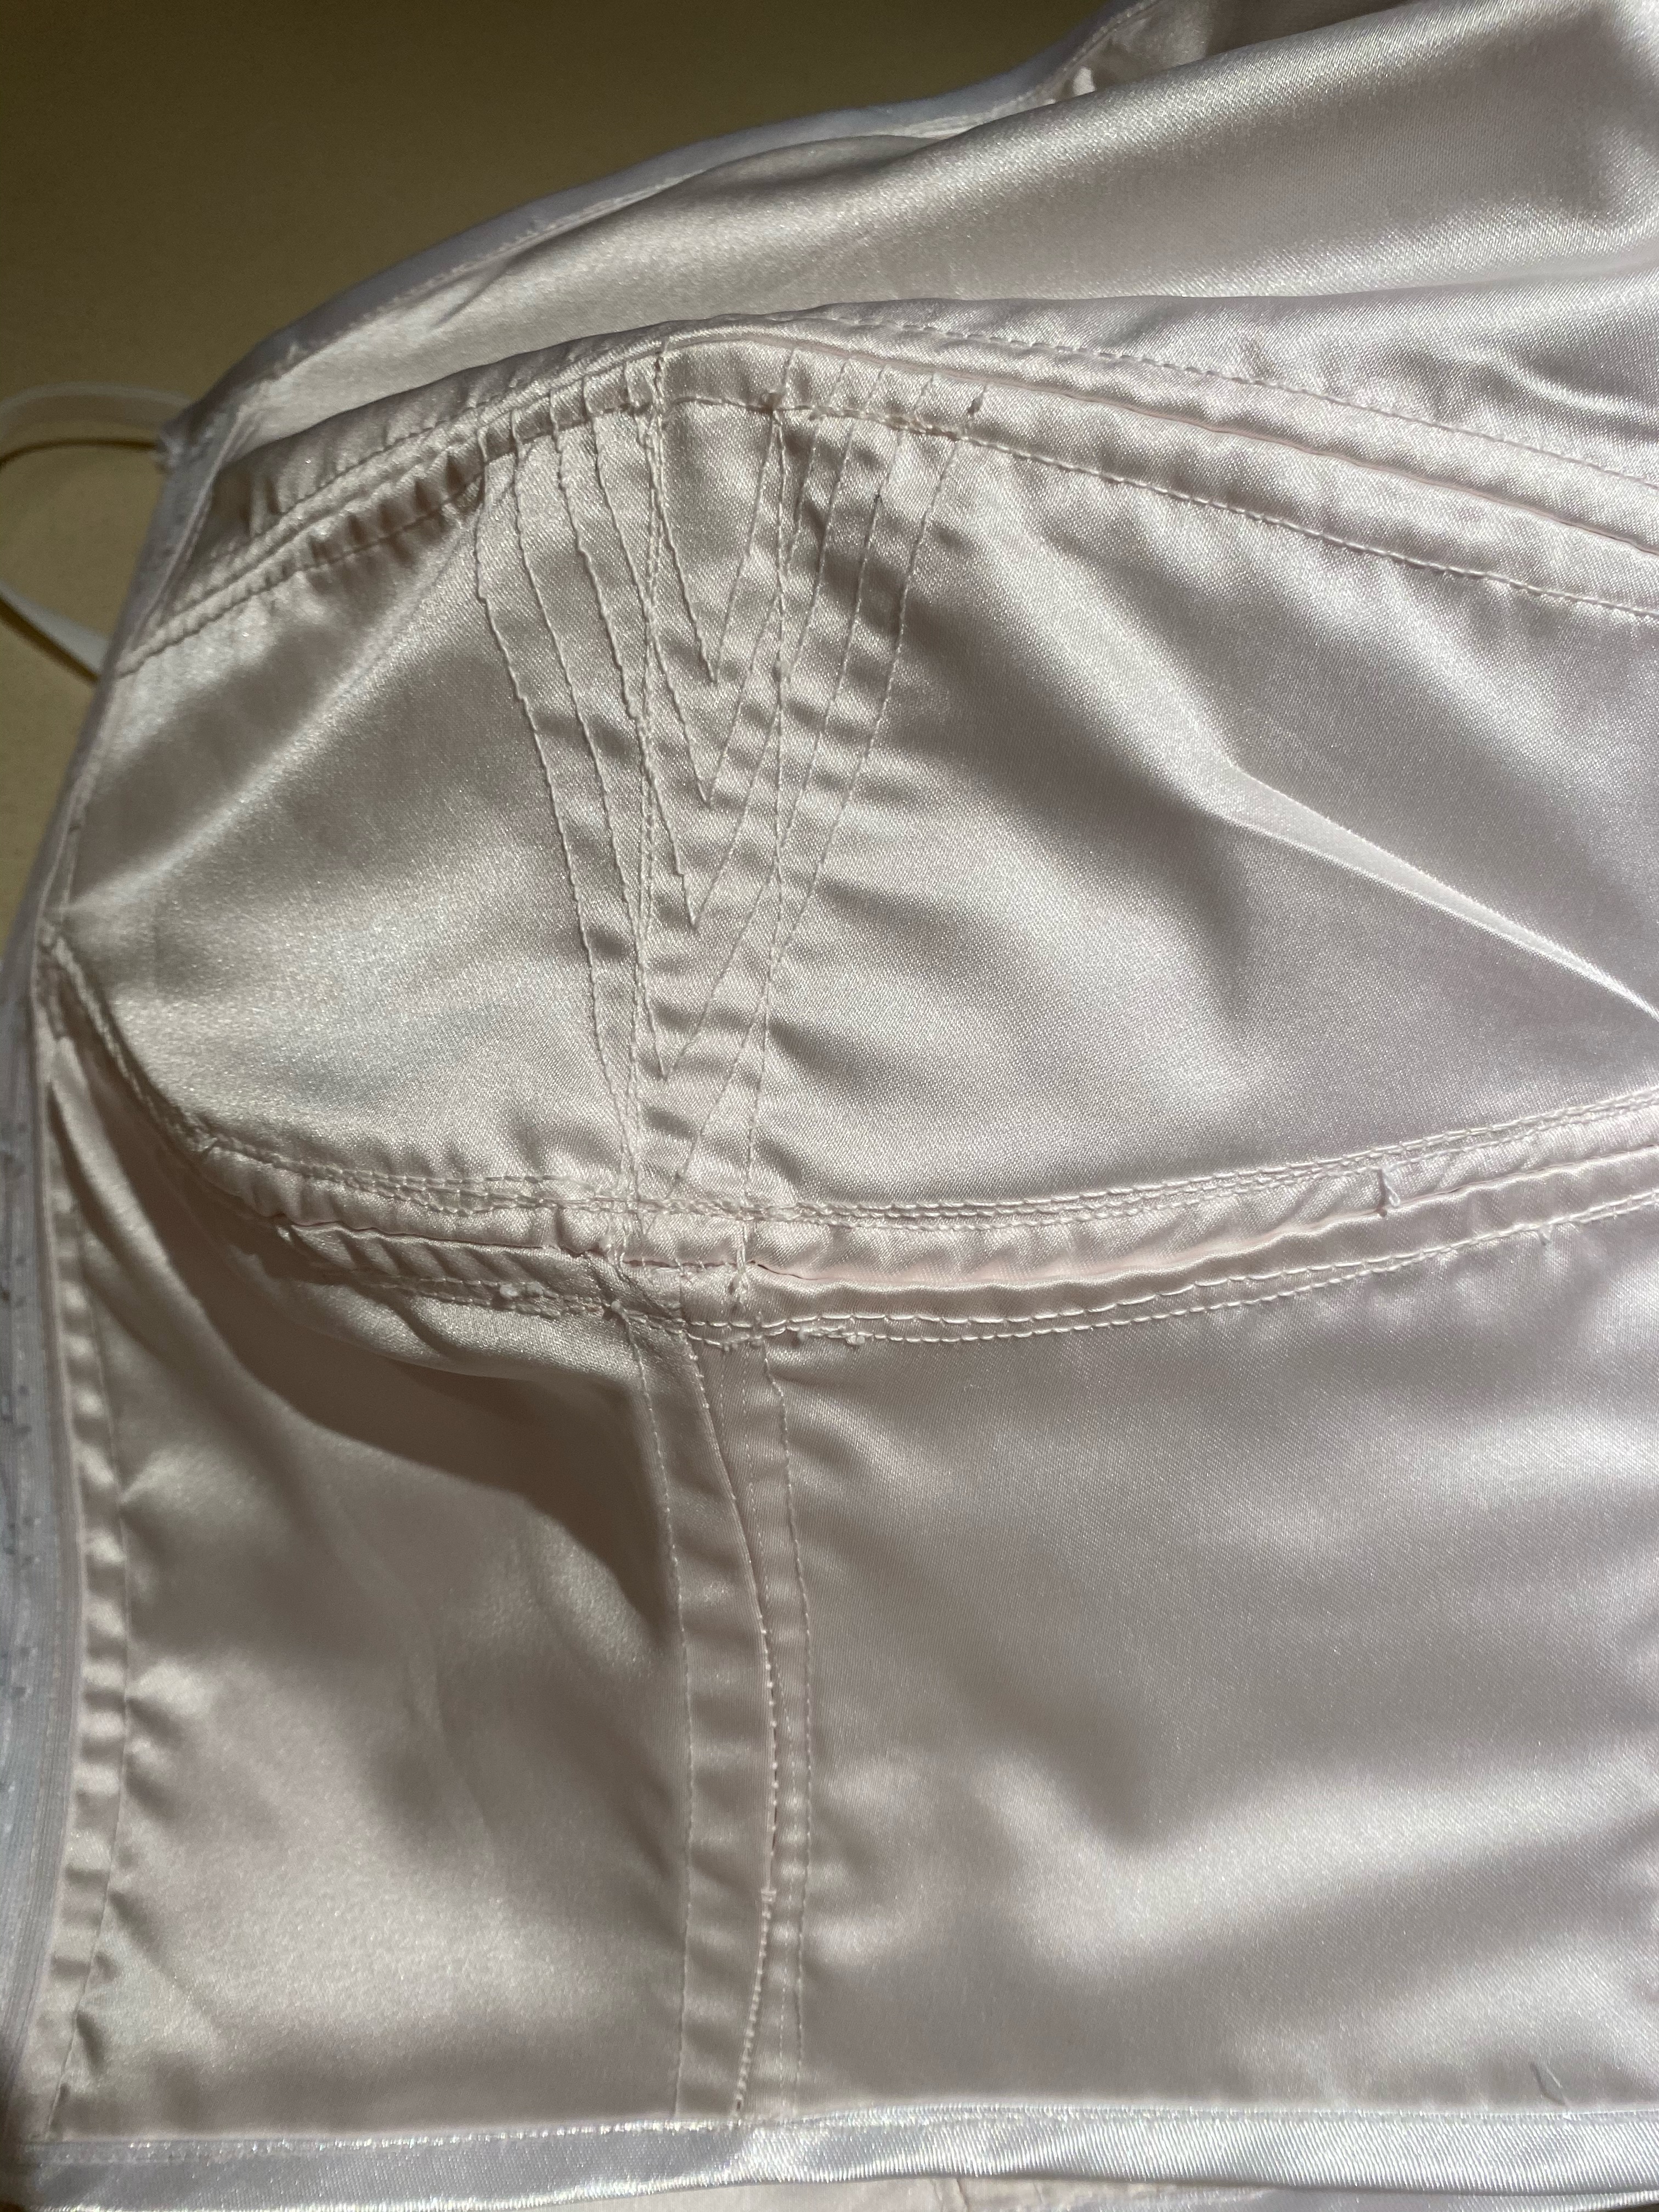
I omitted the darts as per the instructions for the corselet version and this was a mistake. For larger cup sizes (D+) those darts are essential to create the cupped shape. I was too preoccupied with having enough fabric to cover me and prevent side boob escaping I didn’t realise this error until too late.
As a result this corselet doesn’t deliver that pointed stereotypical 1950’s bust I was hoping for. It is actually very comfortable to wear and has an unintended minimising effect. There are occasions and outfits where this will be useful so I am keeping this version. I also love how low the back comes down allowing it to be worn under items with a deep scoop back while still providing support.
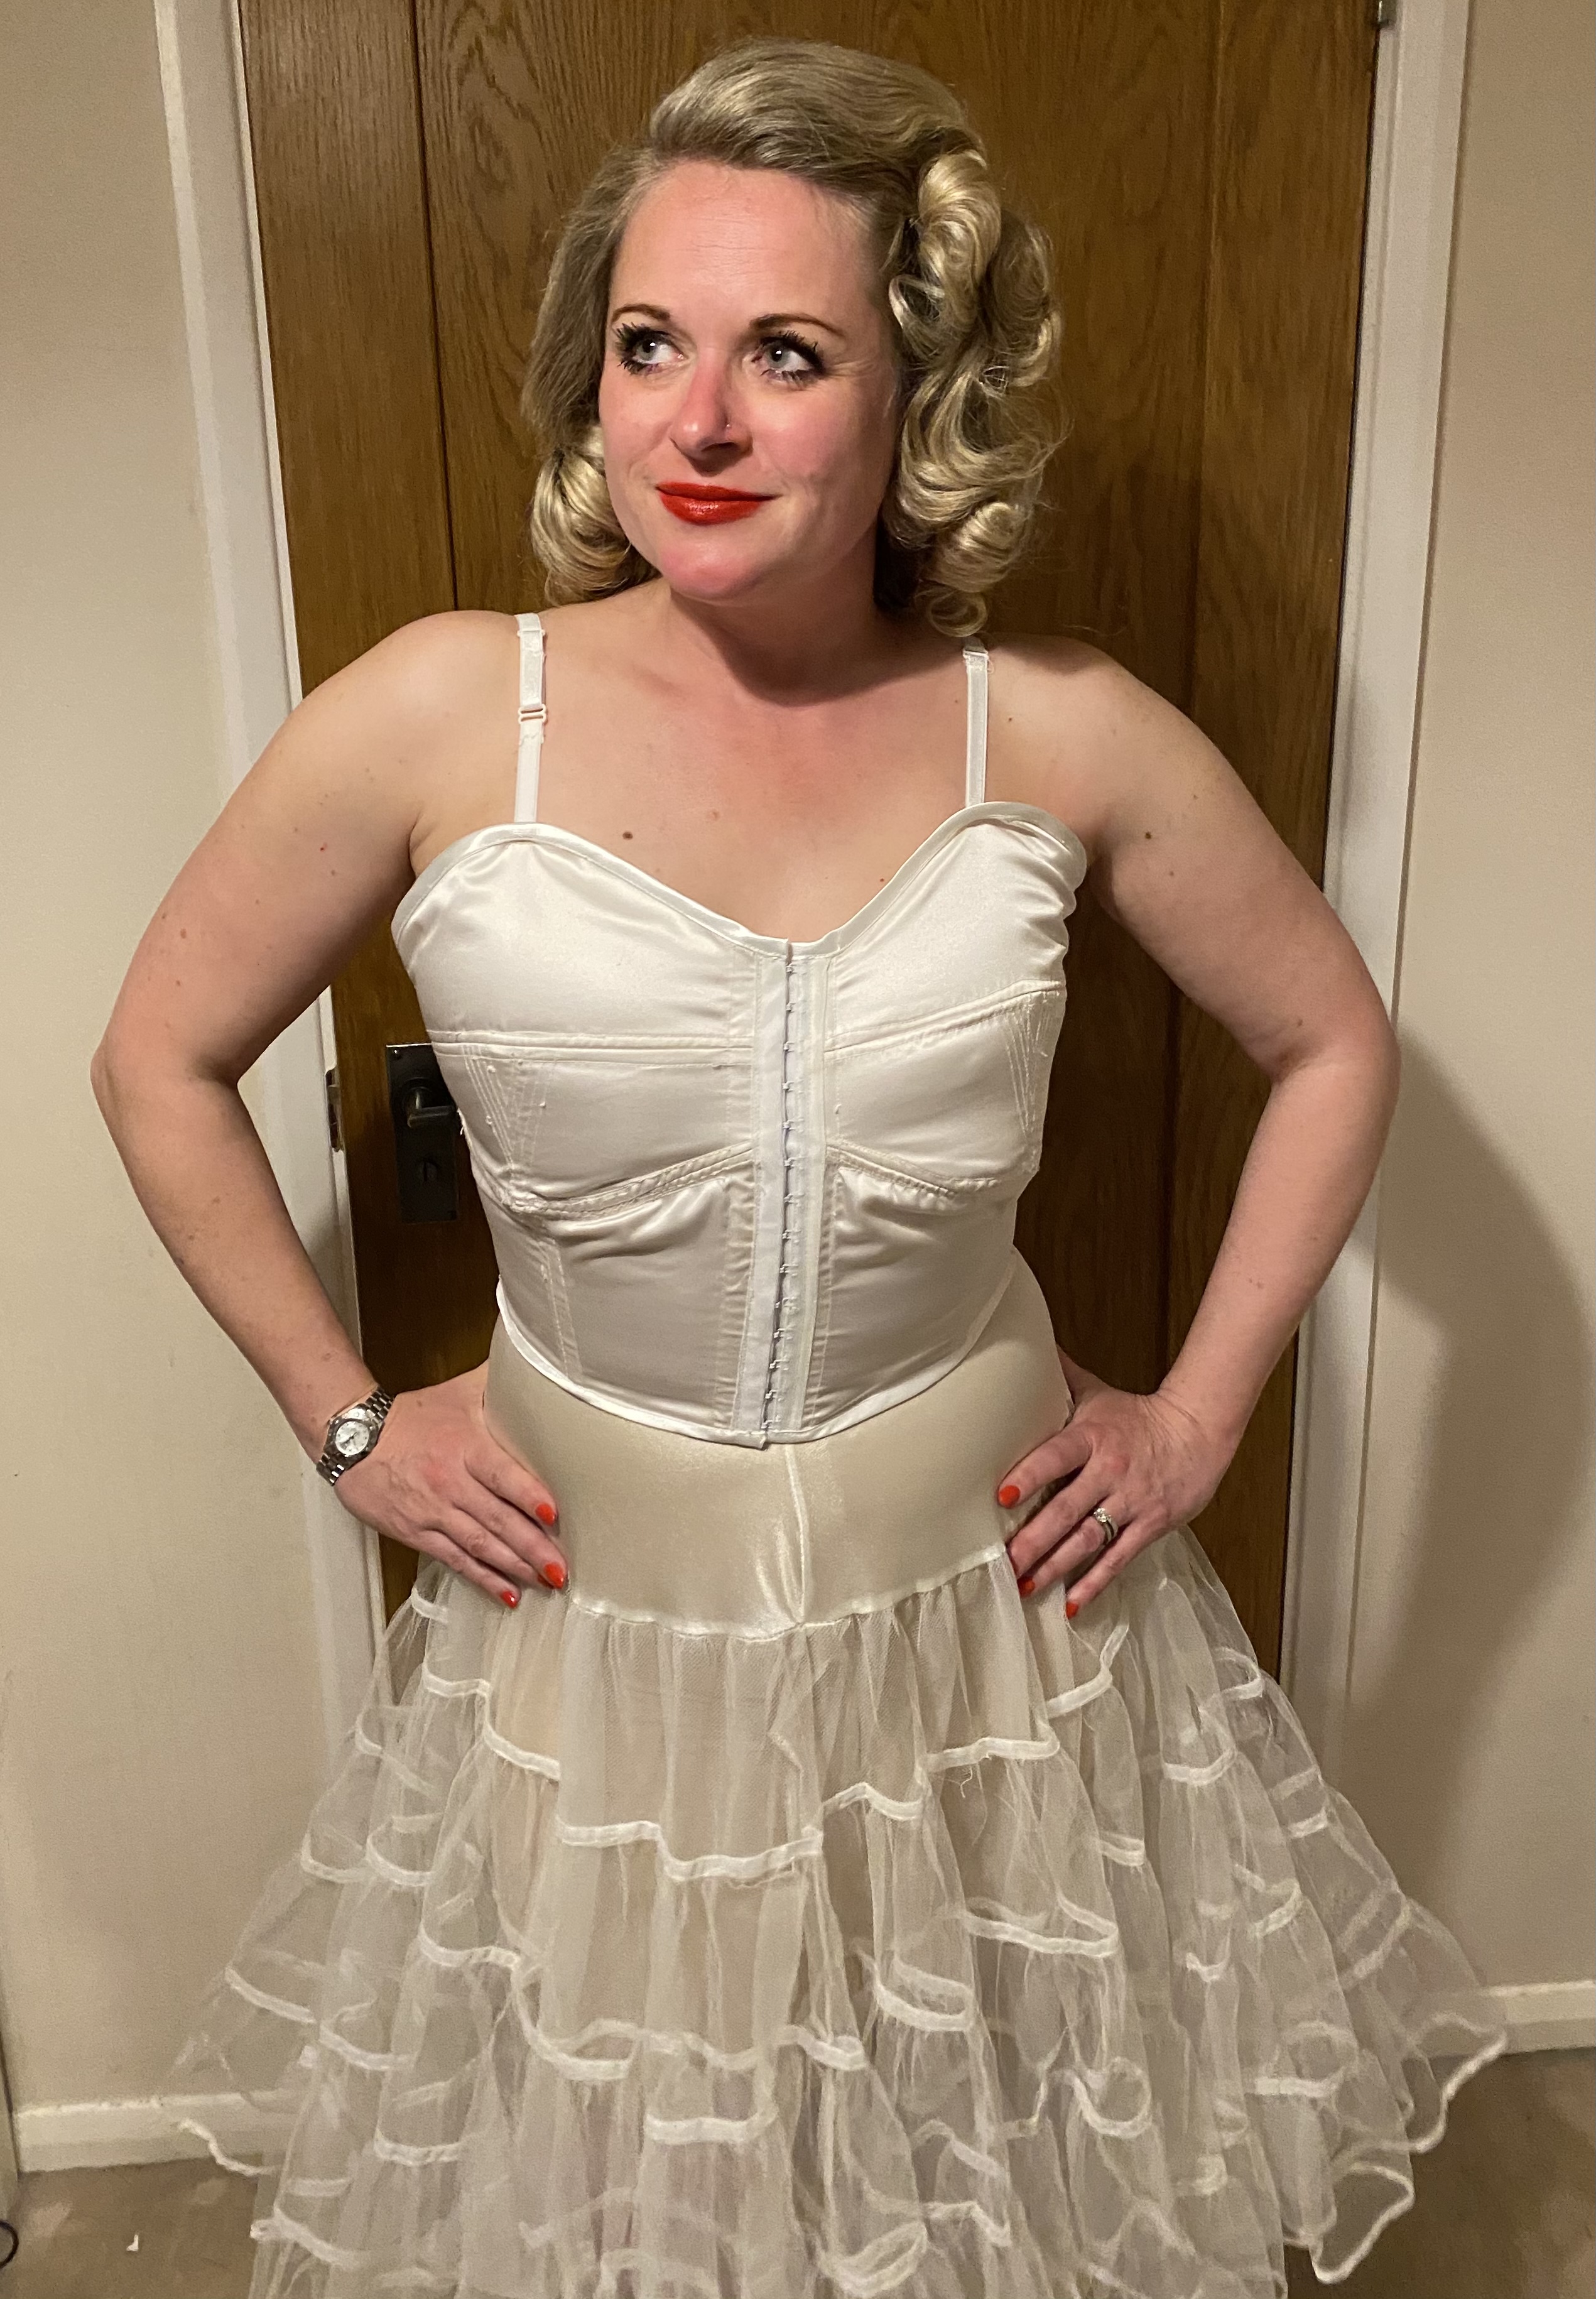
Overall this project has really impressed upon me that sewing a bra for a full bust is a feat of engineering. Next time I’m going to be really clear on how that support will be achieved before I begin sewing. I greatly enjoyed this introduction to lingerie making and look forward to attempting the pointier second version!
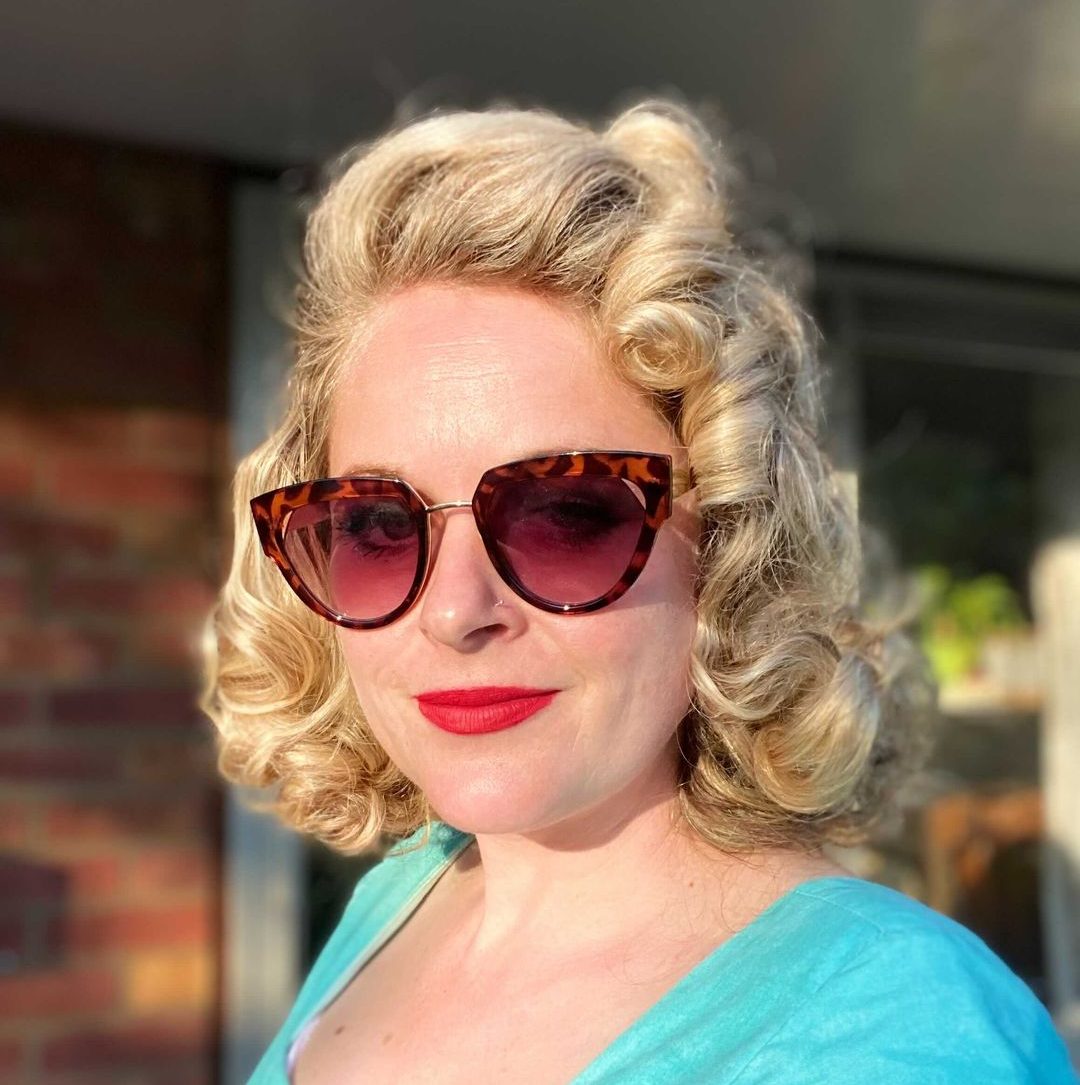
Rosie is a keen home sewist, who loves vintage sewing, based in Buckinghamshire, UK. When not at her machine she is busy collecting vintage patterns, pottering in the garden or sipping a cocktail planing her next project. You can find her makes on instagram at @rosie_sews_stuff.


Karey
June 3, 2021Very interesting. Burda regularly has dresses and tops with two piece woven cups like this, eg Burda 05/2018 #112 (with cup size B or C, can’t remember which). They definitely create a fitting challenge for larger cups, not least of which a two piece woven cup won’t curve around a bigger cup. The cup bottom either needs to be split or darted like you suggest here. Your discussion is very helpful.
https://burdastyle.ru/vikroyki/platya/plate-s-oblegayushchim-lifom-burda-2018-5-112/