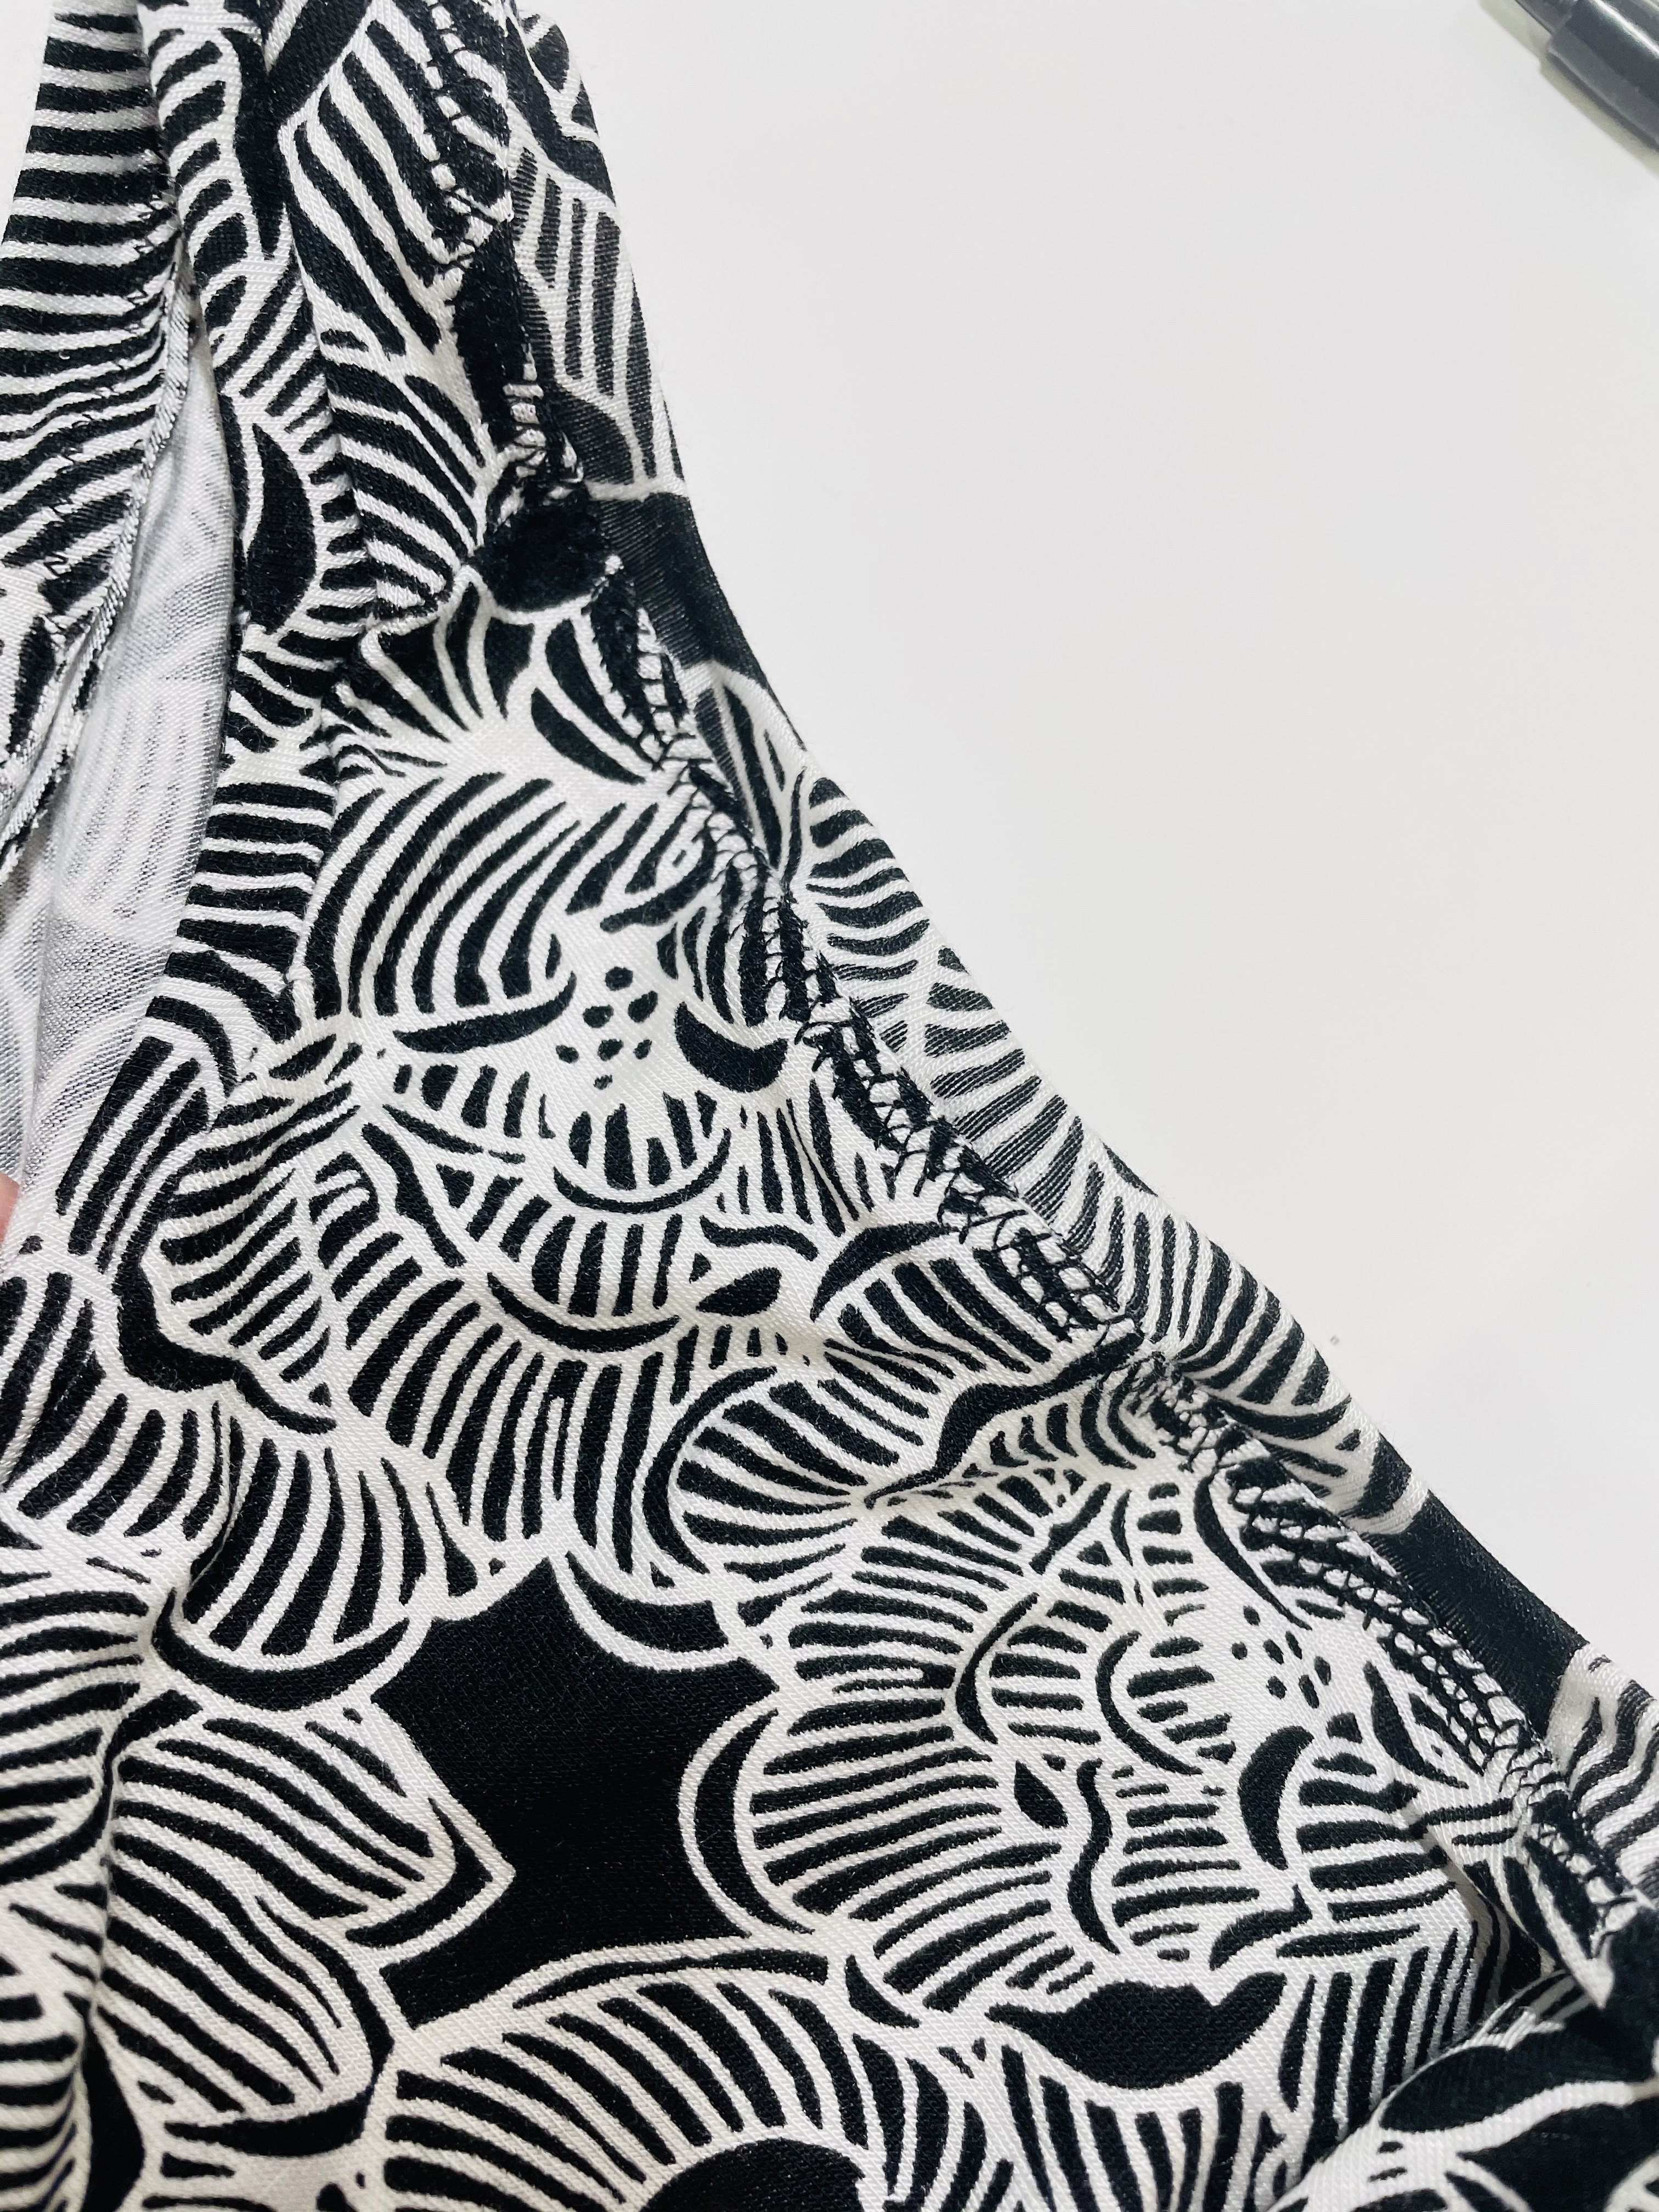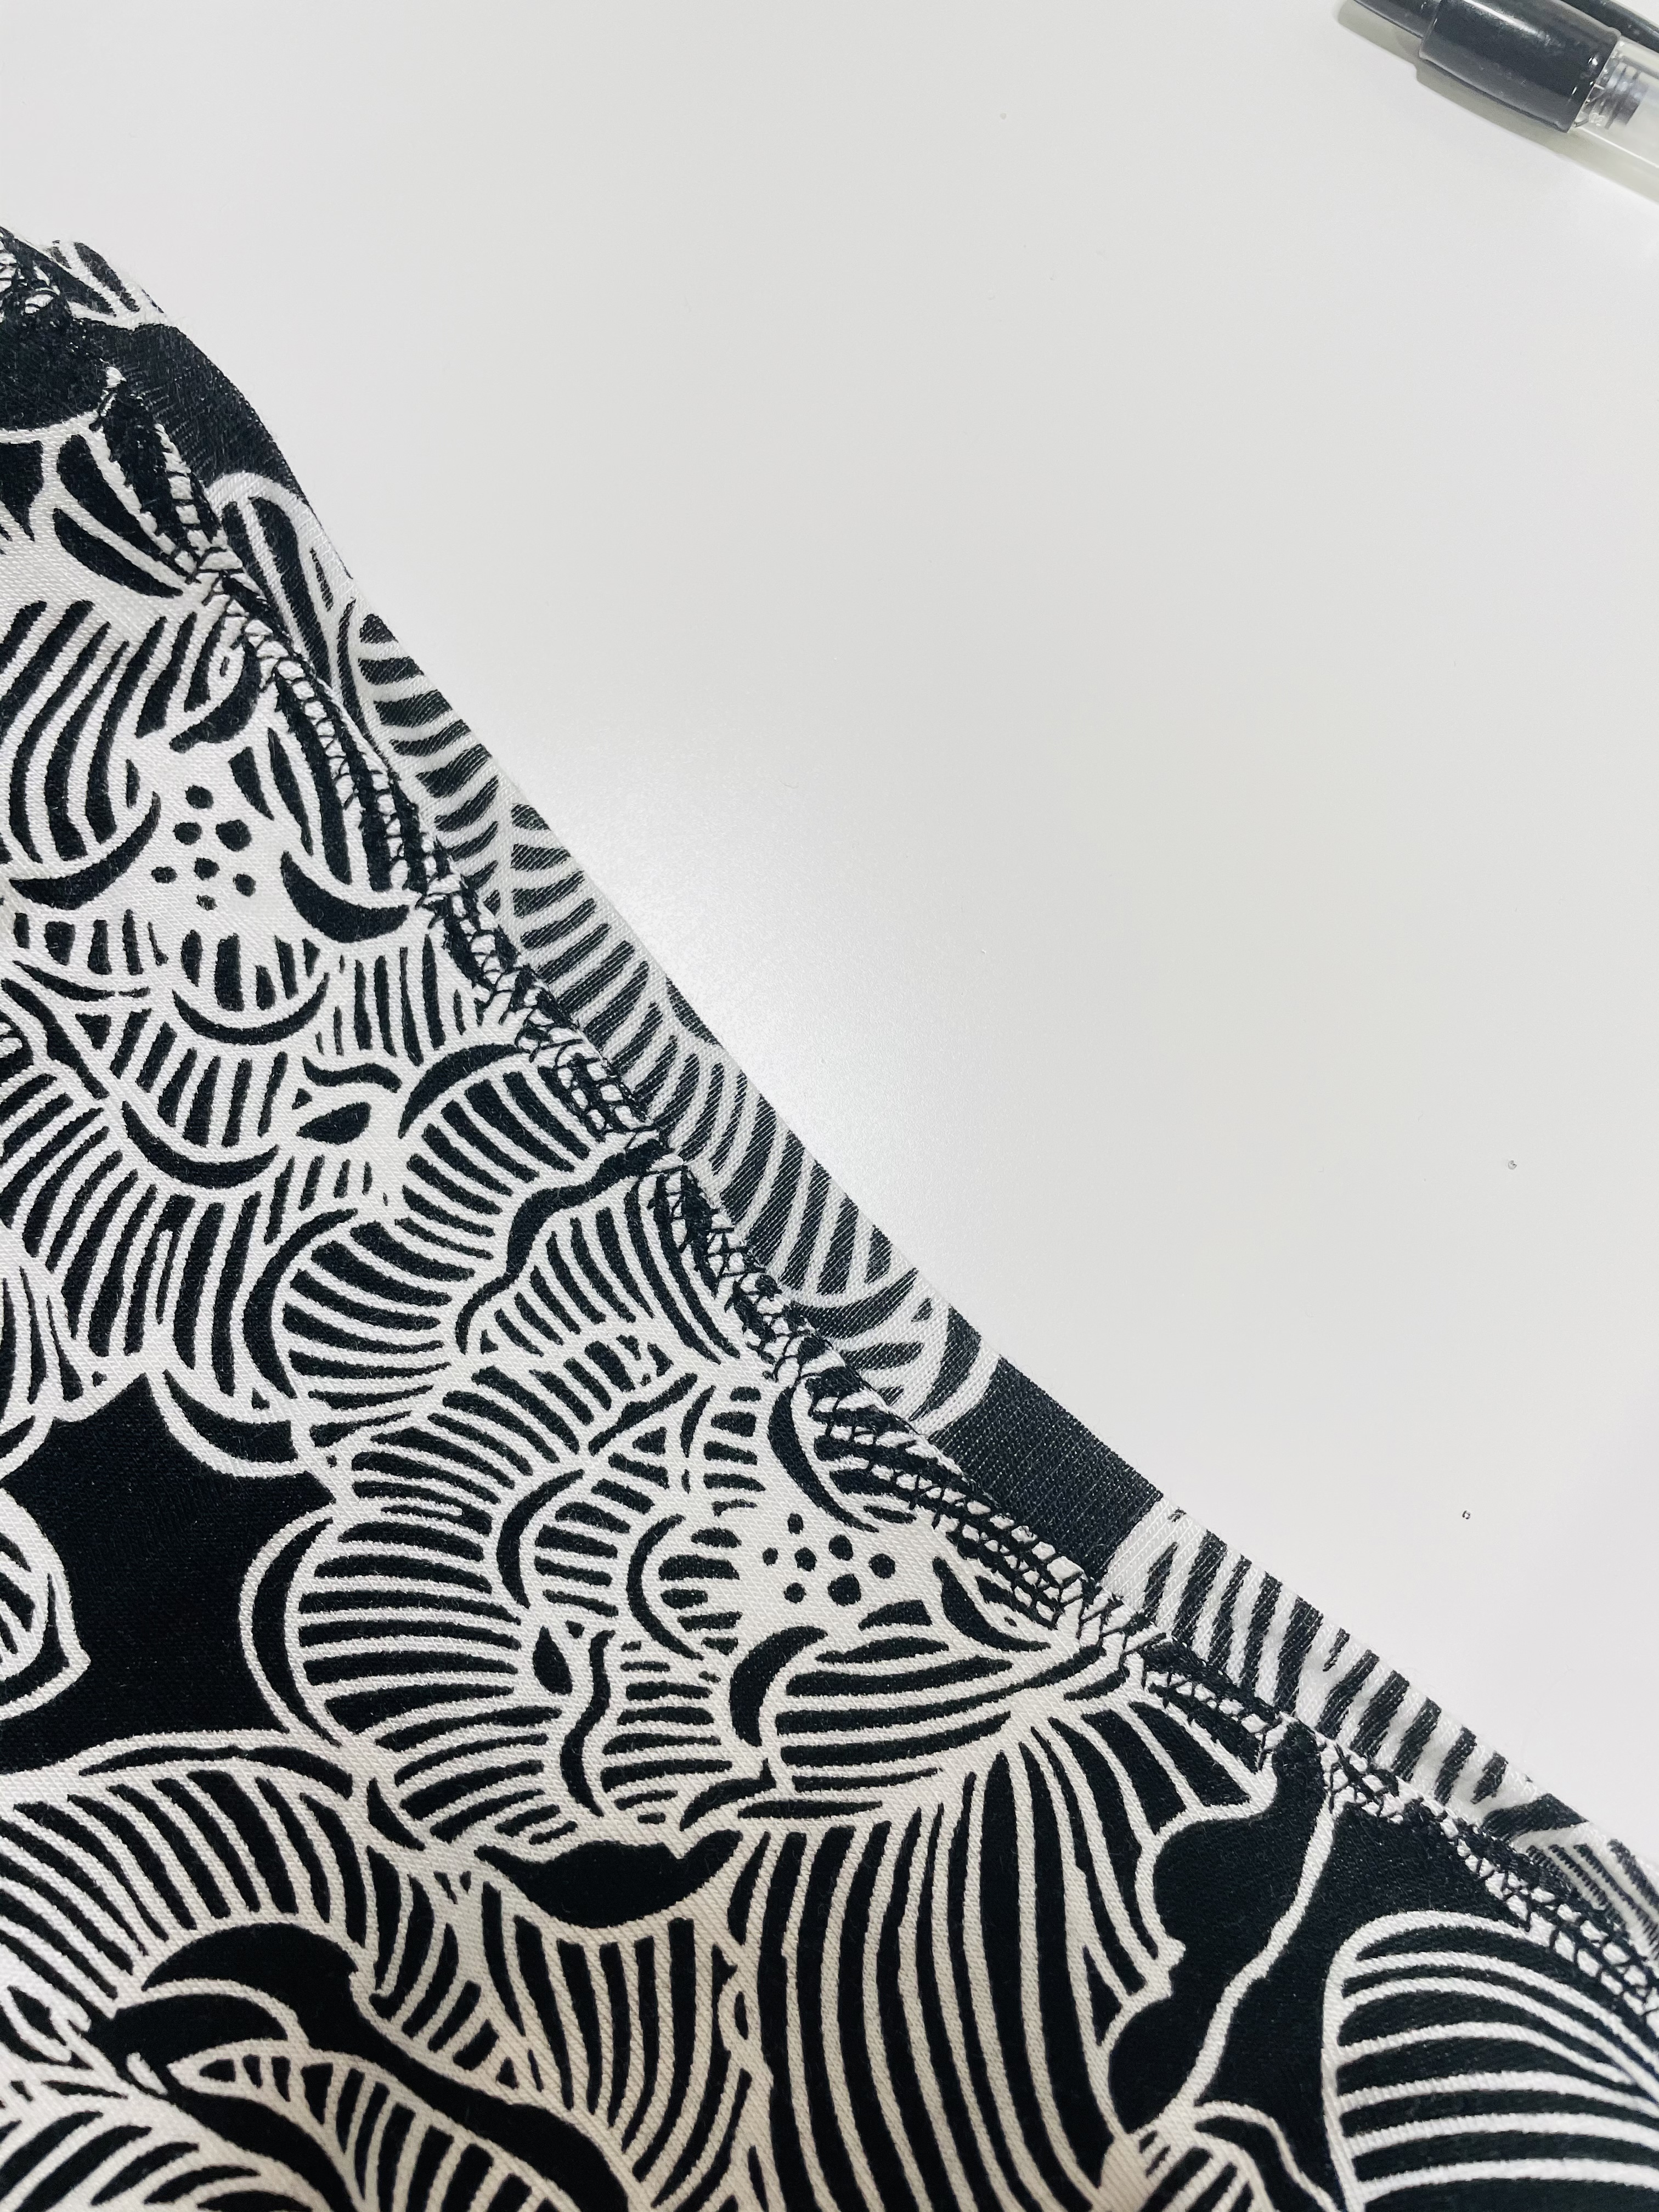
Beginners’ Sewing Series Part 7 | Lago/Saybrook Tank Part D: Sewing the Hem & Finishing Touches
Brand new to sewing? Start here. The Sew Busty Beginners’ Sewing Series will be your step-by-step guide to learning garment sewing. Each installment will build upon the last, getting progressively more advanced in skills and techniques. Catch up with the whole series here.
As part of the Beginners’ Sewing Series, we’re starting with a sew along of the Itch to Stitch Lago Tank and the Cashmerette Saybrook tank (with an exclusive 20% off through May 31, 2021 using code SEWBUSTY20). Check out the full sew along here.
YOU’RE ALMOST DONE WITH YOUR TANK!!!
Over the past week, you should have sewn your side seams, shoulder seams, neck band, and armscye bands, per last week’s post.
This week, we’re going to hem this baby up and do some topstitching, and VOILA! You will have a super cute tank!
Sewing the Hem
We’re going to start with the hem. You probably know what the hem is based on buying ready-to-wear clothing, but in case this is a new term for you, a hem is the bottom of a garment. So, on this tank, it’s the part that goes around your hips.
Note: If you’re making the Saybrook and have chosen View A (the knotted front), please skip the hem section in this post and instead head over to Cashmerette’s blog for how to finish that view. For Views B and C, you can keep following here!
The hem determines the length of the shirt. So, the first thing I want you to do is try on your tank. Fold it up to different lengths. Think about your favorite tank tops – where do they hit your body? Then use a disappearing ink fabric pen (for lighter fabric) or fabric chalk (for darker fabric) to mark where you want the bottom of your tank to be. I like to mark my top in the front and on each side.
For me, I decided I liked something close to the full length of the tank. Specifically, I thought it would look great by shaving 5/8″ off the bottom. So that meant I needed to do a 5/8″ hem.
If you want to shave more or less off your tank, you can totally choose! I wouldn’t go less than 3/8″, though. But, as far as shortening goes, the sky (or maybe your boobs?) is the limit! (Unless you want your boobs to peek out, in which case, ROCK THOSE TITTIES!)
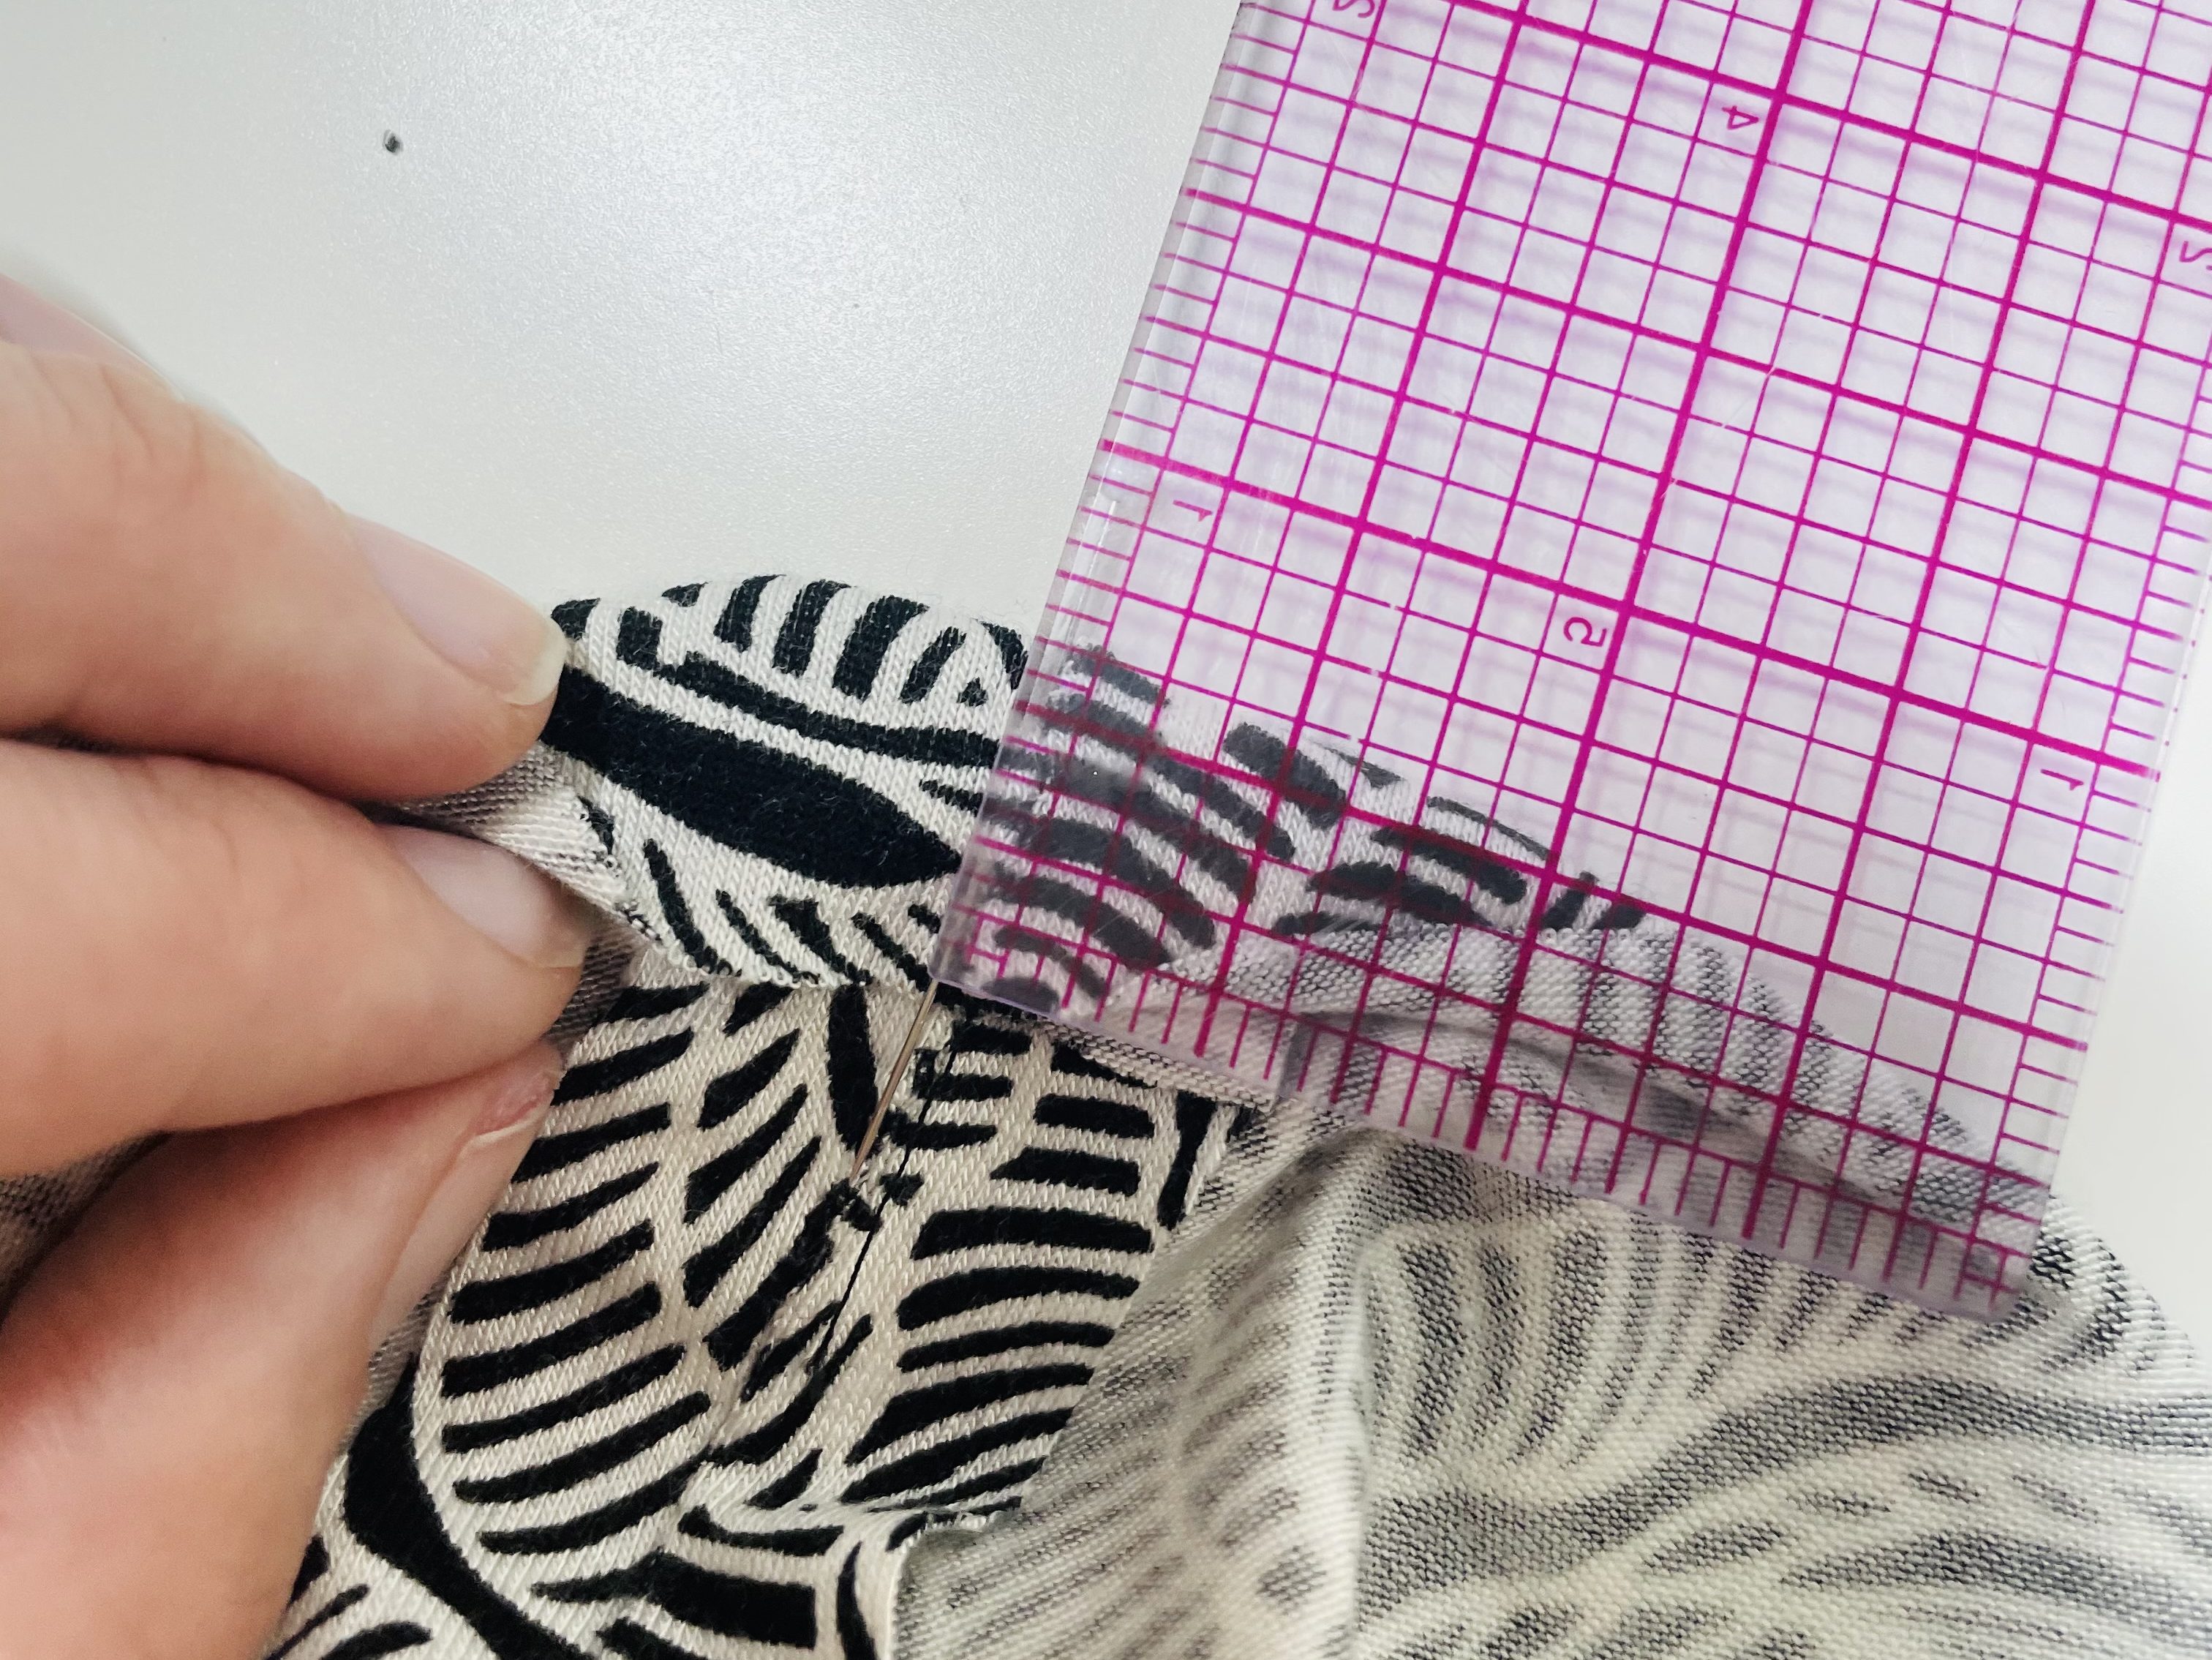
Once you decide how high you want the bottom of your tank, you’ll fold the bottom of the shirt inward, to the inside of the tank, overlapping by the amount you decided. So, for me, I folded the bottom 5/8″ up inside the shirt, like you can see I’ve started doing here:
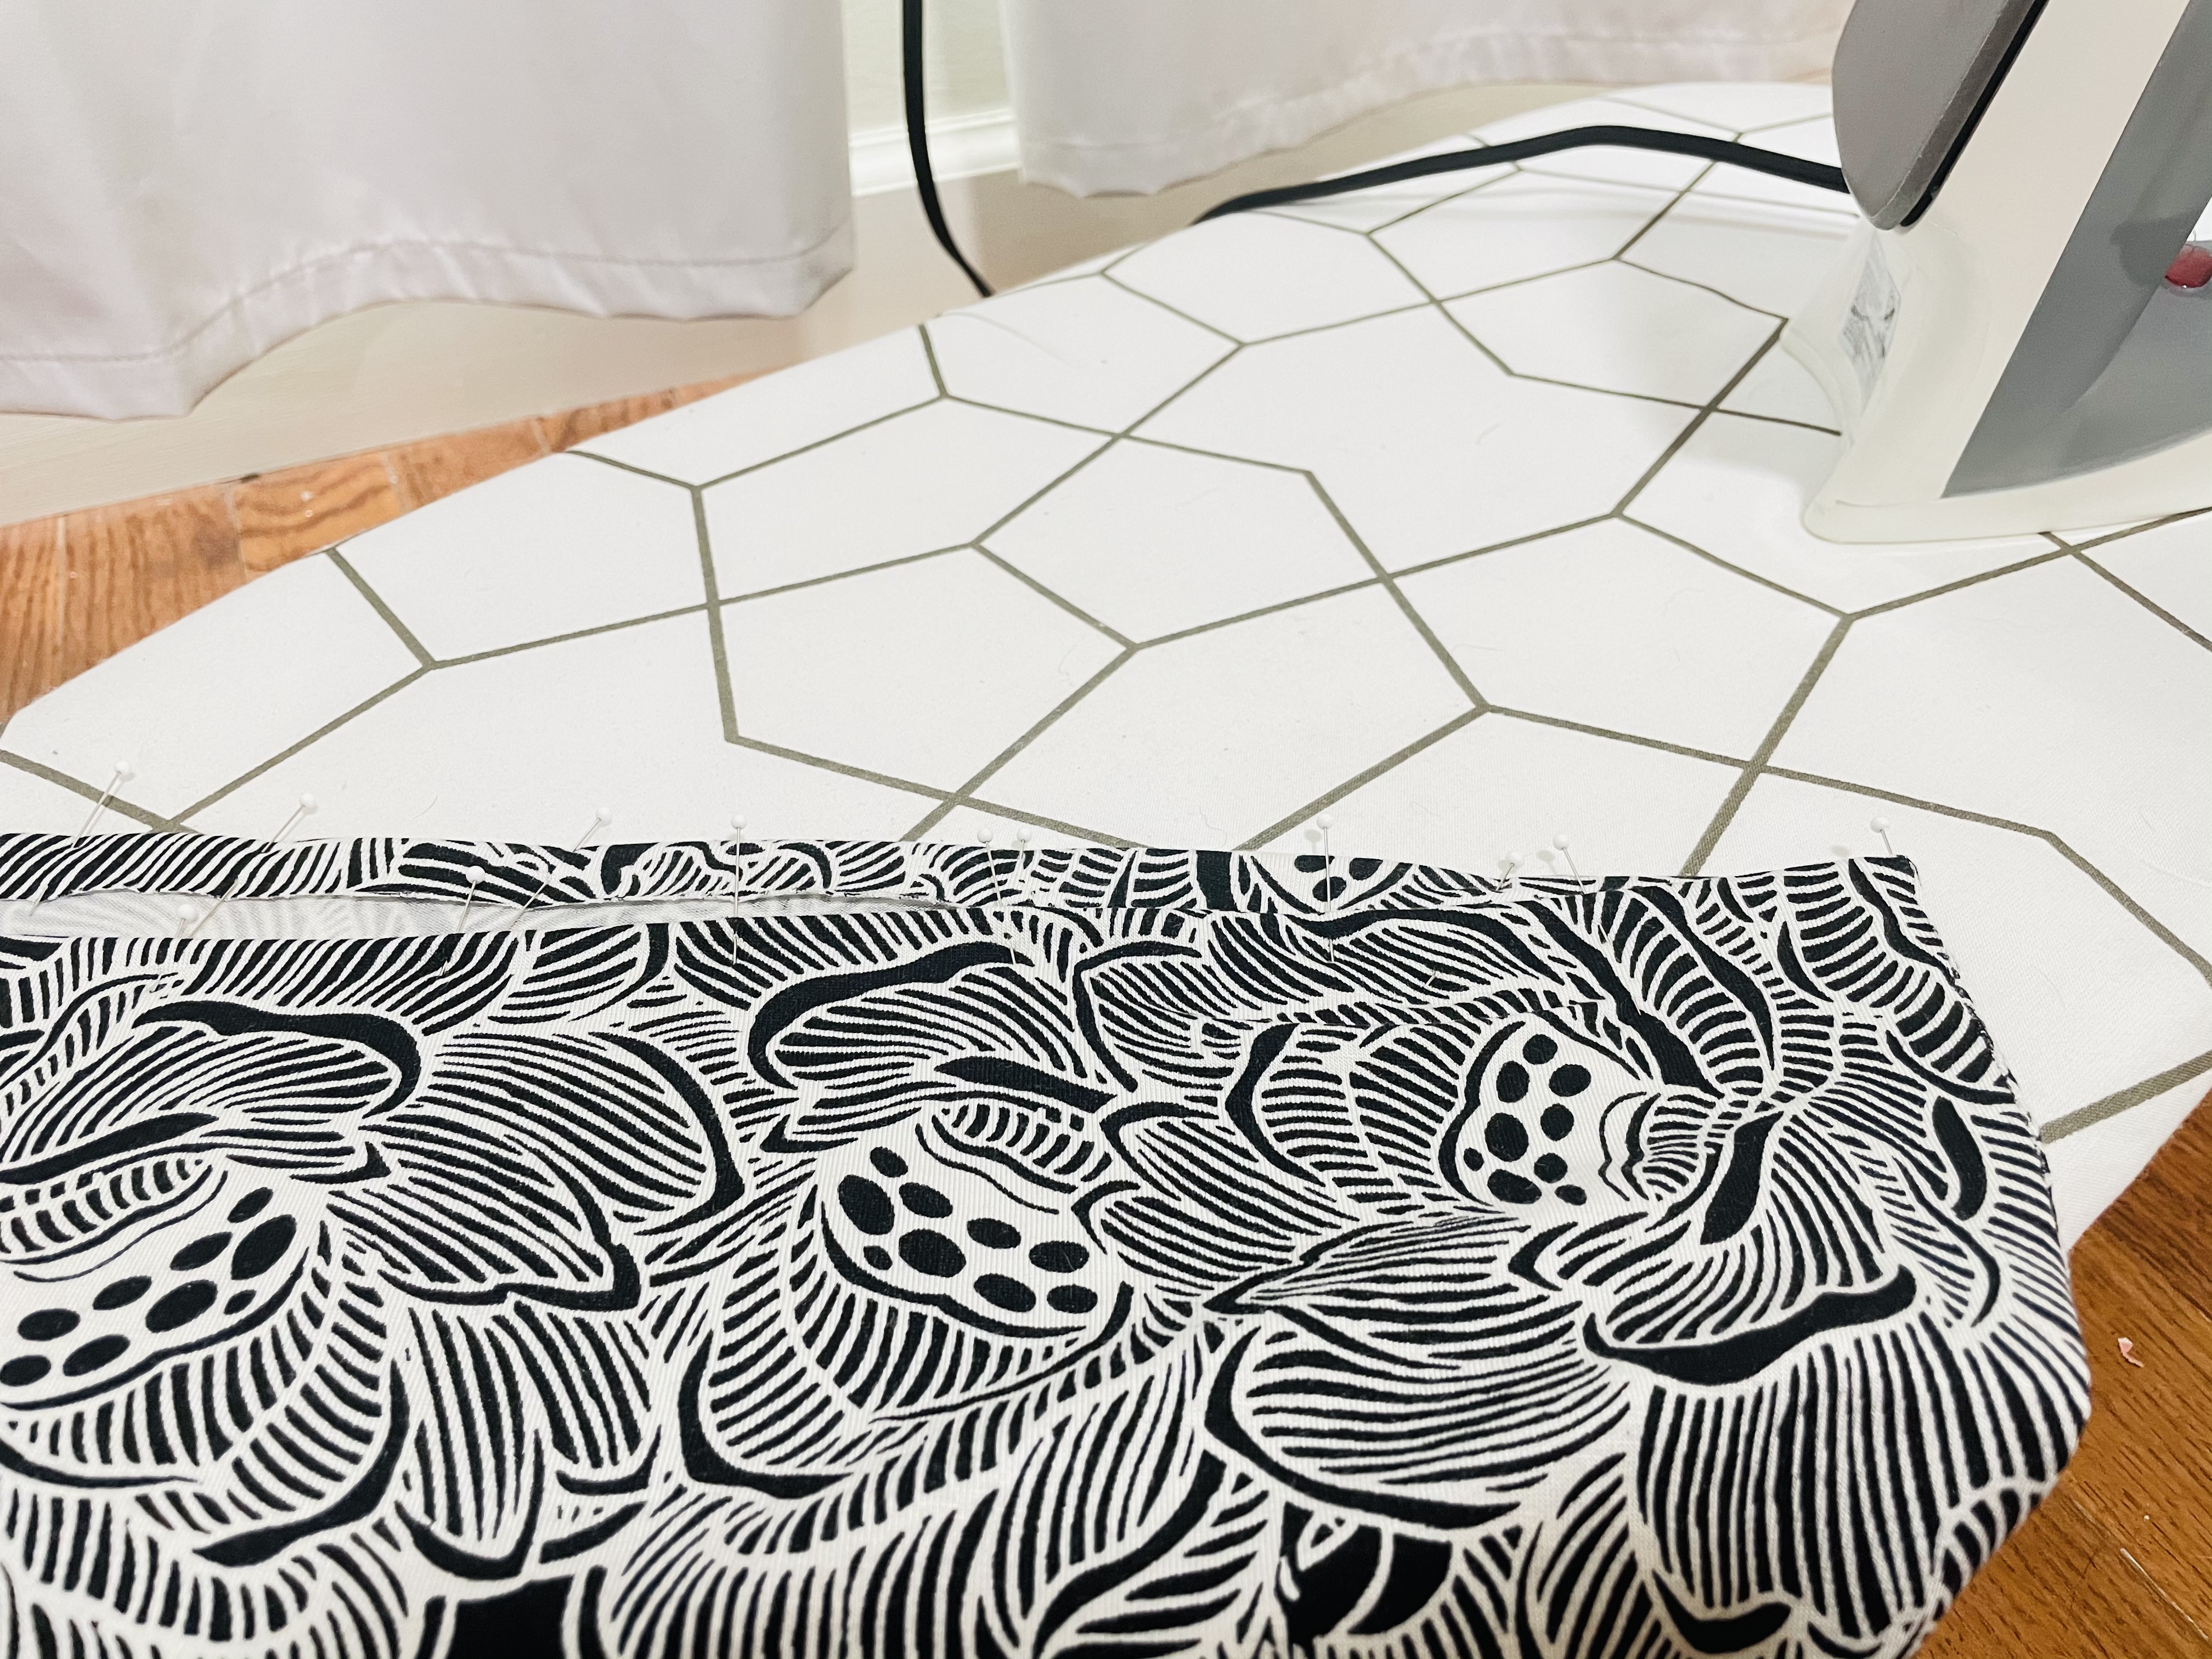
Now, we’re going to start pinning. Pin that fold in place all the way around the bottom of the tank. Then iron!
Now, we get to sew! But we’re not going to use that zigzag we’ve been using! Well, to be clear, you can use the same zigzag we’ve been using. But, since this is a stitch that is going to be seen on the finished shirt, you can also choose a different stitch. But stick with a stitch that has stretch to it.
Personally, I chose this stitch (which on my machine is #11, but may be a different number on your machine):

If you don’t have this stitch, feel free to choose any stitch that’s marked for stretch in your manual, or stick with the trusty zigzag.
My only word of caution is I would avoid the triple stitch/stretch straight stitch. Personally, I find that this stitch doesn’t stretch enough for things like hems and bands, which go around the body. It’s best suited, in my opinion, for vertical seams that don’t need quite as much stretch to be retained.
Now, I recommend feeding your fabric into the sewing machine with the right side of your tank facing up. This will result in a cleaner look, and the pins should keep the folded edge folded under nicely.
For hems, I also like to use the edge of my foot to line up against the folded edge, as seen in the photo below. On my preferred foot, this makes my stitch 3/8″ from the edge of the fold. This is perfect for my 5/8″ hem, as it will mean there will be 1/4″ of the raw edge above the stitch.
If you have chosen a smaller hem, say 3/8″, make sure your stitch is a bit closer to your folded edge. For a 3/8″ hem, I would probably put my stitch at 1/4″ from the folded edge.
If you have chosen a larger hem, I’d keep your stitch in the range of 3/8″ to 3/4″ from the folded edge. We will trim off the excess raw edge once your hem is done.
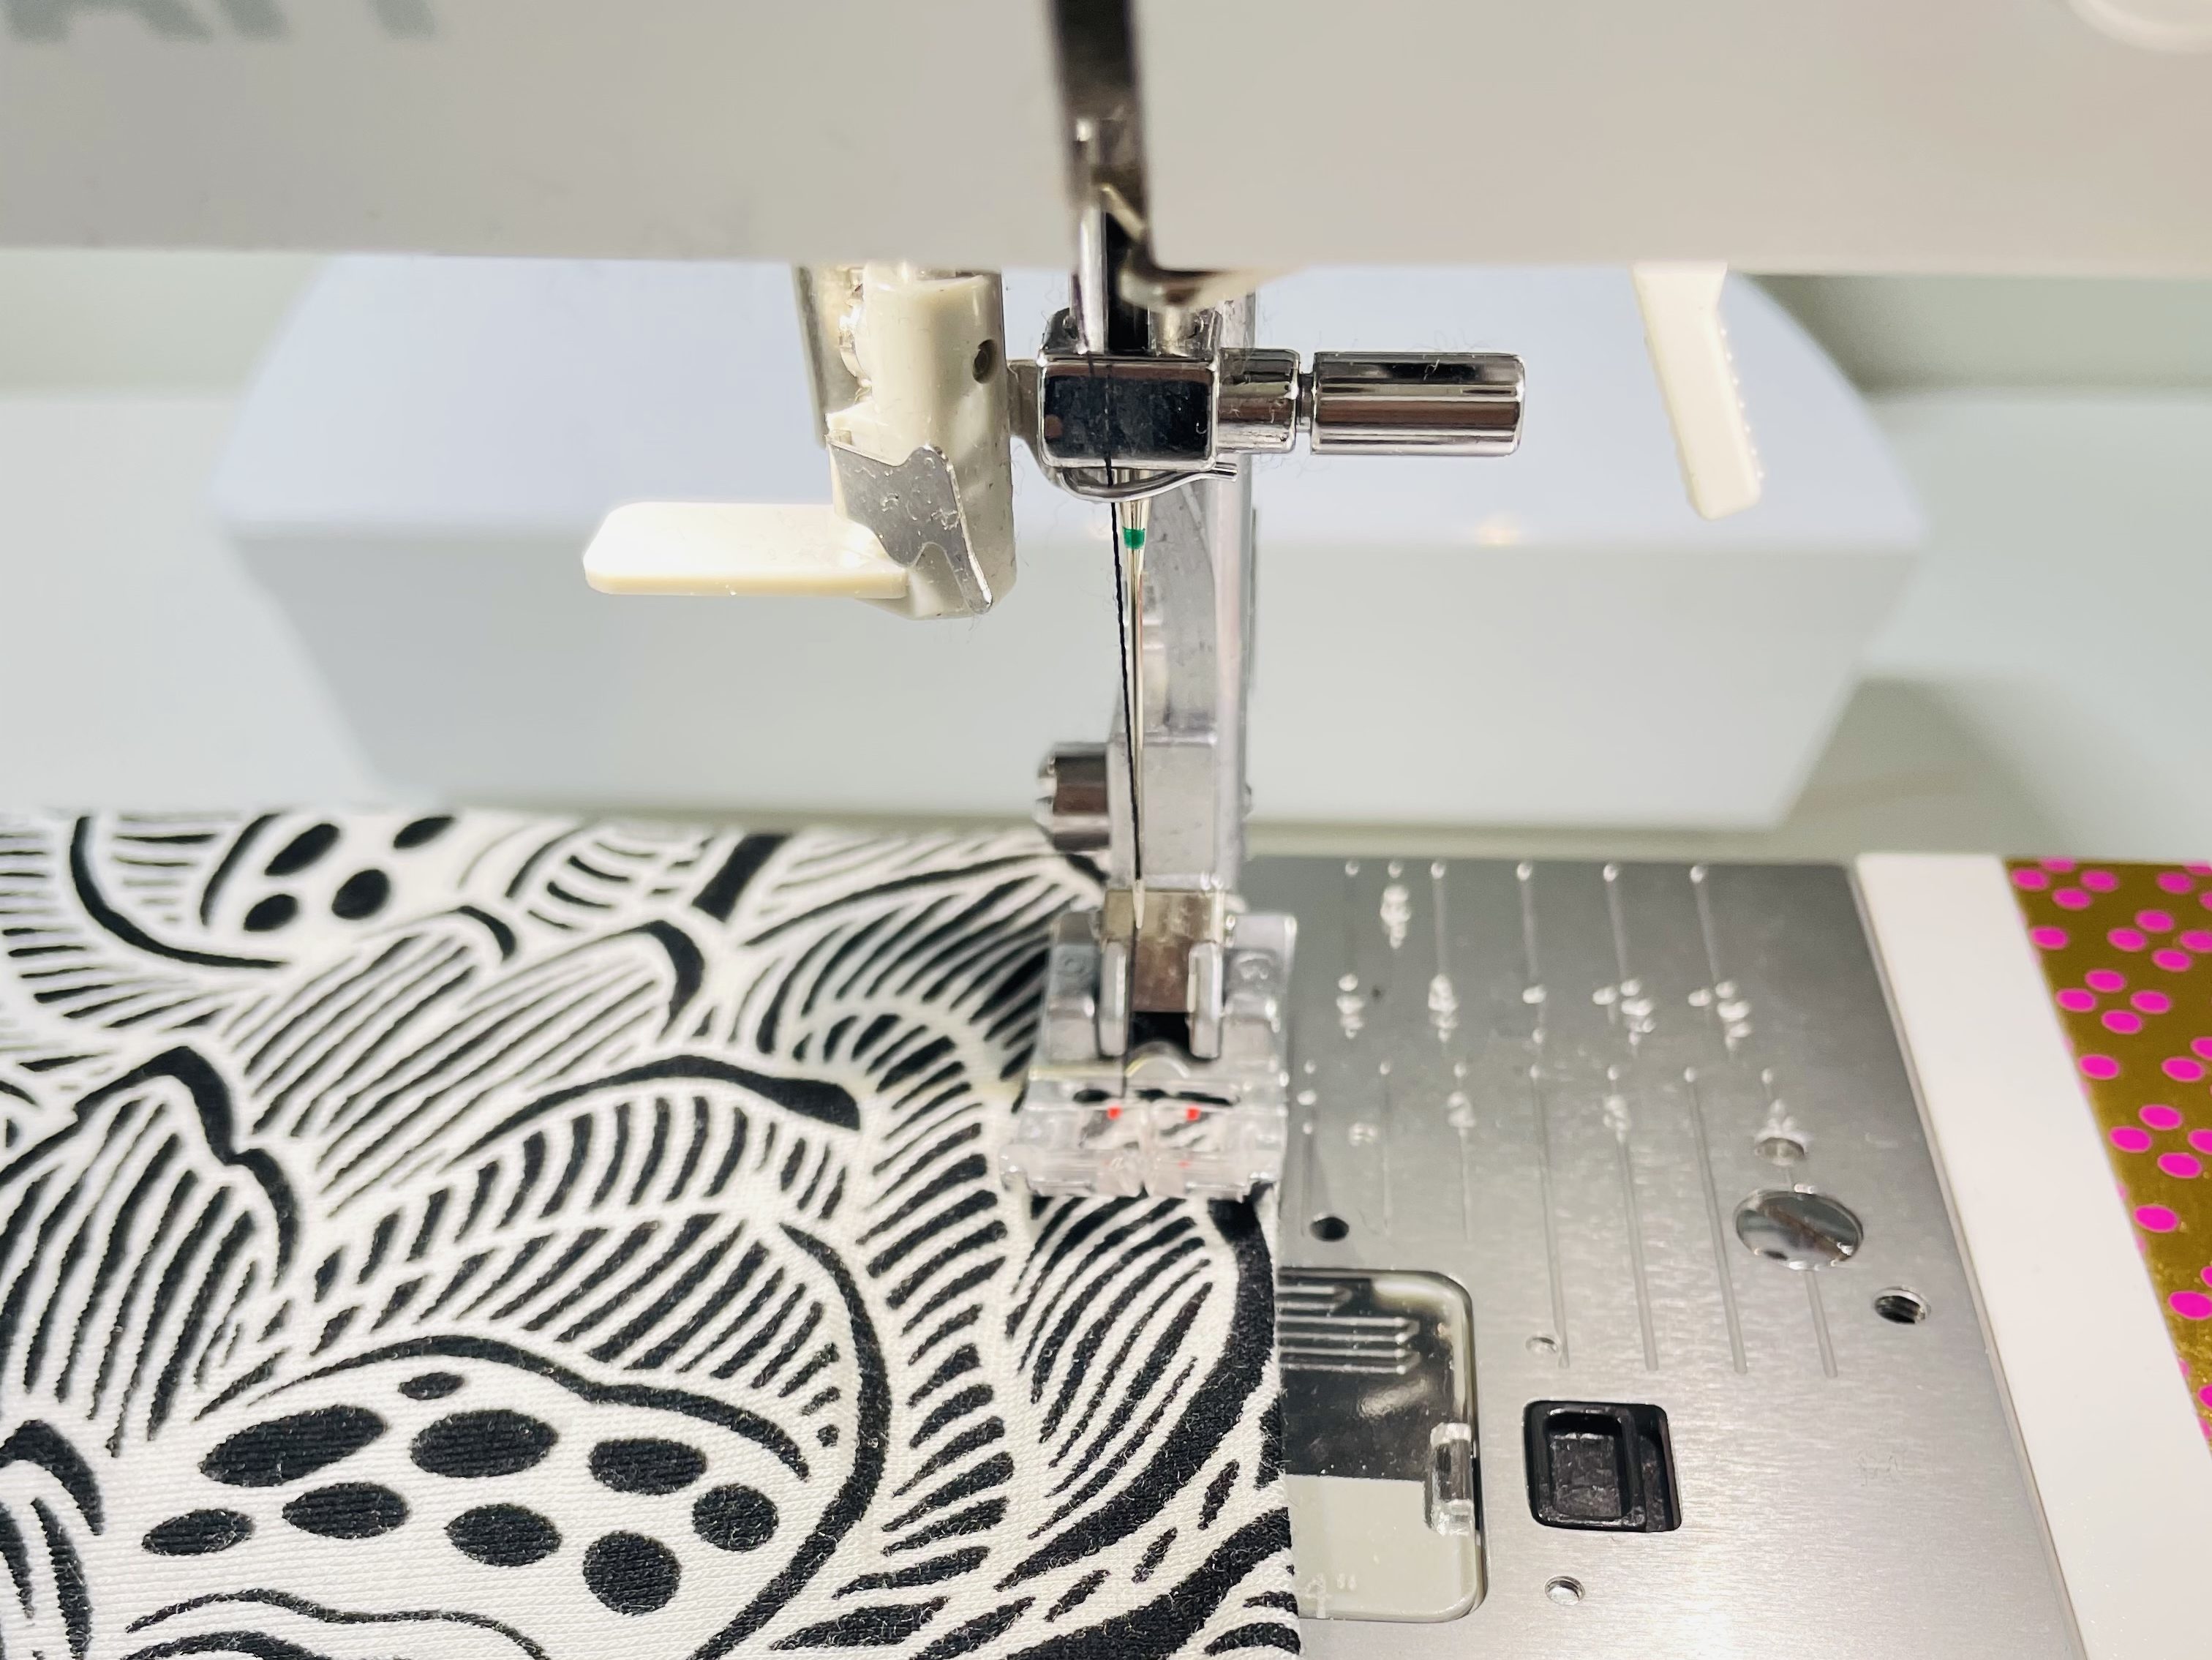
Starting at side seam, stitch all the way around the tank, pulling the pins as you come to them. Overlap your stitching for about 1/2″ at the end to secure. You may also want to use a lockstitch at the end, if you machine has that option, to make sure your hem is nicely held in place.
If you chose a hem that was greater than 5/8″, use your snips to very carefully trim the raw edge of the fabric to about 1/4″ from the stitching. VERY CAREFULLY. If it feels like you’re cutting through too many layers of fabric, you probably are. Ask me how I know.
Let’s Topstitch!
OMG we’re on the final step!
The last thing we are going to do is topstitch. What is topstitching? Well, it’s the pretty stitching that holds down all those raw ends and can be seen from the outside of the garment.
A word about your topstitching versus topstitching on ready-to-wear/store bought garments: Factories use a special machine called a coverstitch to topstitch. This is what gives your RTW garments that nice double straight line on the front, like this:

I’m going to assume you only have a regular old sewing machine, not a coverstitch. So your topstitching is going to look different.
You could get fancy and break out a double needle, and get a look very similar to a coverstitch. But sewing with a double needle makes me want to drop the f bomb more times than almost any other sewing technique, and since this is a beginners’ sewing series, we’re going to use a different method. Again, it’ll look different, but it’s going to look fab.
So I’m going to use that same stitch #11 that I used for the hem earlier. If you don’t have this stitch, go ahead and lean on that zigzag or another stretch stitch. Again, I wouldn’t use the triple stitch for the reasons I outlined earlier.
At your neckband, fold the raw fabric down toward the body of the tank. You can pin this all the way around, but I actually think you might be okay going commando on this one. Just let the presser foot on your machine hold the fabric down.
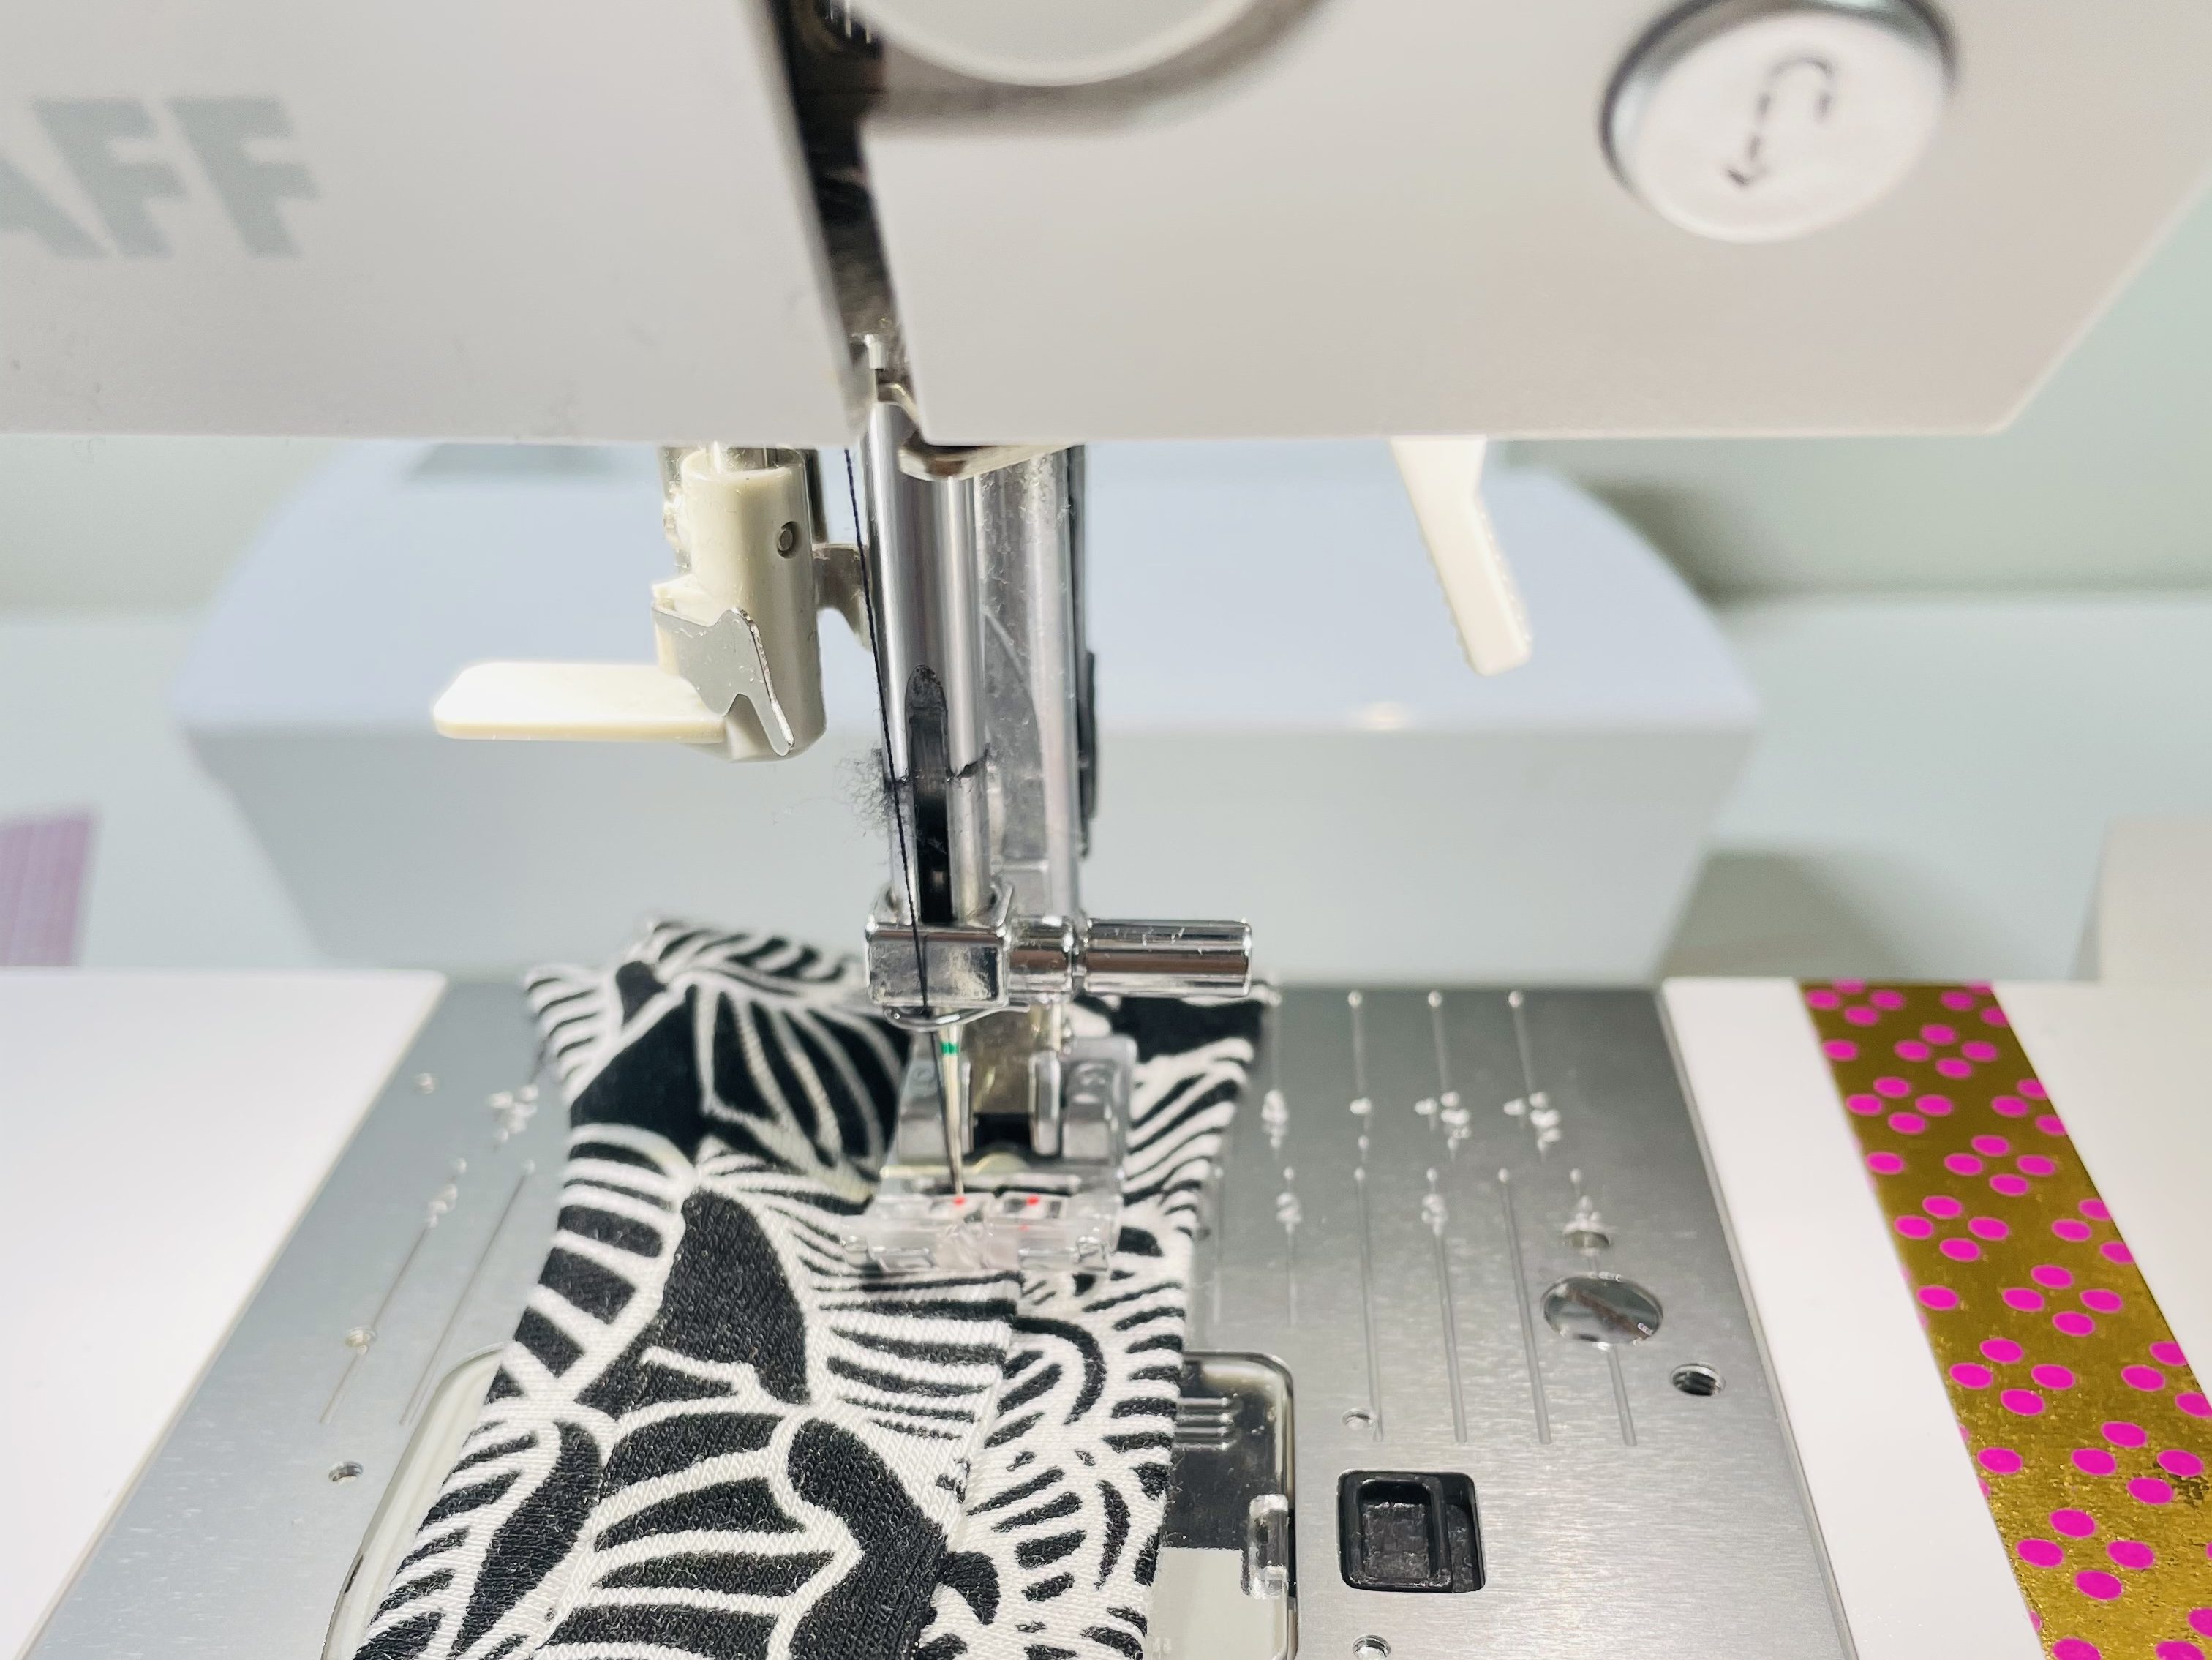
Working with the outside of your tank facing up, you’re going to sew that raw edge down, stitching just to the side of the seam line. Here, I’m using that red little mark on my presser foot to follow the seam line so I can ensure my seam stays even with the seam.
Be careful not to pull your fabric as you sew this, as it’s easy to pull at this point. Pulling will distort your neckline.
Every inch or so, lift your fabric and take a peek to make sure the raw edge is still facing inward and being caught by the underside of the topstitching. If you’ve missed the raw edge, stop, seam rip to where the raw edge stops being caught, and start over just before that point. If you find yourself struggling to keep that raw edge in place, turned inward, go ahead and break out those to help!
Stitch all the way around the neckline, either overlapping about 1/2″ at the end or using a lockstitch to finish.
The finished product will look a bit like this. Notice how, on the left, things look a bit wavy? Sometimes, even if we try not to stretch the fabric, this just happens. Don’t stress if it’s minor. Just give it a press and a steam and the waviness will likely dissipate, as seen here on the right!
Now, repeat these exact same topstitching steps on each arm hole, pressing the raw edge of the fabric inward and stitching just next to the seam line. Give it a press and steam with your iron!
CONGRATULATIONS!!! YOU HAVE FINISHED YOUR TANK TOP!
Please post your finished project on social media and tag @sewbusty (or, on insta, #sewbusty or #sewbustycommunity). I can’t wait to see how you’ve gotten on!
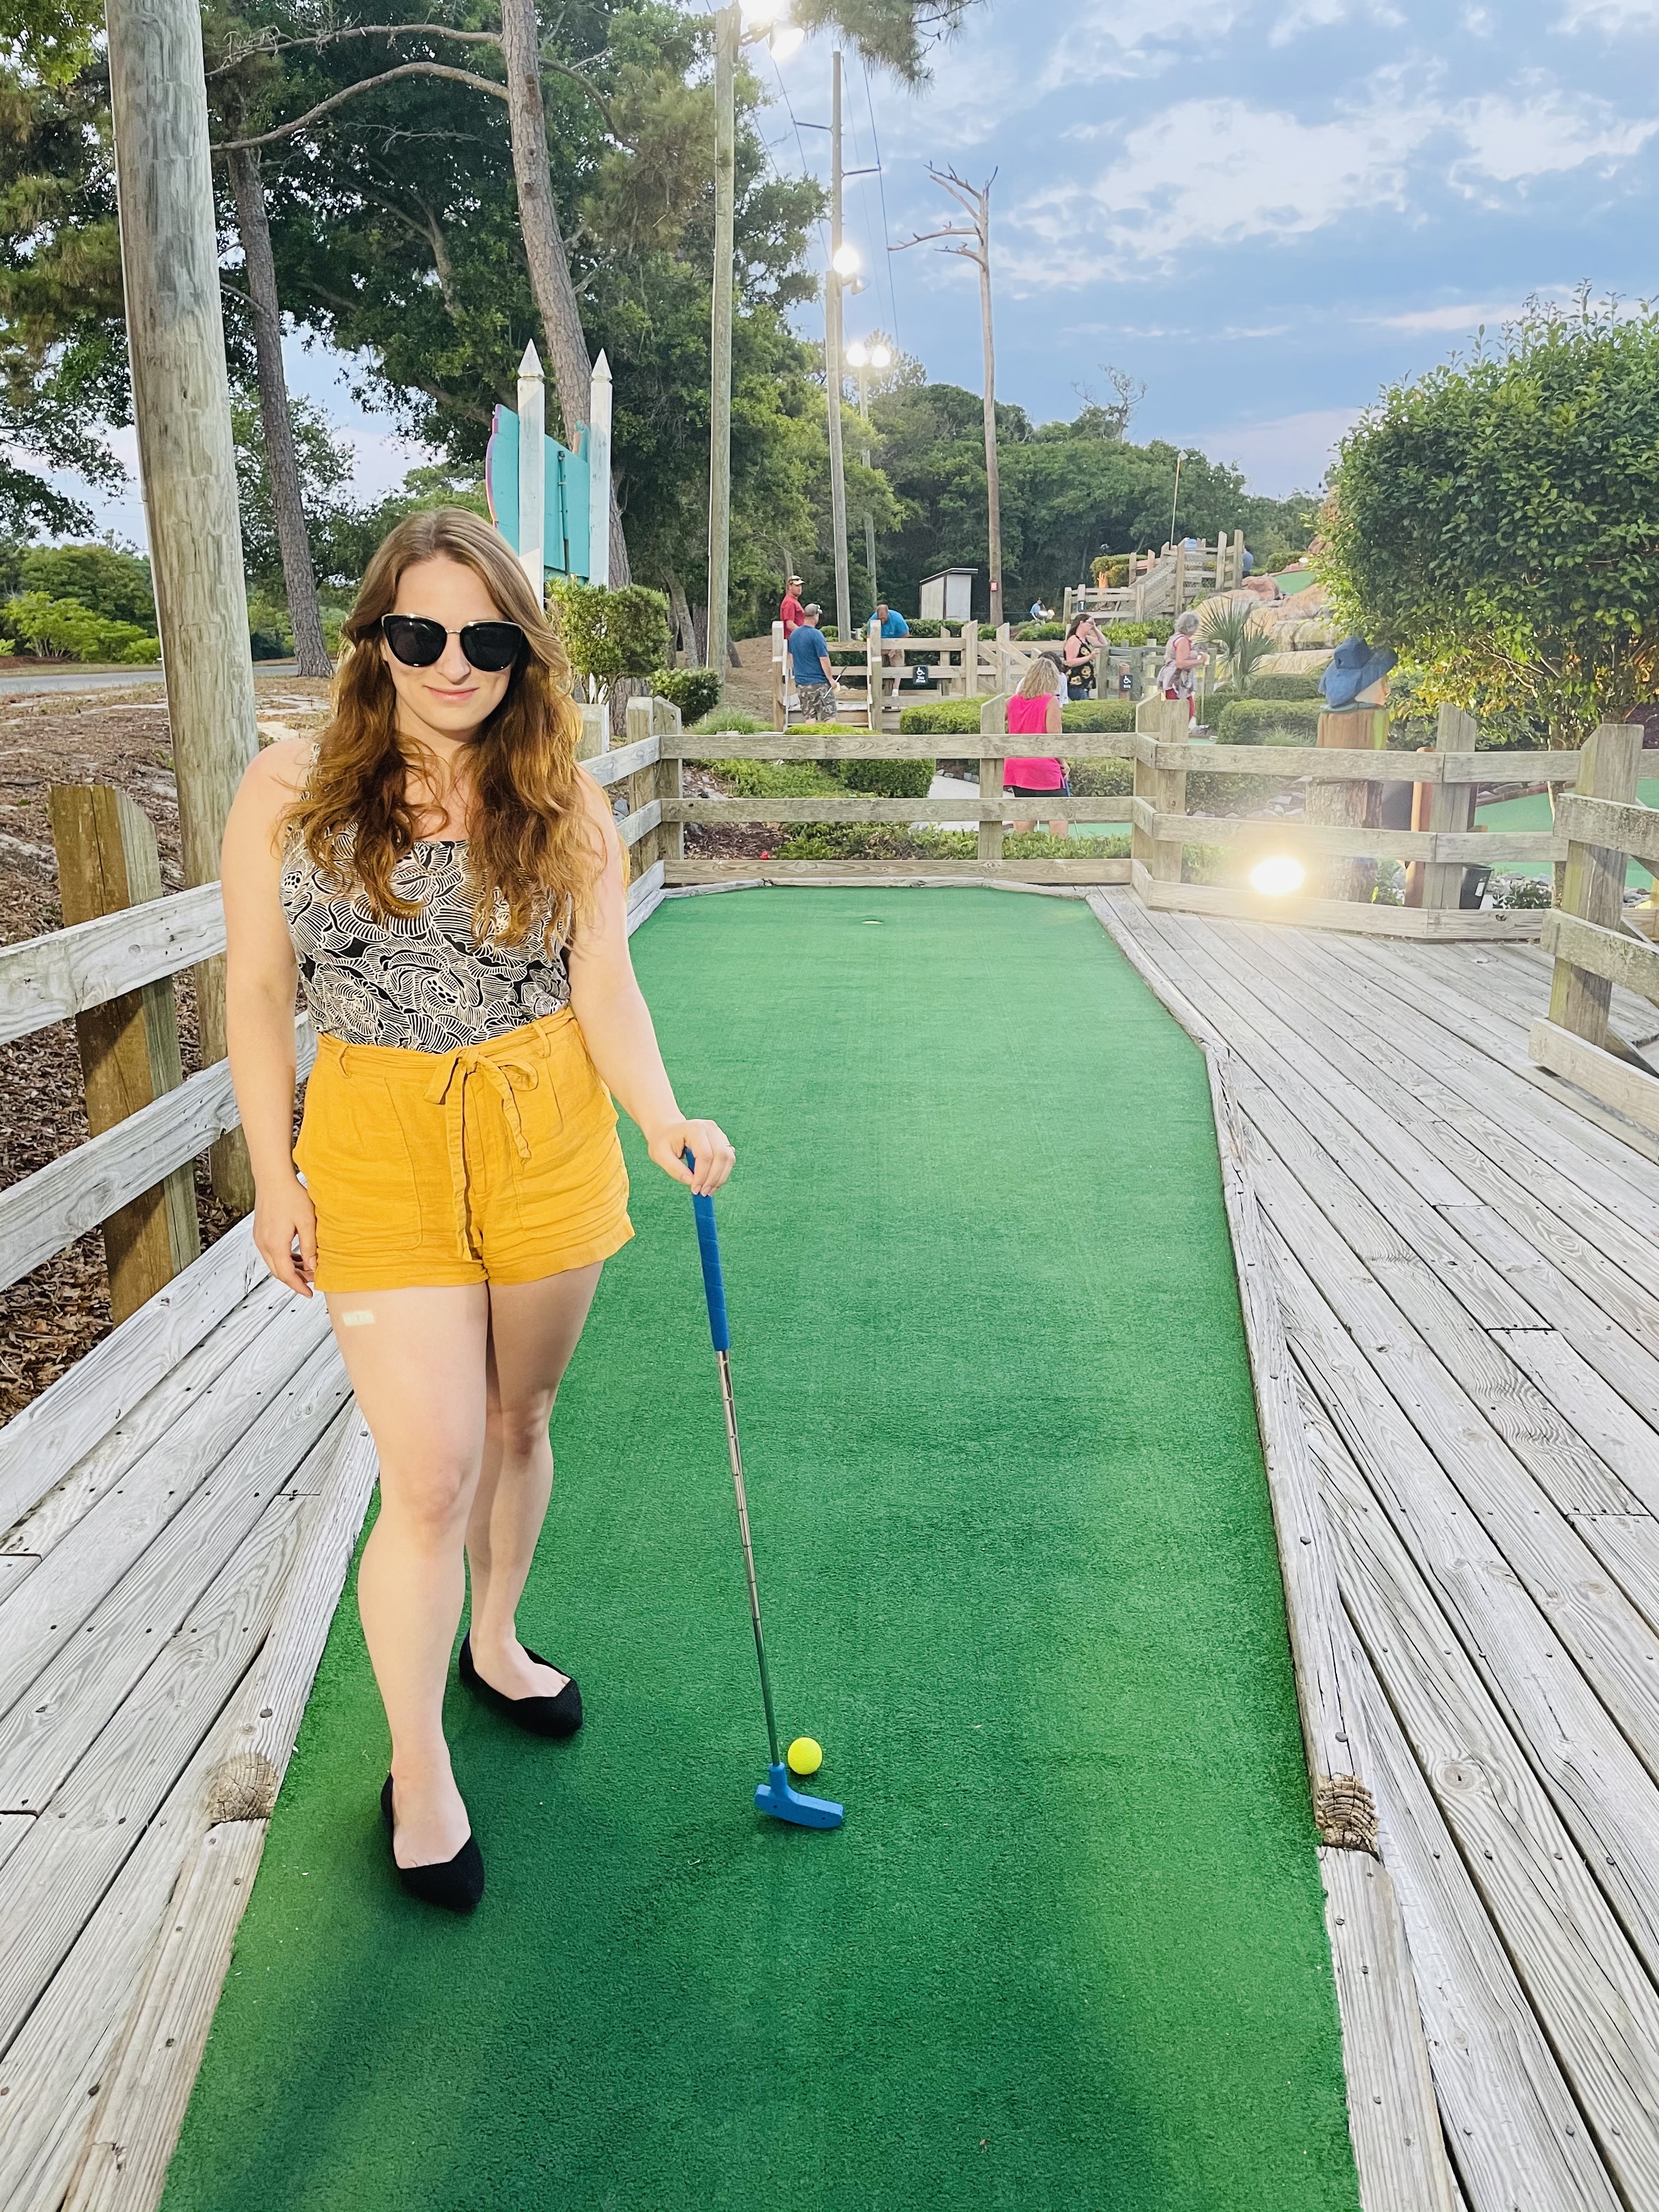
Here’s mine in action at the putt-putt course:
Your Homework
This week, you should:
- Sew the hem on your tank
- Topstitch your bands
- Post your finished tank on social and make sure I see it!
Ready for the next sew along? In June, Sew Busty will be hosting Bra Month, and I’ll be doing a sew along of the Firebrand Jet Set Natural bra. This project is appropriate for an adventurous beginner, so I hope you join! If you’re a total newbie to sewing and don’t feel ready to make a bra, we’ll be jumping back into an easier project in July, so be sure to follow Sew Busty on social media and subscribe to this blog in order to be notified when that sew along launches!
Questions about these last steps on the Lago/Saybrook tank? Drop a comment below, or ask on the Sew Busty Facebook group or subreddit.
Some of the links in this post are affiliate links. This means if you click on the link and purchase the item, I will receive an affiliate commission at no extra cost to you. All opinions remain my own.

