Community Blog | The Magnolia Dress with Kerri
Hello Sew Busty Friends! My name is Kerri, I am a sewist with about 5 years of experience. I am a mom of 3, a lover of fashion and all things vintage. I put my heart and soul into everything I do and that is why I am so in love sewing, I can make something that is uniquely me! I have always struggled to find clothes that fit both my bust and my waist. In addition I suffer from the same problem many people do: a severe lack of ready to wear functional pockets.
For my most recent project I decided to tackle the Magnolia dress from Deer and Doe Patterns. I love this pattern and found it to be very bust friendly due to the cross over front. I didn’t even need a full bust adjustment, despite my 5″ difference between full and upper bust!
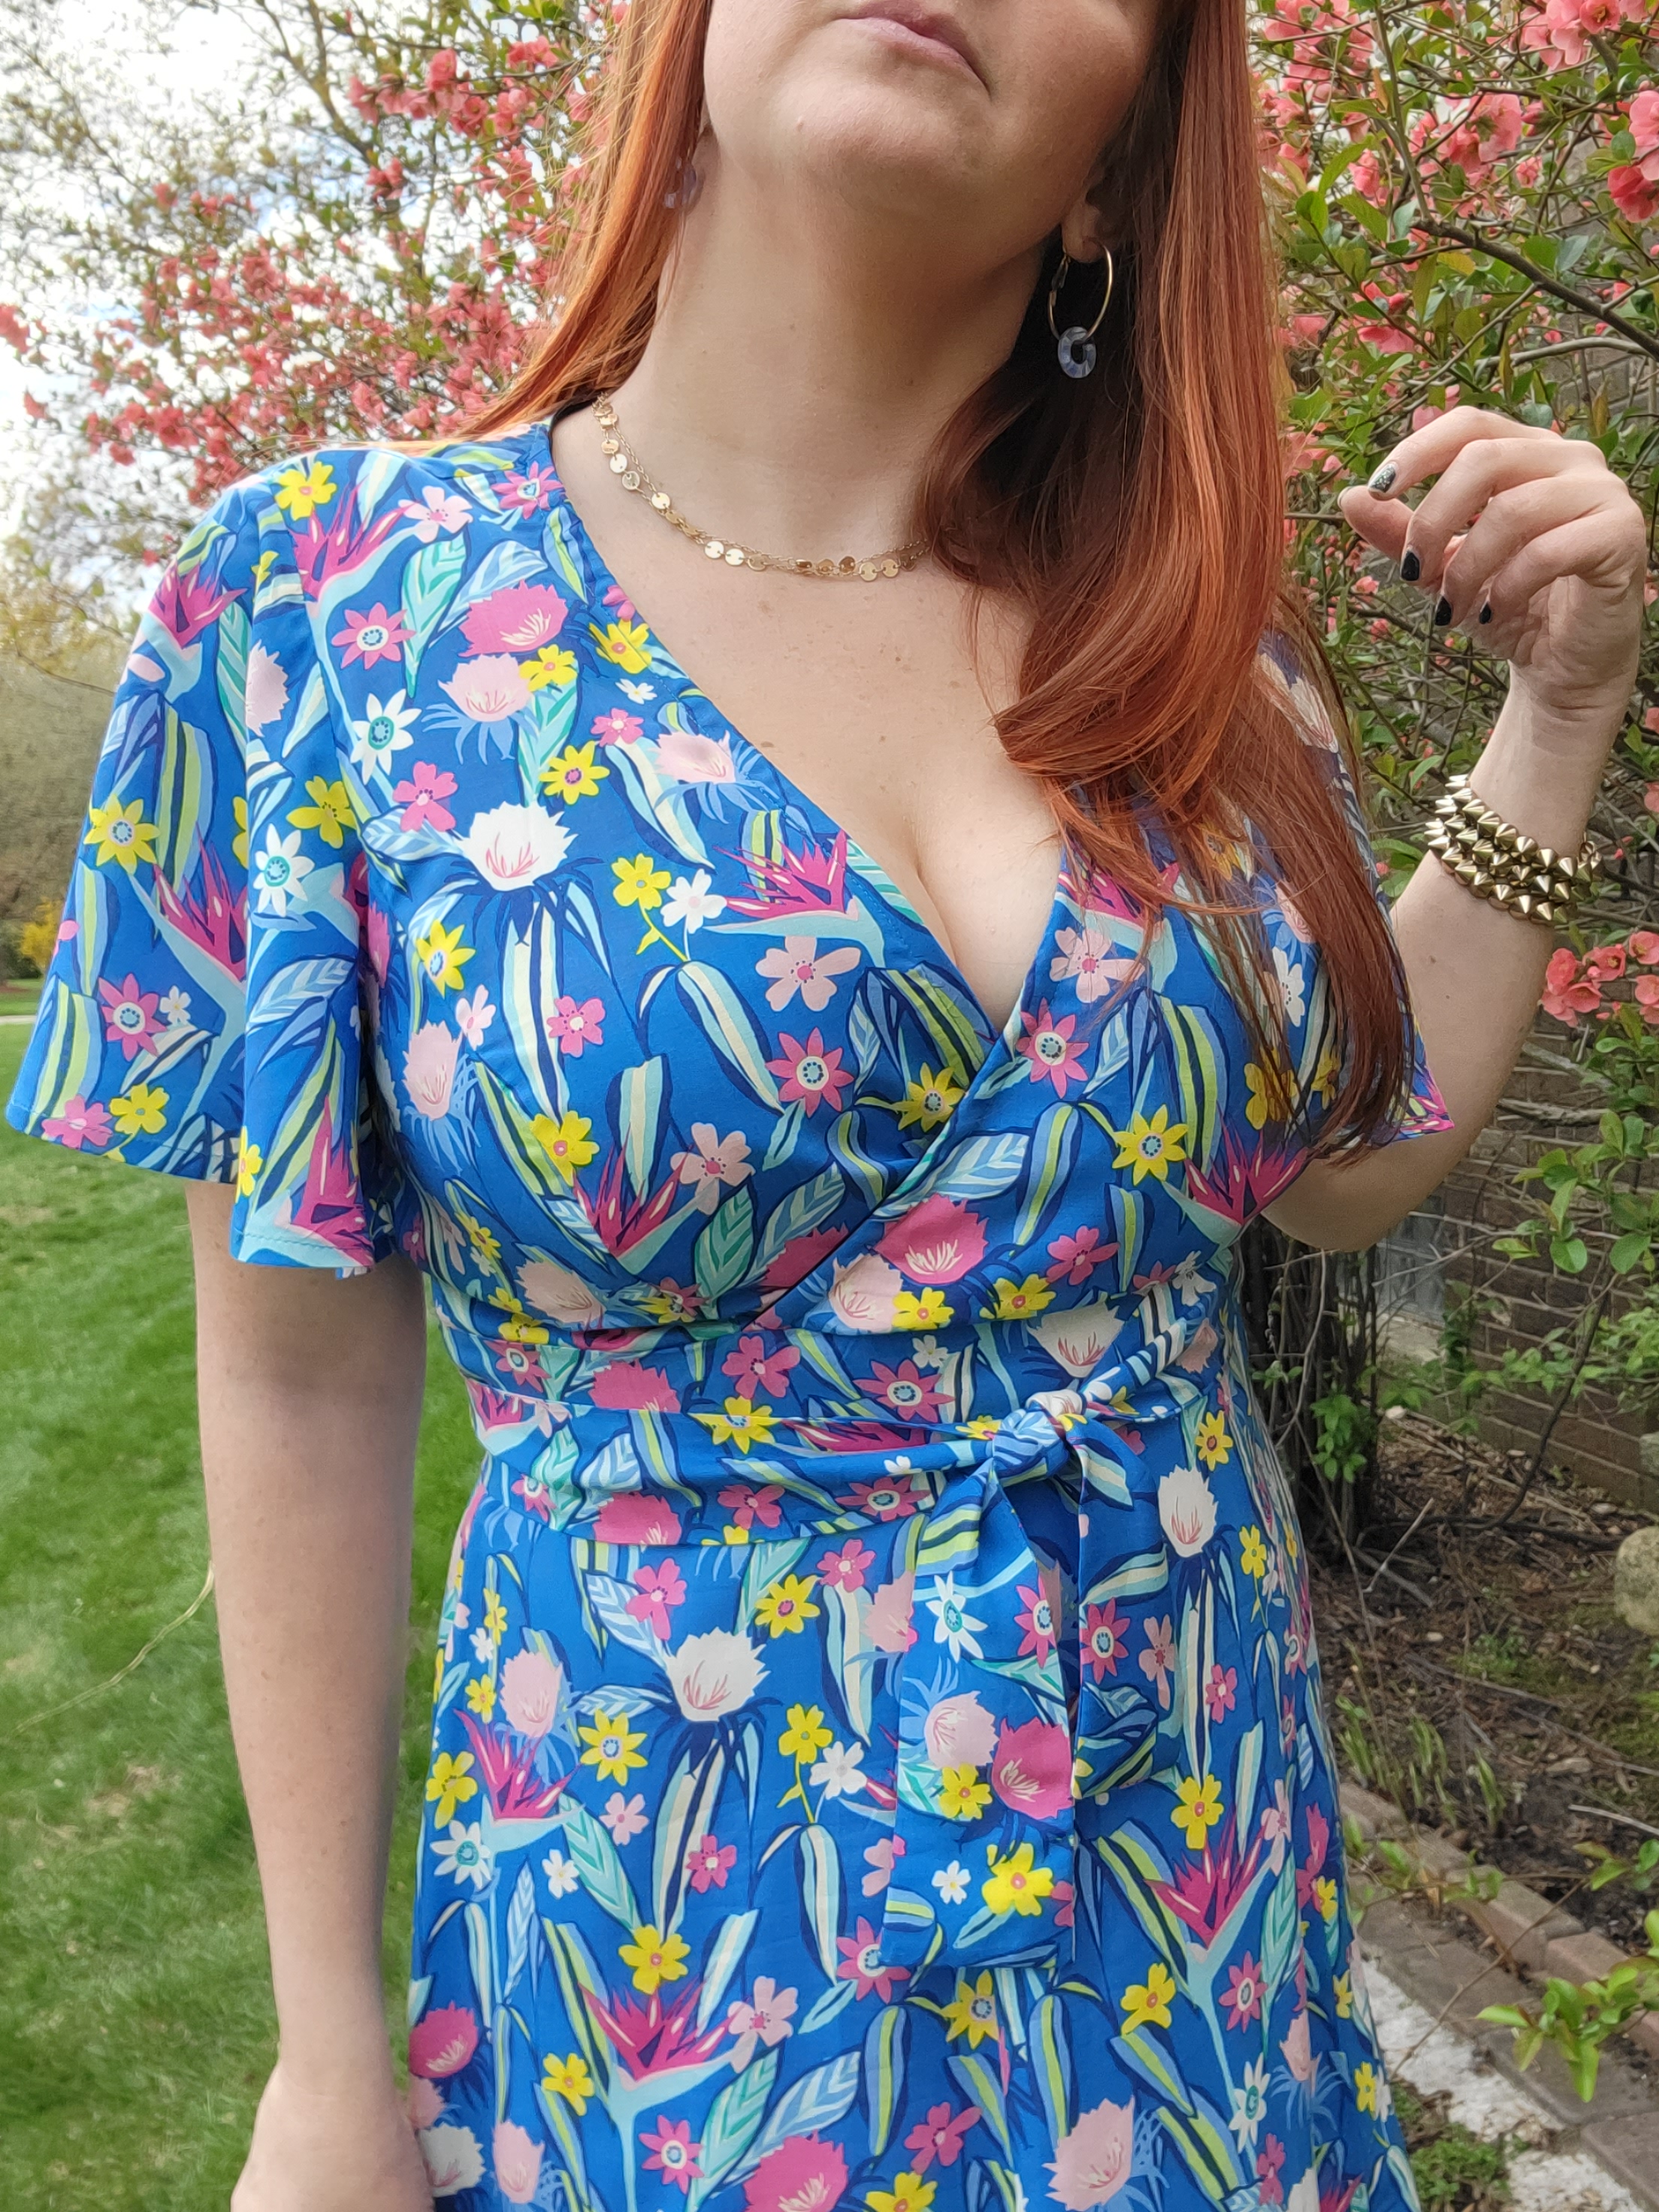
The option I chose was View B. View B offers a greater cross over, a shorter skirt and a flowy butterfly sleeve. This style was more appealing to me for our upcoming summer months.
My other main focus was to ensure it was light and easy to wear for the summer. The base I chose was Art Gallery Fabrics rayon in the Tropic Like It’s Hot print that I got from Phee Fabrics because I love the color and the drape.
In additional to choosing a breathable base I wanted to ensure this dress would provide support for “the girls,” in order to do this I did a few things:
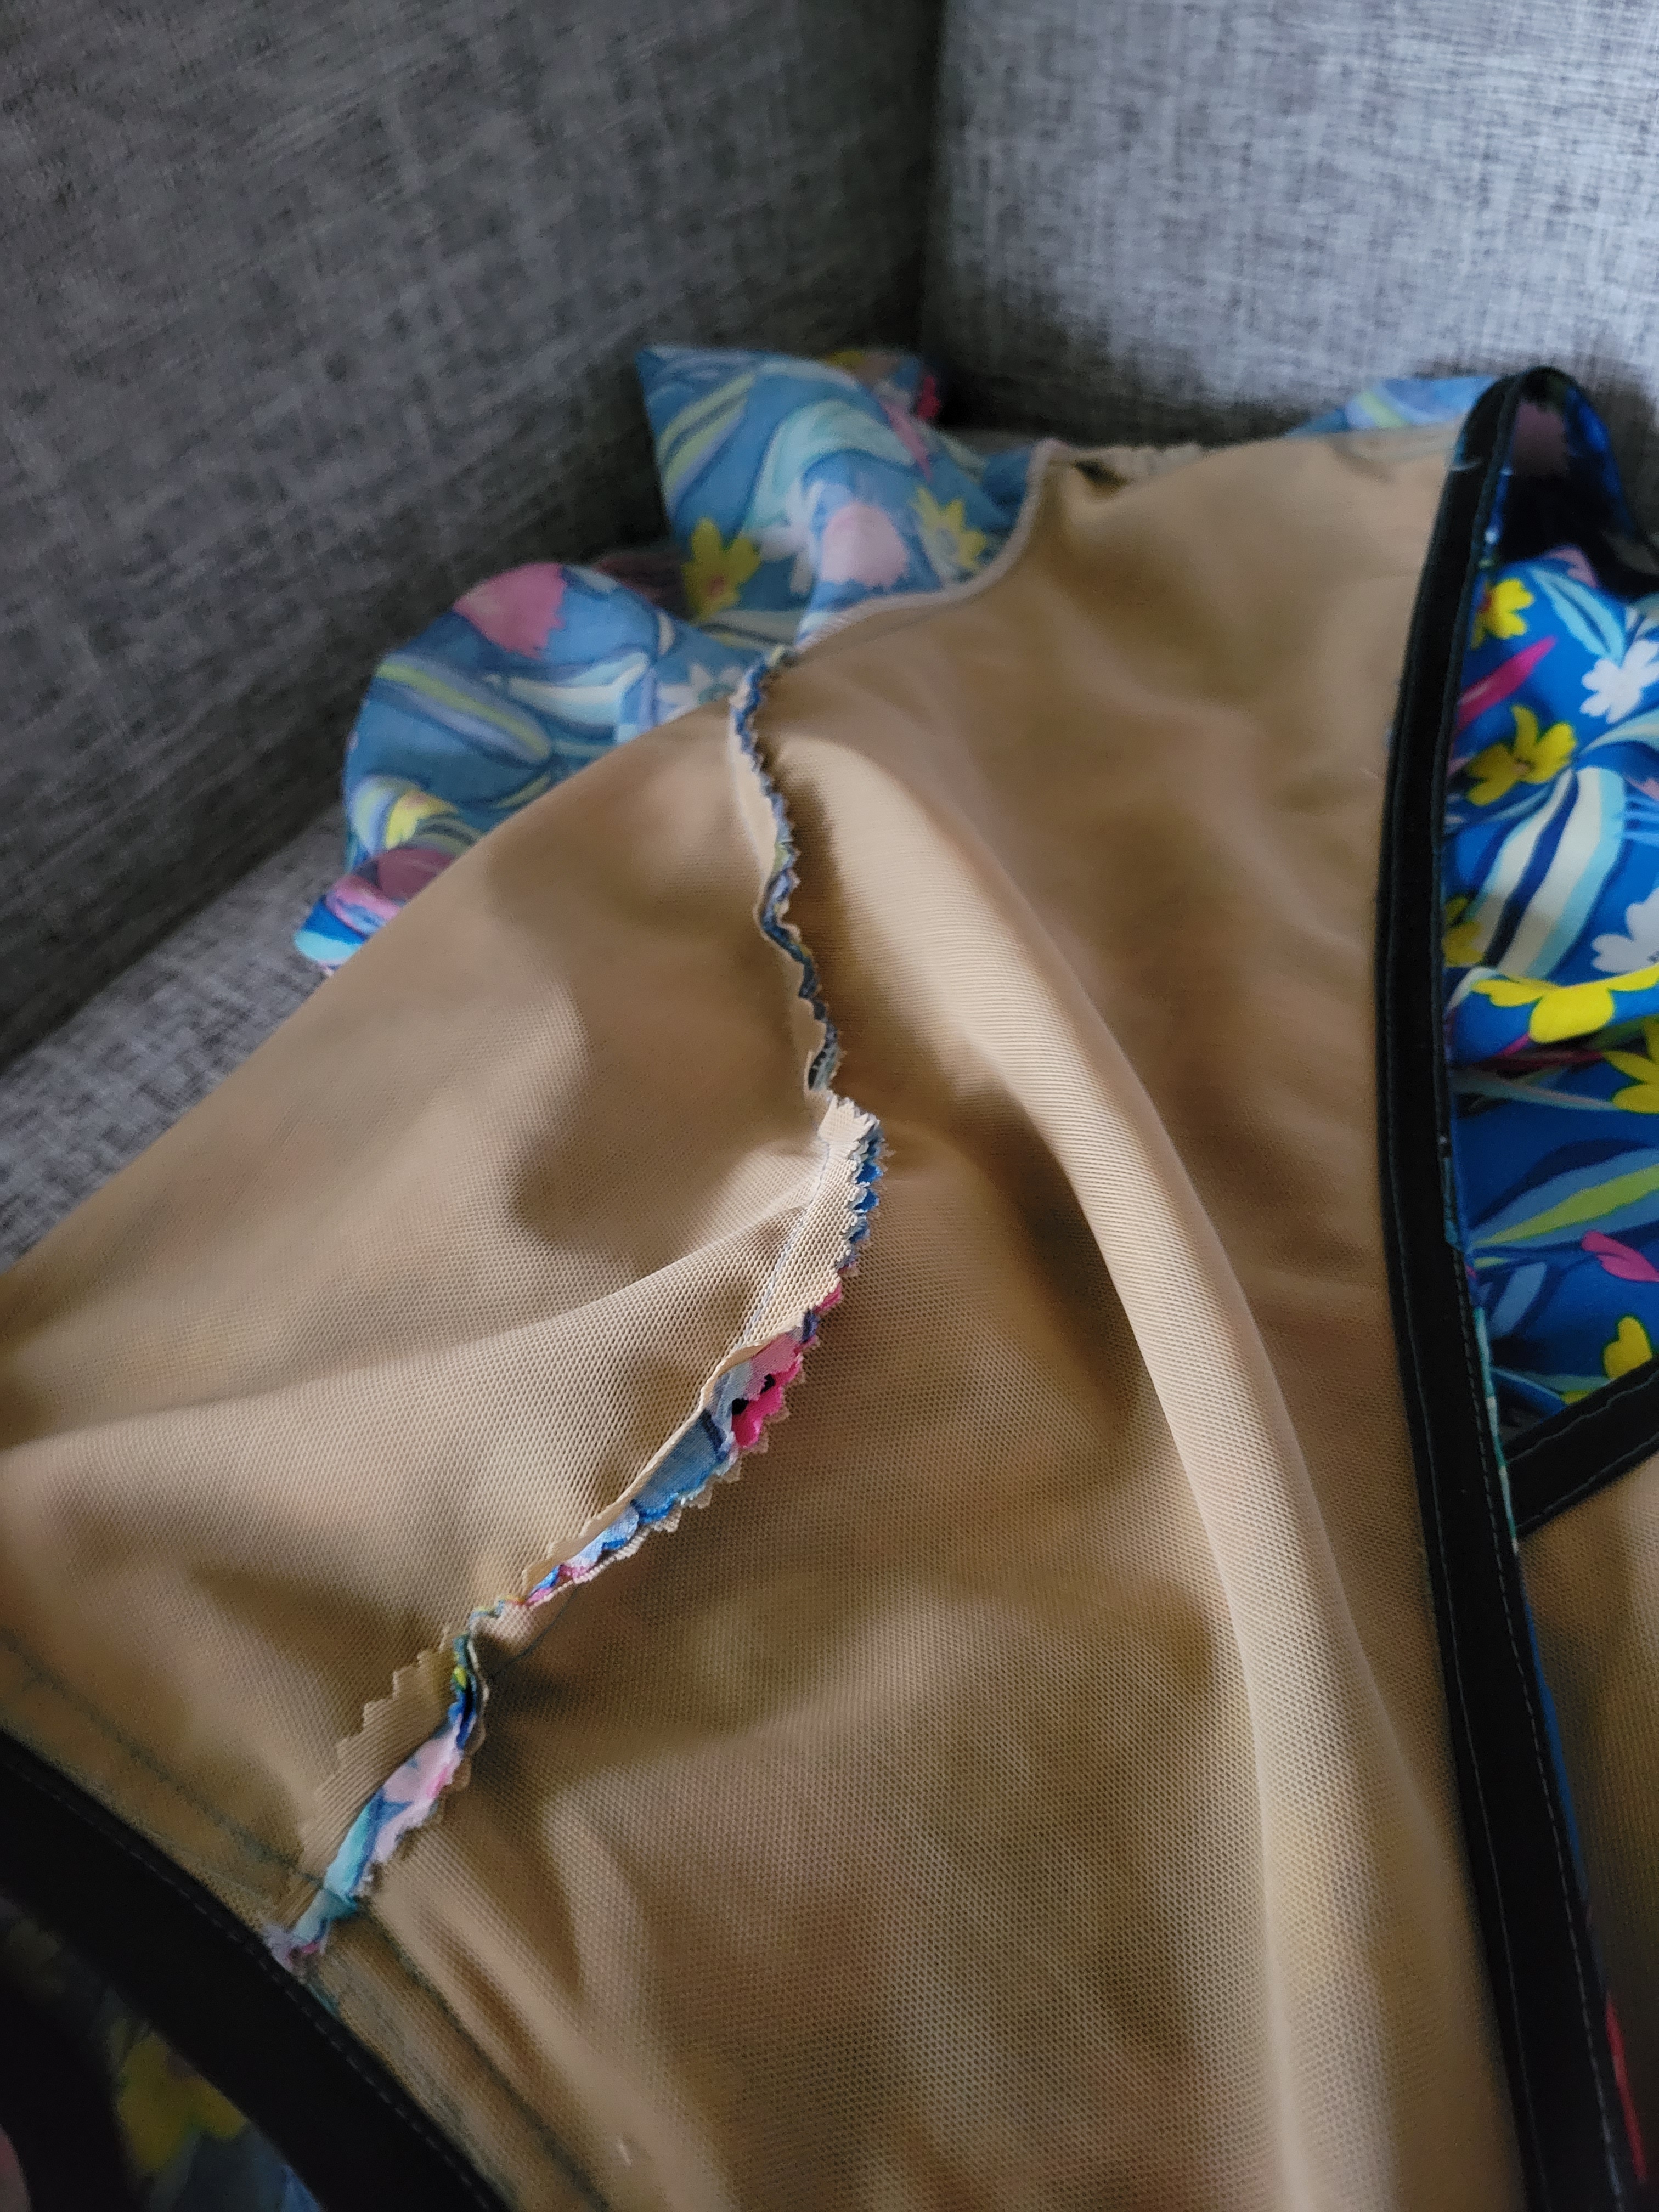
- I cut powernet slightly smaller than the two front bodice pieces. I then basted this to the main pieces on the wrong side, and followed the pattern as instructed. This way I could go braless on hot summer days.
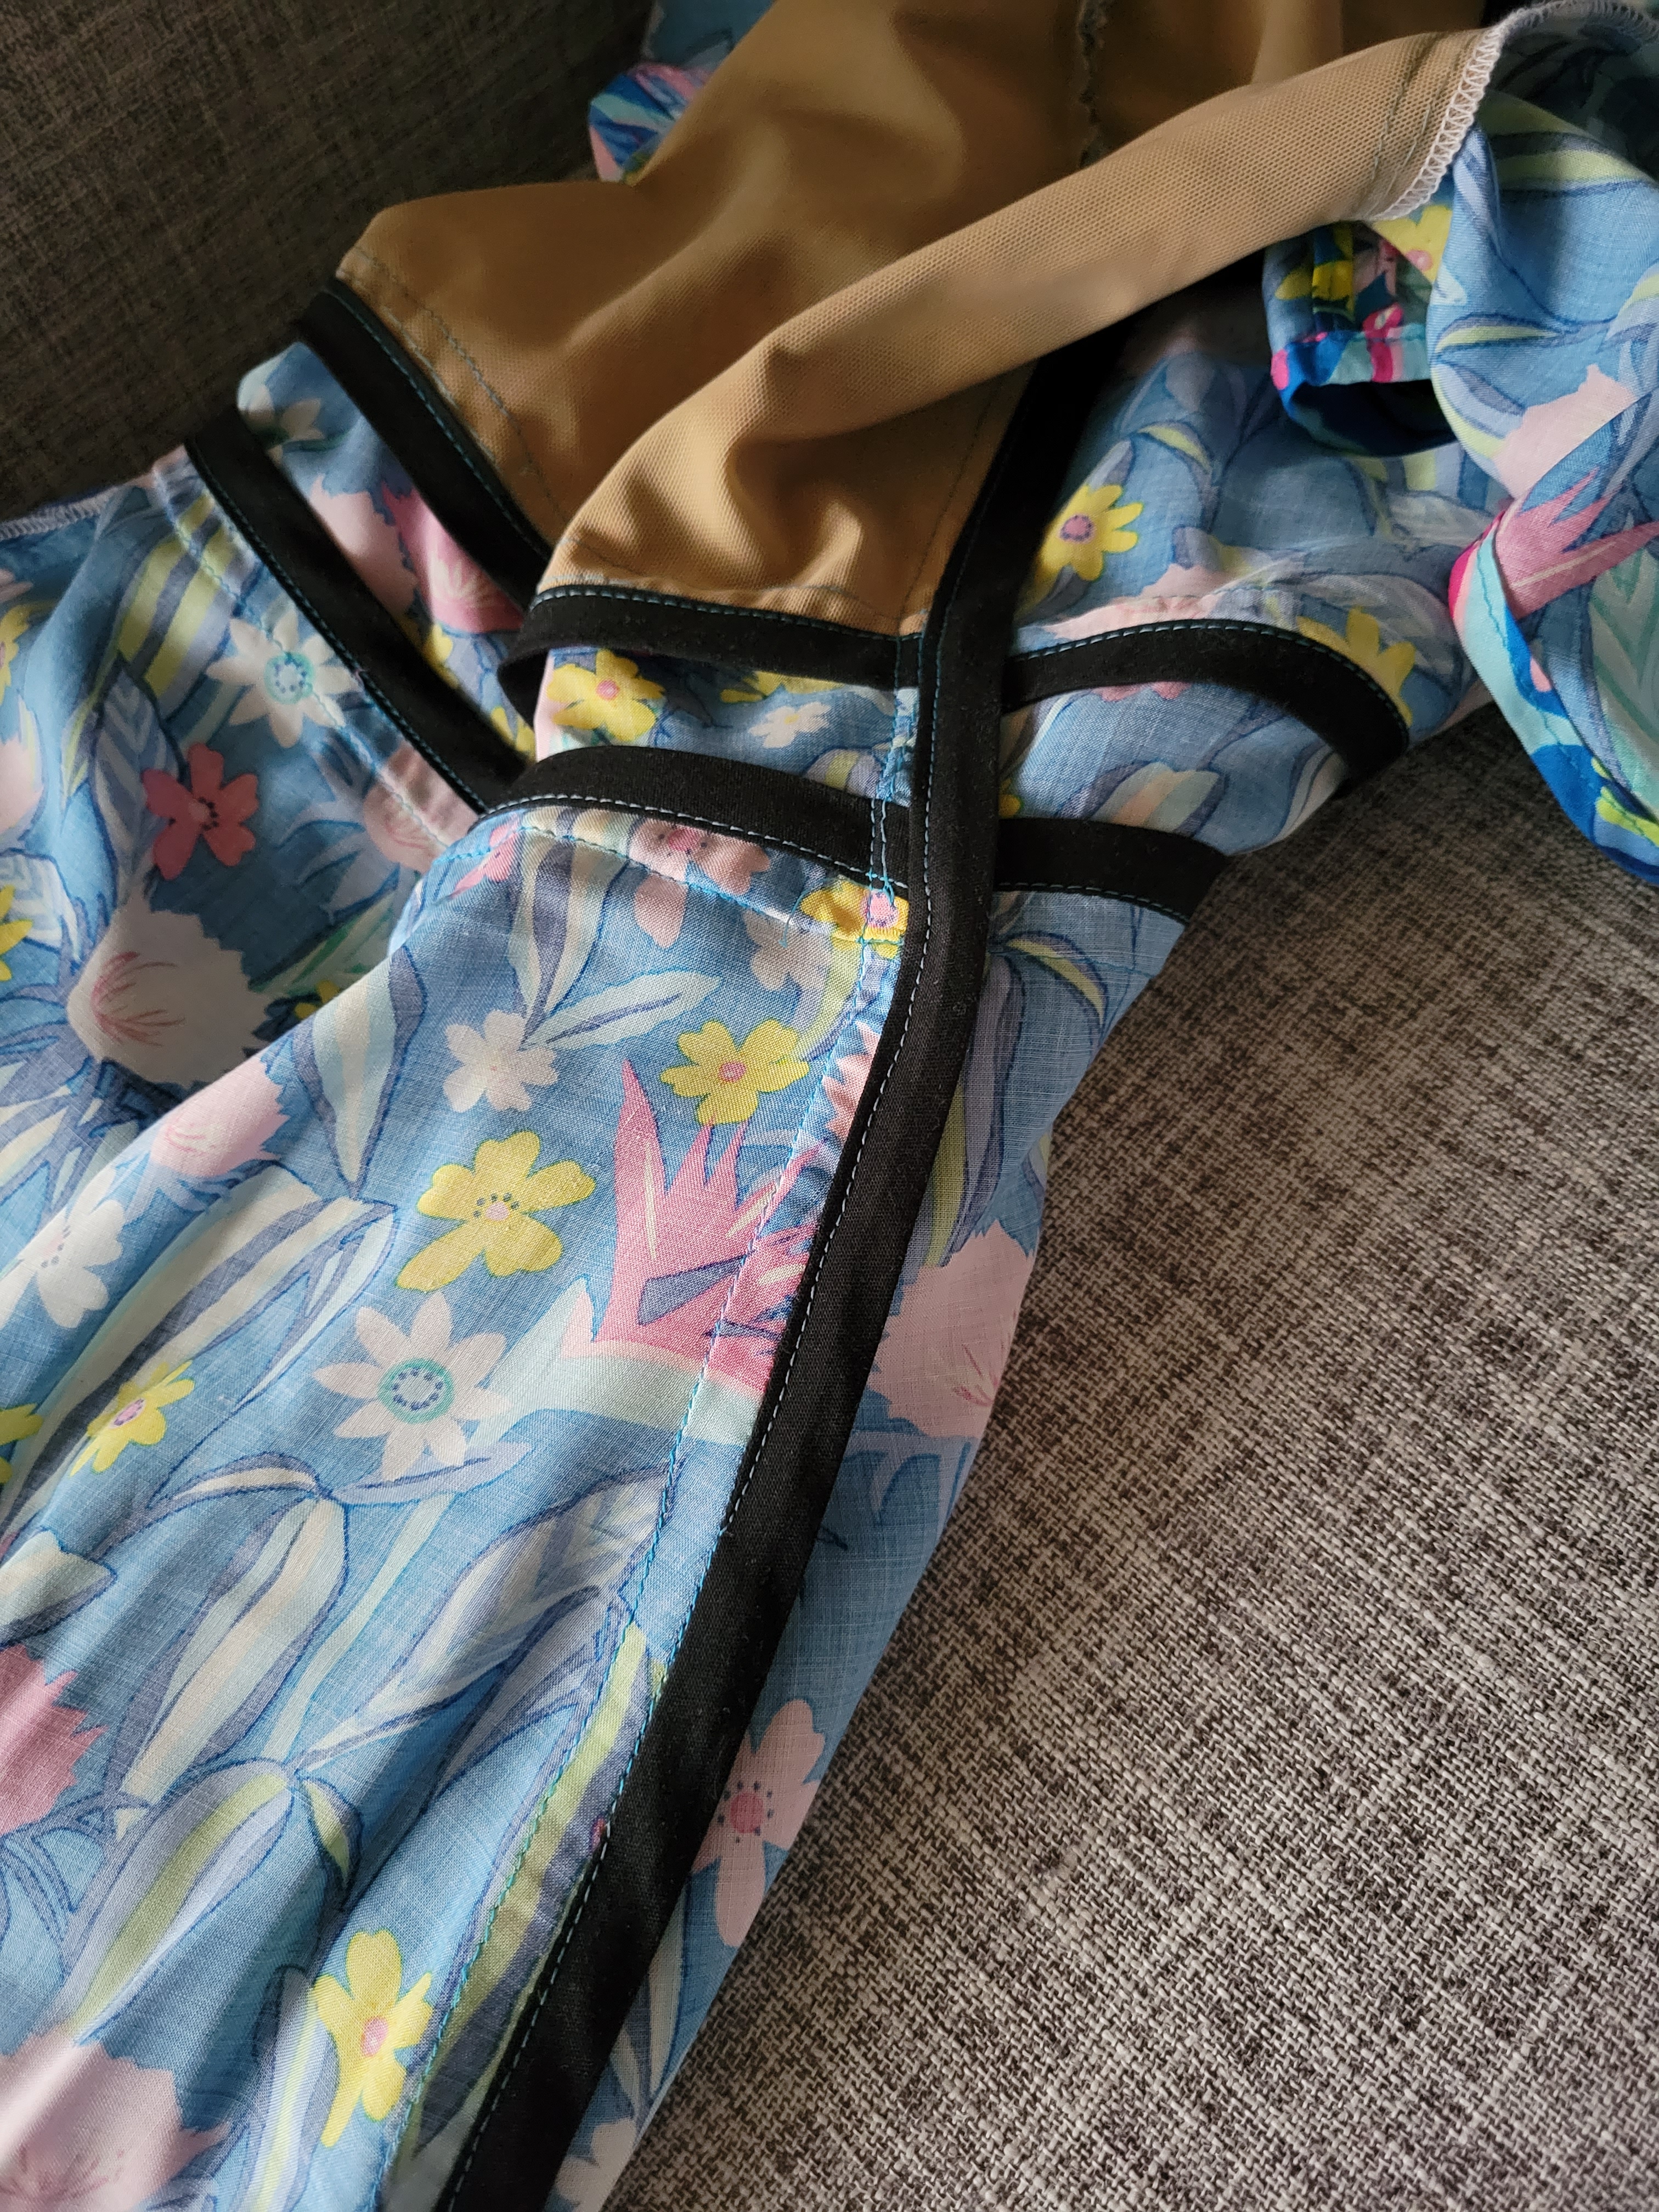
- I used the single bias bound seam method on the waist and bust area to add structure, as seen in the photo below. (For more info on this method check out this video: Single Bias Bound Seam.)
- When styling, I tie the bow in the front instead of the back. (I did not need to lengthen ties to do this!)
For this pattern finding the right fit took a second try, which proved successful. After making this pattern for the first time earlier this month, I knew I needed another and wanted to tweak the size.
I went down a whole size in the bust and waist, and the fit is perfect. I love that it ties back but it fits me like a glove even untied. I also added an invisible zipper, as the pattern calls for. When I made my first one I did not need the zipper as it was a bit big but wearable.
Here are some major things to note with my construction:
- I only added the bias bound seams to the waist and side seams to avoid bulk when attaching the skirt. All other seems I serged to finish.
- With true rayon I find it extremely helpful to use hem tape. Additionally when I use hem tape I make sure that the width of the hem tape is the same with as my seam allowance. This avoids extra work with measuring while ironing.
- Special note about the slit in the front of the dress: I chose to use hem tape to assist with the slit, but I will not do this in the future, since the seam allowance was a bit too narrow for the seam tape to be helpful.
- For my invisible zipper, I chose to use invisible zipper foot, I have used a traditional zipper foot in the past and found it not to work that well. The invisible zipper foot is definitely worth the investment. It greatly improved my application.
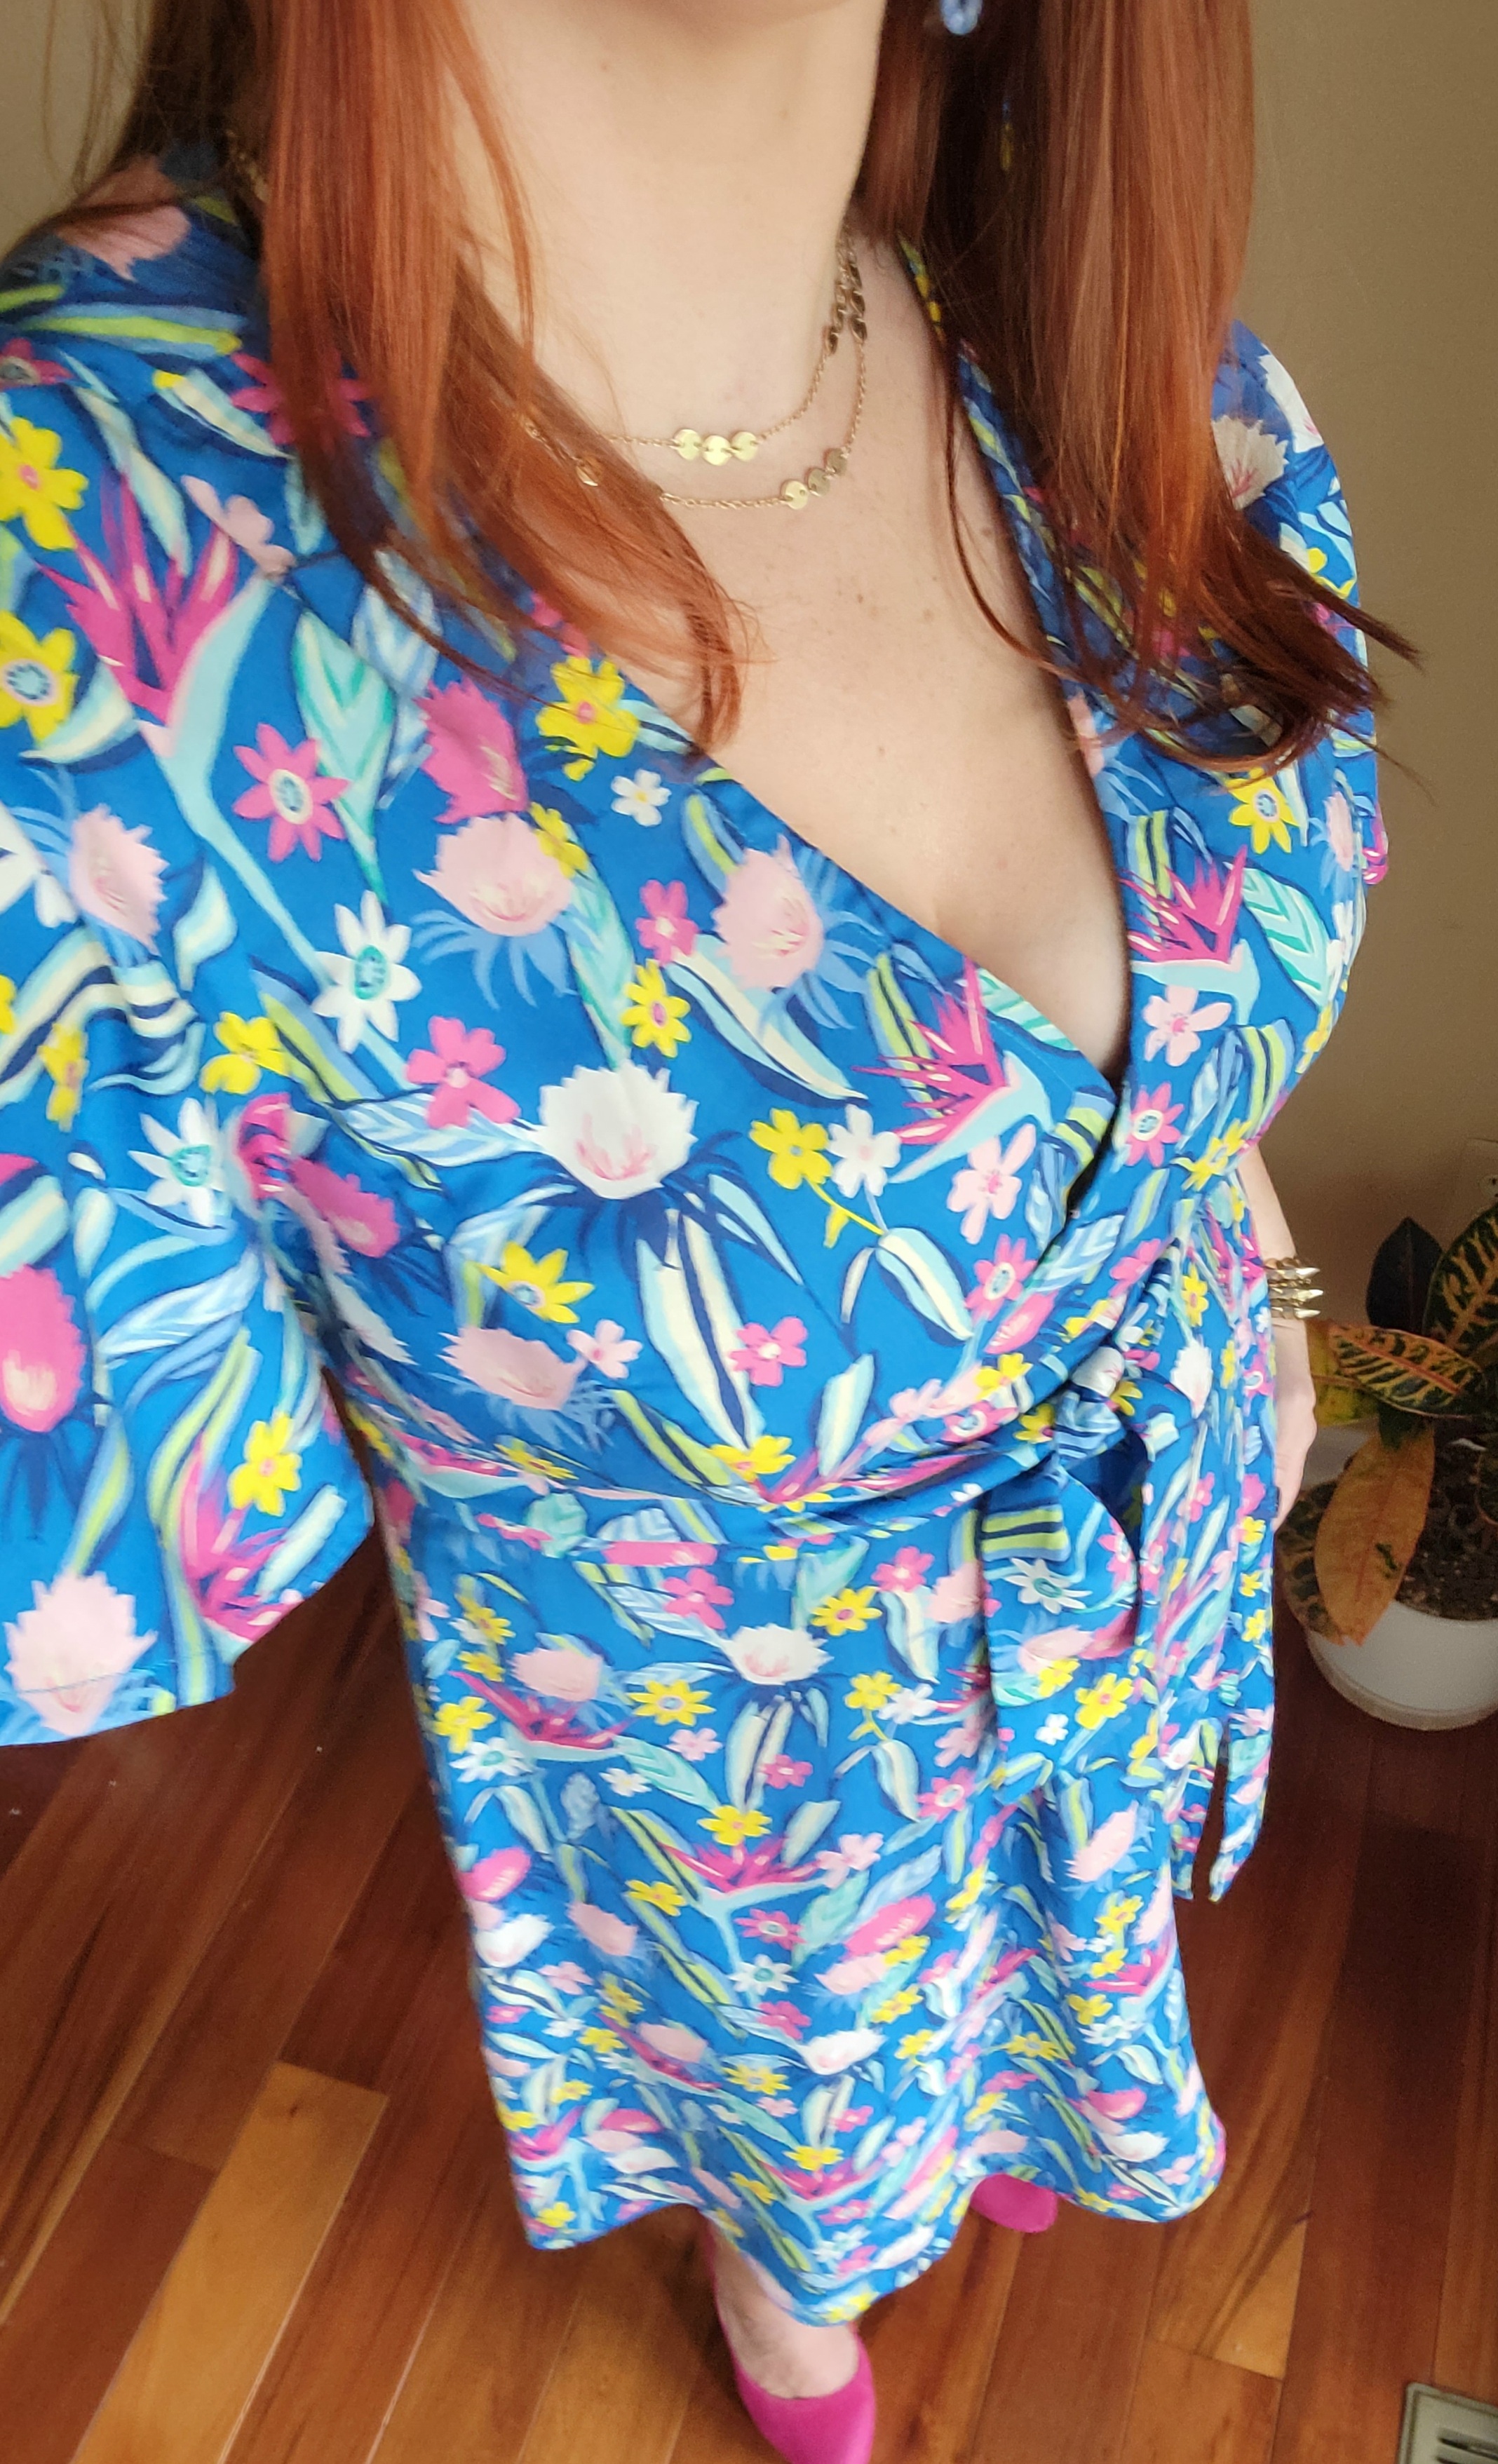
Overall this is an awesome pattern, but I would say it does run a tad generous in size. It may be worth it to make a muslin first. I was able to go down an entire size on my second try, and sizing down greatly improved the fit.
This pattern is best matched with lightweight fabrics, as they will have great drape. If you choose to make this pattern, I would rate this overall skill level at a 3 out of 5: solid intermediate skill level required. There is a bit of detail work that may come easier to someone with experience.
I hope you check out this pattern and happy sewing!
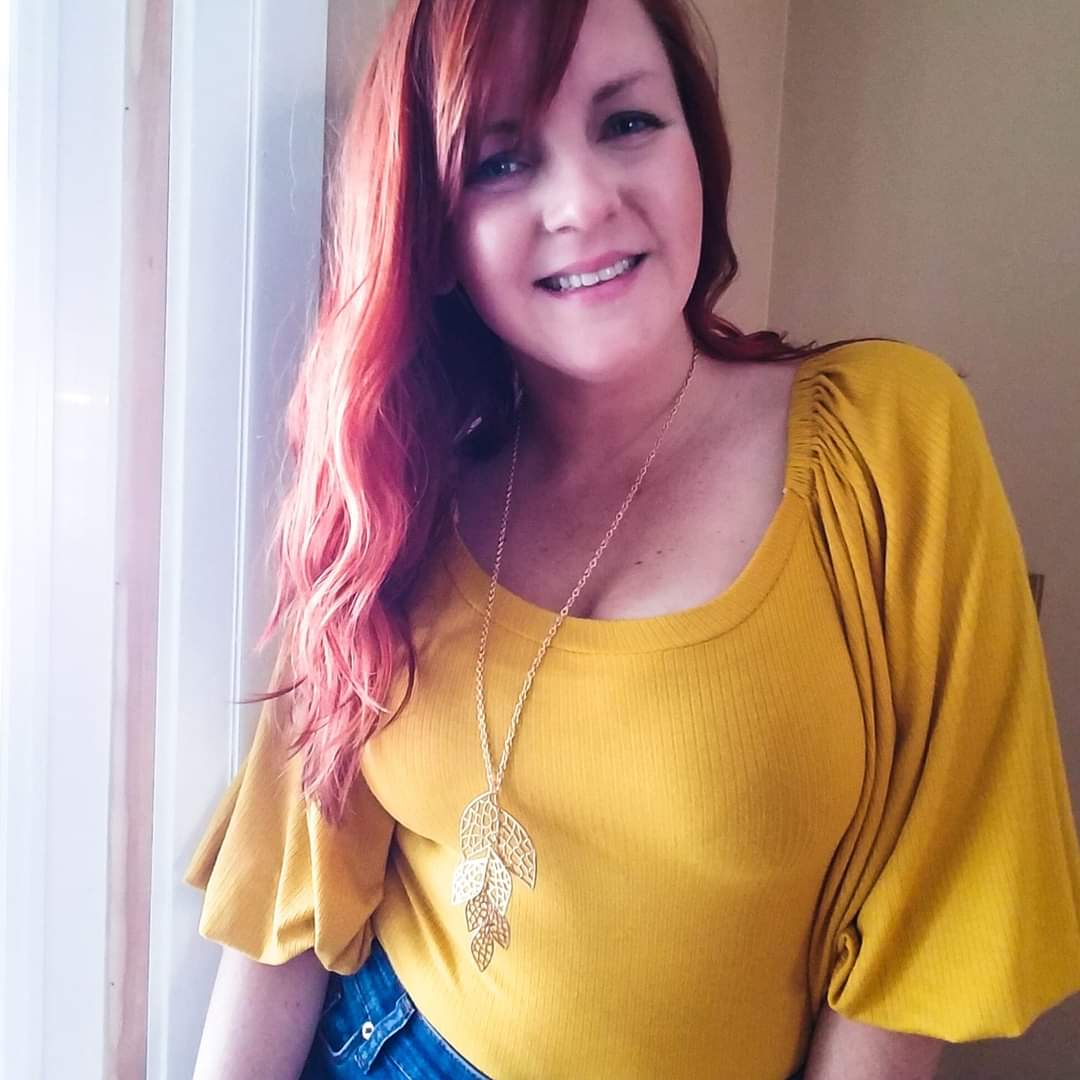
Kerri is a sewist with about 5 years of experience. She is a mom of 3, a lover of fashion and all things vintage. She puts her heart and soul into everything she does and that is why she is so in love sewing: She can make things that are uniquely her! Find all of Kerri’s makes on Instagram @sewsewwonderful

