
One Pattern, Two Bodies (Plus a Pregnancy Hack and FBA!): Chalk & Notch Fringe Dress – Lindsie’s Take
It’s always super fun to see how one pattern sews up for people with very different body types, so I’m excited to show you another collaboration between me and Camilla (she_sew_fabulous on Insta)!
Just like last time, when we made the Love Notions Sunday Romper, Camilla and I chose one pattern — one that comes with a two bust options — and each made it up to see how it works on our bodies! This time, we chose the Chalk & Notch Fringe Dress. This pattern comes with both a B cup and a D cup draft. (Remember that garment sewing cups are not the same as bra cups! Check out this post to learn more!)
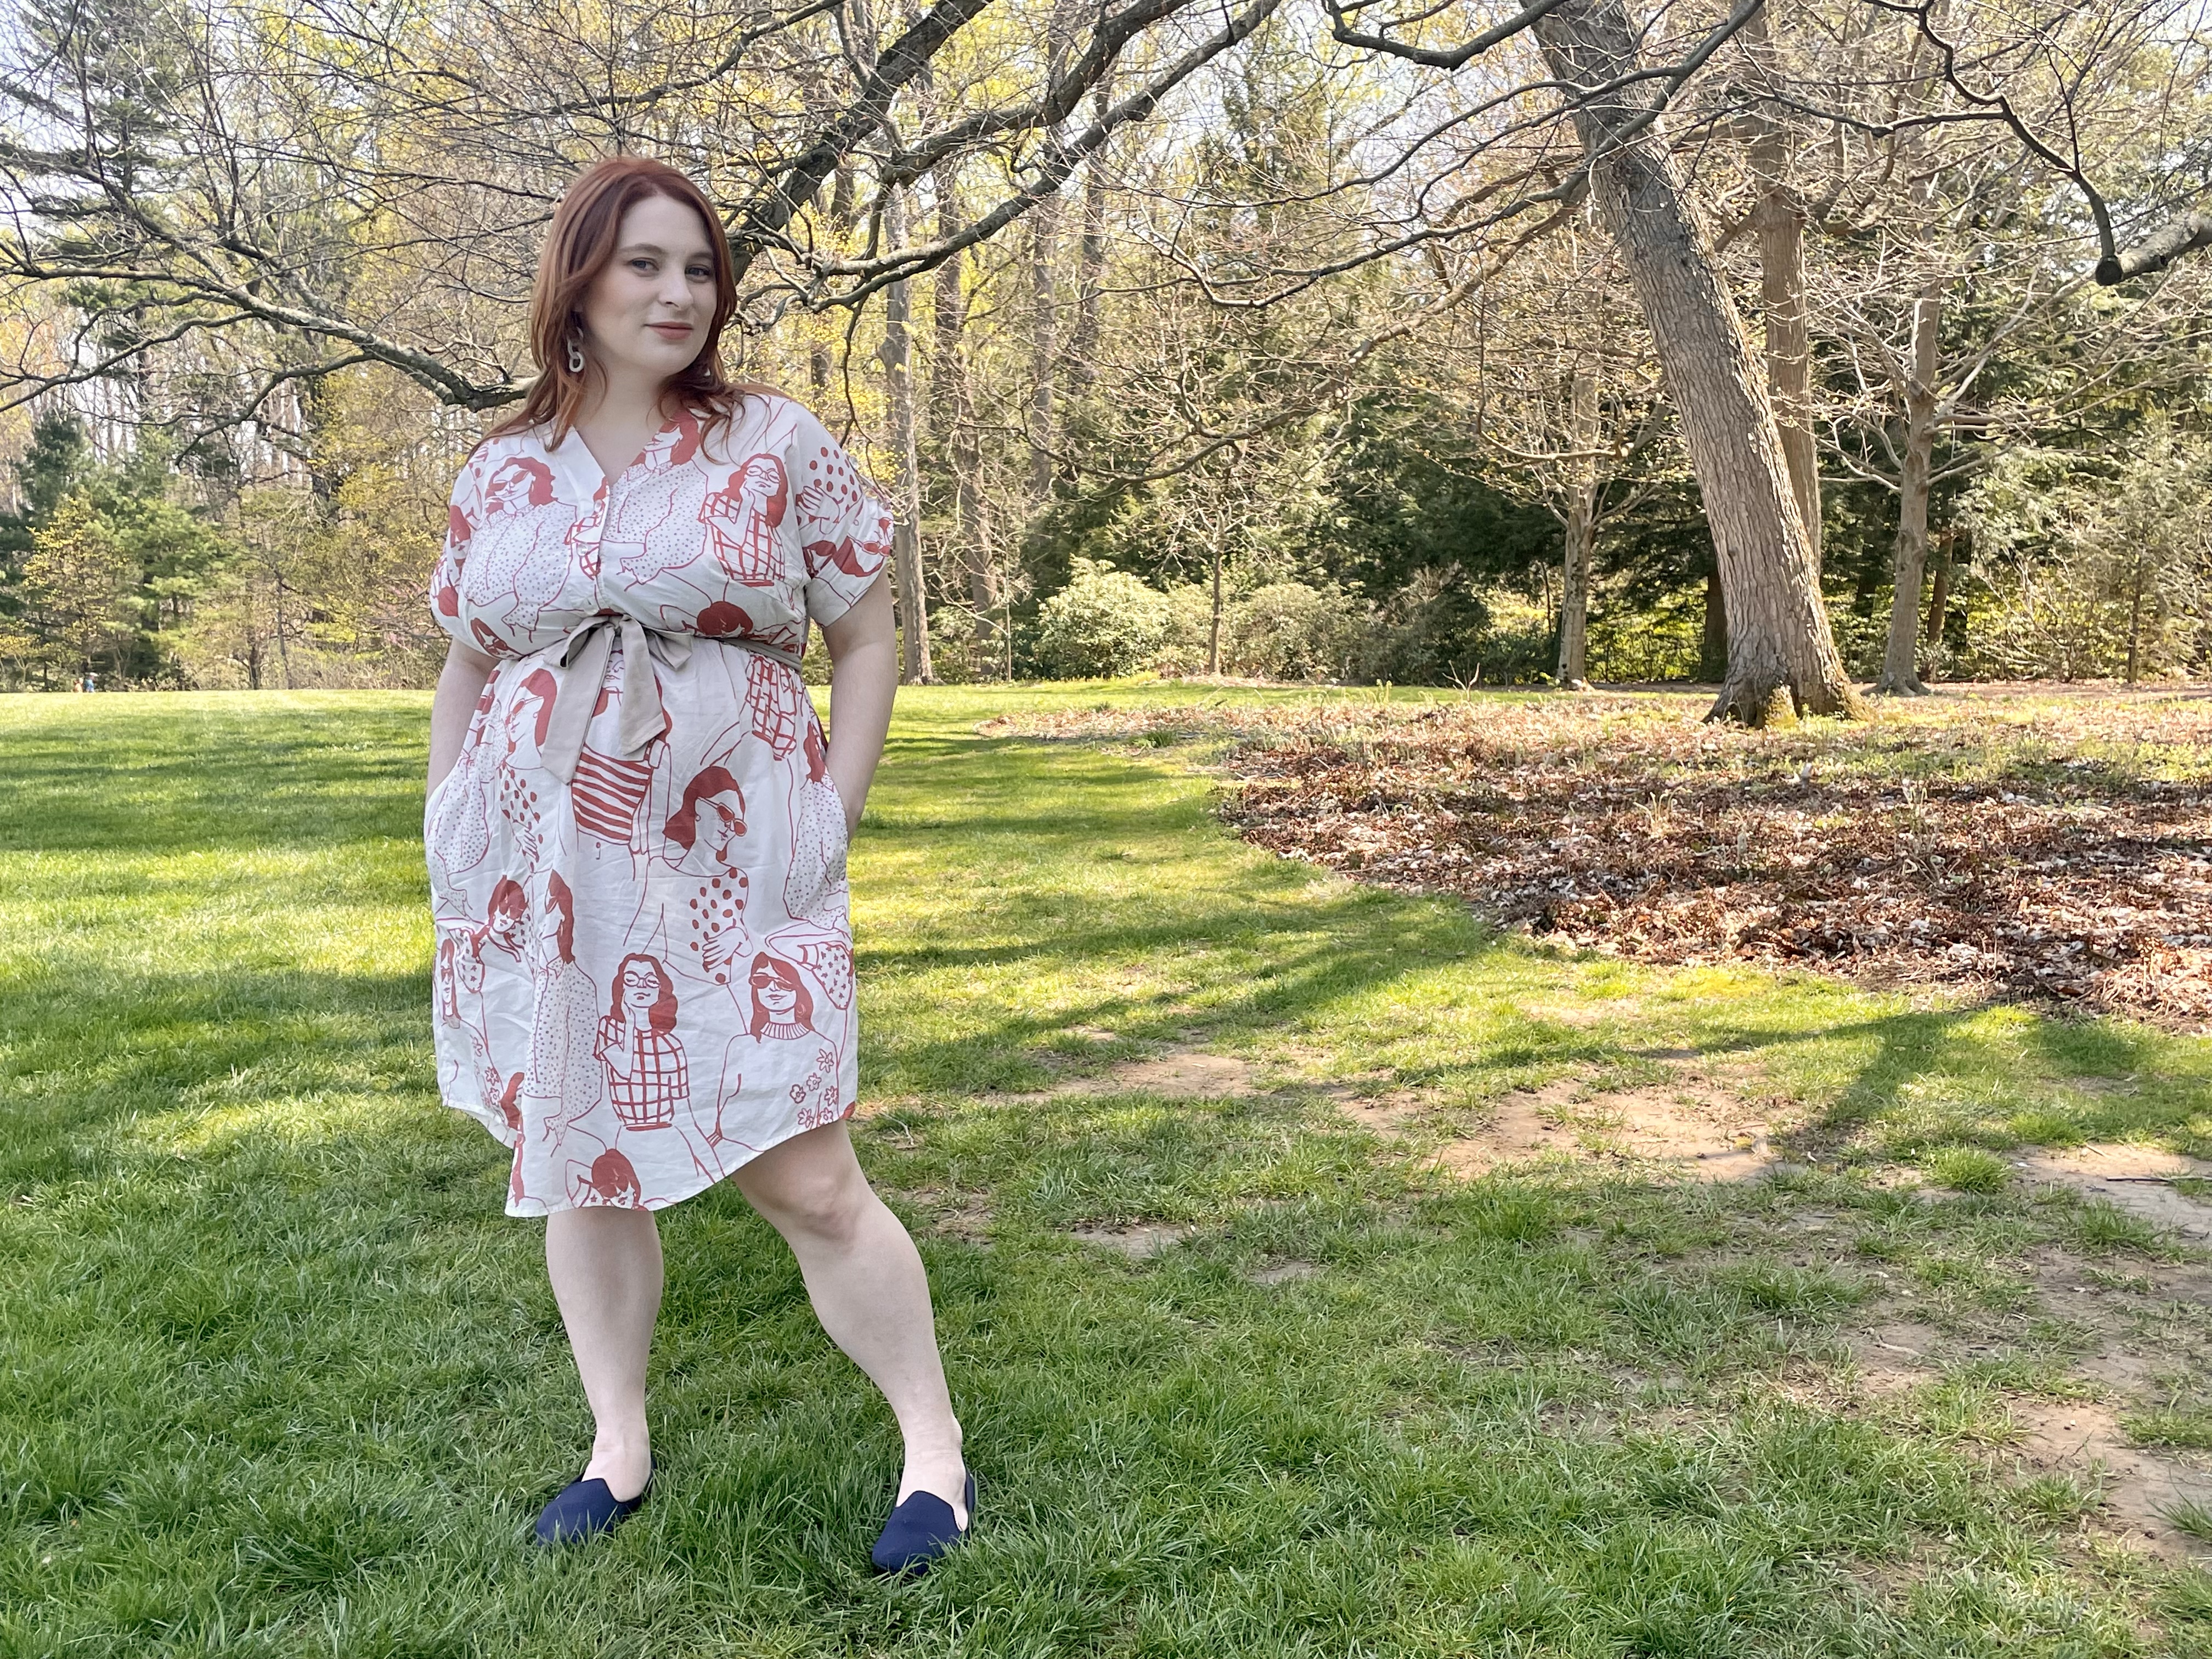
I was excited to try this pattern because I’ve heard it works great on pregnant bodies, but will also work postpartum, including while nursing thanks to the button front!
I currently describe my body type as HUGE boobs, big pregnancy belly, and medium-size hips. (My current measurements are high bust: 35″; full bust: 46″; underbust: 32″; waist (lol preggo belly!): 39″; hips: 40″.) Camilla, on the other hand, describes herself as “a Mediterranean gal with big hips and small boobs.”
Camilla talks about how she chose her size over on her post, so go check it out!
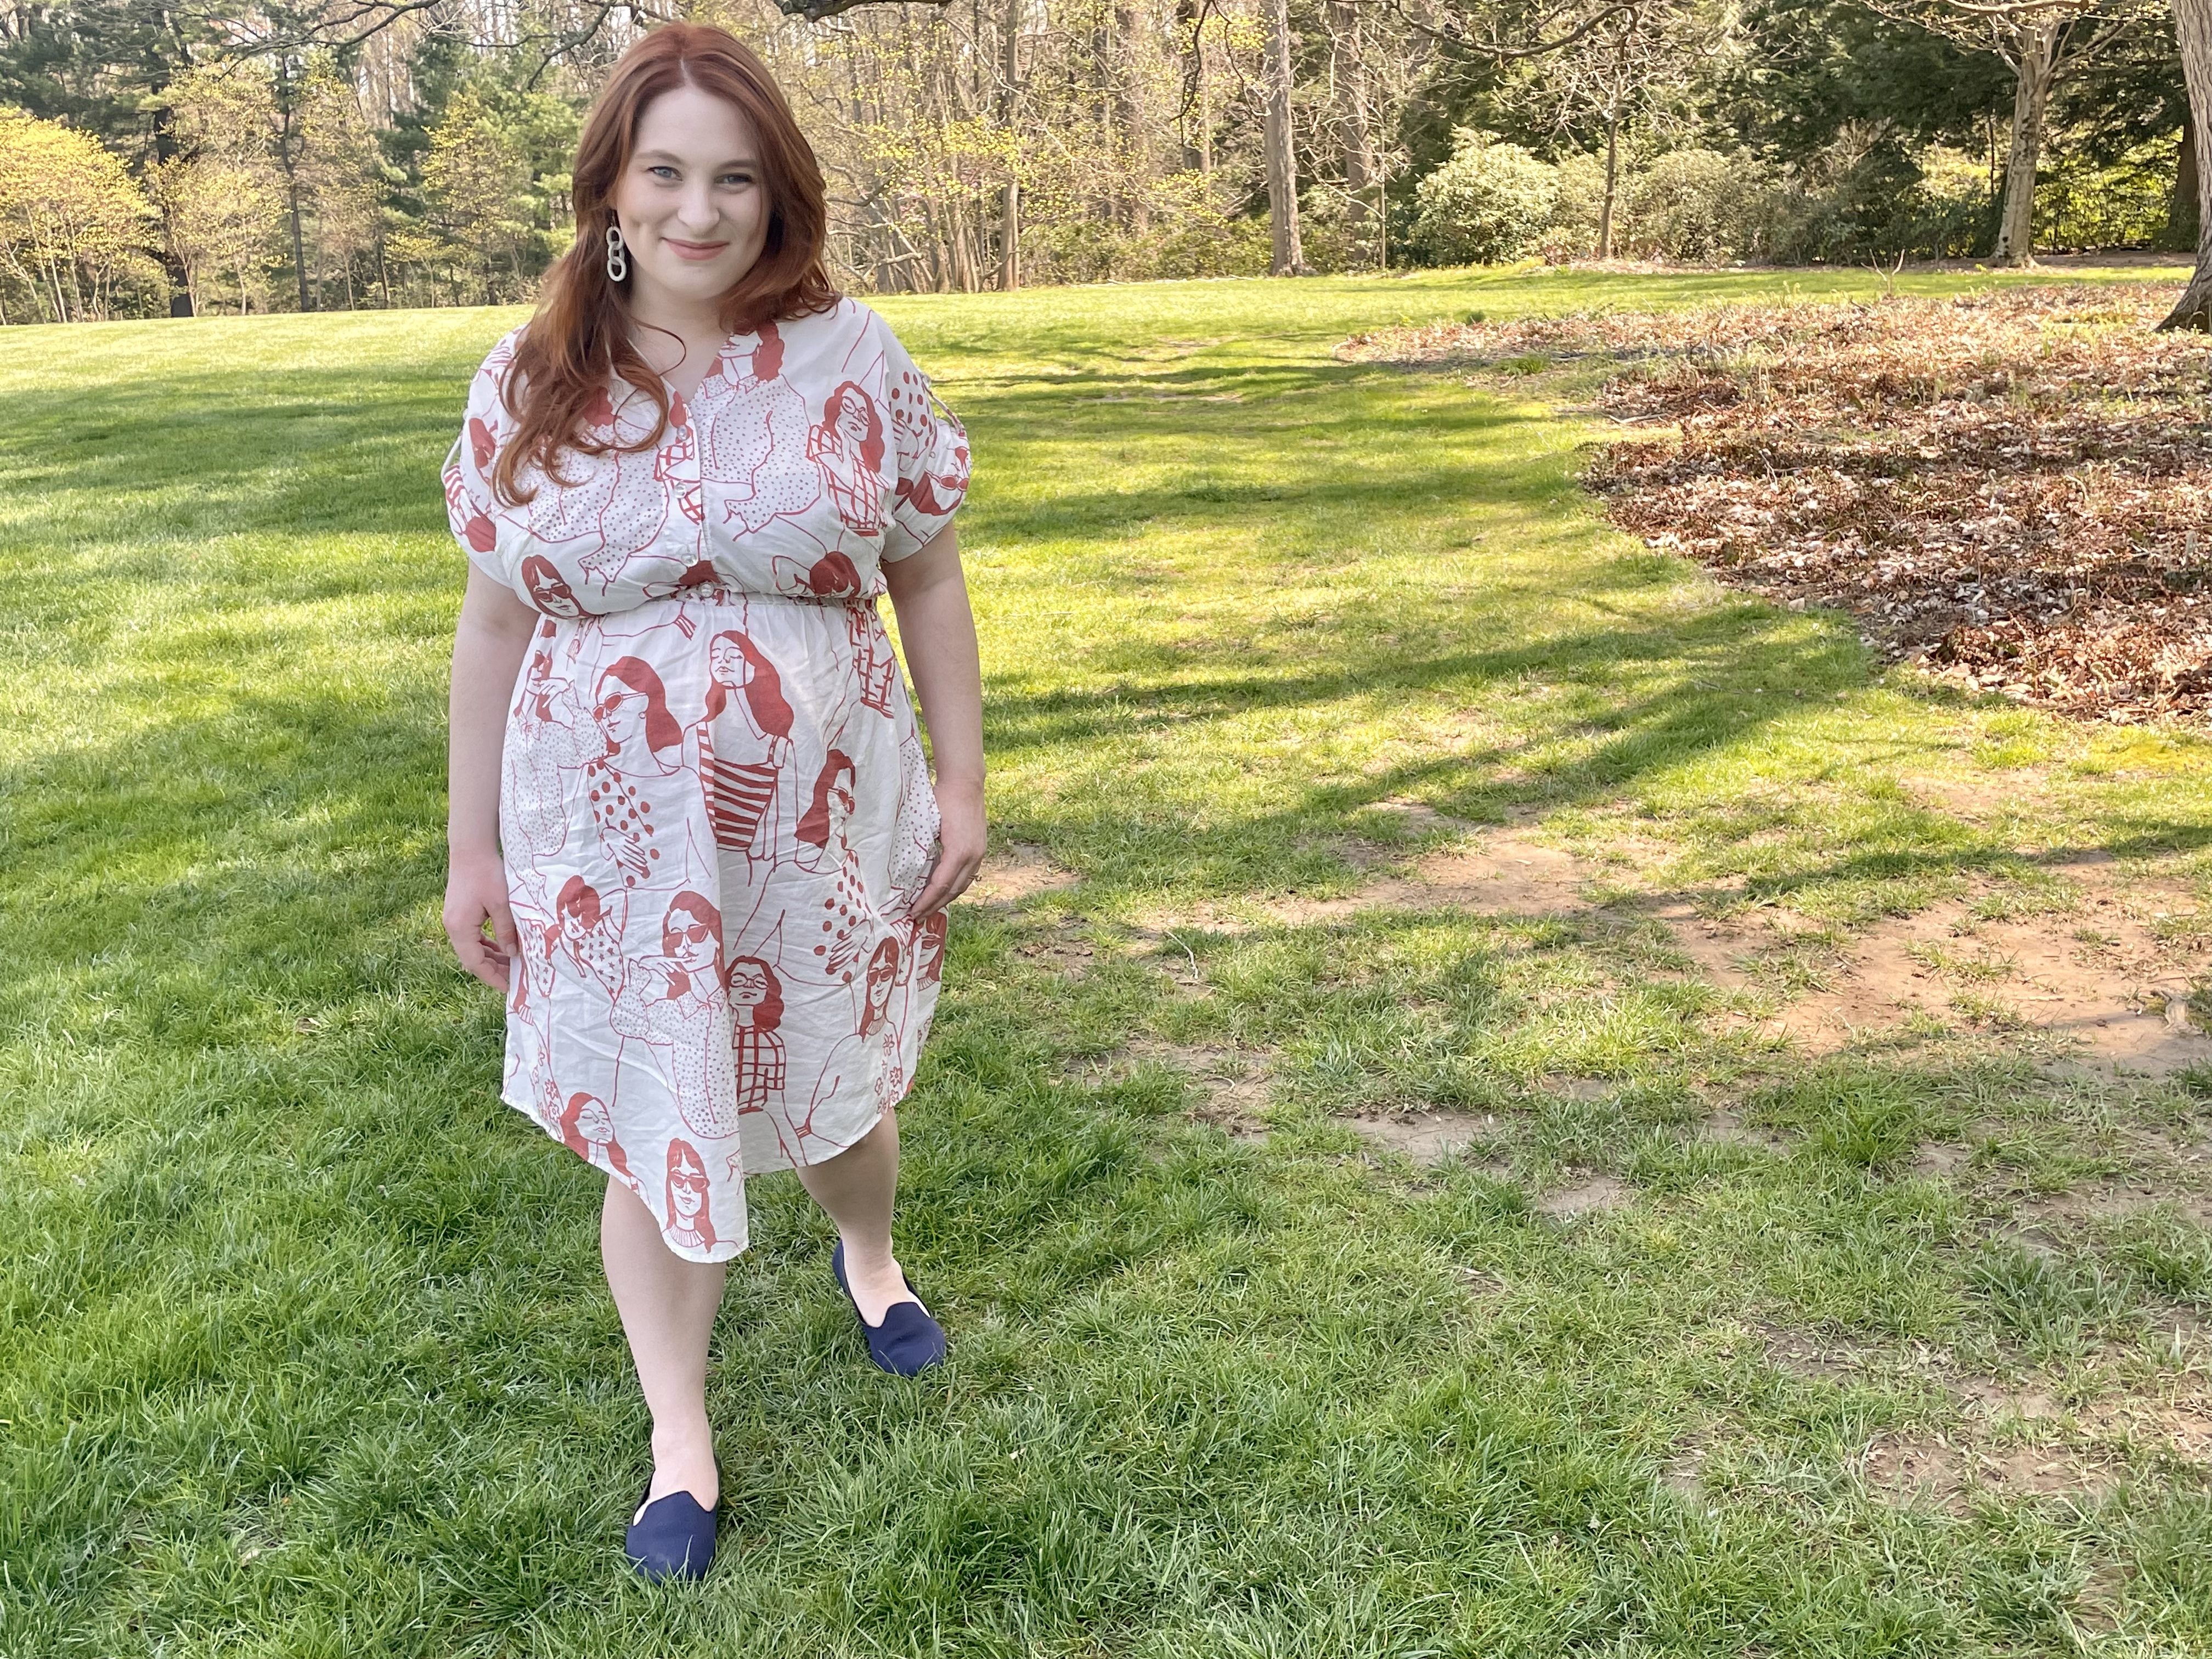
For me, I chose to make view A, which has the nursing-friendly button front — while Camilla made a view B. I used a fun cotton poplin from Mood.
I started with a size 10 with the D cup draft, going based on my high bust. The size 10D accounts for a 39″ bust, with 3″ of positive ease for a finished bust measurement of 42″. I was obviously going to need a full bust adjustment.
The full bust adjustment
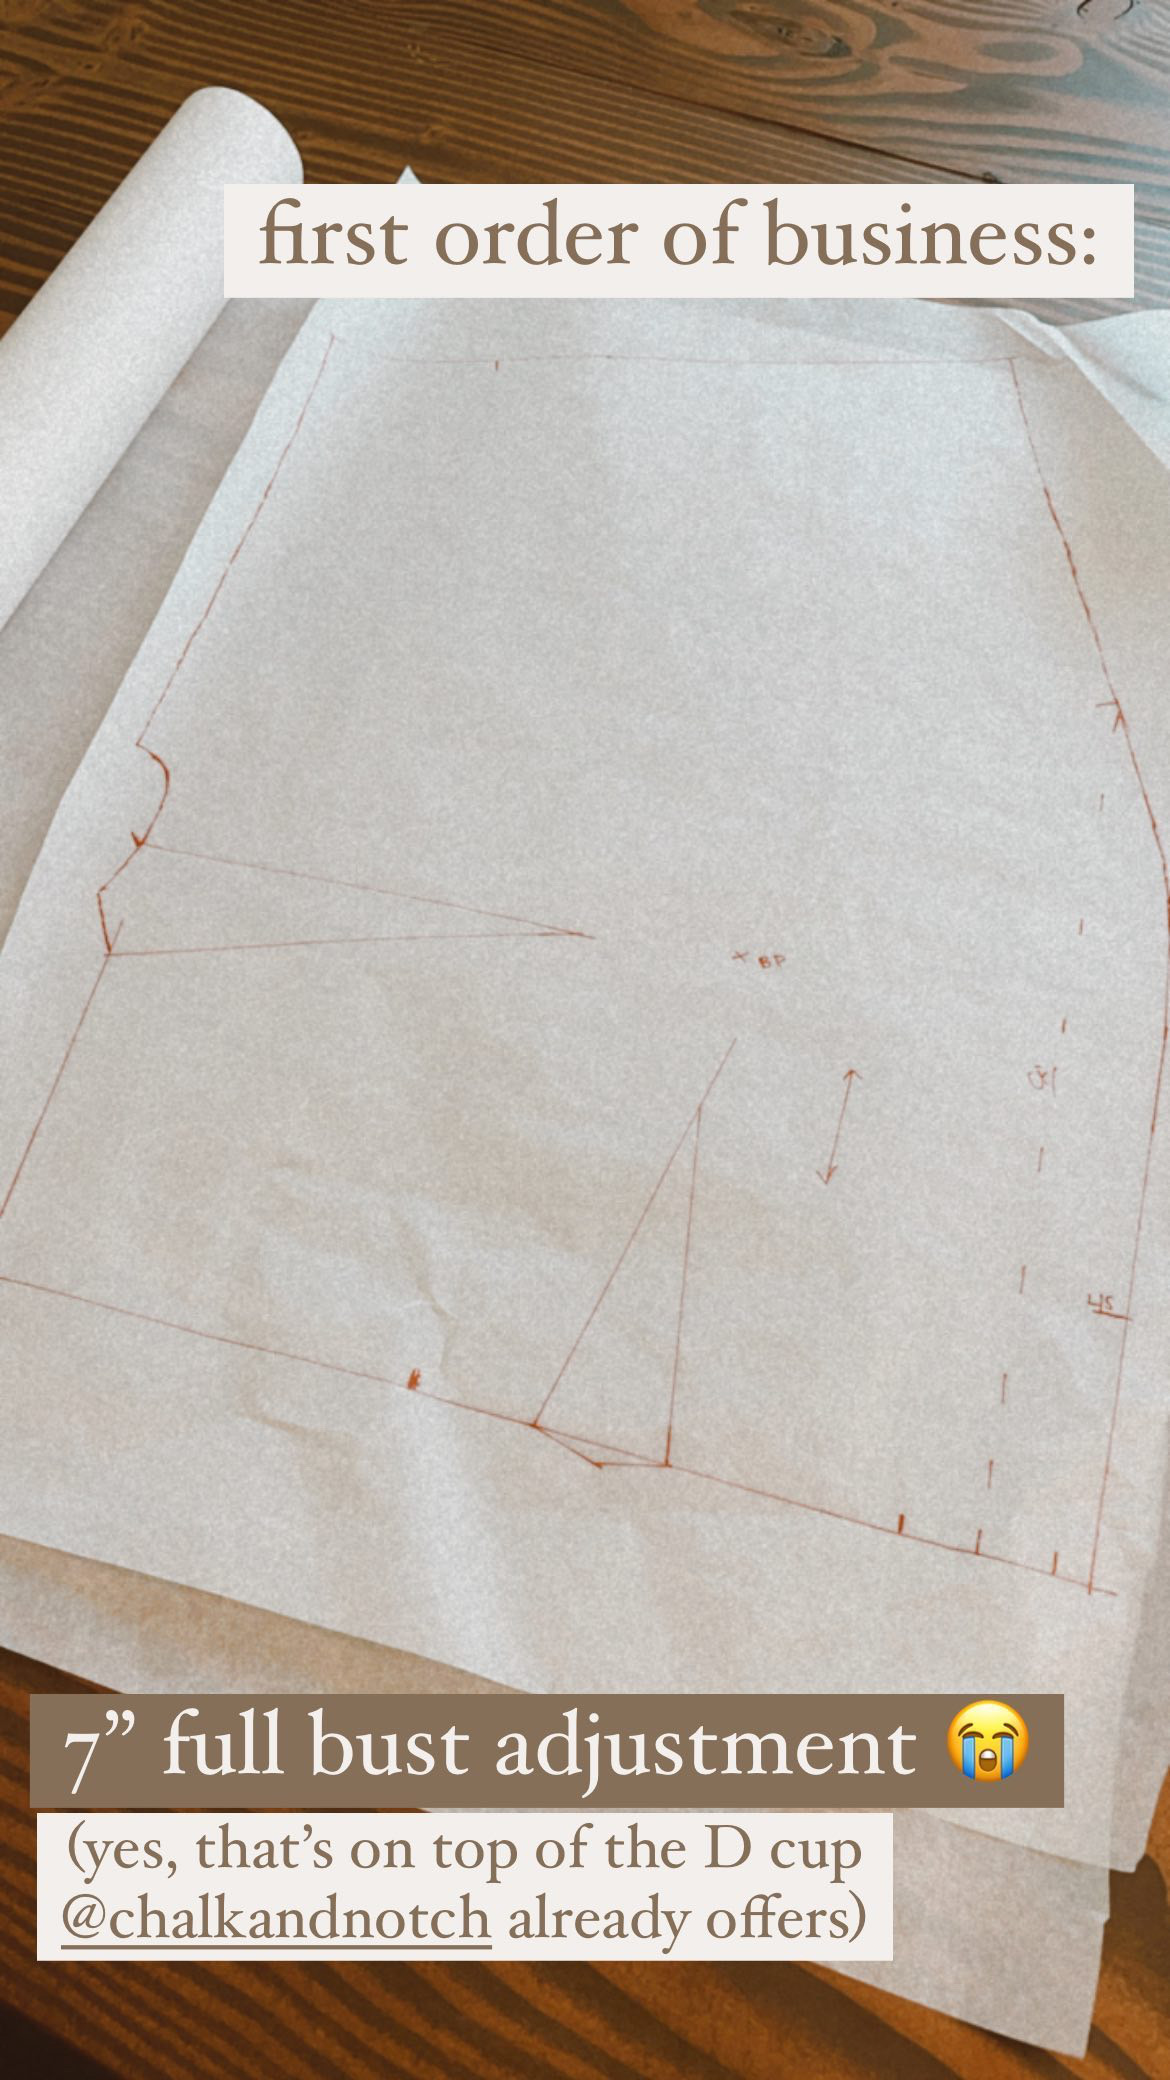
Based on measurements, a 7″ FBA would keep the ease consistent. I thought about reducing the positive ease at the bust and doing a smaller FBA, but ultimately ruled out that plan when I thought about the fact that my milk hasn’t come in, and I’d like to wear this dress for nursing. So a BIG HUGE SEVEN INCH full bust adjustment it was (3.5″ or 8.9 cm on each side).
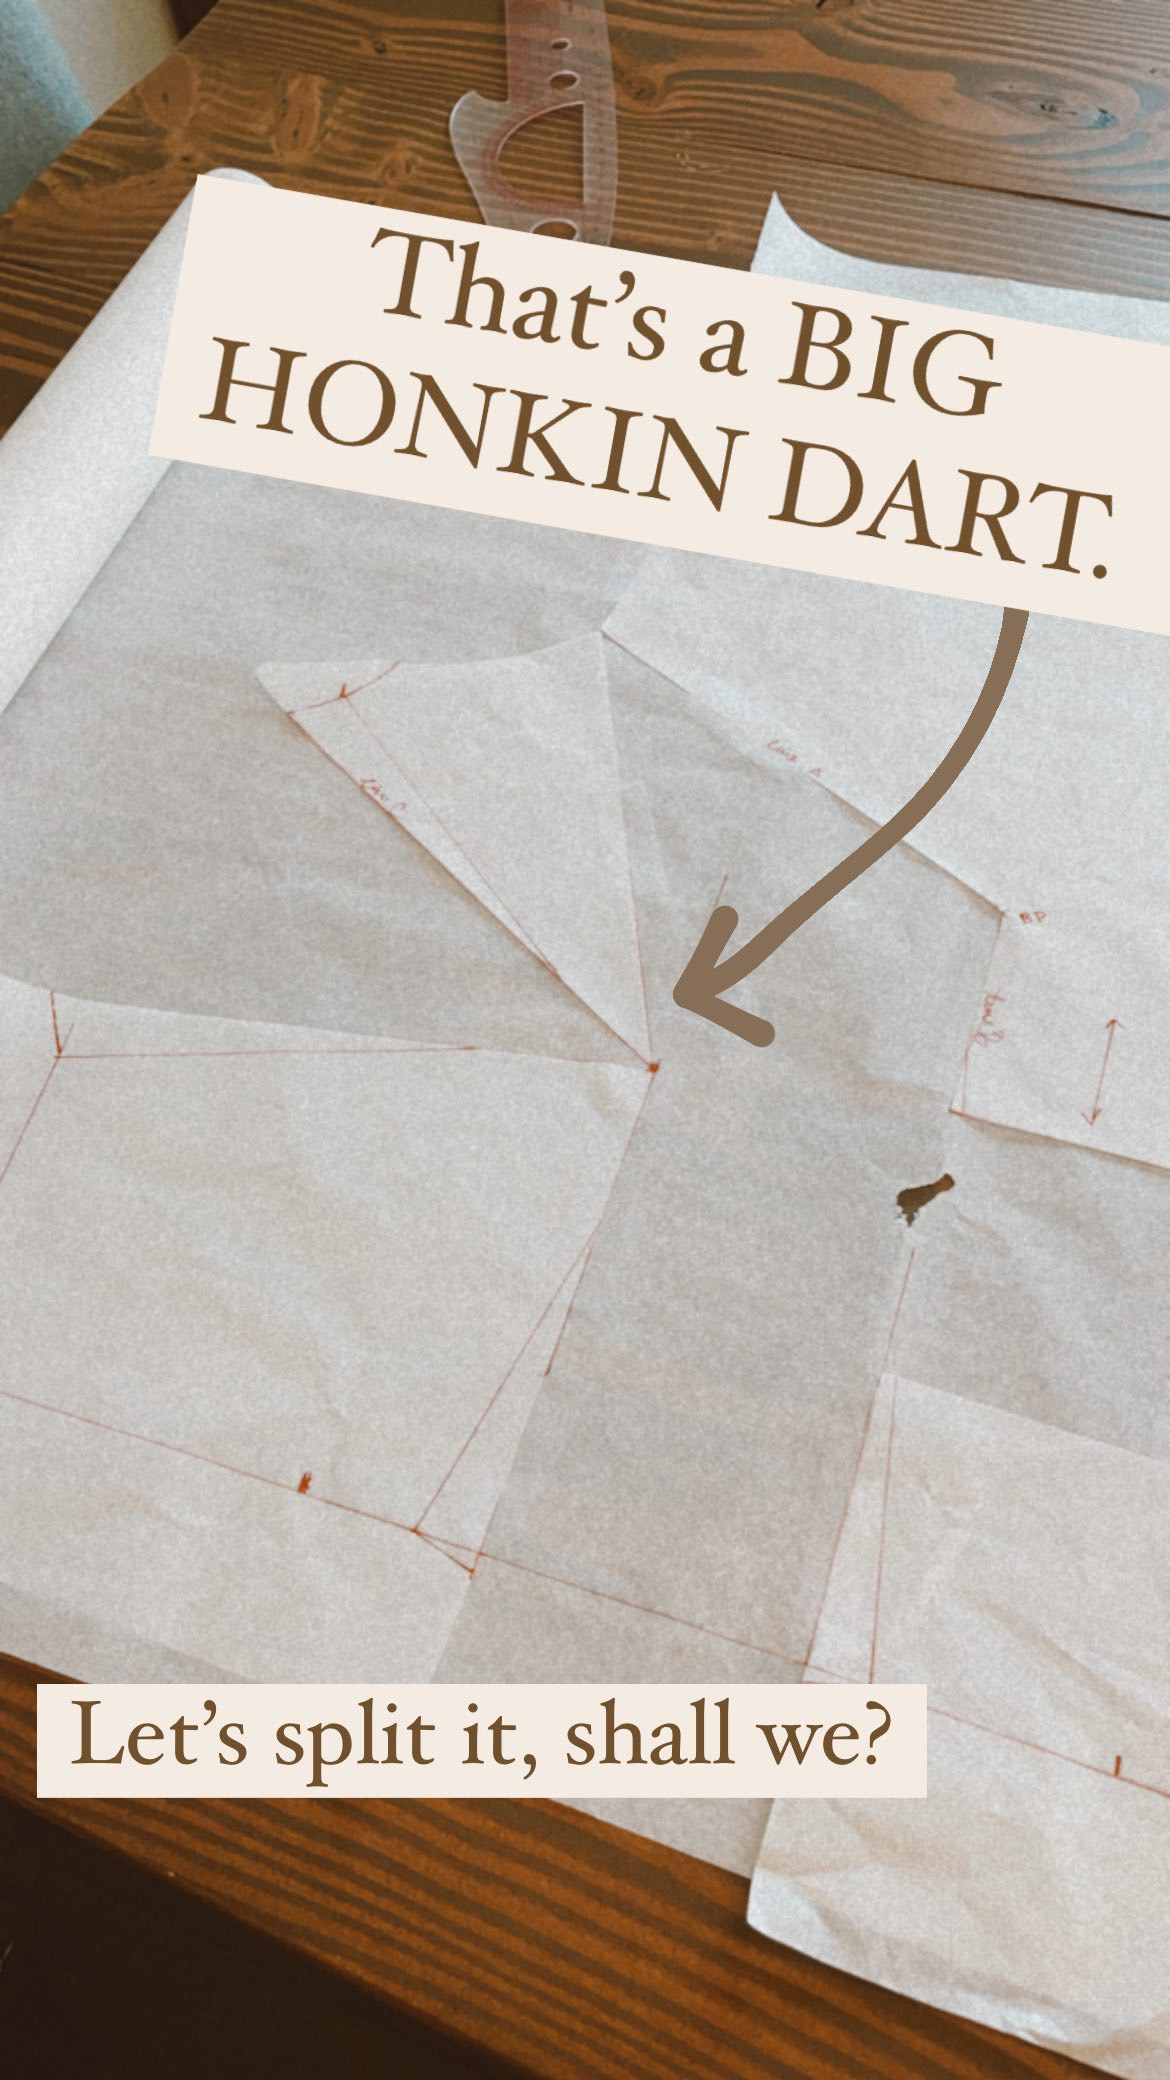
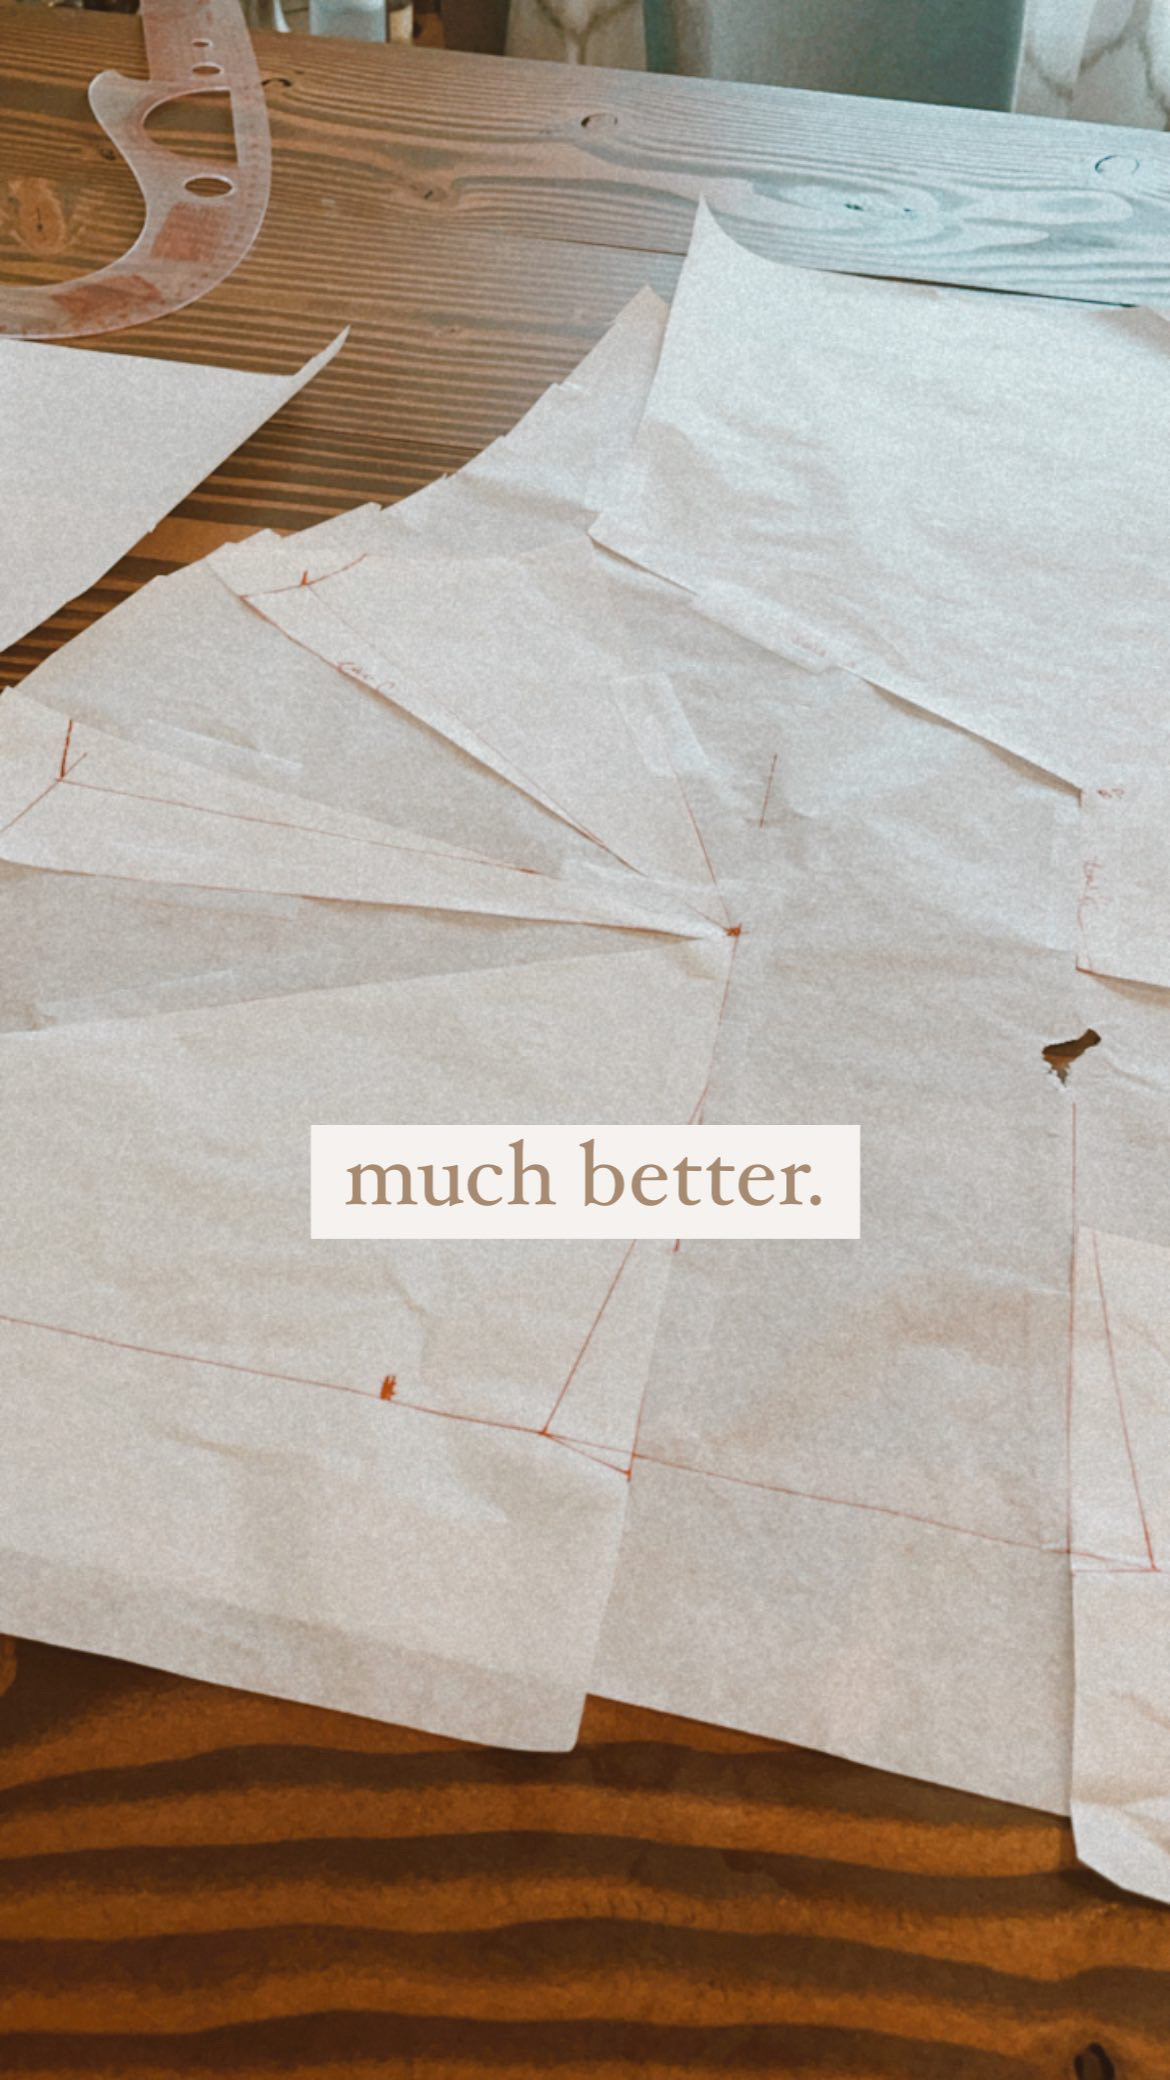
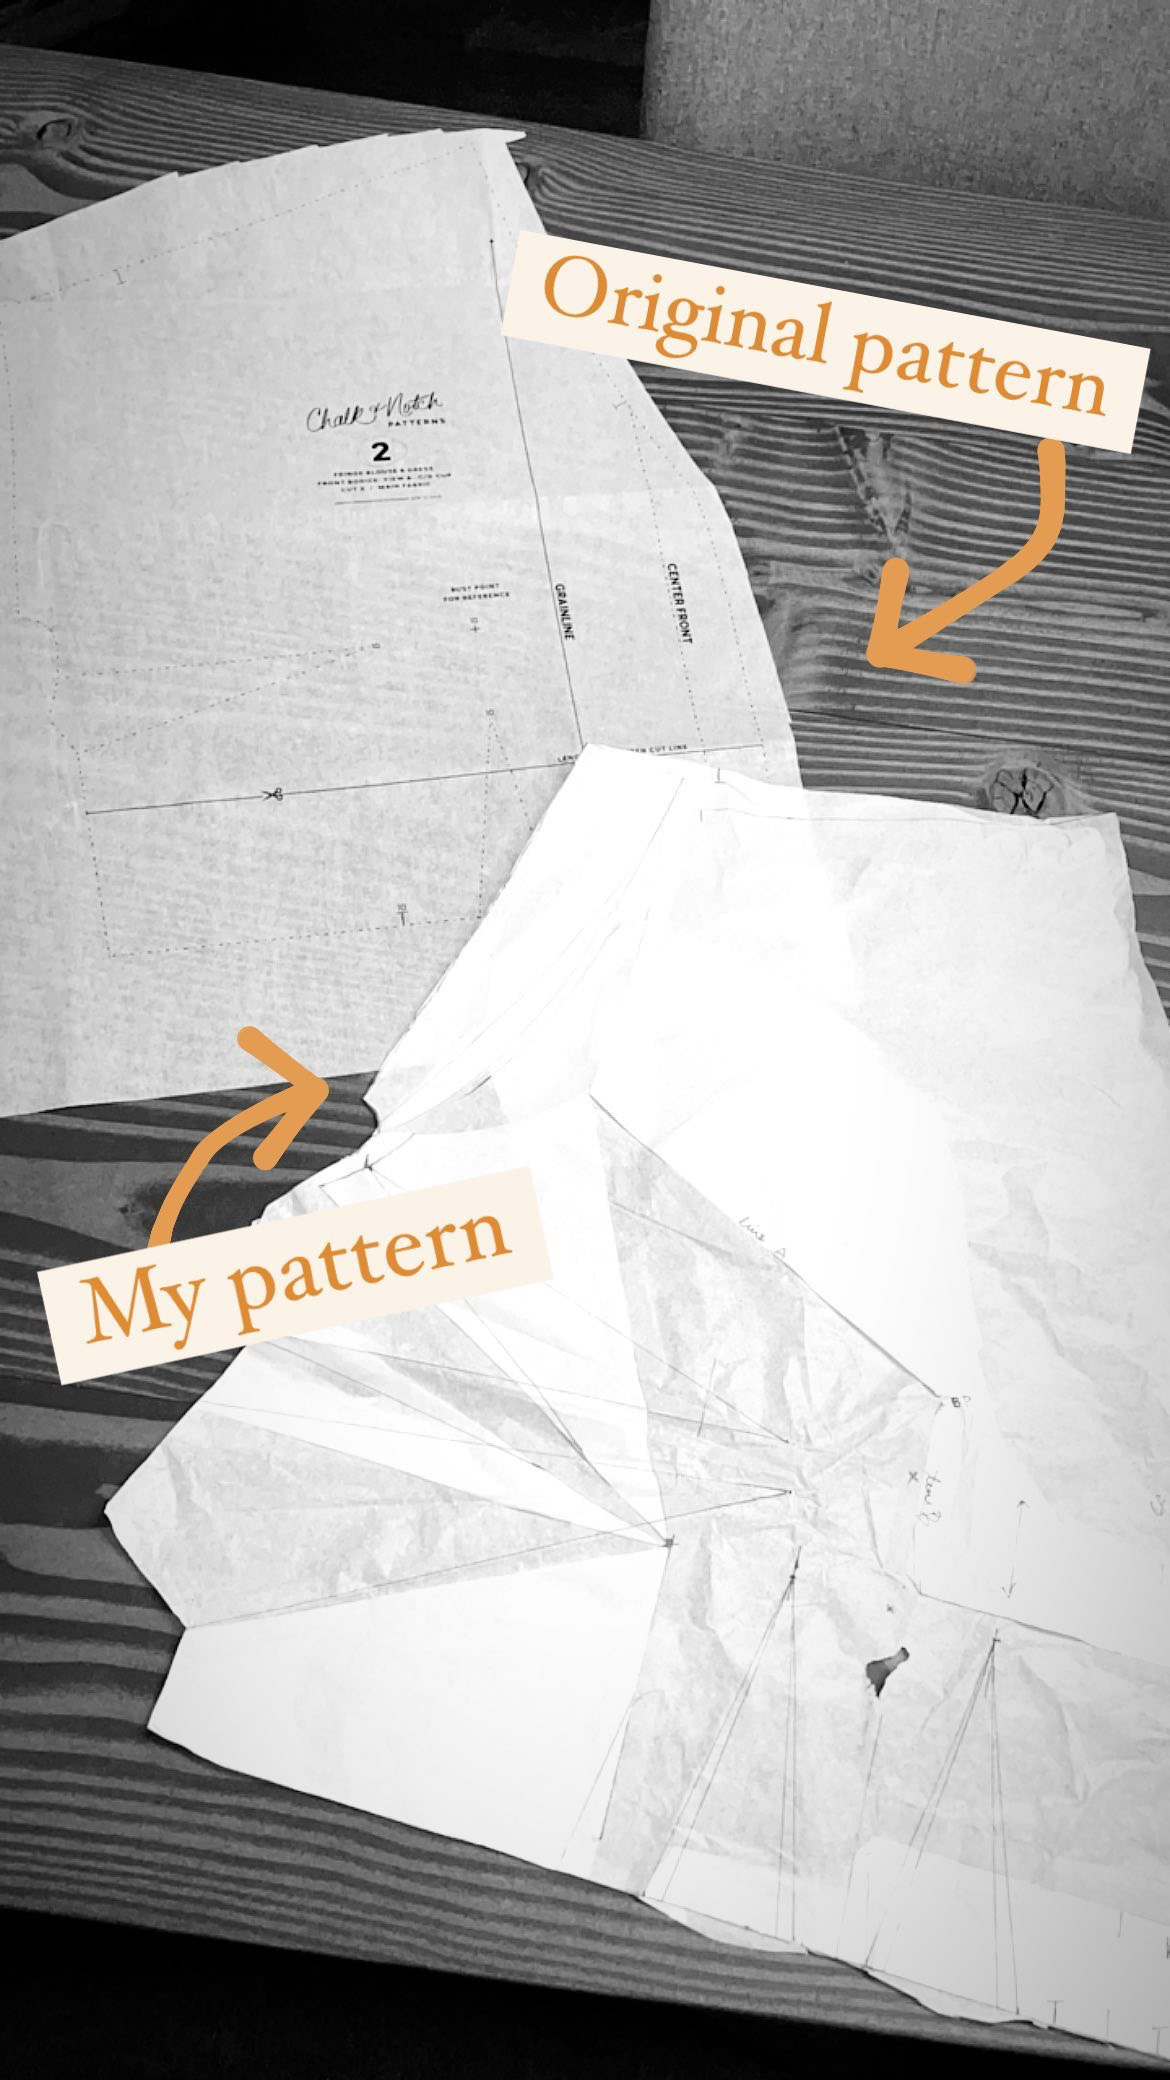
I’m not going to do a full FBA tutorial here, because it really was just a straight forward woven FBA with a dart split, but I’ll include the instagram stories I did on this FBA just to give you a peek at my process:
If you look closely, you’ll see that I also moved the bust point down by about 1″ while doing the FBA. Note that the FBA actually lowered the bust point by about 1.5″ and to the side by about 1.25″, but, when I held the tissue to myself, I could see that my bust point was in line with the original bust point, just about 1″ lower. When I reoriented the darts, I just oriented them toward my bust point. There’s a more technically correct way of doing this, which involves cutting the darts and moving them up, but because of how wide my darts are and how close they were to the armscye, I decided to “cheat” a little.
(If you notice in these pictures that the darts look a smidge high, that’s because I’m wearing a different bra than the one I altered in … c’est la vie!)
I had to split both my bust and waist darts, because they were looking GIANT.
Also of note is that my FBA added 3-3/8″ length to the bodice at center front. This is important for my belly alteration:
Hacking for pregnancy
My next alteration was to tweak the pattern for my current shape. That is, I didn’t want the waist hitting at my belly, but instead at my underbust. I measured from shoulder point to underbust on my body and on the pattern, and found that I needed to shorten the pattern about 1.75″ from it’s new, post-FBA length for it to hit at the empire waist.
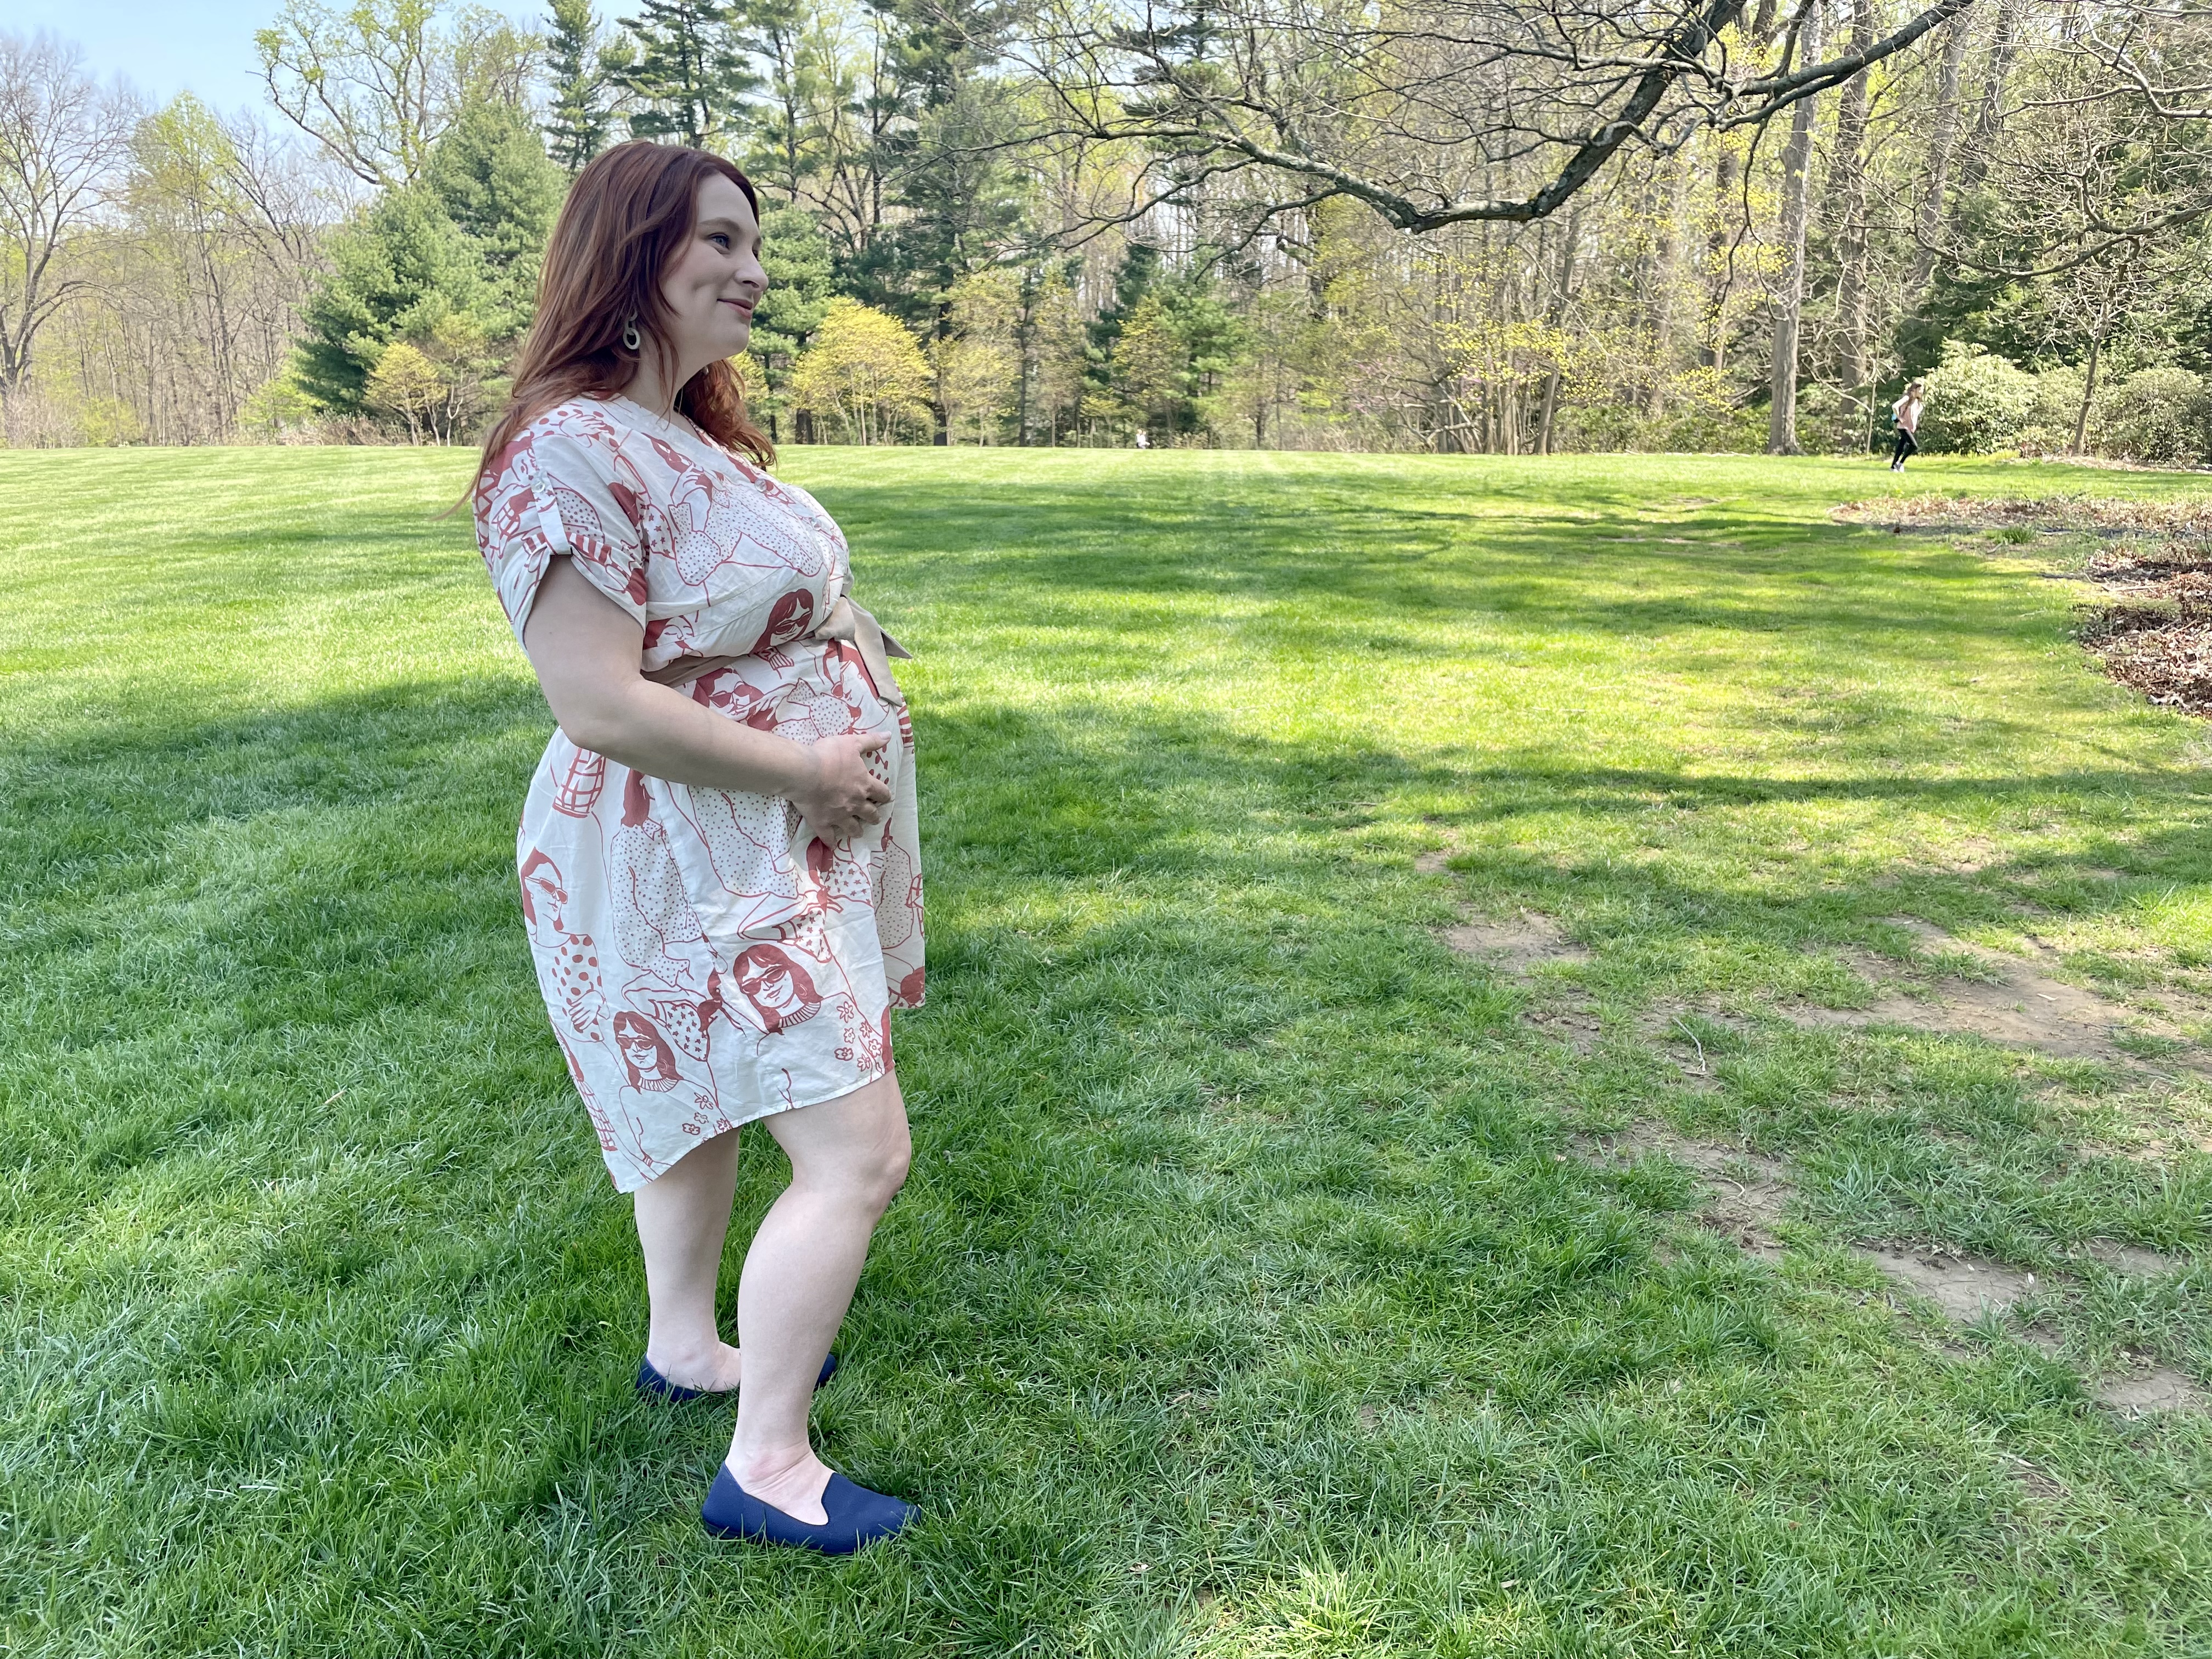
So I chopped it at the lengthen/shorten line. Because you can always take away, but not add, I decided to only shorten by 1.5″.
Now, I had added 3.375″ with the FBA then removed 1.5″, so I needed to lengthen my button placket and front facing by 1-7/8″ (the difference between 3.375-1.5).
I also shortened my back by 1.5″ along the lengthen/shorten line.
Solving other giant boob-related problems
If you follow me, you probably know I’m usually #teamnotoile, meaning I rarely make muslins. Most of the time, I’ll use my bodice sloper to make flat pattern alterations, and I’m frankly not obsessed with perfect fit when I can more easily obtain good enough fit with less work.
Buuuuut, in this case, since I had added a honkin’ 7″ to the bust and chopped 1.5″ off the full bodice, I decided I needed to make a muslin of the bodice. It was a good thing.
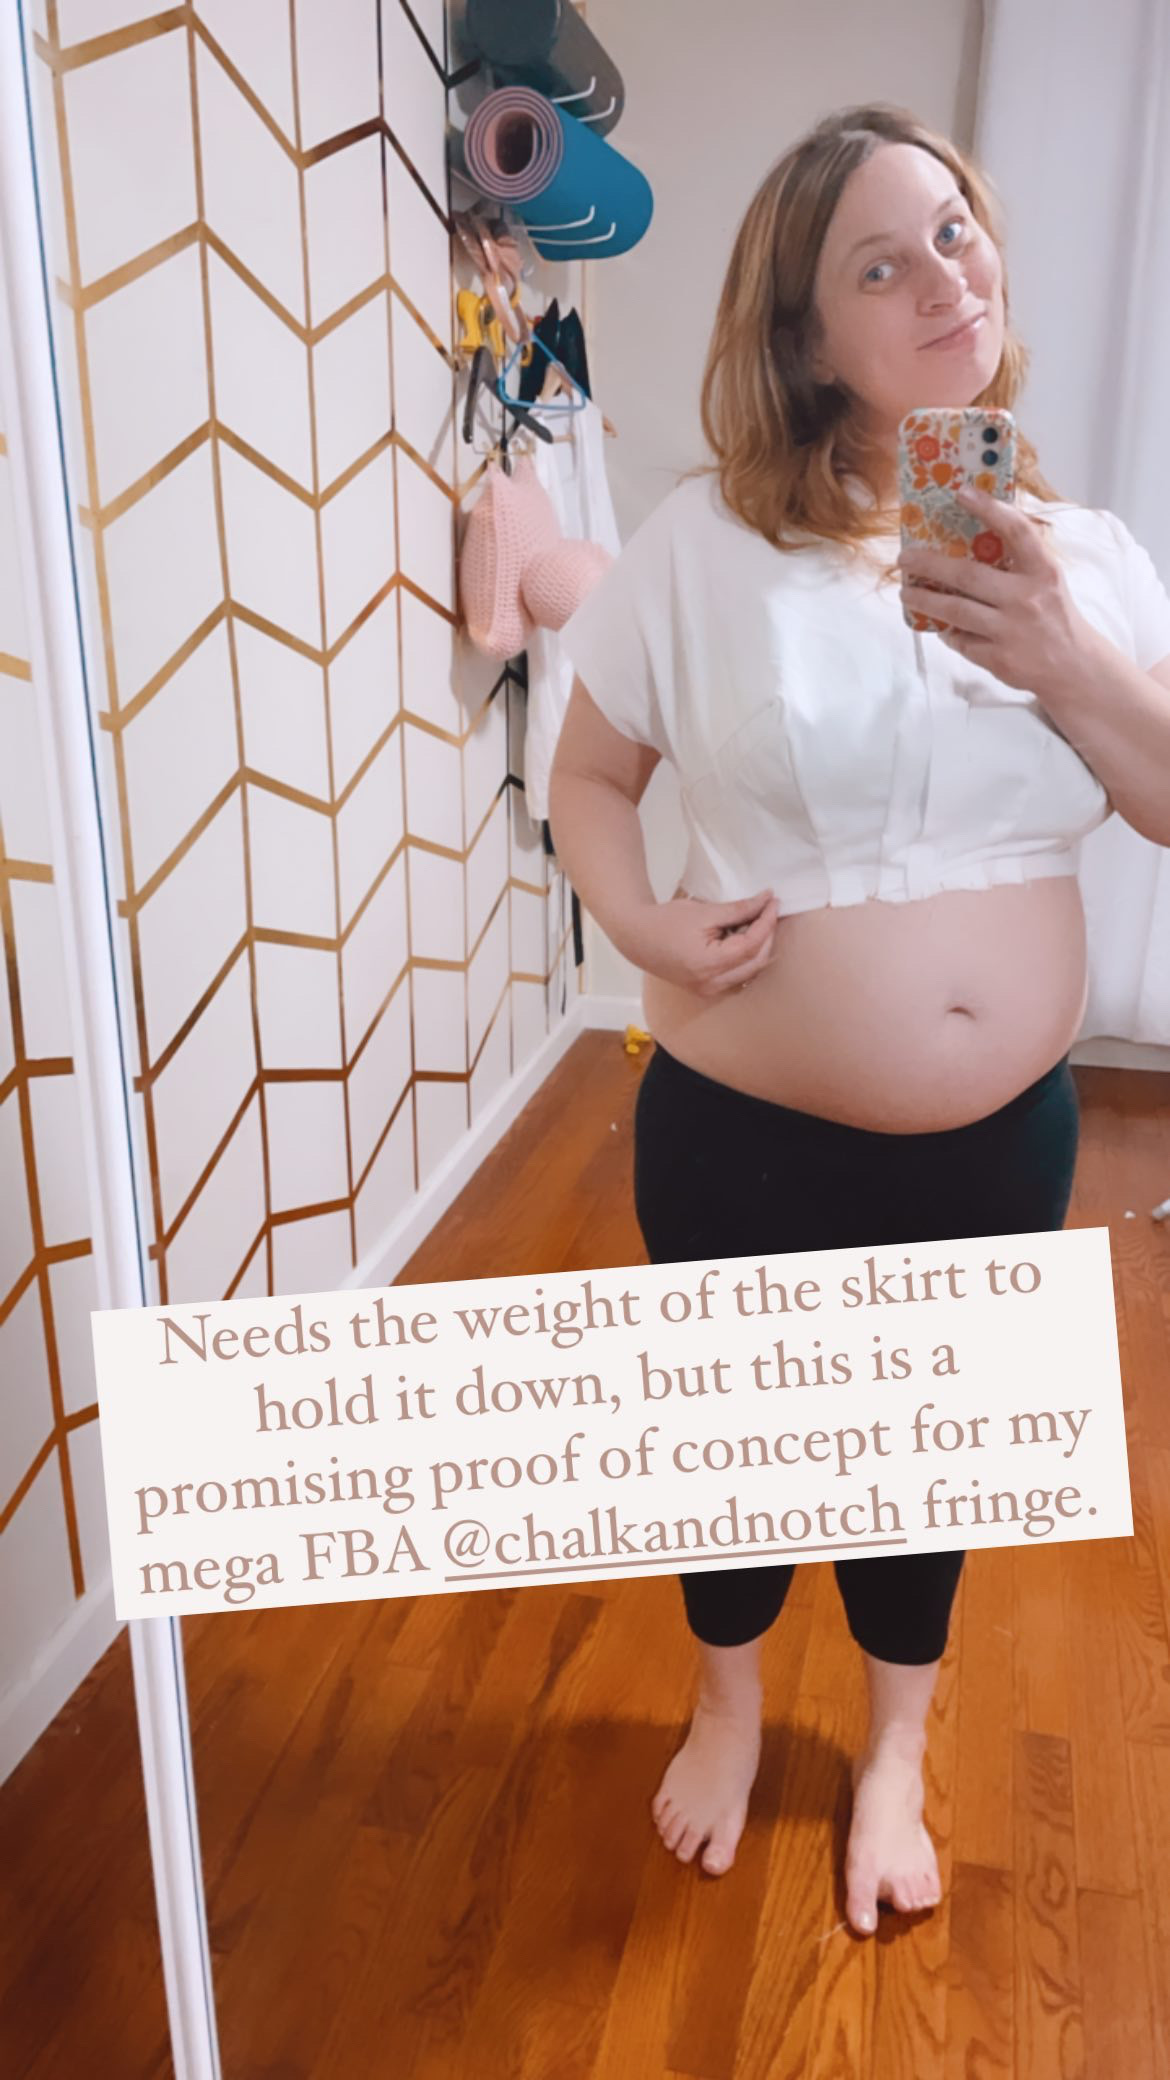
I was absolutely chuffed at the fit. Loved it. Needed a skirt to weigh it down, but goodness the darts were pretty perfect!
Until I realized something. I had to put it on like a button-down shirt, one arm and then the other. If I pinned it together at the waist, I couldn’t get it on. Not over my bust, nor over my belly.
You see, this pattern is intended to be pulled on. The finished waist at a size 10D is 35″ — just enough to eek over the 39″ bust it was drafted for. But I had added 7″ to that, and a 35″ waist wasn’t going to eek over my 46″ of bust.
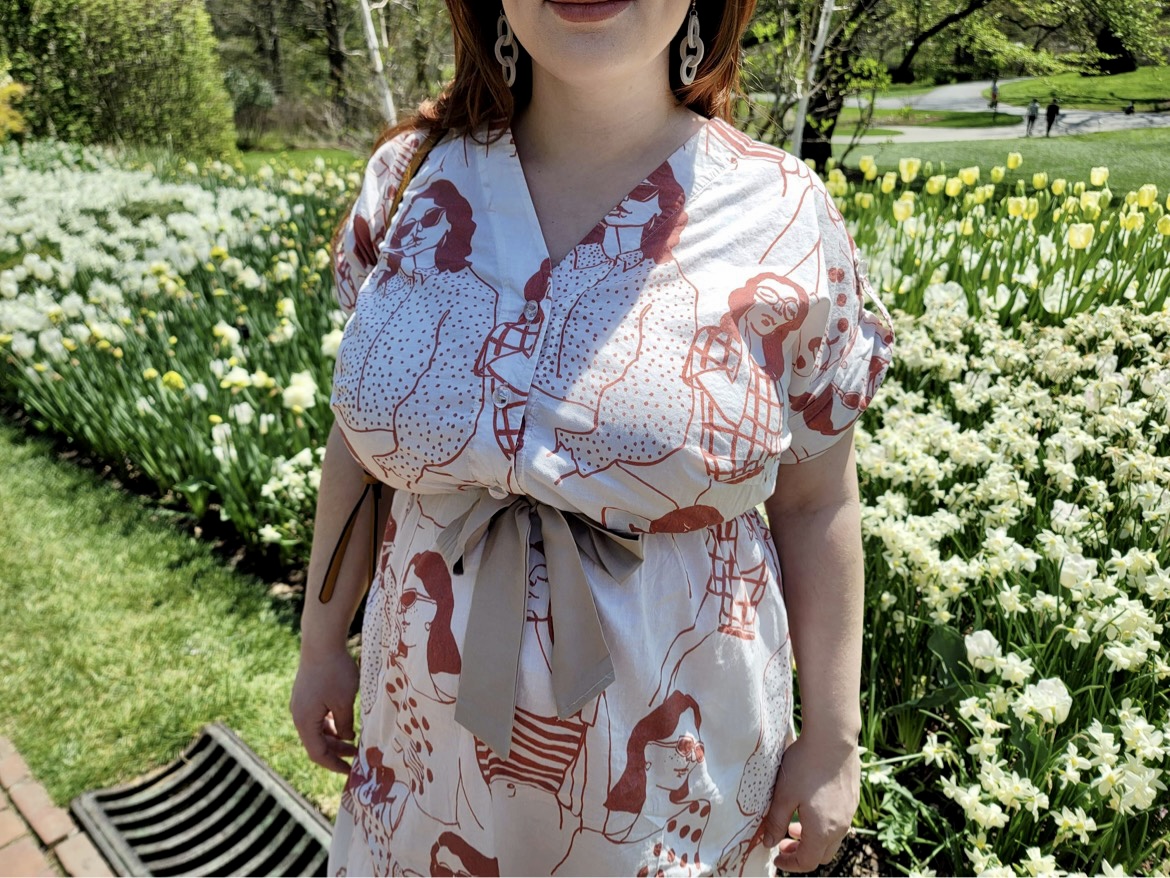
So I had to pivot. I ended up removing the waist darts on both front and back (trust me, I’m mourning this too! love those darts!), and decided to elasticate the waist instead.
The pattern & fit
This was my first Chalk & Notch pattern, and I WILL BE BACK. The pattern went together SO BEAUTIFULLY. I often have problems with facings not quite matching, and that wasn’t an issue here at all. The whole thing was just so well drafted, and I think it would have been an easier sew if I had opted for view B, which has simpler sleeves and no buttons.
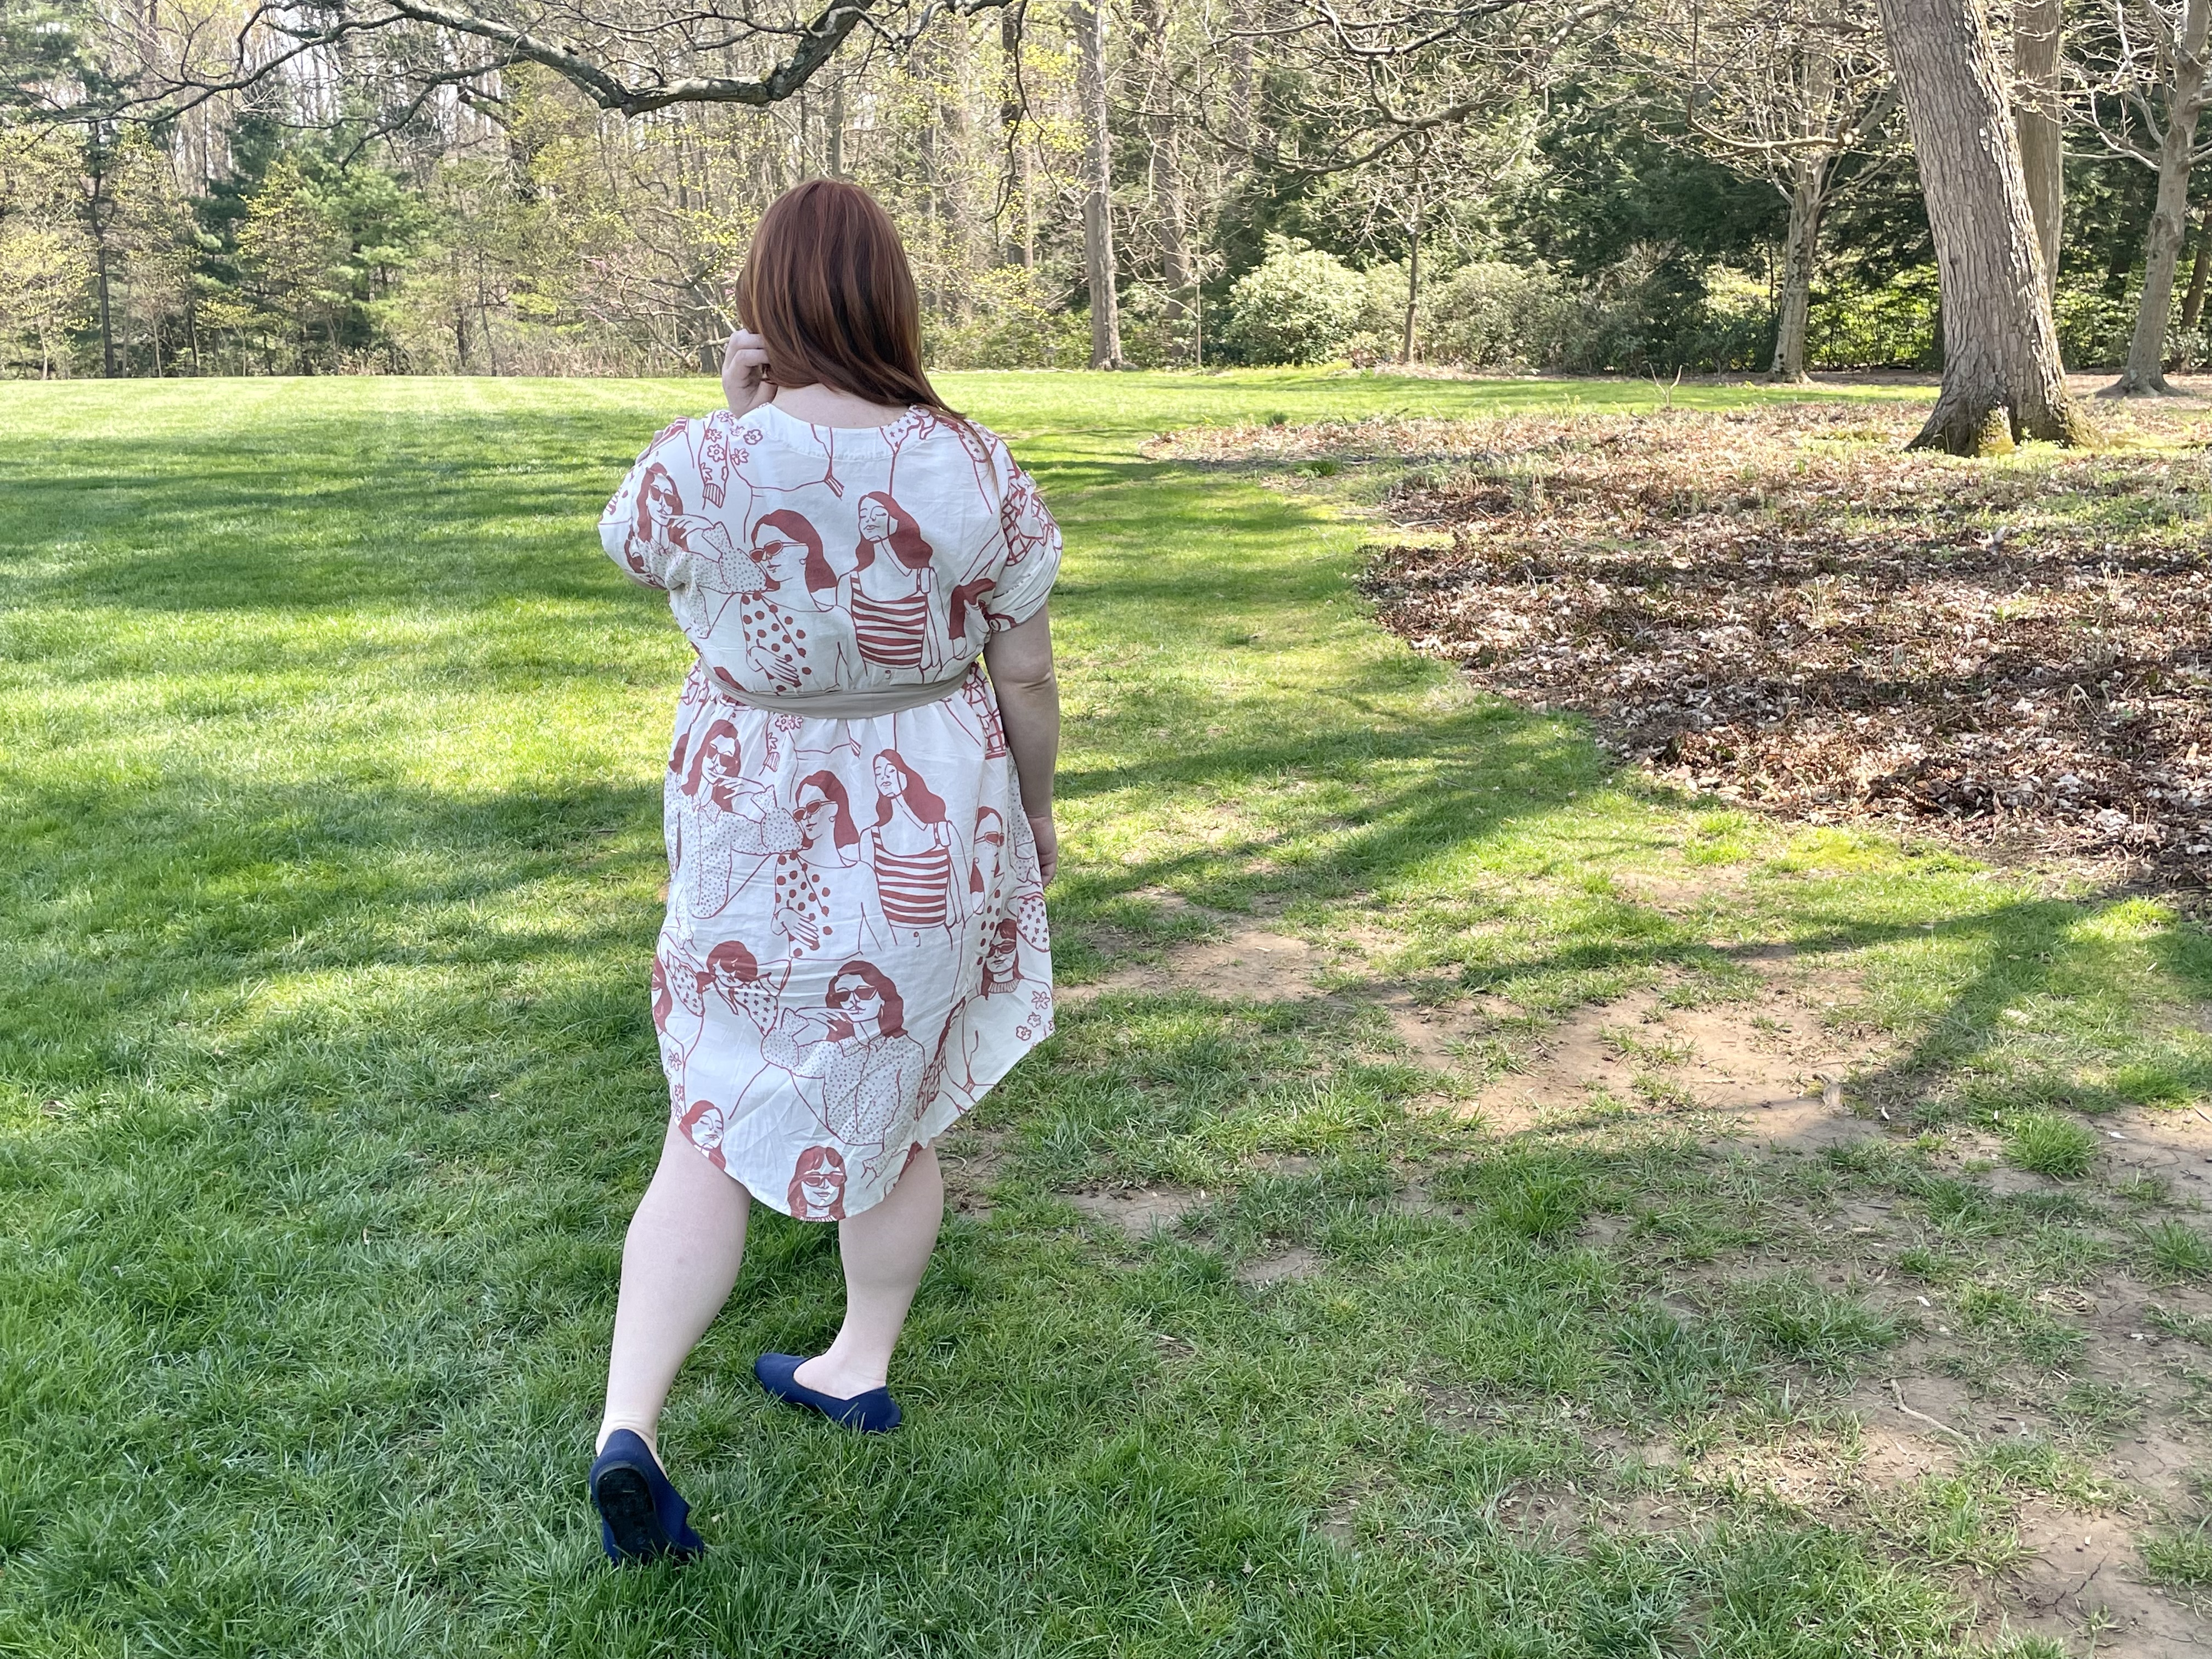
Honestly, I’m excited to sew this up again with the waist darts (what can I say?! I just love darts!) once either my boobs have settled back to pre-pregnancy size, when I would have needed just a 1.5″ FBA, or when I have the energy to add a zipper.
I love the button front on this pattern, and that there’s no gaping! I also love that this will allow me to nurse in this dress when the time comes.
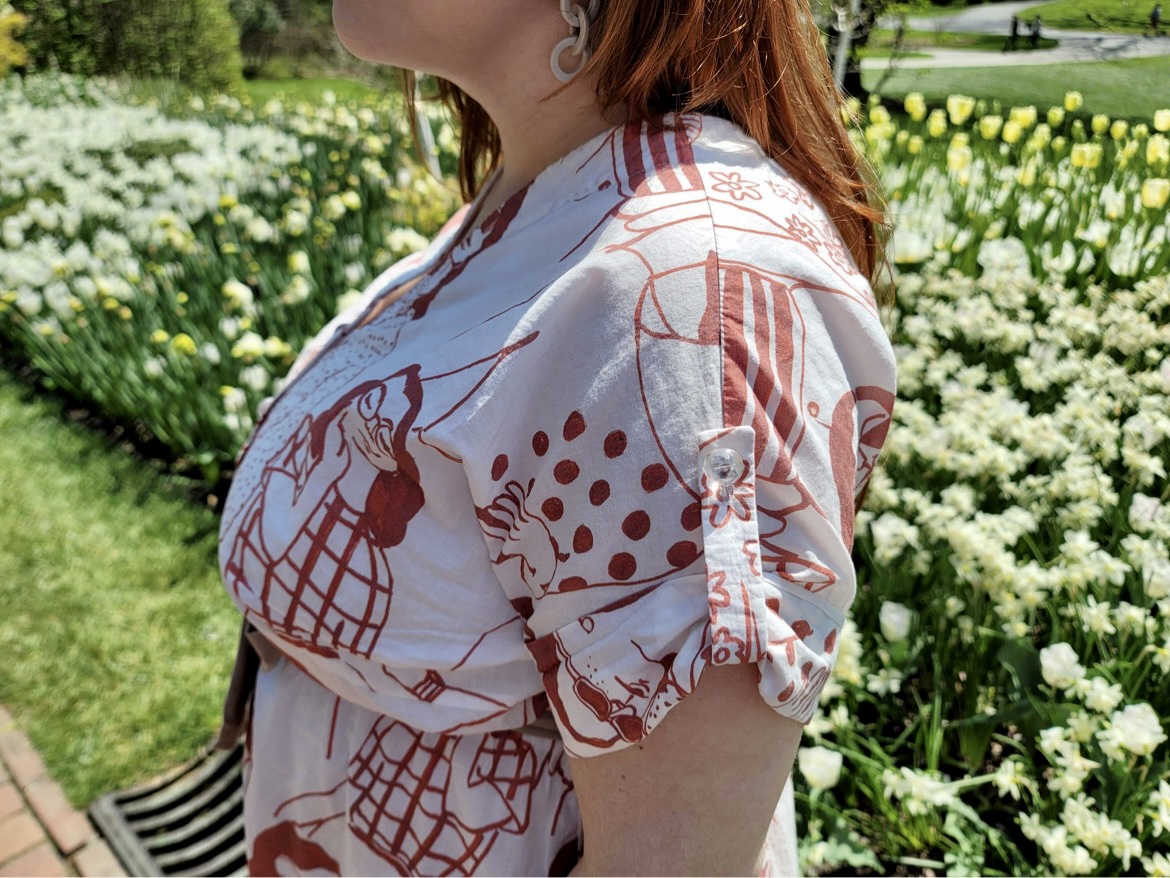
Also, the sleeves. I wasn’t actually sure I was going to love the sleeves, but they’ve really grown on me. I used vintage buttons throughout, and I just love the little pop of pearlescent that they give my shoudlers.
The best thing about this dress, though? THE POCKETS, obviously.
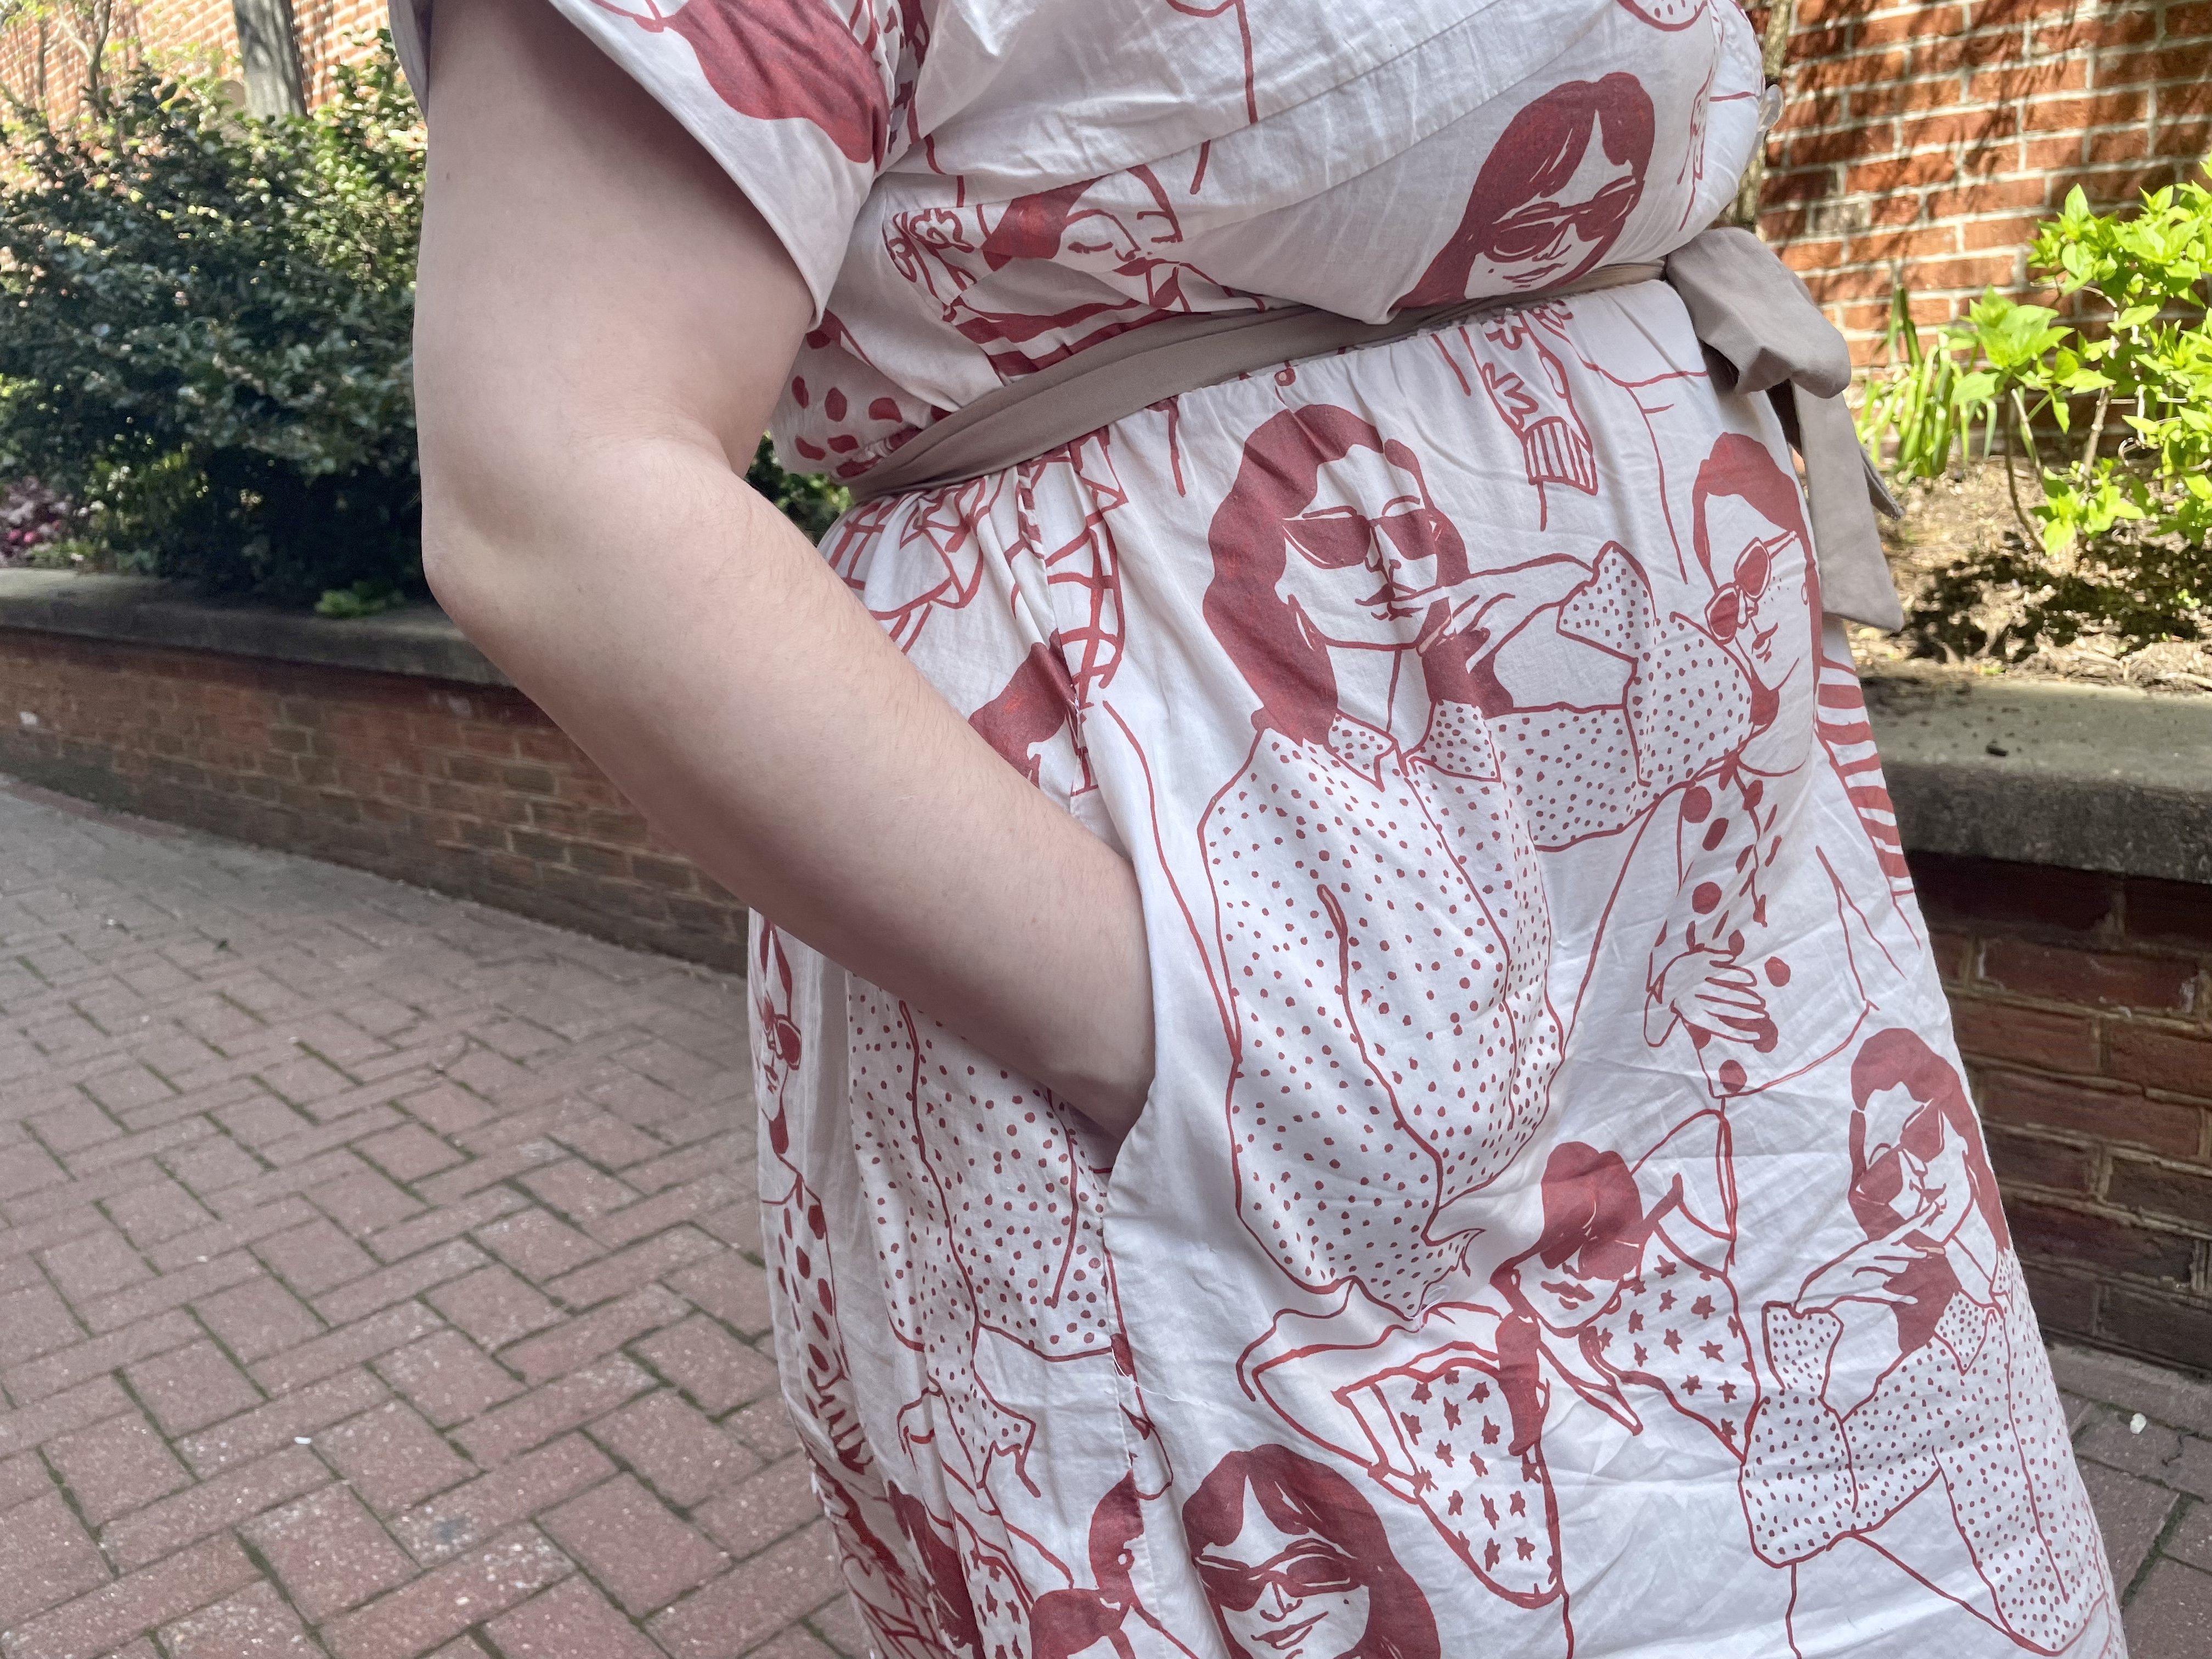
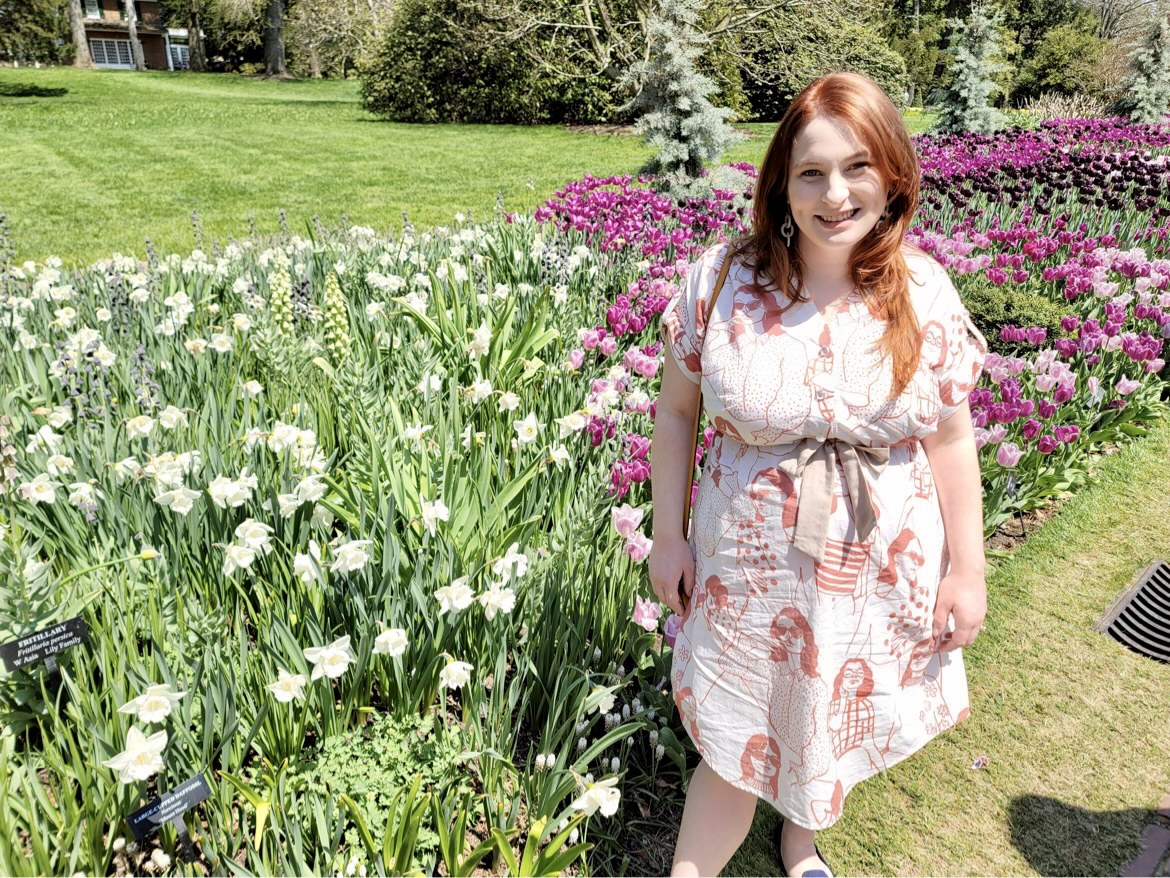
As you can see, I did add a waist tie for just a bit more waist definition, because the elastic wasn’t quite defining my waist as much as I’d like. Again, can’t wait to make this again with darts. But here it is without the waist tie, for those wondering:



0 Comments