
Community Blog | Vintage Style Tailoring with Carly
Vintage isn’t for everyone. I know this. But somehow or other I have fallen in love with the fashions of the 1930s-1950s, and it makes me really happy to wear these kinds of styles. For those of you who aren’t into my style of vintage, don’t worry – this blog post is really just about making a princess seam tailored suit jacket.
I volunteer at Bletchley Park, which, in case you don’t know, was the base from which the Allied code breakers worked in World War Two. When I’m there, I really like to wear my 1940s style clothes and imagine working there in 1941. I think this is where my desire for a 1940s style suit came from, and since I have long given up looking for true vintage pieces that fit me, I knew I was going to need to design, draft and make it myself.
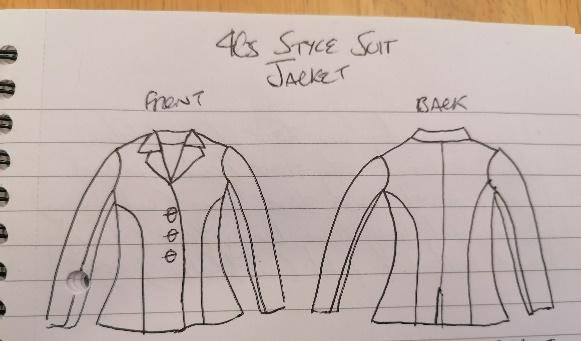
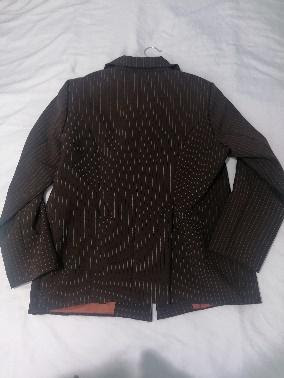
For me, that starts with a little biro drawing in my notebook. Nothing fancy, just enough to show the seams and style lines. I knew I wanted princess seams, because I’m not a huge fan of darts on my bust (37” high bust, 41” full bust and very short torso), and also earlier this year I made a cropped version of the Princess Coat from Charm Patterns and I quite liked it. I knew I could use the princess seams from this pattern as a basis, but wanted to change the collar, the length of the jacket overall and the back would need vents to accommodate my butt.
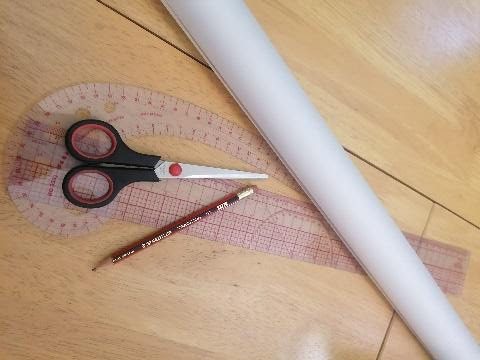
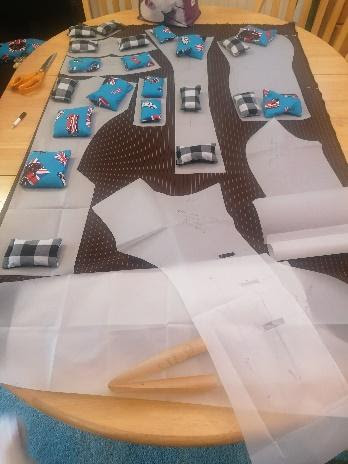
I pulled out my traced pieces from the Princess Coat and laid over my tracing paper, and started tracing the bits I’d keep and changing everything else. I didn’t change the armscye any so I also used the same 2-piece tailored sleeve. I also referred to other patterns I had already drafted to help me with the collar.
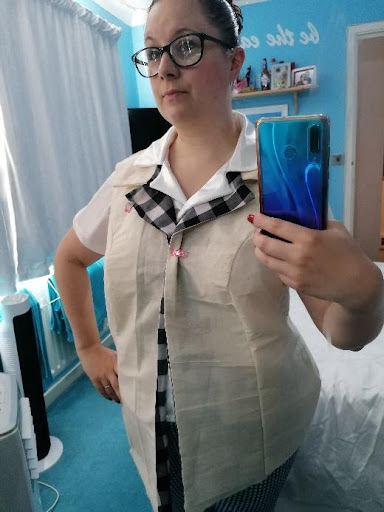
Then I made a mock-up/toile/muslin – test version, whatever you call it. The collar was way too big for my liking, so I went and re-drafted it and made a second test garment, which is pictured above. Still having doubts about the collar size, I popped a blouse on with it and suddenly it all seemed to make sense. Now I was happy with it, I finalised all my pattern pieces and drafted the facings. Time to cut into my project fabric!
I started by making the bound buttonholes on my jacket front. I learned how to do these when I made the Princess Coat earlier in the year and they give a really nice finish to a tailored garment.
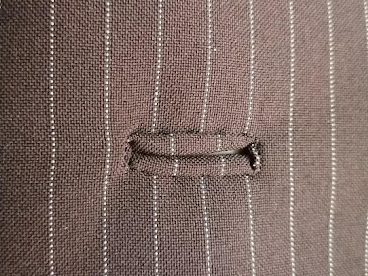
Buttonholes complete, it was on to the princess seams. Now I’m sure we all, anyone who sews for people with a large high bust/full bust difference, know exactly what I’m talking about – your side front panel has a huge bulge in it and the centre front is, at best, straight, and at worse, curved in the opposite direction. So when we put these right sides together to sew, it can get tricky, right??
This is my side front and centre front for this jacket. I struggled and struggled last year trying to perfect sewing princess seams with this kind of curve. I Googled and Googled and tried and tried and nothing worked. I would get puckers, the raw edges wouldn’t line up, one piece would end up shorter than the other. If you have experienced any (or all!) of these problems, the good news is I finally found a way to do it! Yes, even on that curve.
Now, I can’t really take any credit here because the method I use is the one recommended by Charm Patterns for the Princess Coat. The silly thing is, I figured that if I couldn’t sew a princess seam, I had no business getting the Princess Coat pattern or watching the “how to” video on YouTube. Oh, how wrong I was. I don’t remember how or why but I ended up watching said “sew a retro cropped jacket” video on YouTube. But the technique for princess seams which is explained in this video, in detail, is the answer to your large bust curve princess seam sewing prayers! I mean, go check out that video if you fancy it.
Here’s how: stay stitch your centre front at 1/8” shy of your full seam allowance (so ½” on a garment with a 5/8” seam allowance like this), then clip into that stay stitched seam allowance at ½” intervals, being careful not to snip your stitching. Then lay your side front right side up on the table in front of you, and lay the stay-stitched and clipped centre front down on top of it, right sides together. Match and pin the notches first, and then you will, like magic, be able to match the raw edges of the two pieces with the opposing curves by spreading the clips on the centre front to match the side front. Use as many pins as you need! Then you can just sew the seam like normal at your required seam allowance.
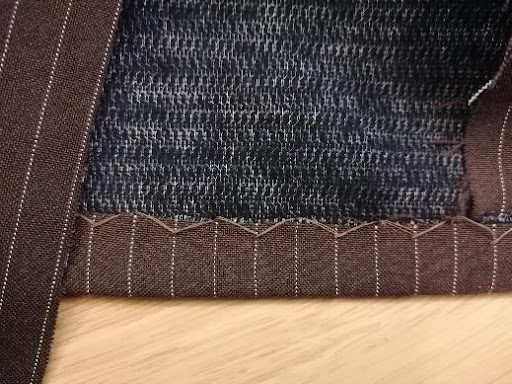
Then you need to notch the seam allowance on the side front piece. Cut out small triangles at ½” intervals, making sure the points of these triangles are between the clips on the other side. You don’t really want your clips and triangles meeting at the seam! Then you can press the seam open, using a tailor’s ham.

Ta da! Obviously this is going to leave lots of flappy bits of seam allowance, which I think is why people prefer darts, since really princess seamed garments are going to need a lining to cover all this.
With my front and back princess seams sewn, I moved on with the rest of the construction. Shoulder seams, side seams. Collar, facings. It was starting to look like a jacket at this point, and I was excited to sew and set in the sleeves. I used a bias strip of my fabric to ease the sleeve cap (another Charm Patterns trick) and I love how easy it is and how it gives just the right finish for tailored garments.
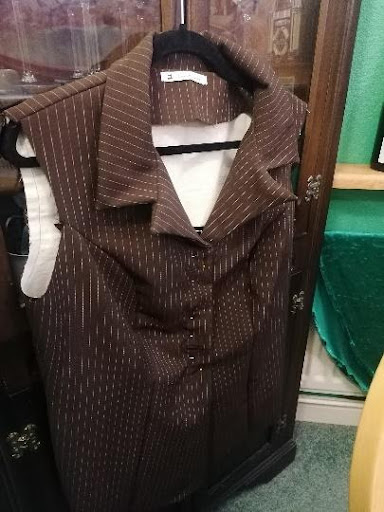
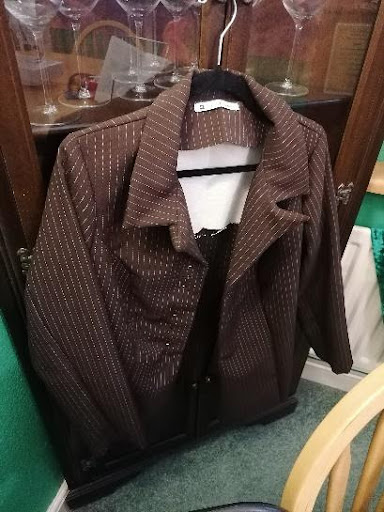
I could really see the project starting to take shape at this point. Although I will say, it does not look great on the hanger. It took me a while to realise that this is because I’ve just spent all this time sewing a garment with a lot of room in the bust and sadly my coat hangers are less well endowed! Anyway, on to hand catch-stitching the jacket hems. I know not everyone is a fan of hand stitching, but it does have its place in projects like this.
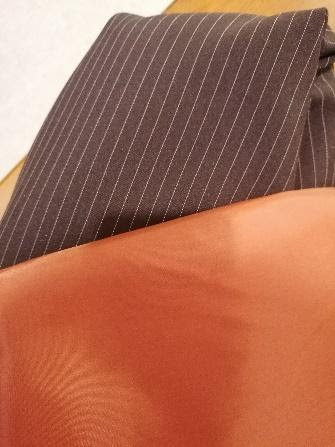
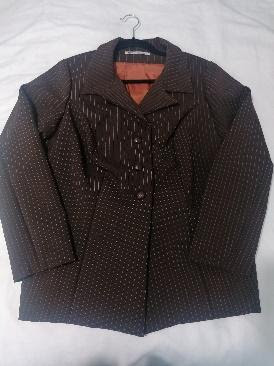
Time to start over! What?? Well that’s how I feel when I have to start making the lining. I can’t be the only one. I repeated the necessary steps to construct the lining, using the same princess seam sewing technique as on the outer. On the home straight now, I attached the lining to the jacket, and then hand finished the lining hems, the bound buttonhole openings in the front facing, and finally sewed on the buttons. Finished jacket!

I mentioned at the start that I wanted a suit, so here I am wearing the jacket with the matching pencil skirt I made. I love my suit, and am very pleased with how the jacket compares to my original biro drawing.
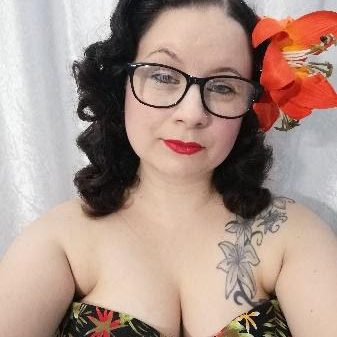
Carly is self-taught and has been sewing since 2018. Her favourite thing about sewing is making whatever you want to fit however you want. Carly wears vintage style daily and this has helped to push her to design and sew her own as it is difficult to find true vintage garments for busty bodies.



Ast york
July 2, 2024What a delightful read! Carly’s vintage style tailoring is truly inspiring. The attention to detail and passion for craftsmanship shine through in every piece. Keep up the fantastic work, Carly!