Amelie Sew Along Week F | Finishing, Buttons & Hem
For August and September at Sew Busty, we’re doing a button challenge! Post a make that features buttons on instagram with #sewbustychallenge by September 30 for a chance to win a prize!
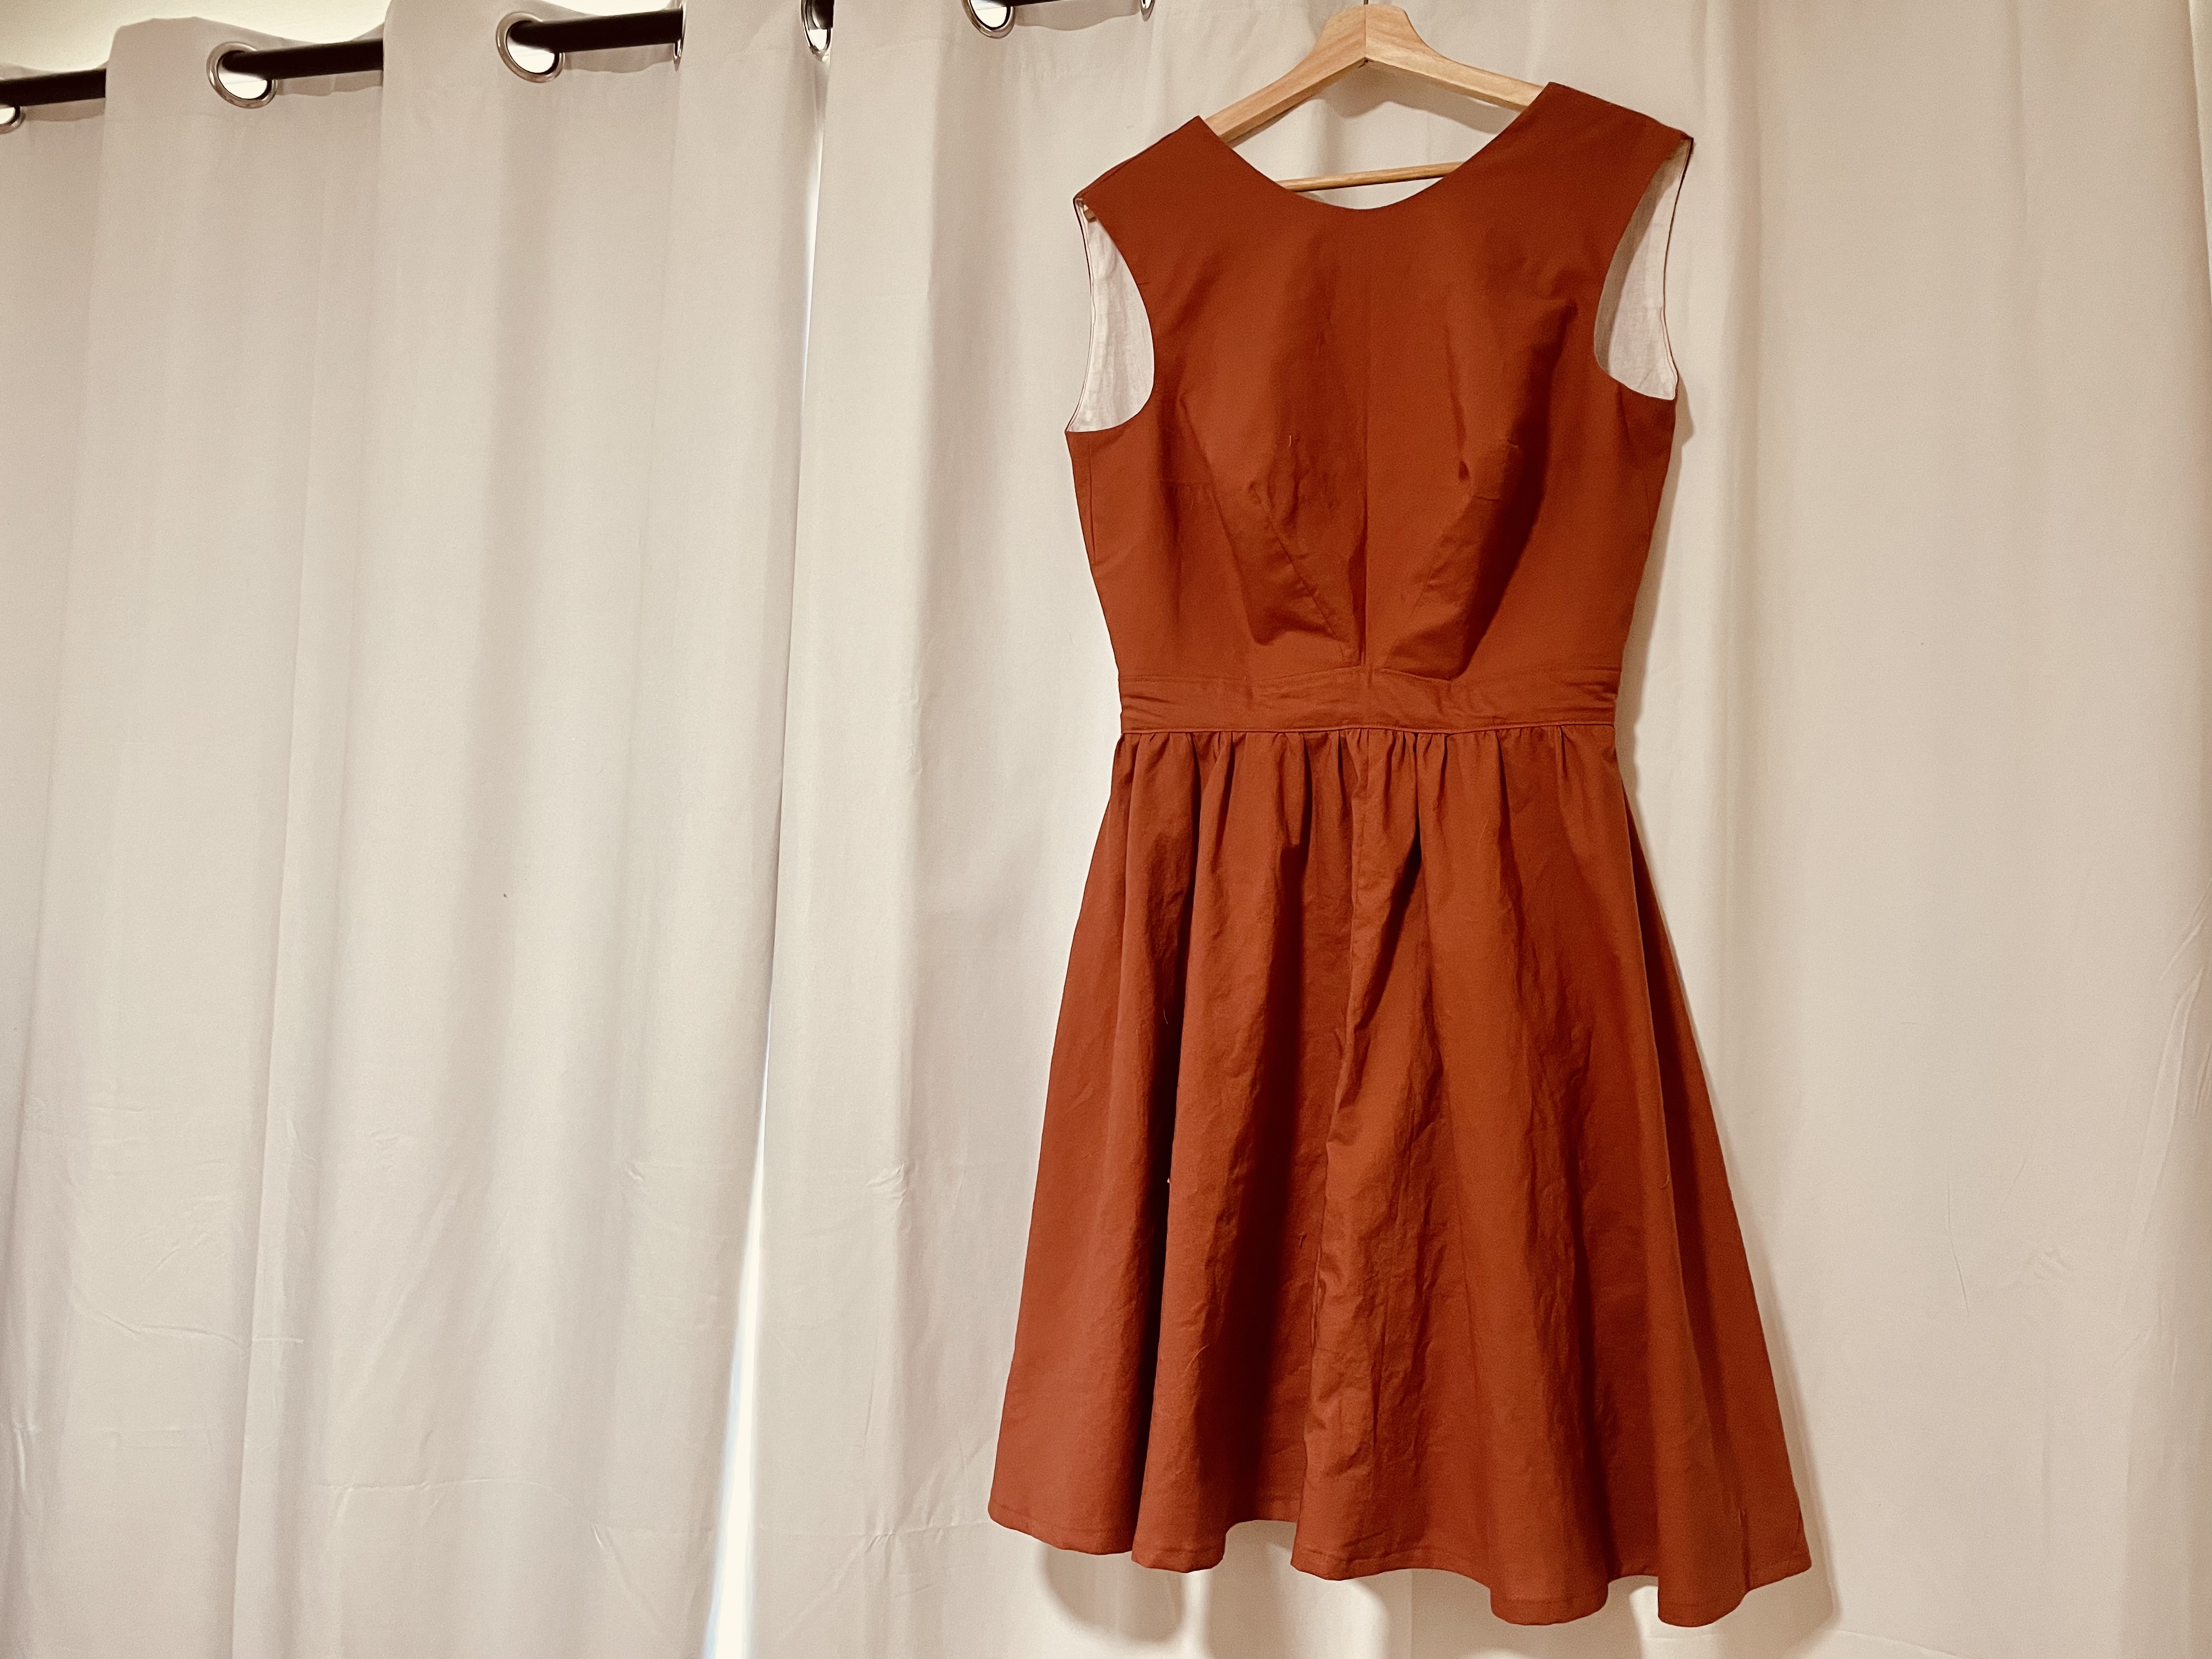
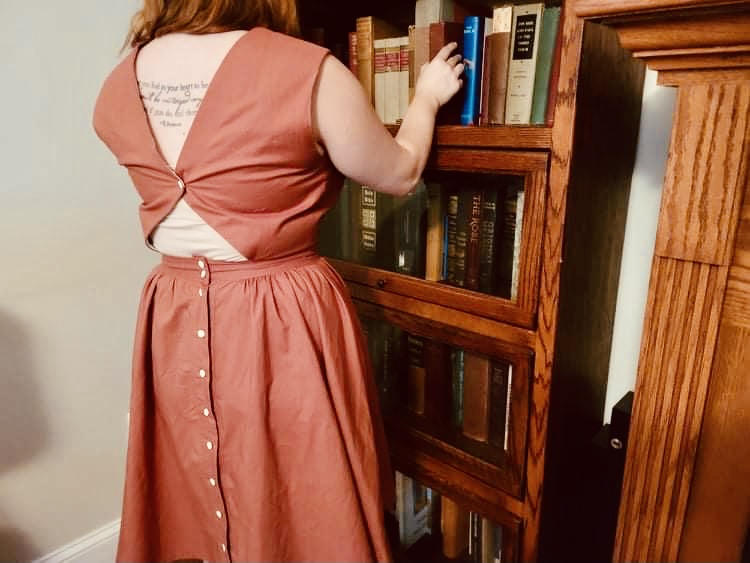
As part of that challenge, we’re doing a sew along for the Untitled Thoughts Amelie Dress – a cute little number that features buttons down the back of the skirt, as well as an open (but bra-friendly!) back. (Check out the picture of the dress on today’s post, as I accidentally earlier shared a picture of the non-bra friendly! For the full sew along, including bonus content, click here!
I love this dress.
Let’s get this done, shall we?
Your dress should be nearly done! All we need to do this week is sew buttonholes, add buttons, and hem this baby.
Buttonholes
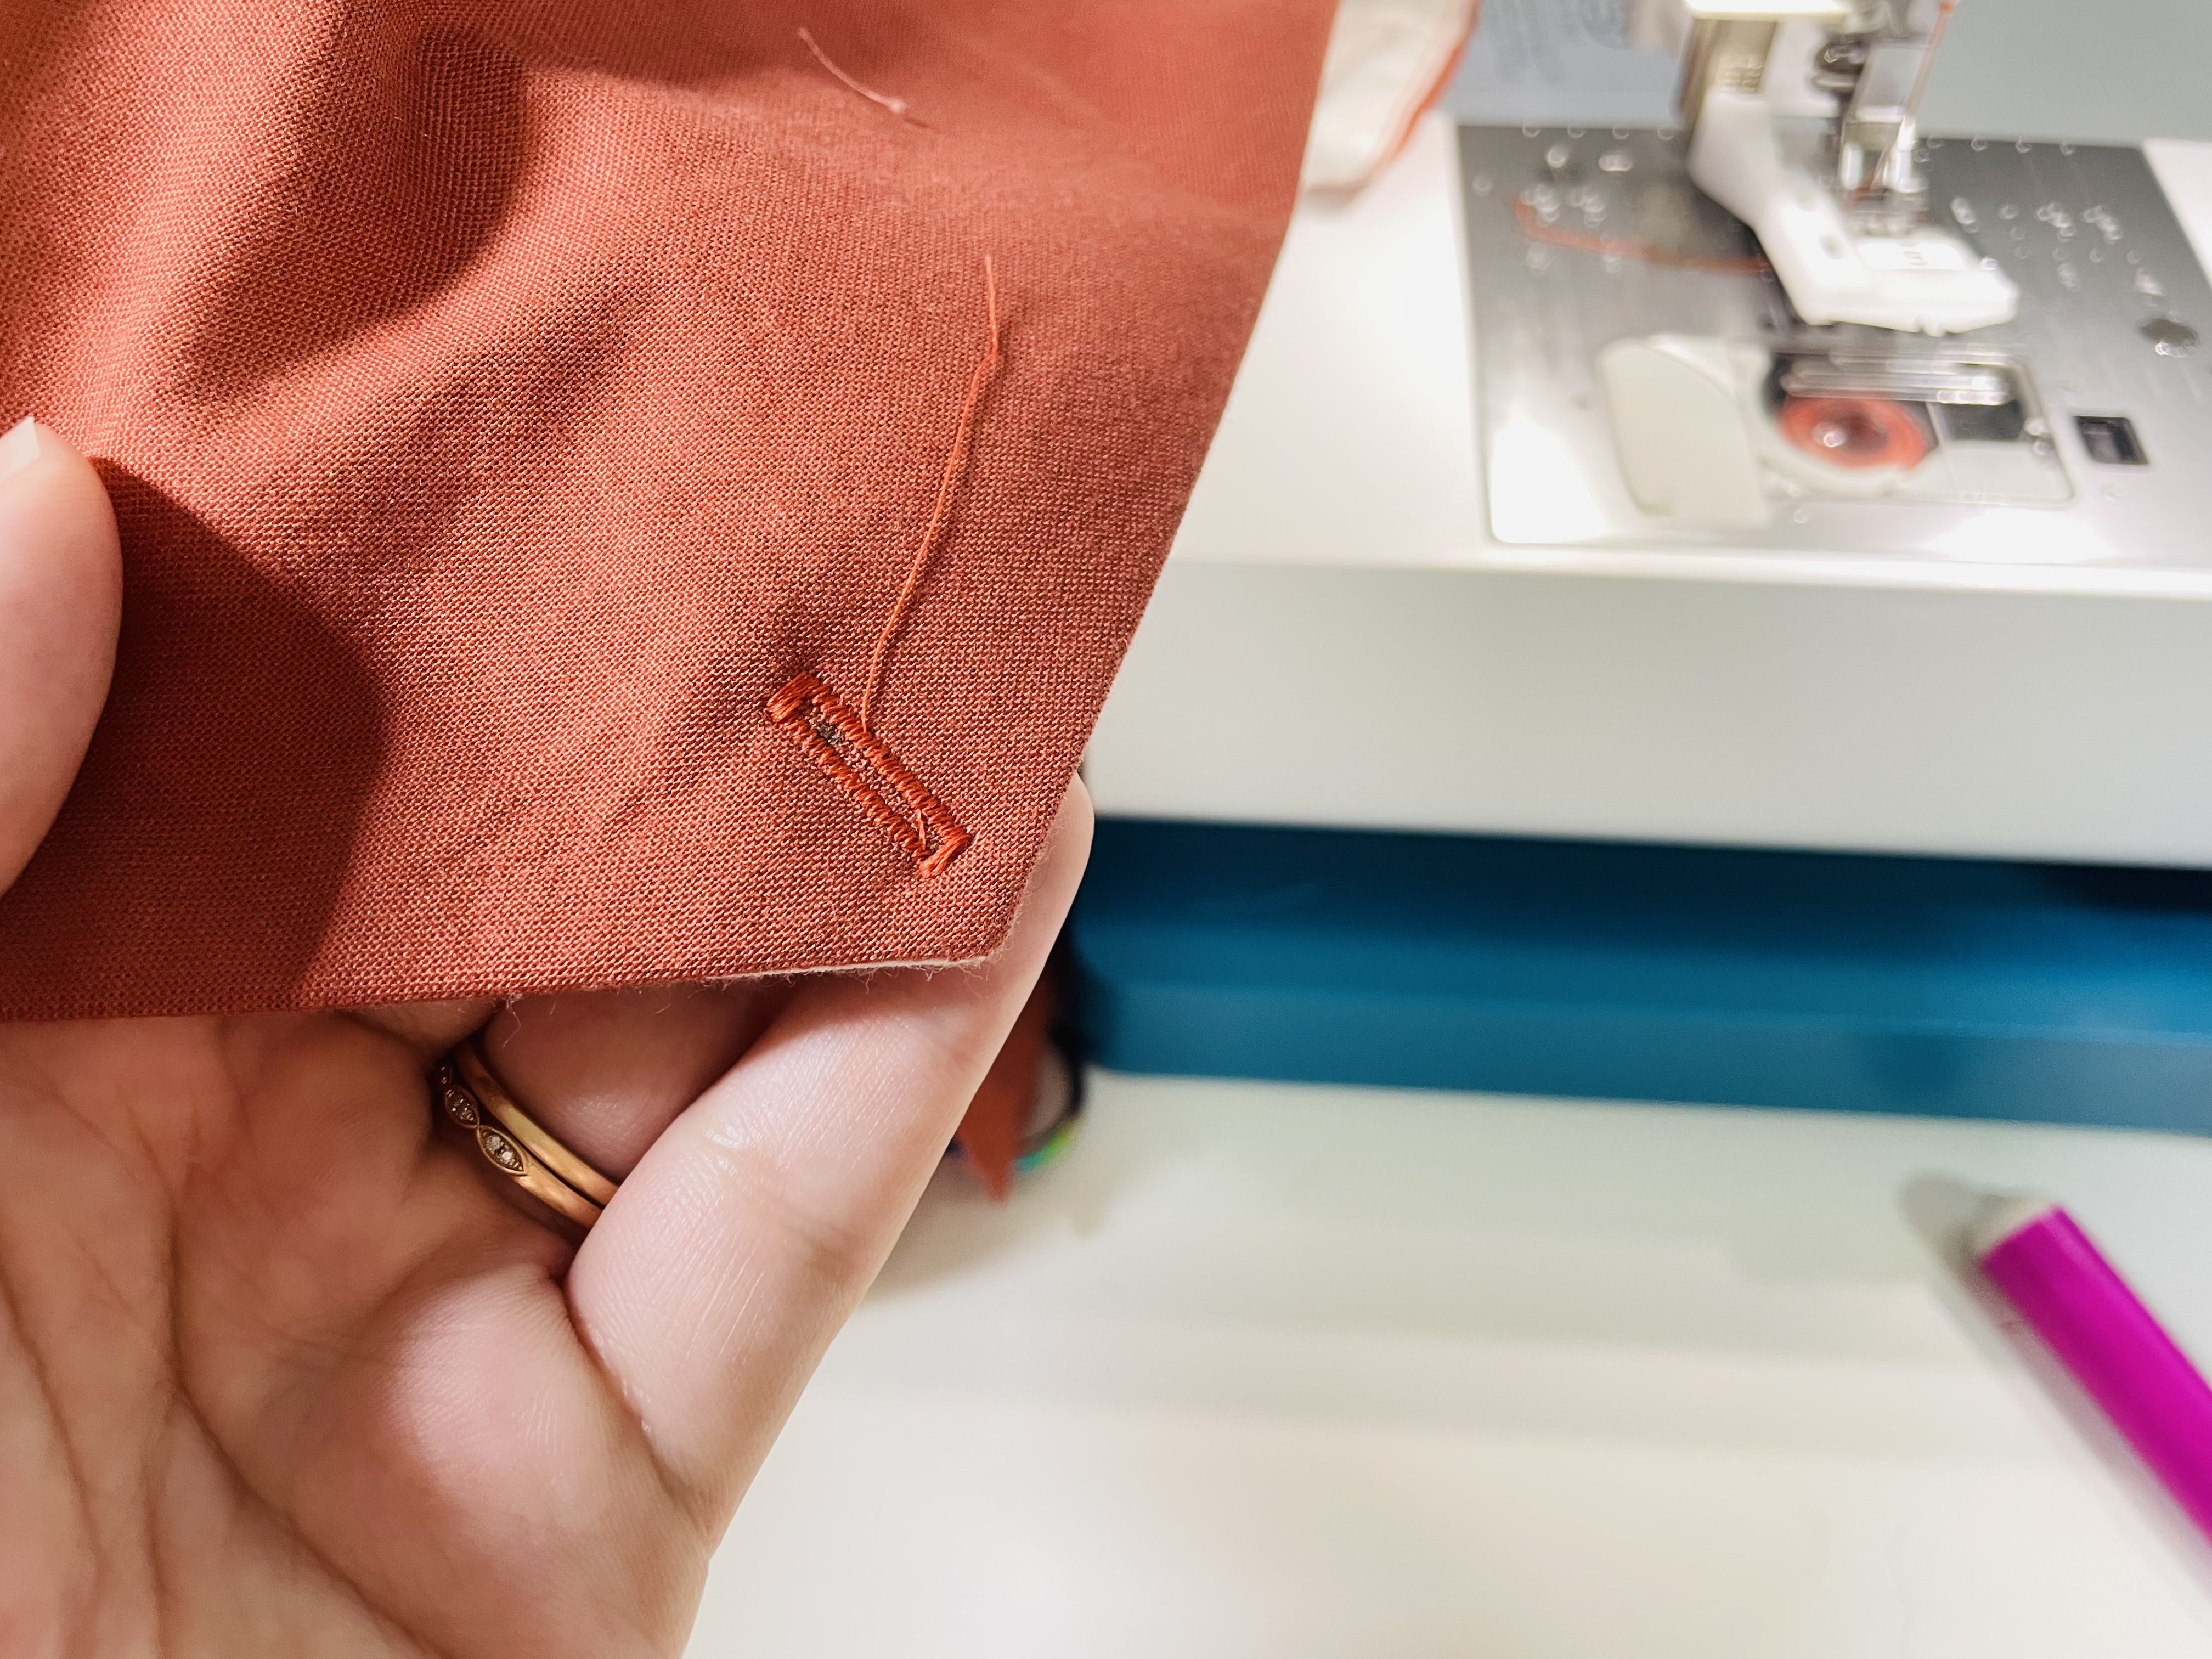
For the buttonholes, I would absolutely highly recommend you use a piece of scrap fabric to sew a tester buttonhole. Here’s my tester:
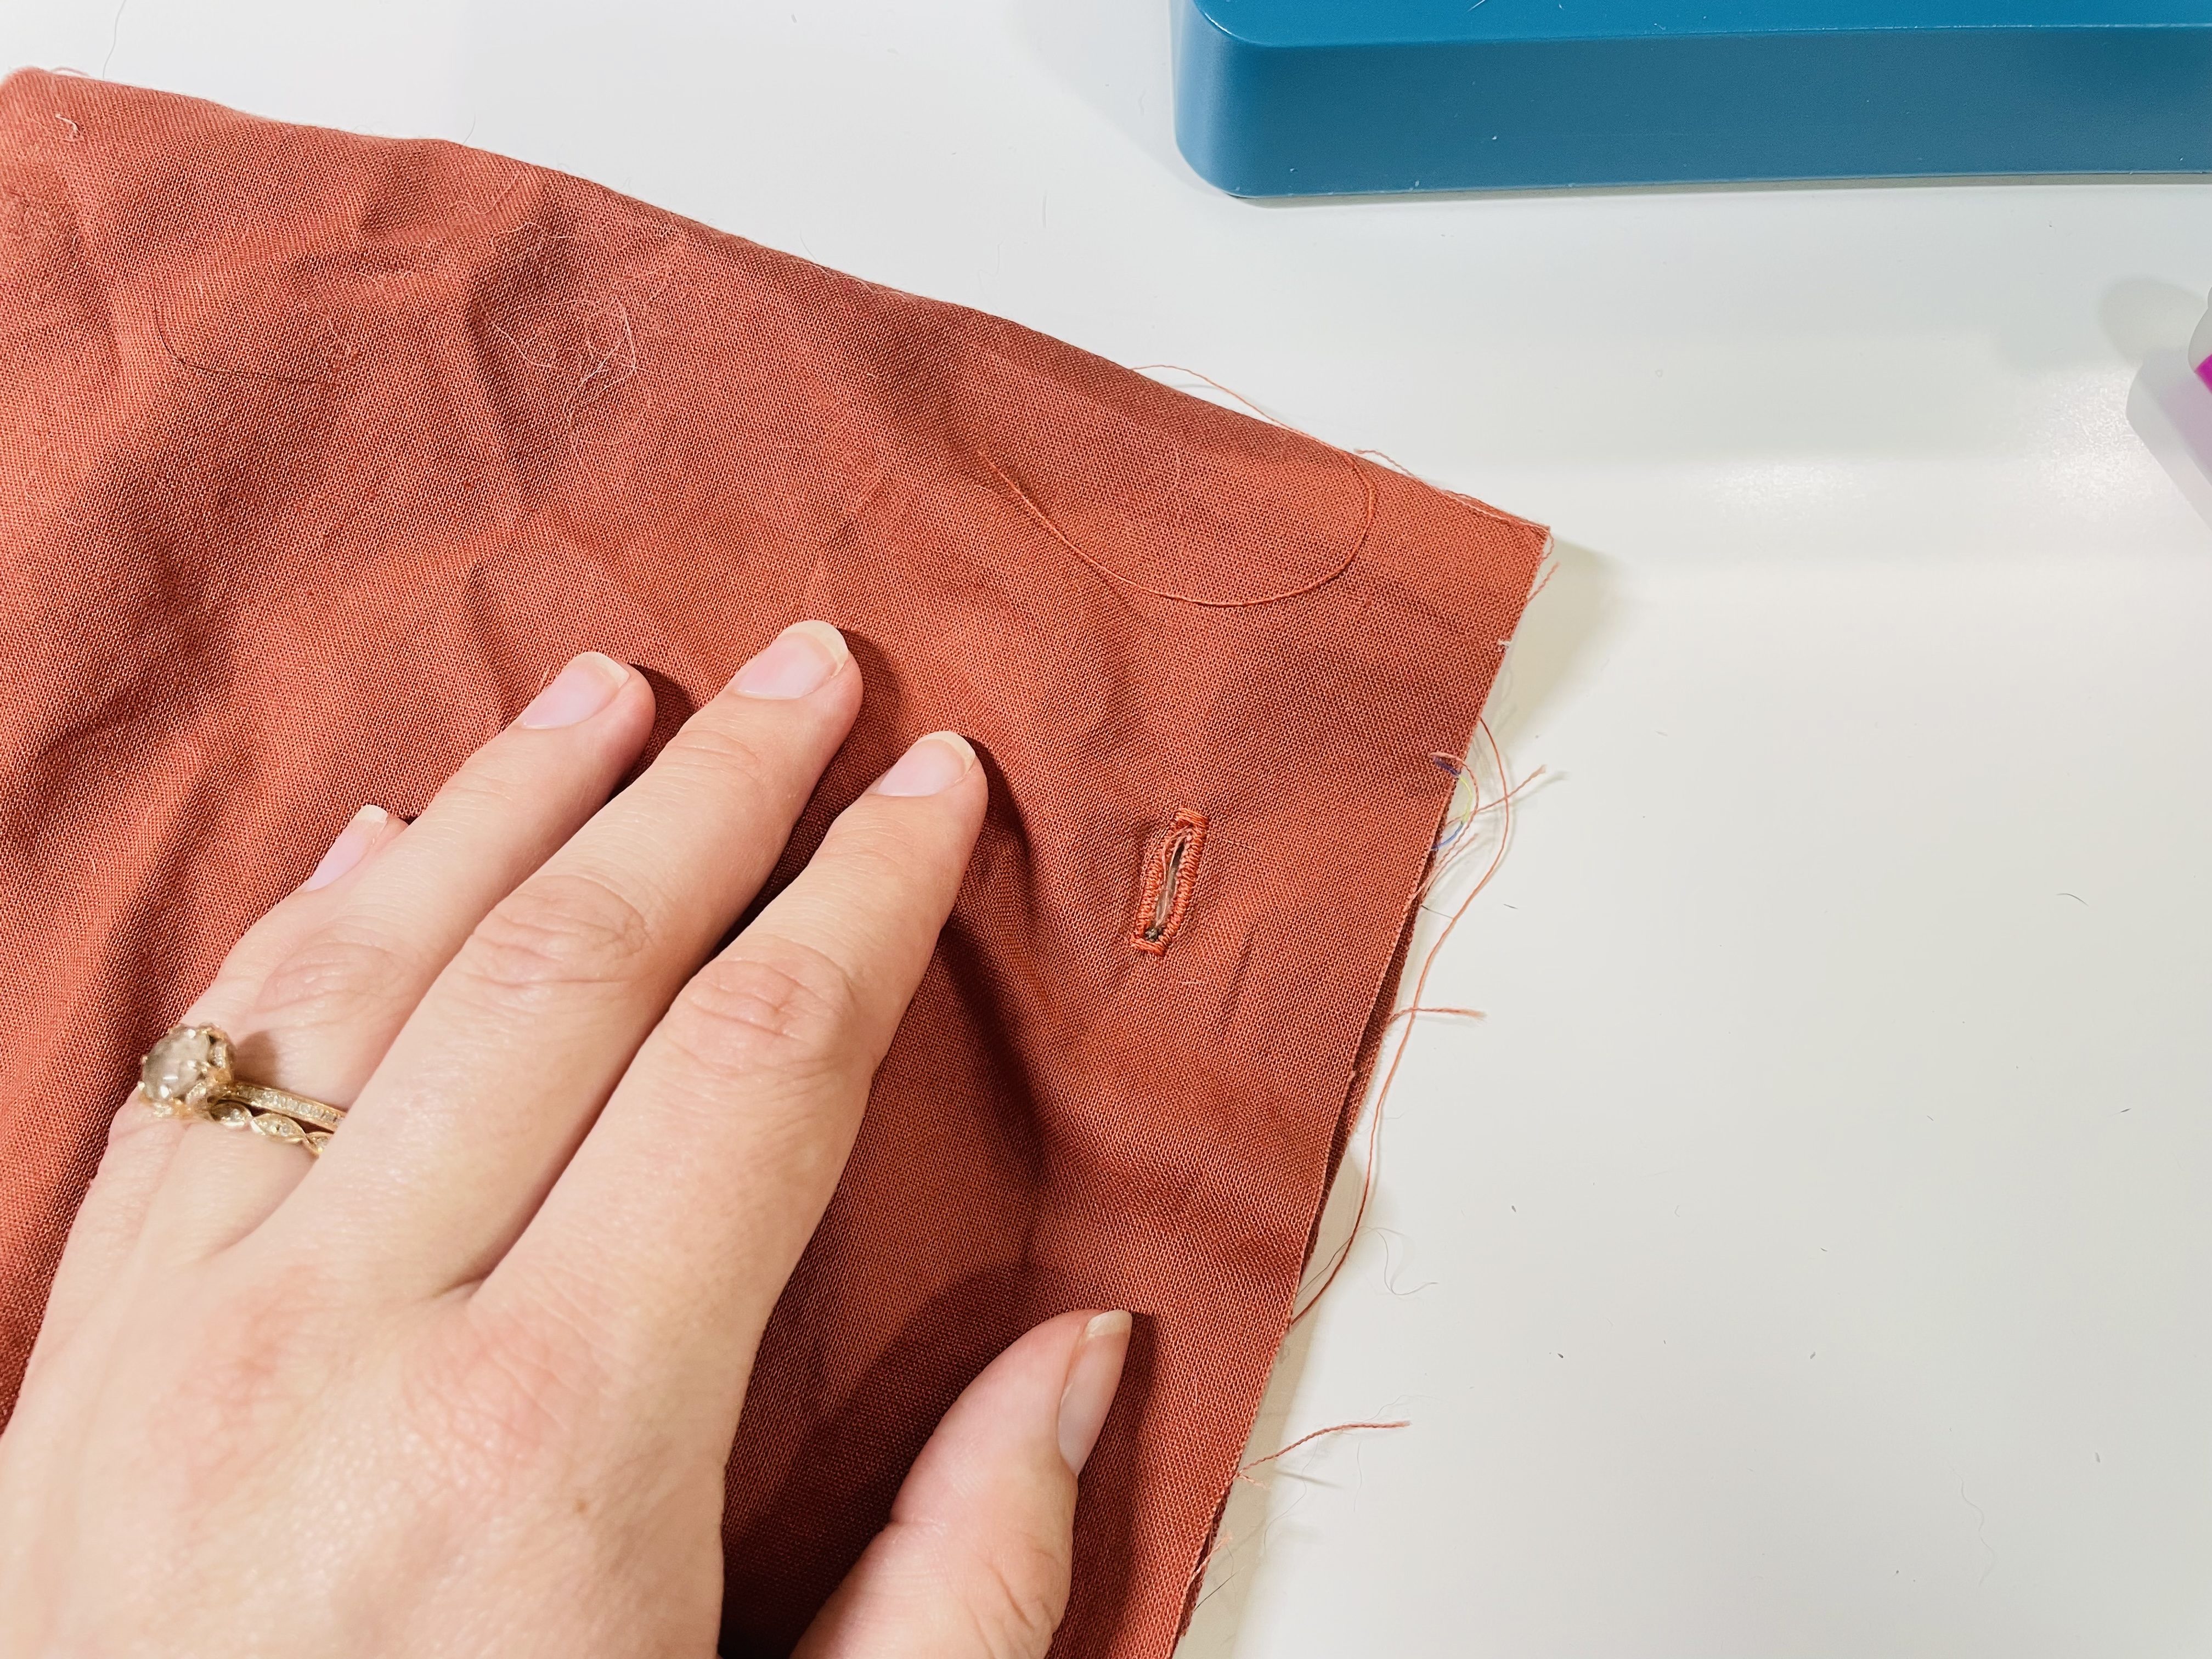
Make sure to test your tester buttonhole to make sure your chosen button goes through it with relative ease!
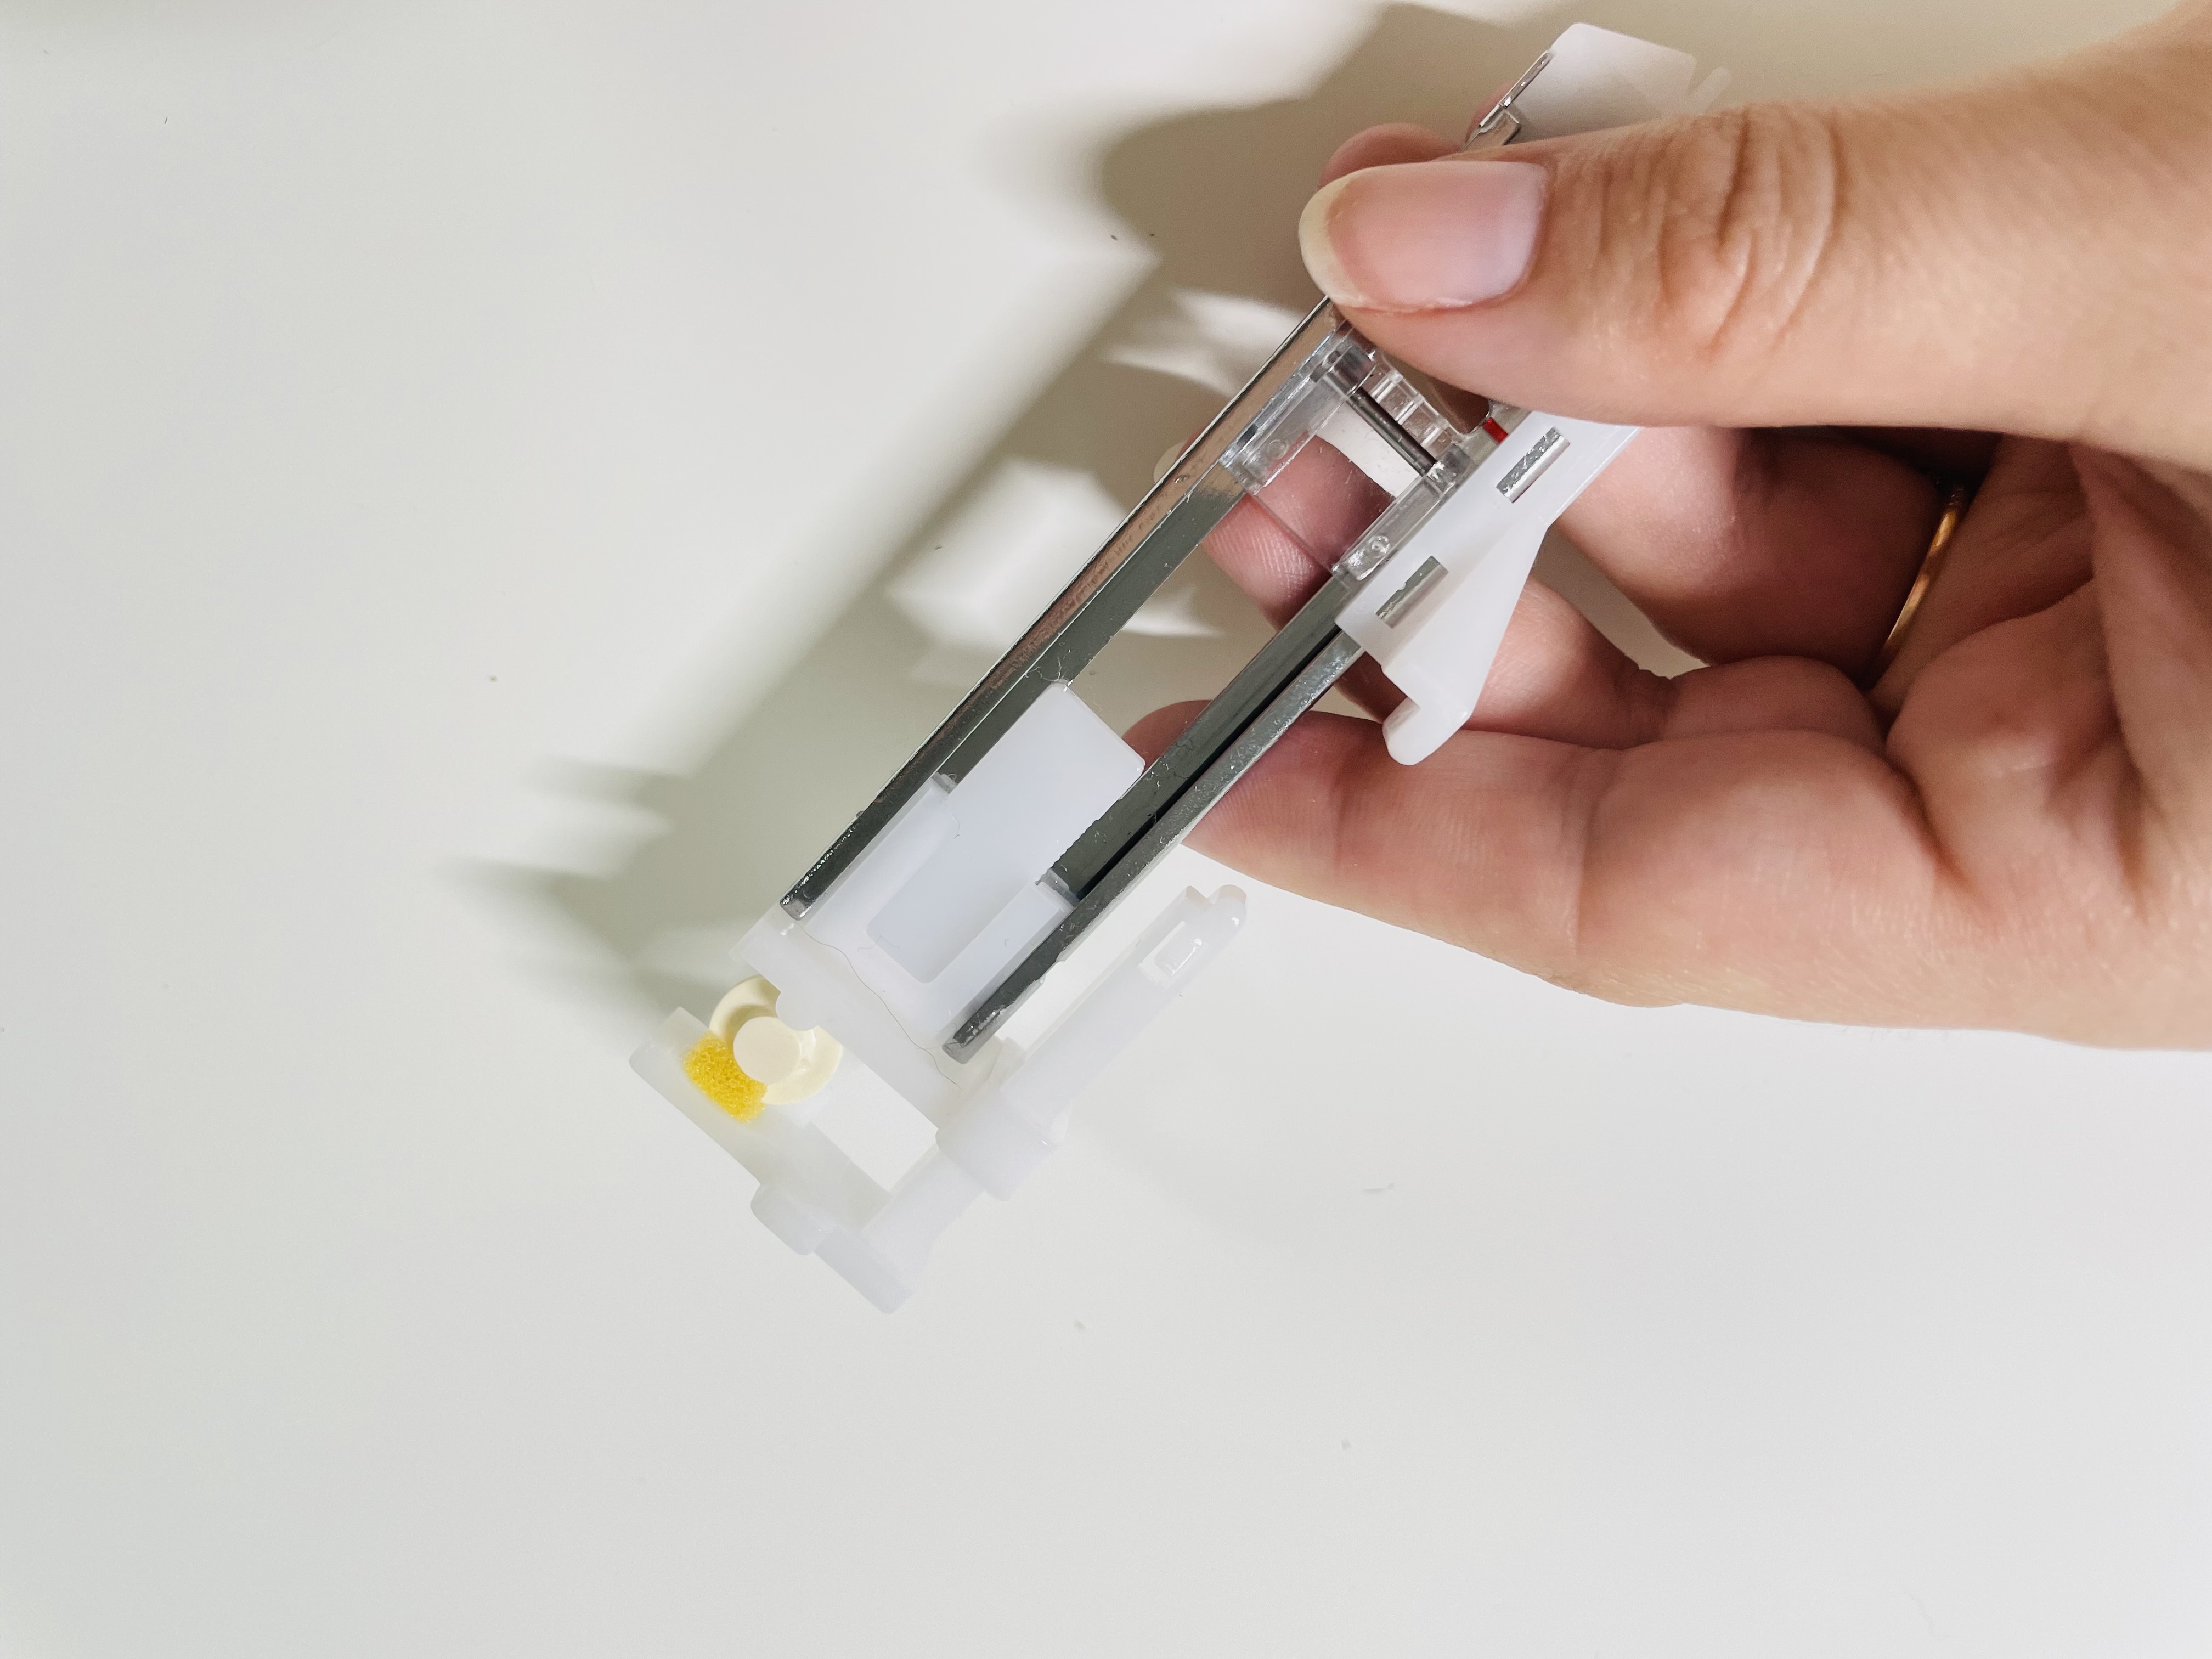
Different machines do buttonholes differently, so it’s tough to show a sew-along of how to do buttonholes. On my machine, I have a one-step buttonhole foot. I load the button into the foot, lower a lever, set my stitch to the buttonhole stitch, and voila! A perfect buttonhole.
Here’s my buttonhole foot, loaded with one of the vintage buttons I selected for my Amelie:
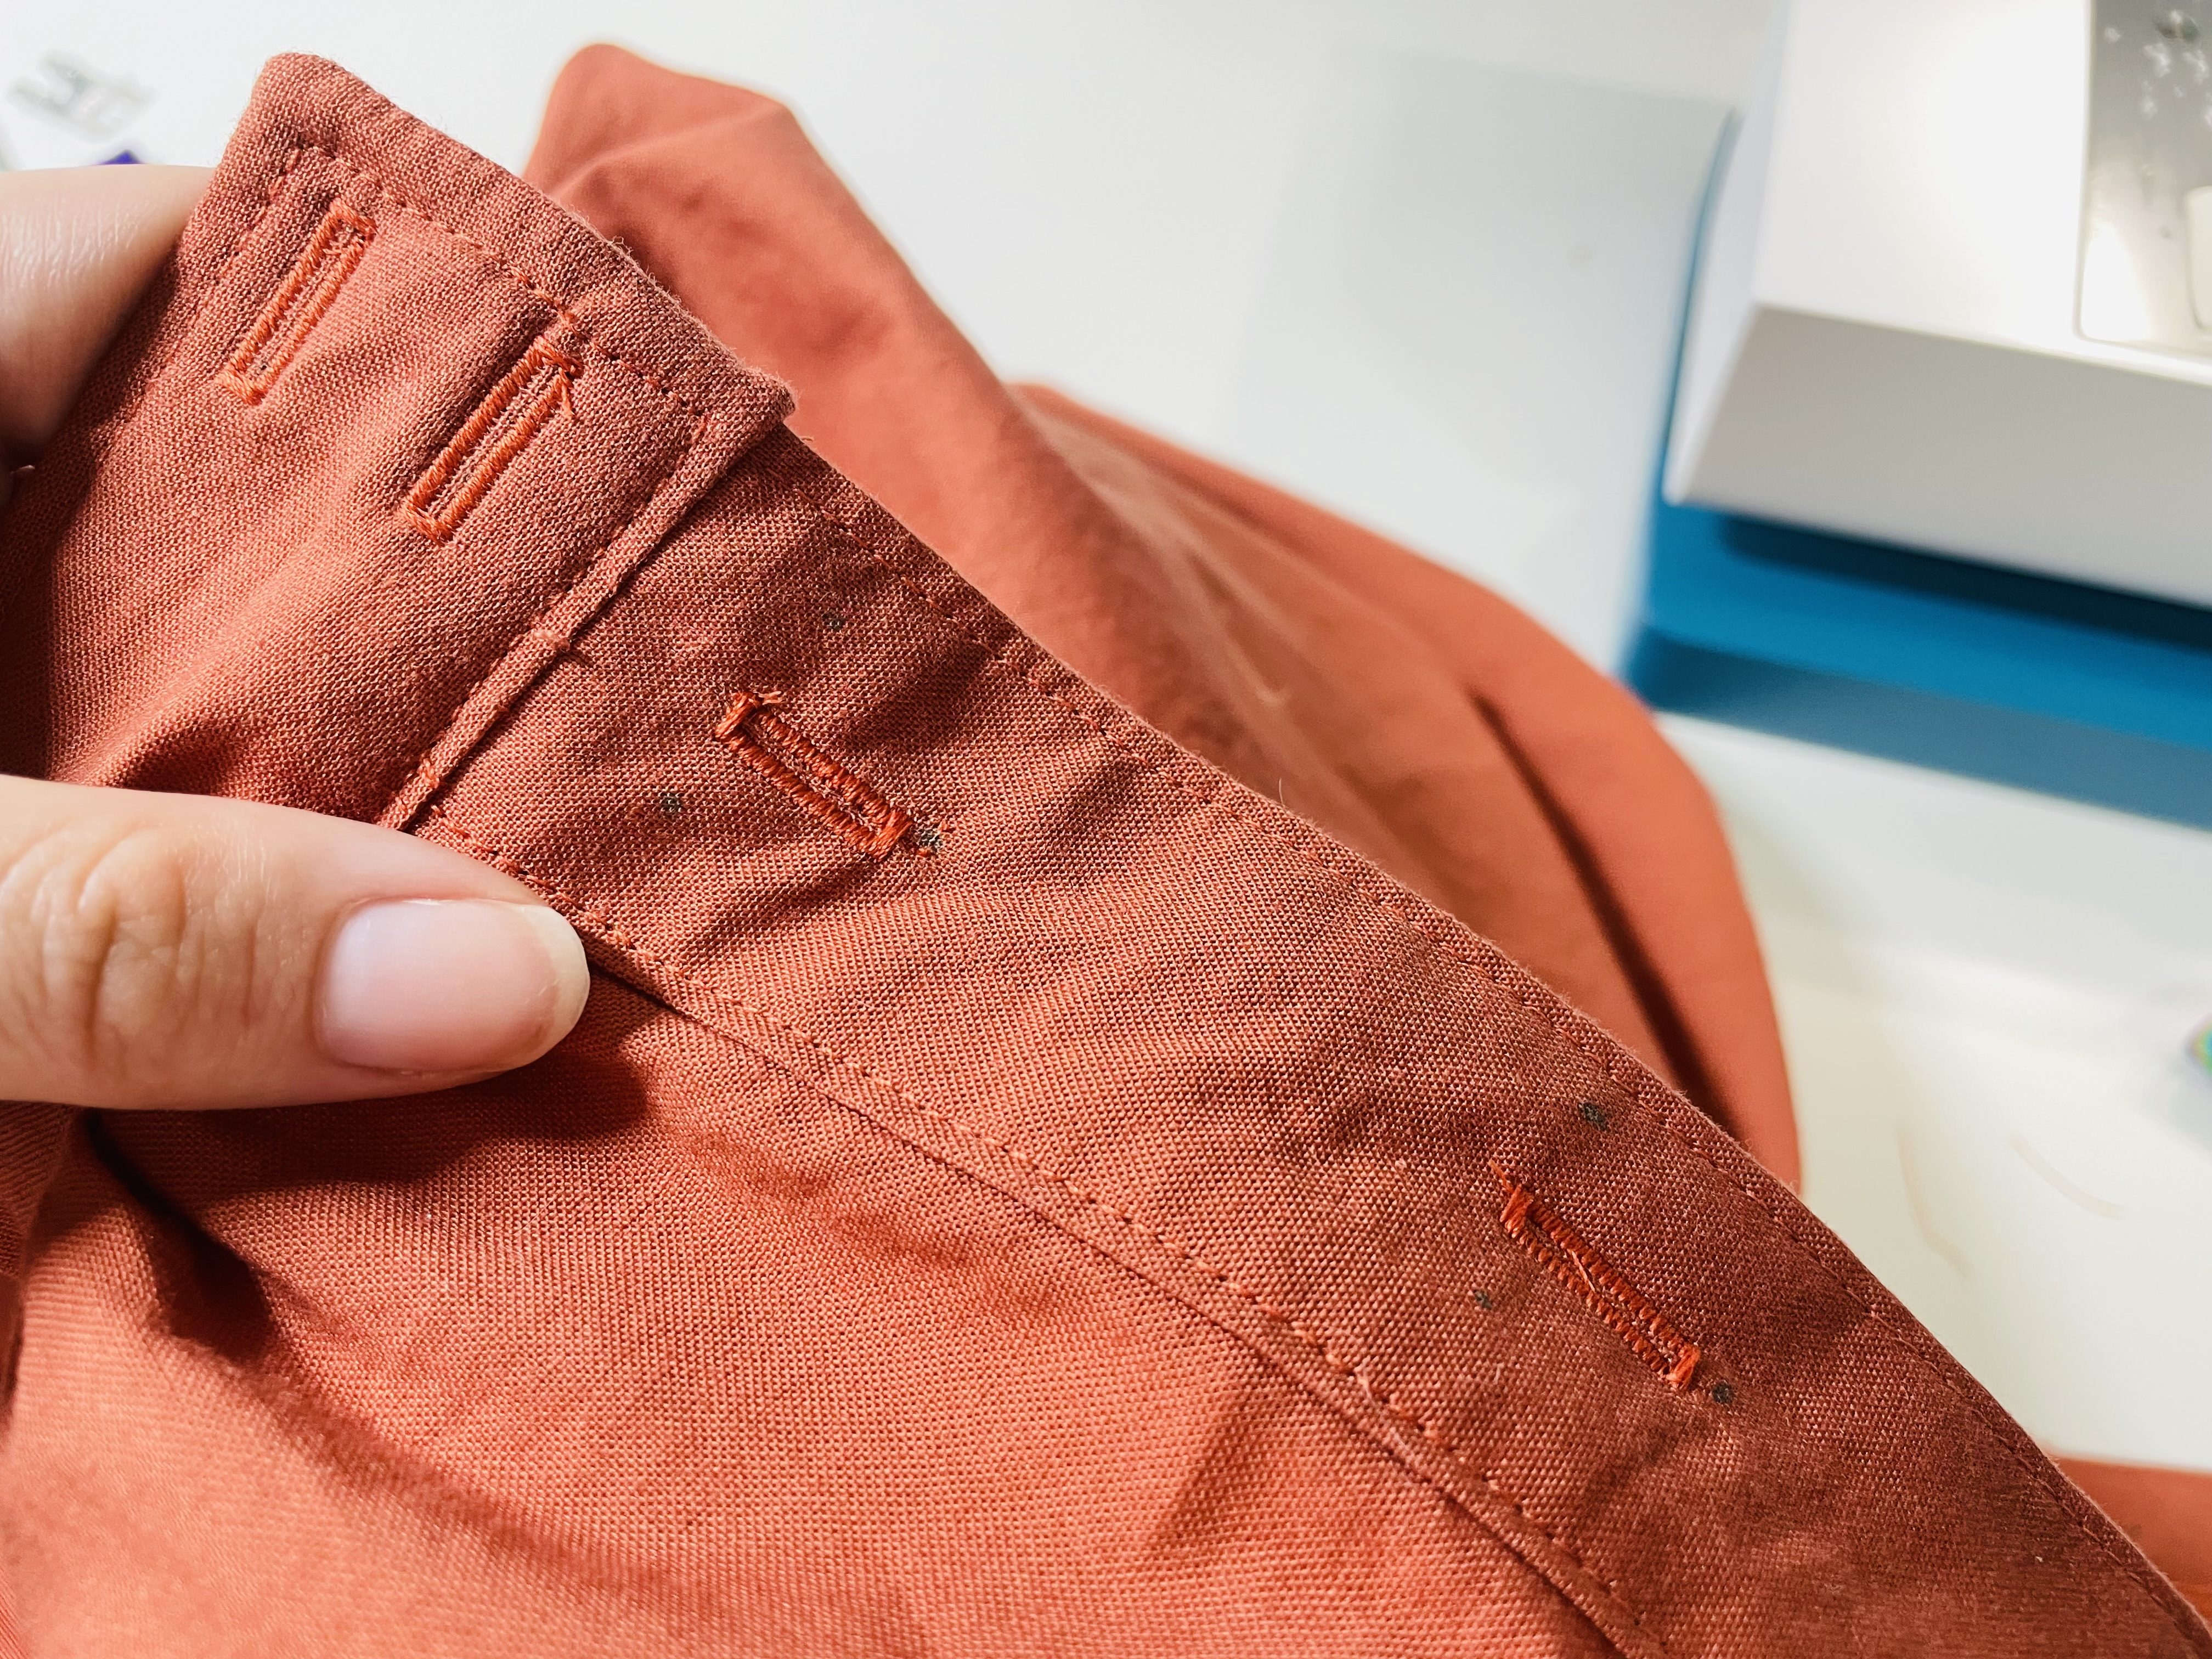
One thing I noticed while sewing the buttonholes: While the buttonhole markings on the Amelie pattern are horizontal, the buttons along the skirt should be vertical. If you put your buttonholes on horizontally, you’ll have your buttons pulling more.
At the bodice, though, a horizontal buttonhole is probably okay, as there’s more ease at the bust. Here’s my bodice buttonhole:
And my buttonholes along my skirt. I did the two waistband buttonholes horizontal, which is okay because of how close they are together. But then I switched to vertical buttonholes.
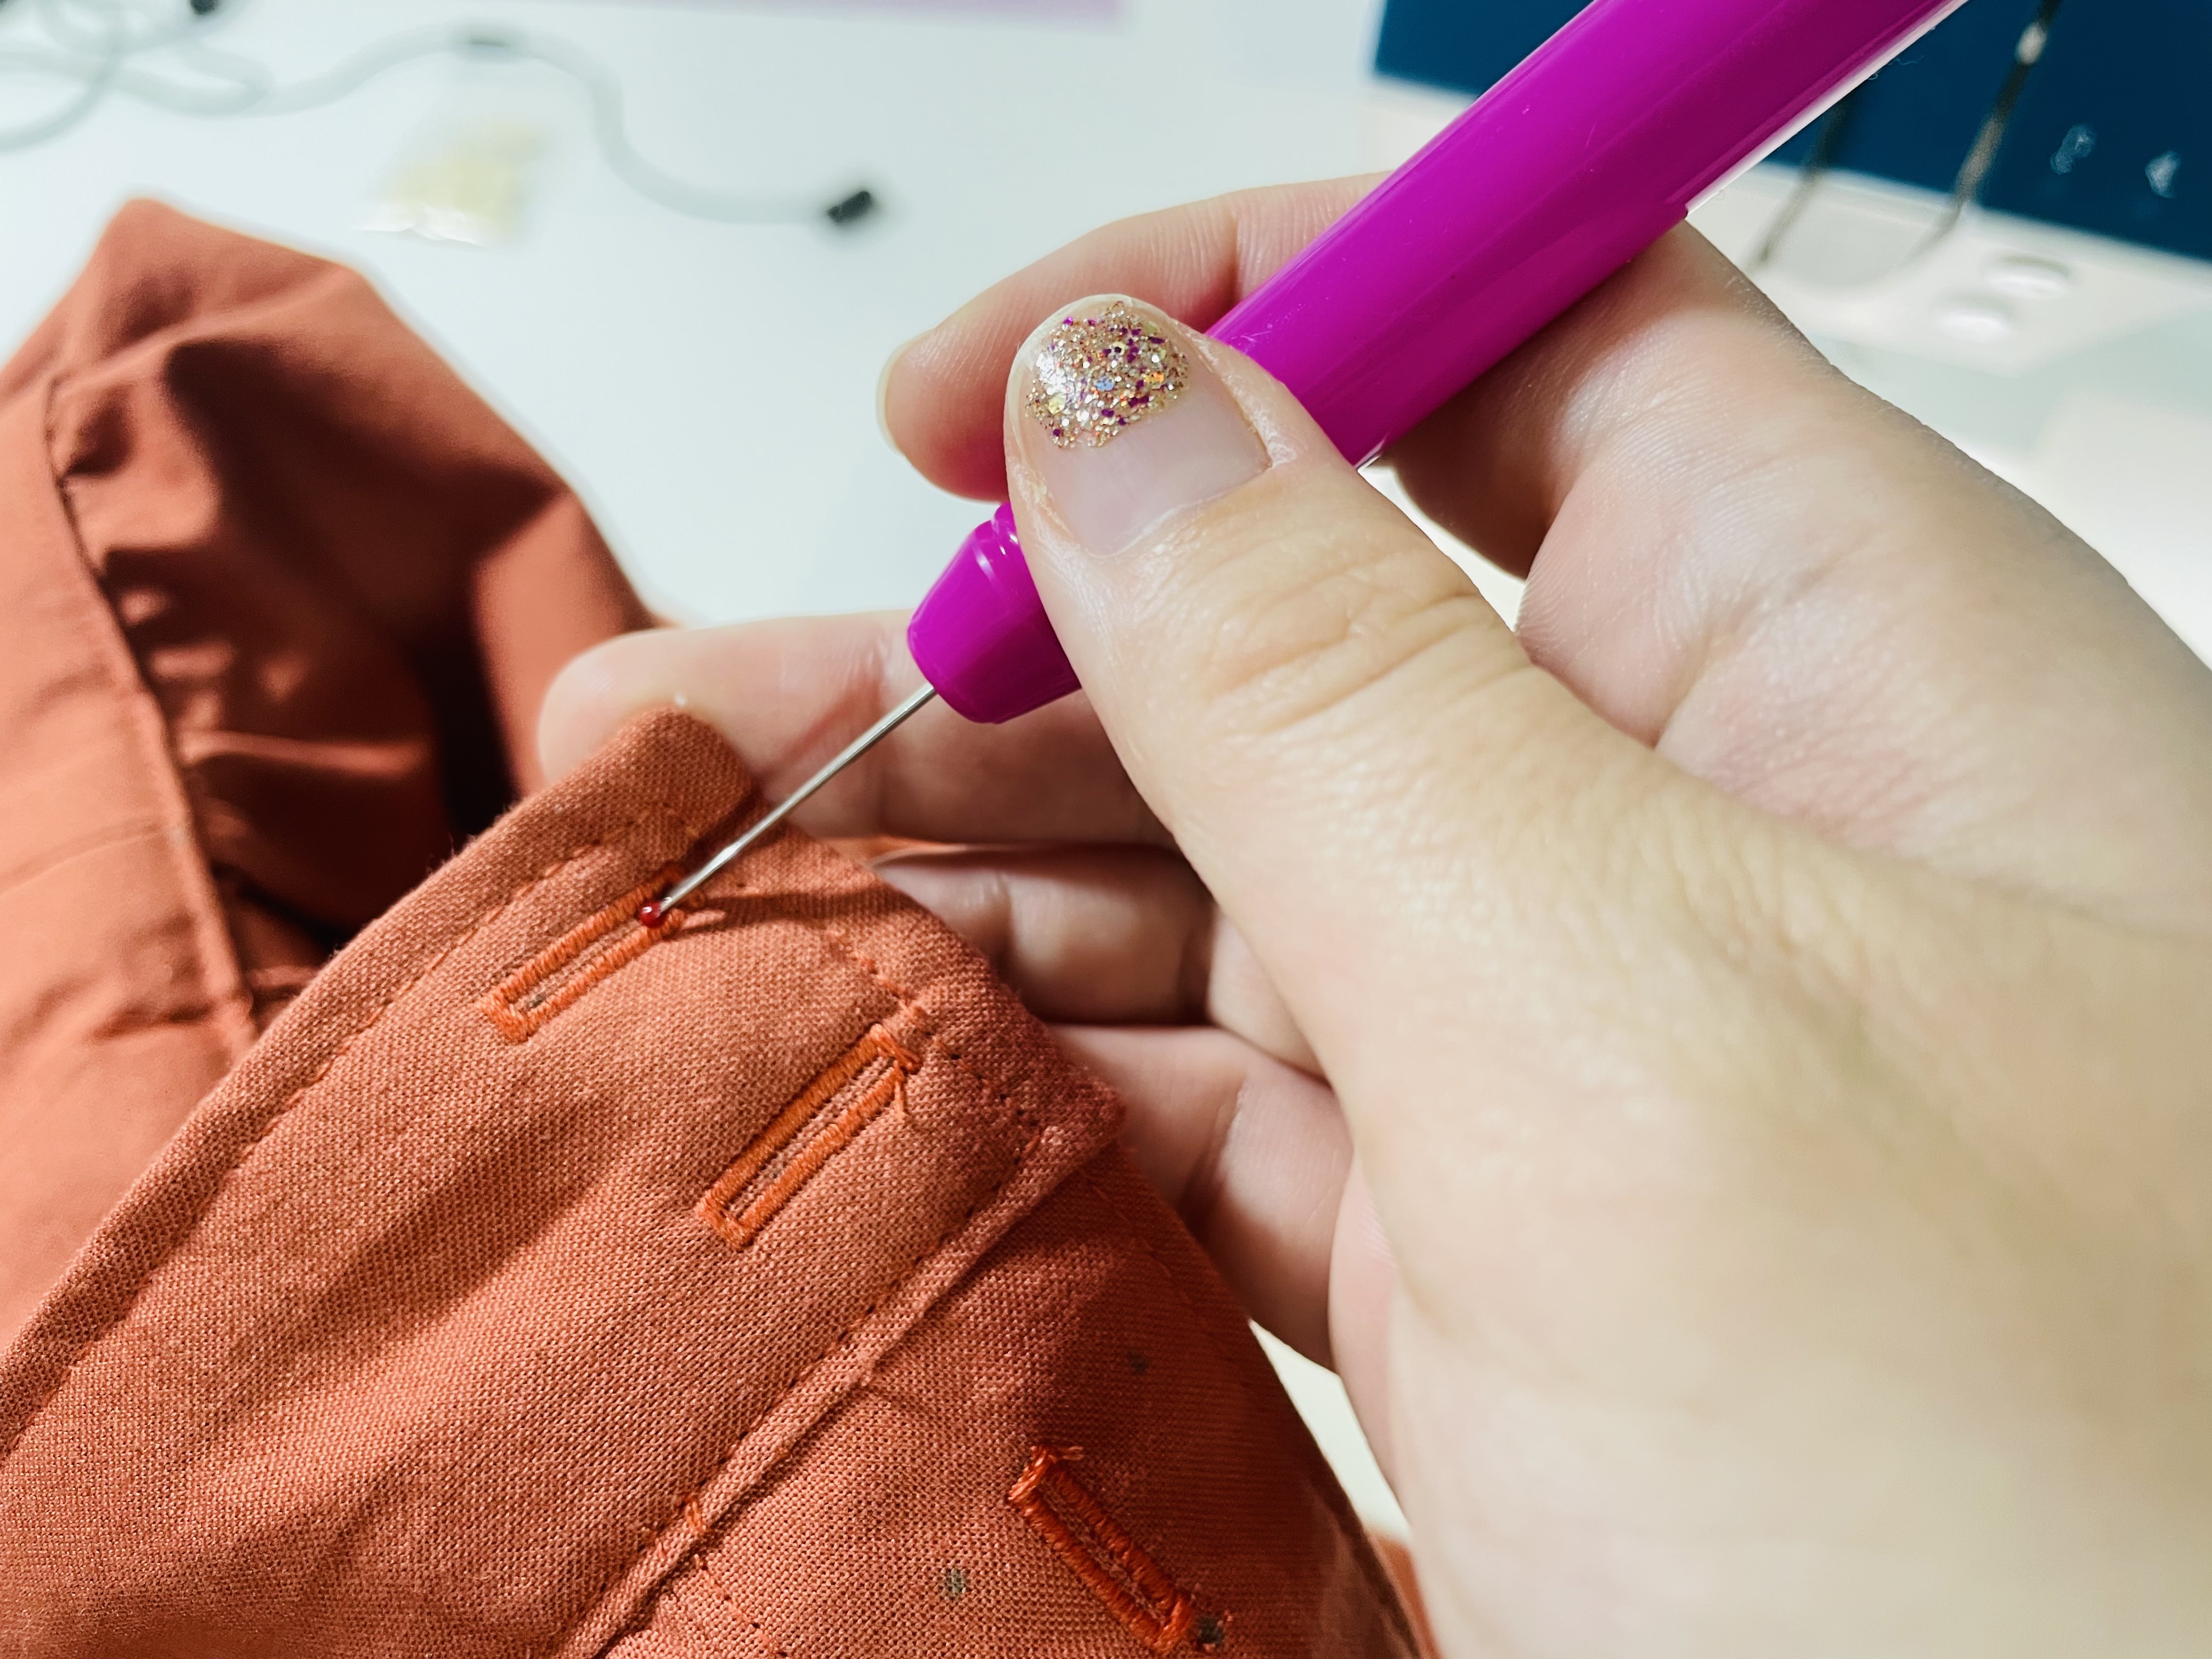
To open up your buttonholes, I like to use my seam ripper. I stick it in at one end and gently tear through the fabric to the other end of the buttonhole.
Buttons
If you’re a lucky duck and chose flat buttons and have a machine that will sew on buttons, you can do this step on your machine!
I, unfortunately, chose shank buttons, which means I had to hand-sew them.
Get your buttons lined up with your buttonholes by laying your buttonhole placket on top of your button placket and poking a marking tool through the middle of each buttonhole. This will show you where to sew your buttons!
Hem
Hang your dress for at least 24 hours before trying to hem!!!
If you recall, we let our dresses hang for 24 hours with the Roseclair sew along, and we’re doing the same here. This pivotal step prevents wobbly hems because it allows your skirt to stretch with gravity before you hem it instead of after.
Once you’ve hung your dress for at least a day, use a measuring tape to ensure it’s even all the way around:
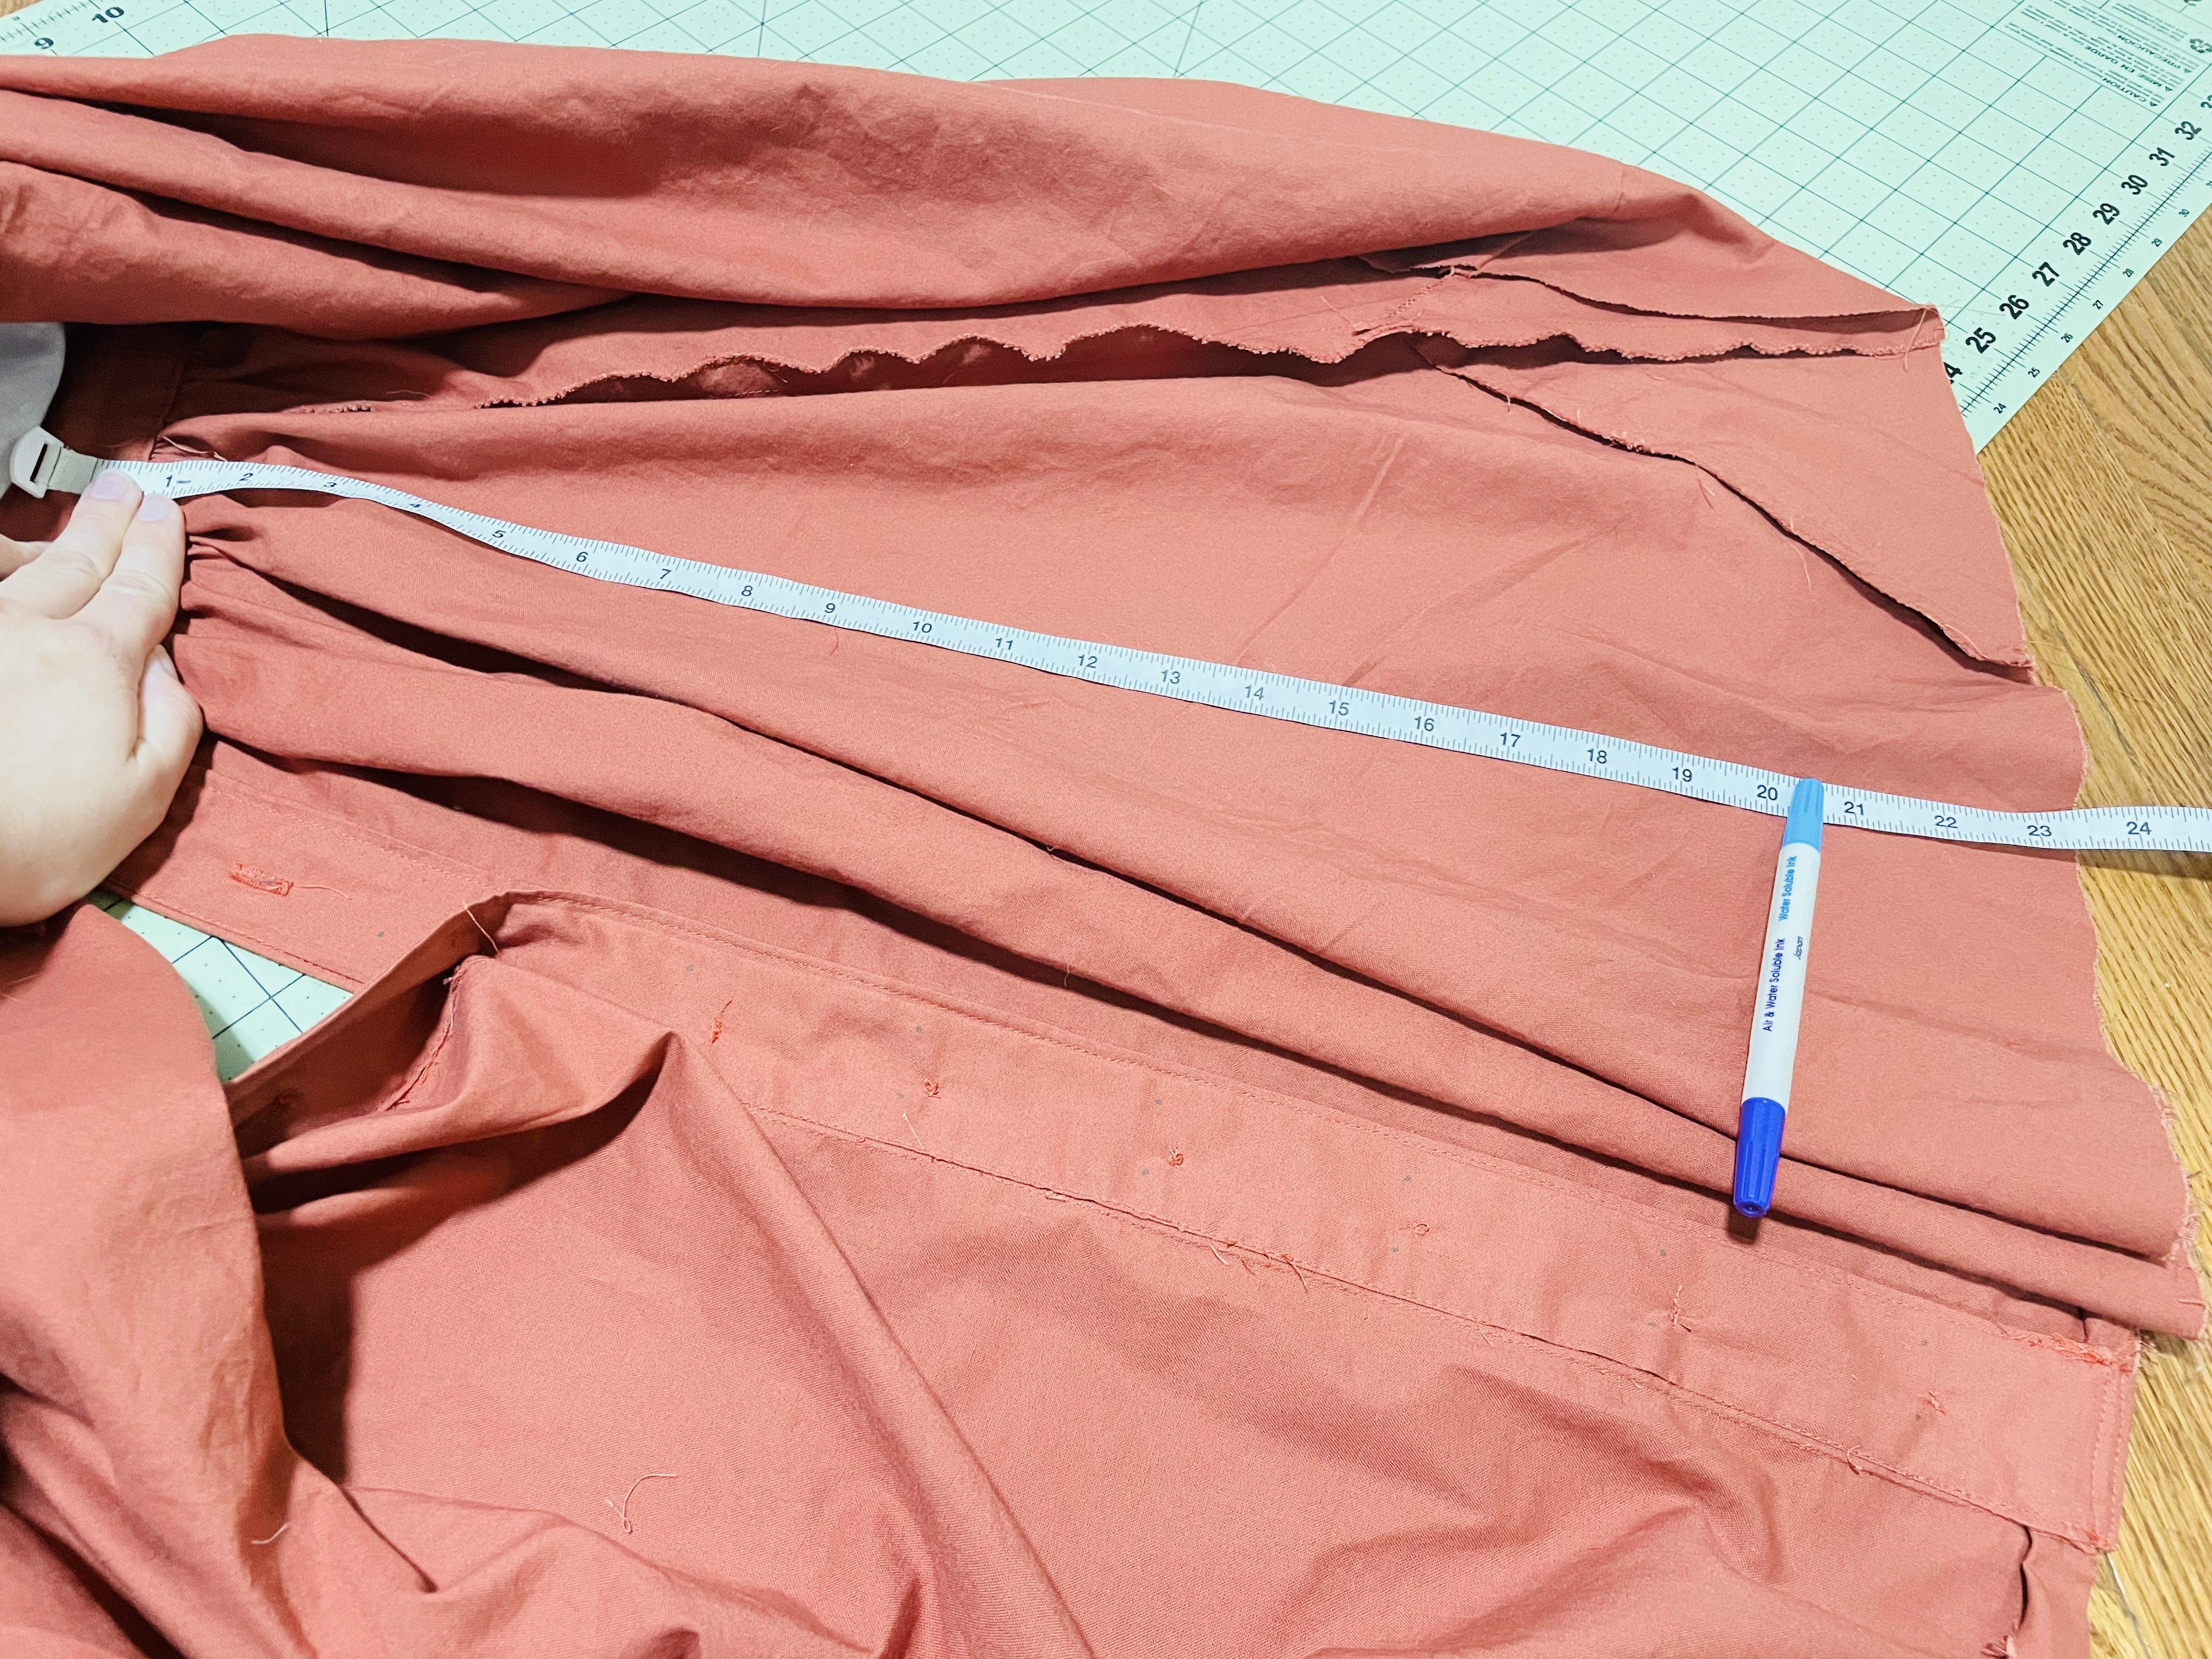
Once you’ve done this, you’ll fold your hem up by about 1/4″ (0.6 cm) once, press, then fold up by another 1/2″ (1.3 cm) and press again. Sew, ensuring you capture both layers of folds under your stitch.
That’s it! Let’s talk fit and bra coverage.
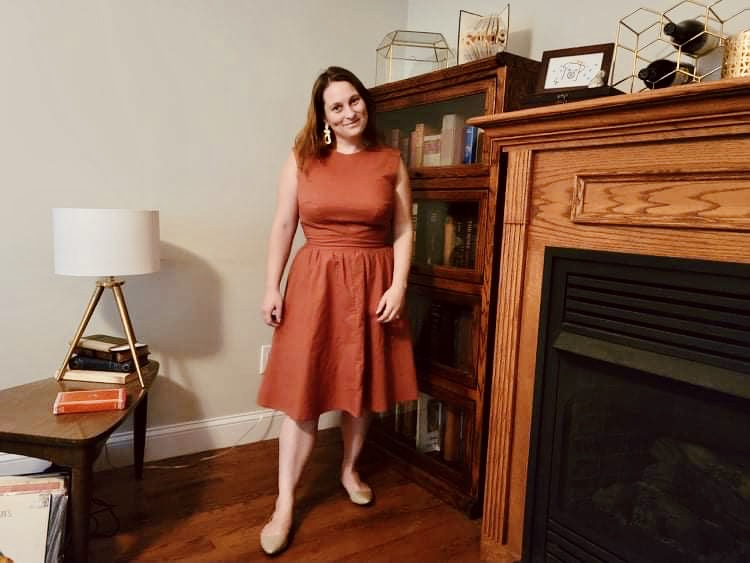
This is my wearable muslin. I’m not a huge muslin-er when it comes to making clothing, so this dress does not fit 100% perfectly the first time, and that’s okay! My philosophy on making clothing is that, even without making a muslin, it’s going to fit better than ready-to-wear clothing would, so I’m alright with slight imperfections.
Things I need to change for next time include:
I need to shorten the back bodice. While the front bodice lays magnificently on me, the back bodice is a bit long, which you can see in how it wrinkles. (It might look tight, but I promise it’s not tight at the bust at all. The wrinkles disappear if I give a tug downward, which tells me it’s too long.)
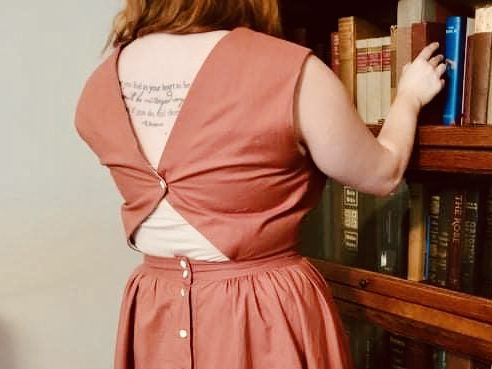
I need to move where the back overlap is. I’m wearing a tank top in these pictures, so you can’t see it, but my bra does unfortunately show underneath the bra-friendly back. I wasn’t surprised by this, as bra bands land in different places on different people. Thankfully, Brittani from Untitled Thoughts has a brilliant tutorial on fixing this issue, and I’ll be sure to follow her instructions for next time.
I’d like maybe an inch more ease at the waist. This is probably because I drank too much wine on vacation, after I had cut and started sewing this dress 😂 Note to self: don’t start a garment before vacation … or if you do, add a bit of extra ease.
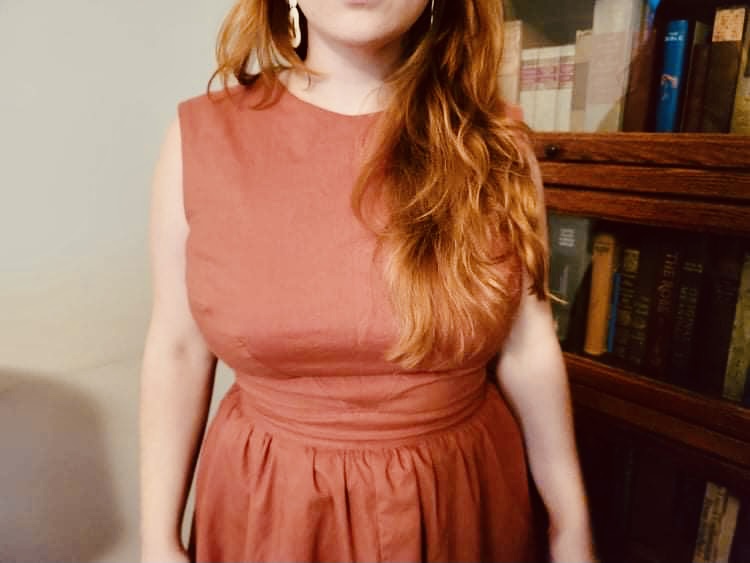
Overall, I’m super happy with this dress! I love the center front darts. They feel almost regal and very retro, and I’m here for it.
