Amelie Sew Along Week E | Attaching the Skirt & Button Stand
For August and September at Sew Busty, we’re doing a button challenge! Post a make that features buttons on instagram with #sewbustychallenge by September 30 for a chance to win a prize!
As part of that challenge, we’re doing a sew along for the Untitled Thoughts Amelie Dress – a cute little number that features buttons down the back of the skirt, as well as an open (but bra-friendly!) back. (Check out the picture of the dress on today’s post, as I accidentally earlier shared a picture of the non-bra friendly! For the full sew along, including bonus content, click here!
We’re going to sew the skirt to the bodice and almost have a dress today, folks!
gathering the skirt
I’m not going to lie, I always find gathering tricky, and this was almost doubly true for this dress. So let’s take it step by step.
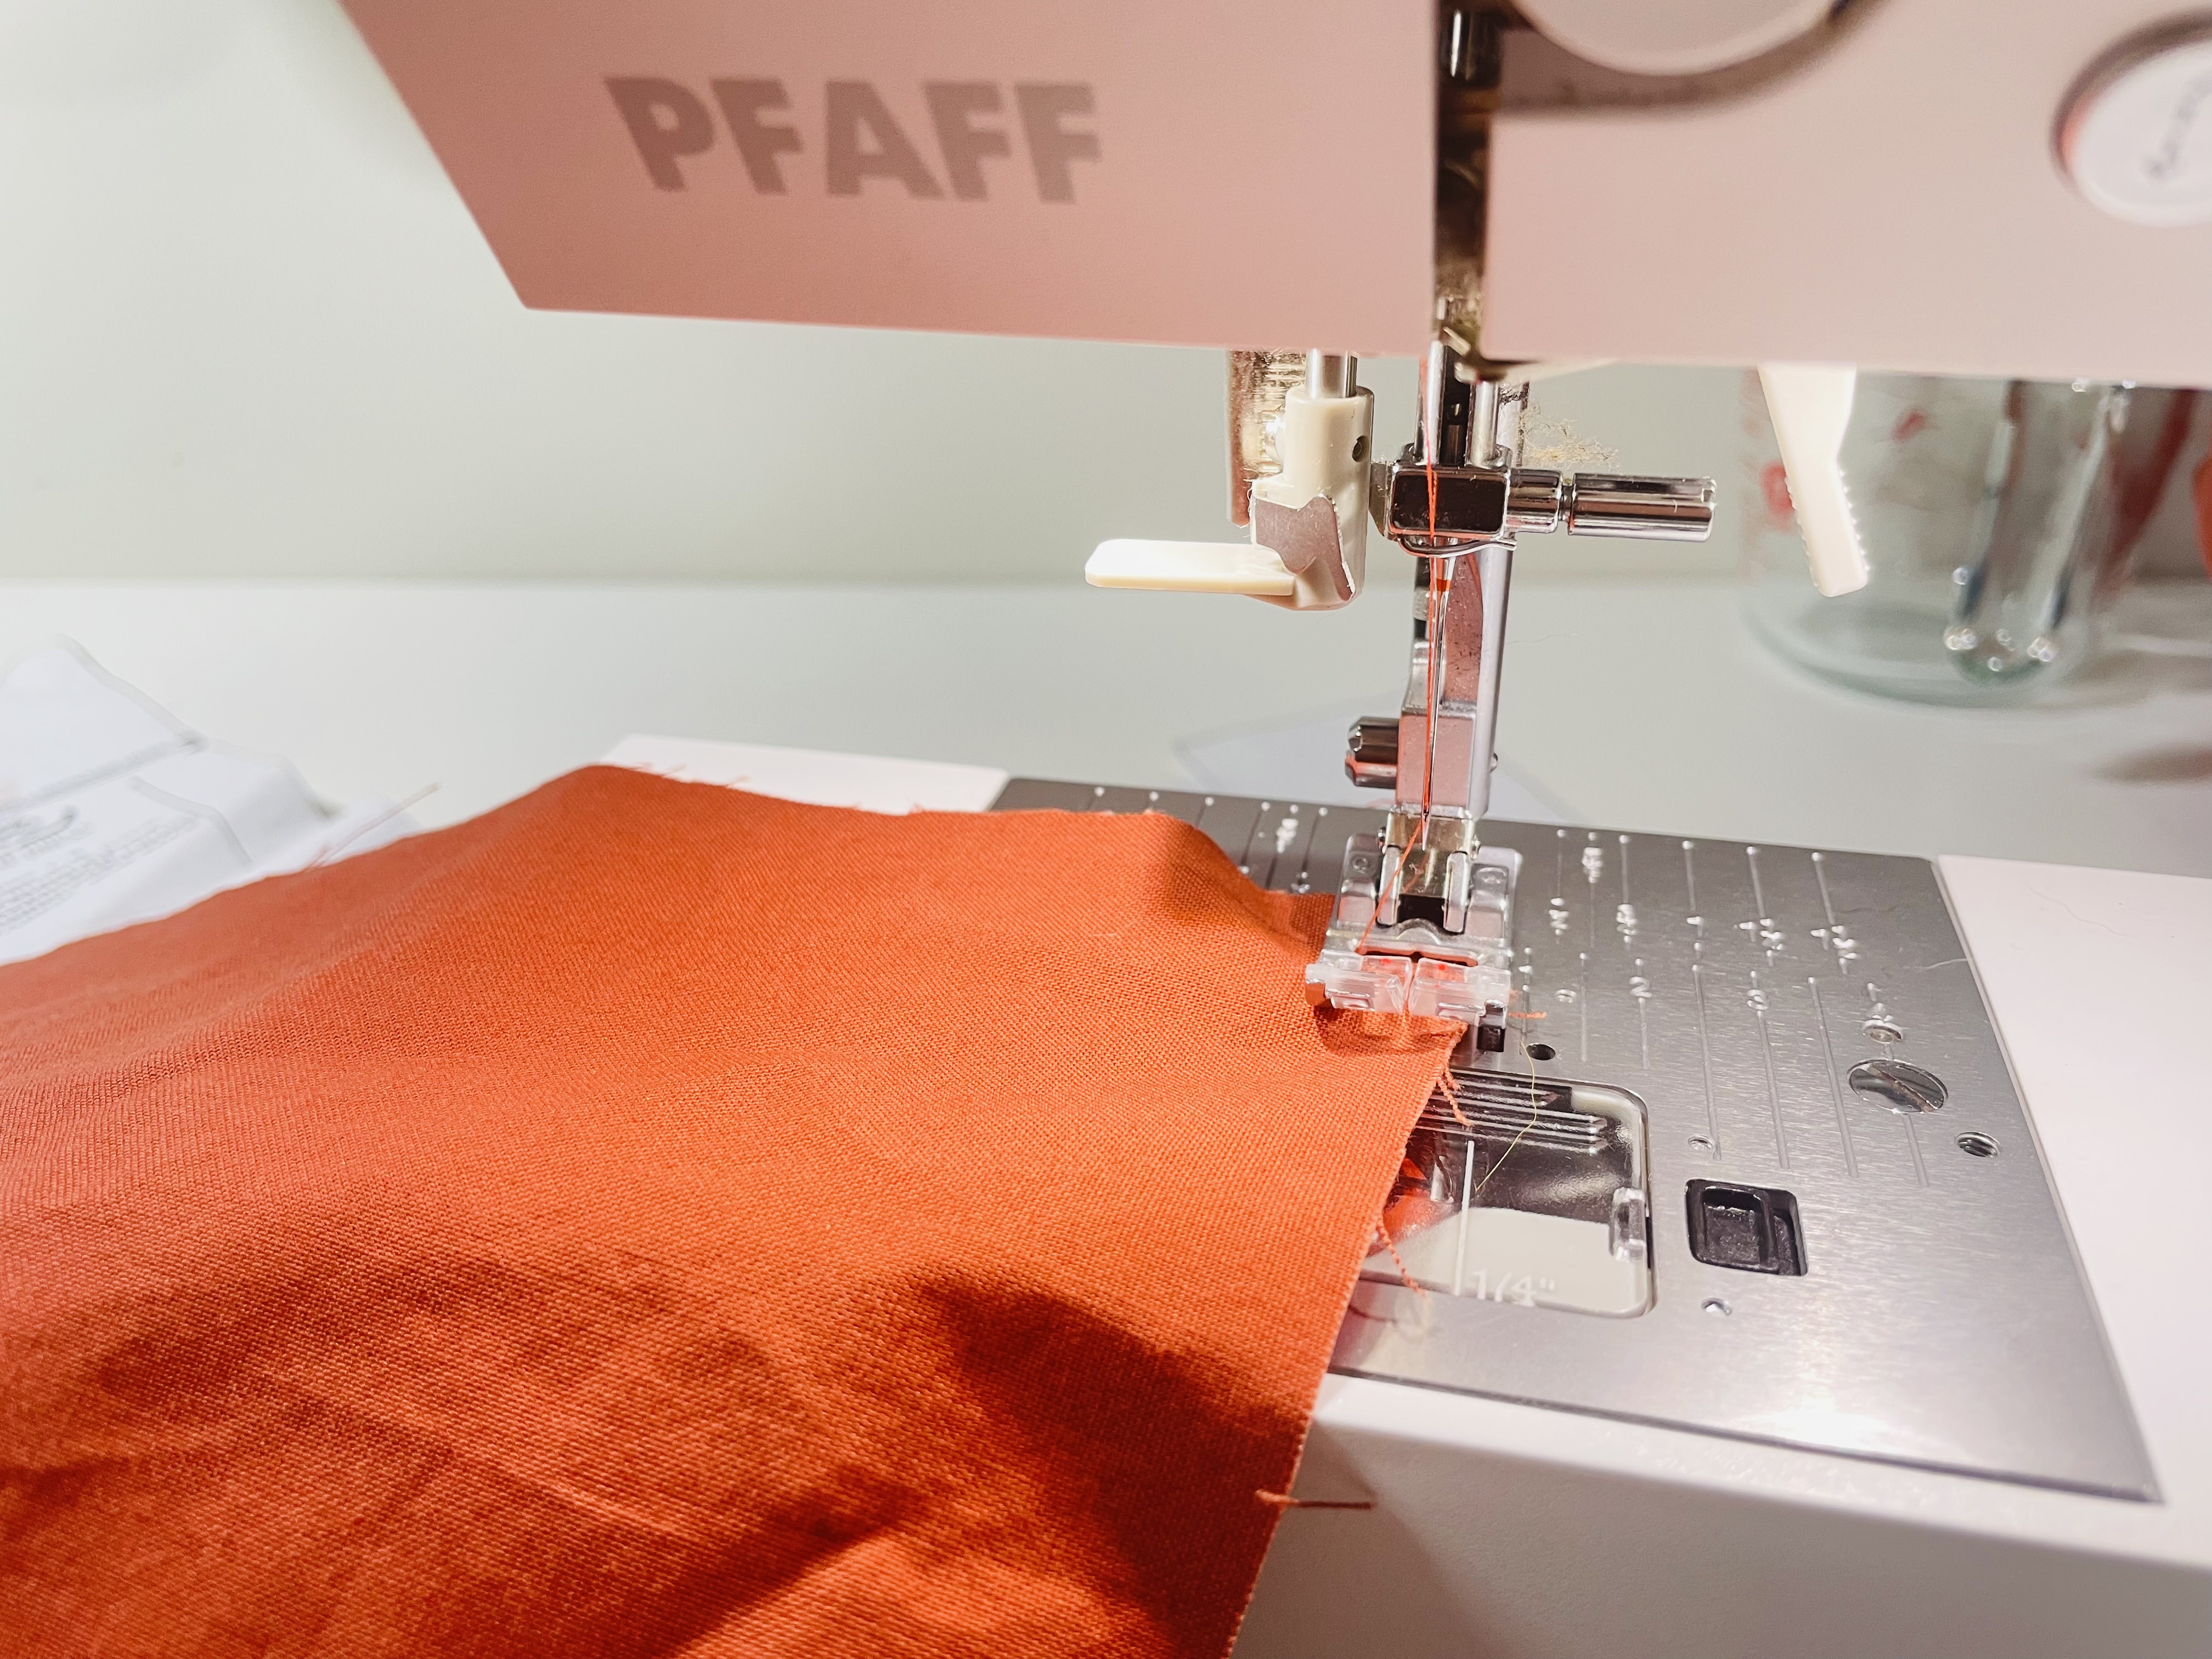
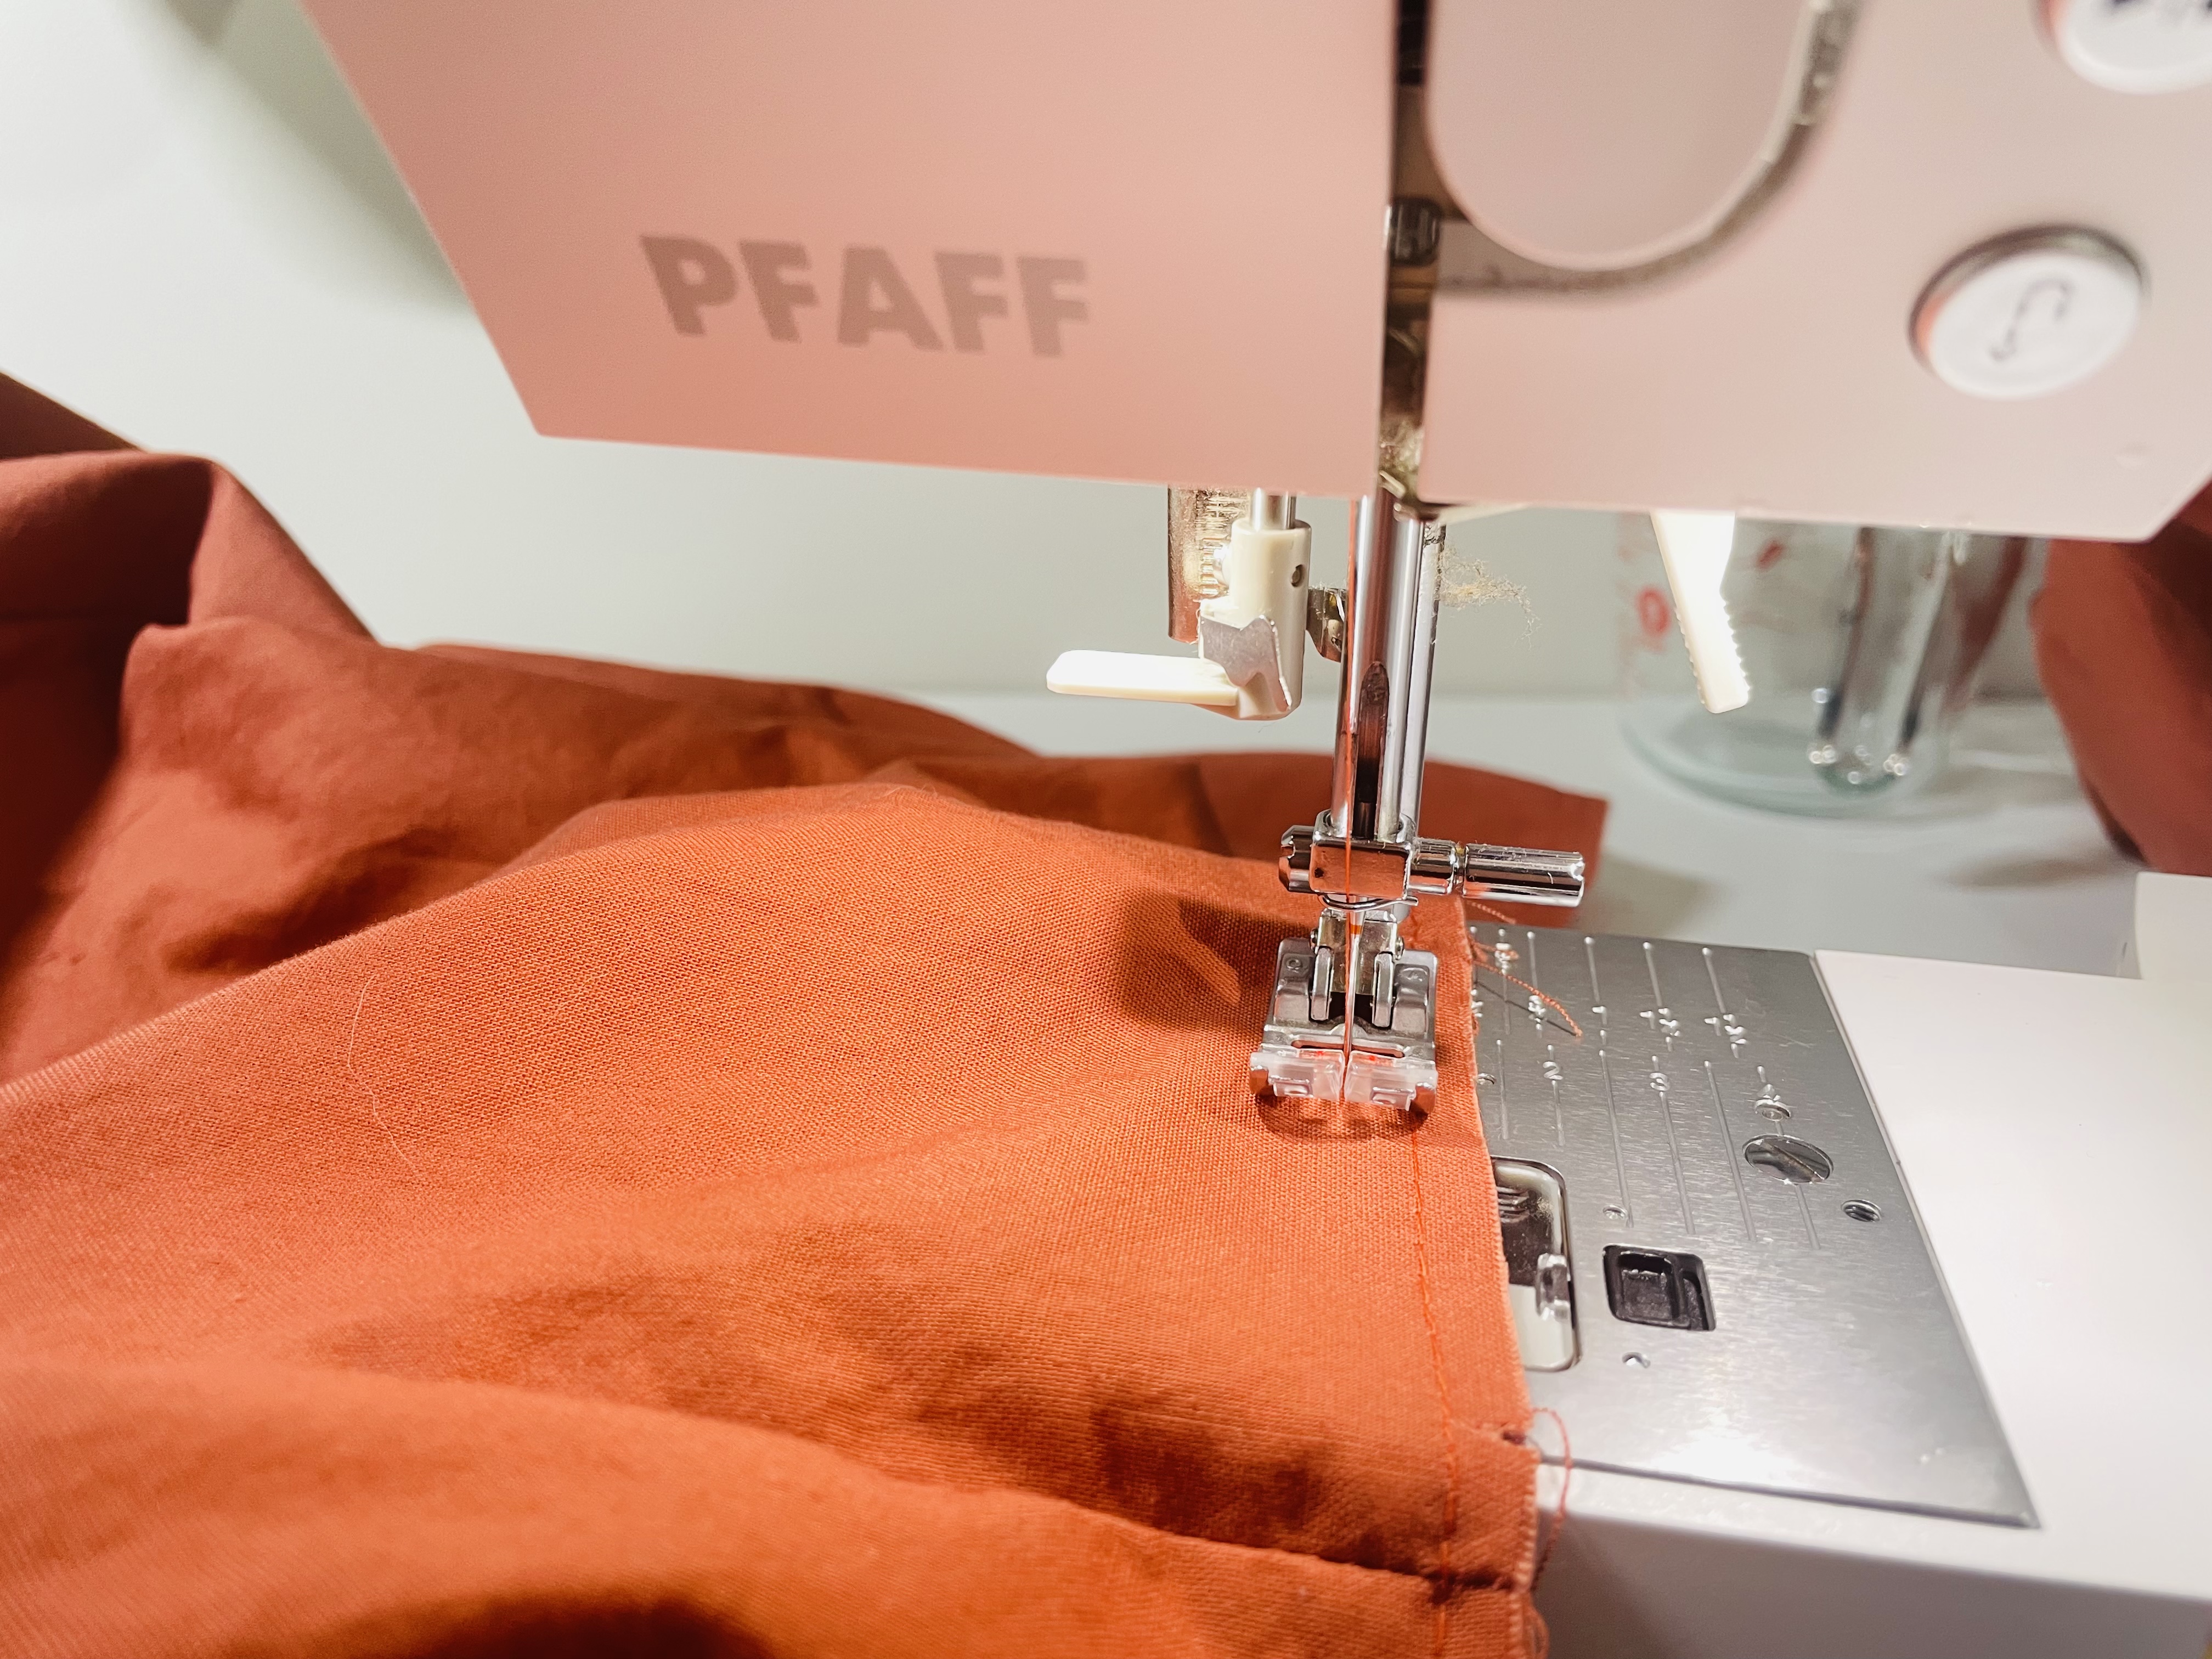
You’re going to lengthen your straight stitch to the longest it will go. For me, that’s 5 mm. Stitch 1/4″ (0.6 cm) from the edge of the waistline of the skirt. Repeat, stitching 1/2″ (1.3 cm) from the waistline of the skirt (1/4″ (0.6 cm) from the first stitch line).
Make sure to leave a long tail of thread at the end of both stitch lines.
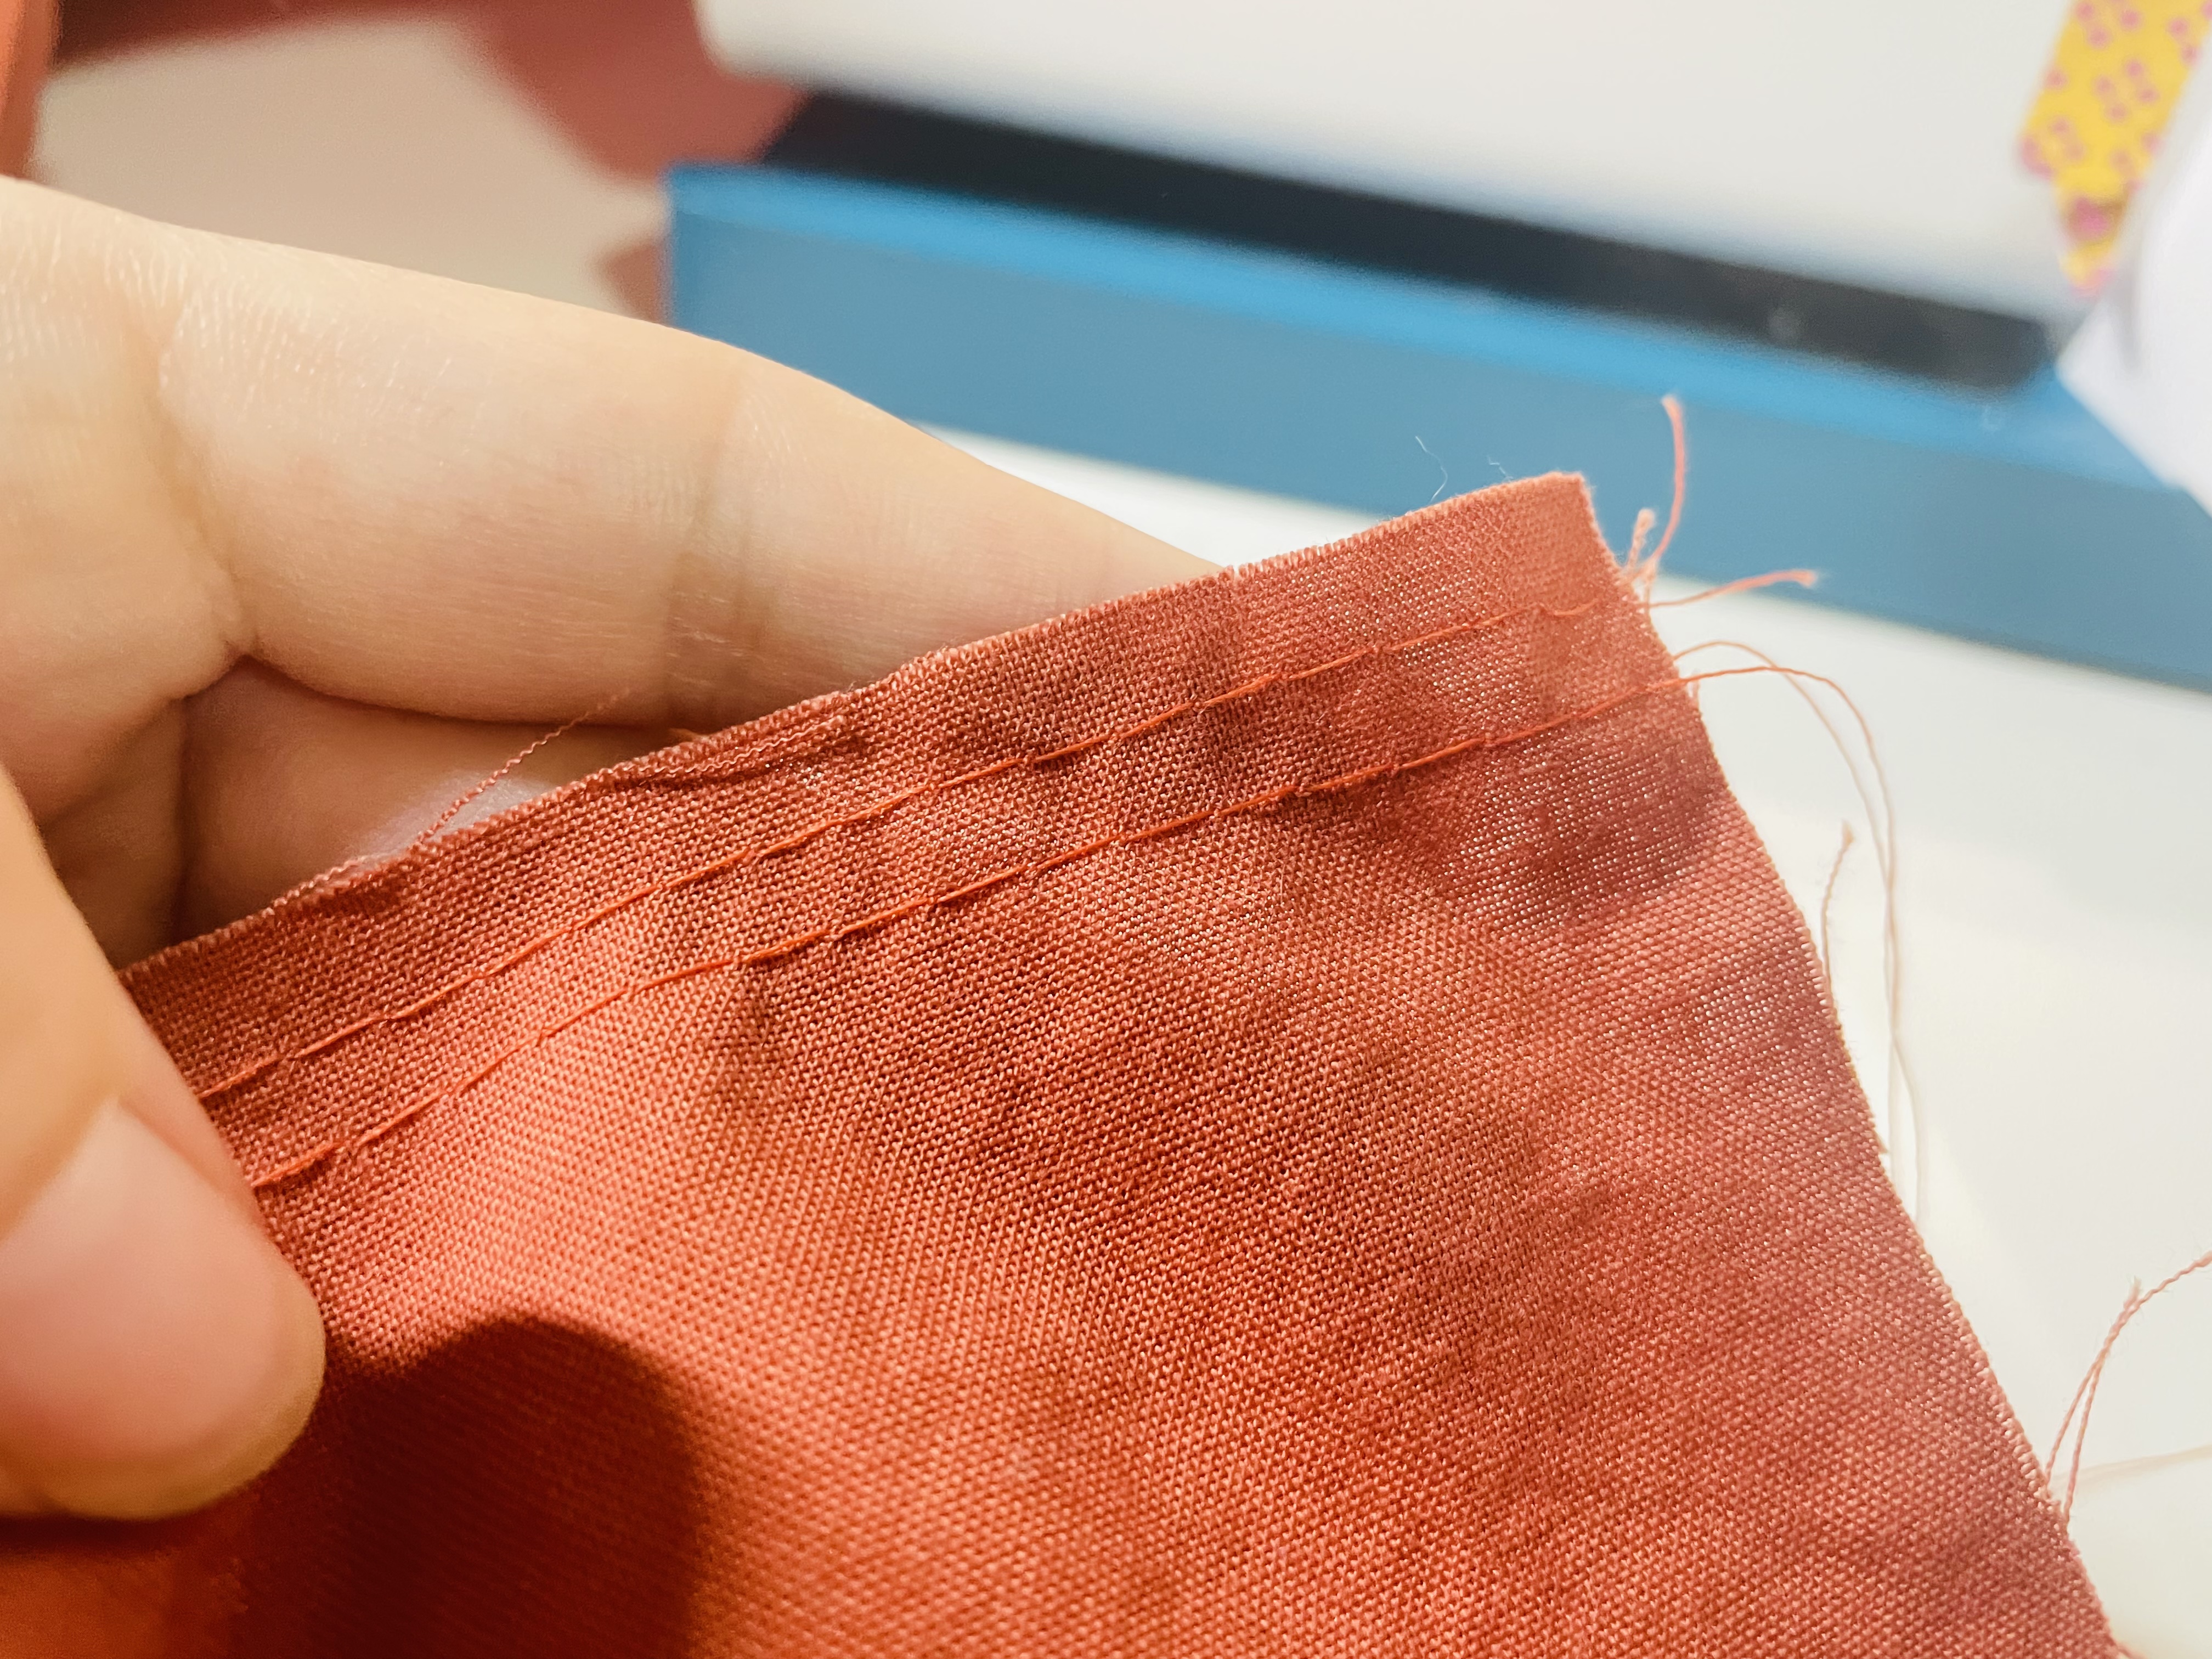
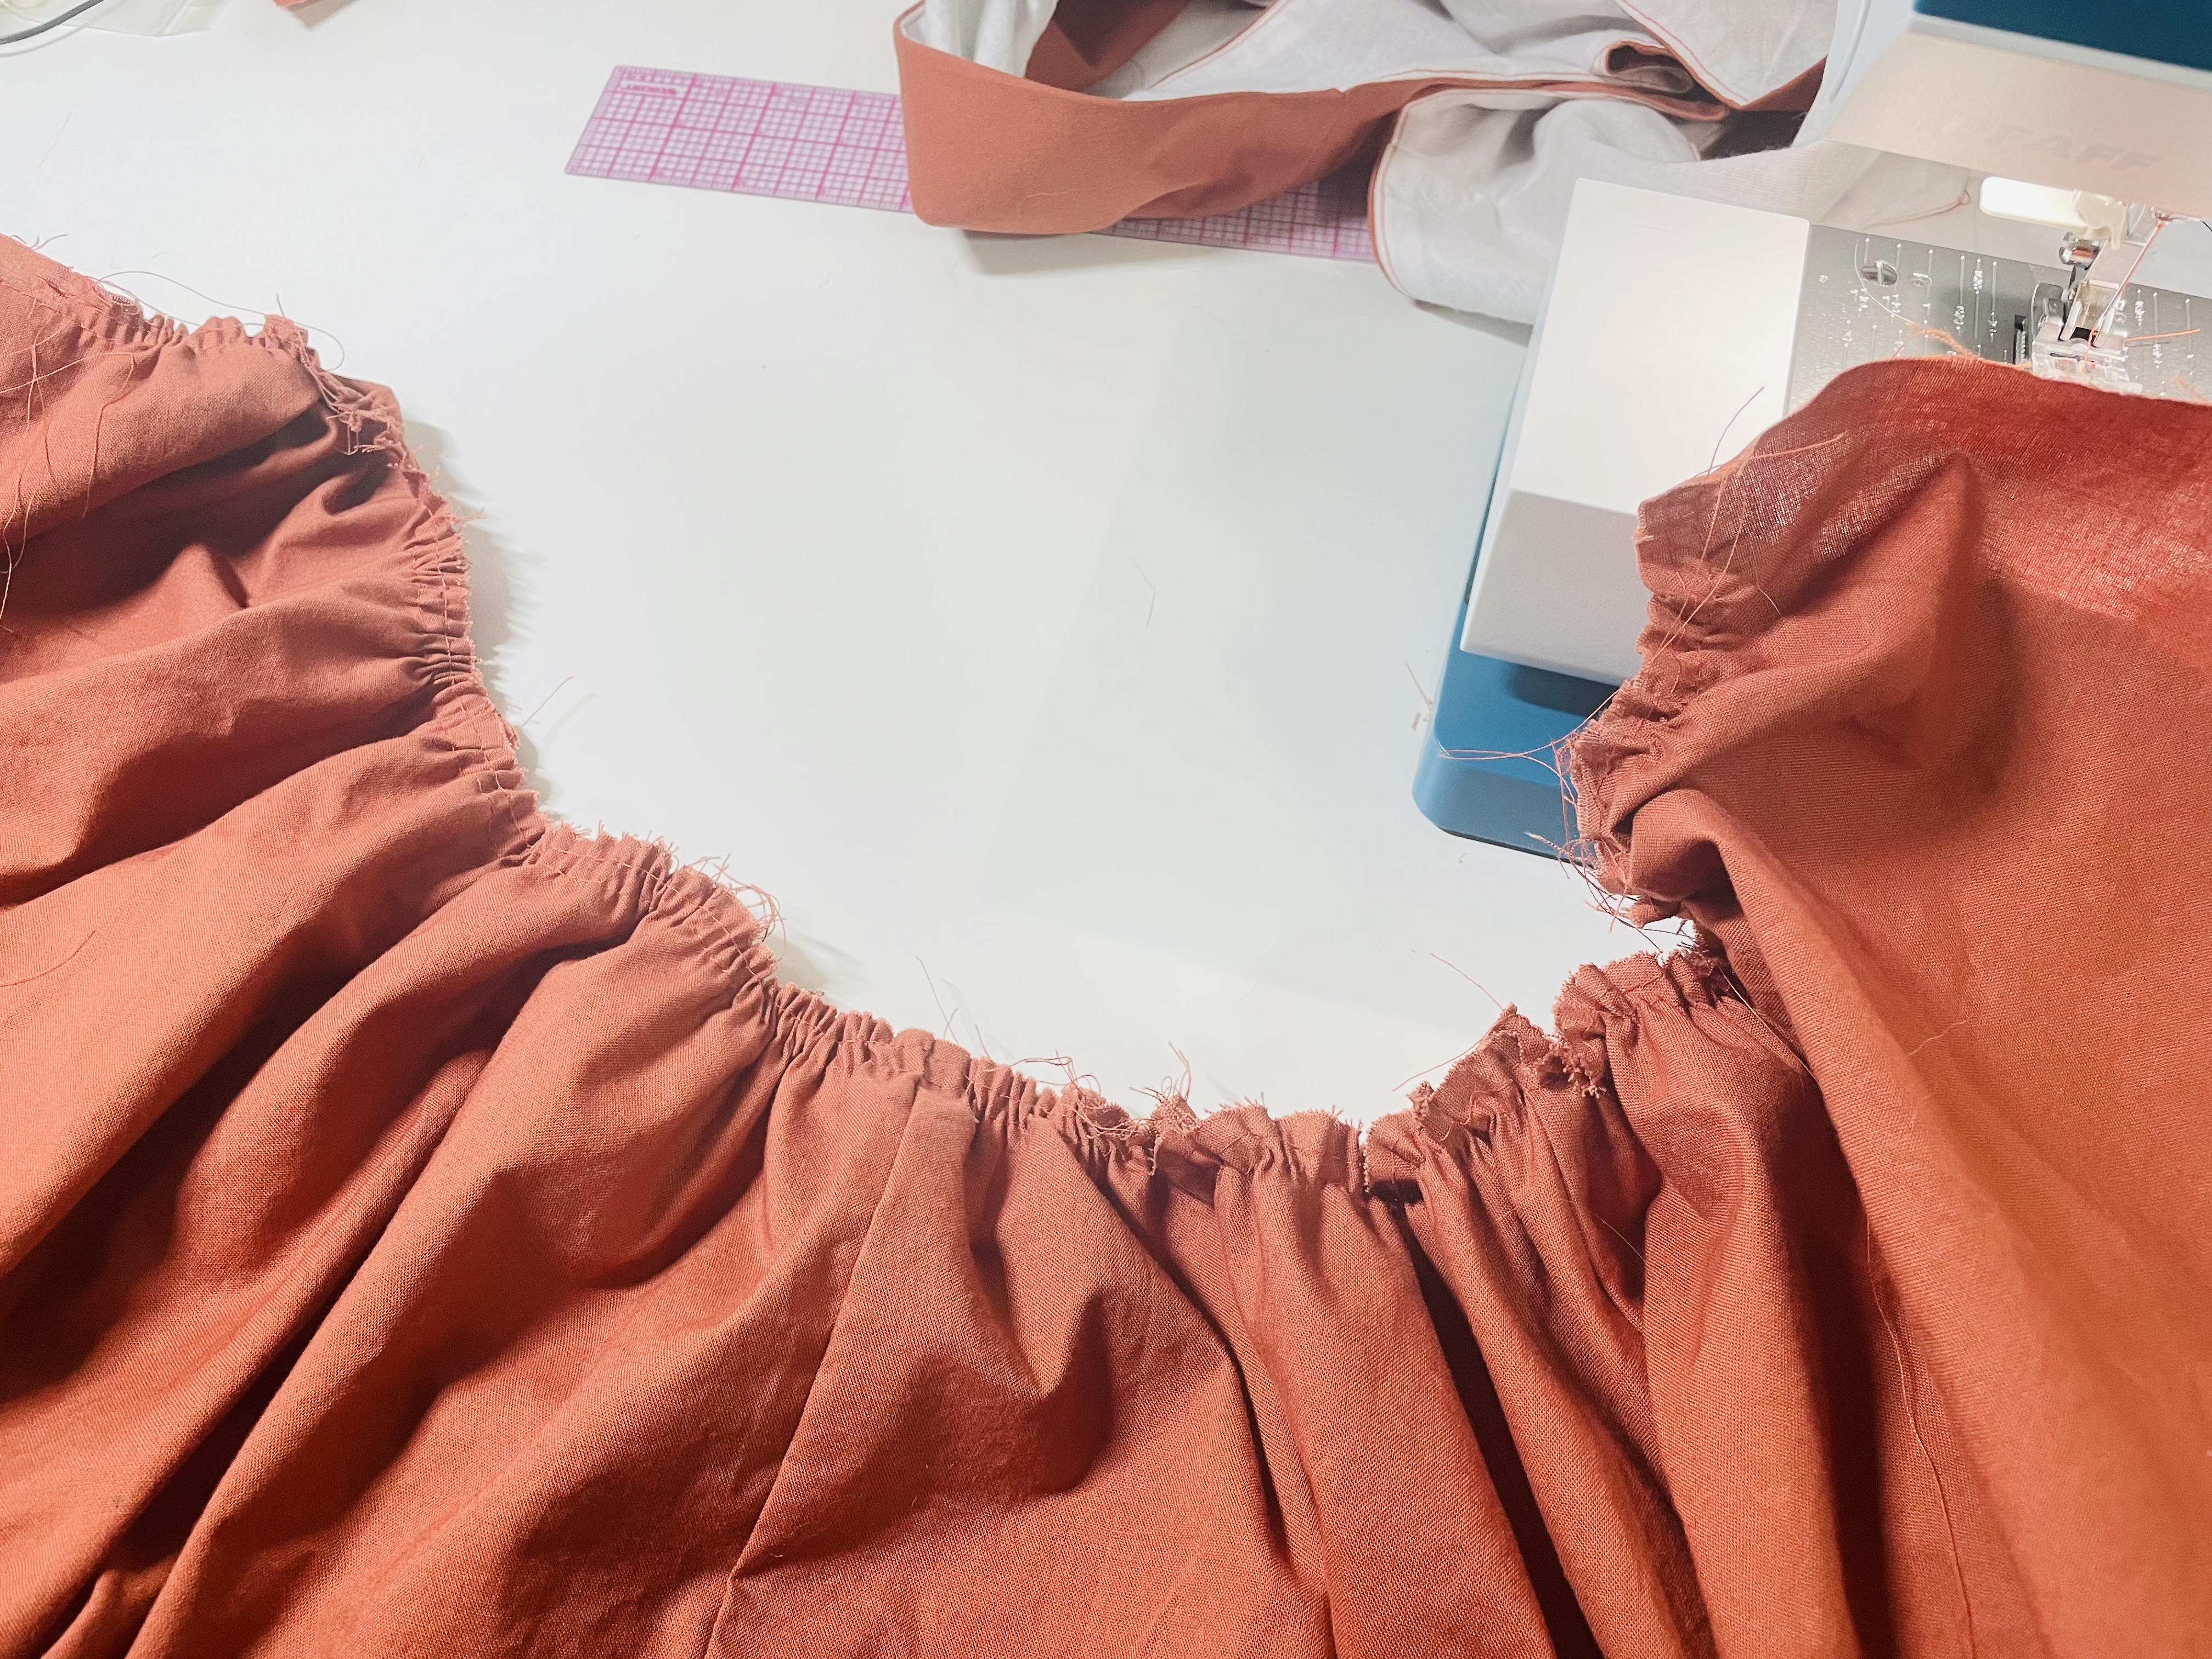
When you have finished stitching, gently pull the bobbin thread of one of the stitch lines to gather. (If this thread snaps, despite you pulling gently, you have the second stitch line as a backup!)
This is where the tricky part comes: You want to gather so that the skirt will be equal to the length of the bodice, minus the length of the button placket. This can be kind of tough to measure. I held my skirt up to the bodice to get an idea.
Sewing the Placket
Now that you have the waist of the skirt gathered an appropriate amount, it’s time to sew on the button placket!
With right sides together, pin a non-interfaced placket to the center front of one side of your skirt. Sew this using a 0.5″ (1.3 cm) seam allowance.
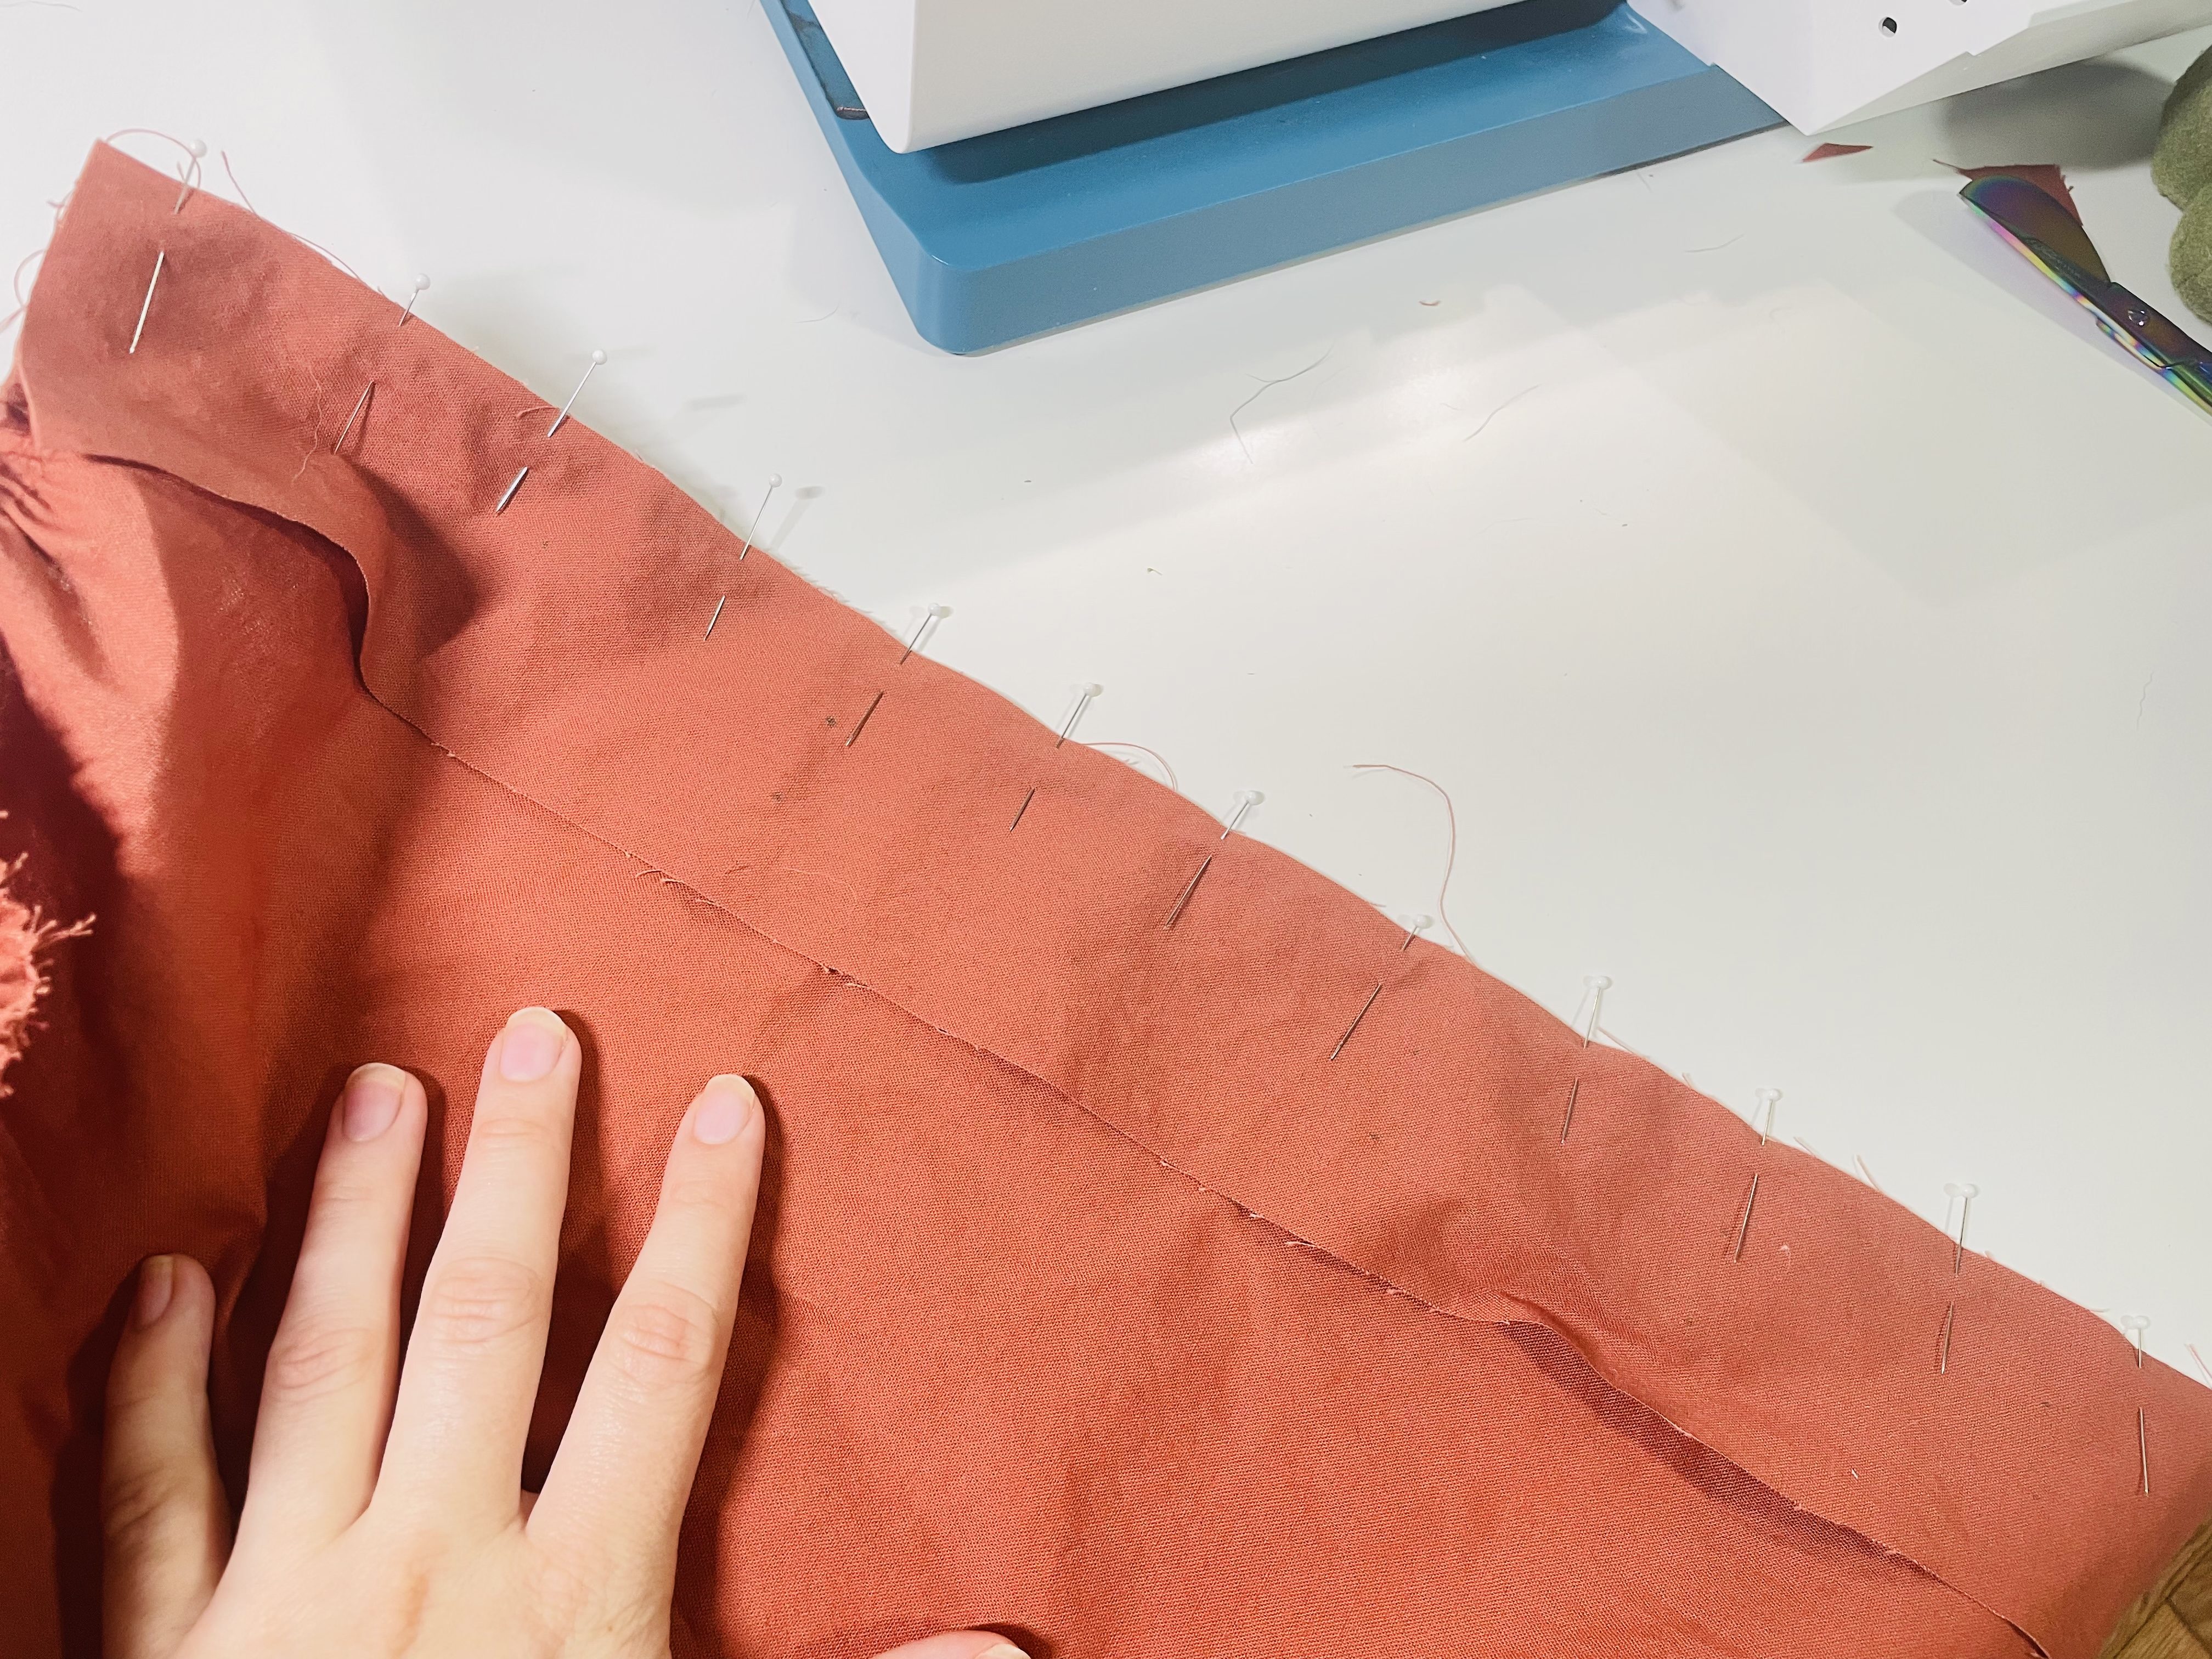
Press the seam allowance of the placket toward the placket.
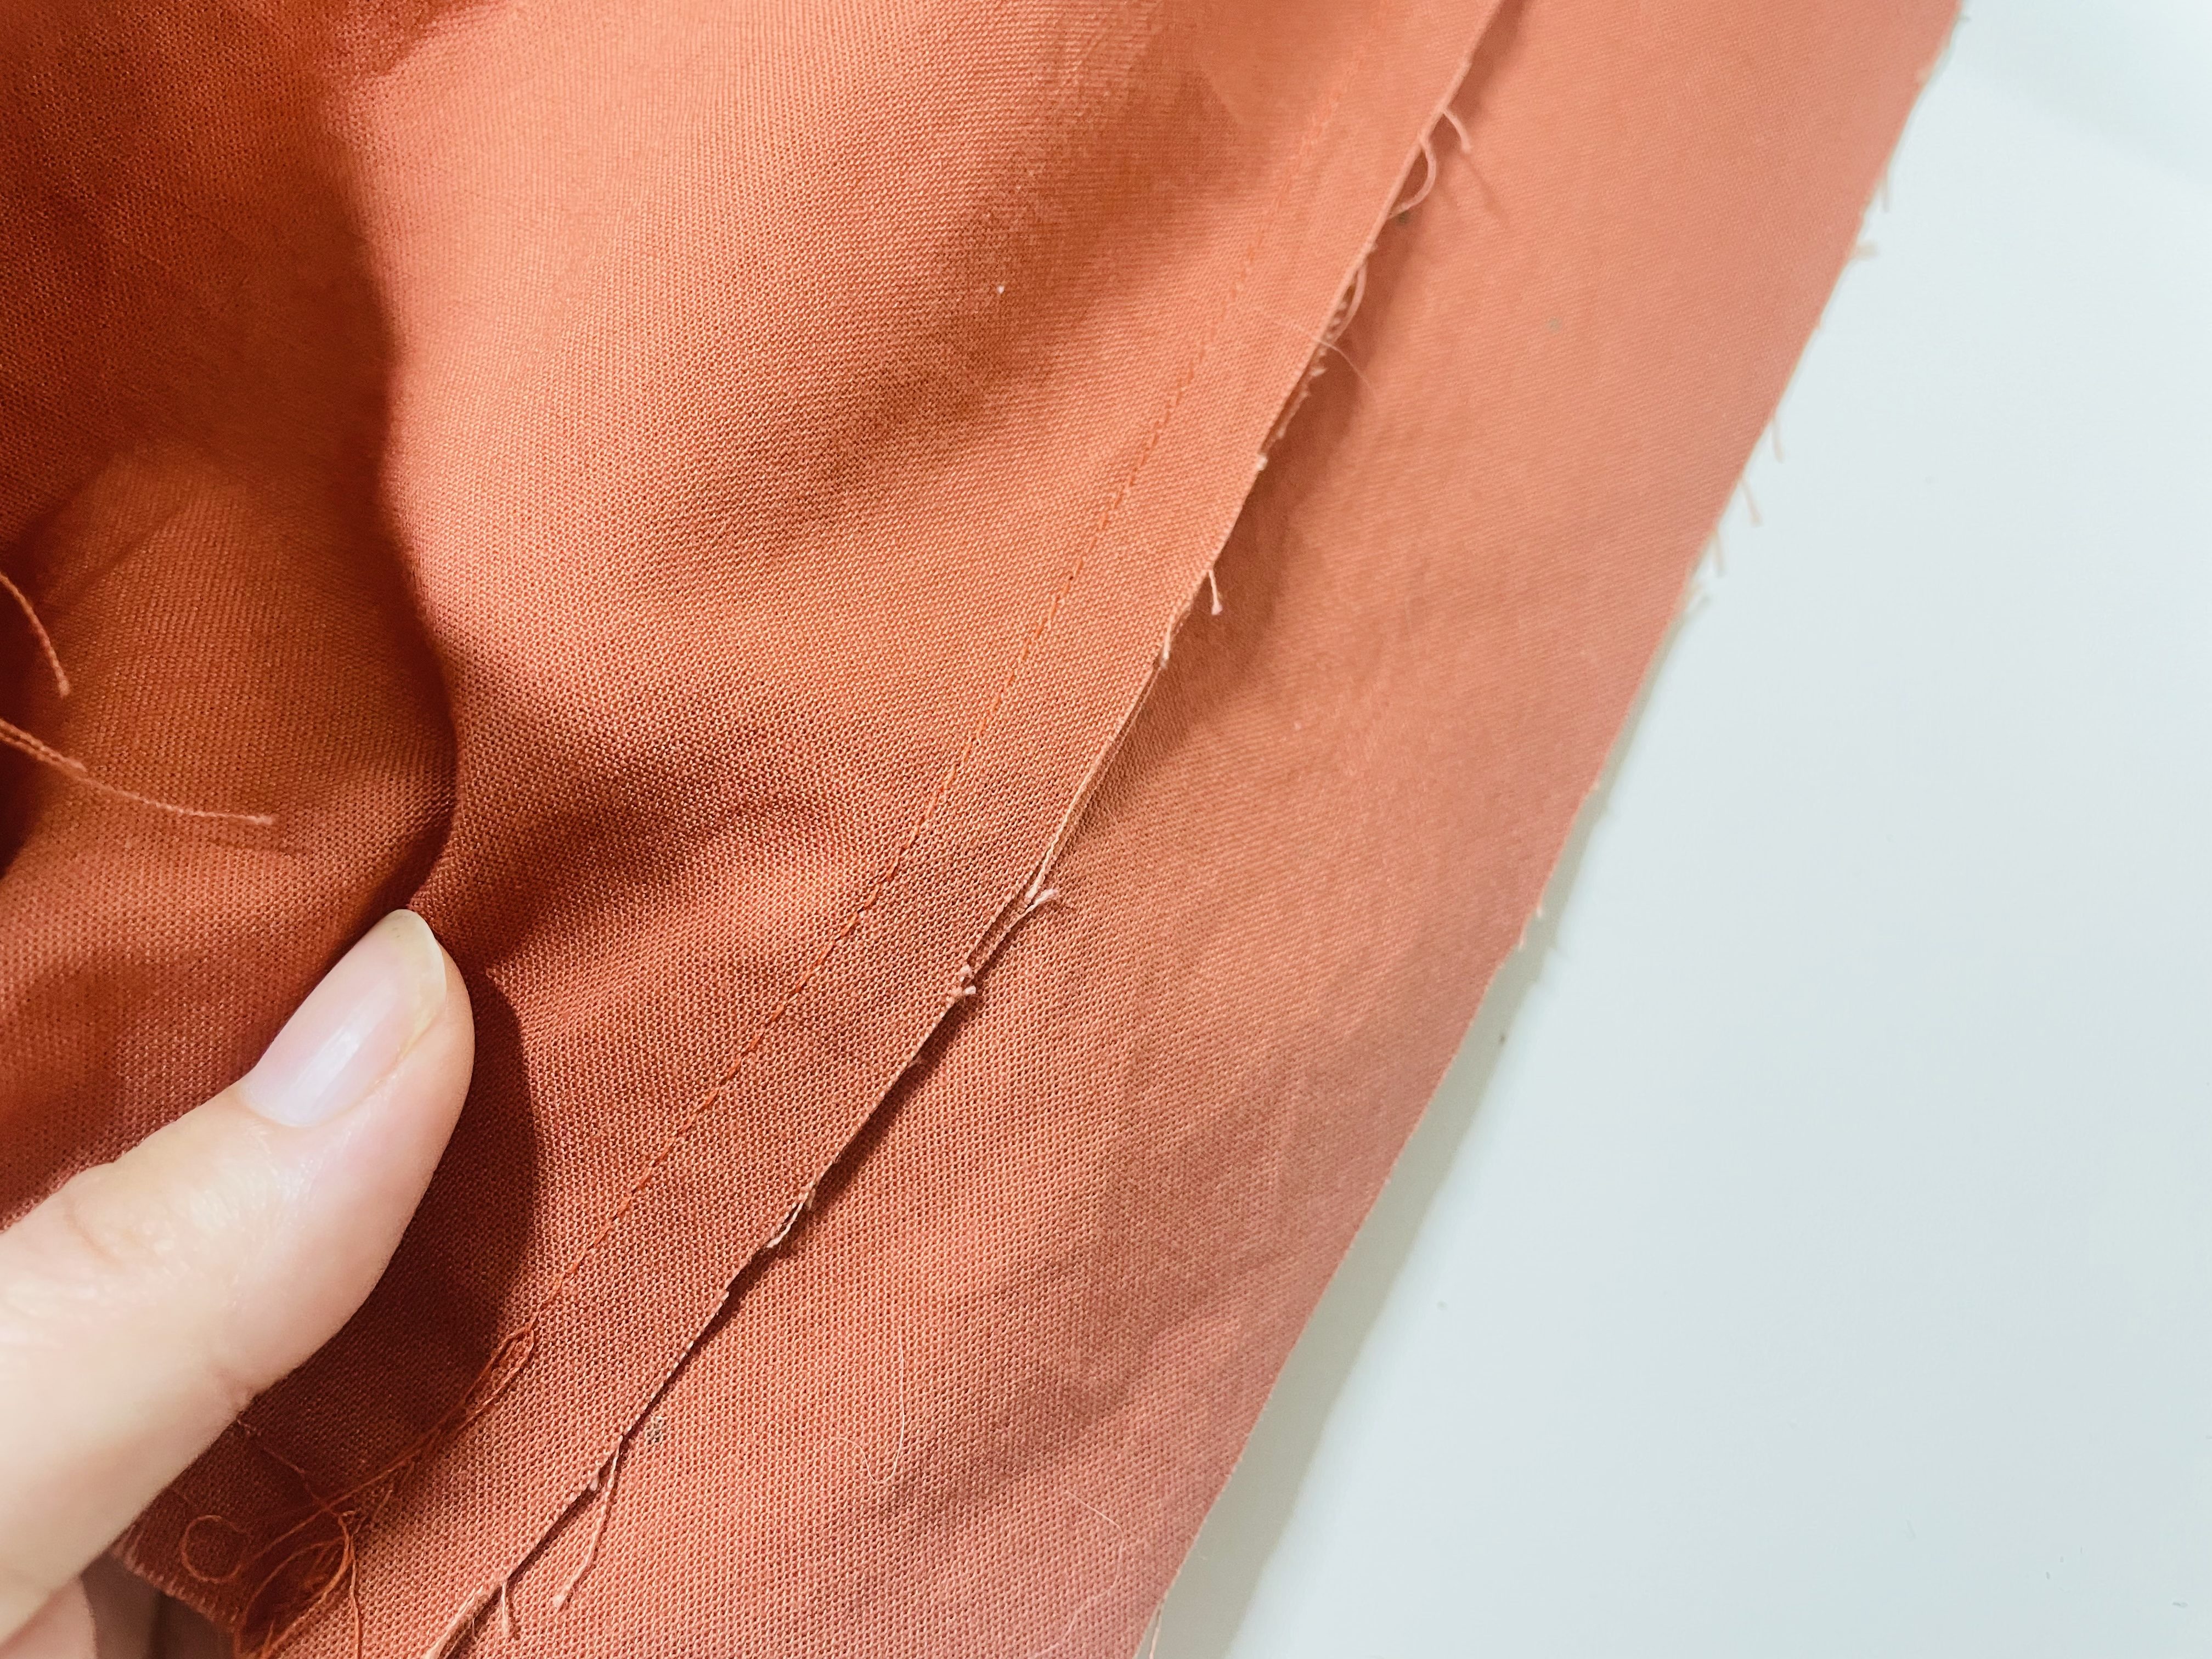
Again with right sides together, pin the interfaced placket onto the non-interfaced placket (which has been sewn onto your skirt). Sew this with a 0.5″ (1.3 cm) seam allowance.
Fold down 0.5″ (1.3 cm) of the edge of the interfaced side of the placket and press.
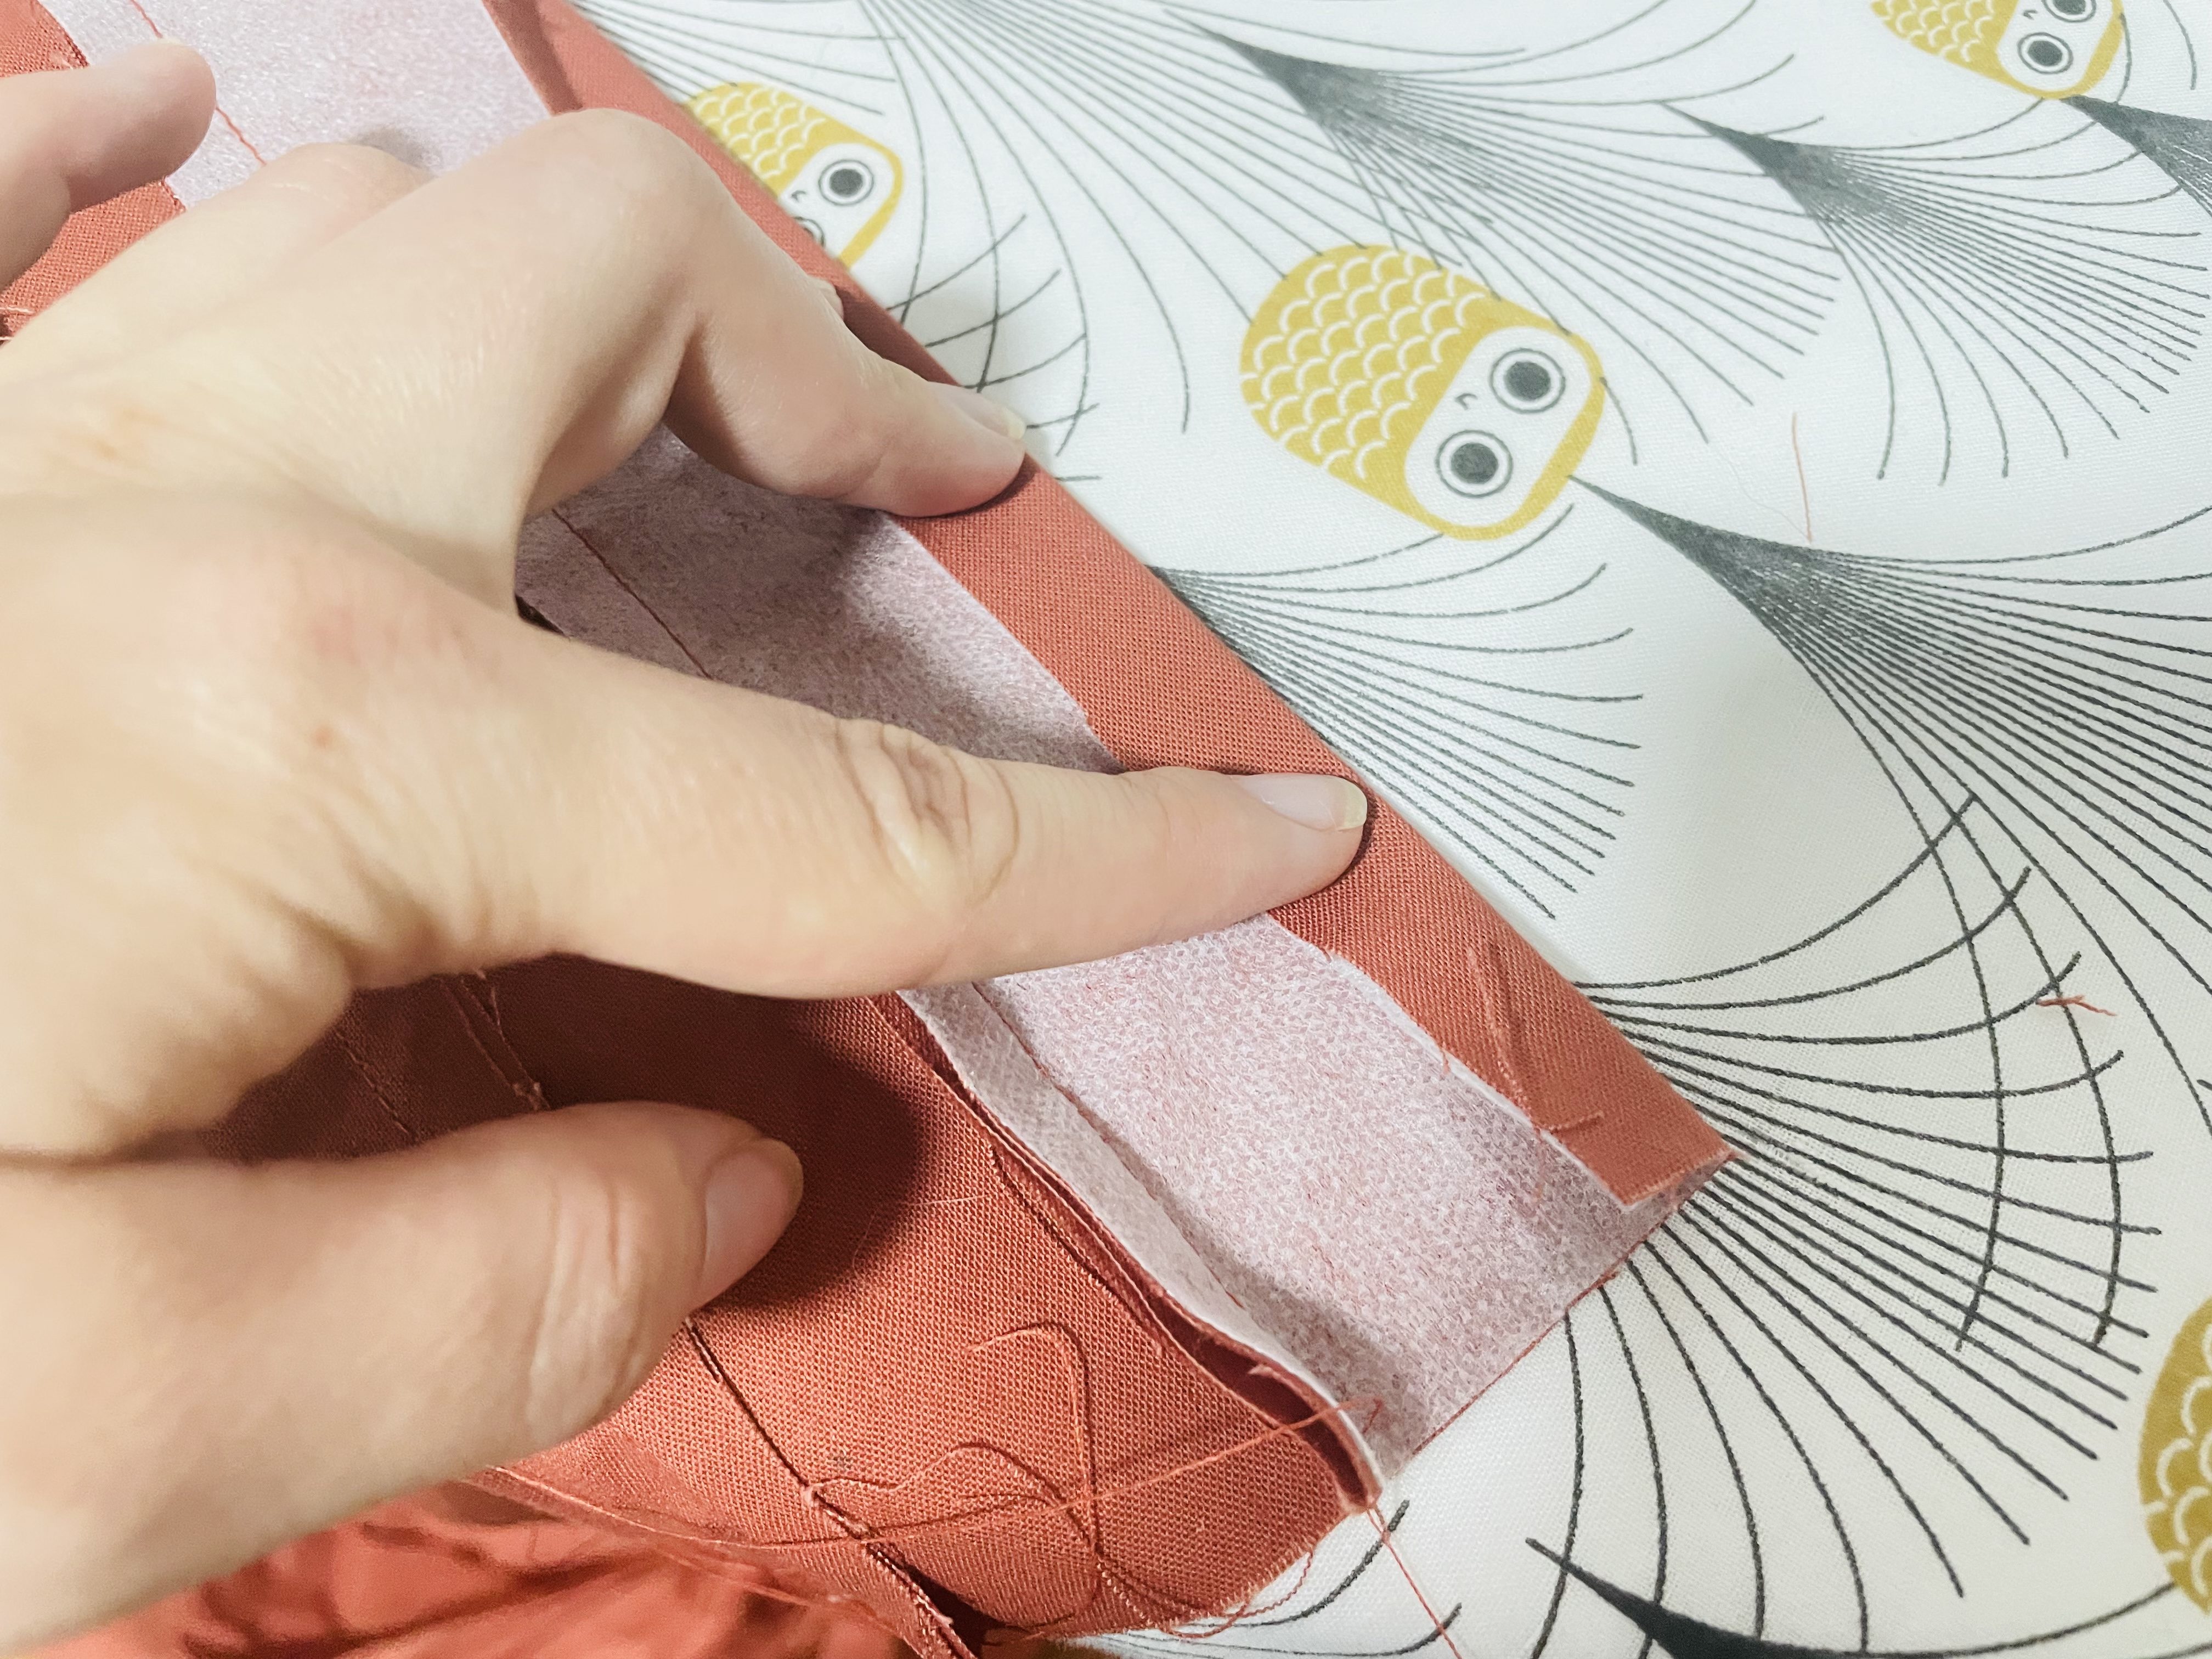
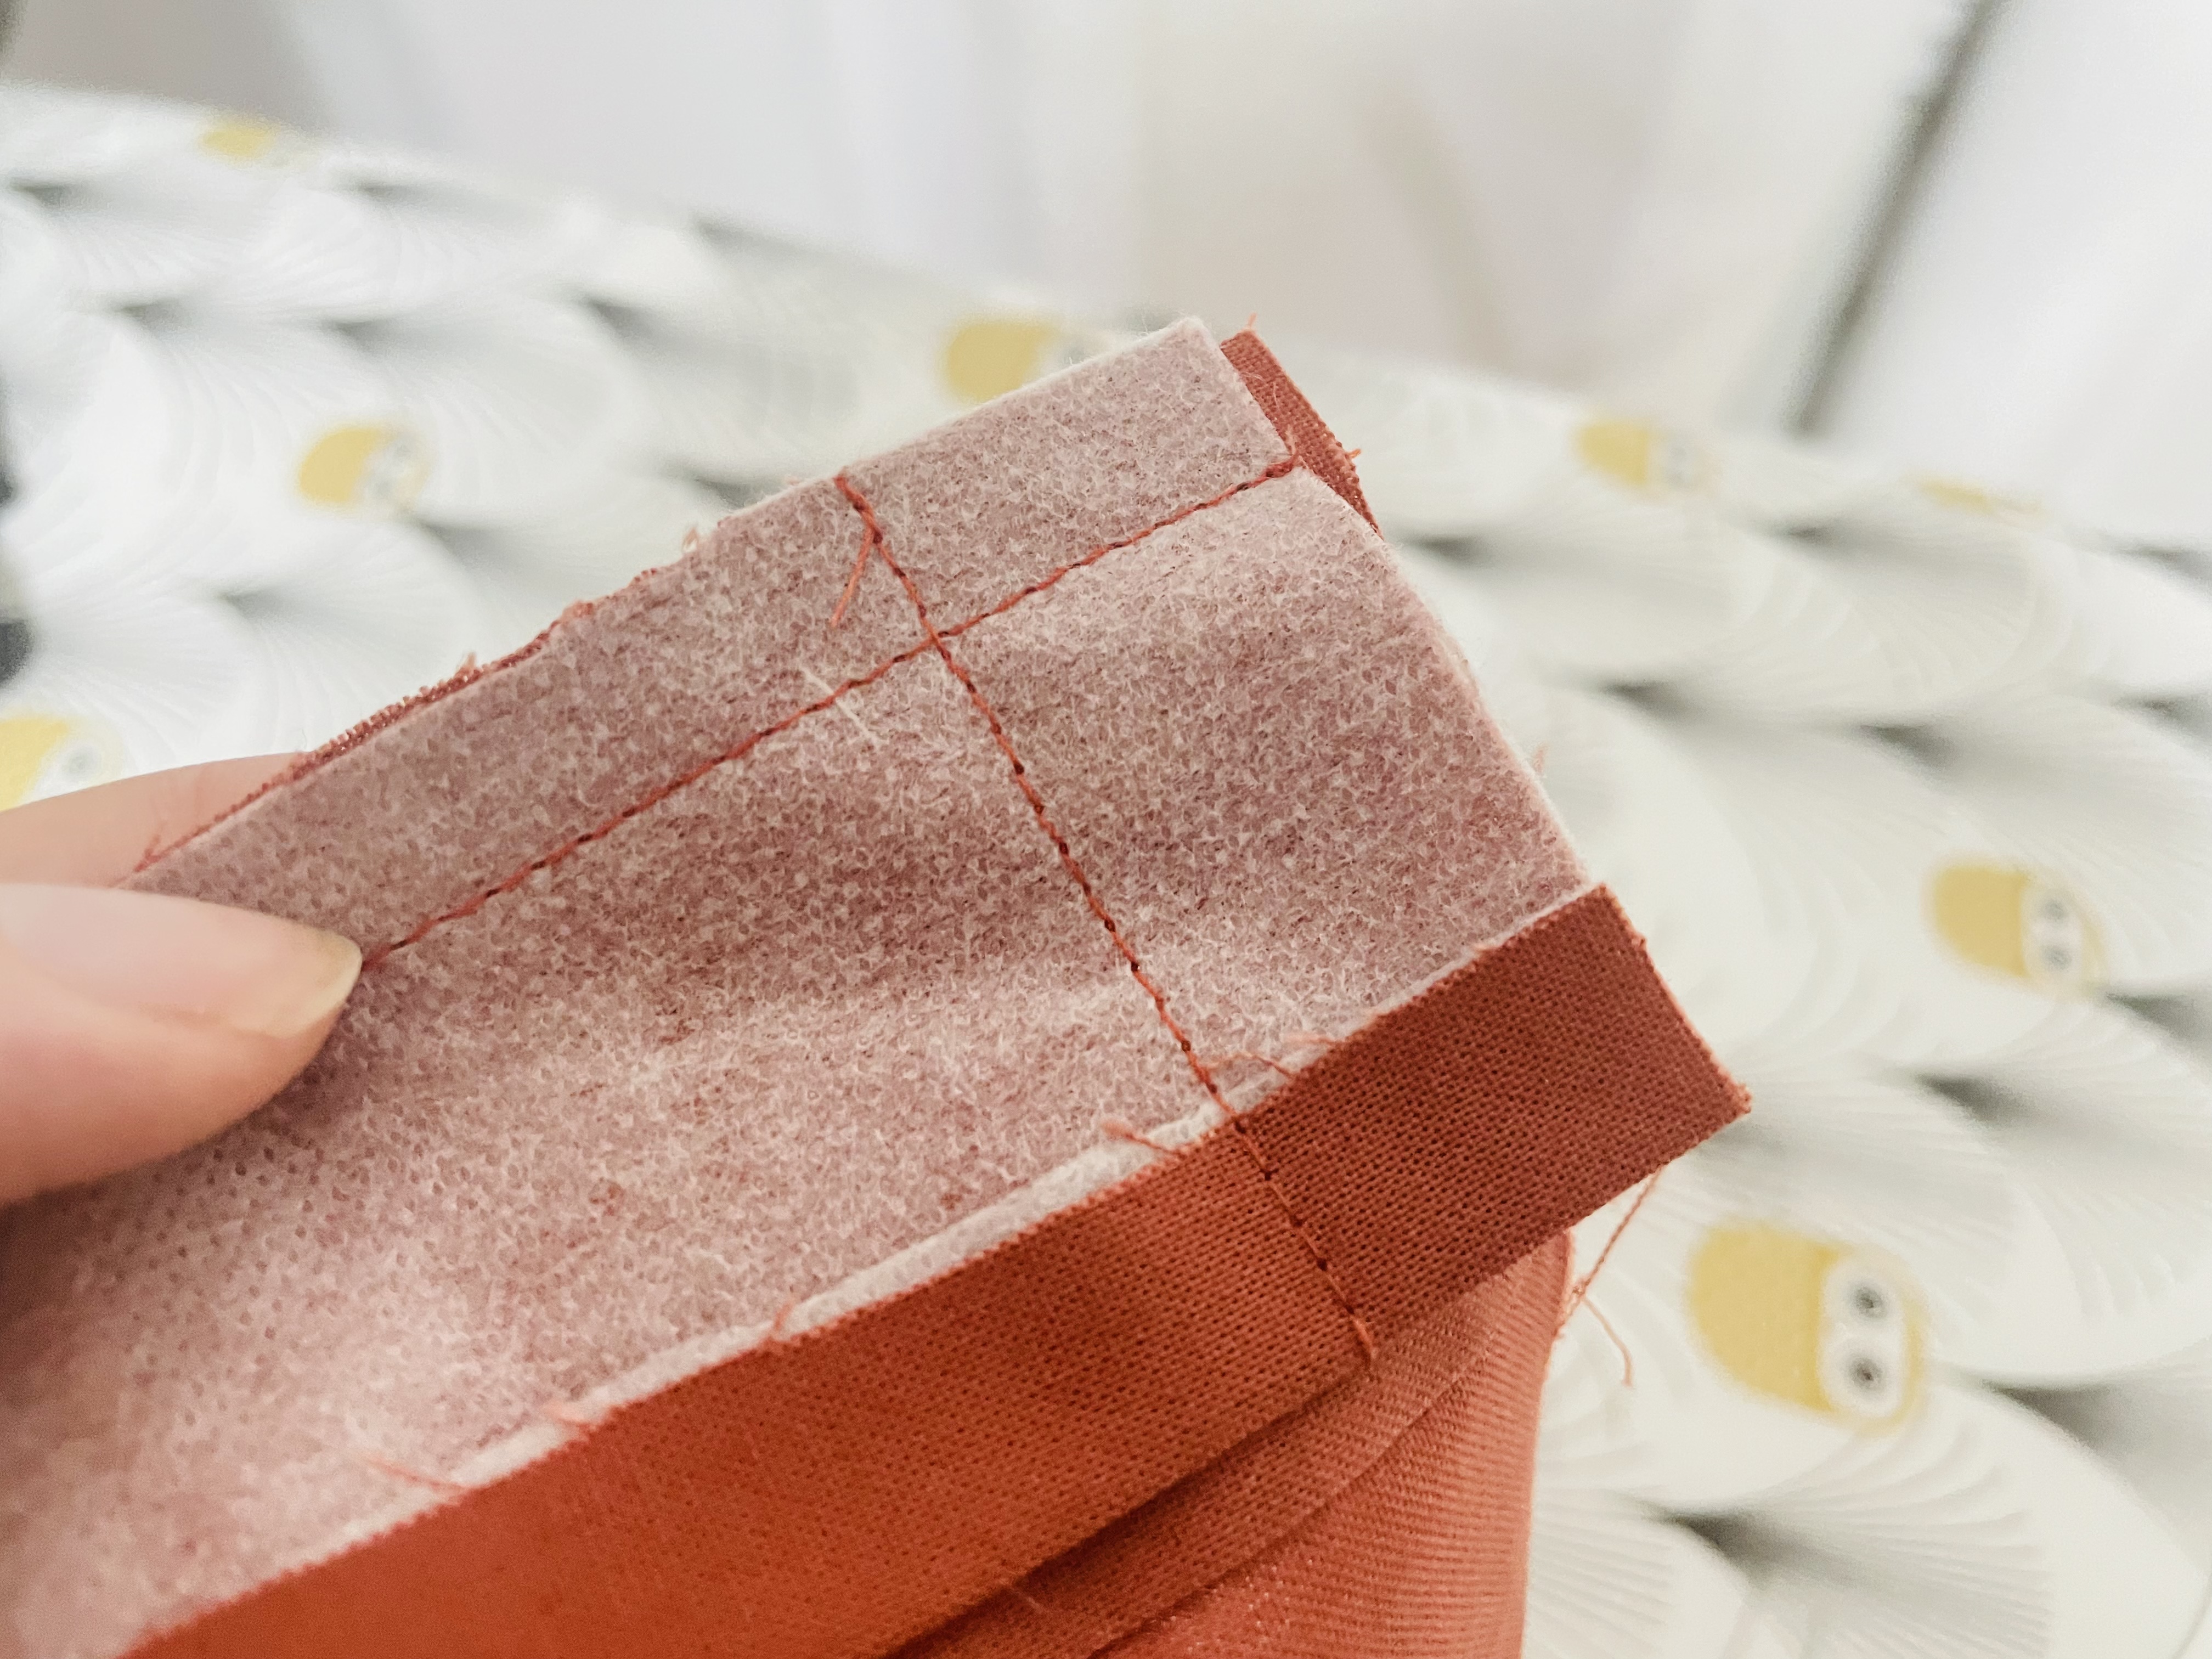
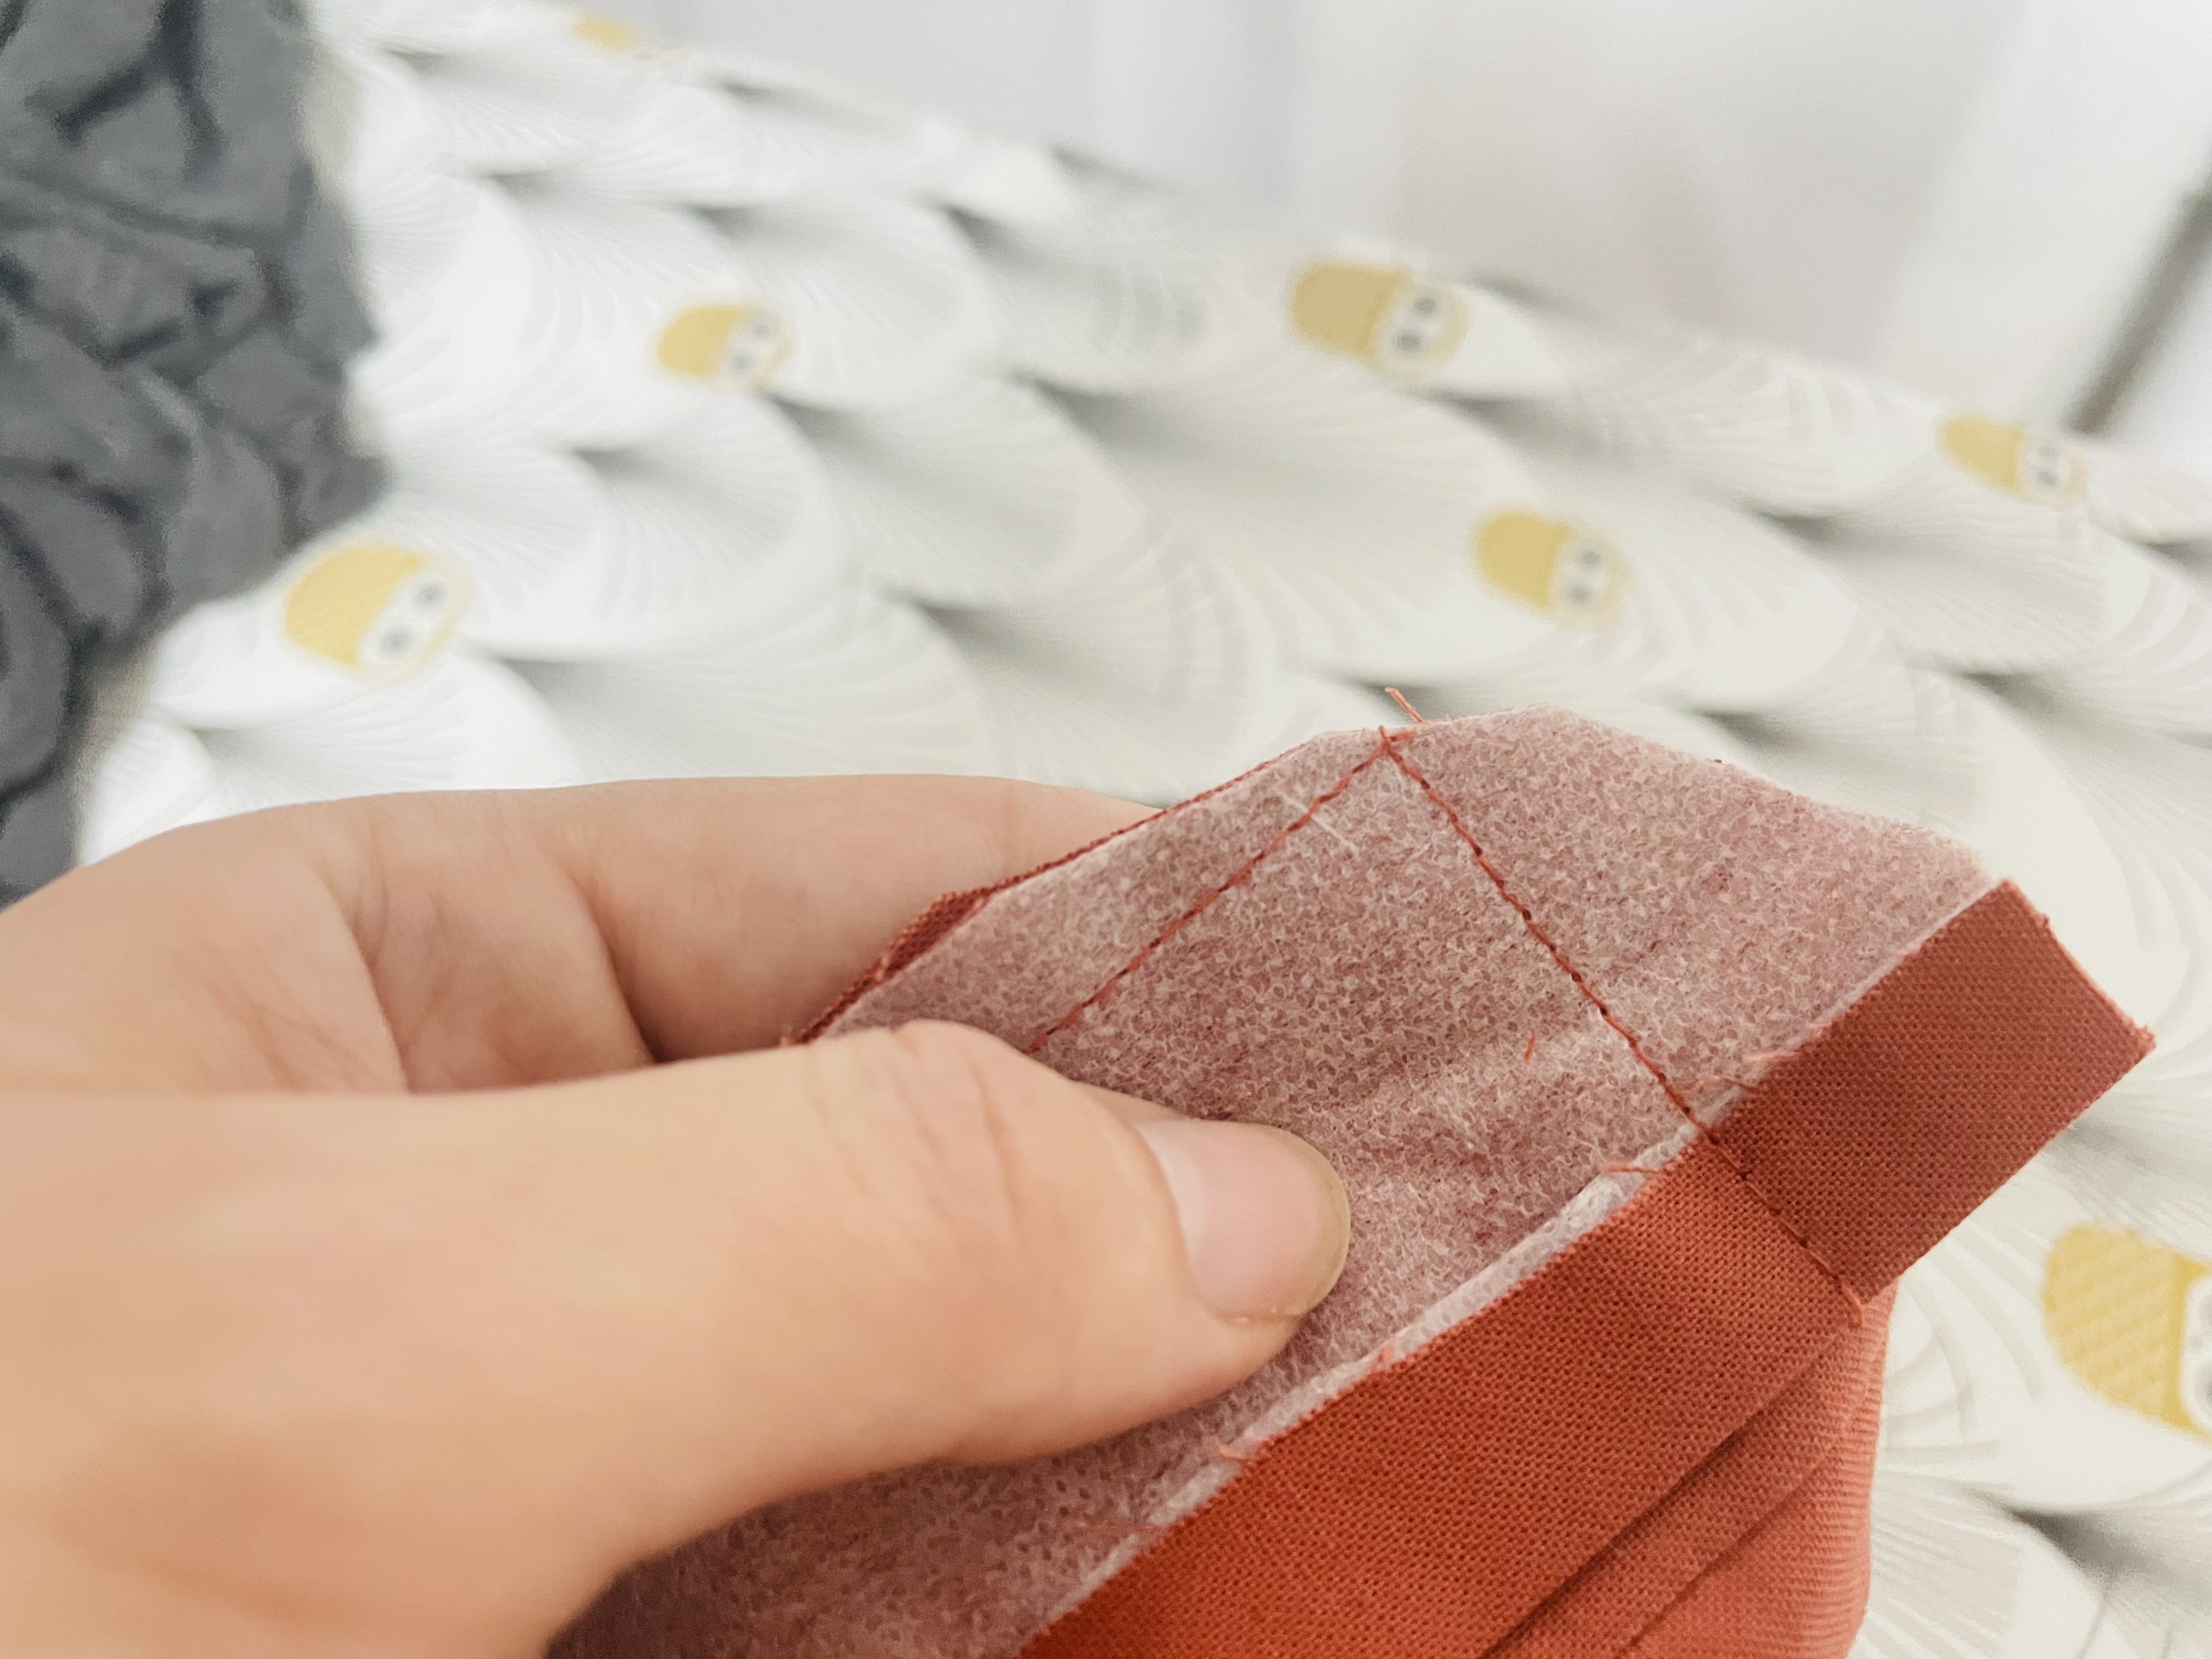
With right sides together again and being careful to catch the seam allowance and 0.5″ (1.3 cm) part that is folded inward, sew horizontally a 1″ seam allowance along the bottom of the placket.
Trim the corner that results at the bottom of your placket and turn your placket right side out. Press your placket.
Time to topstitch! You probably already know this, but I topstitch by aligning the middle of my foot with the seam and setting my needle 2.5 mm or so to the right or left (whichever side I want the topstitching to appear).
You’ll topstitch all the way around your placket, taking care to catch the under layer as well as the outer layer.
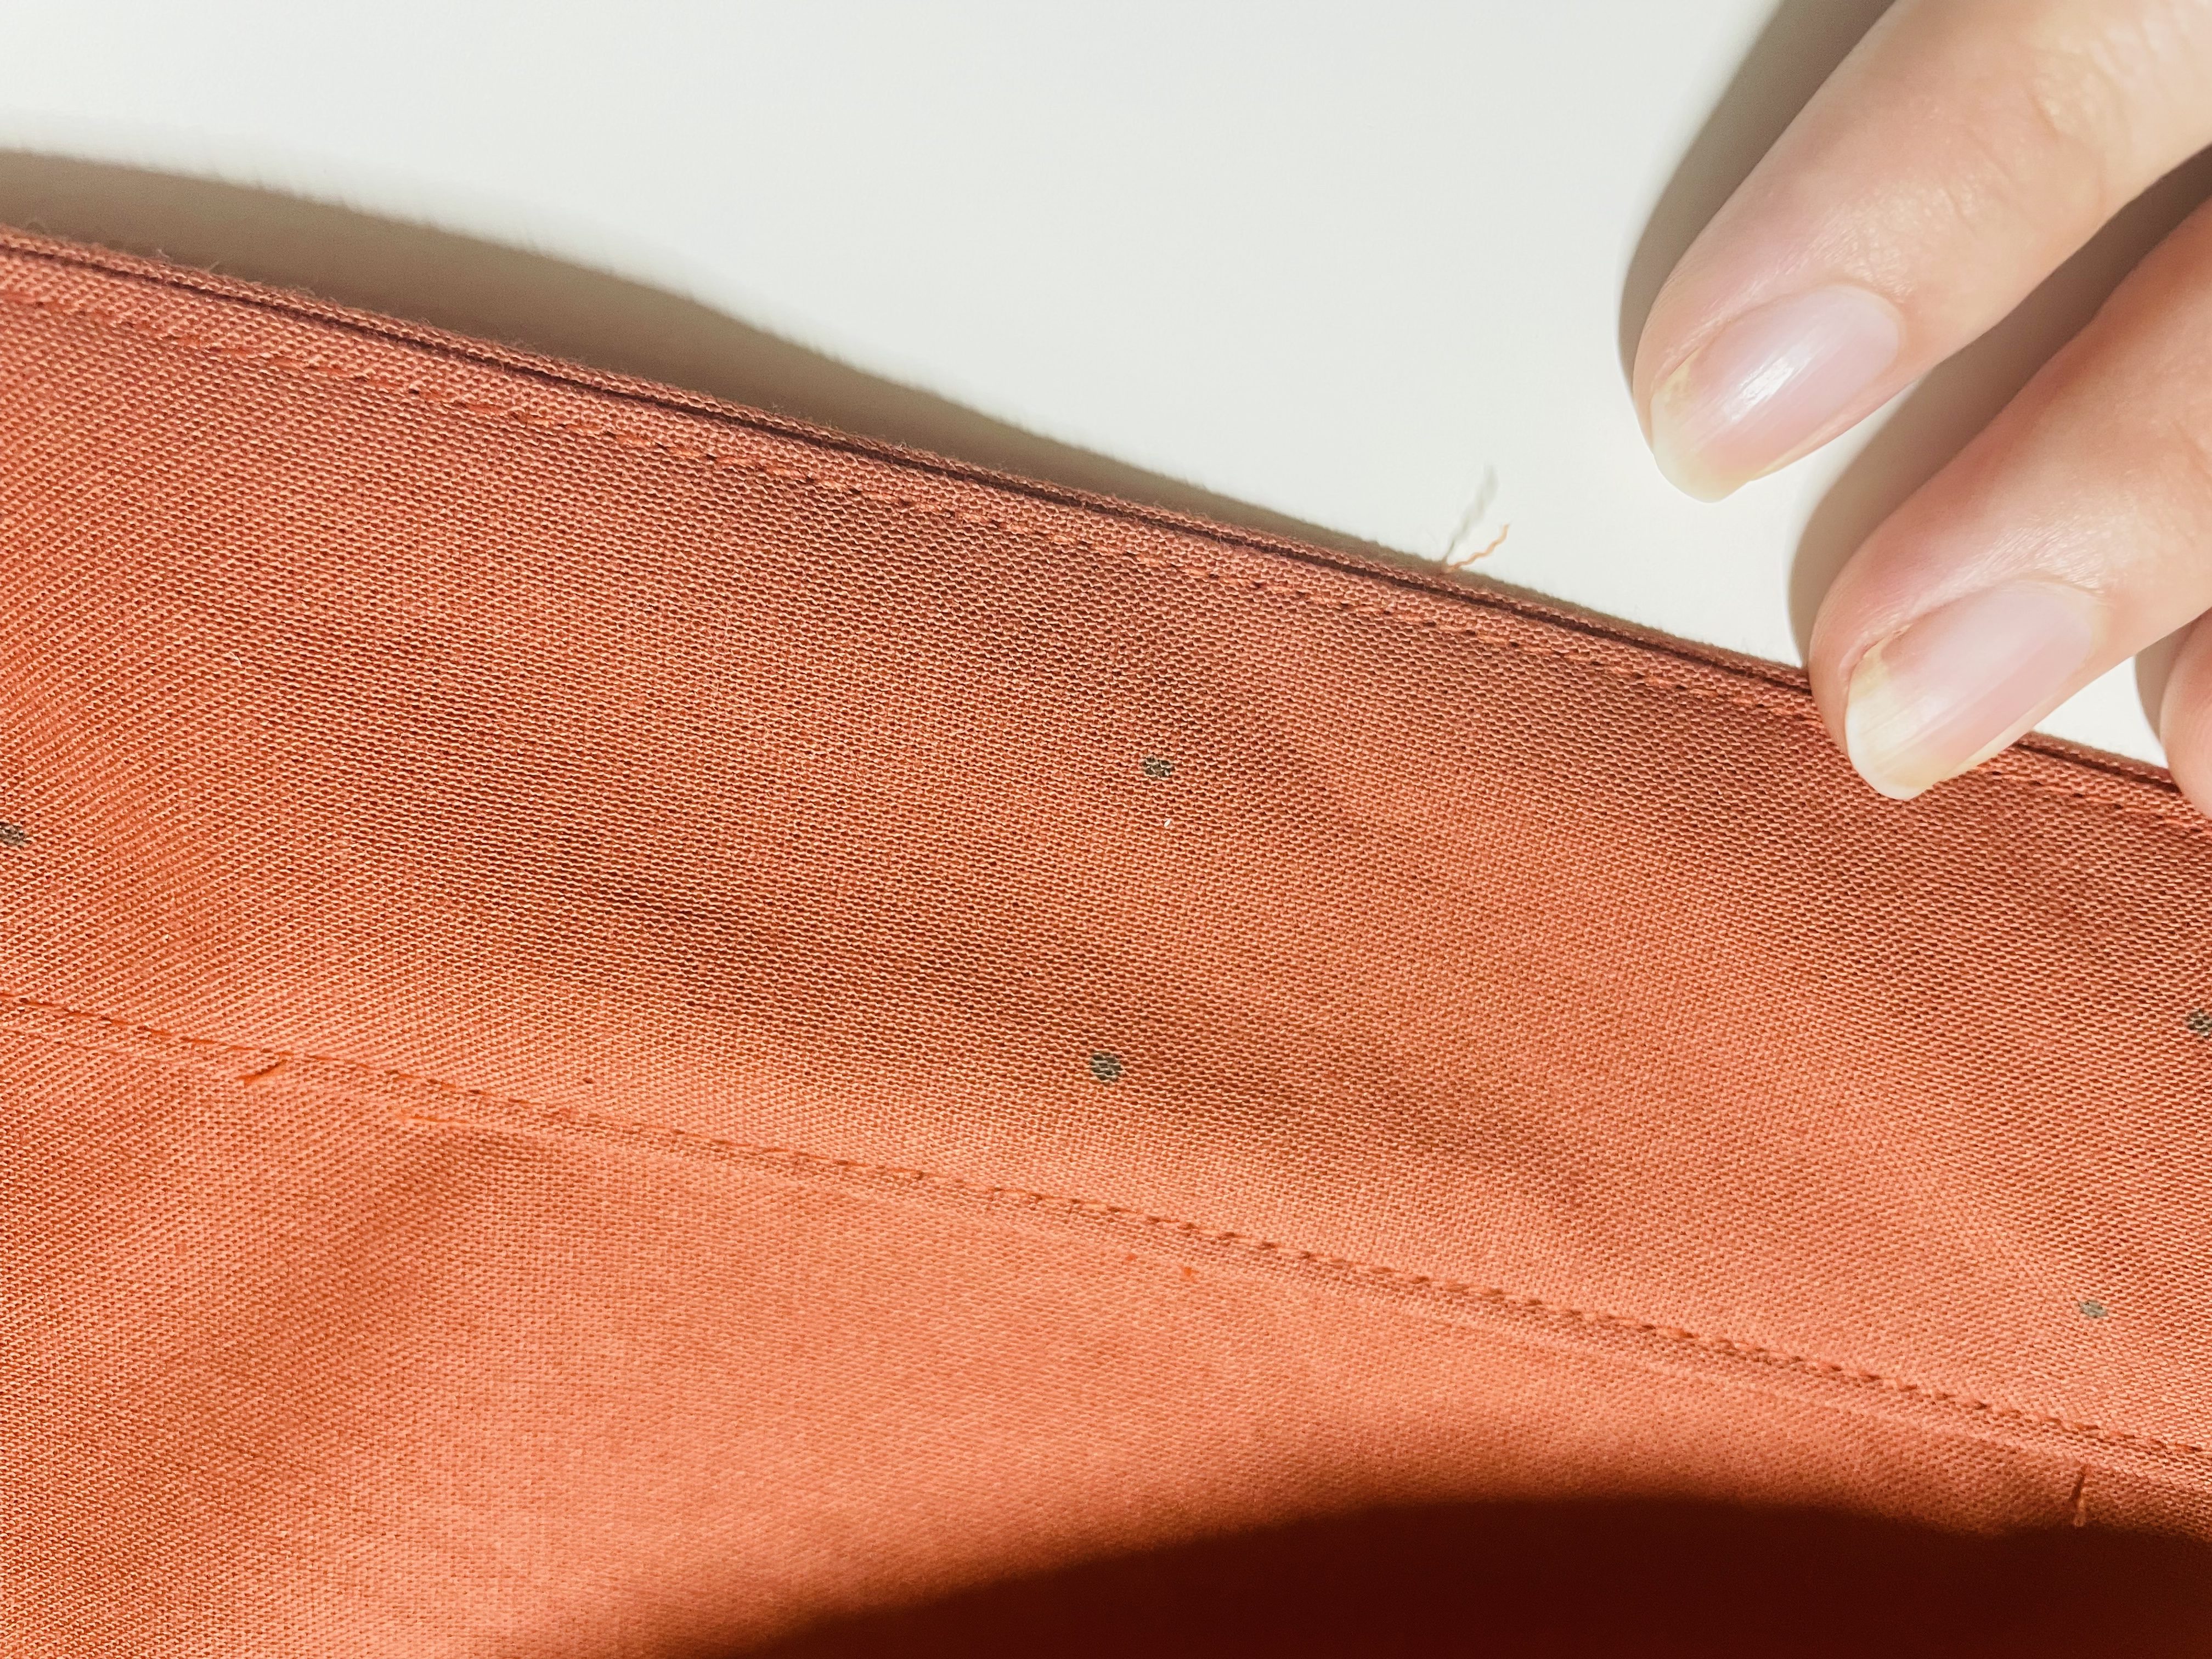
Repeat these steps on the other side to attach the second button placket.
Attaching the skirt to the bodice
To attach the skirt to the bodice, we’re first going to attach the skirt to the main waistband (not the waistband lining).
With right sides together, pin the skirt to the waistband main. Sew this at a 0.5″ (1.3 cm) seam allowance. You’ll have to avoid the very ends, but we’ll clean this up when we do finishings next week.
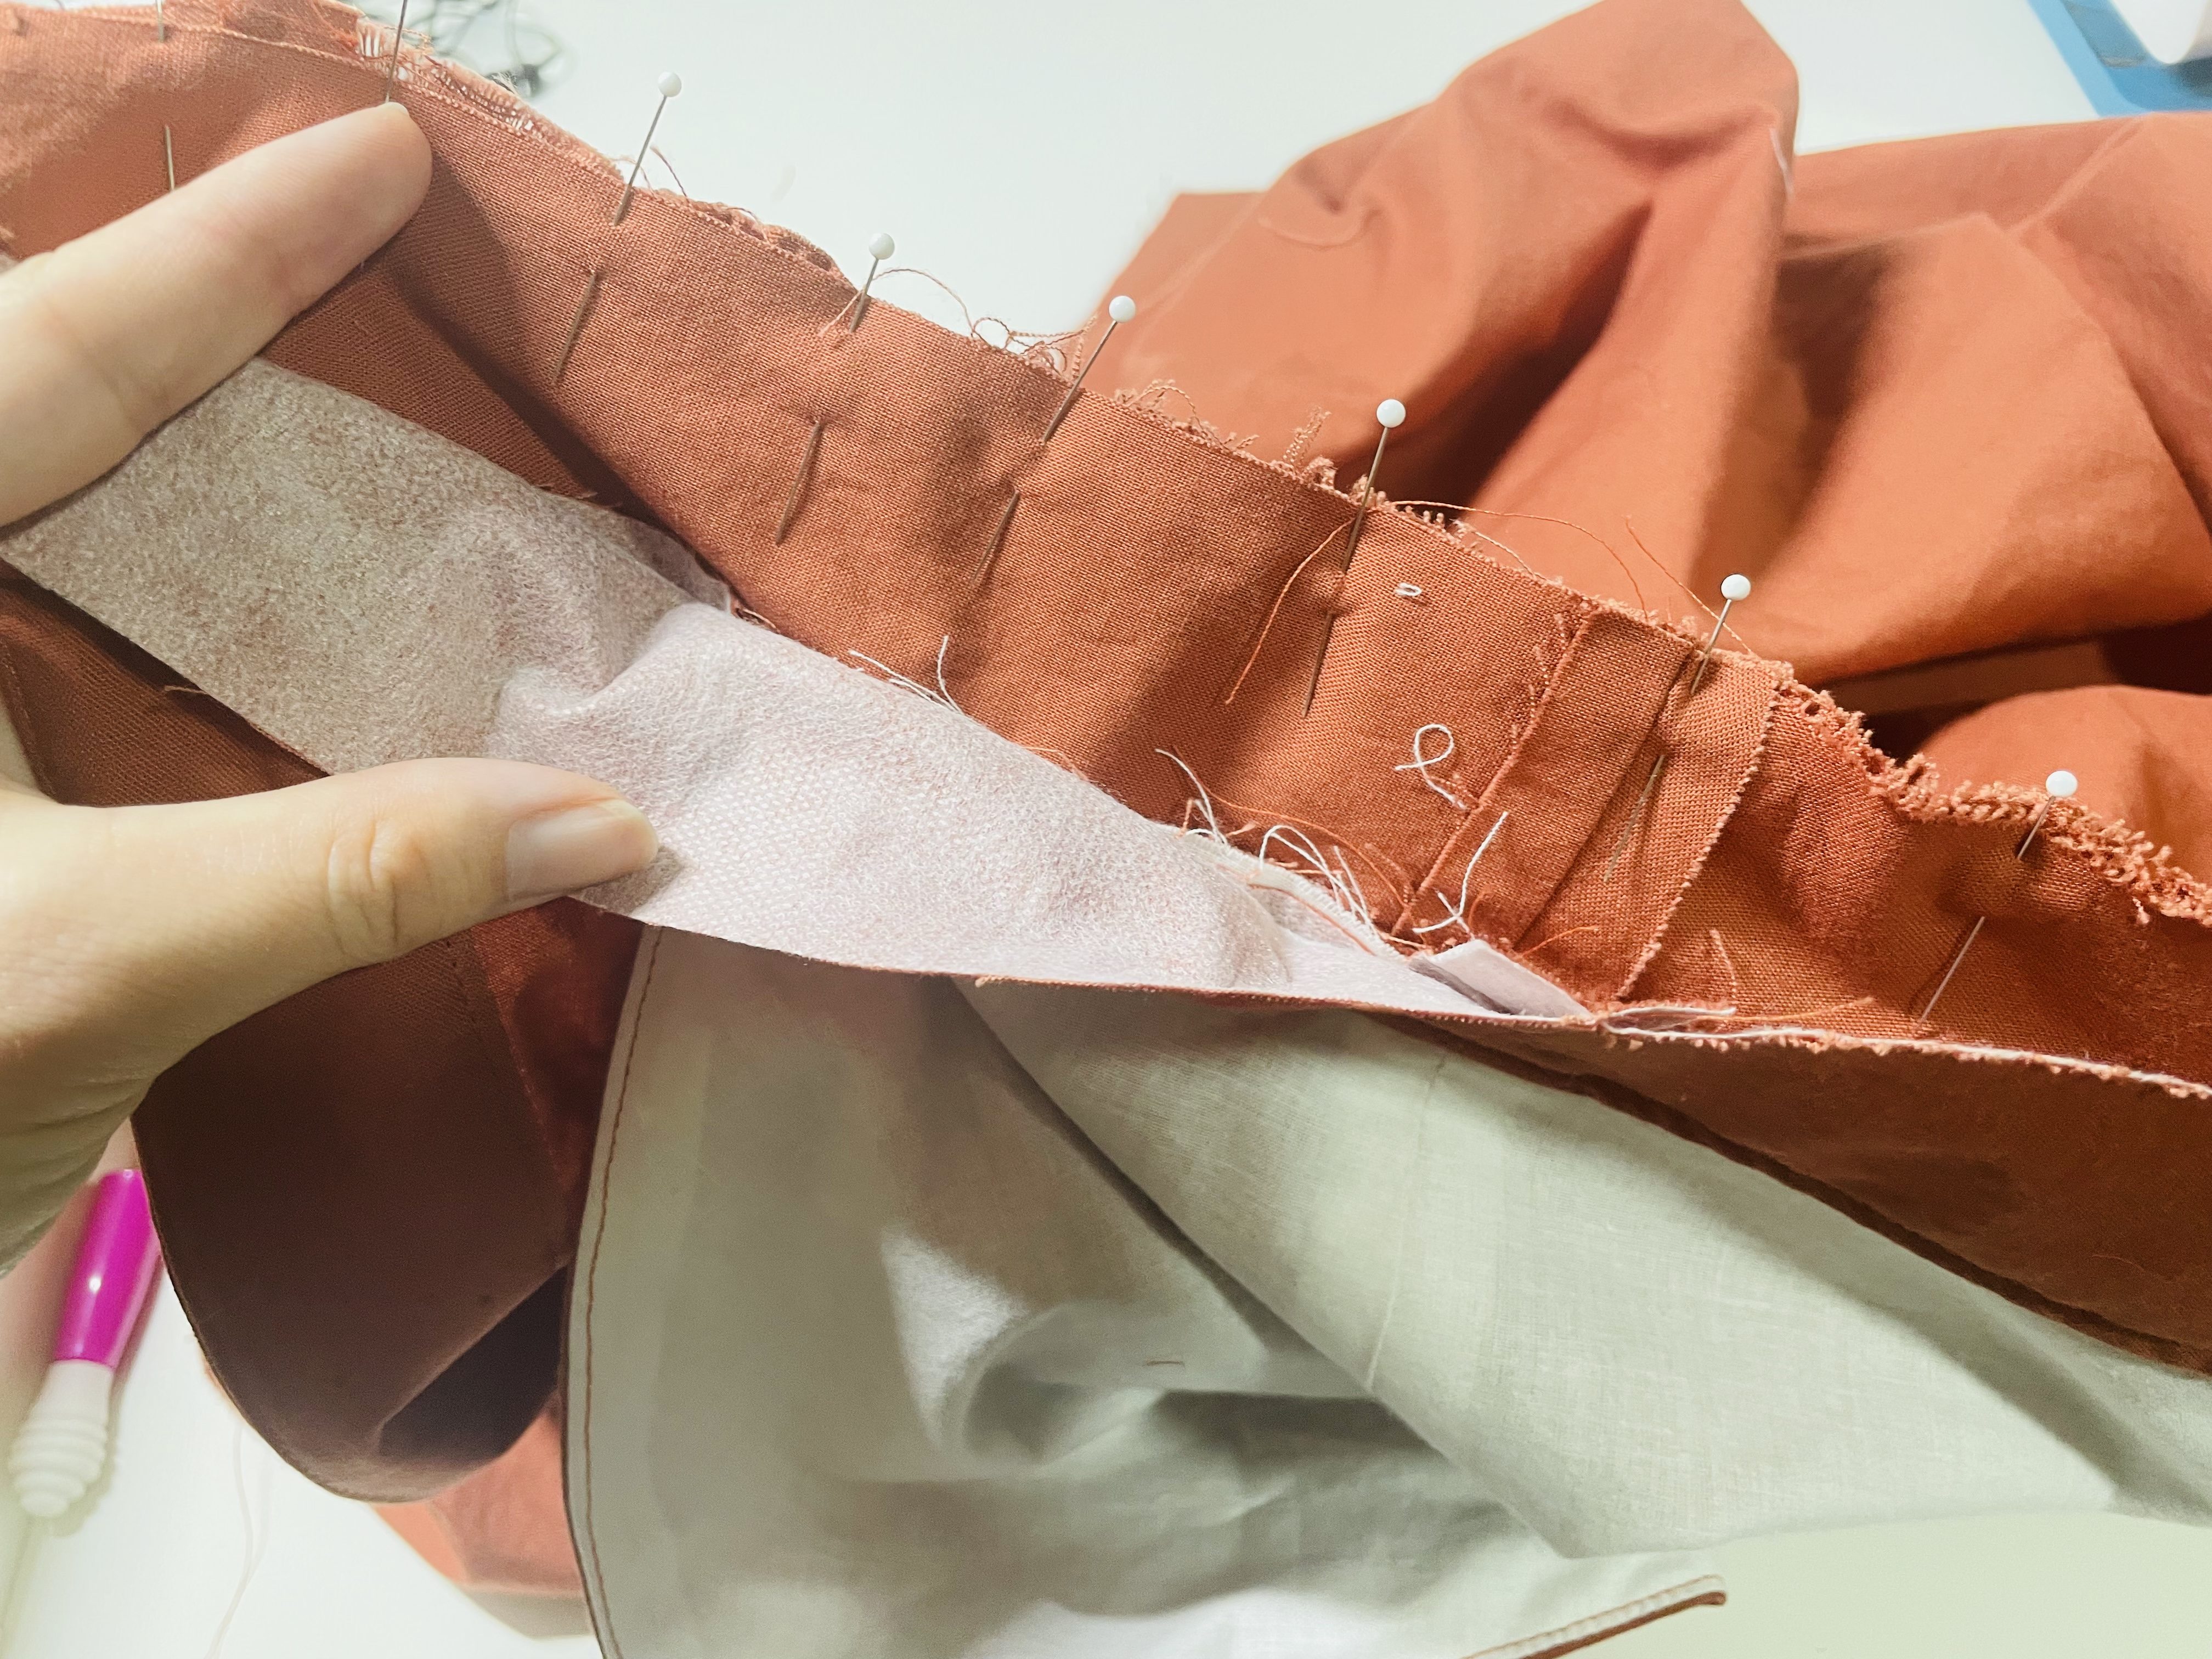
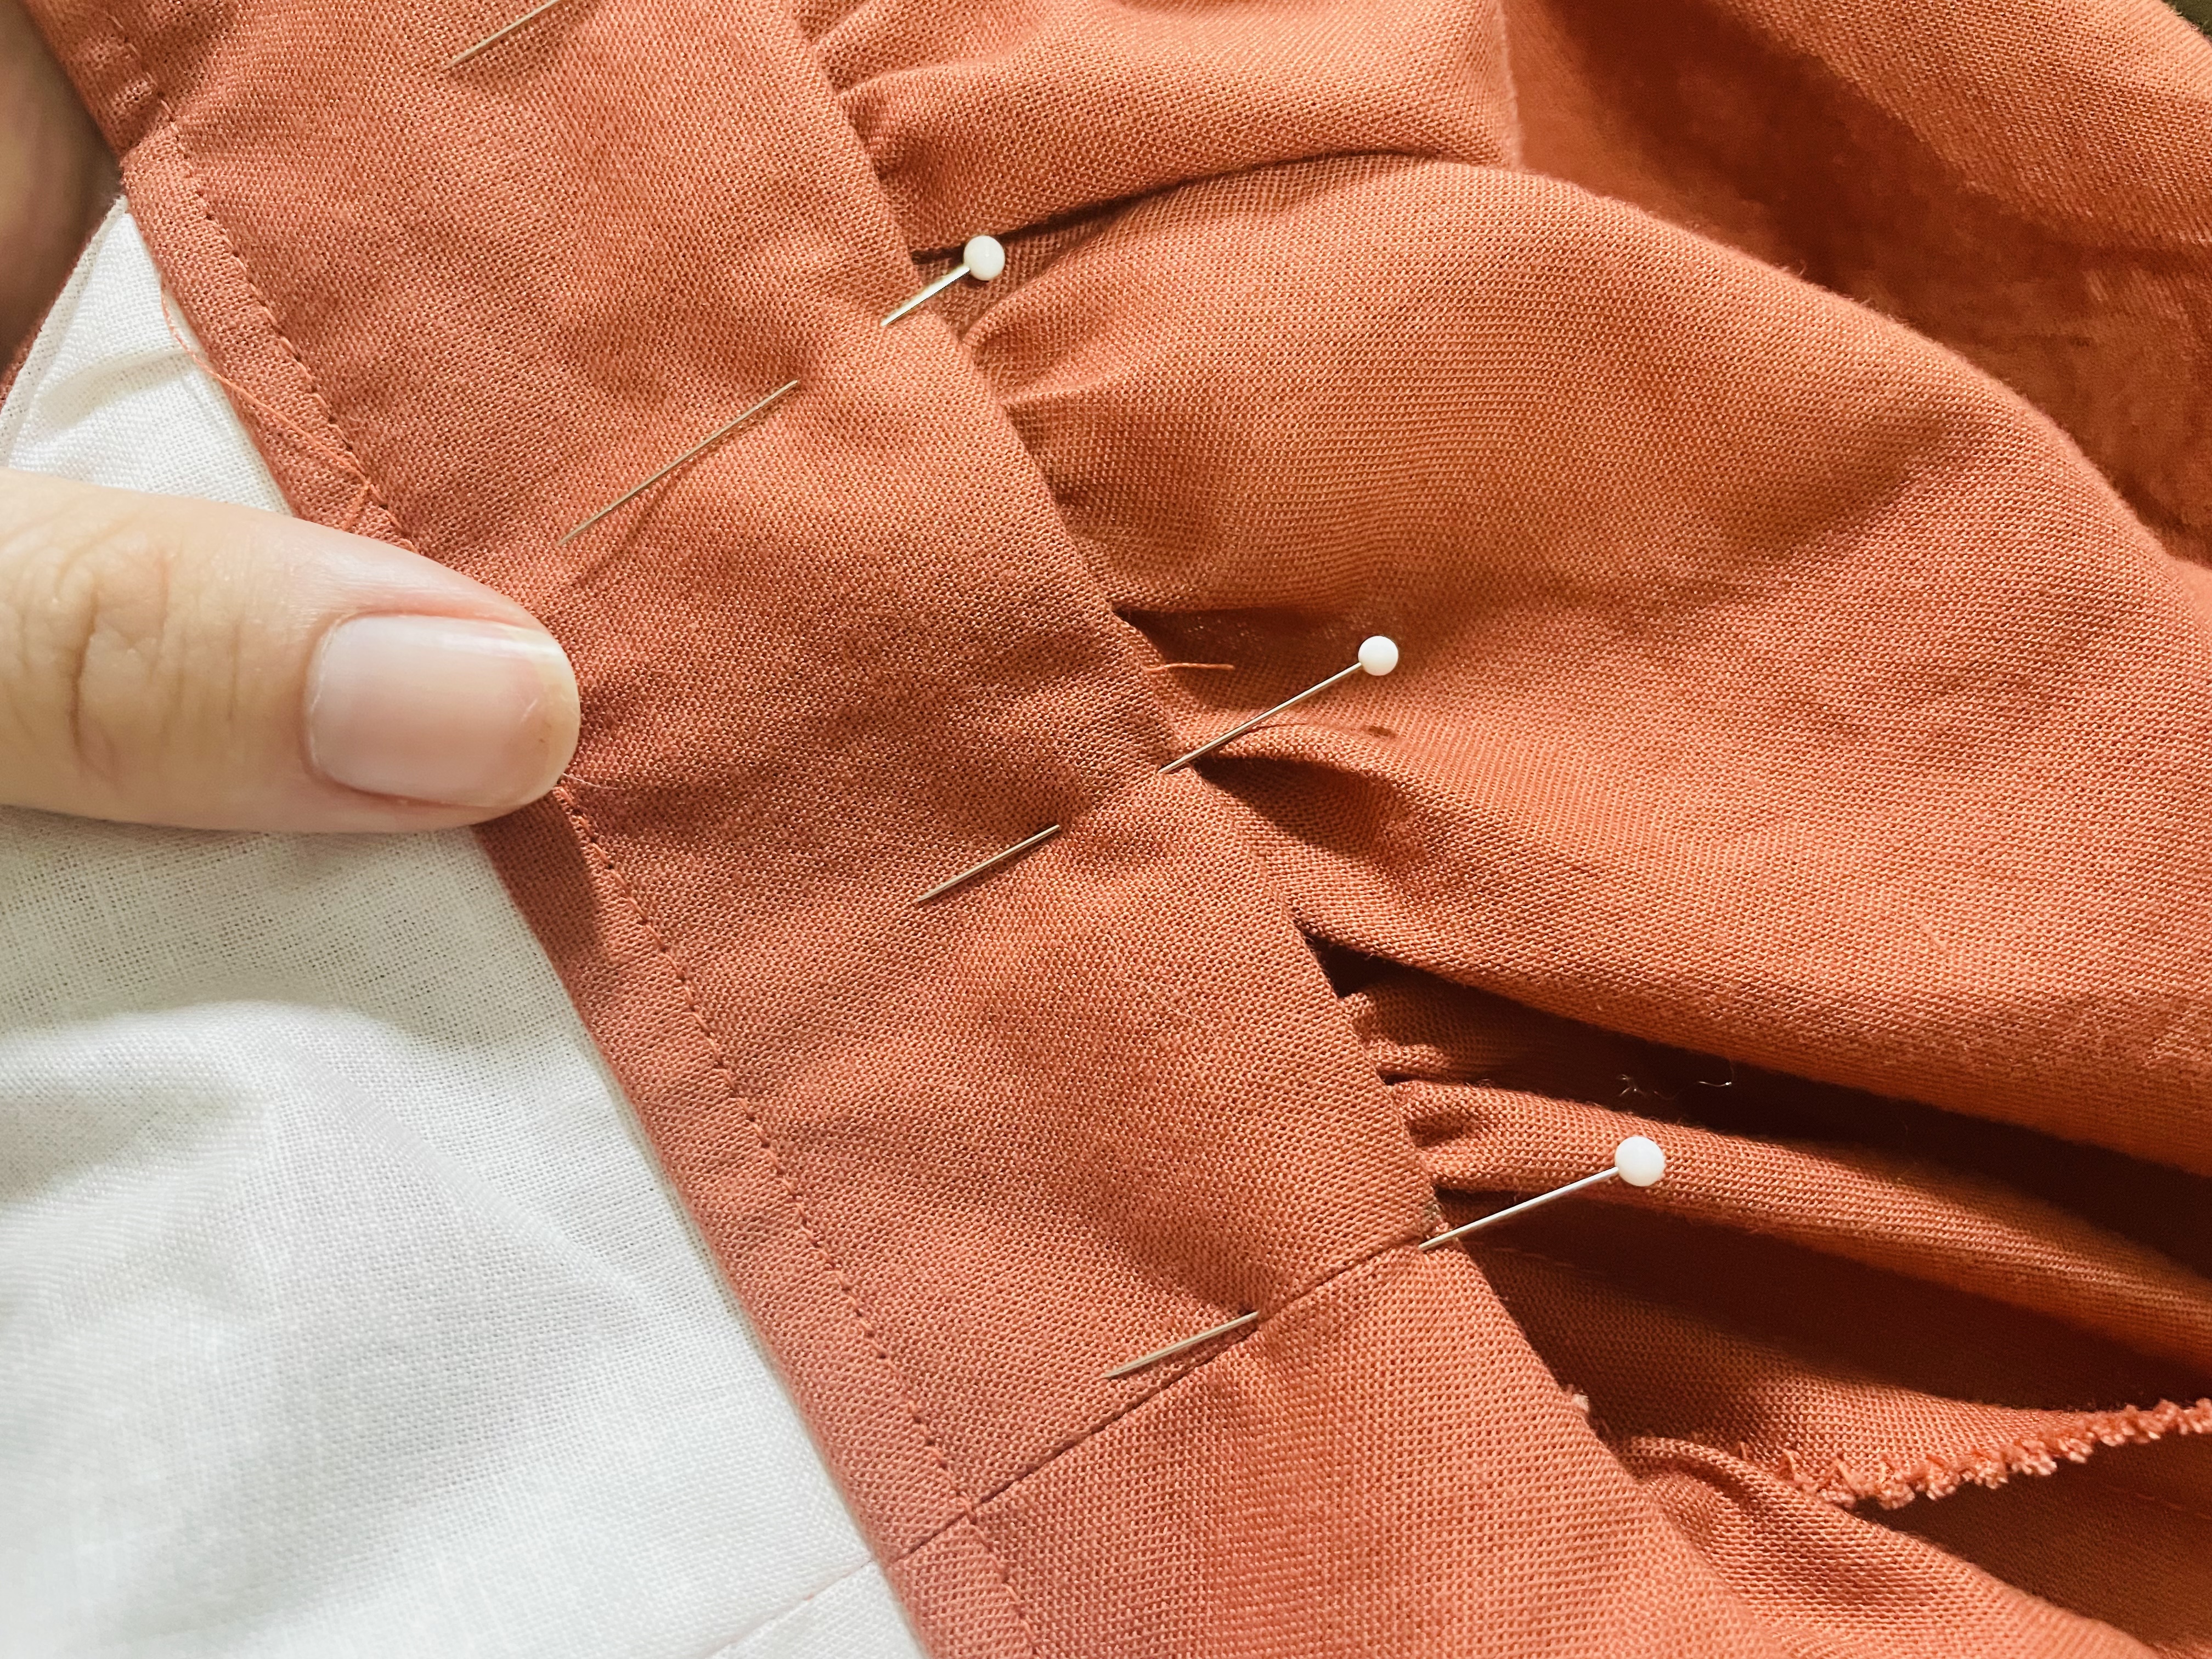
Once that’s sewn, flip that inner waistband over the skirt, fold the raw edge of the waistband in by 0.5″ (1.3 cm) and pin!
Topstitch, baby!
Your Homework
This week, you should:
- Gather your skirt
- Sew on your button plackets
- Attach your skirt to your bodice
Next week, September 27, we’ll do finishing touches — buttons and buttonholes, clean up, and hem!

