
Amelie Sew Along Week D | Sewing the Waist Band and Skirt
For August and September at Sew Busty, we’re doing a button challenge! Post a make that features buttons on instagram with #sewbustychallenge by September 30 for a chance to win a prize!
As part of that challenge, we’re doing a sew along for the Untitled Thoughts Amelie Dress – a cute little number that features buttons down the back of the skirt, as well as an open (but bra-friendly!) back. (Check out the picture of the dress on today’s post, as I accidentally earlier shared a picture of the non-bra friendly! For the full sew along, including bonus content, click here!
I’m back!
Alright, y’all … I’ve been gone for a hot second, and we’re a bit off-schedule on the Amelie sew along. I’ll be honest: I was on the verge of burning out, and a week of vacation plus a week to catch up were just the ticket to put me back on track.
A lot of life happened for me in the last couple months. I’ve been busy at work (as a nonprofit lawyer!) and also dealing with some personal things, many of which I’m just not quite ready to talk about. I also hadn’t seen my family members in 2 years, so I really needed to slow down and take the week to enjoy my family. Thank you for your support and understanding while I took a pause!
Now, back to our regularly scheduled programming (though some info on changes coming soon!):
Let’s do this thing!
Here’s the new schedule for the sew along:
September 13: Sewing the skirt
September 20: Attaching the skirt and button stand
September 27: Finishing touches, including BUTTONS
This week is going to be the simplest and shortest week of the sew along, because skirts are easy-peasy!
Assembling the waistband
Your first step today is going to be to sew your main waistband and lining waistband together. I was exhausted (pre-vacation!) and forgot to take a picture of how these go together, but here, you’ll see with the pattern pieces how I laid the pieces together to sew:
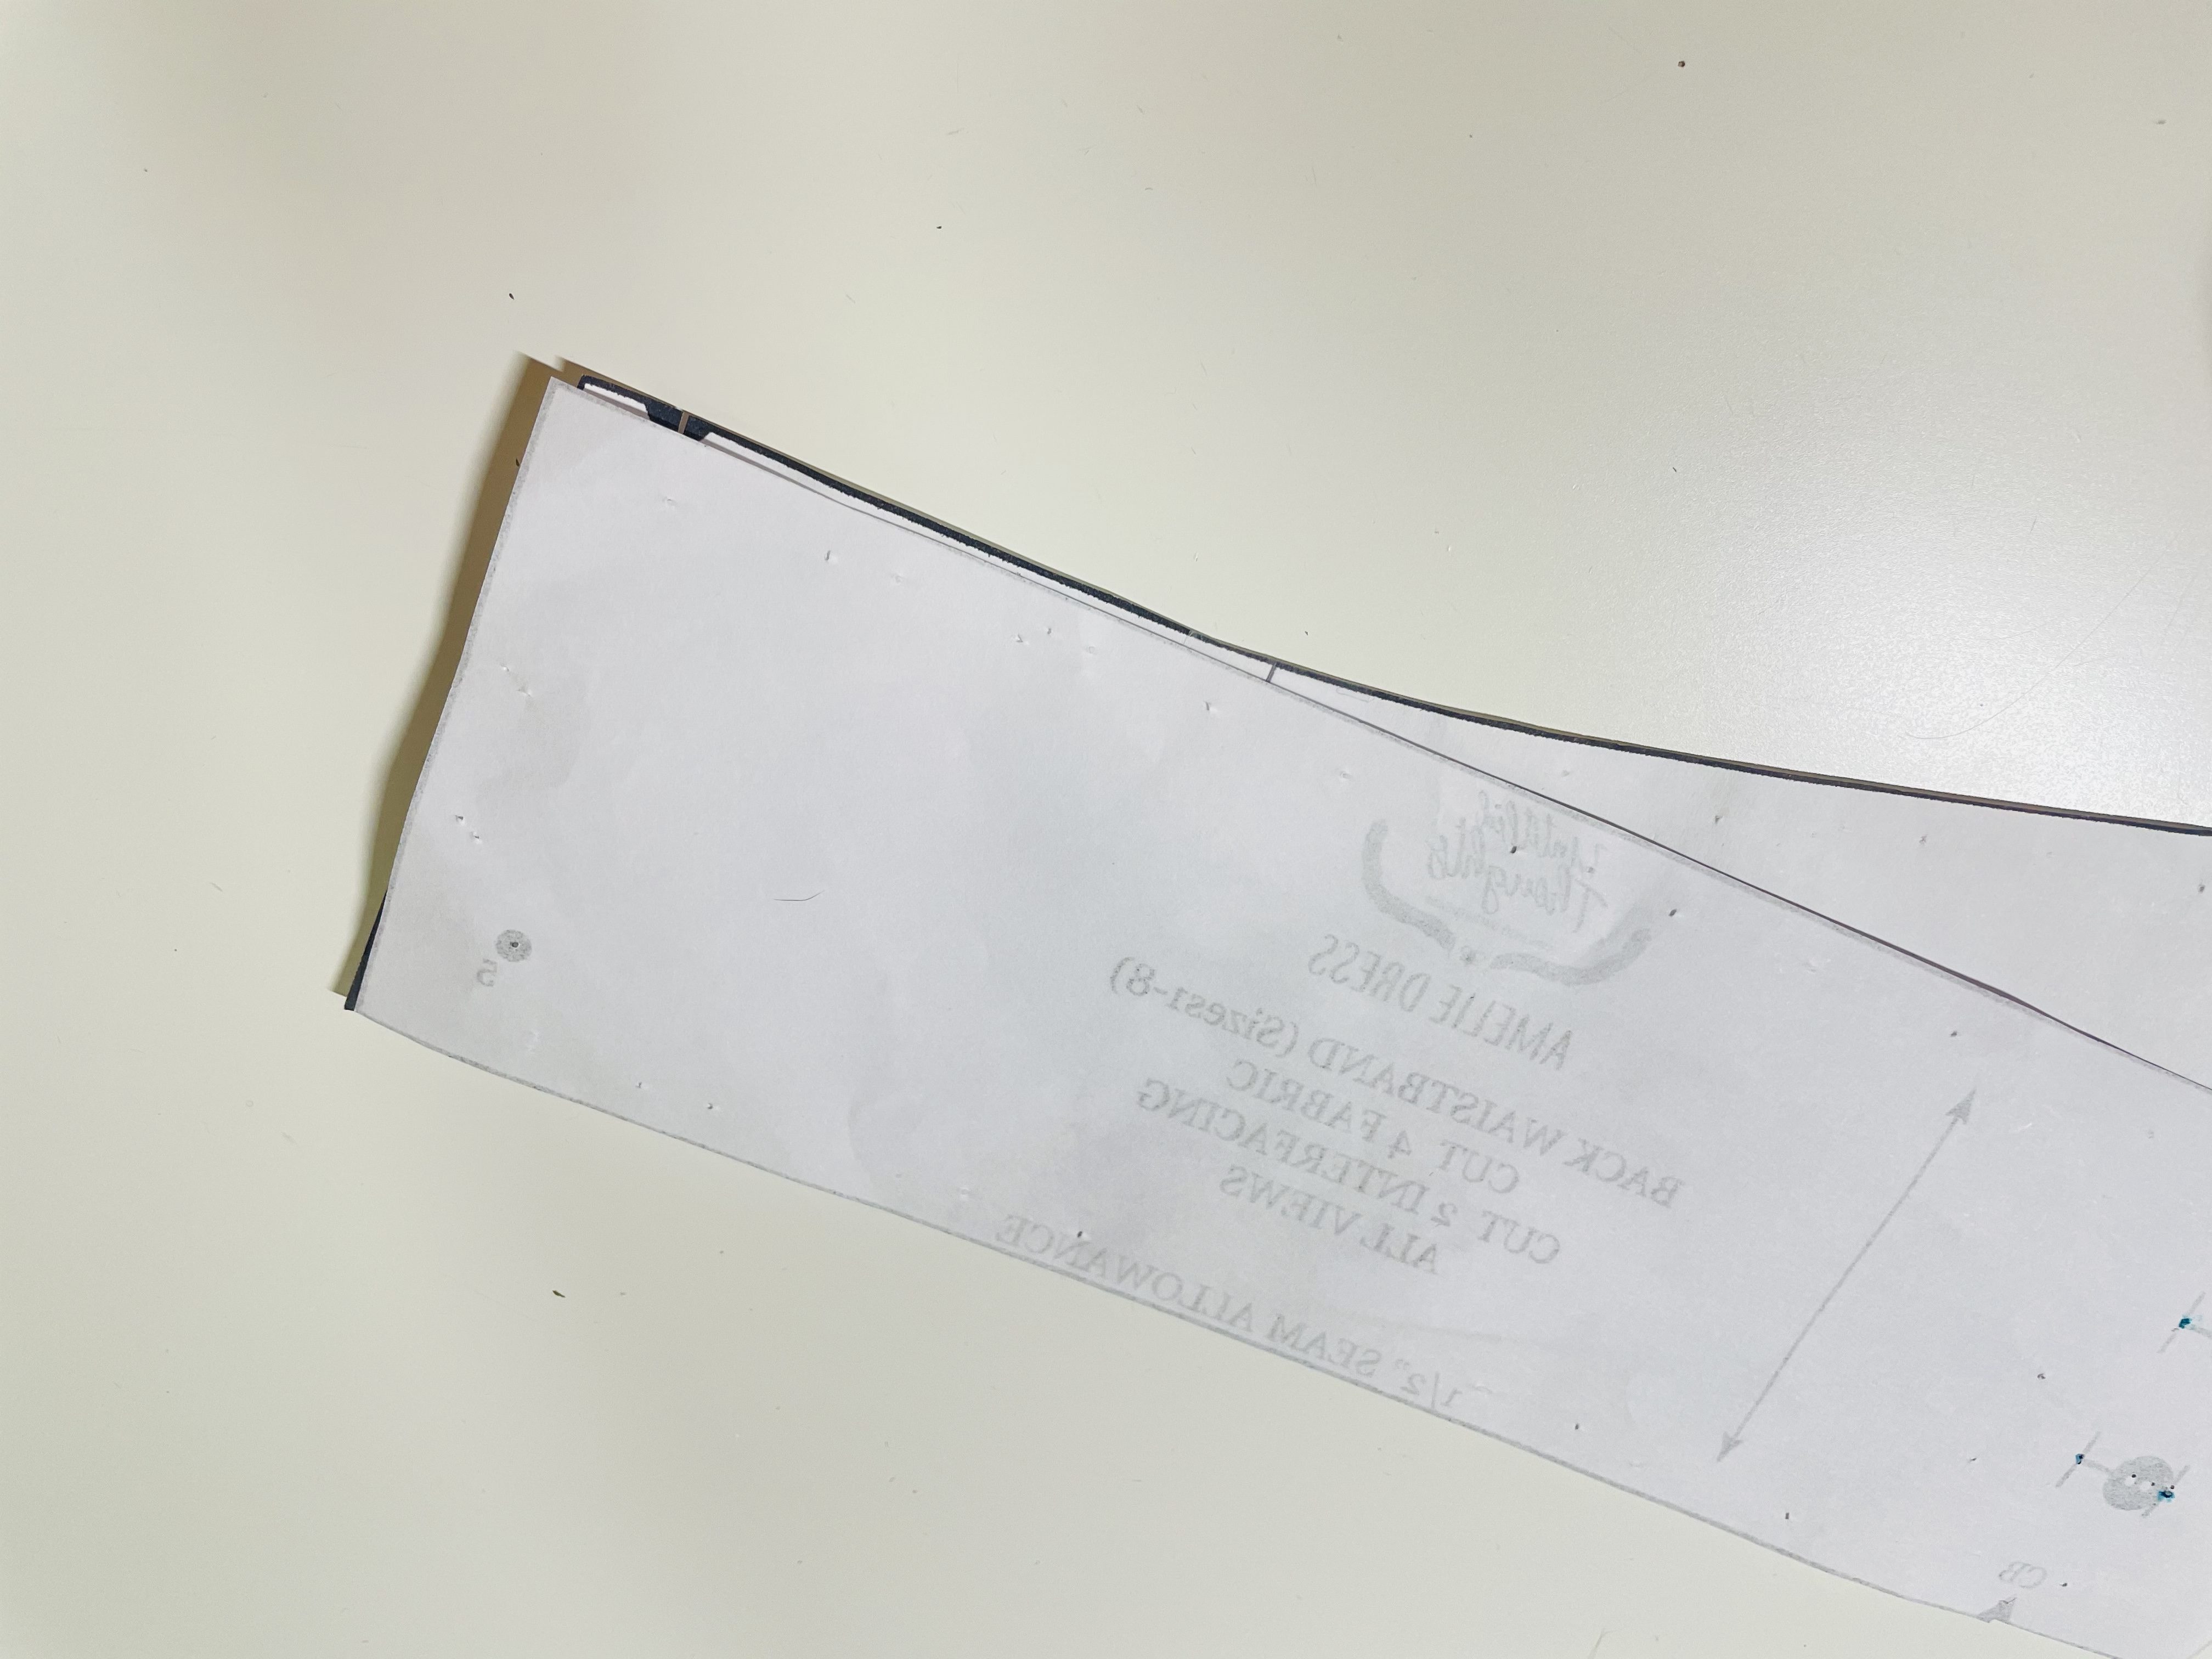
The curves of your pieces should be going opposite one another.
Sew the waistband as shown with the pattern piece for your main and your interfaced lining.
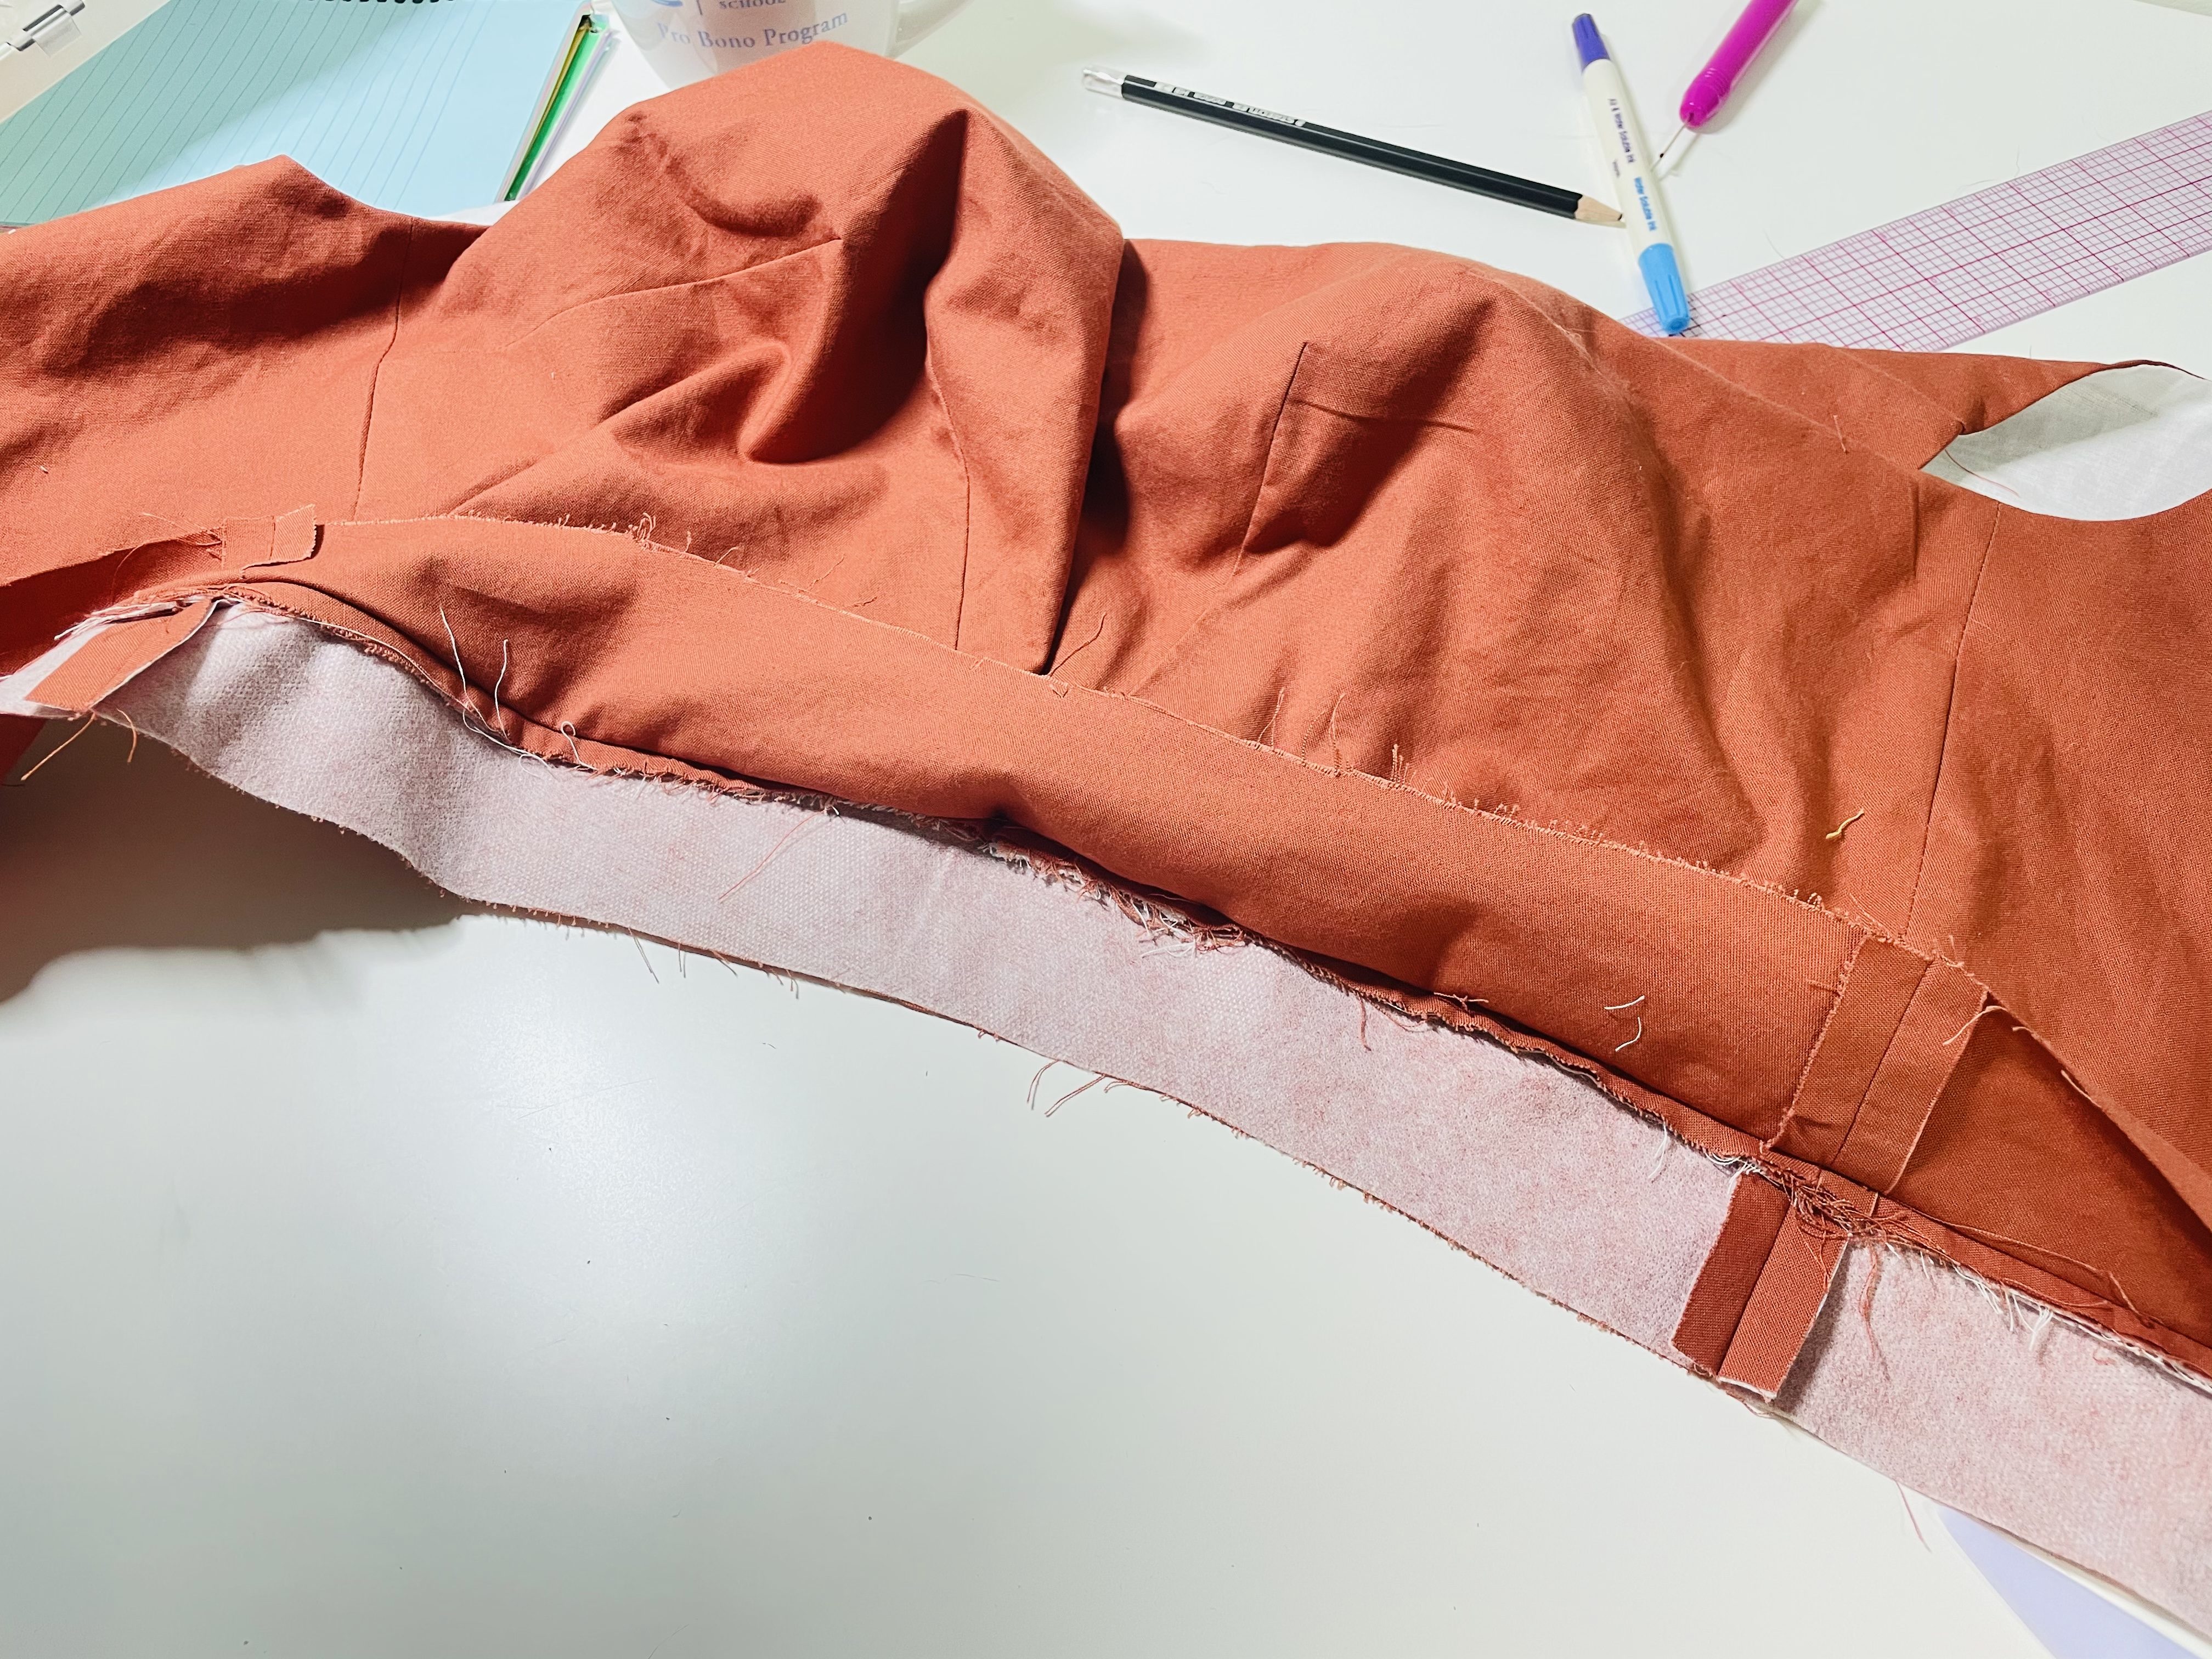
Now, we need to attach your waistband (main and lining) to your bodice. For this step, with the right side of your waistband main facing the right side of your bodice main and the right side of your waistband lining facing the inside of your bodice lining (the part that faces your body), you’re going to create a sandwich. The bottom of your bodice (main and lining) should be the “filling,” lining up with the “bread” of your two waistband pieces.
Sew this with a 0.5″ (1.3 cm) seam allowance. When finished, it should look like this:
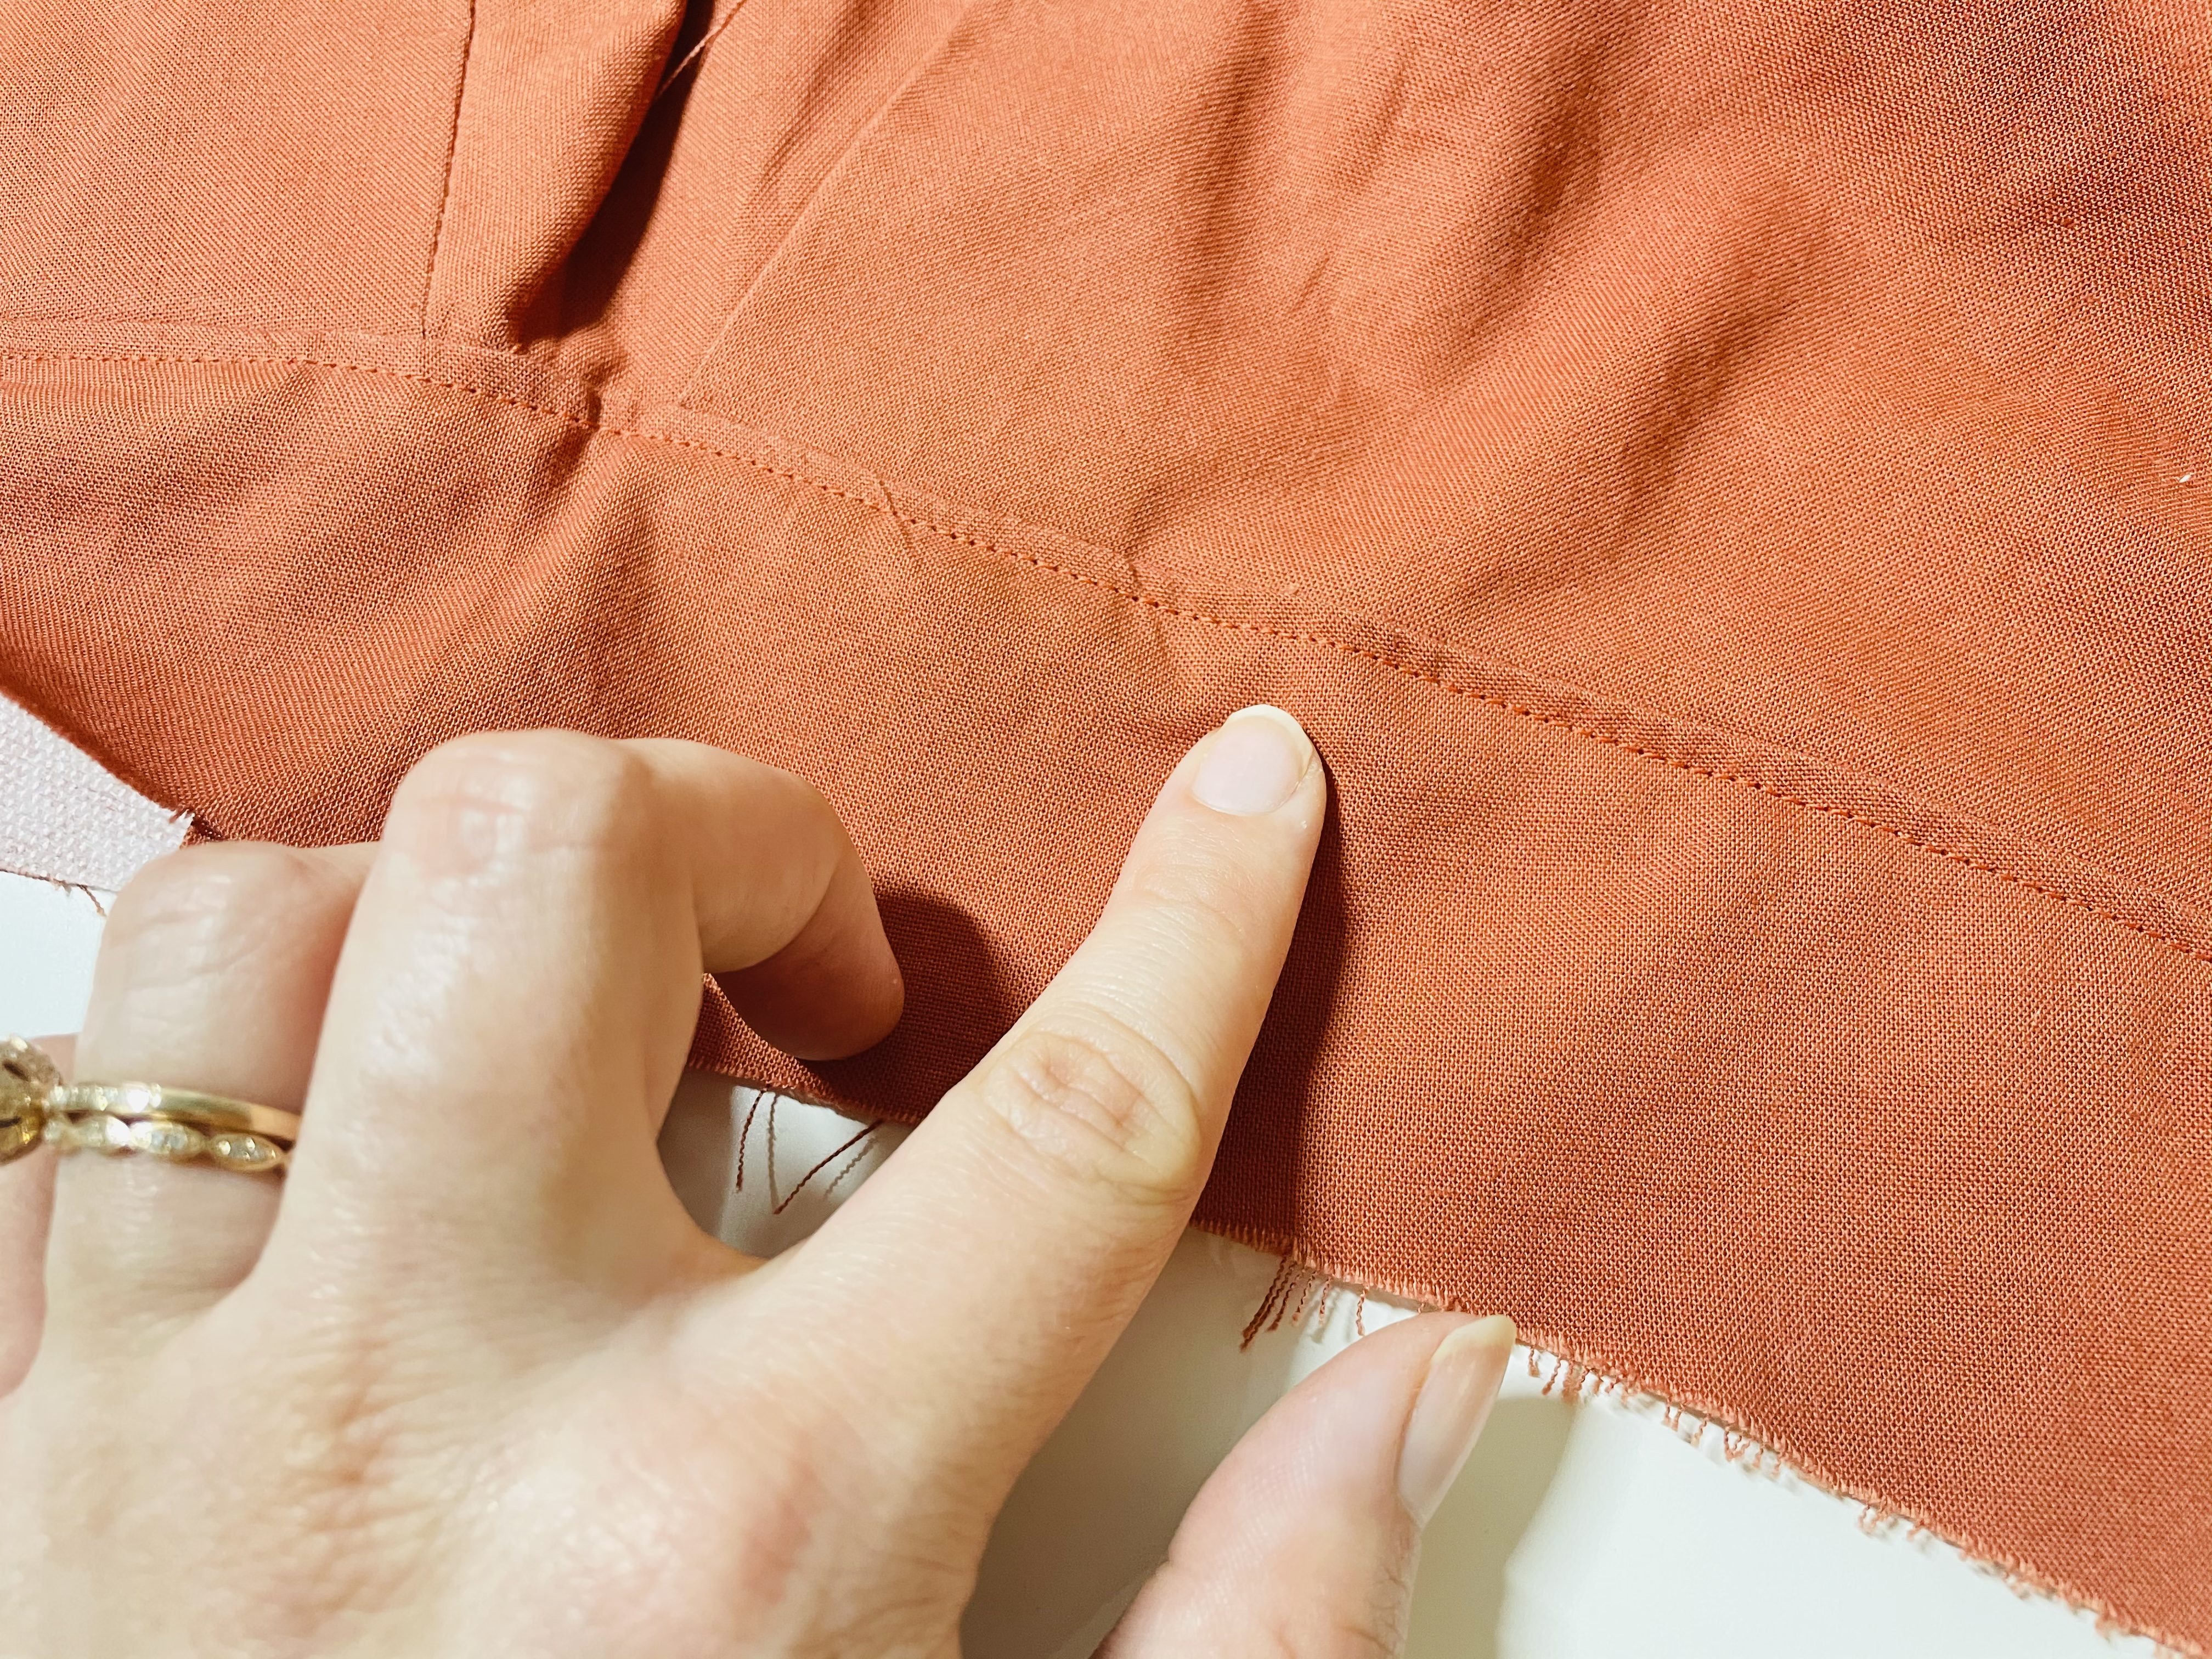
Now, we need to topstitch! So many people hate topstitching, but I honestly love it. I just align the seam I’m topstitching with the center of my foot, move my needle to the right by about 2 mm or so, and go!
Now for the skirt!
It’s time to conquer the skirt! We’ll start by sewing the center front seam. Lay the front skirt pieces together, right sides together, and sewing with a 0.5″ (1.3 cm) seam allowance.
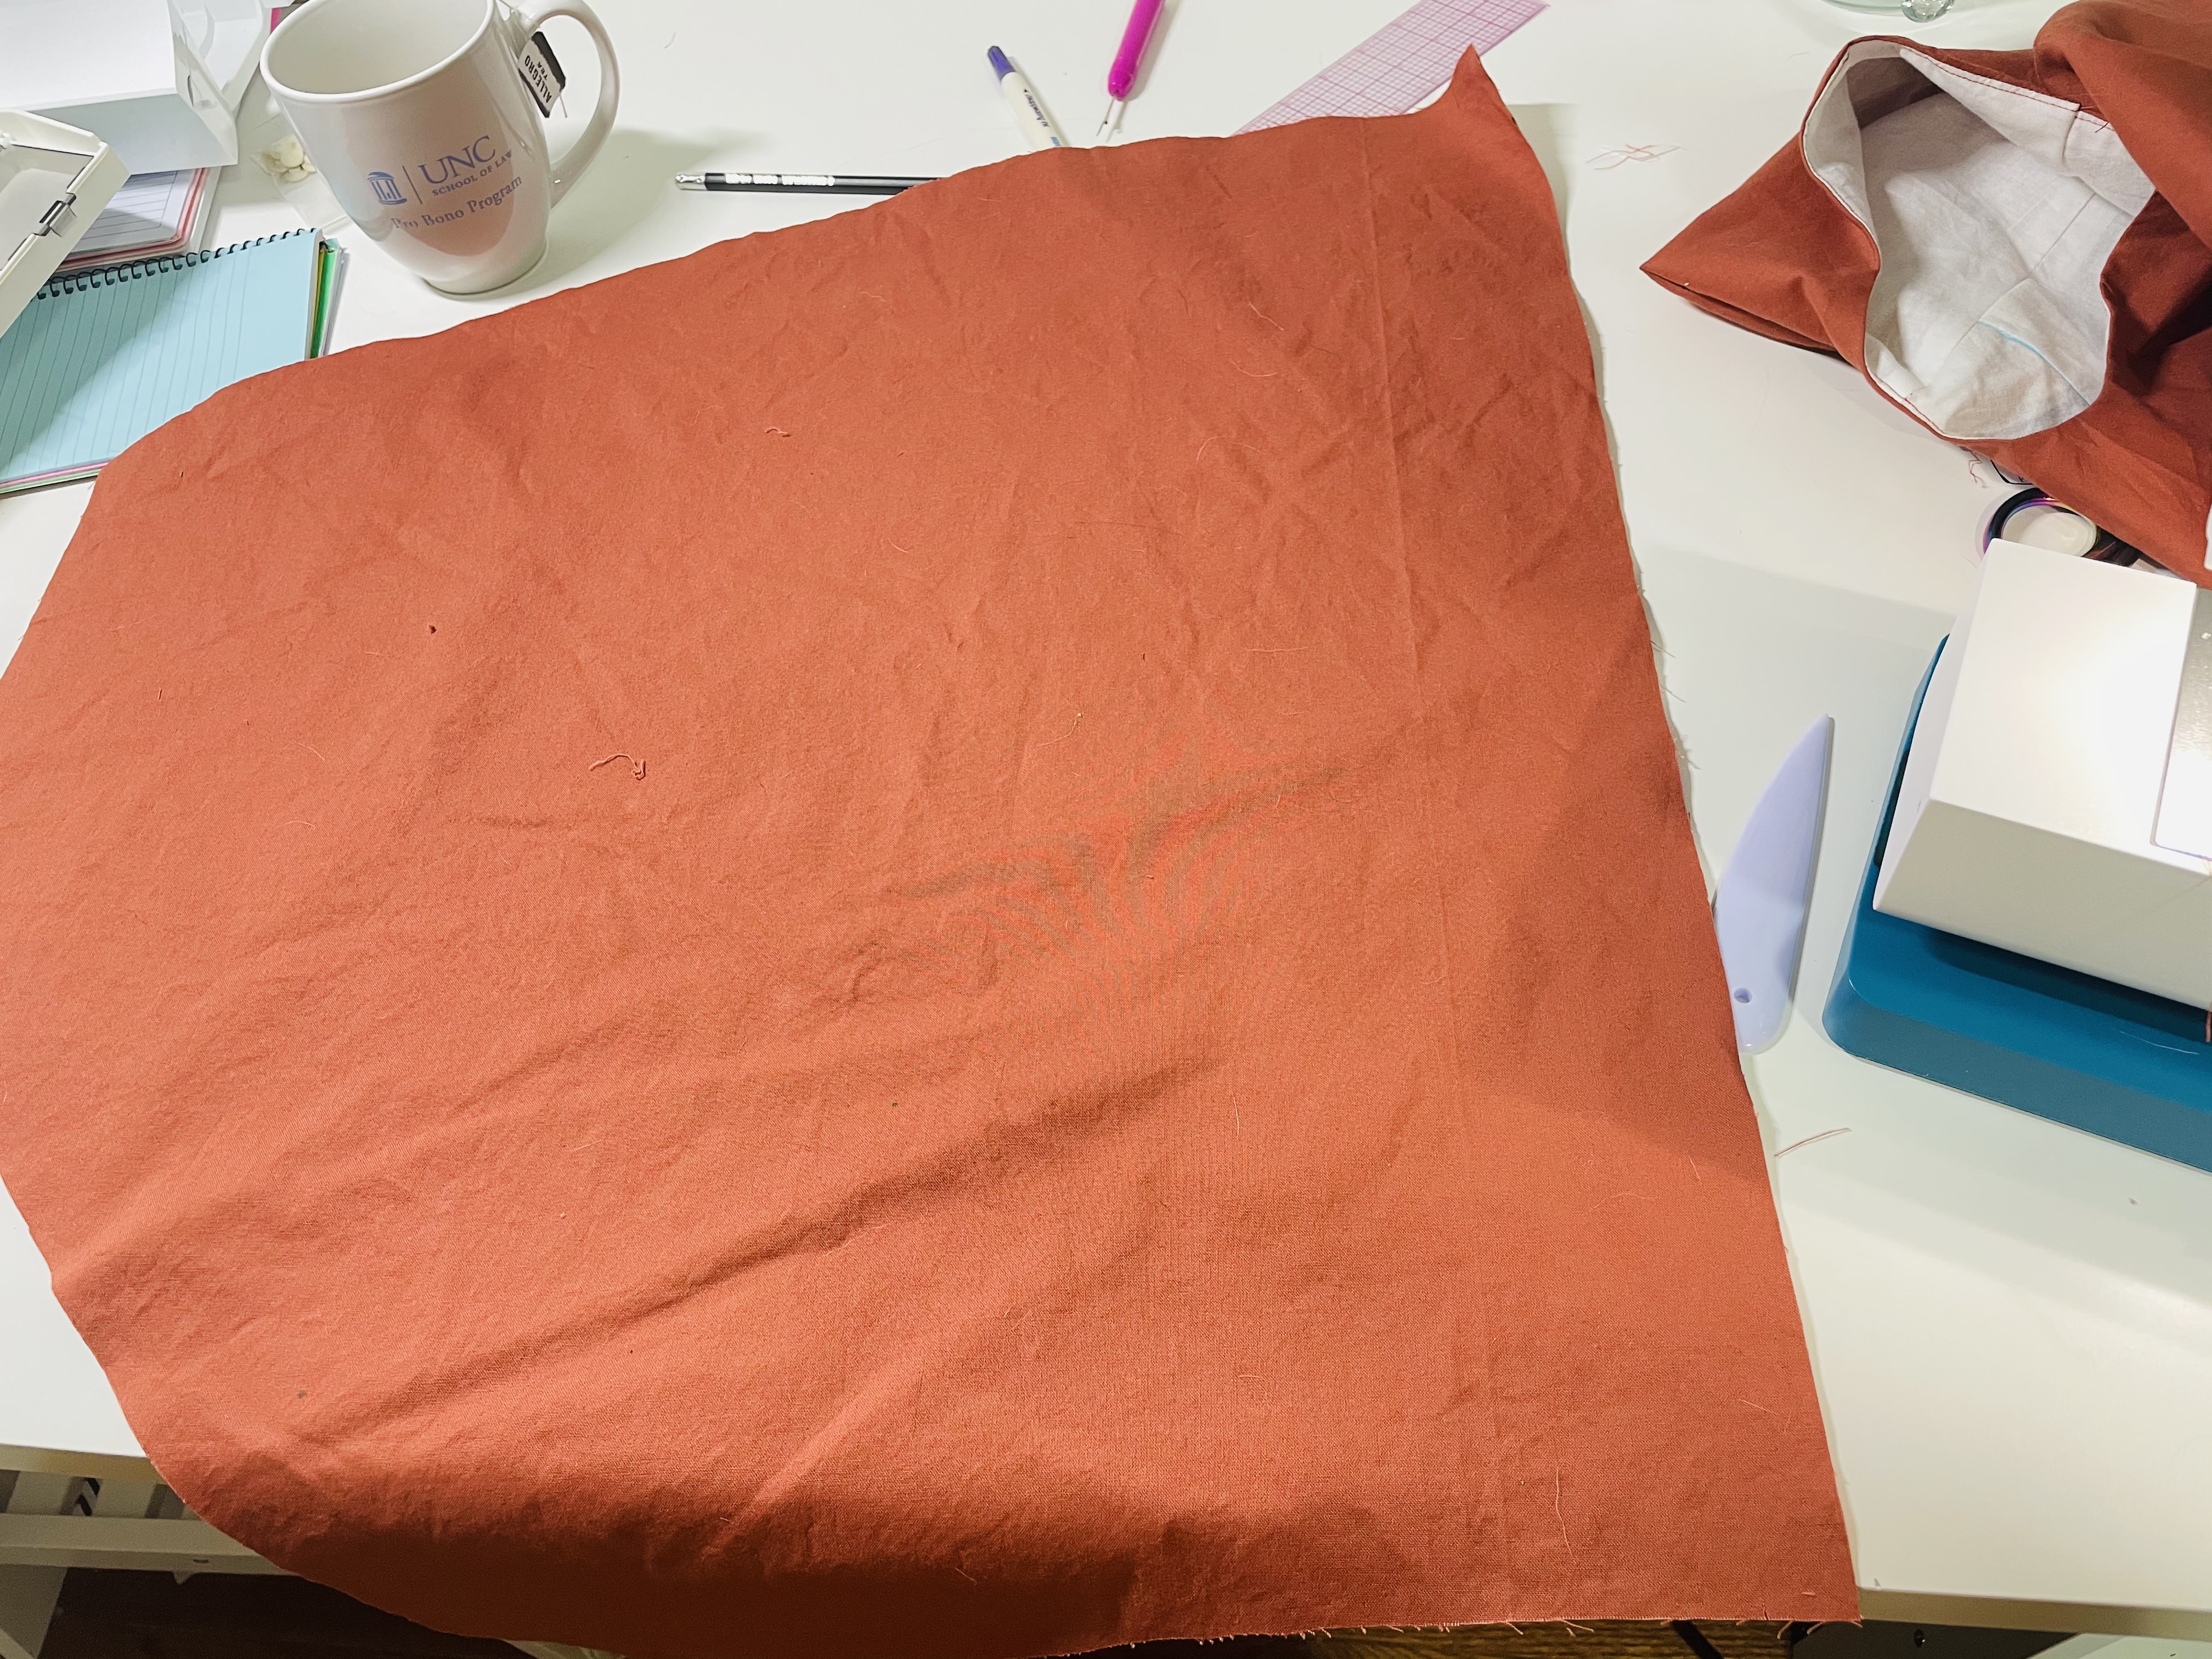
Finish this seam the way you prefer. (I like to use a zigzag stitch over the edge, as seen below.)
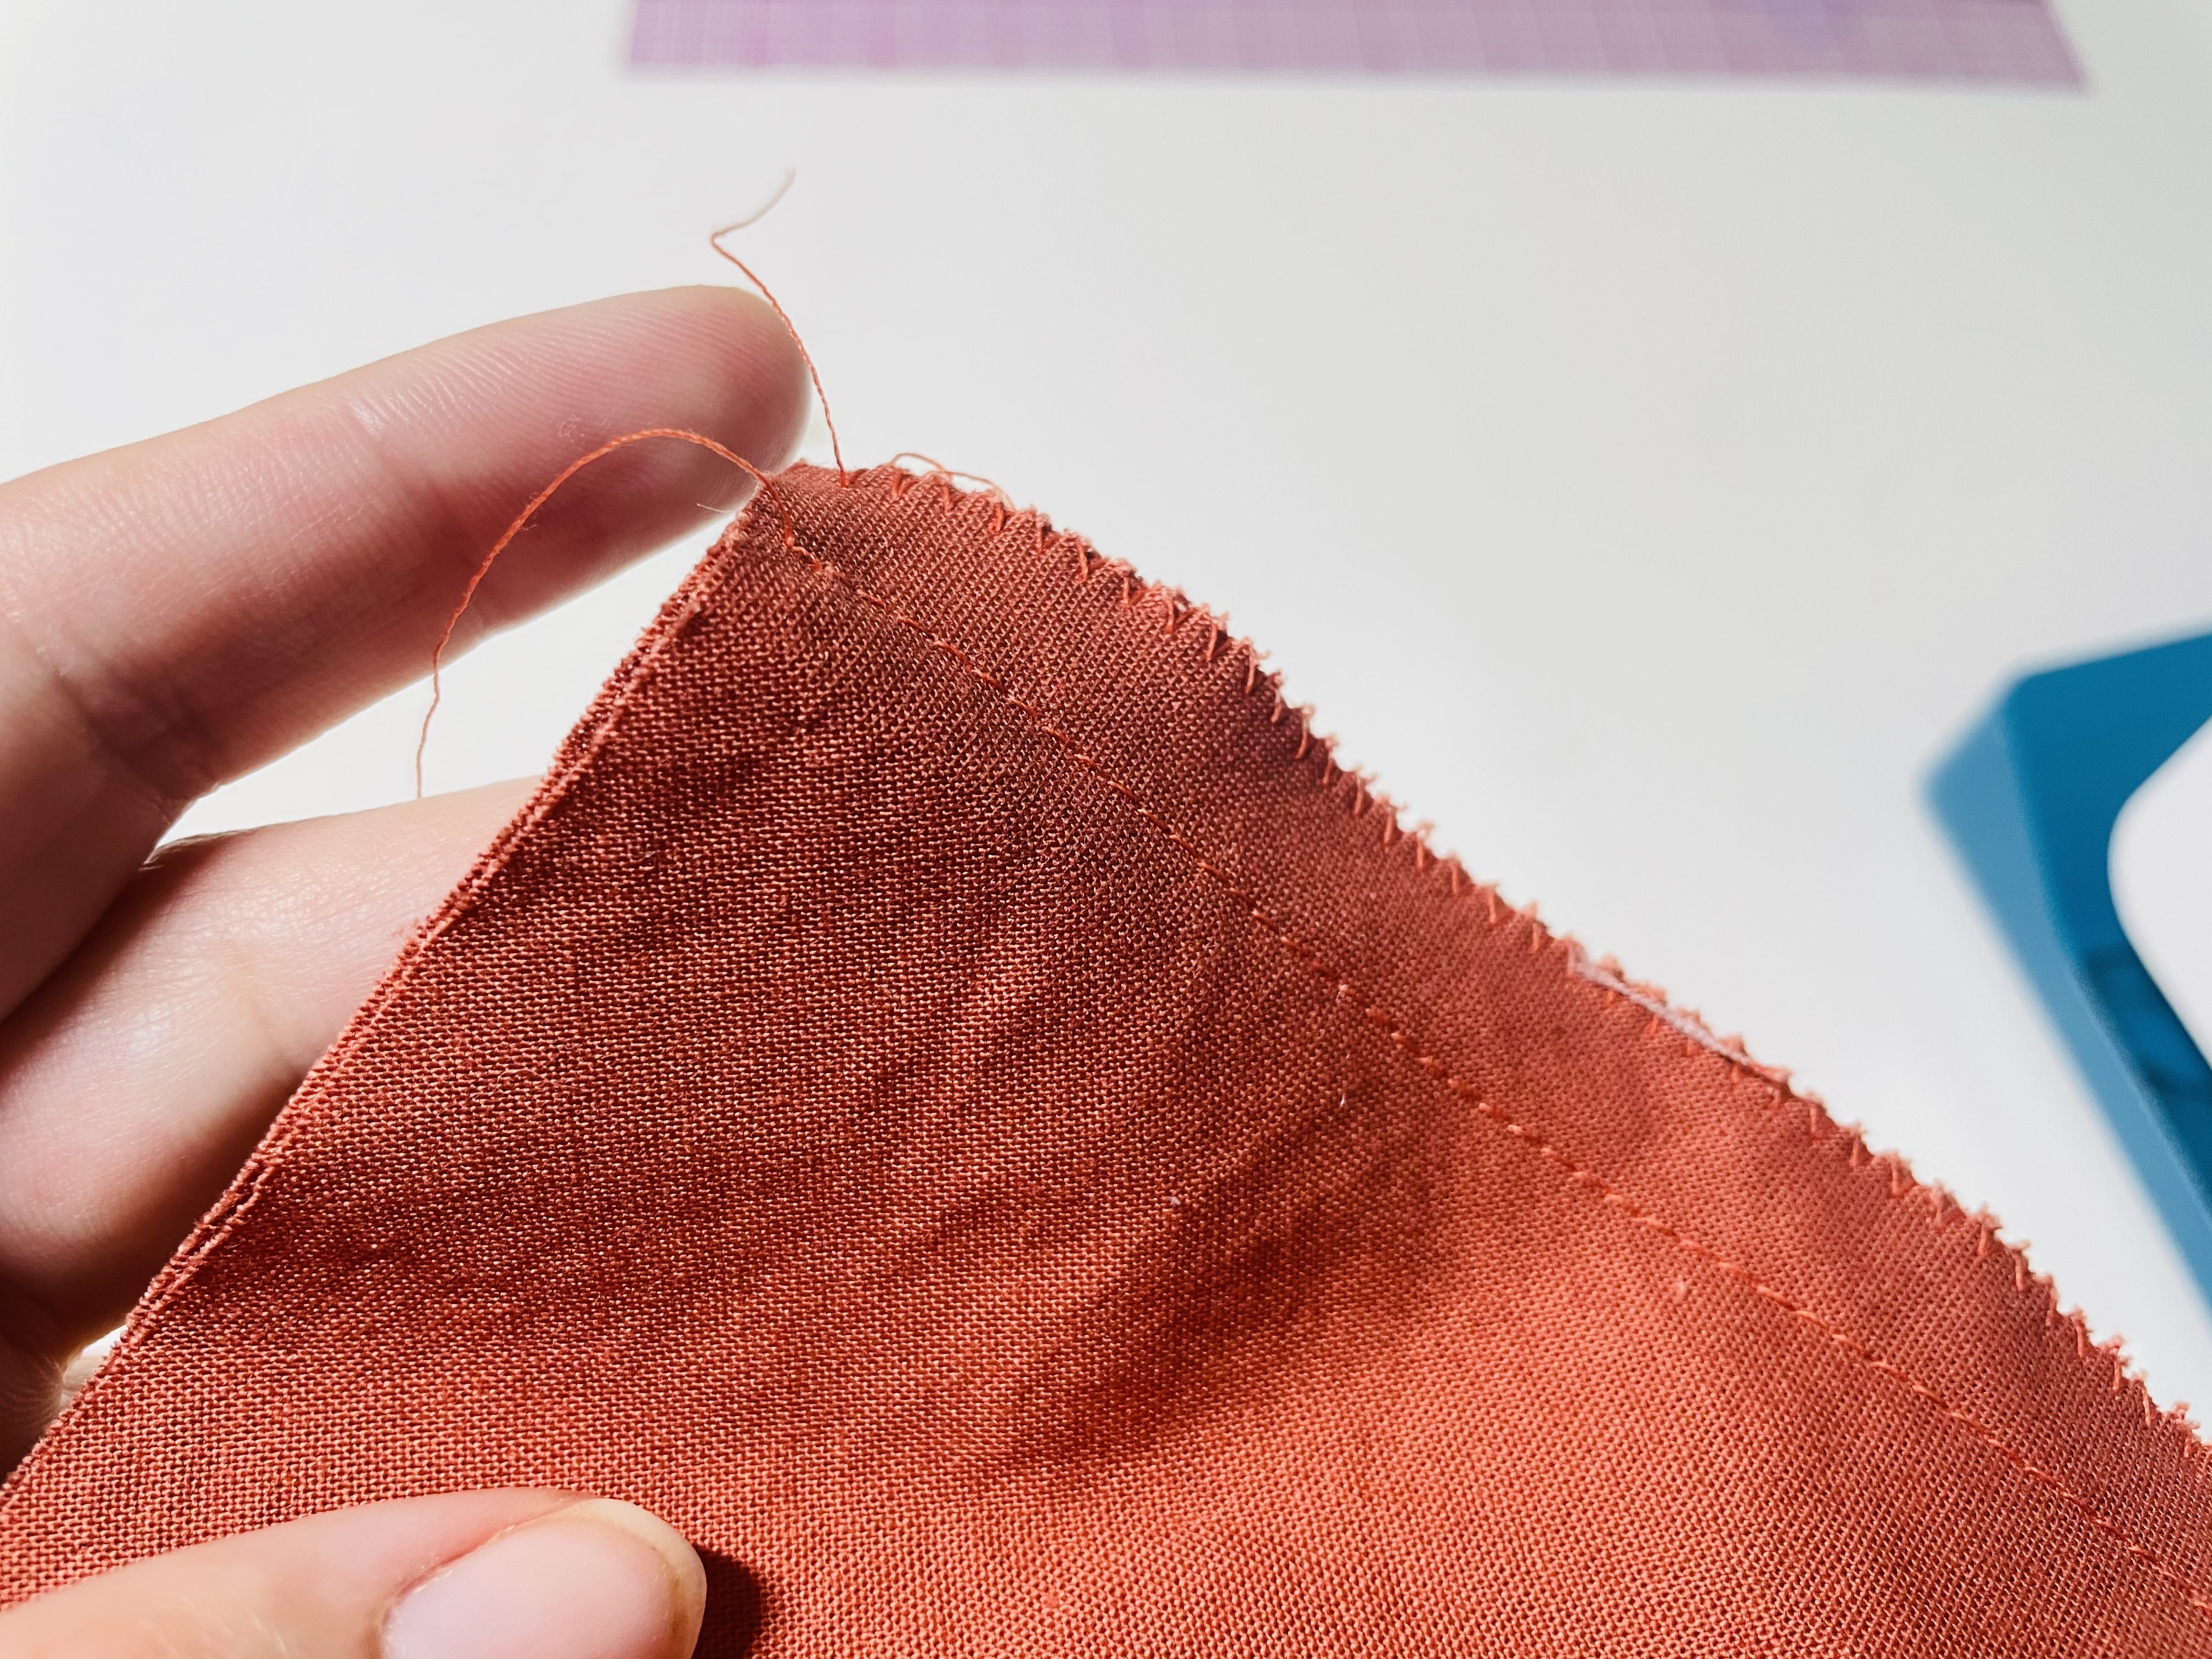
Triangle skirt extensions
Now, we must attach the “skirt extension” (godet-ish) pieces. Right sides together and matching the darts as seen below, pin these triangles onto the skirt front and back pieces:
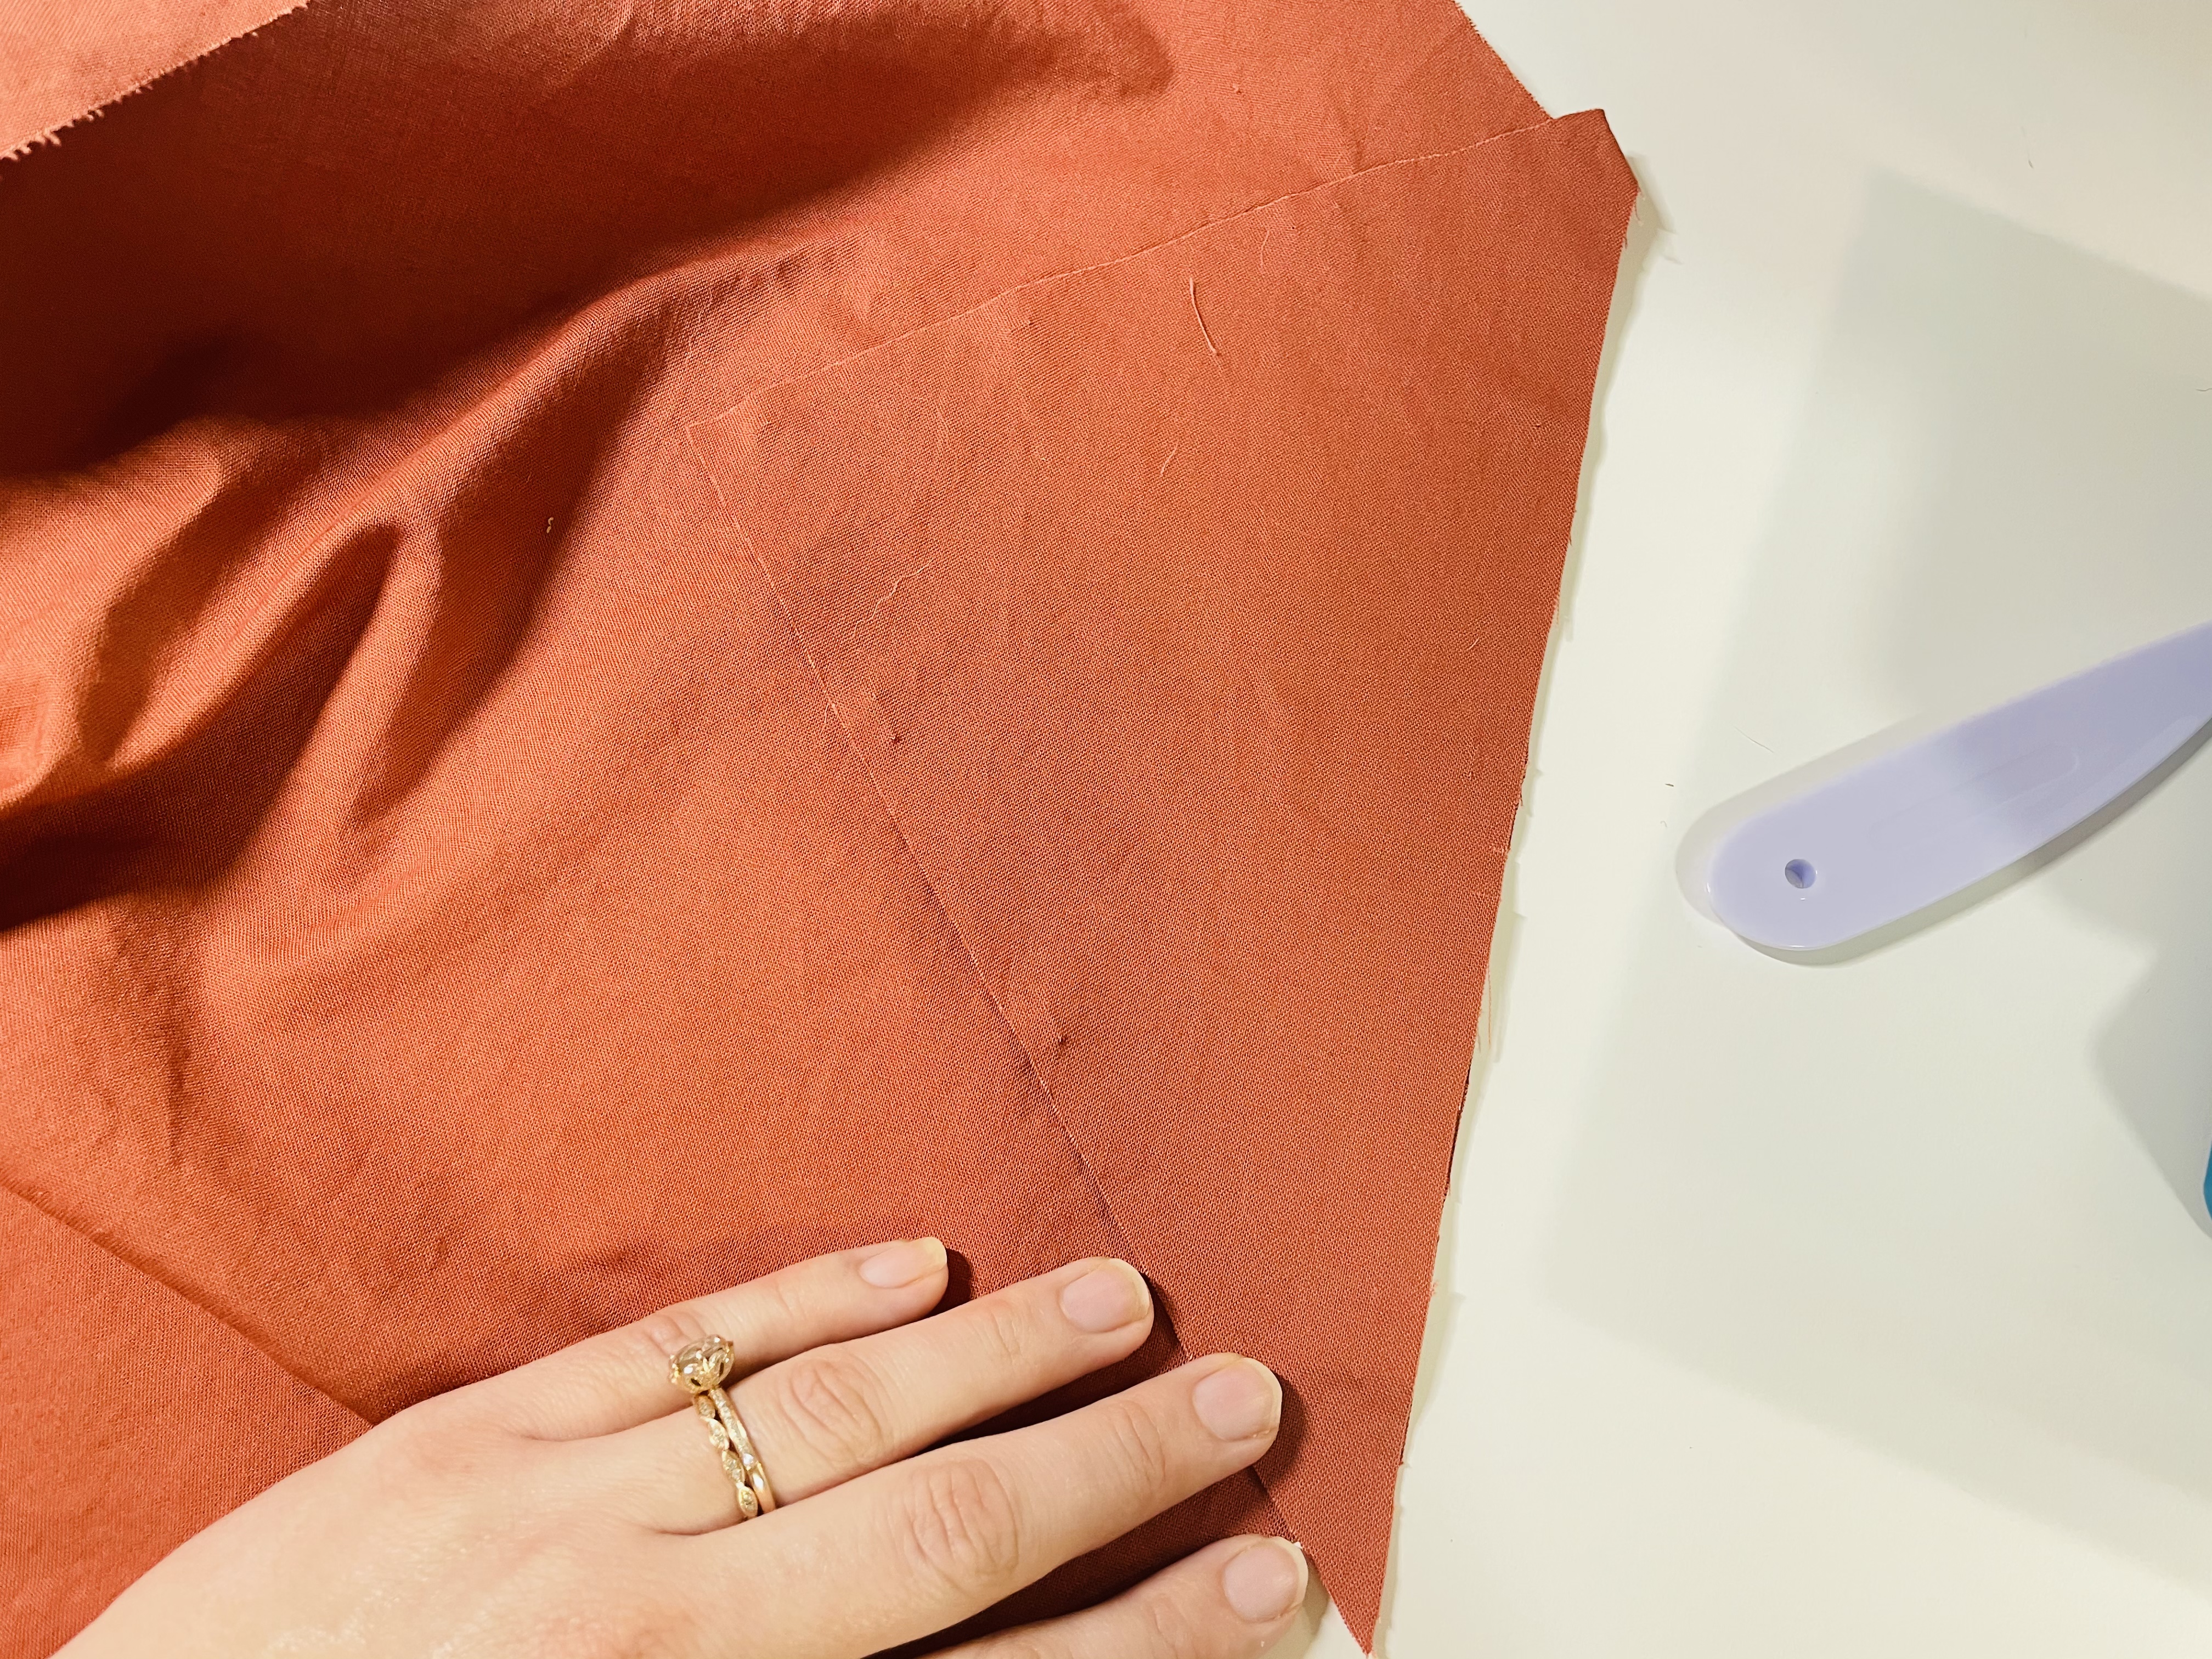
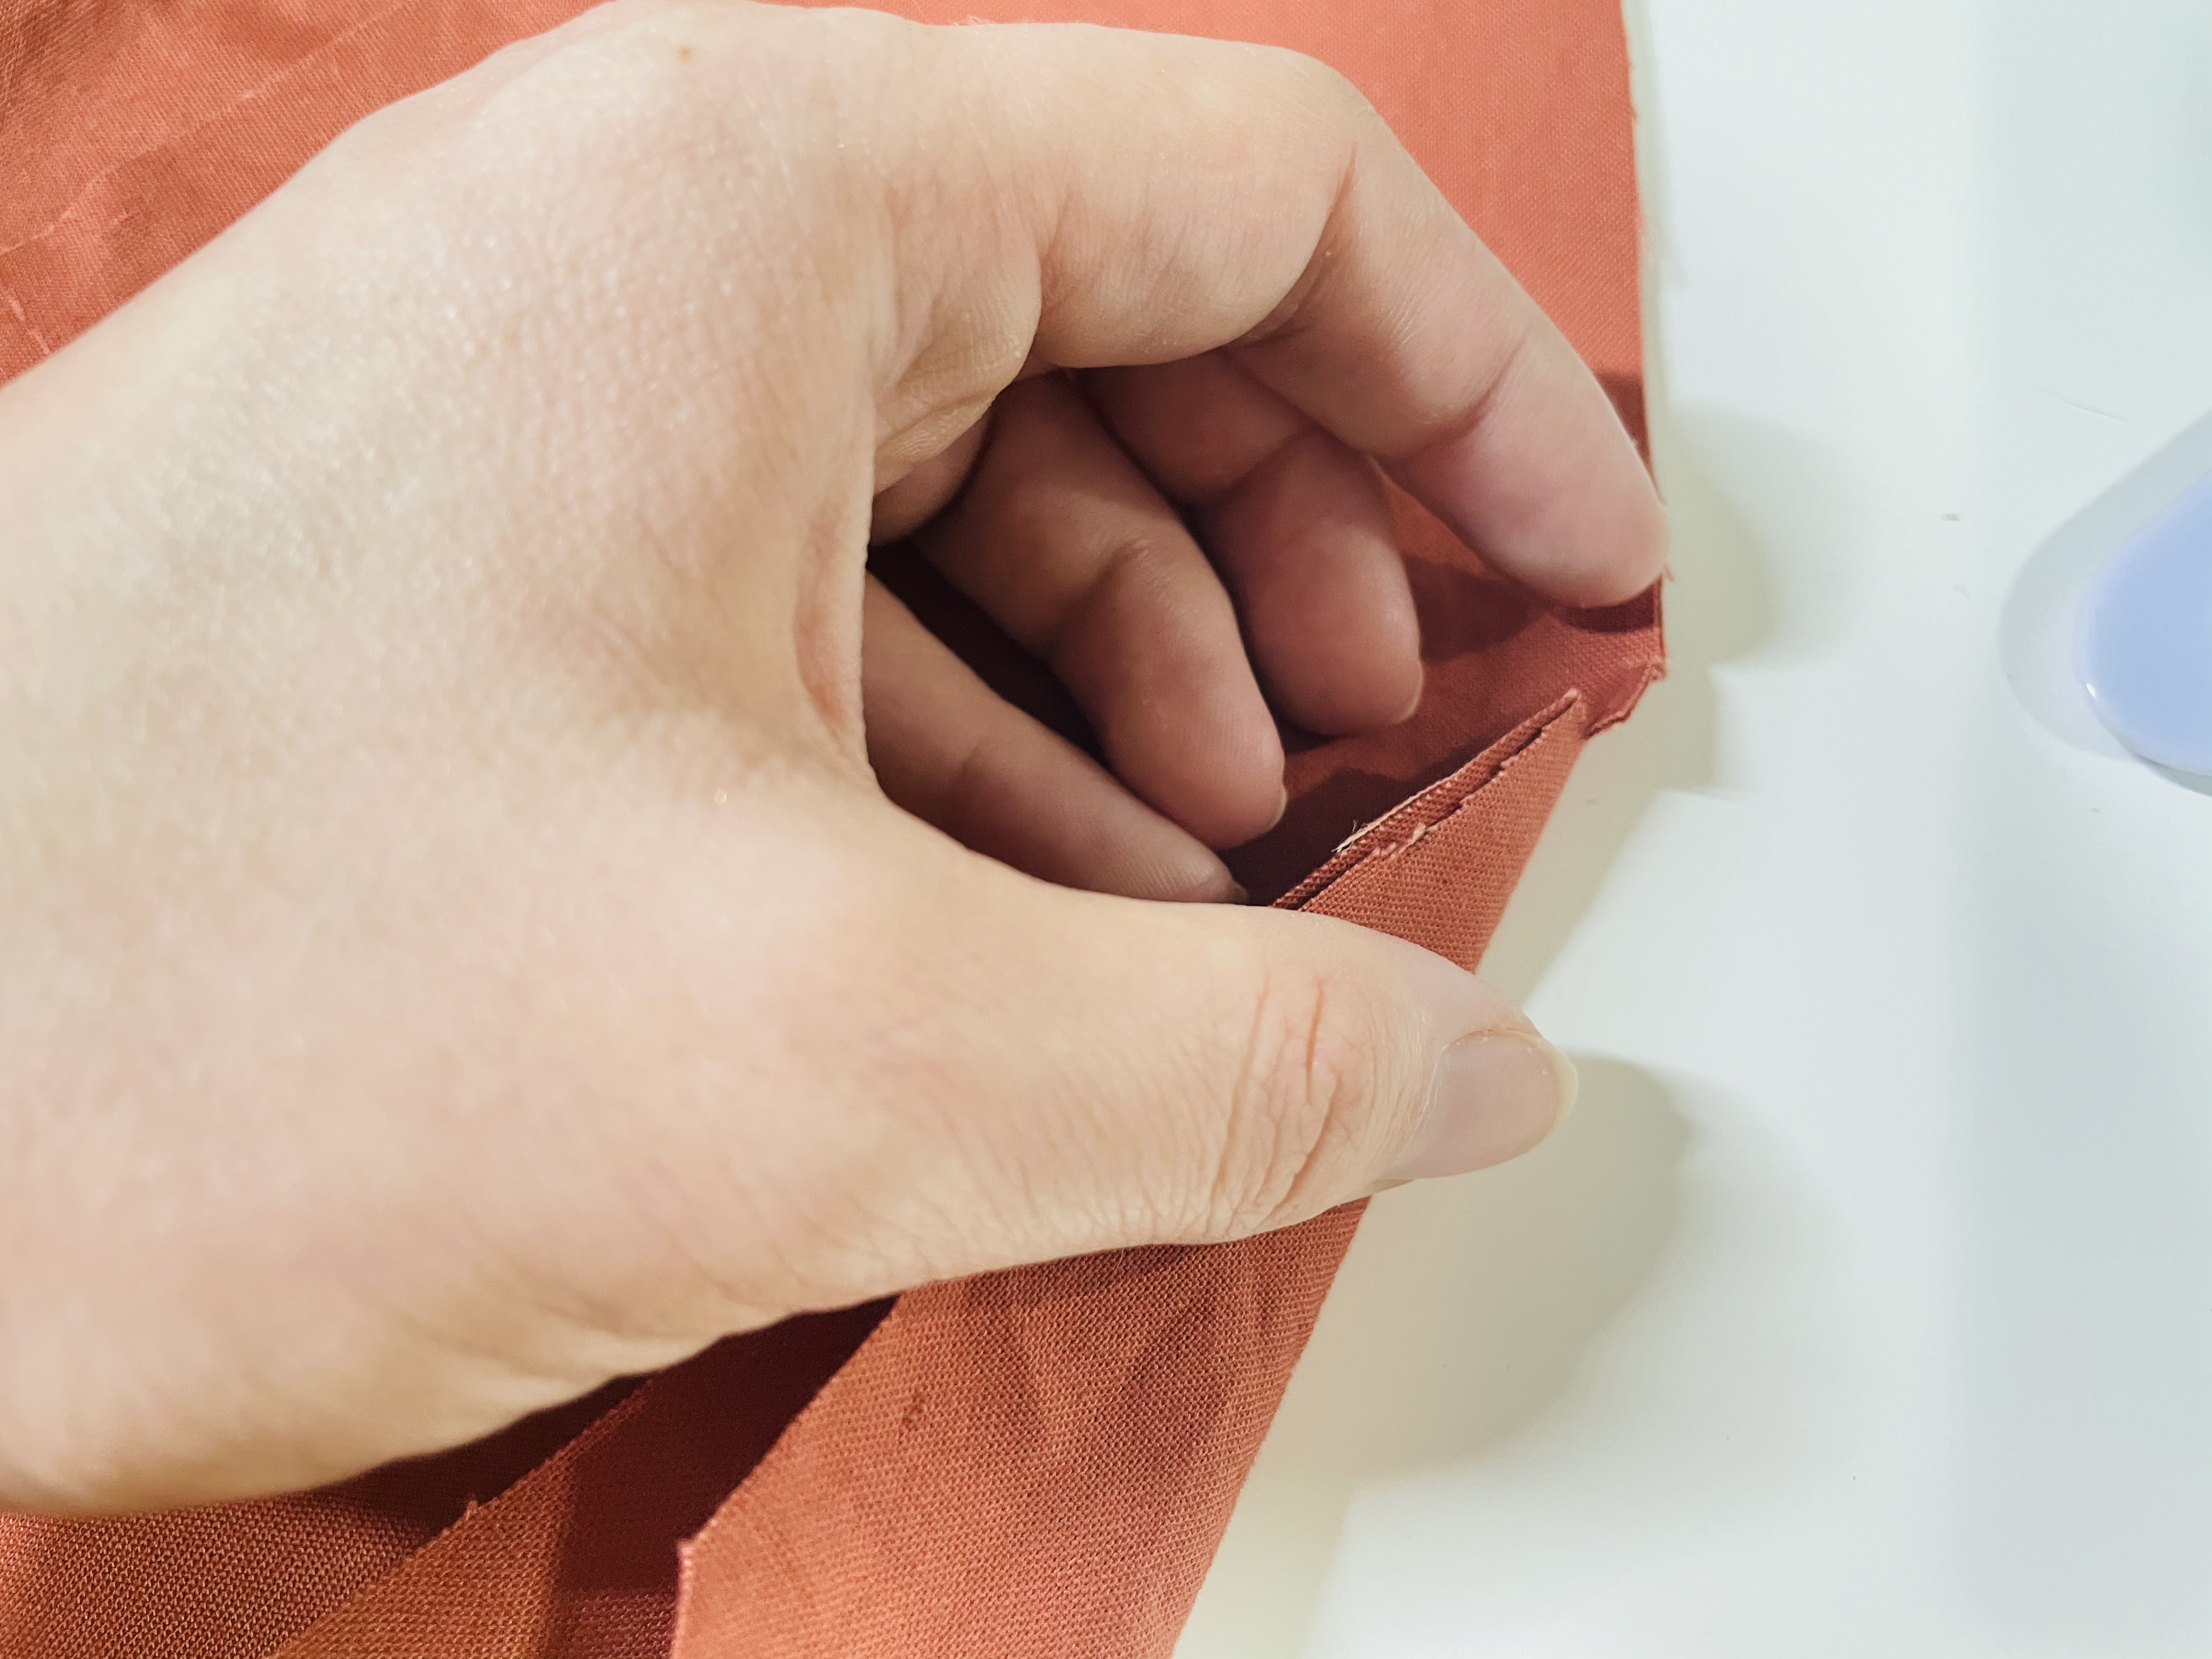
Sew with a 0.5″ (1.3 cm) seam allowance. Don’t worry if the godet-ish piece is a bit too long – this will work out when we sew the skirt seams. Finish this seam with your preferred method.
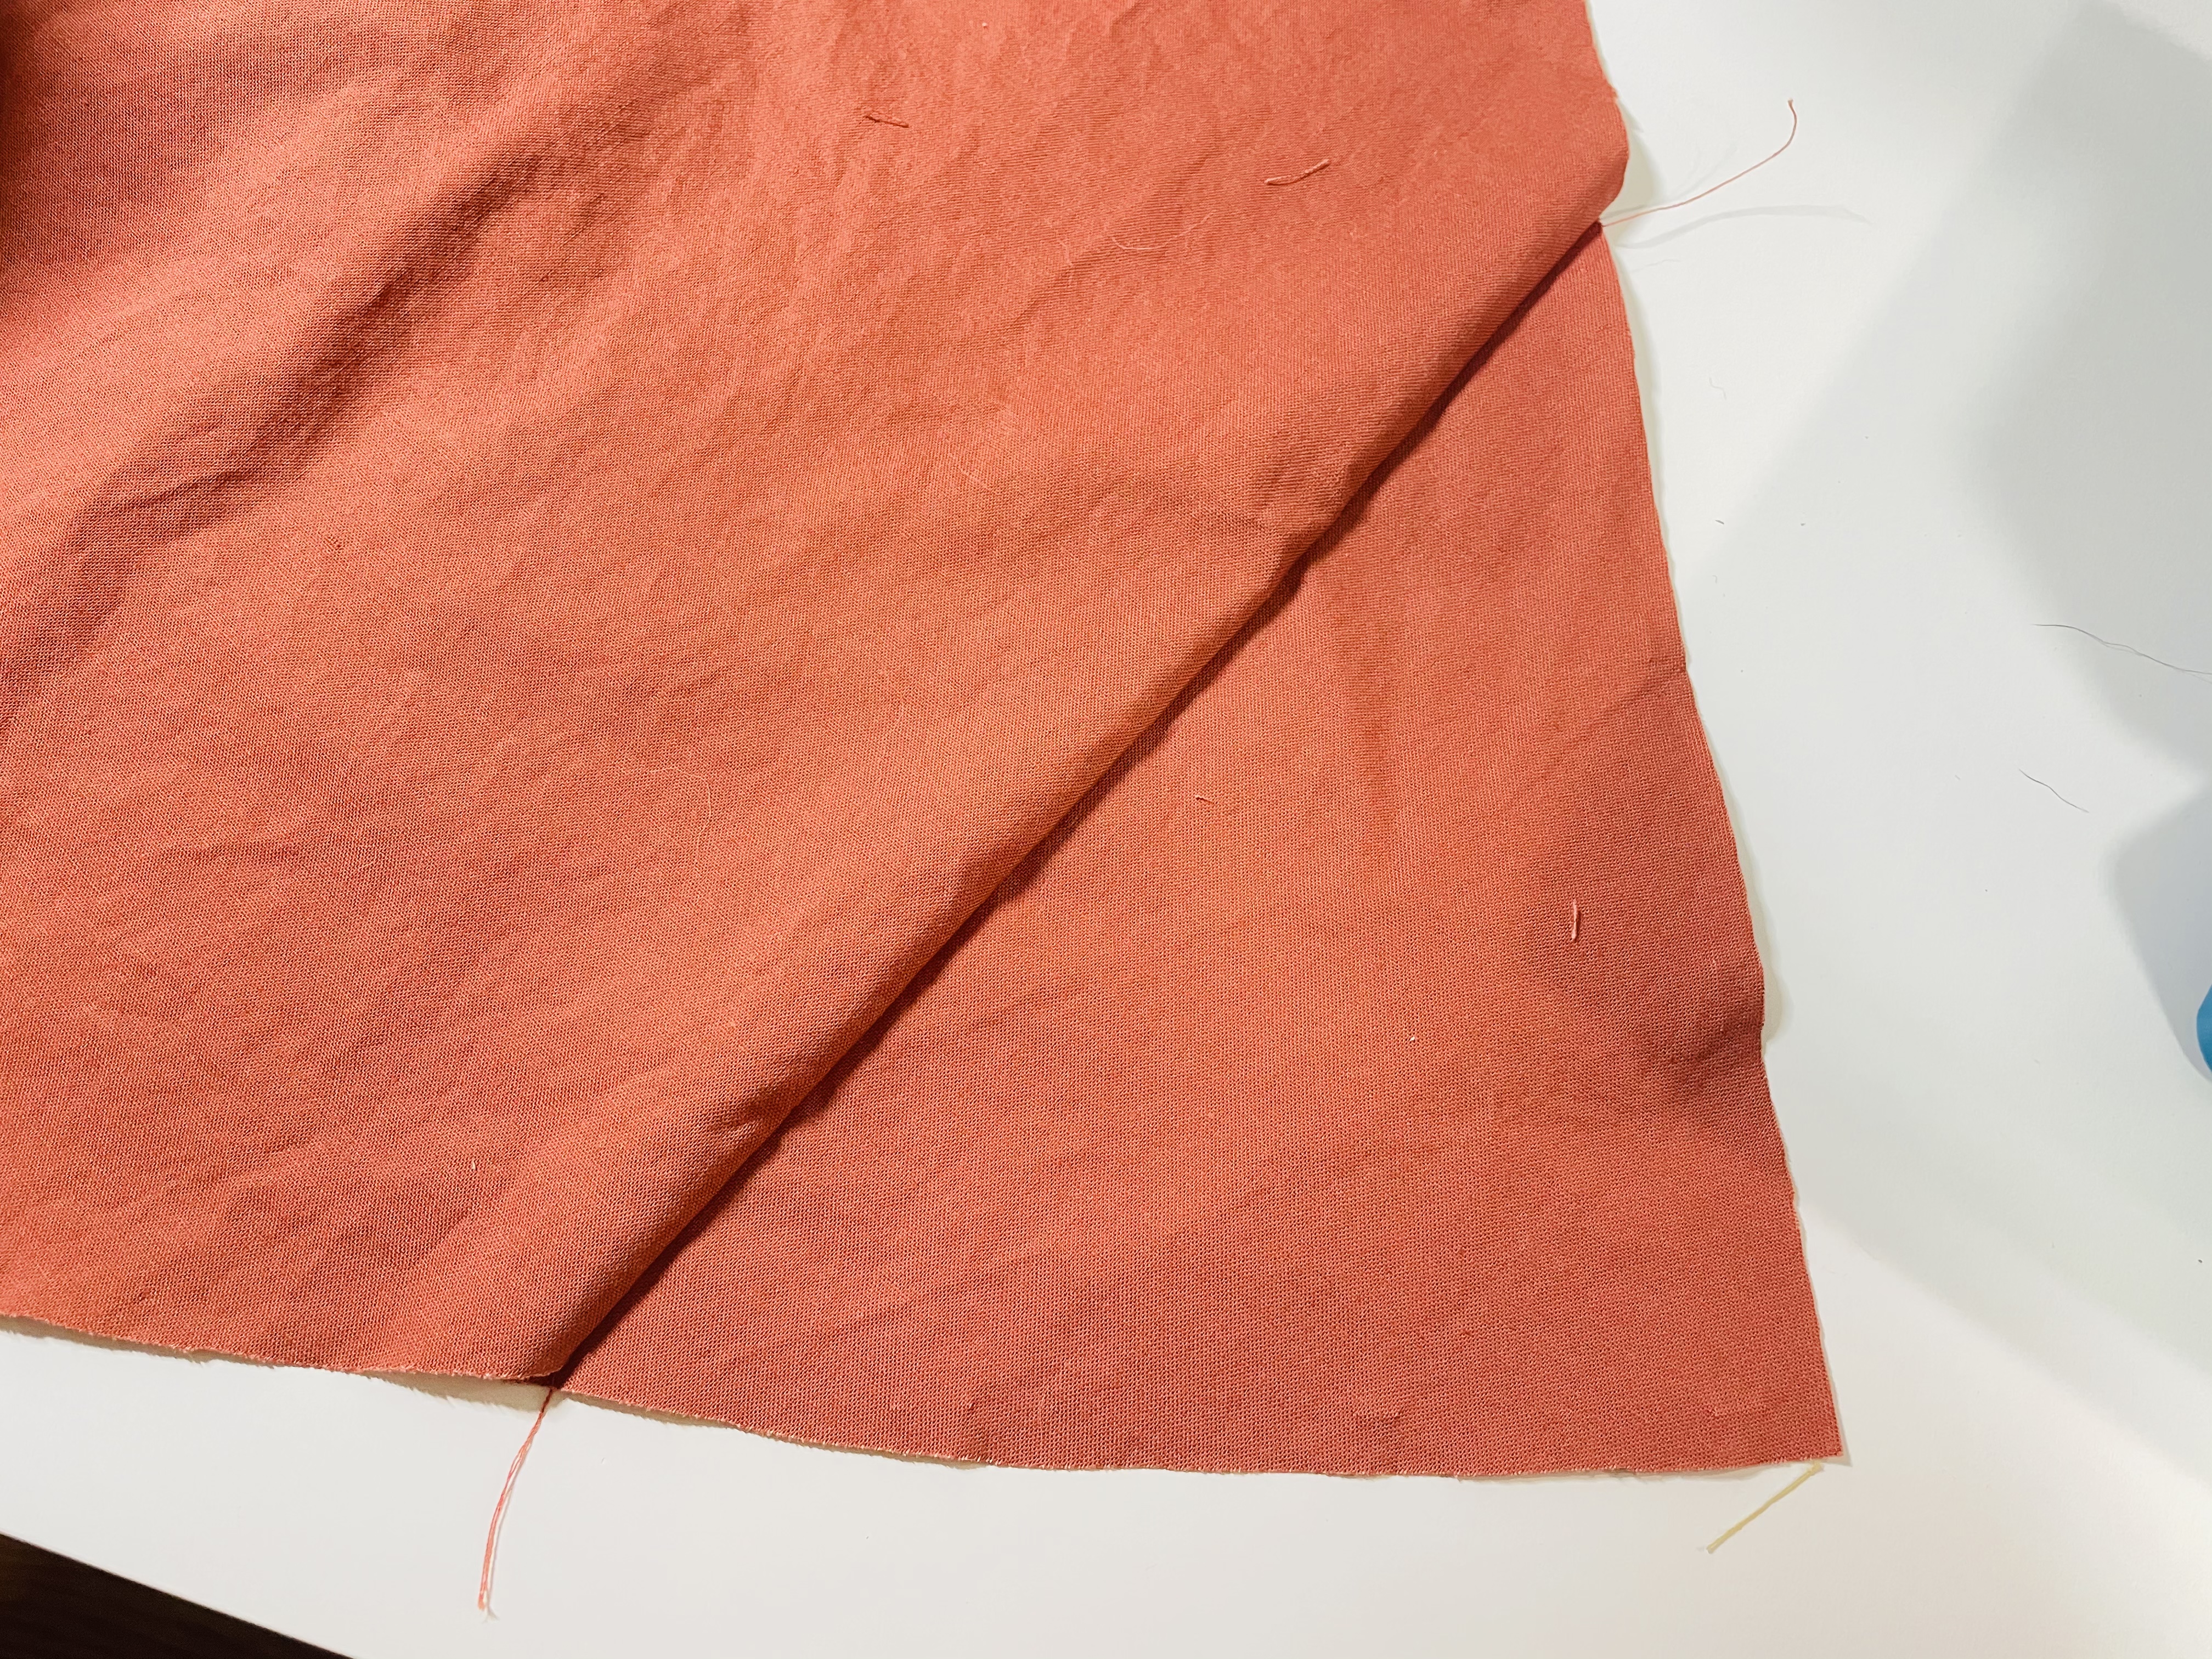
Sewing the side seam
The last step for the skirt is to sew the side seams. With right sides together, place back skirt pieces onto the front skirt piece along long seams. Pin and sew with a 0.5″ (1.3 cm) seam allowance.
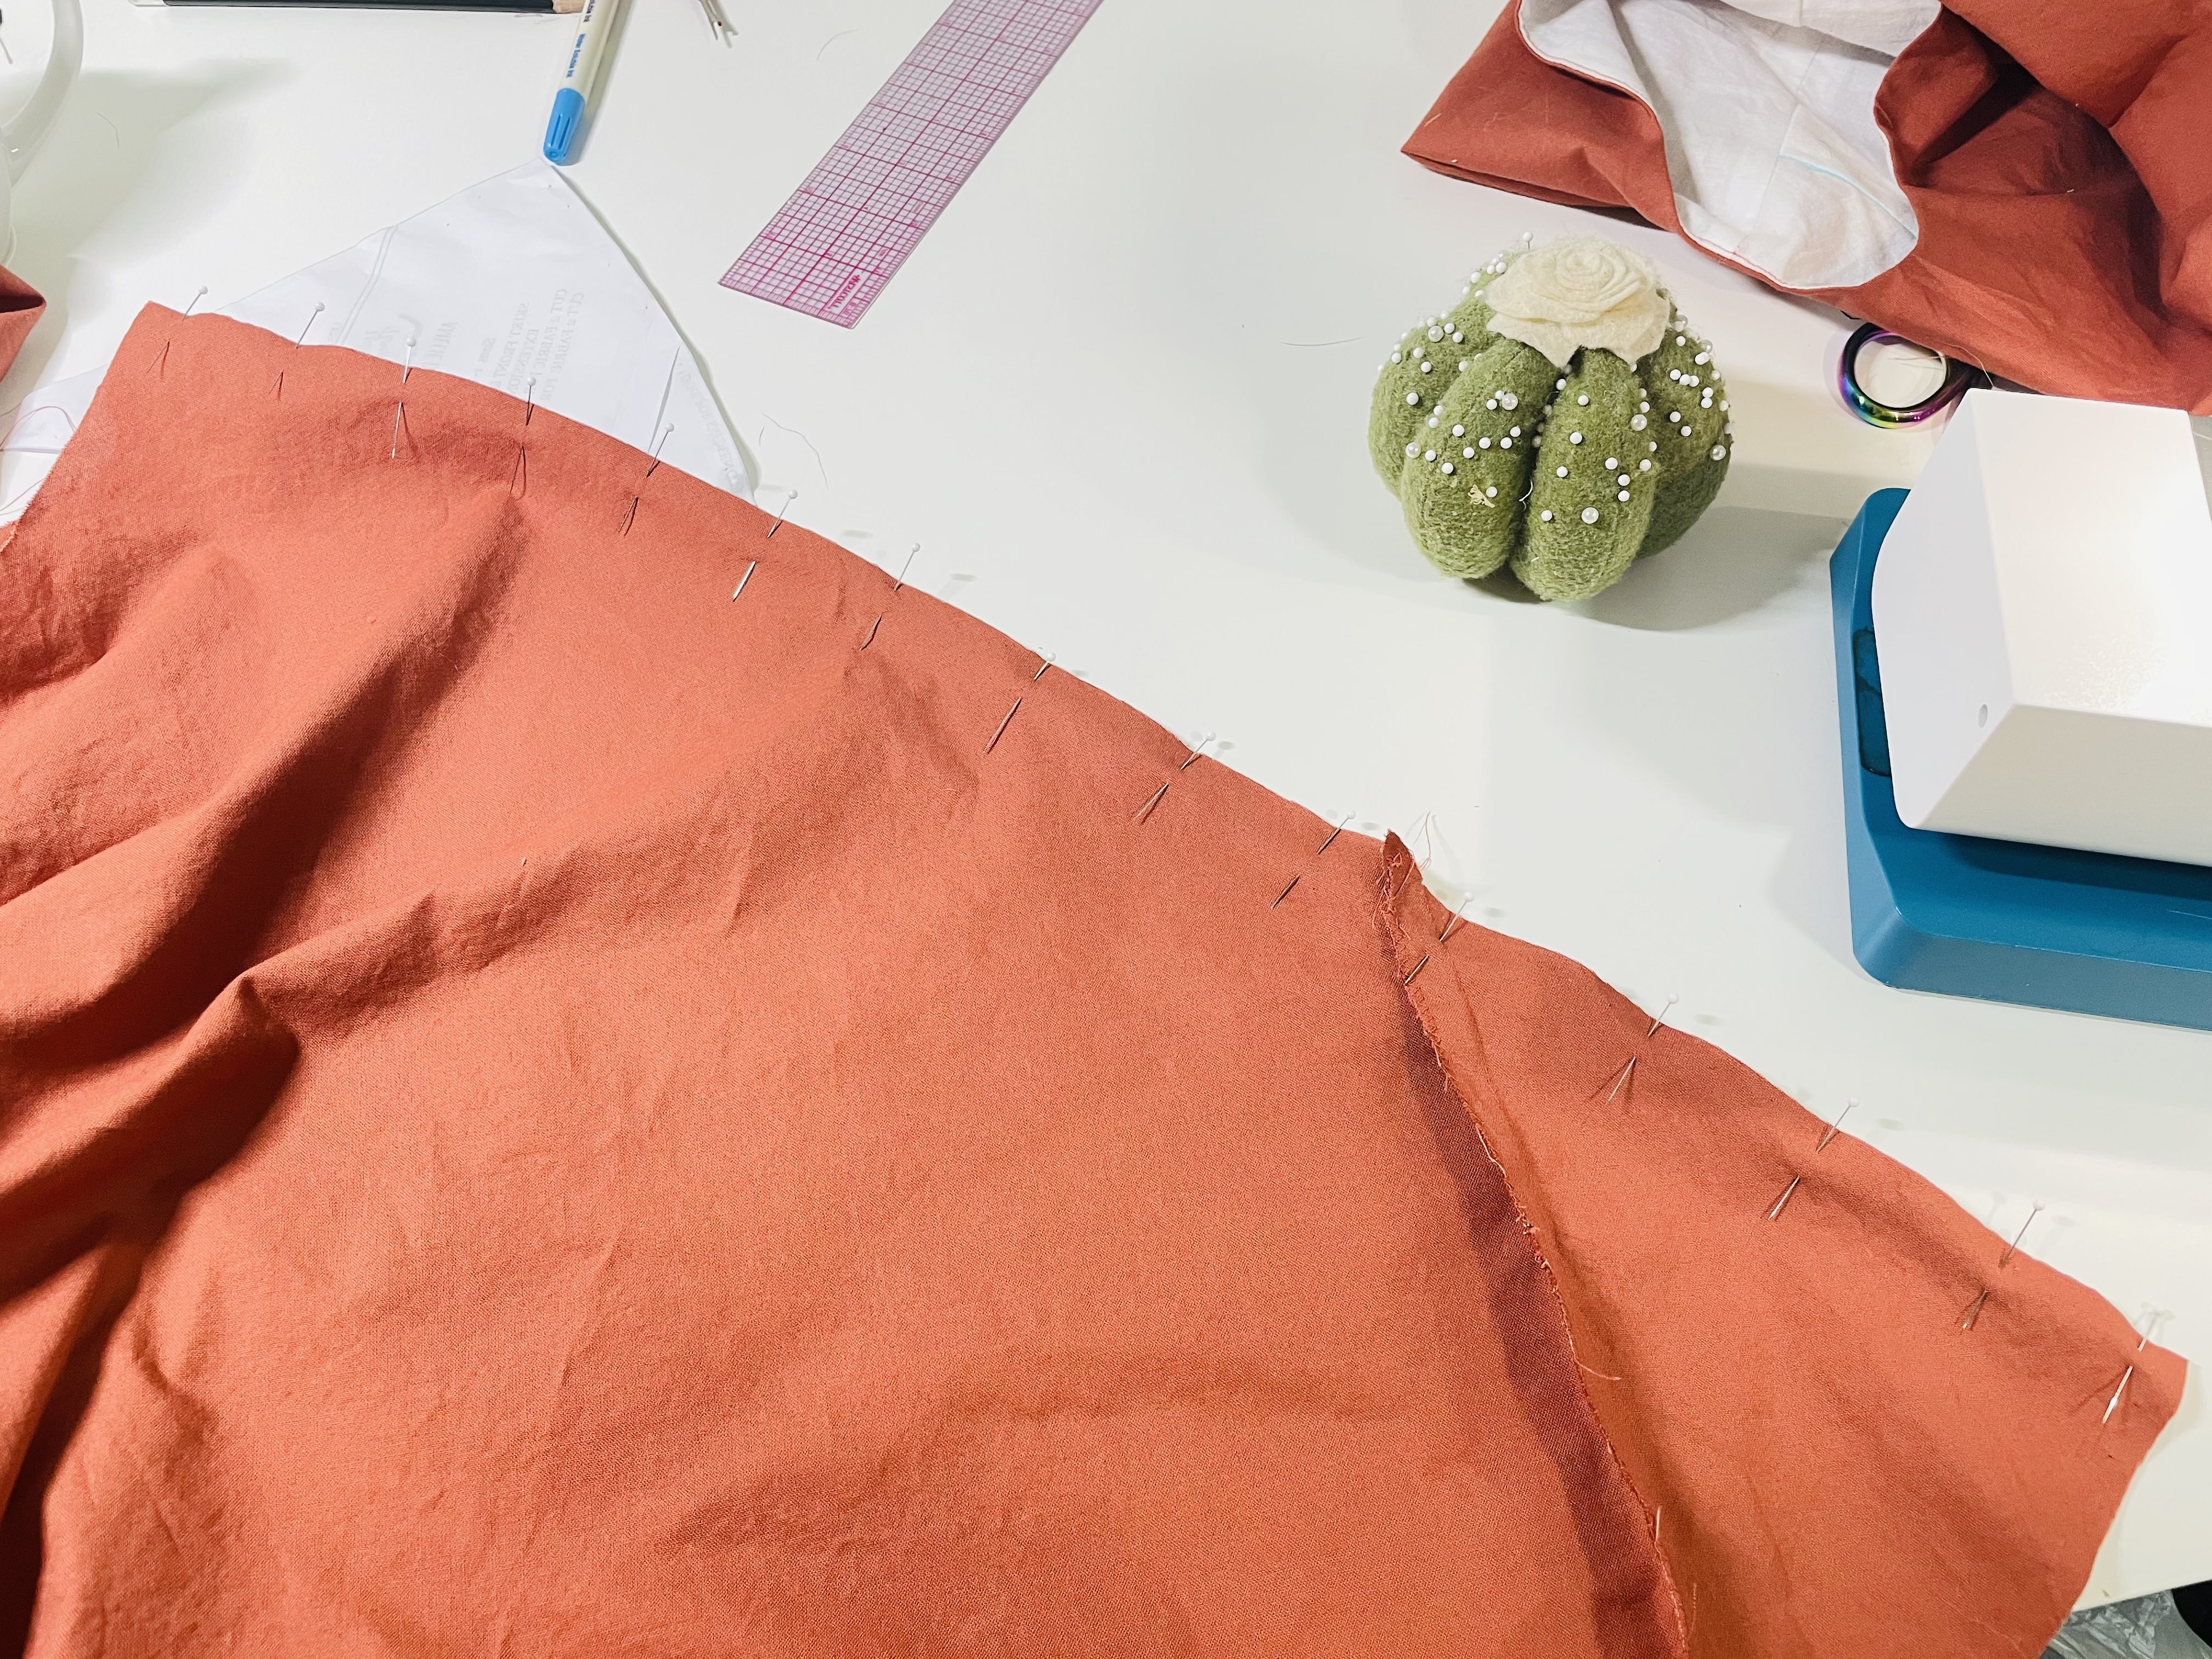
Finish this seam with your preferred method, and get ready to make magic happen next week!
Your Homework
This week, you should:
- Sew and attach your waistband
- Sew your center front seam
- Attach your “skirt extensions”
- Sew your side seams
Next week, September 20, we’ll add the button stand and combine the skirt and bodice!


