
Amelie Sew Along Week C | Sewing the Bodice
For August and September at Sew Busty, we’re doing a button challenge! Post a make that features buttons on instagram with #sewbustychallenge by September 30 for a chance to win a prize!
As part of that challenge, we’re doing a sew along for the Untitled Thoughts Amelie Dress – a cute little number that features buttons down the back of the skirt, as well as an open (but bra-friendly!) back. (Check out the picture of the dress on today’s post, as I accidentally earlier shared a picture of the non-bra friendly! For the full sew along, including bonus content, click here!
Per last week’s posts (single underarm dart option here) (double underarm dart option here), you should have performed any necessary full bust adjustment for your Amelie dress. I did mine! And now, we’re ready to get sewing!
Applying the interfacing
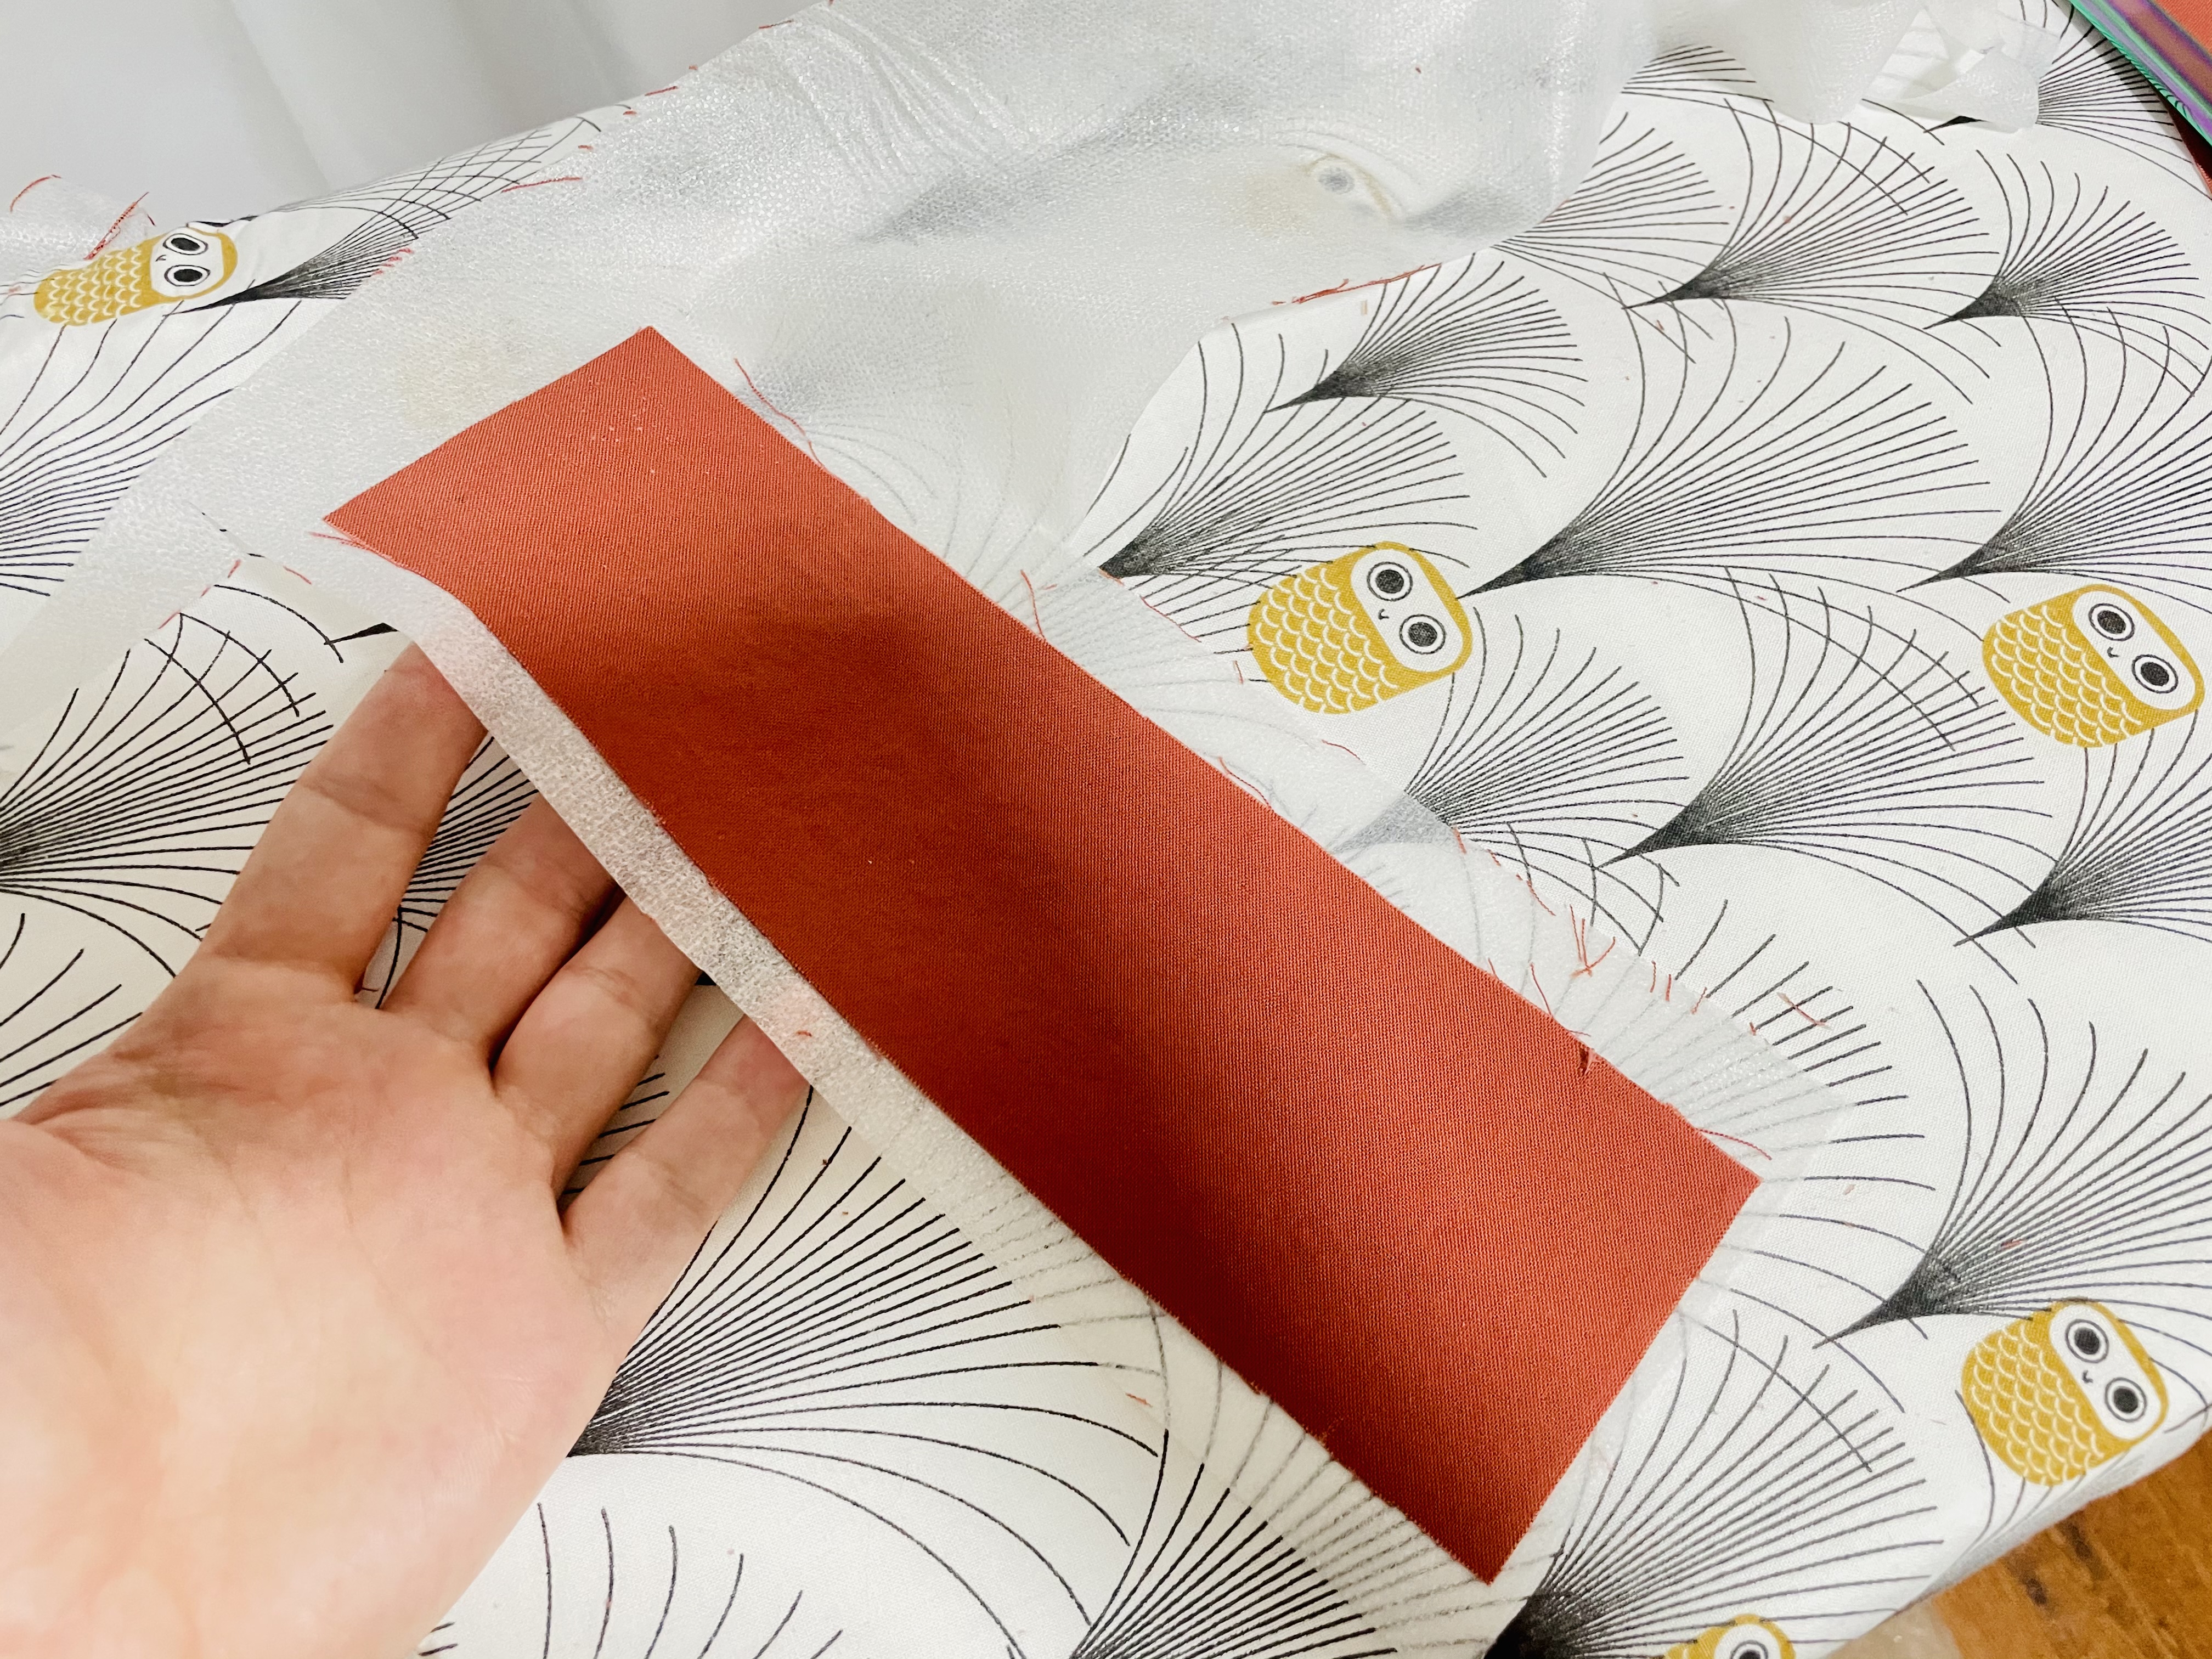
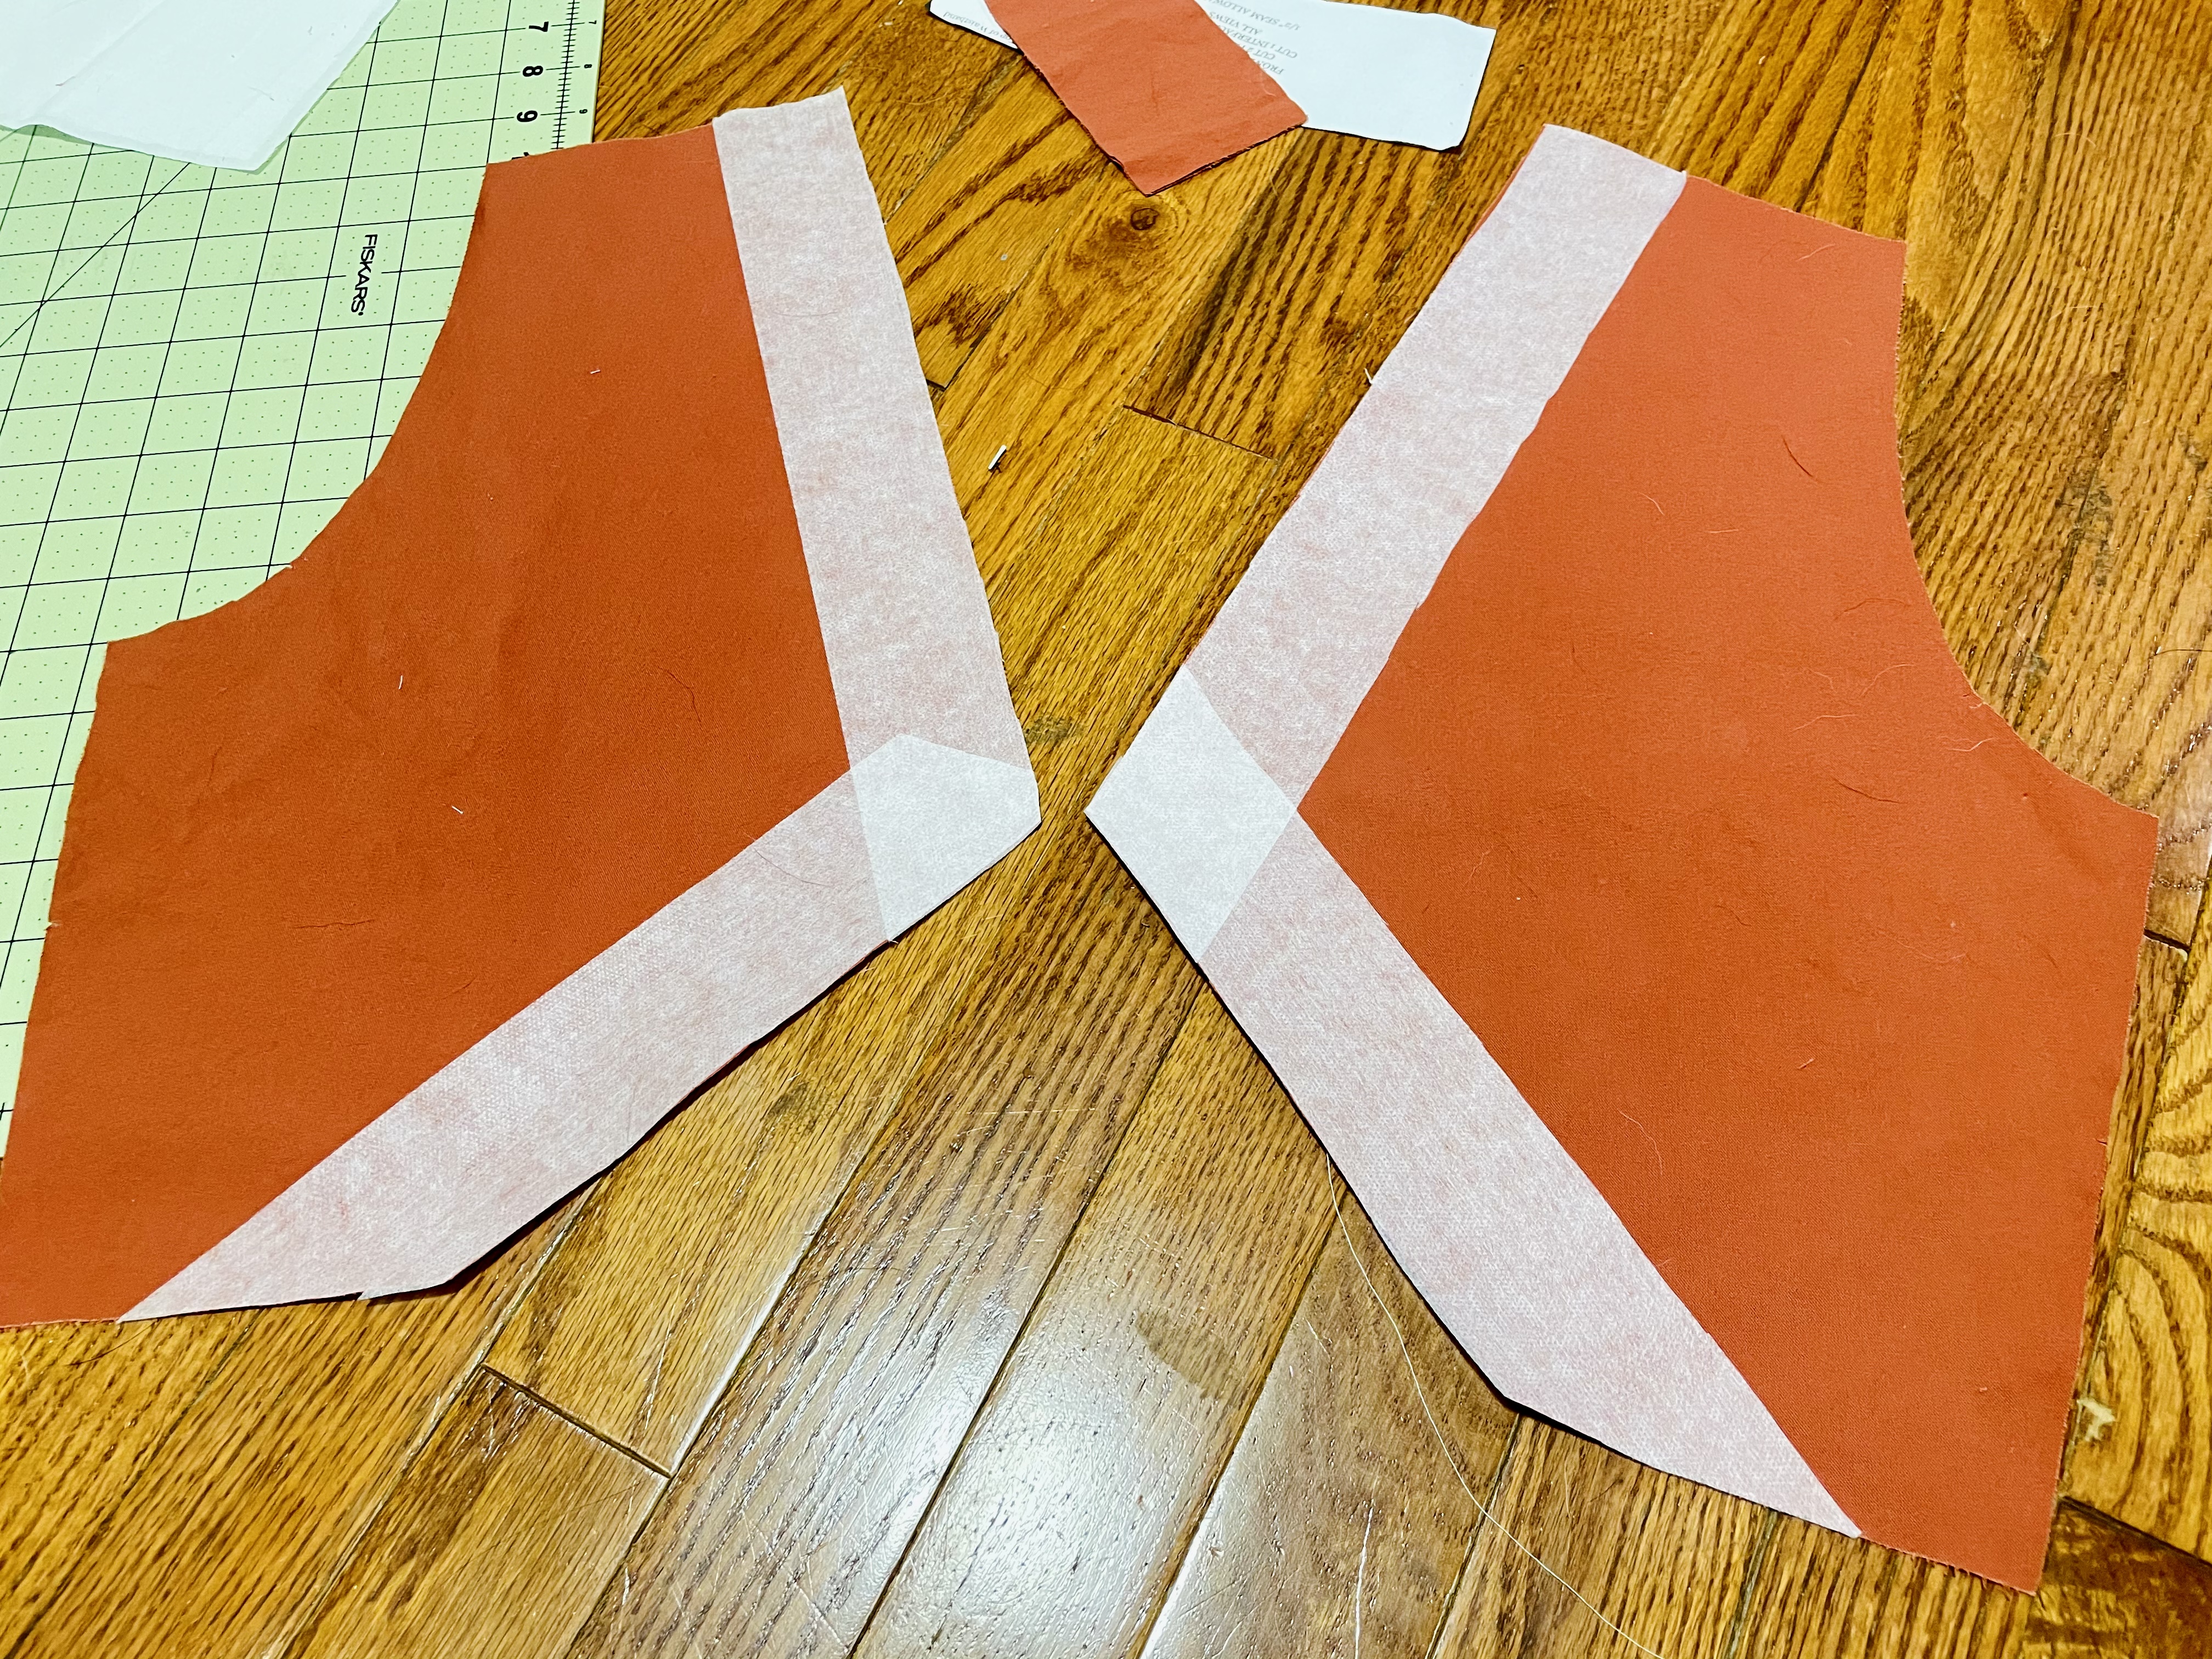
The first step in sewing the bodice of the Amelie is to apply interfacing. I chose iron-on interfacing, but you can choose any type of interfacing you wish. Apply it to the pieces indicated on the pattern, including 2″ strips along the center back edge.
For quick iron-on interfacing, I like to use my Goddess Sheet. It’s basically a thin teflon sheet that makes things much quicker by avoiding any mess with damp towels or pressing cloths.
Stay stitching
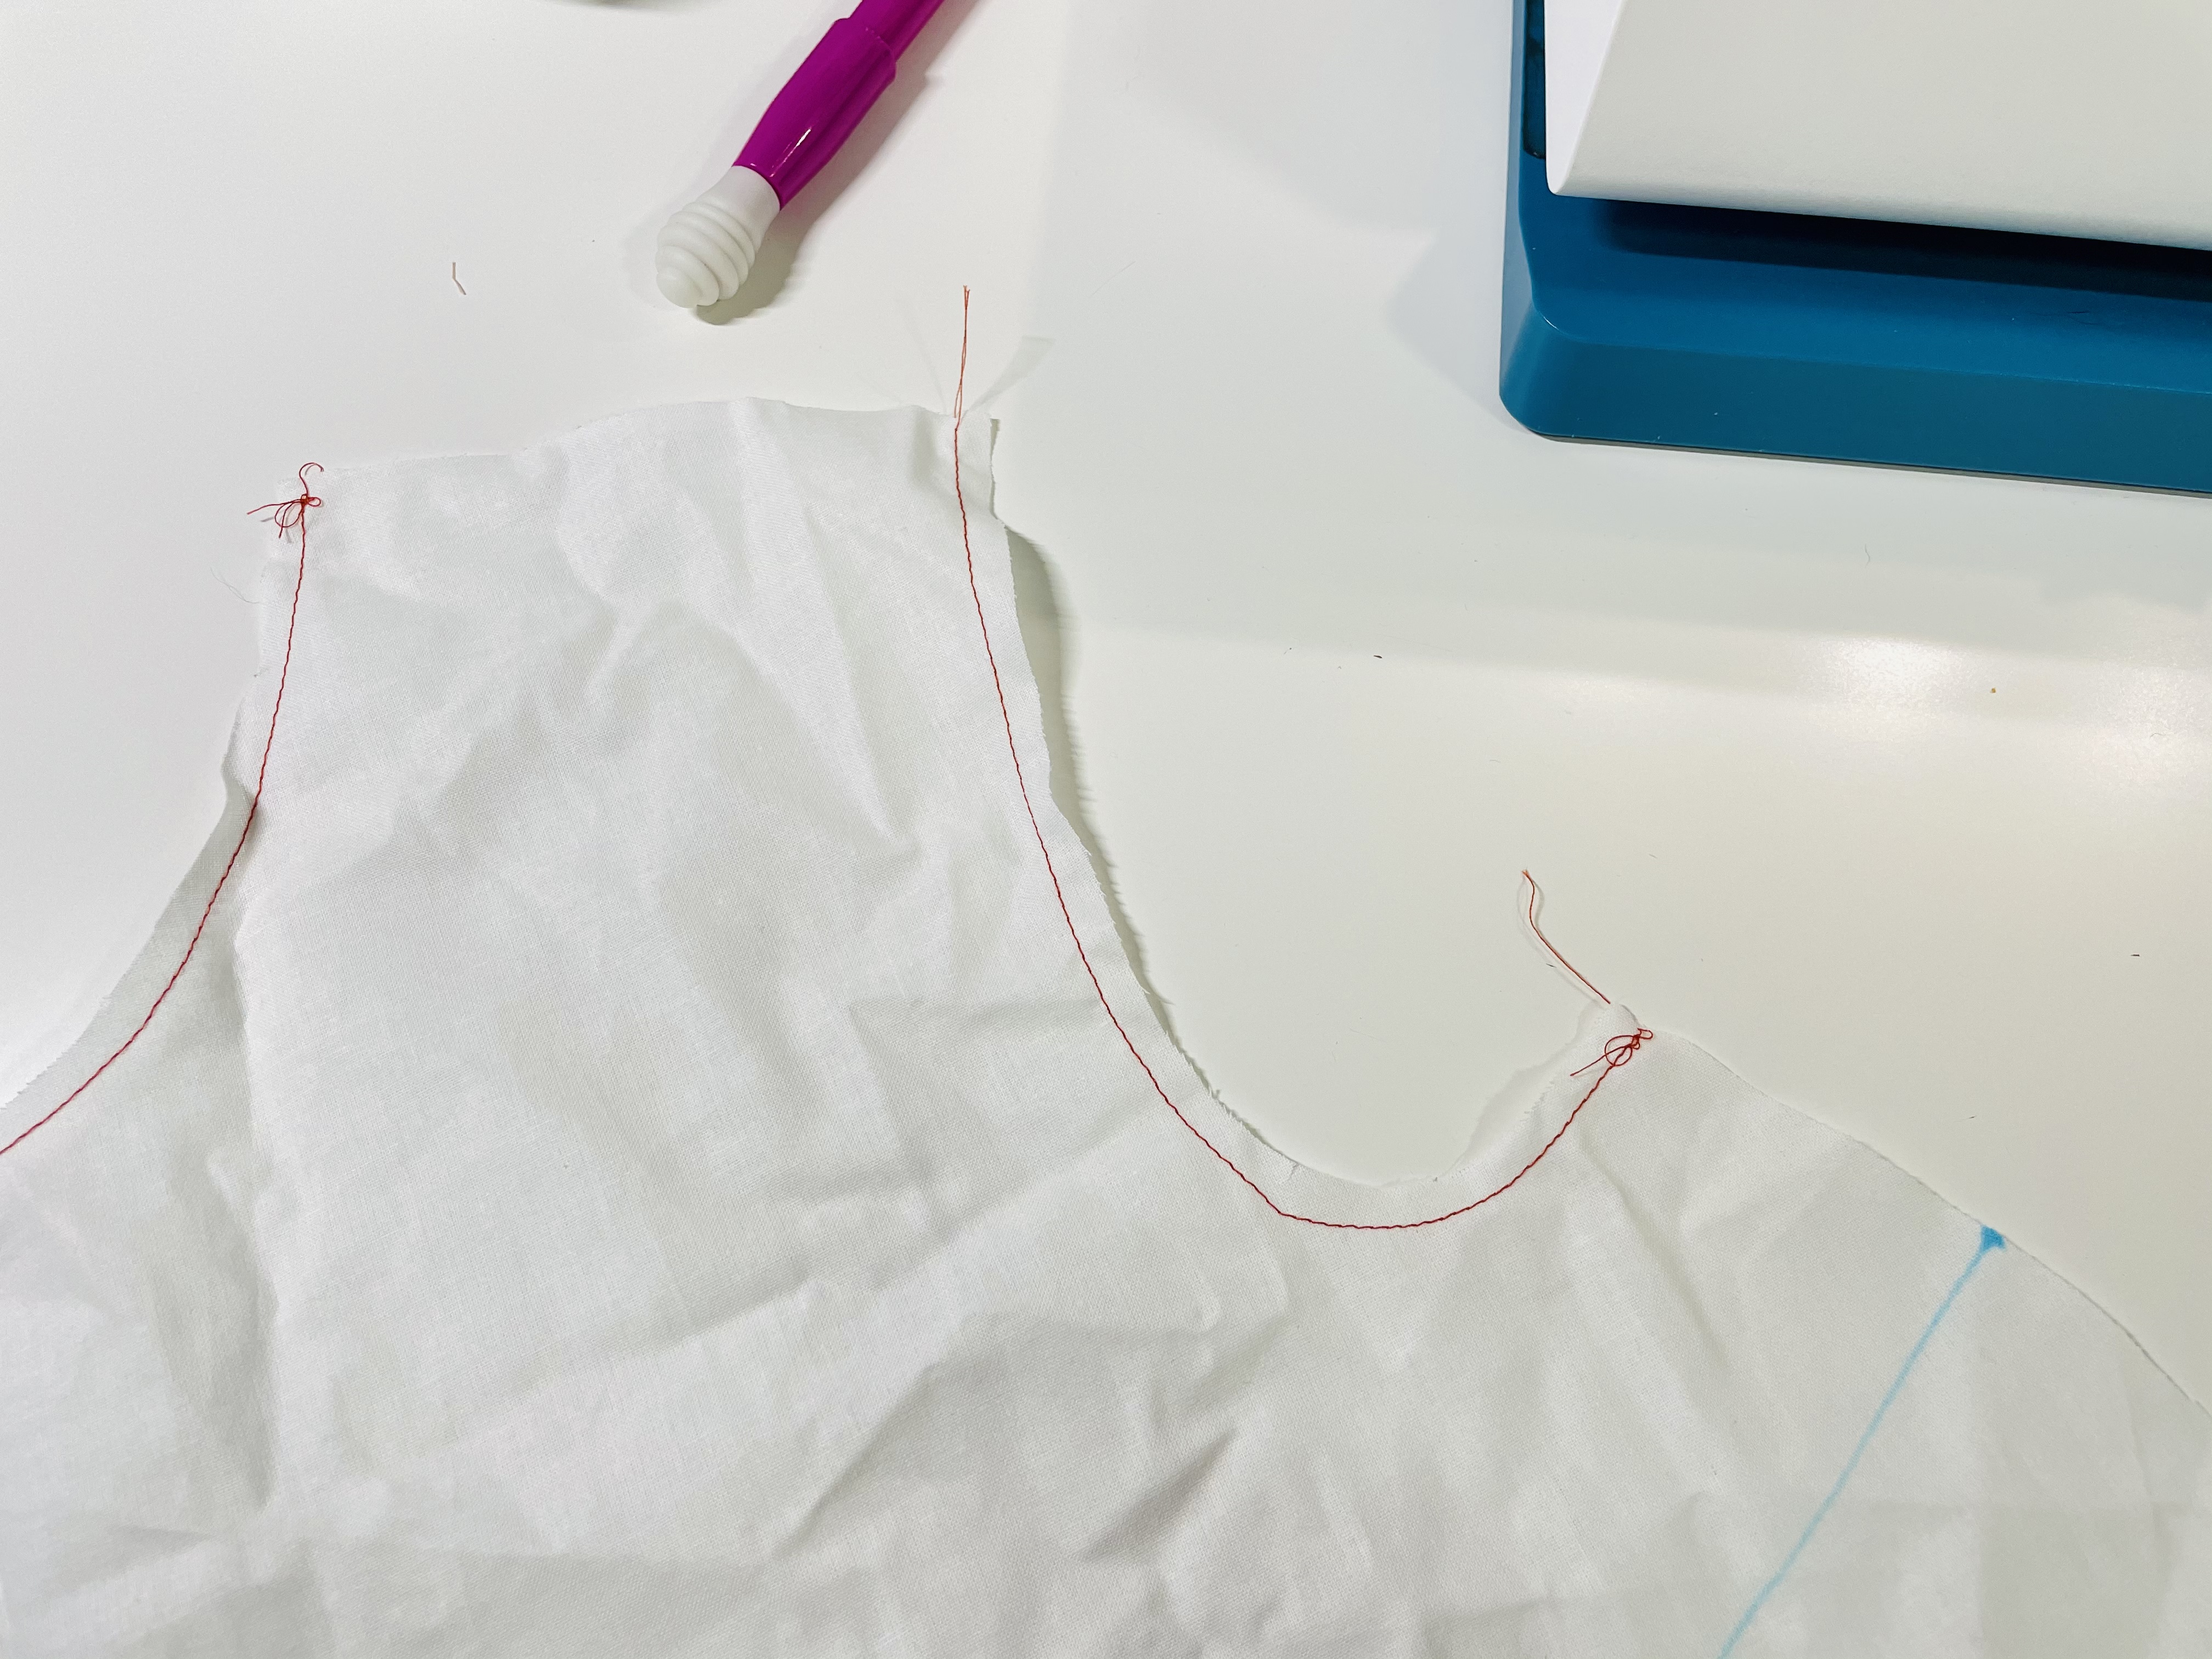
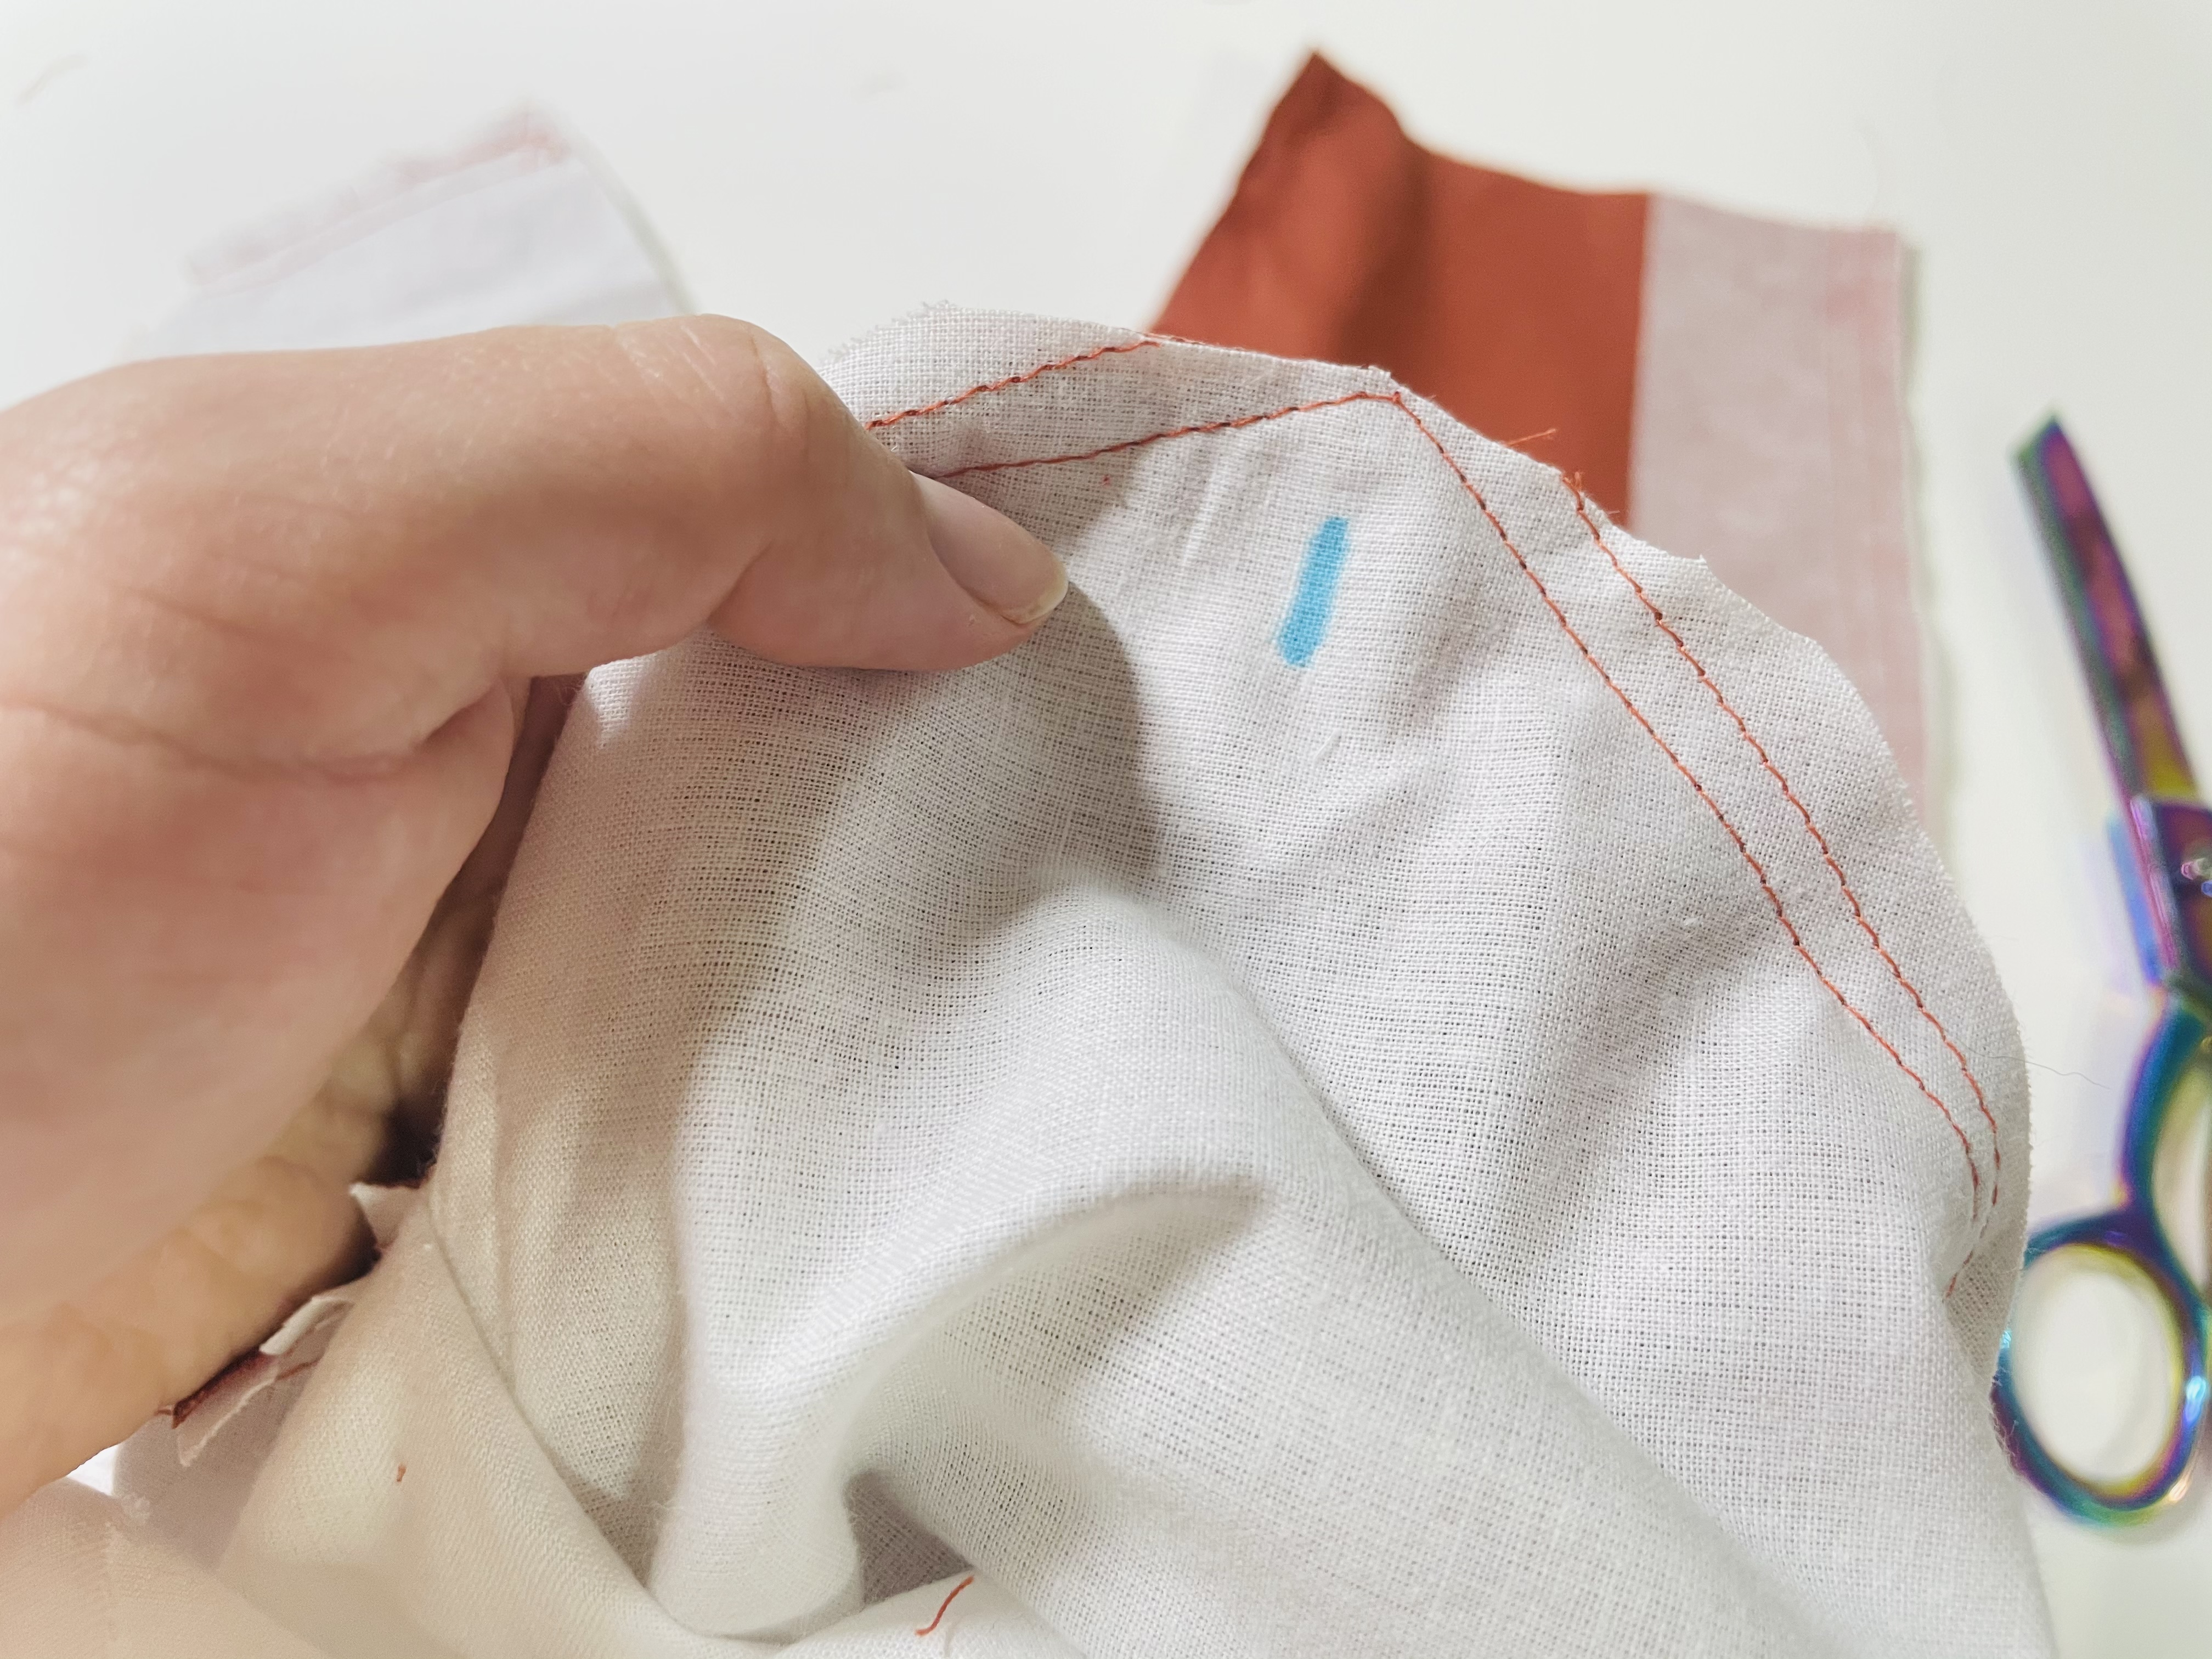
Next, you need to stay stitch the neckline, the armholes, and the center back. This prevents stretching as we sew. I like to use a standard straight stitch, but only 1/4″ (0.6 cm) from the edge of the fabric.
Do this step on both your main fabric and your lining. Below, I’m showing you my lining (cotton muslin, because it’s cheap!), because my stitching shows better on the lining.
Sewing the darts
Your next step is to sew all of the darts. You will either have four darts – an underarm dart and a waist dart on each side – or you will have six darts – two underarm darts and a waist dart on each side.
I like to curve my darts inward a bit at the ends to prevent pointy boobies.
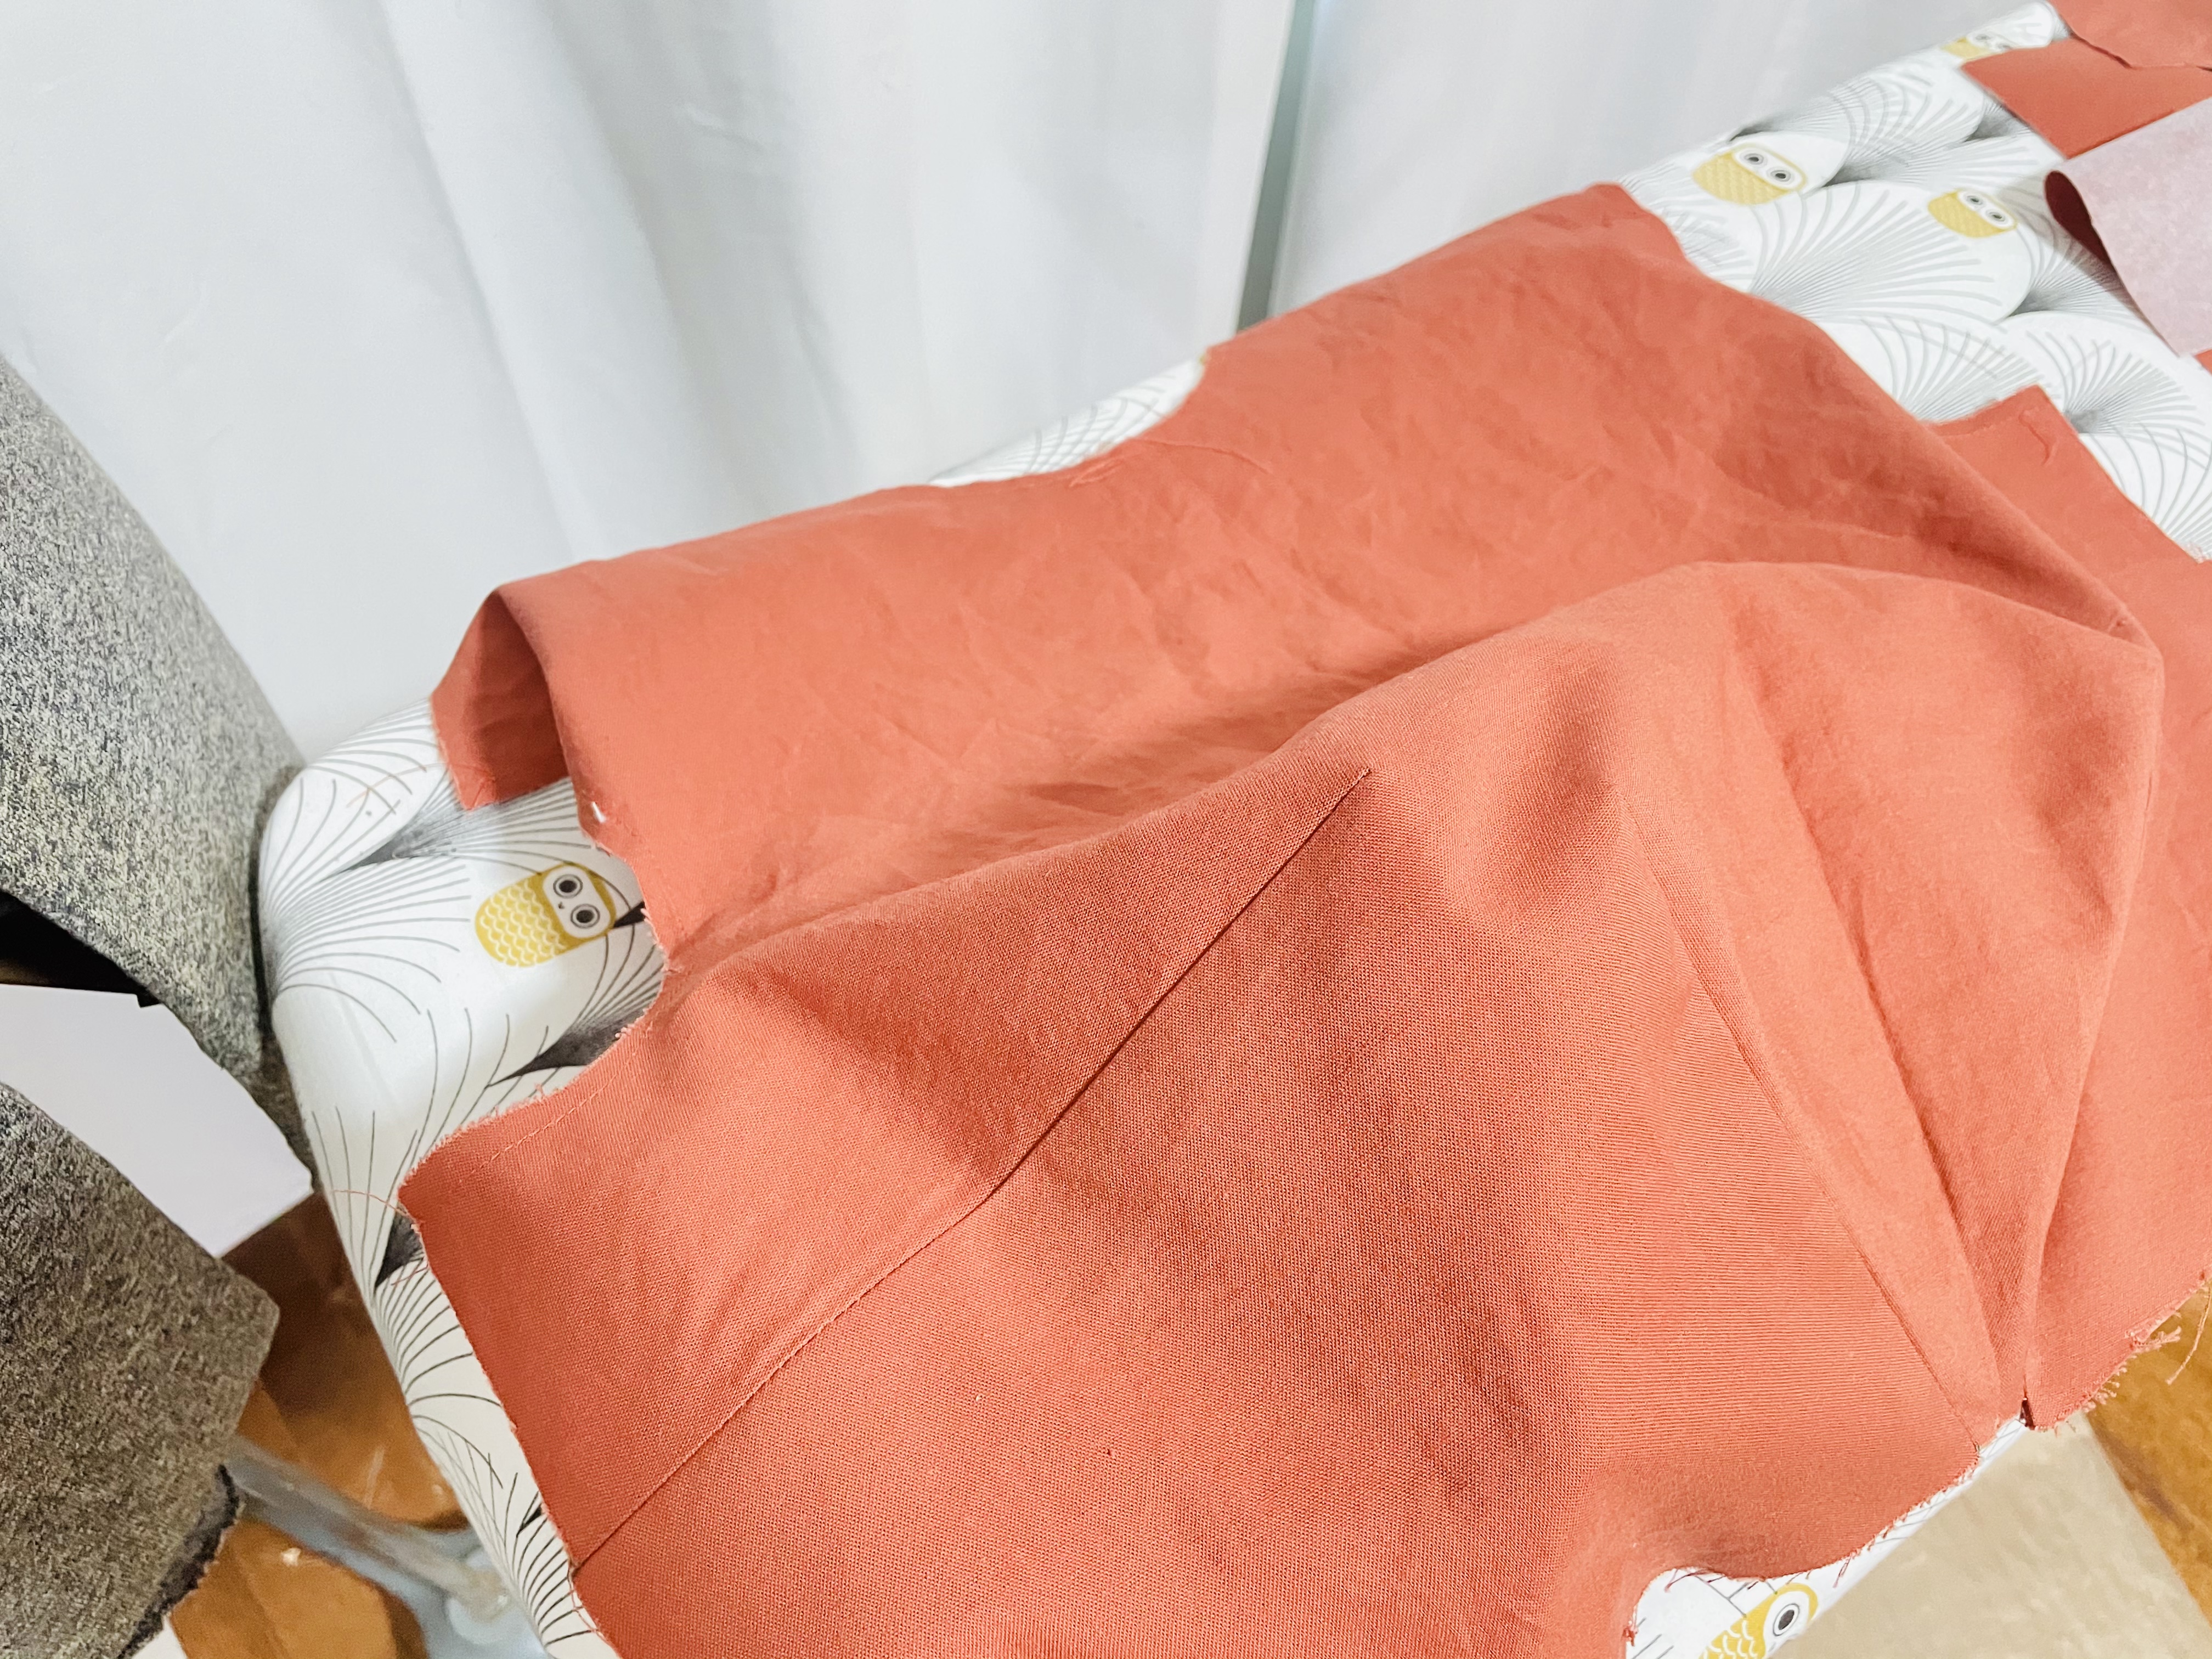
Repeat this step on both your main fabric and your lining. Press your darts using a tailor’s ham or a balled up t-shirt.
Sewing the side seam
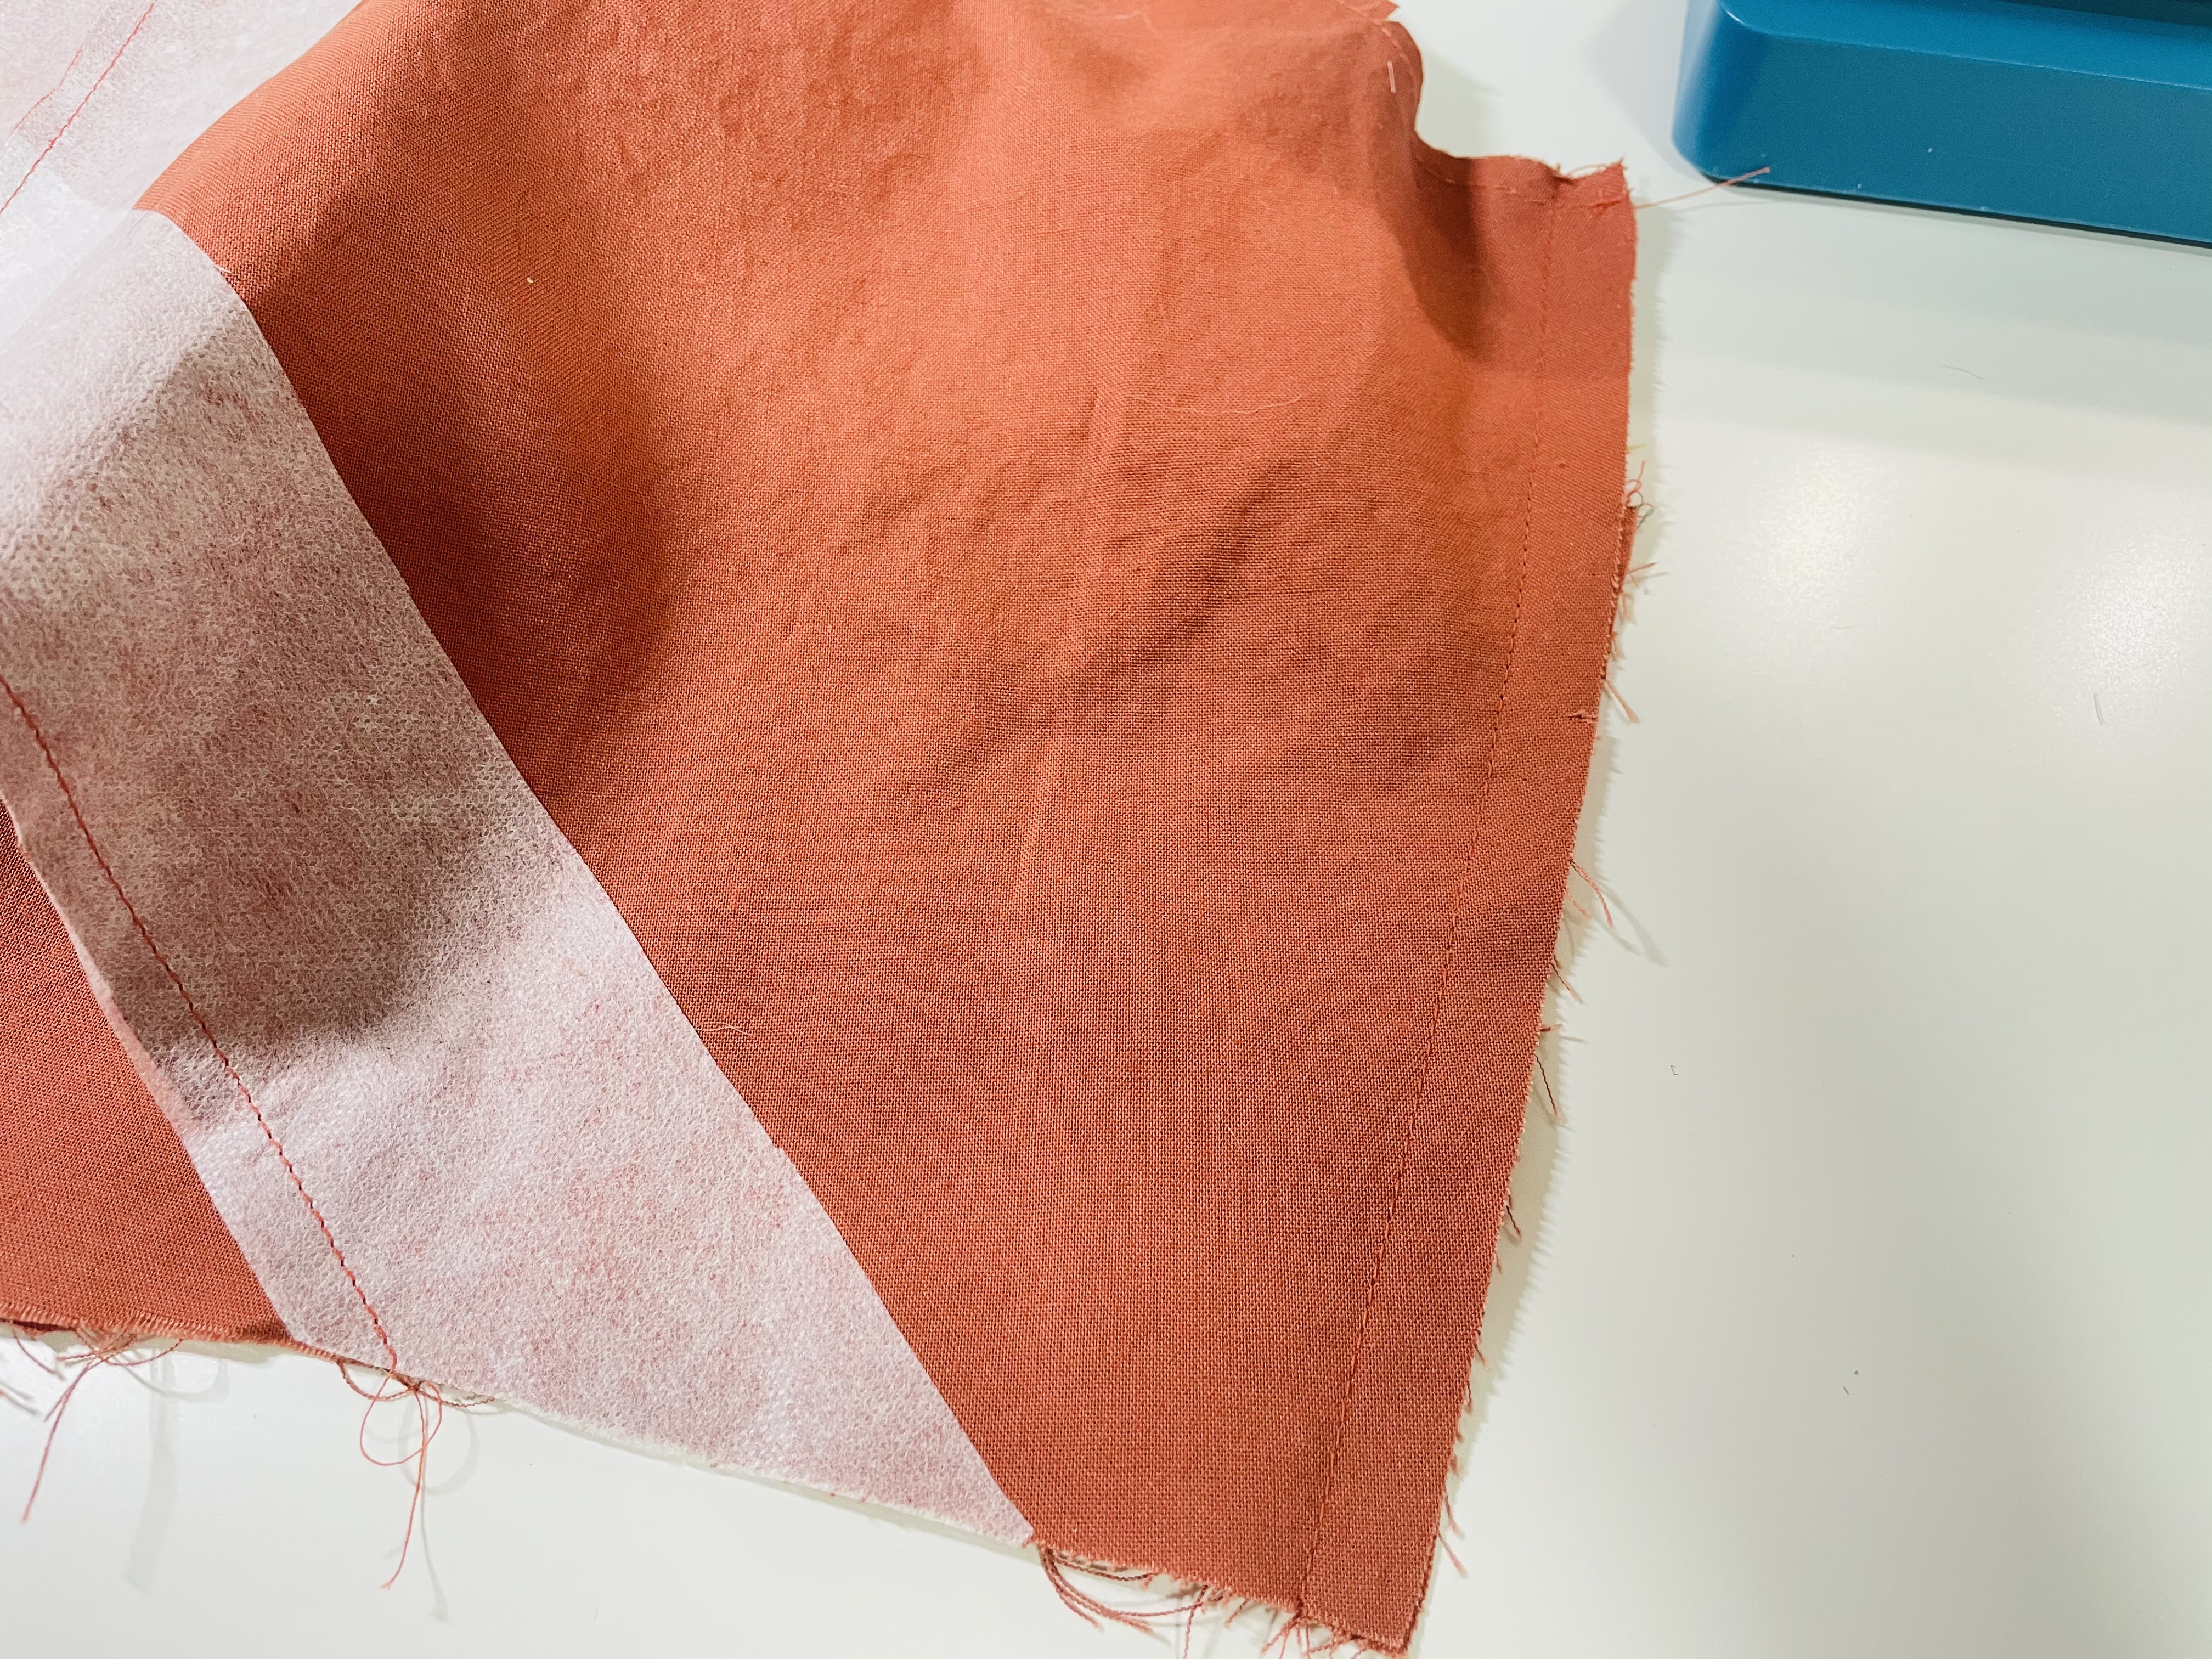
Next, we’re going to match the front bodice with the two back bodice pieces along the side seams with right sides together. Pin and sew at a 1/2″ (1.3 cm) seam allowance.

Your finished side seam should look like this:
Combining the main and lining
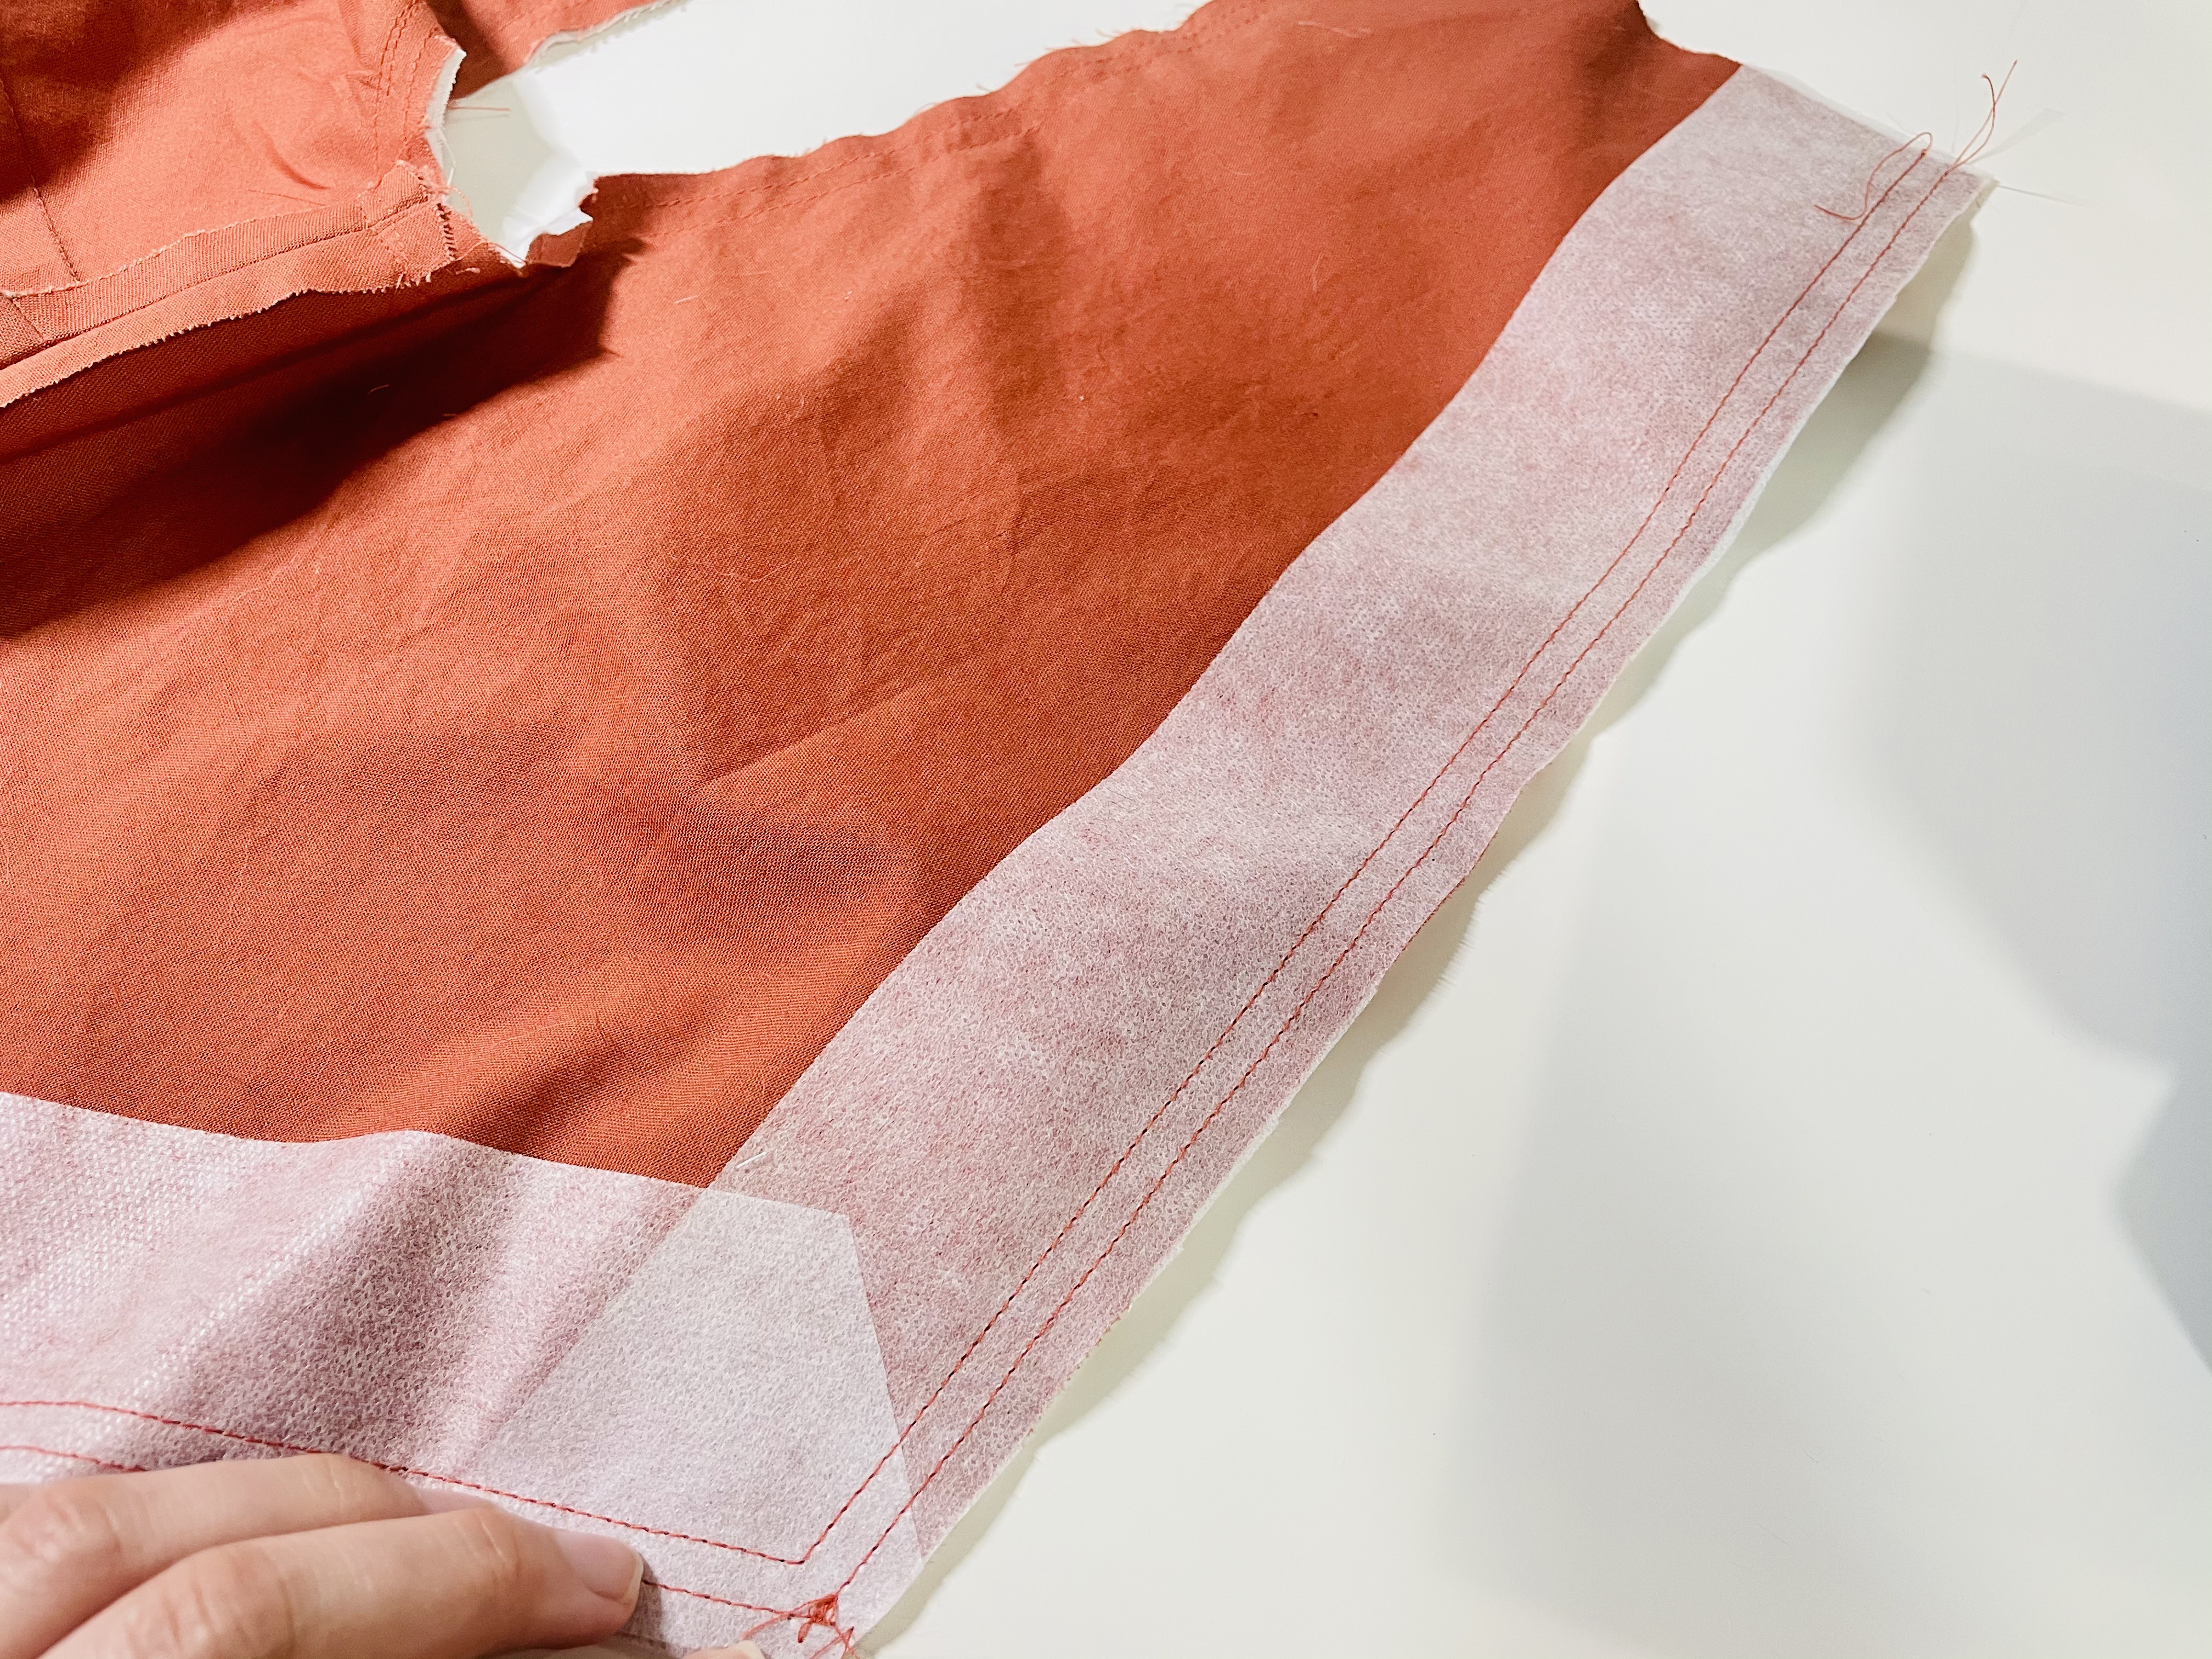
With right sides together, line your main fabric and lining together. Pin along the center back, arm holes, and neck hole. You will leave your shoulders and waist unsewn. Sew with a 1/2″ (1.3 cm) seam allowance.

Your stitching should look something like this:
Clipping and turning
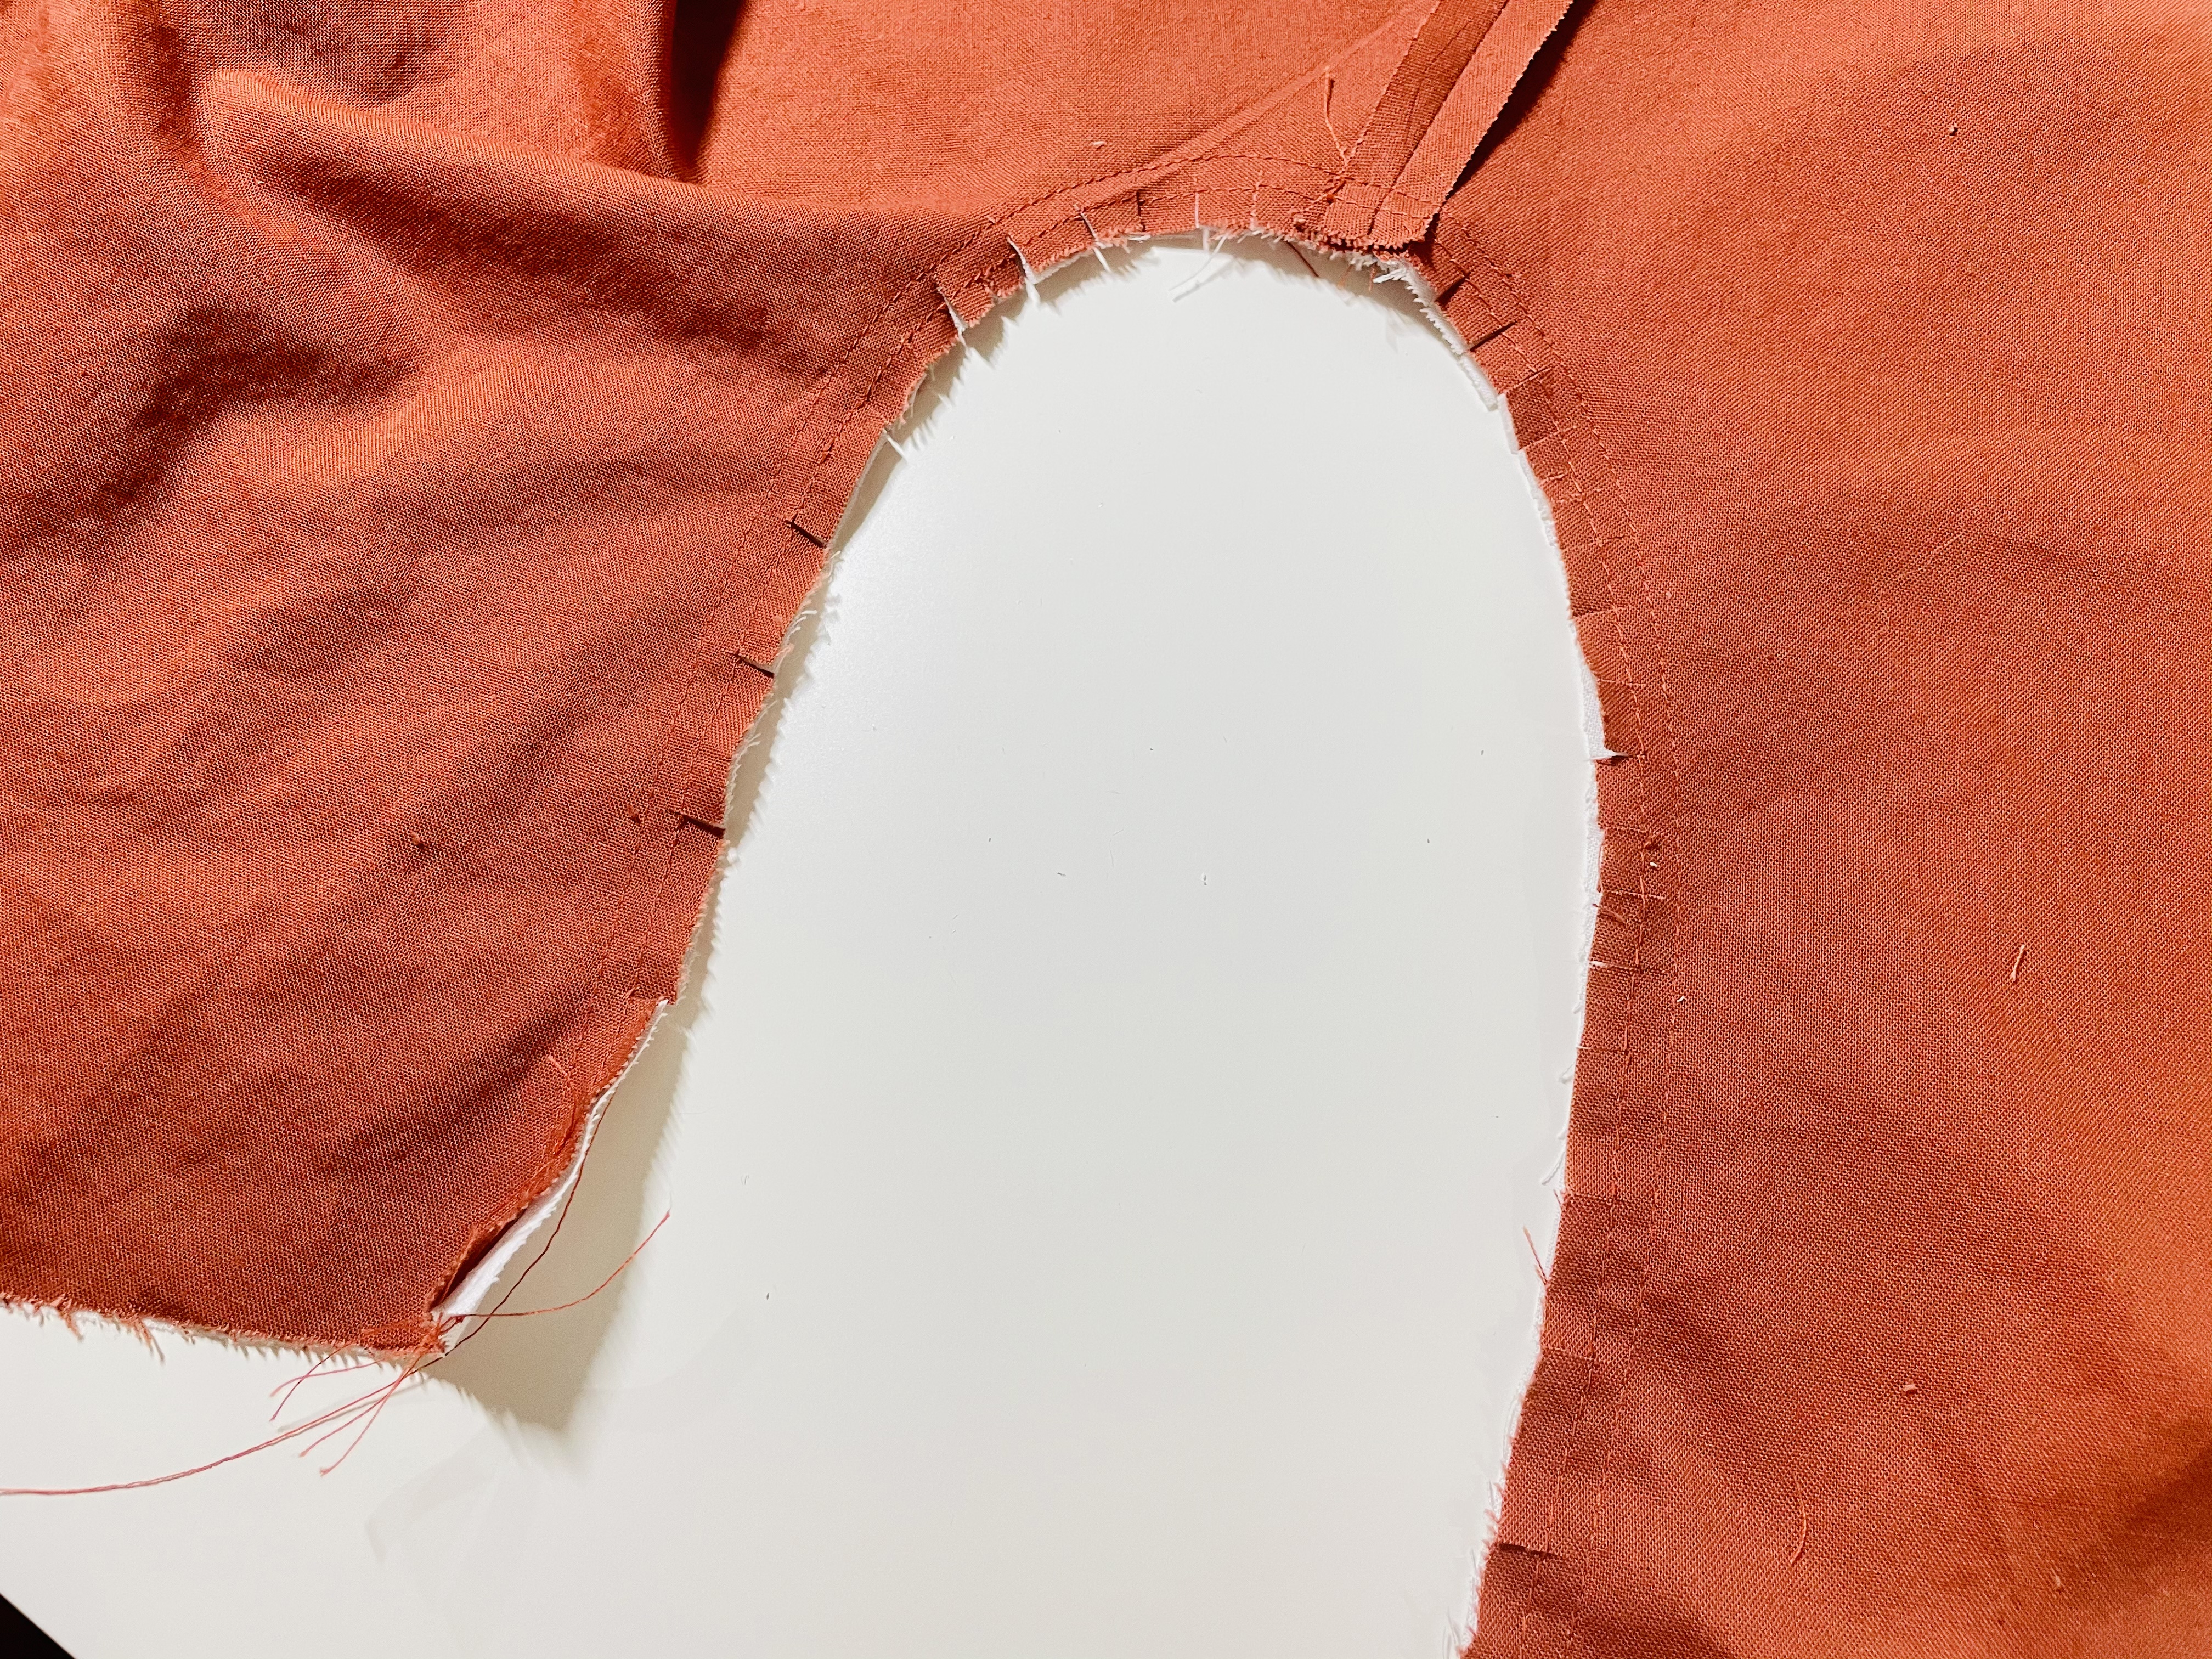
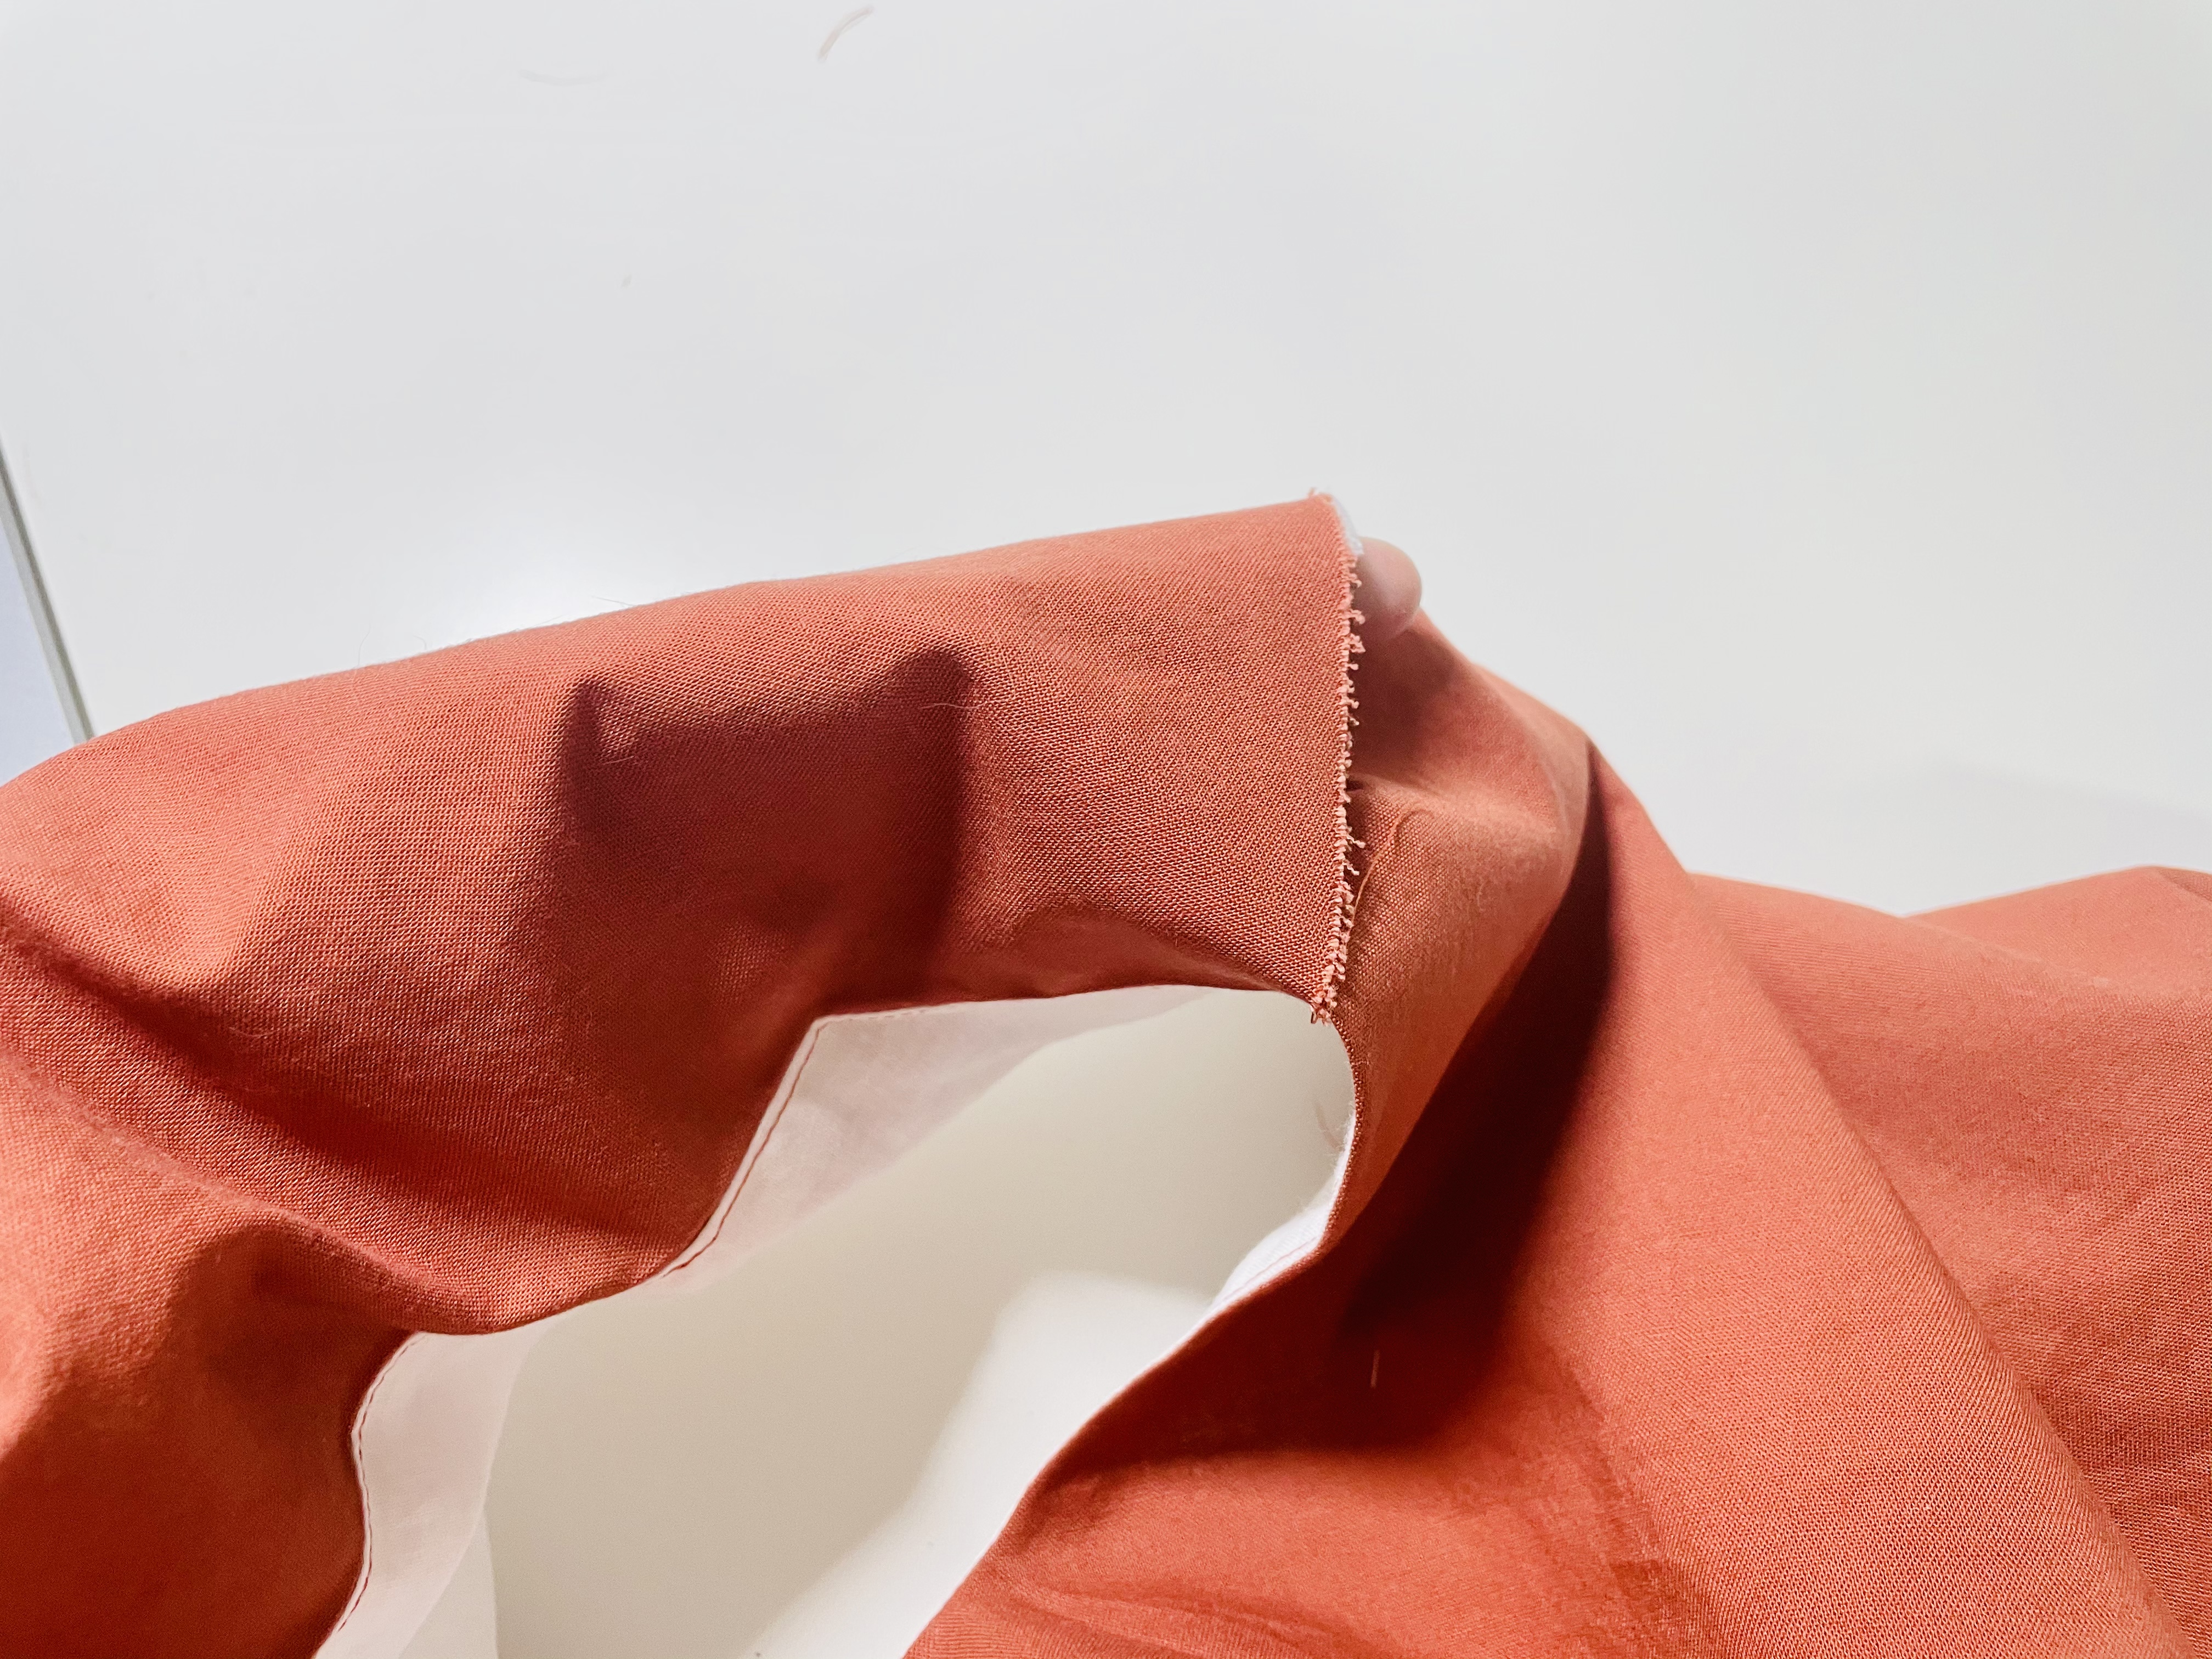
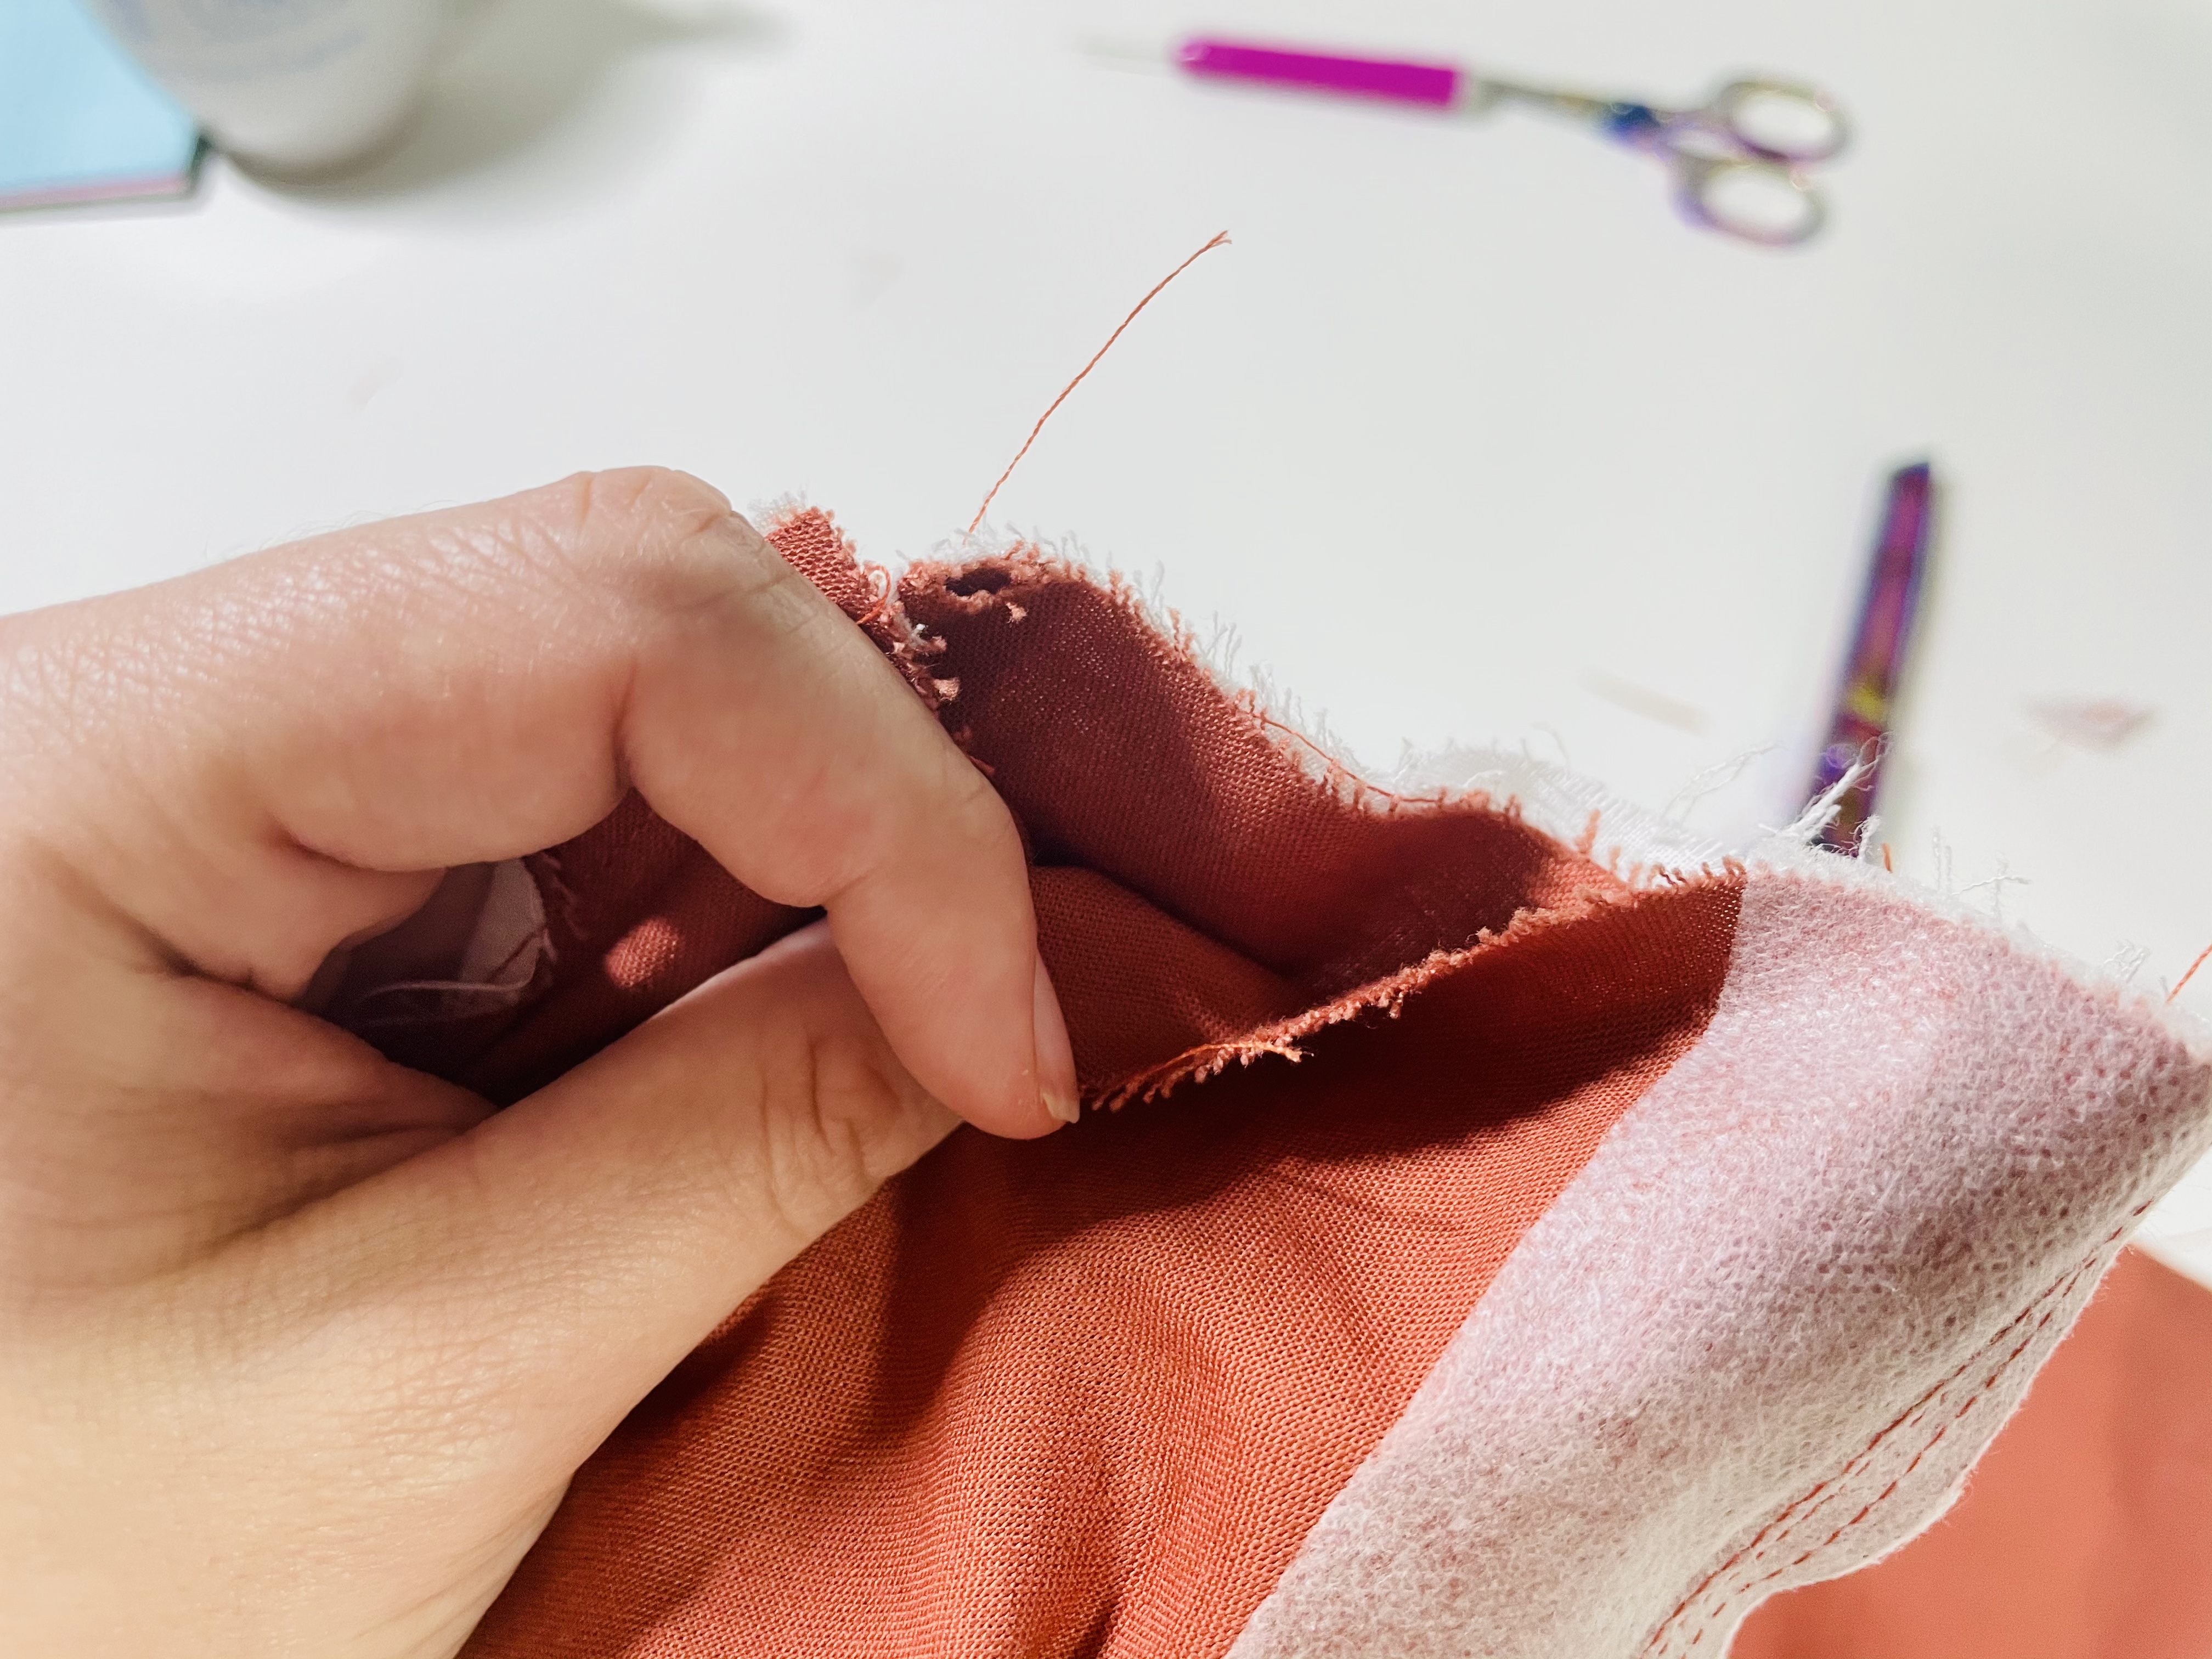
Now, with insides still facing out, you must clip all curved seams almost to but not through the stitching. Your center back points must also be clipped, as shown:
You may now turn your bodice right side out. It will look almost done! Yay!
Understitching
But now we need to understitch. Understitching is where you stitch your seam allowance to your lining, which discourages your lining from sneaking out from behind your main fabric.
I want to be clear here: You will not be able to understitch all the way through on most of the seams.
Instead, your goal is to understitch as far as you can.
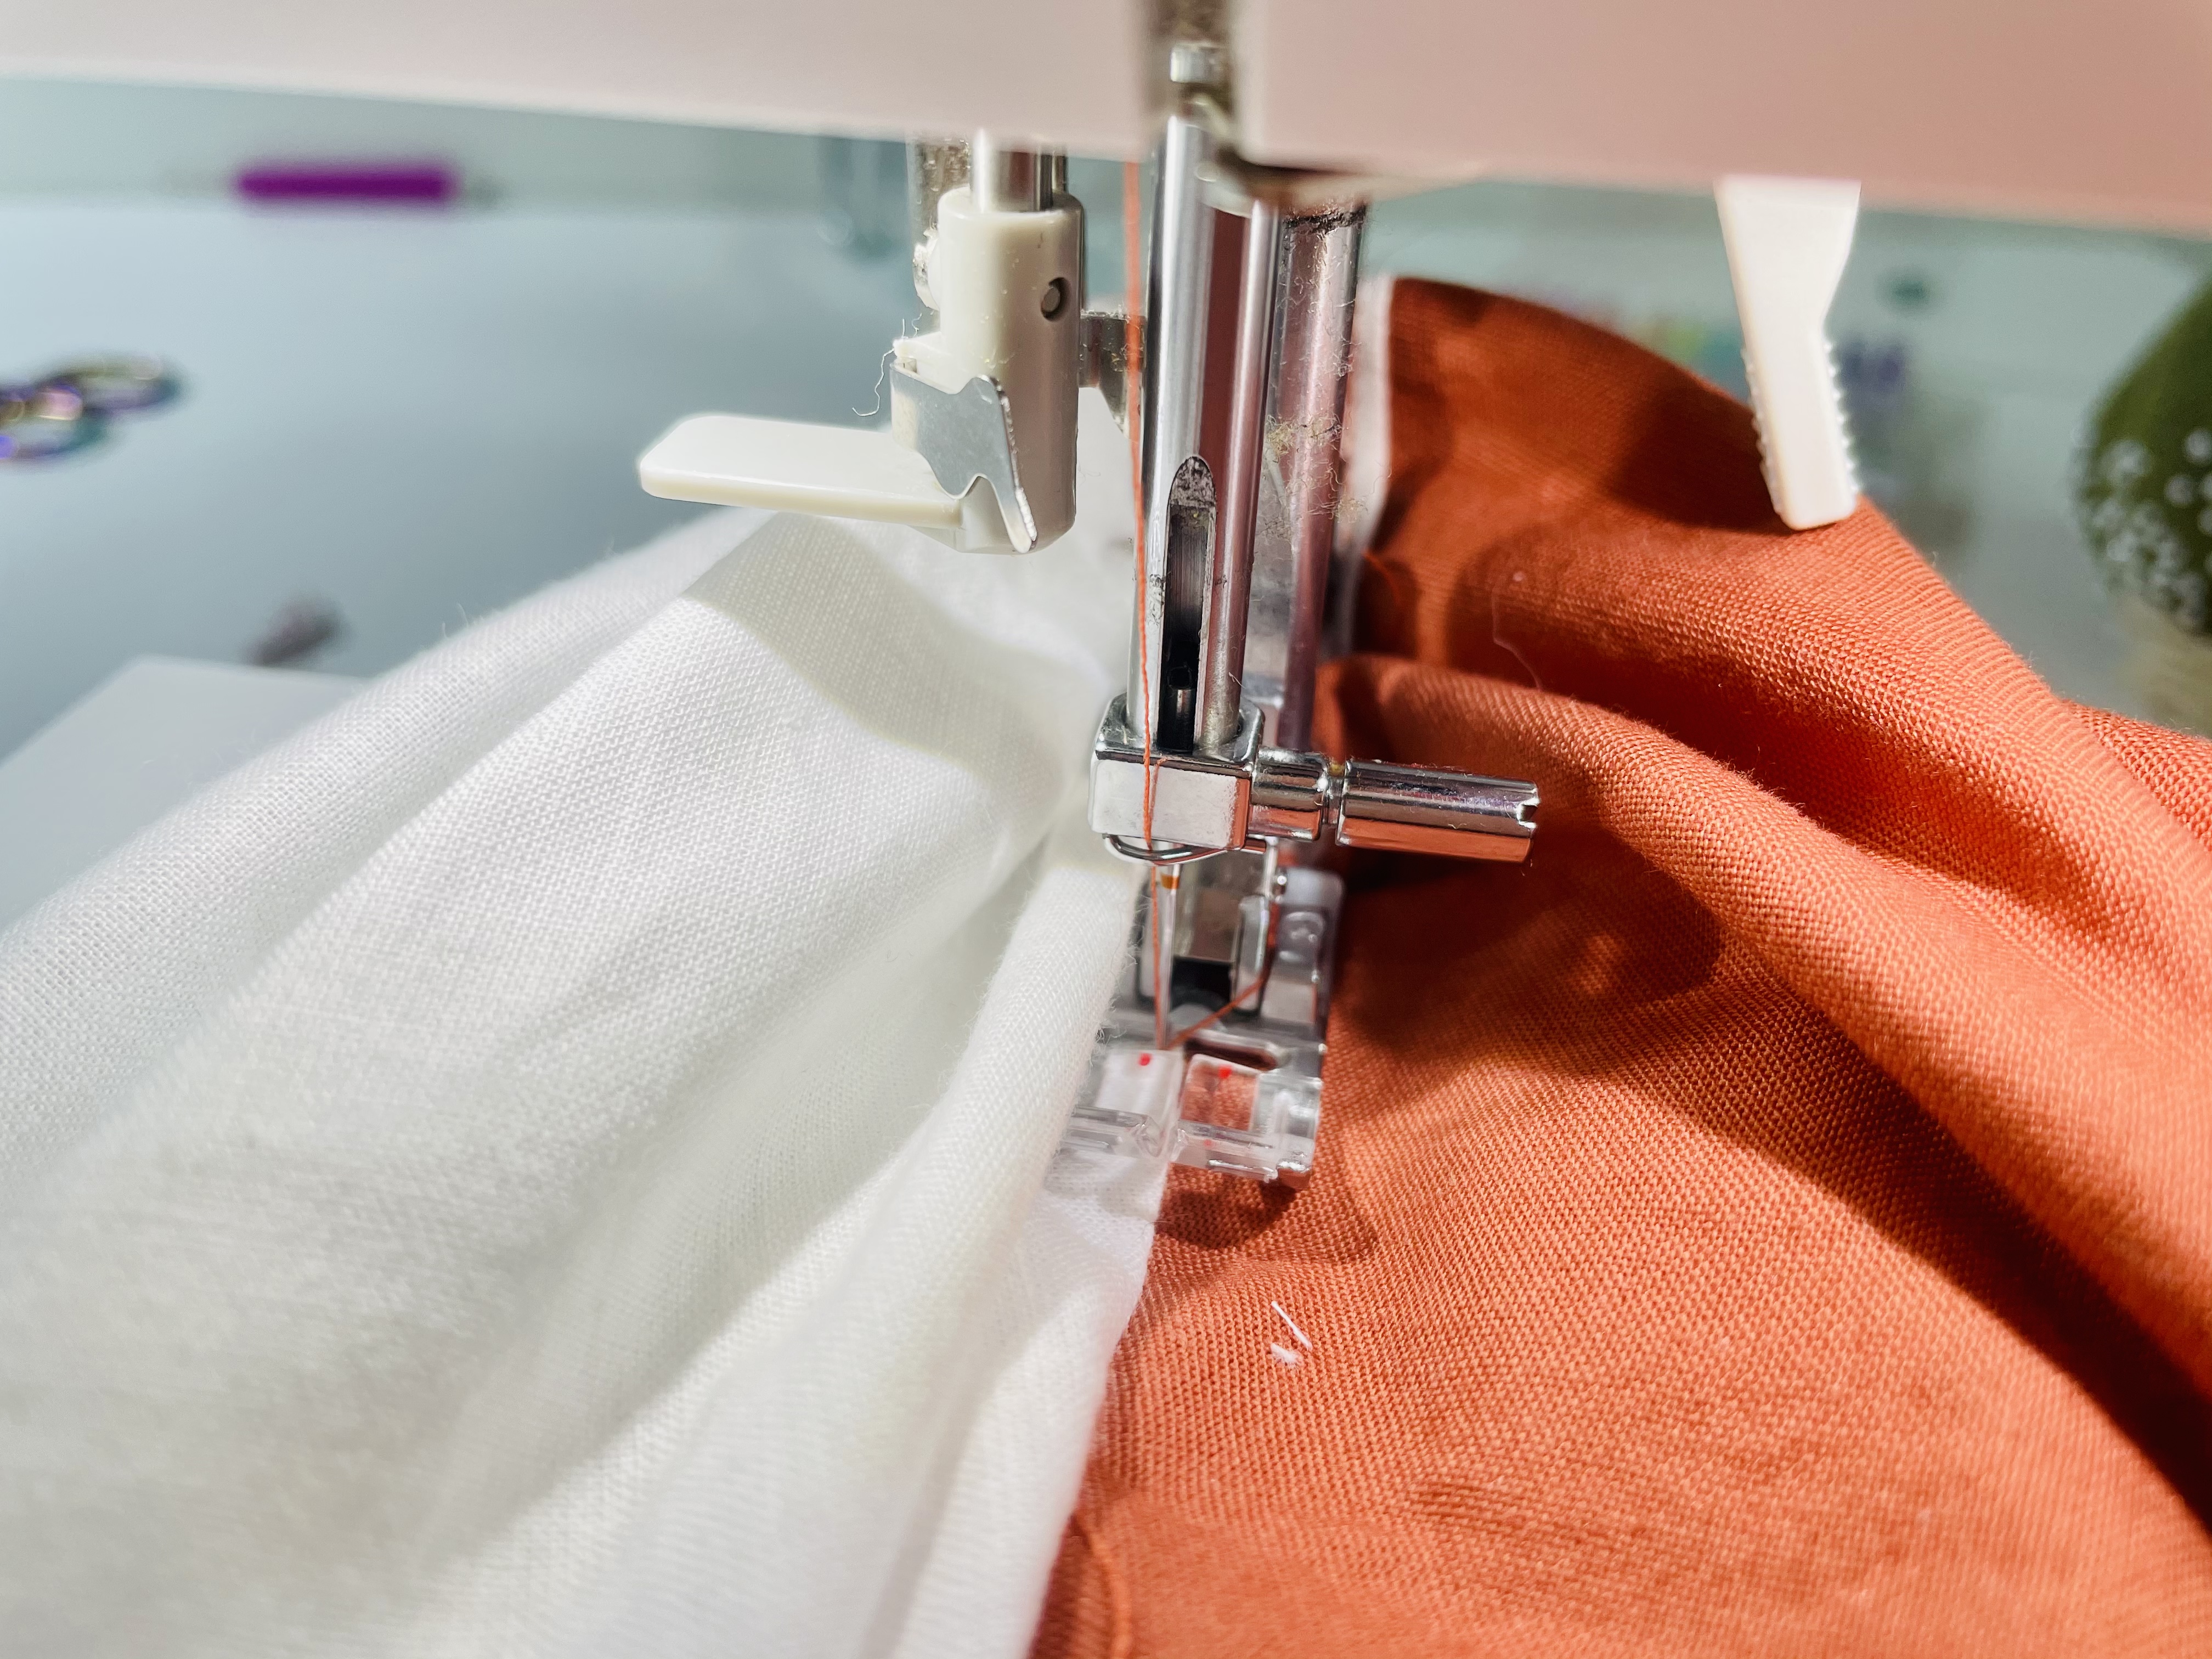
I like to understitch by setting my needle to 2 mm to the left or right of center. I then line the center of my foot up with the seam, so that the needle is 2 mm over the lining side. I stitch carefully, ensuring to catch the seam allowance in my stitching. I continually lift my fabric to double check that my seam allowance has been caught by the stitching.
Sewing the Shoulders
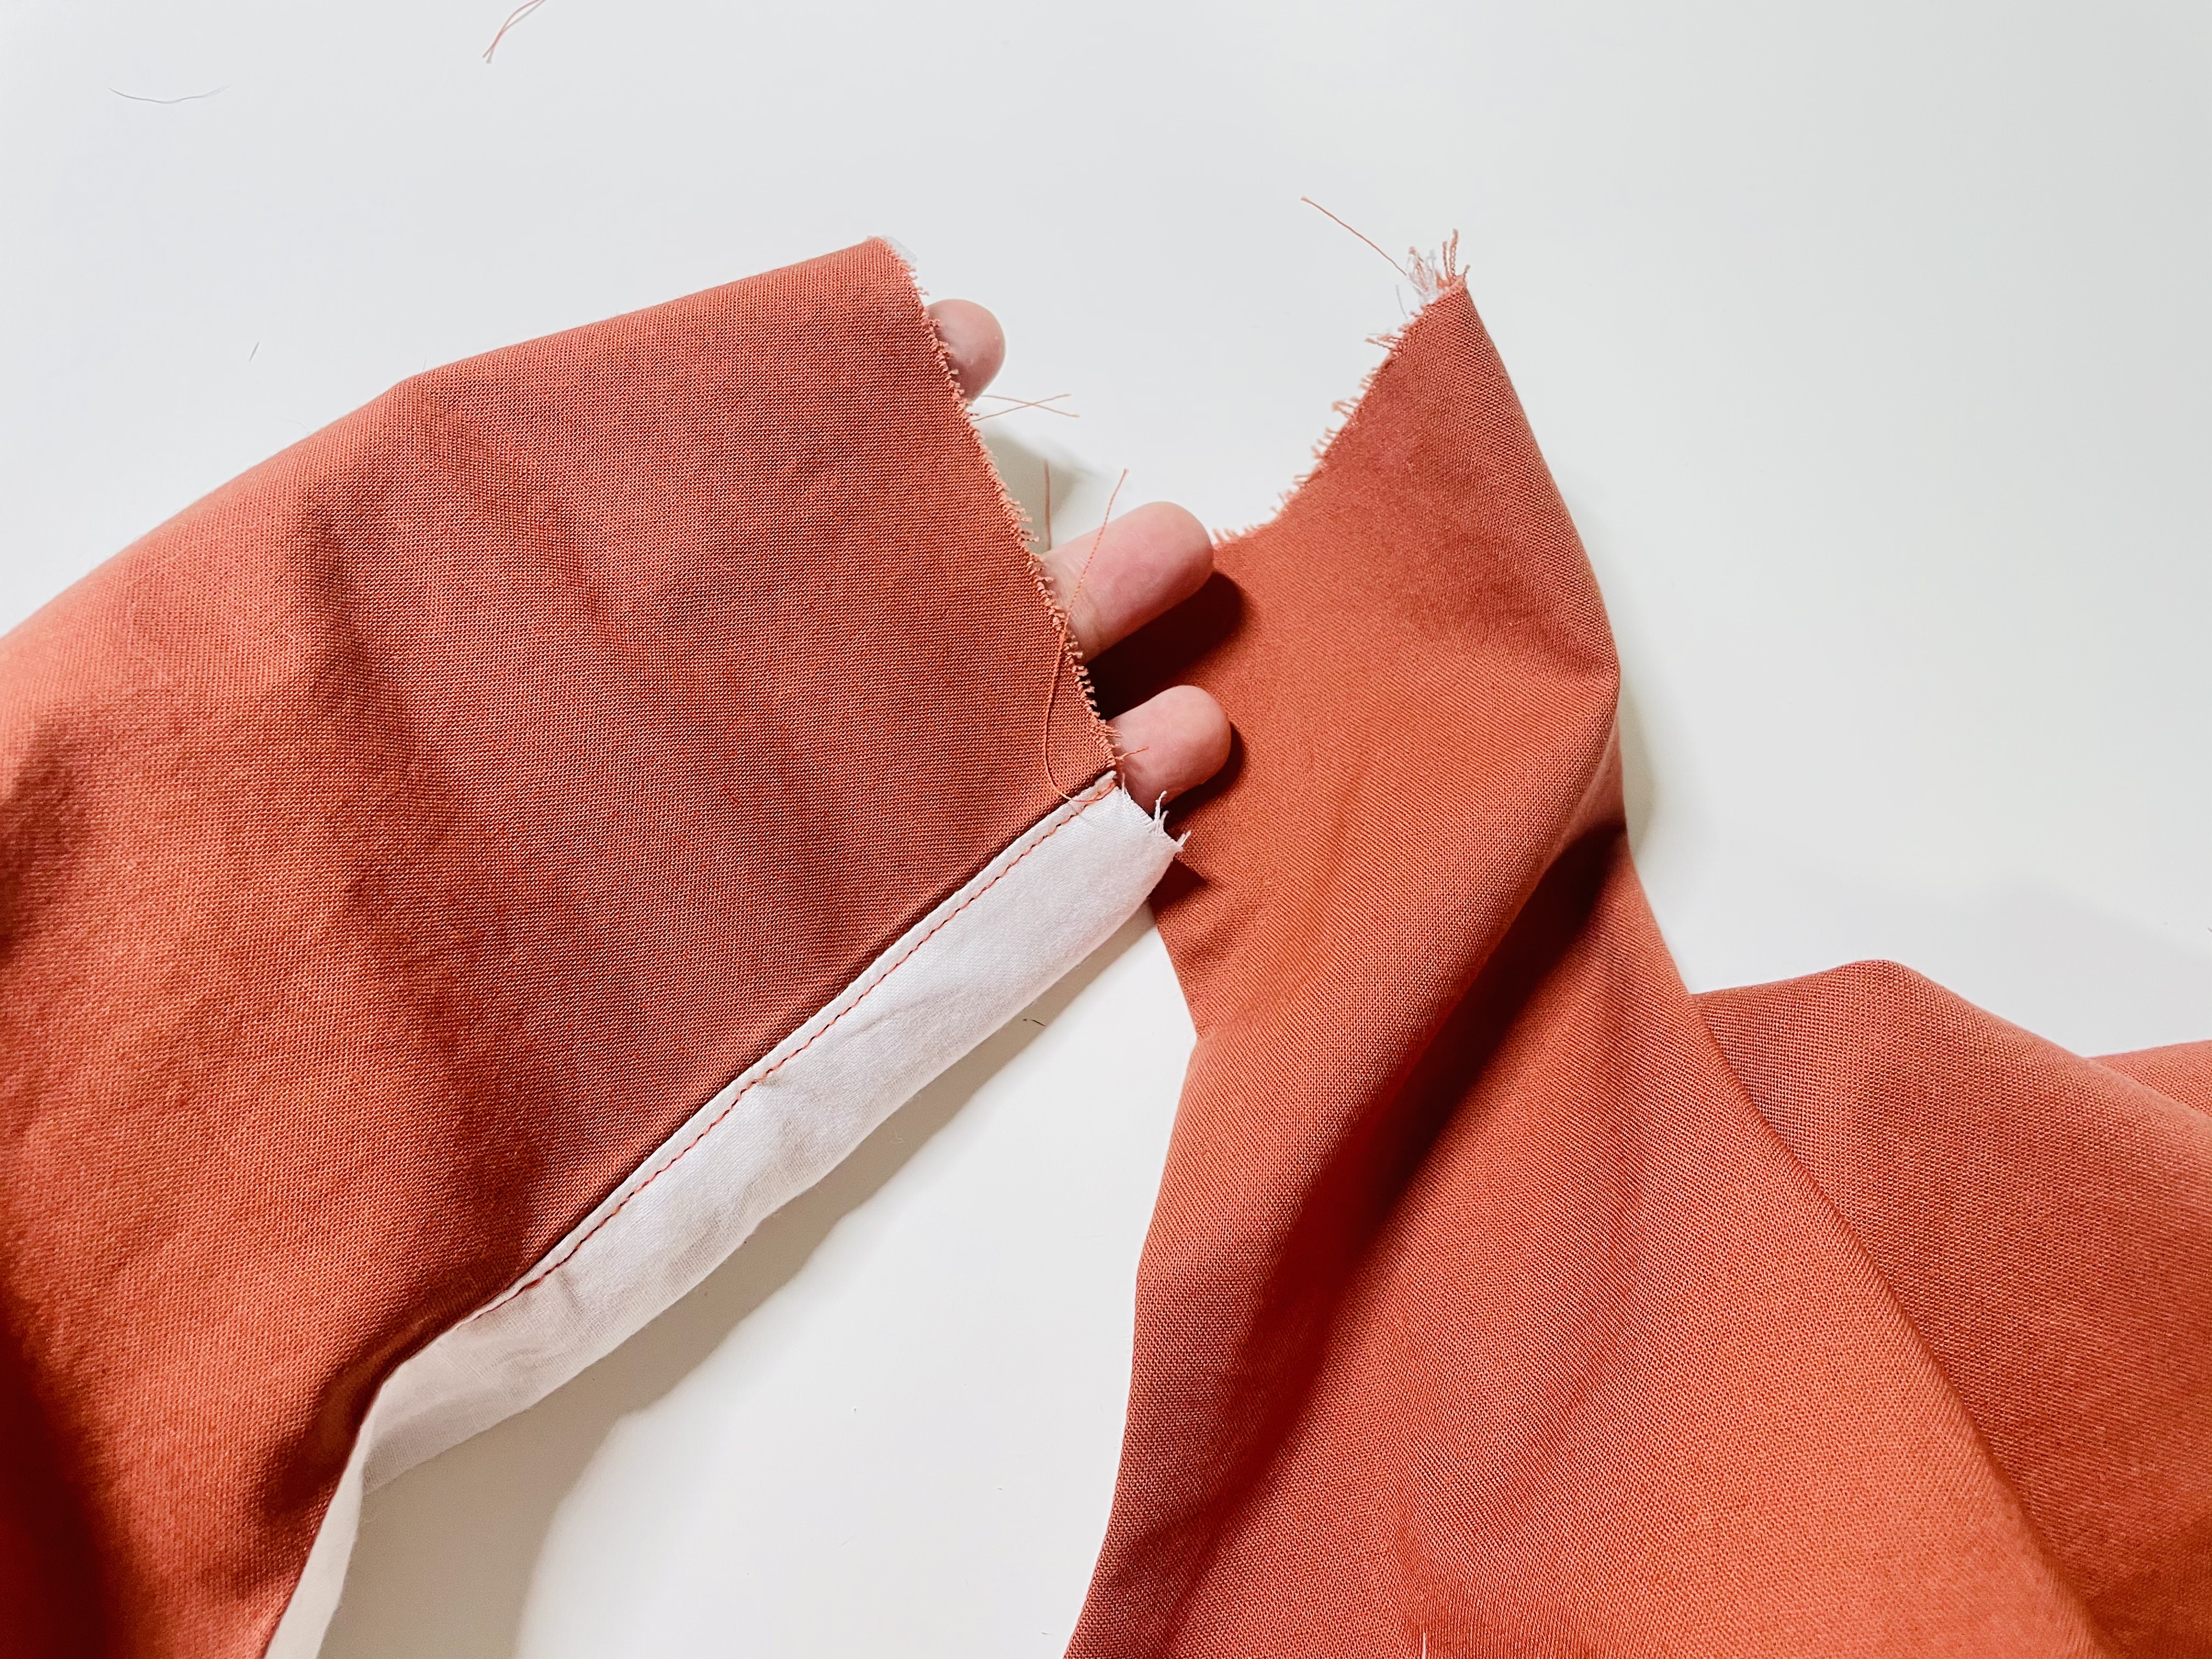
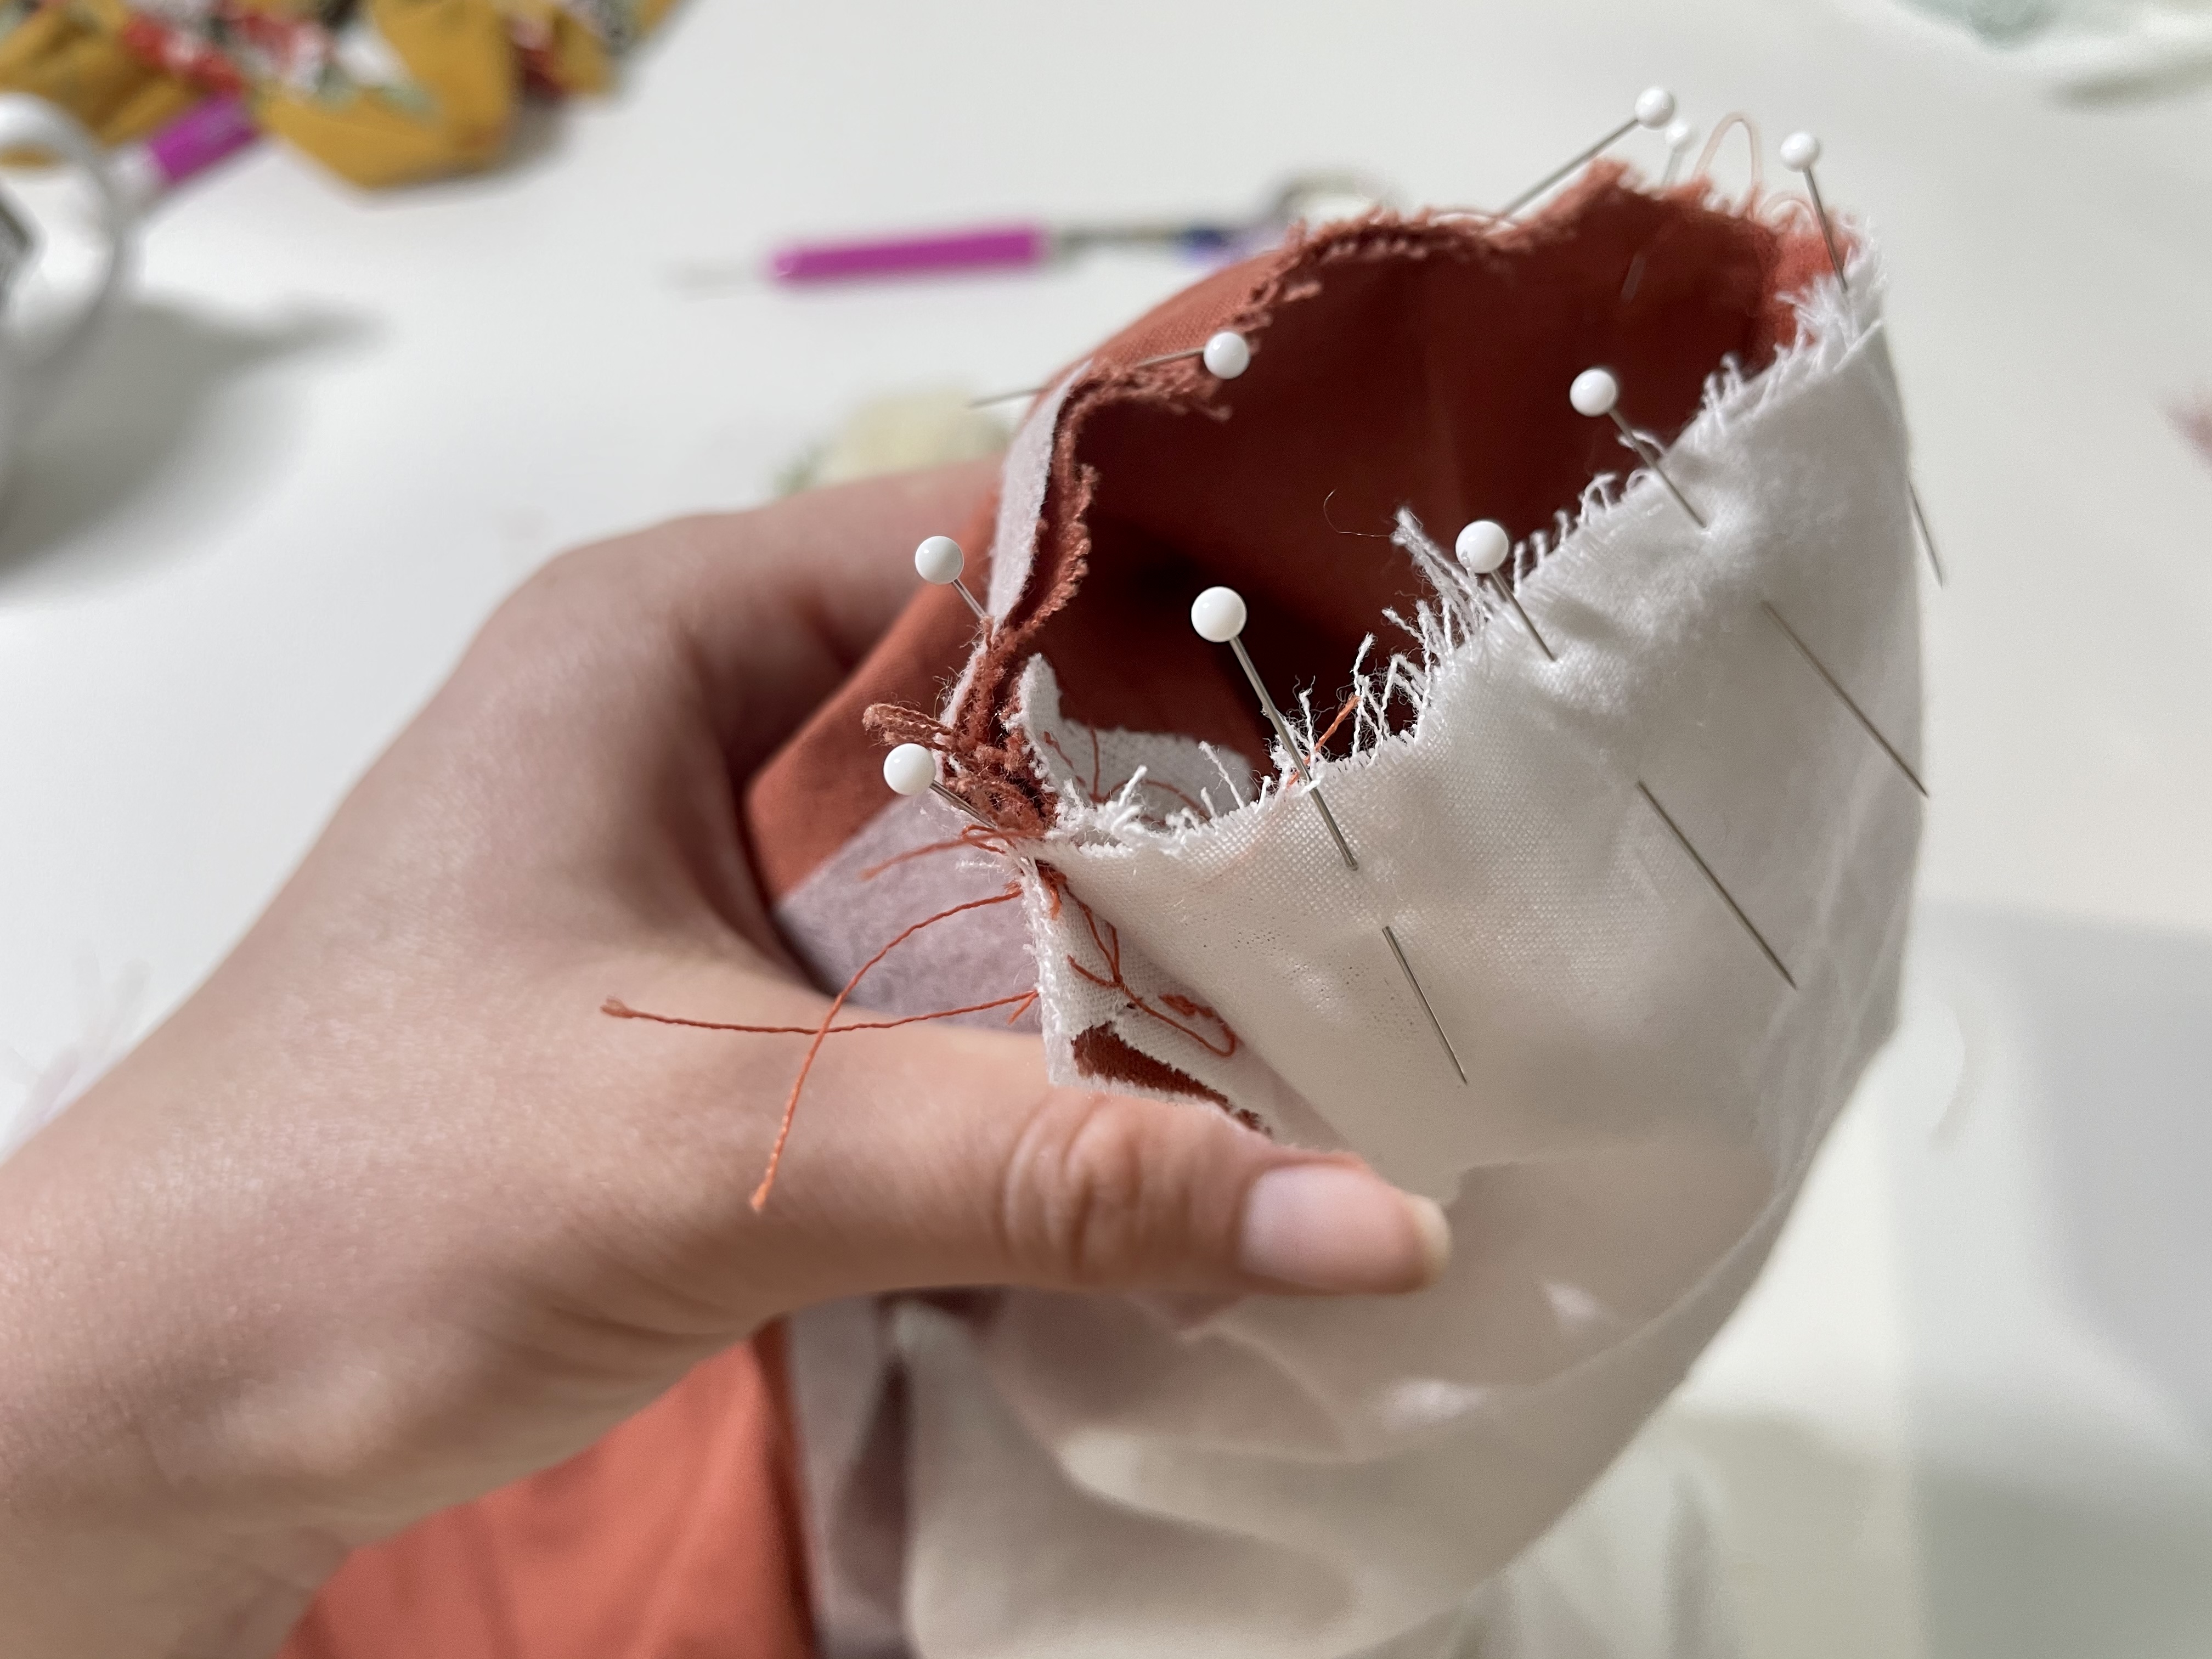
The shoulders are tricky! With the bodice right side out, you must reach into one side of the shoulder with your hand, grab the other side of the shoulder, then – while kind of flipping the first side of the shoulder inside out – line the two up right sides together.
This is even harder to explain in words than it is to actually do, so hopefully the below pictures will demonstrate what I mean! (This is a slideshow, so be sure to click through for all 6 images!)
Pin the shoulder together, being careful to match the seams where your lining and main meet on each shoulder. Sew this with a 1/2″ (0.6 cm) seam allowance.
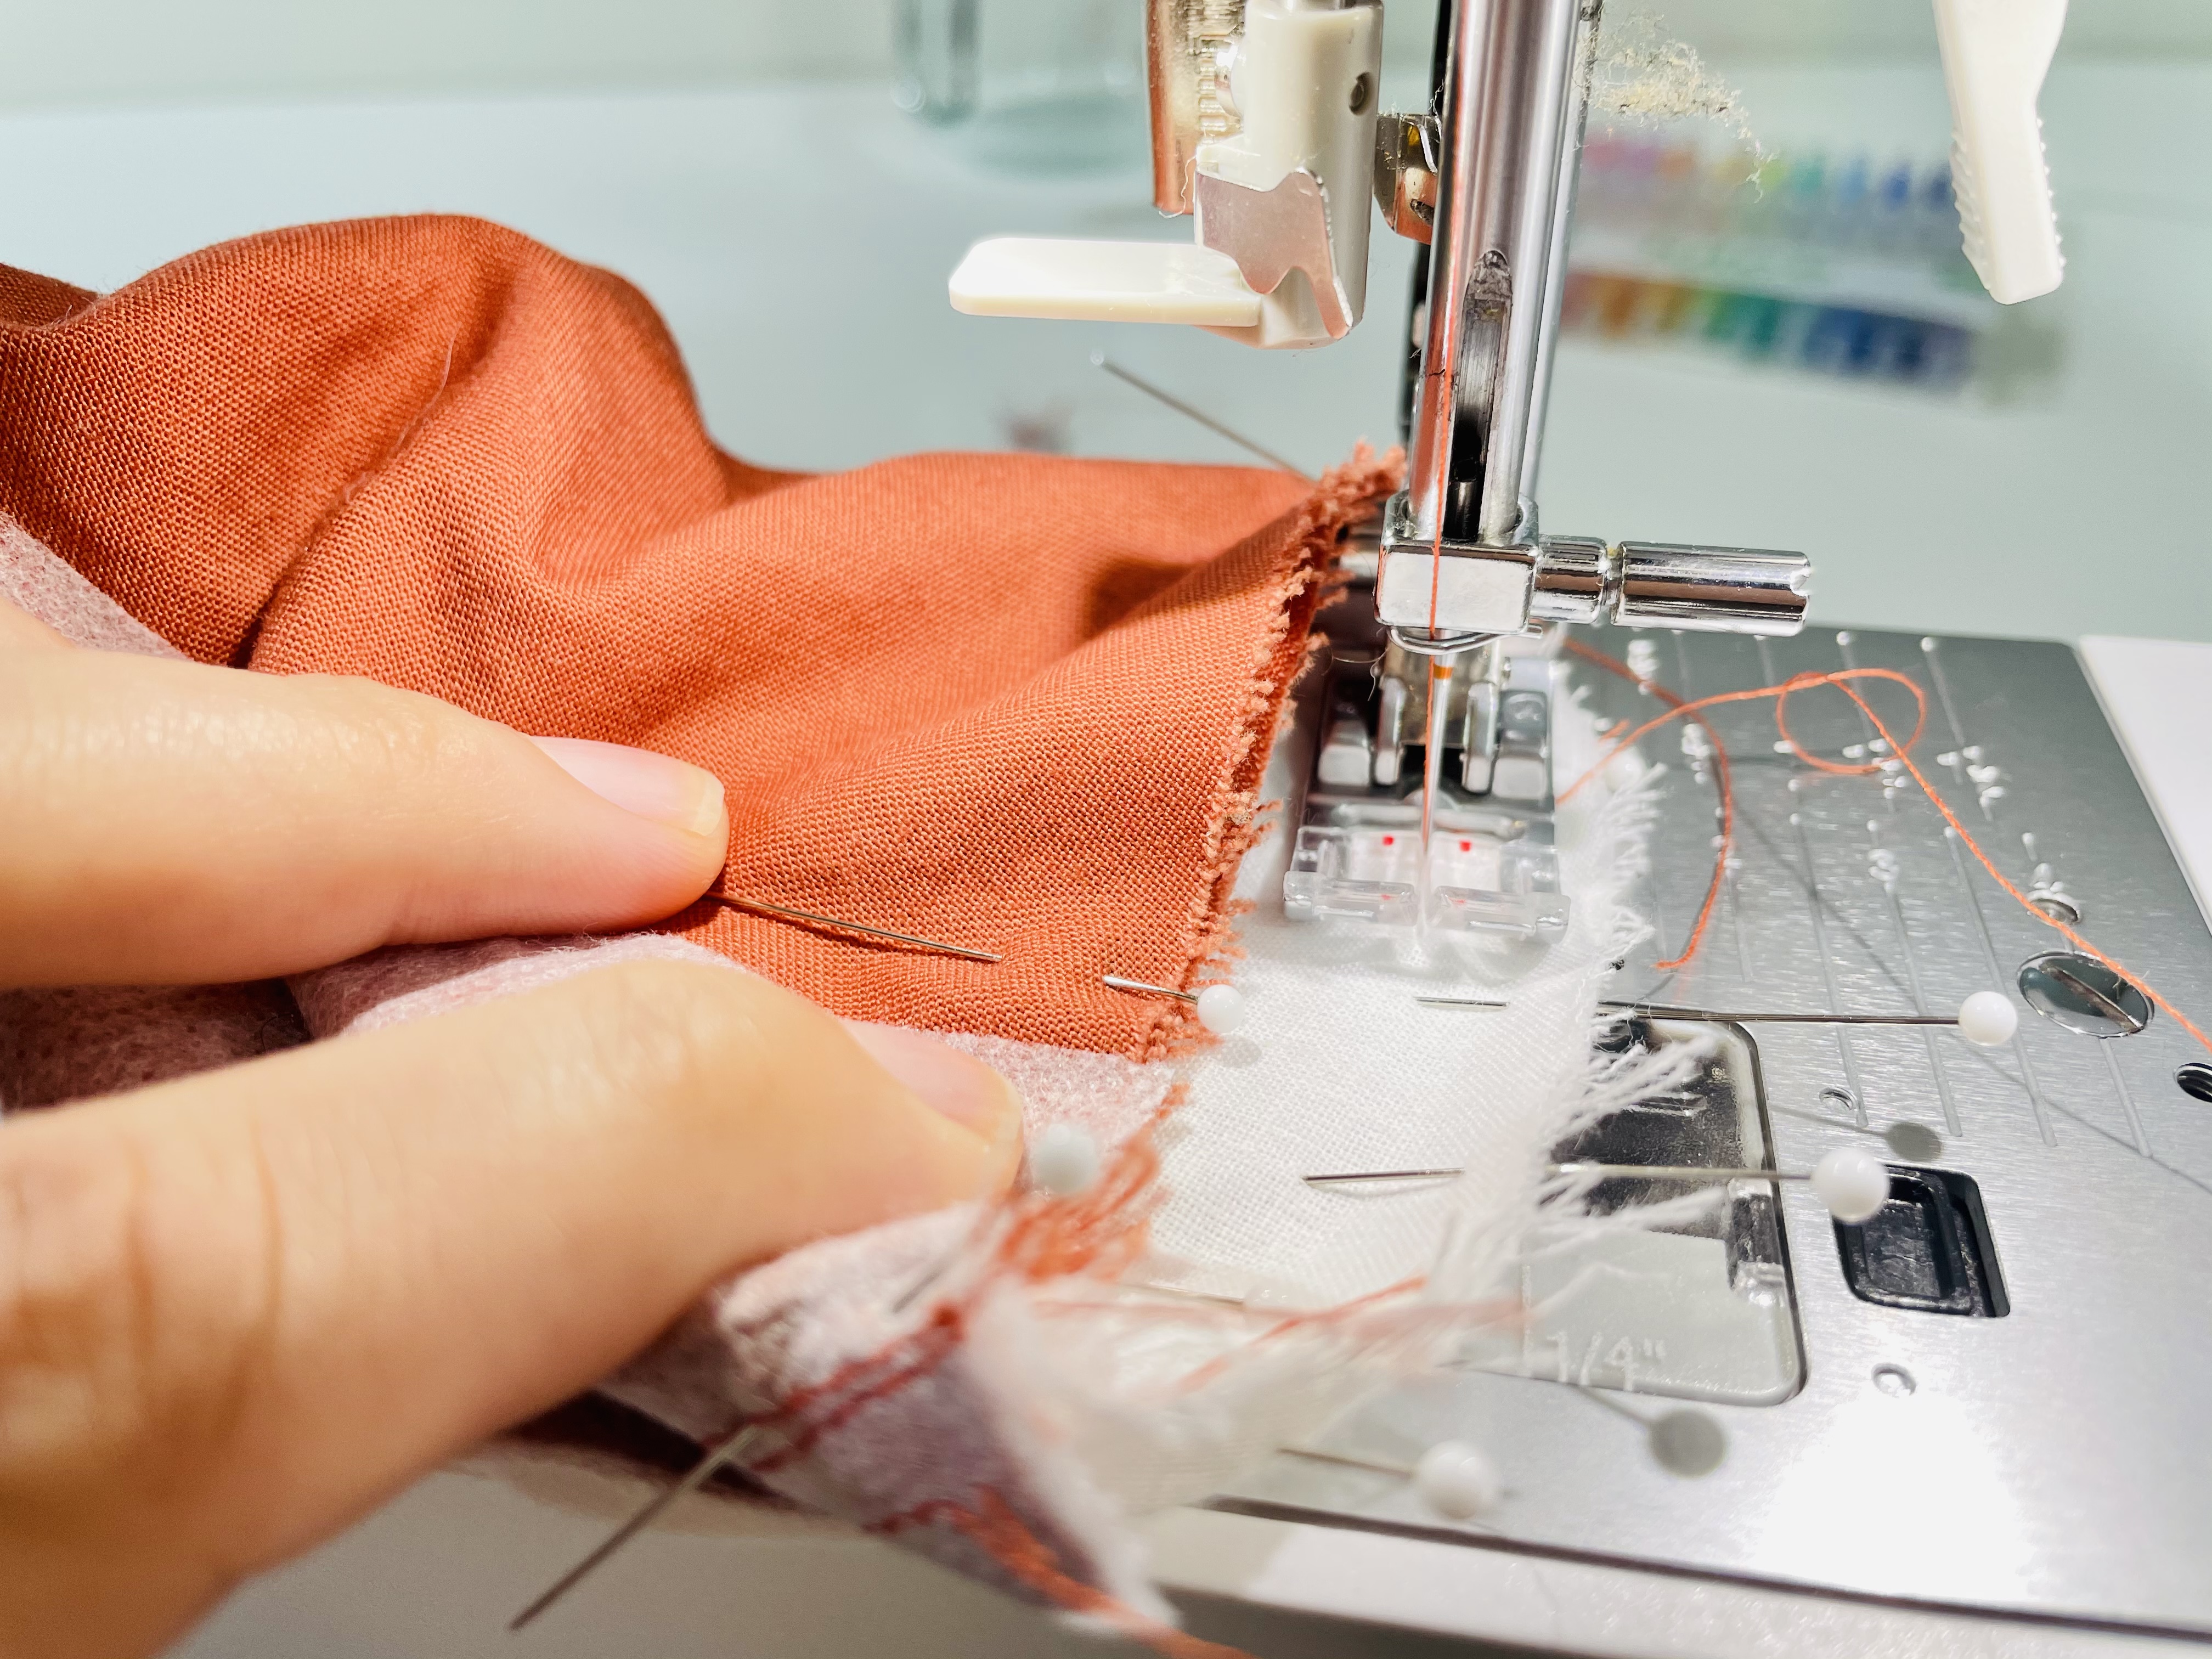
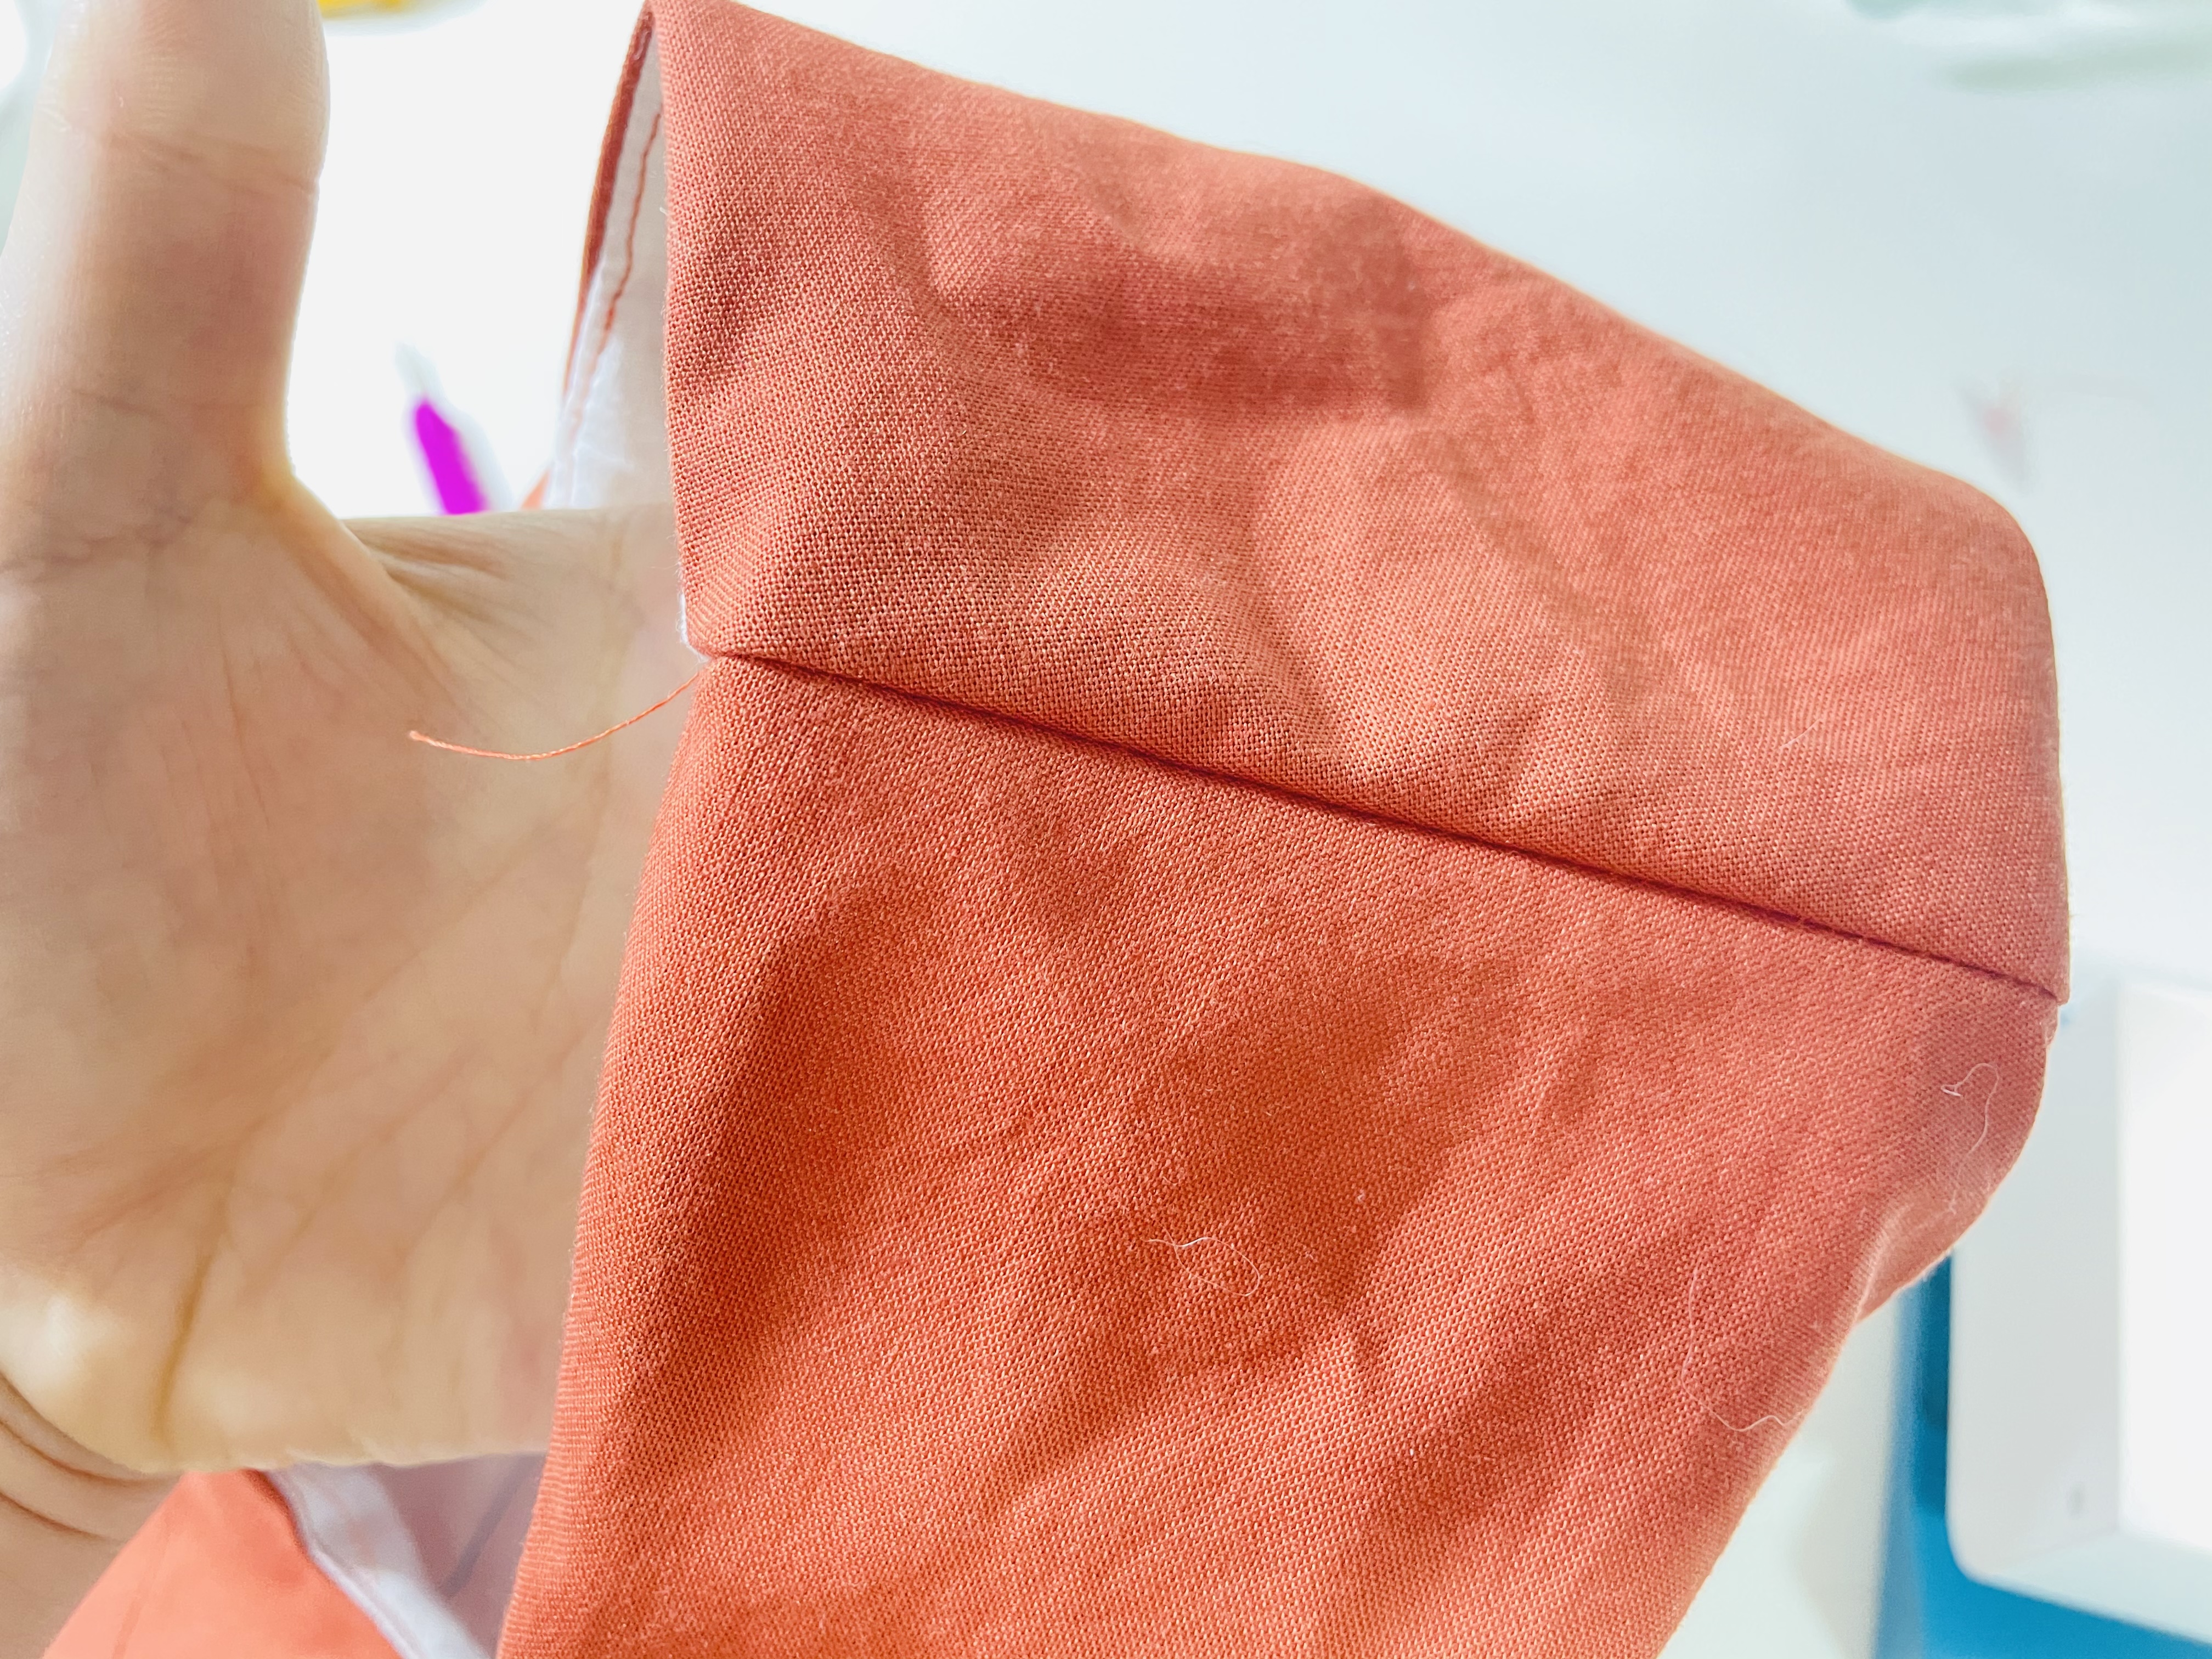
Once it is sewn, flip it right side out and press. You should have a nice shoulder seam now, with all seam allowances enclosed.
Your Homework
This week, you should:
- Staystitch and sew your darts
- Sew your side seams
- Combine main and lining
- Sew your shoulders
Next week, on August 30, we’ll get into sewing the skirt!



0 Comments