Community Blog | Hacking the Ogden Cami for Busty Bodies with Helen
The Ogden Cami by True Bias seems to be one of those sewing patterns you see everywhere. I’m sure anyone who has spent even the smallest amount of time browsing sewing hashtags on Instagram or scrolling through a sewing Facebook group will have seen this pattern pop up everywhere! I absolutely love the simplicity of it with its lovely clean lines, stylish neckline and plunging back. That being said it took me a long time to get around to making one because I just couldn’t see how it could work for me.
The Ogden Cami comes in two size ranges, and whilst it’s not clear from their website I *think* the larger size range is drafted for a sewing D cup (4 inch difference between upper and full bust). Unfortunately, my measurements fall firmly into the smaller size range which is drafted for a sewing B cup (2 inch difference, again this is not clear on the website). I opted to cut out a size 4 and went with a 1inch full bust adjustment (half inch on either side). When doing the FBA I decided to leave the newly created bust darts to provide a bit of shaping as the roomy shape of this top which hangs from the bust could easily become tent like on a larger chest.
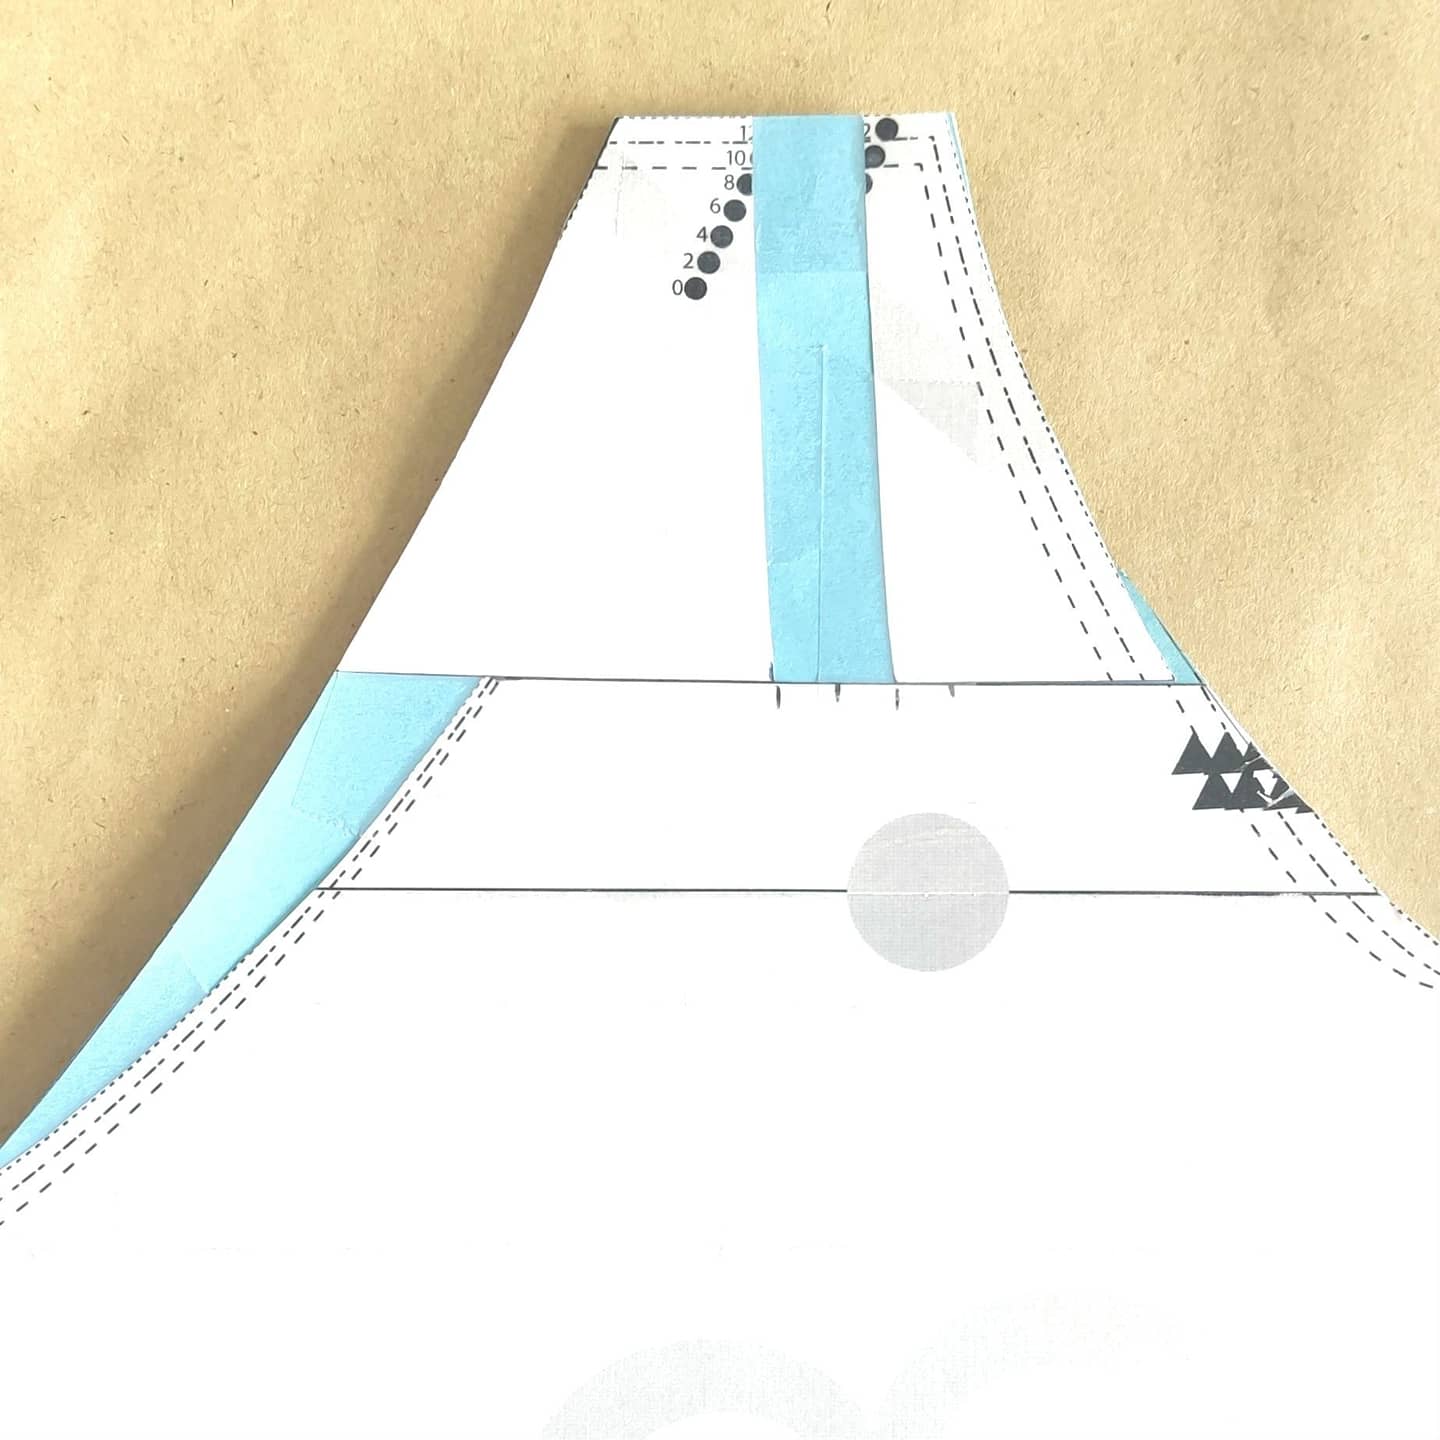
As a busty sewist one of my main considerations was that I would want to wear this pattern with a bra – I really cant stand the faff of a strapless bra and finding one in my size is pretty difficult (and I’m not up to making one quite yet!). Unlike our small-chested friends busty bras tend to have wide straps and the lovely spaghetti straps on the Ogden would just leave them on show. So I set about make this pattern bra friendly. Firstly I measured the width of the straps on the bra I want to wear this with – they are 3/4inch wide so I widened the strap pattern piece to 3/4inch plus seam allowances. I then made the corresponding change to the front and back pattern pieces where the straps join. To do this I cut off the strap attachment section about 2 inches down from the top. I then cut it in half vertically and spread the two halves apart to add in the extra width I needed.
I also wanted to make sure that the position of the straps would lie over my bra straps – in my case this meant that the front straps needed to be moved out a bit (toward my shoulders) and the back needed to be moved in towards the centre back. I measured how much I needed to move them by and then reattached the top part of the pattern offset by the amount required. I then smoothed all the curves using a French curve and I was done!
Hopefully this little diagram will help visualise those adjustments:

And heres a photo of it on the pattern piece itself!

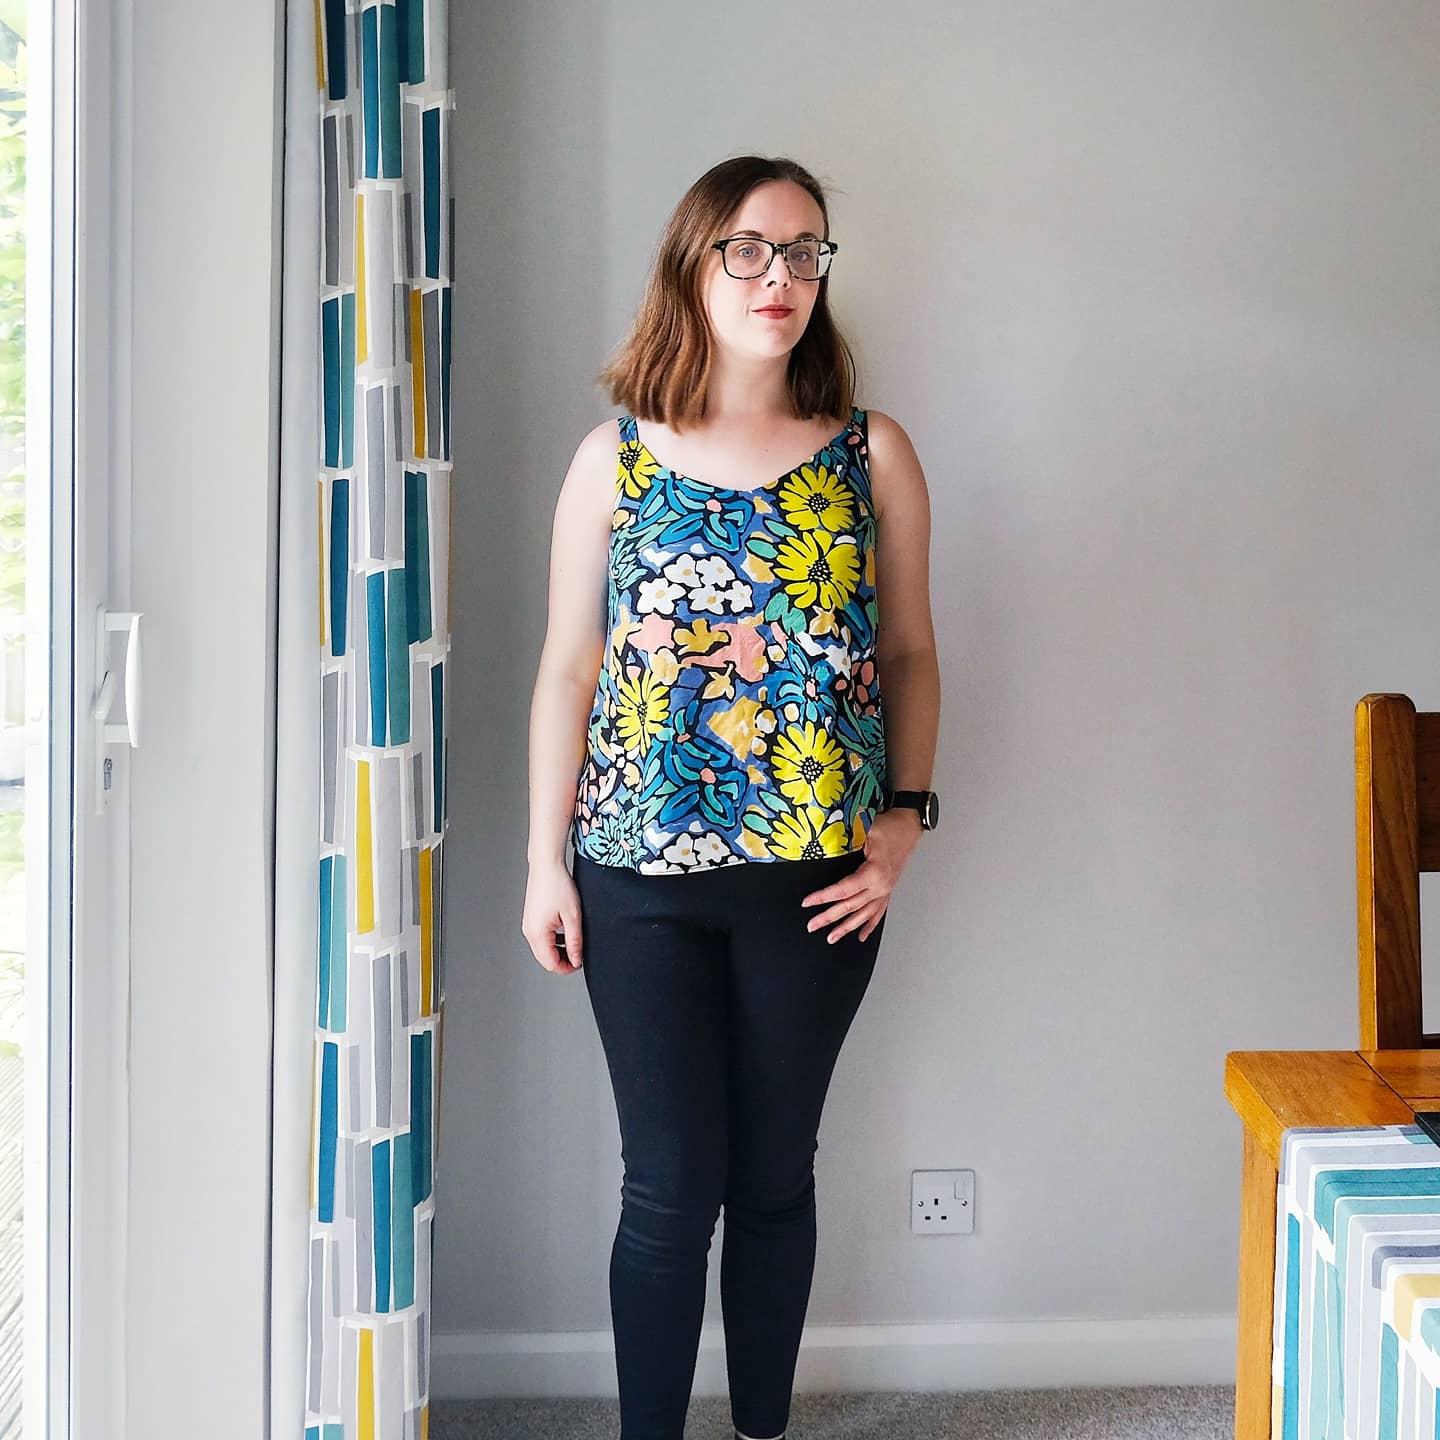
I made up the top in this really fun bright viscose and it was almost perfect. After a bit of wear I noticed it was riding up over my bust…a good indication I needed a bit more bust room.

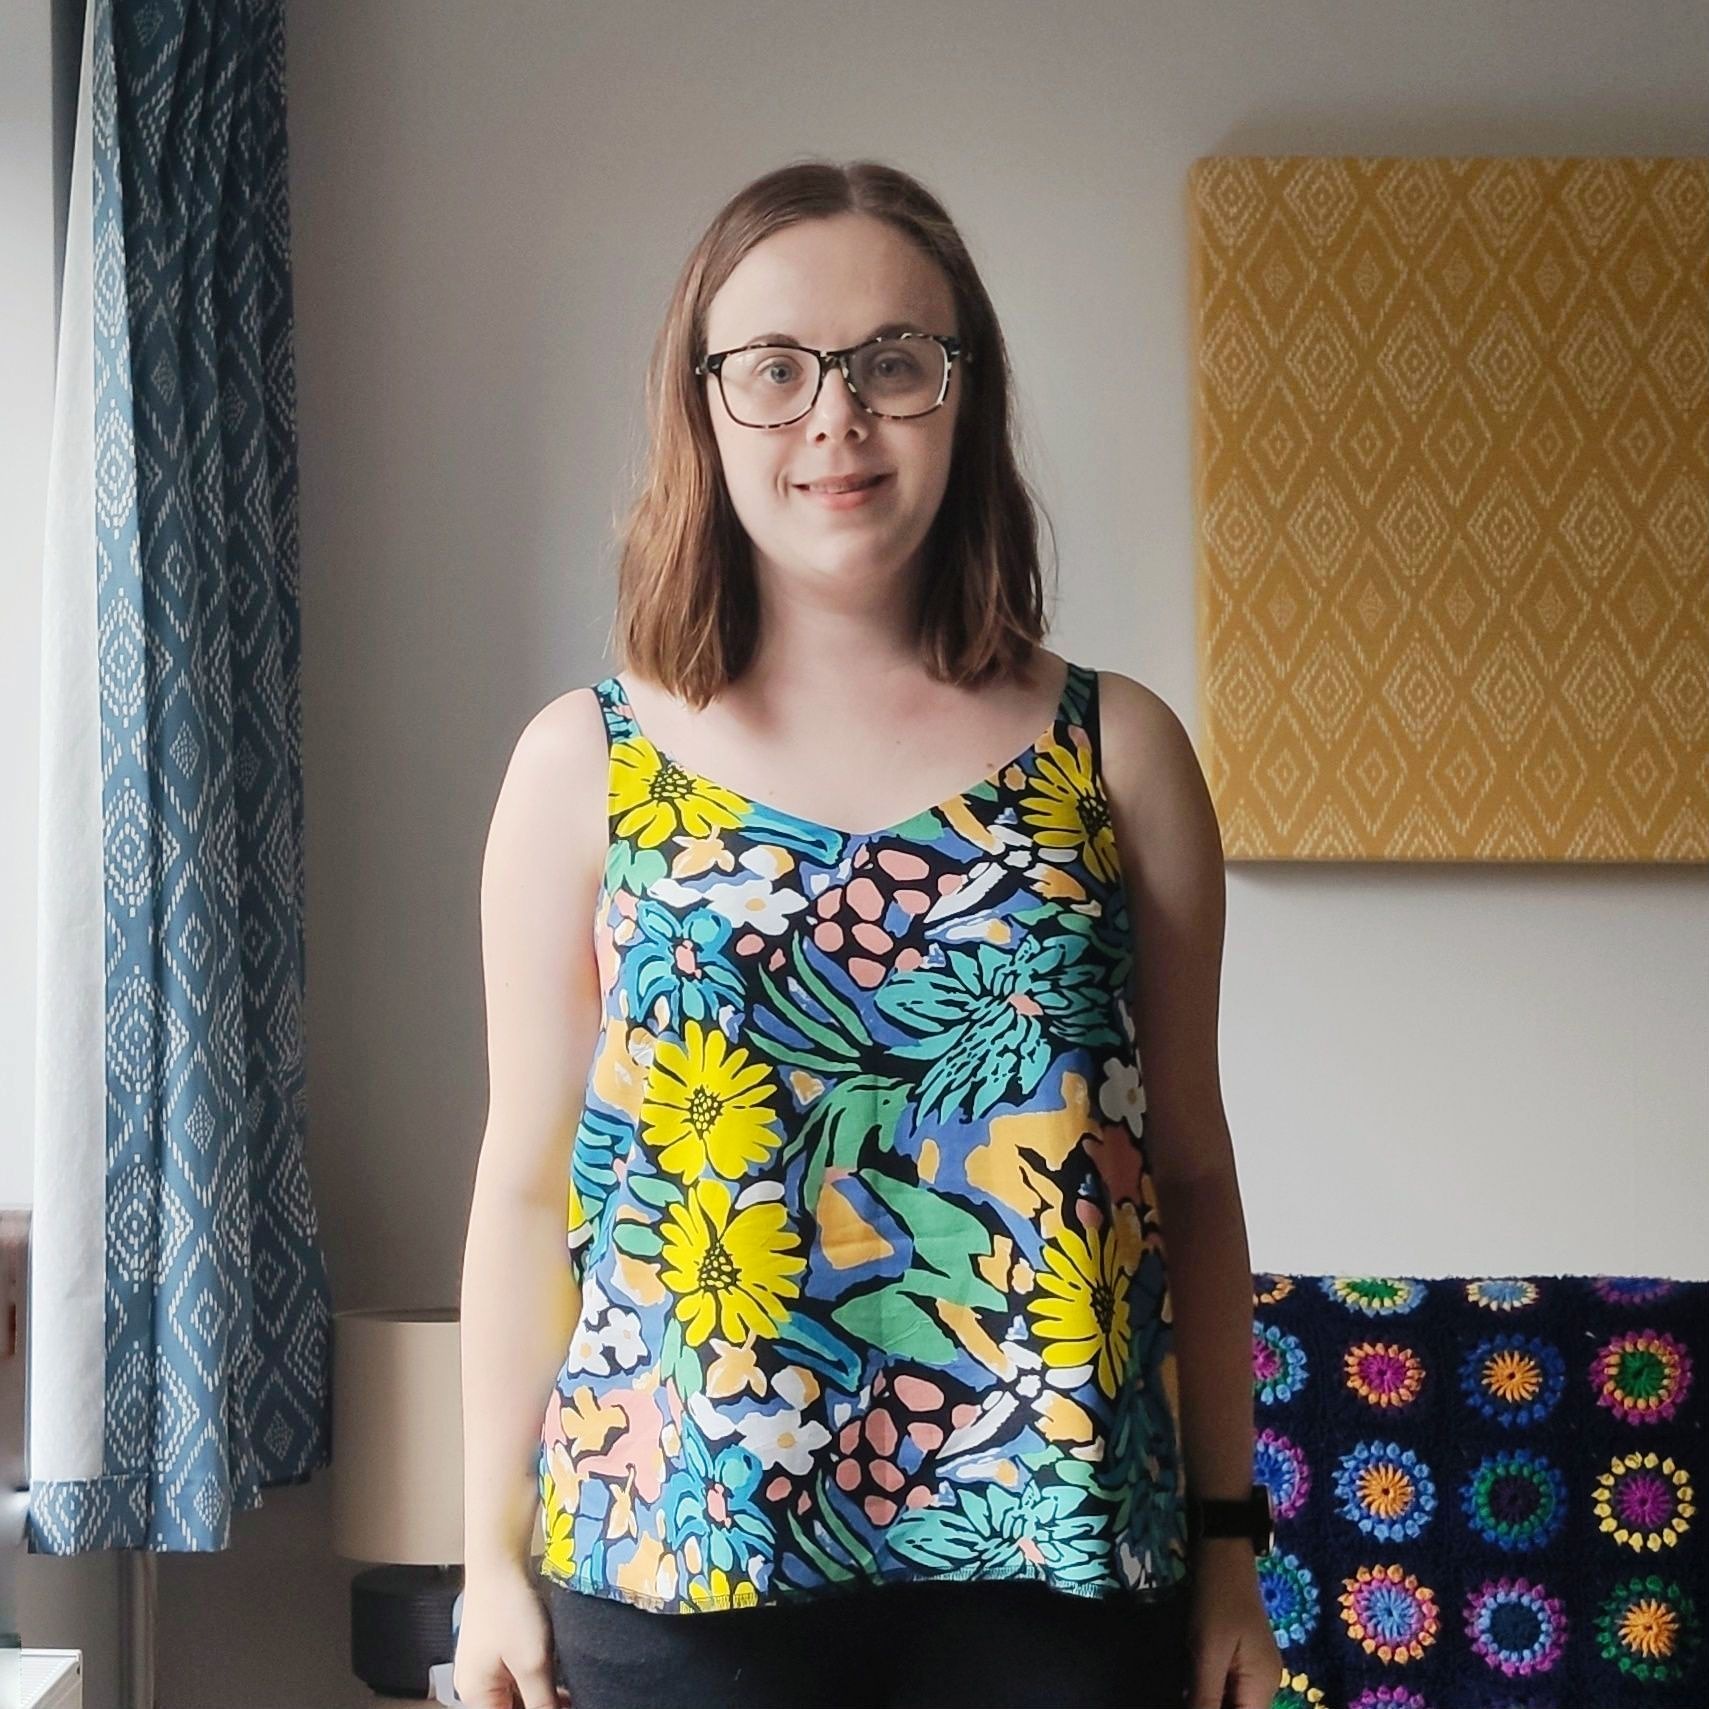
I decided on an extra half inch all round so I added the extra to the side seams rather than do another FBA. I also decided I wanted the lining lengthening a bit as it finished right at my bust line. After making those changes I cut out another version in the same fabric and this time the fit was perfect.

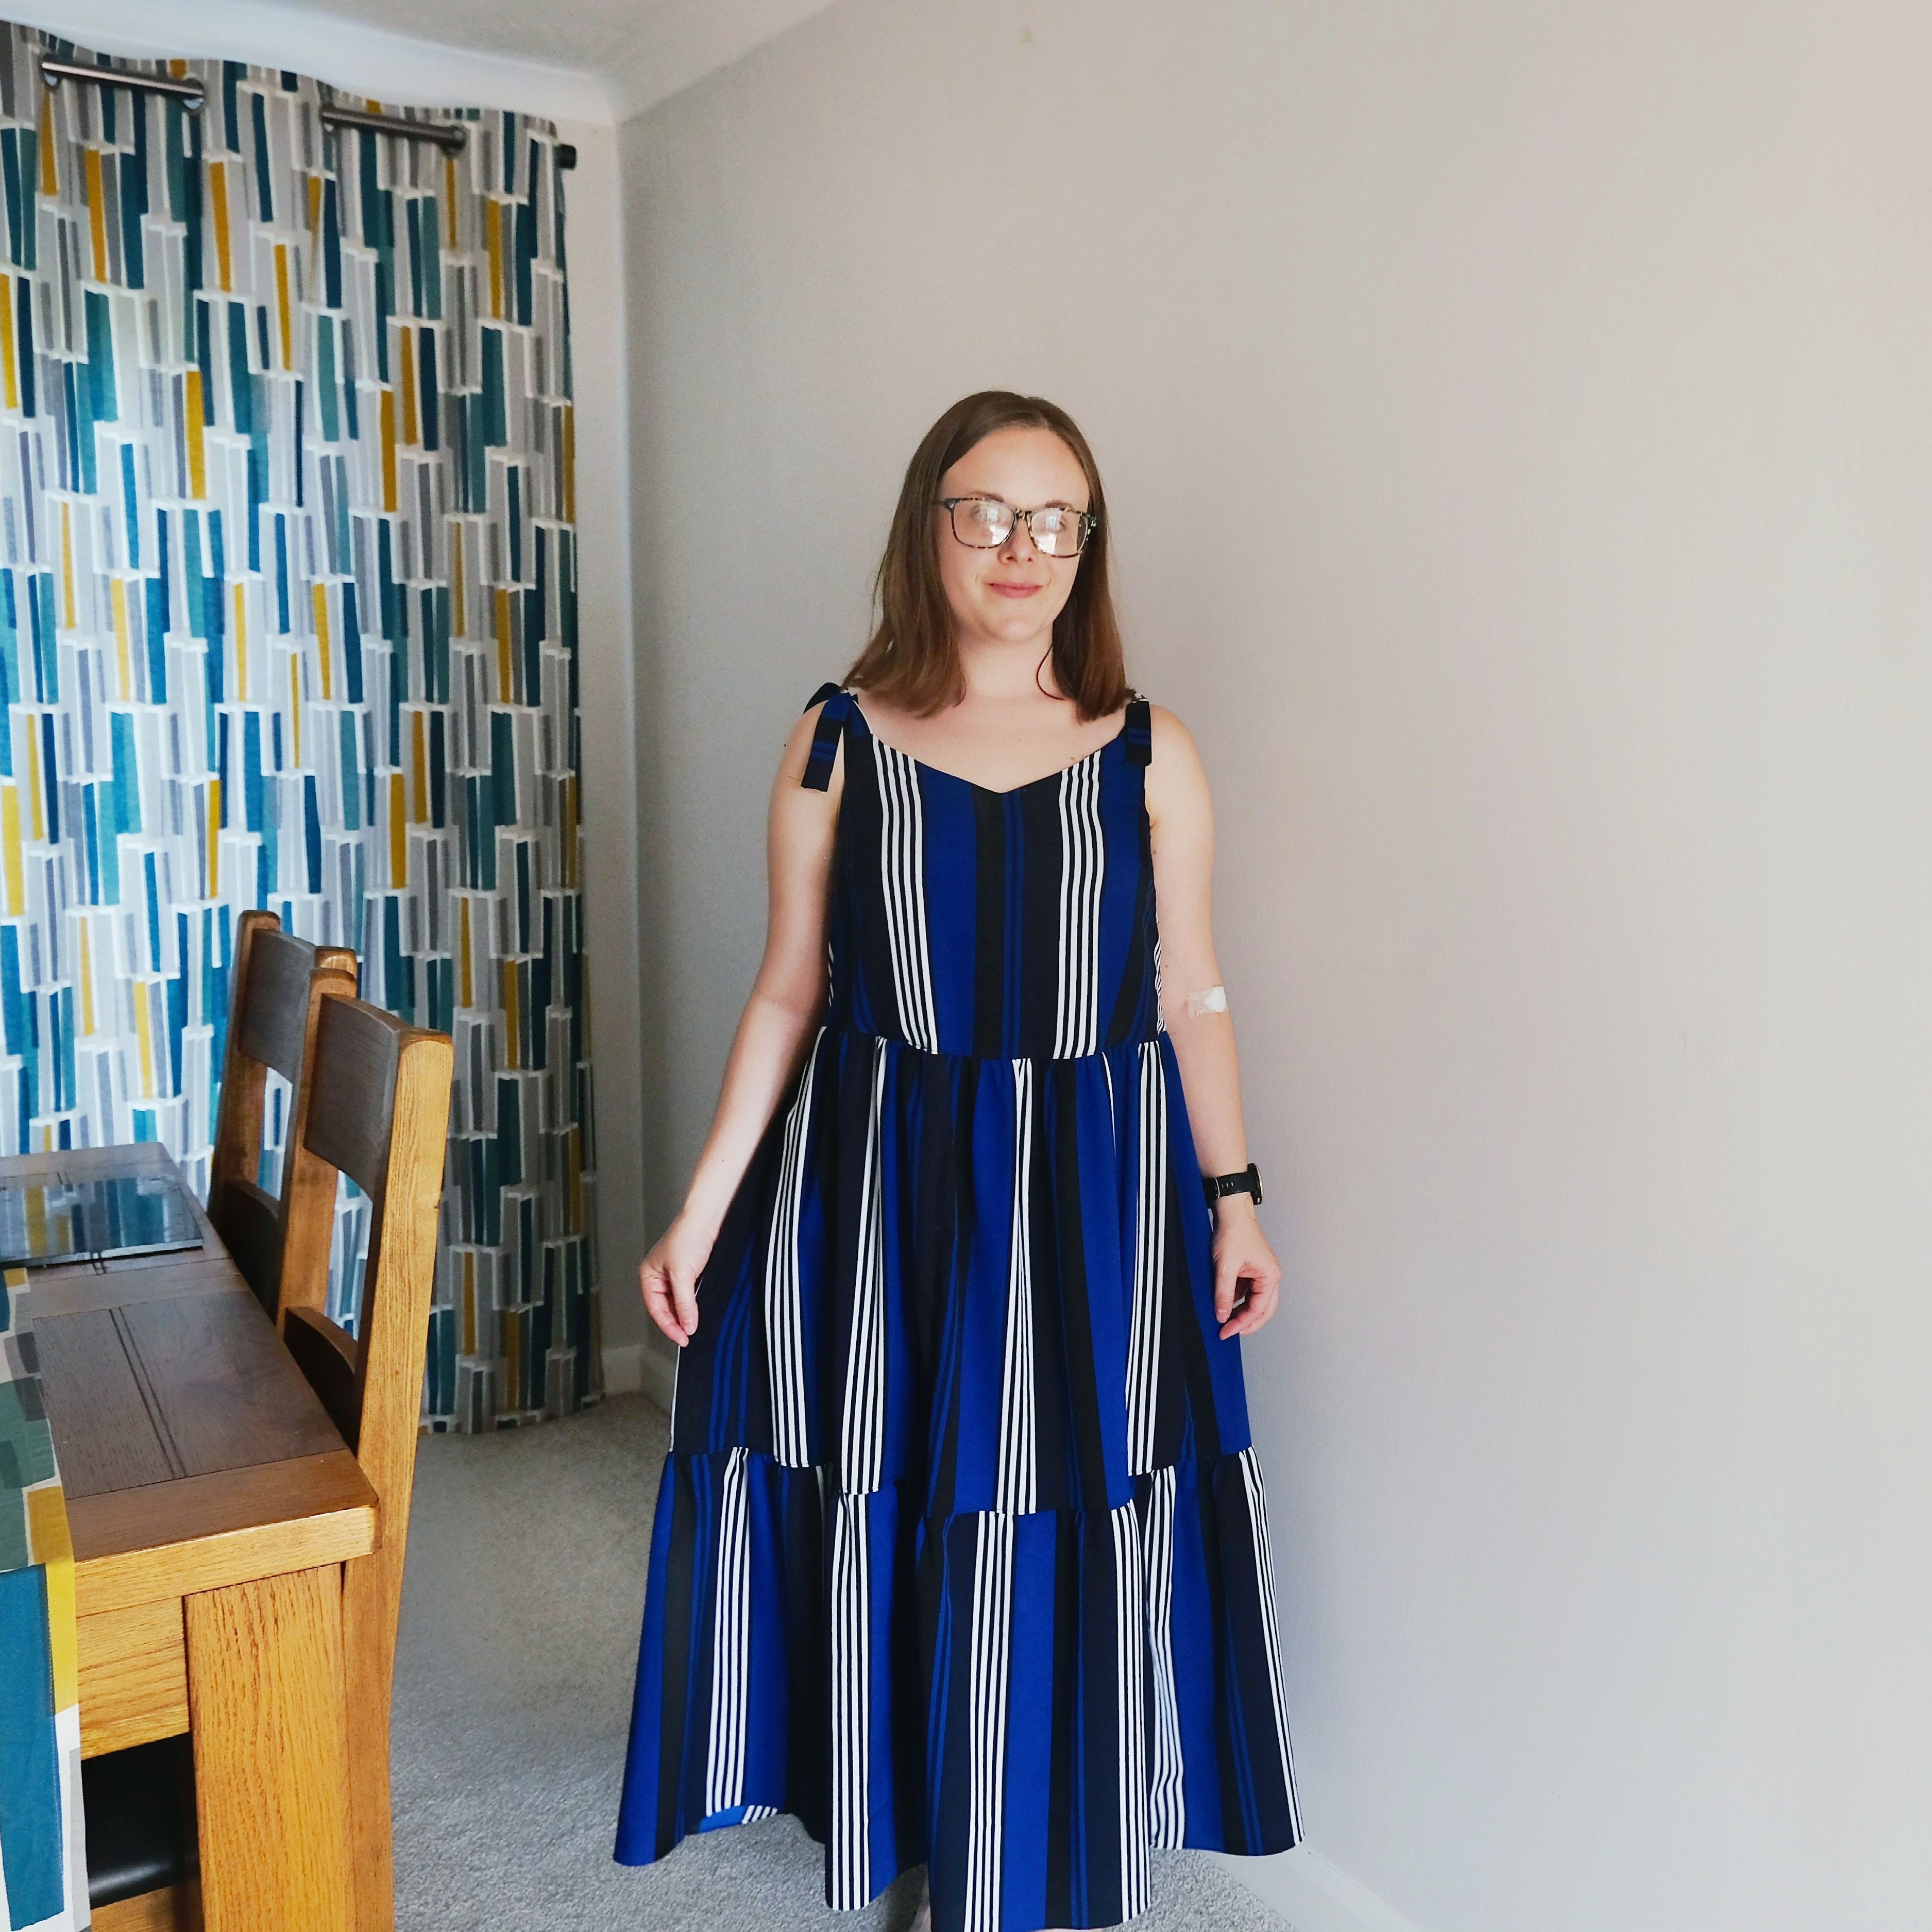
Now that I’ve got this pattern to work for me I can definitely see it becoming one of my go-to patterns for summer. In fact I dived straight in for another go and this time hacked it into a sundress by adding gathered tiers. To do this I sewed up the top as normal and then marked where I wanted the first tier to start being sure to get it level to the ground all round (this means it needs to be much longer in the front to go over my bust). I then gathered the skirt and attached it and repeated for the second tier. I also added some faux ties to the straps. It really is perfect for summer, light and breezy with very little fabric touching my skin, and I can still wear a normal bra underneath!!


Helen is a UK based scientist who loves to create her own sustainable handmade wardrobe to suit her personal style and shape. You can find her makes on insta @hshandcrafts.


