Roseclair Sew Along Week C: Sewing the Bodice & Sleeves (Beginners’ Sewing Series Part 10)
Brand new to sewing? Start here, with posts on gathering your tools, taking your measurements, and figuring out your garment sewing cup size. The Sew Busty Beginners’ Sewing Series will be your step-by-step guide to learning garment sewing. Each installment will build upon the last, getting progressively more advanced in skills and techniques. Catch up with the whole series here.
As part of the Beginners’ Sewing Series, we’re doing a sew along of the Cashmerette Roseclair Wrap Dress. Check out the full sew along here.
Per last week’s post, over the past week, you should have:
- Marked and sewn your darts
- Sewn and finished your shoulder seams
- Sewn and finished your sleeve seam
- Sewn your waist ties
- Sewn and finished your side seams
Today, we’re going to sew up the skirt, attach it to the bodice, and do all the finishing touches!
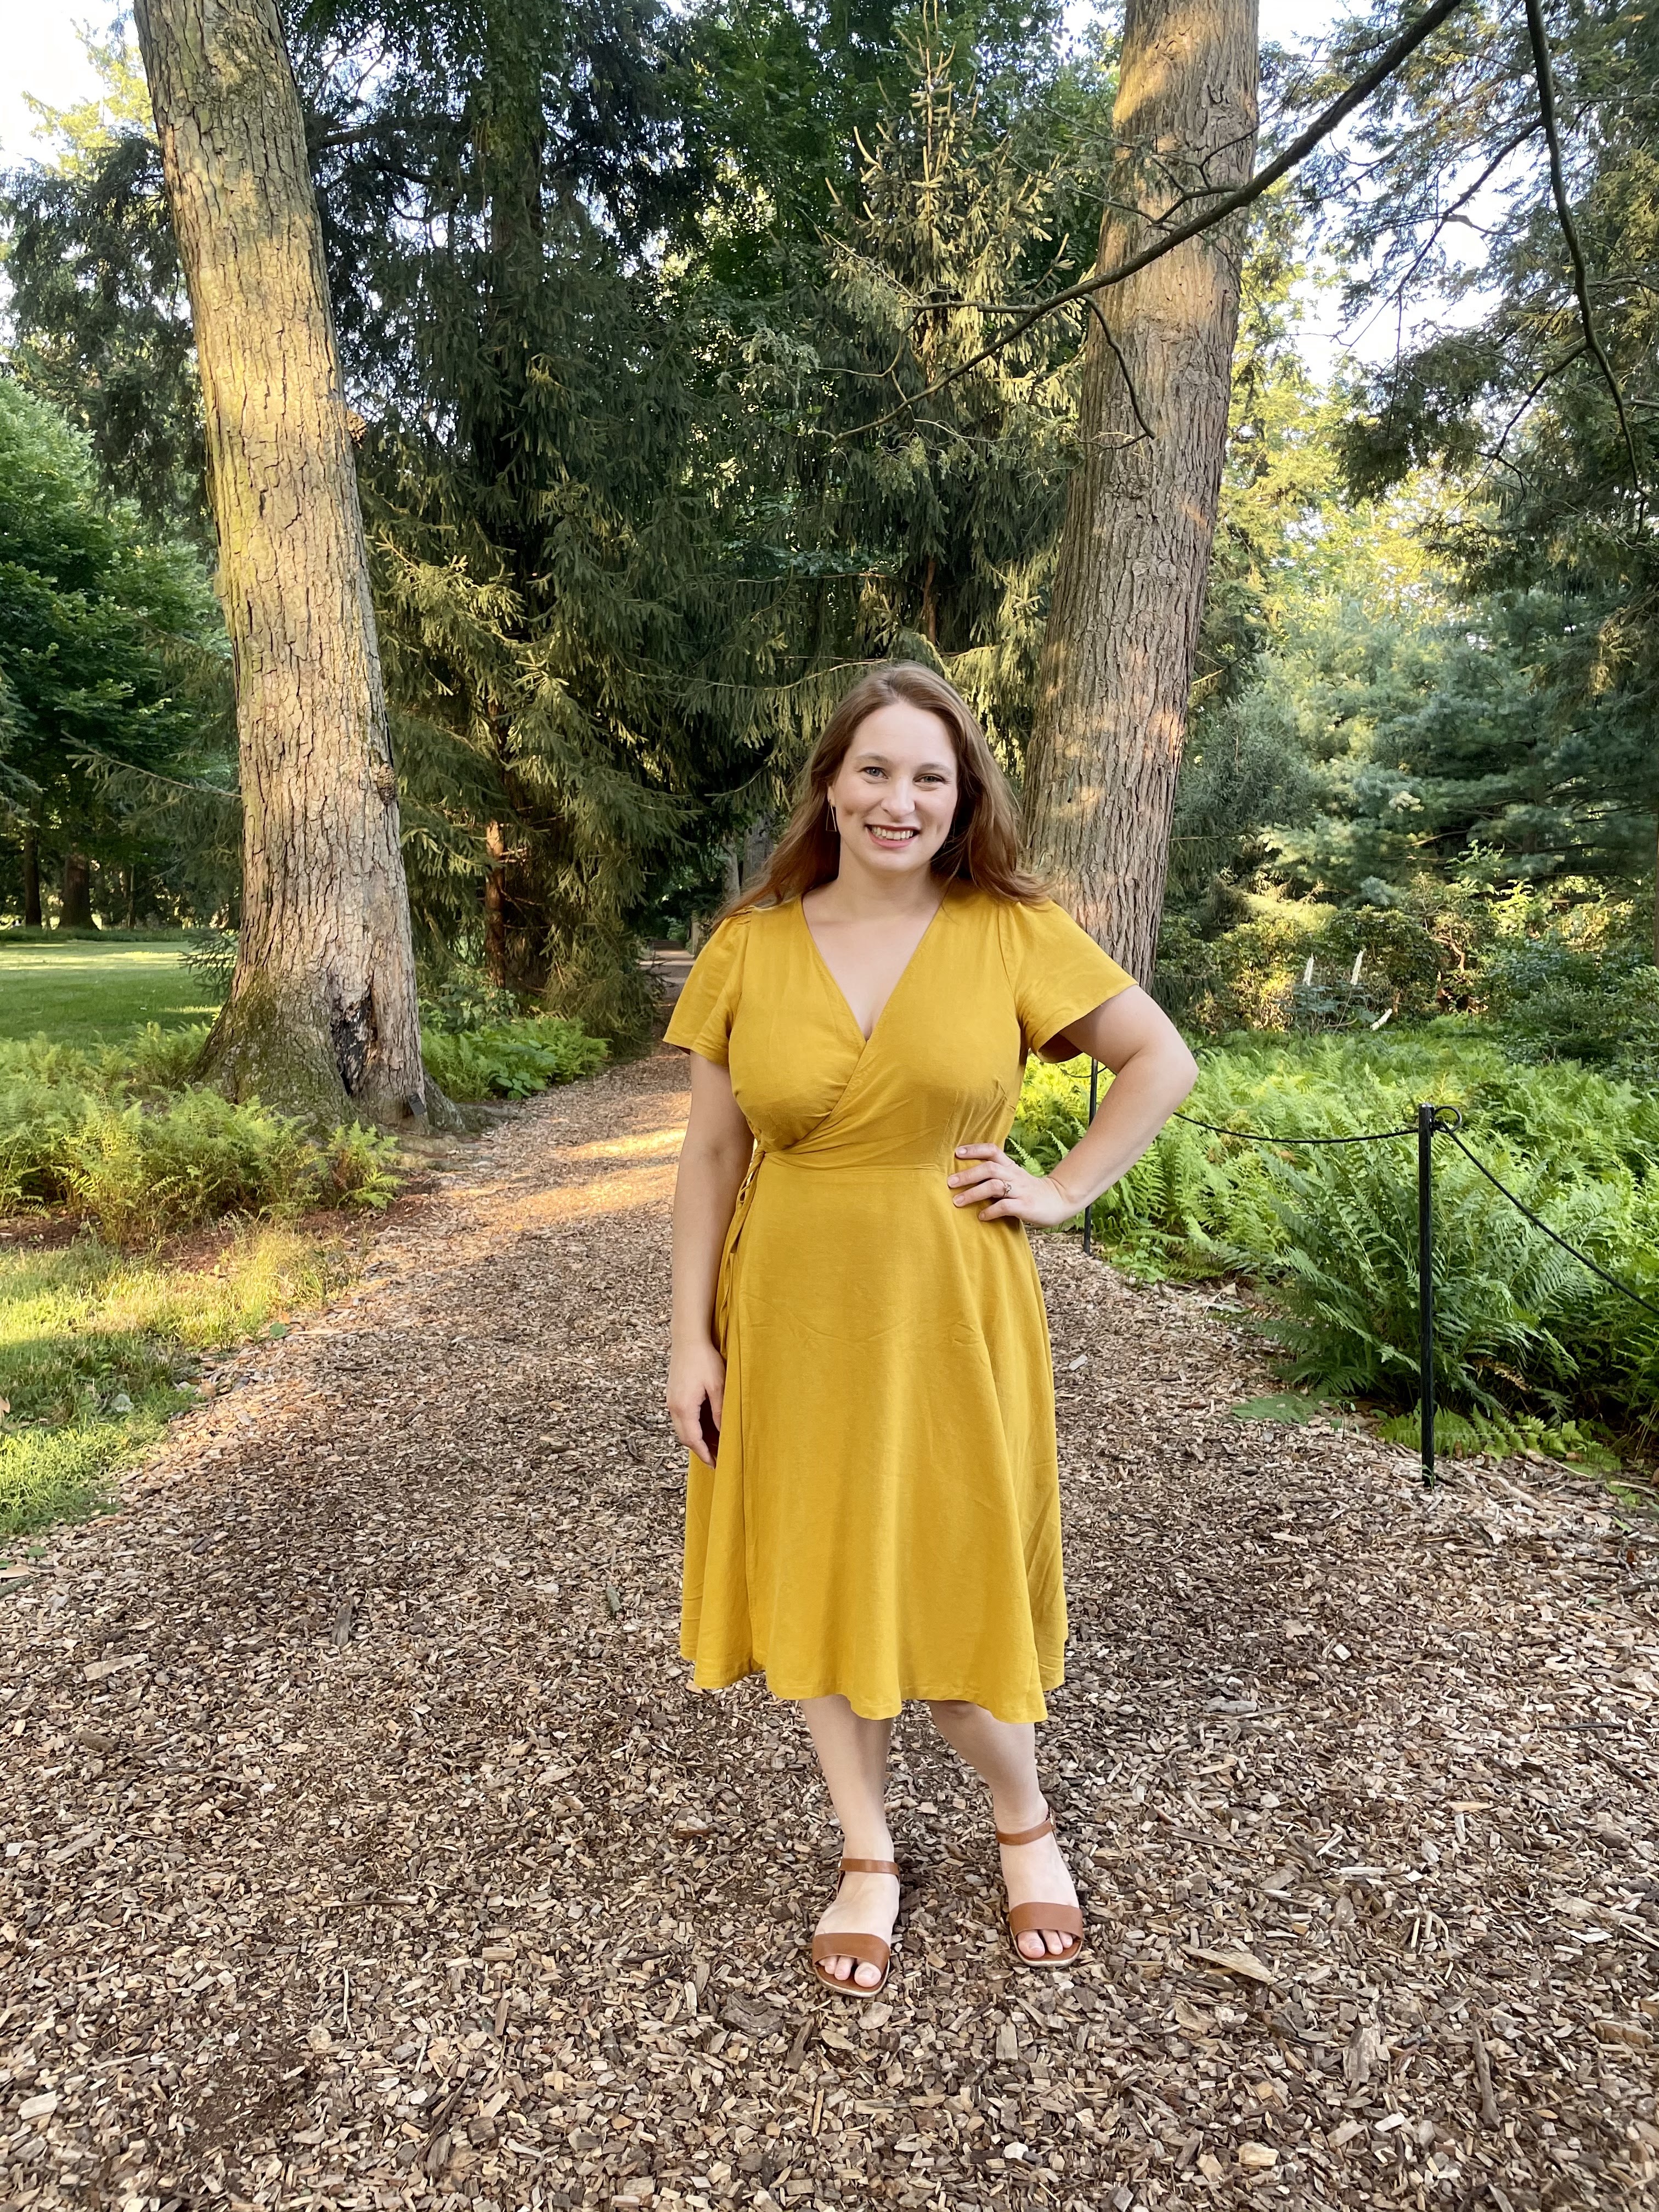
Sewing the Skirt
Your first step today is going to be to sew the skirt! To start off, you need to sew up your center back seam. Matching your two center back pieces, right sides together at the notches along the center back seam, pin.
I actually cut my center back along the fold. If I had done this correctly, by cutting it so it was 1/2″ (12 mm) inward at the center back, I wouldn’t have had to sew at all! But I forgot to trim the seam allowance when I cut on the fold, so I still needed to shave off that extra 1/2″ (12 mm) by sewing, or my skirt would have been a full inch too big!
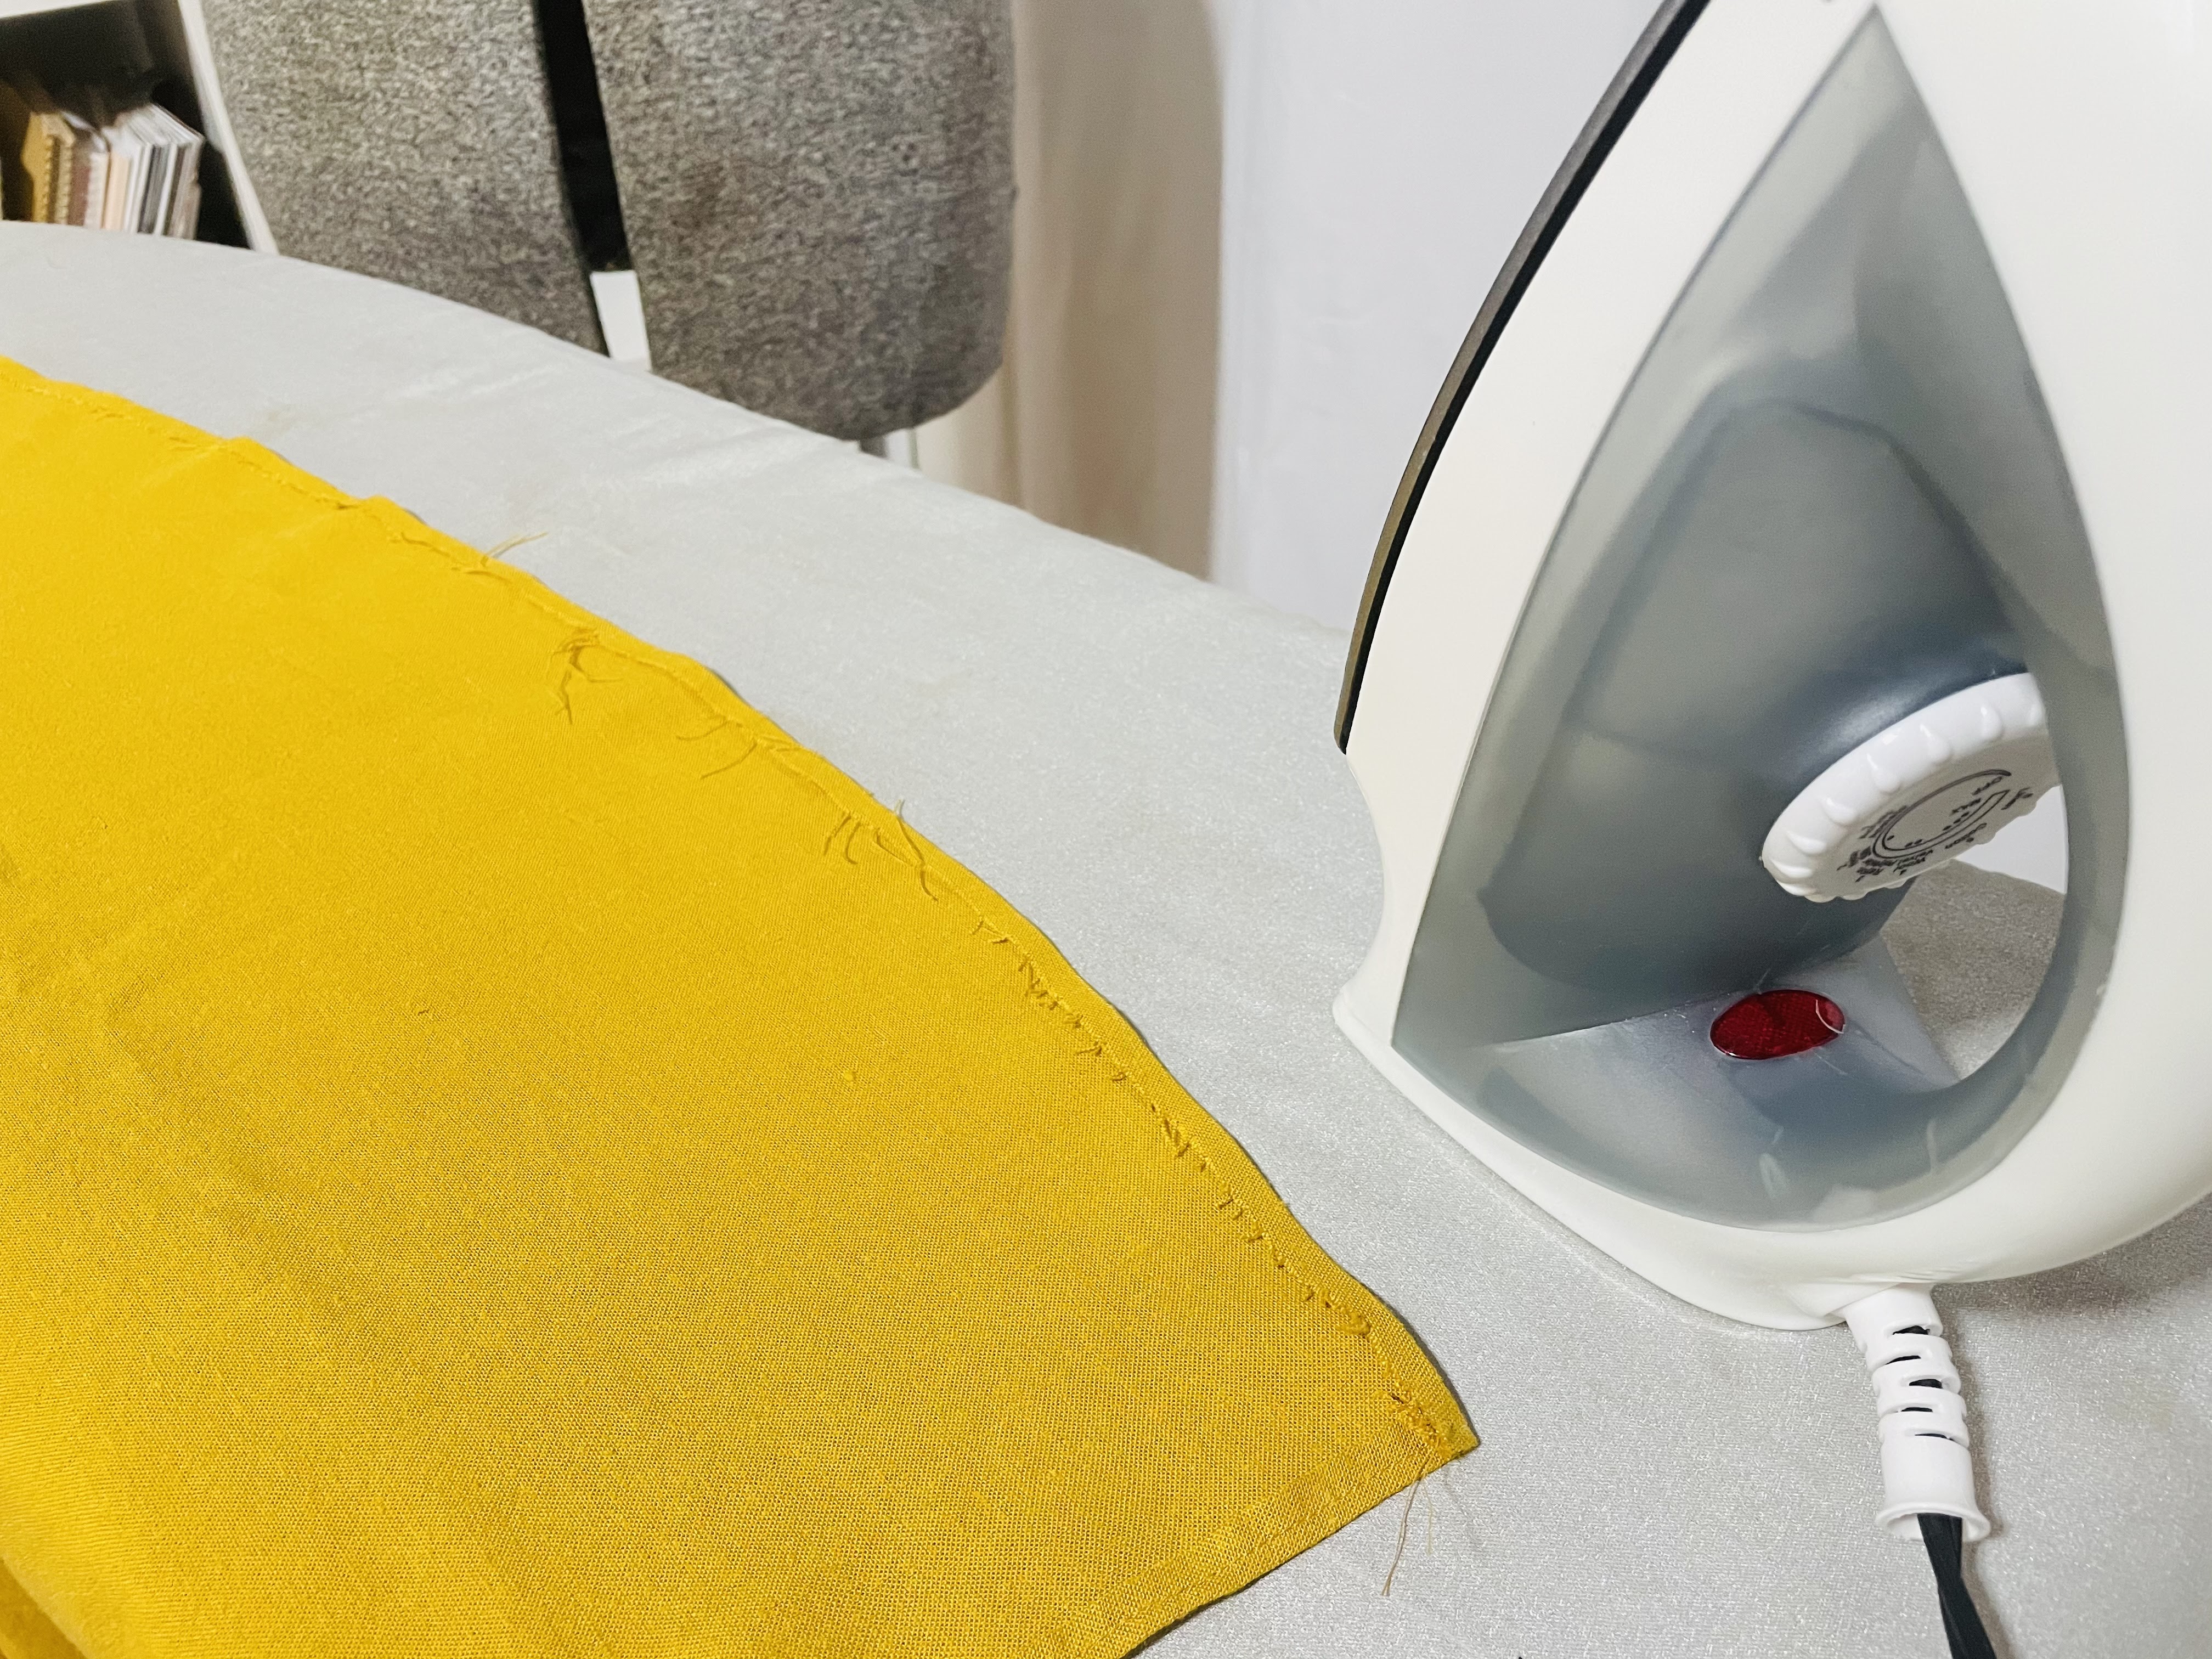
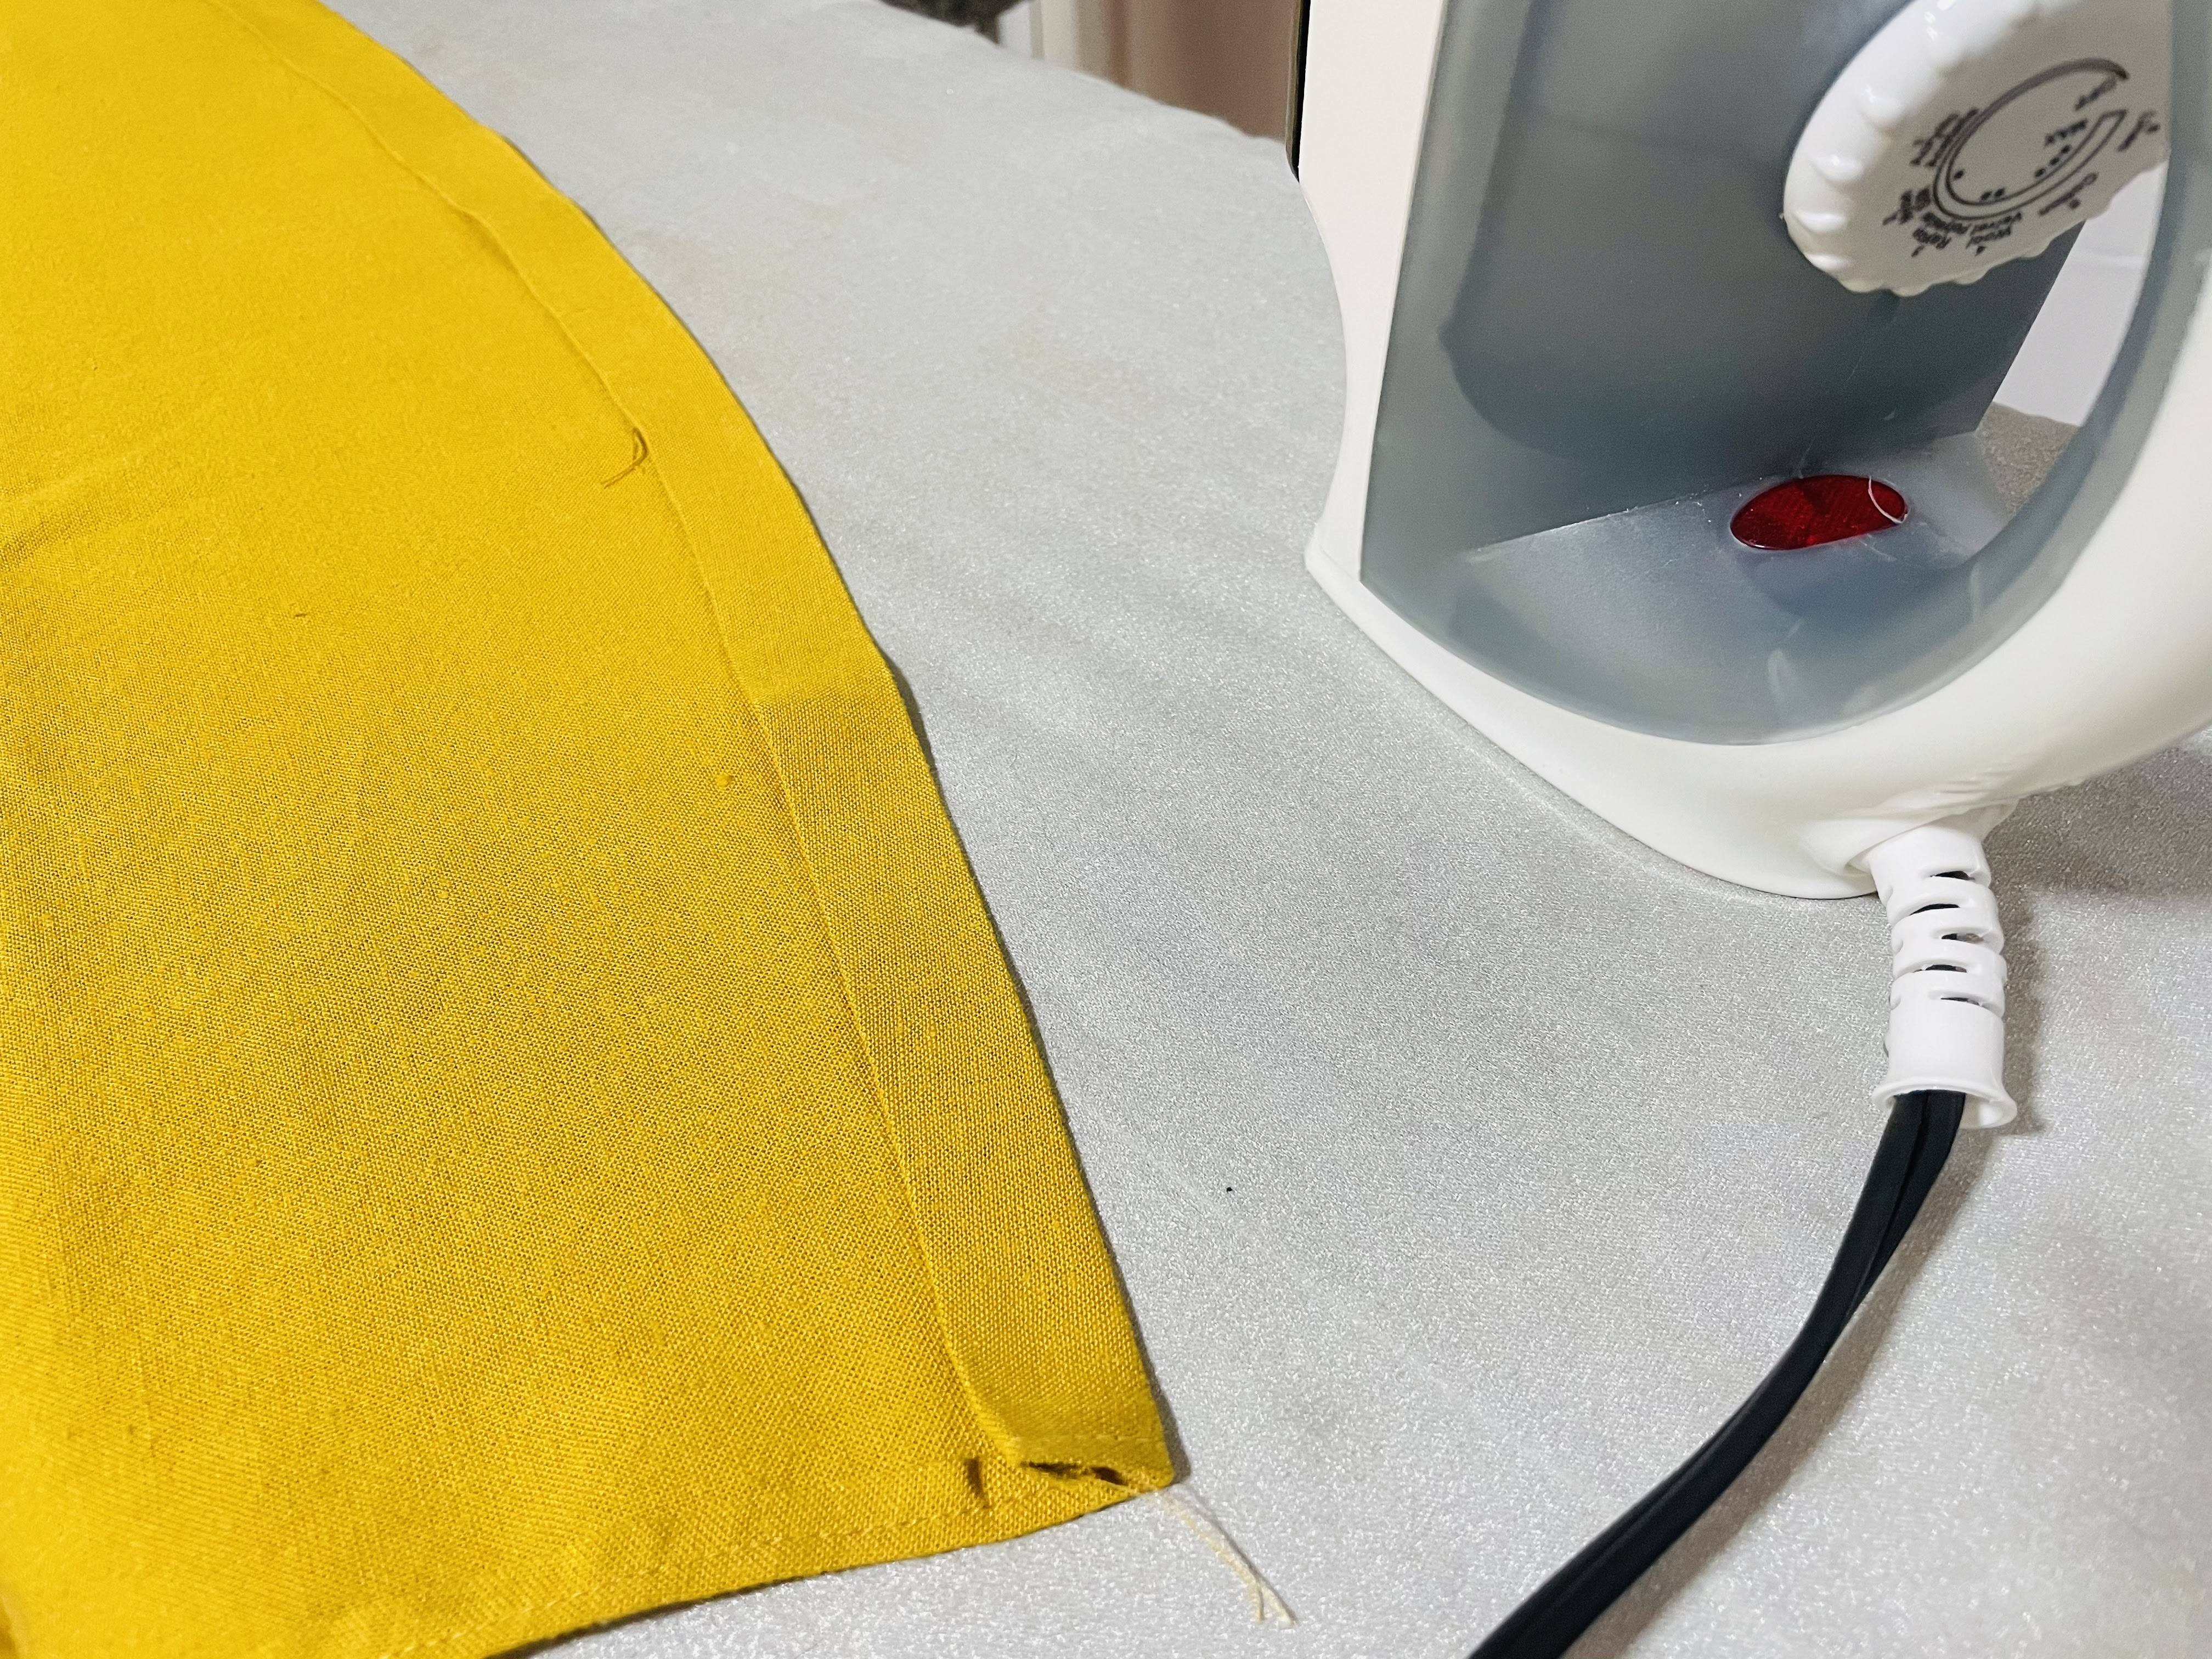
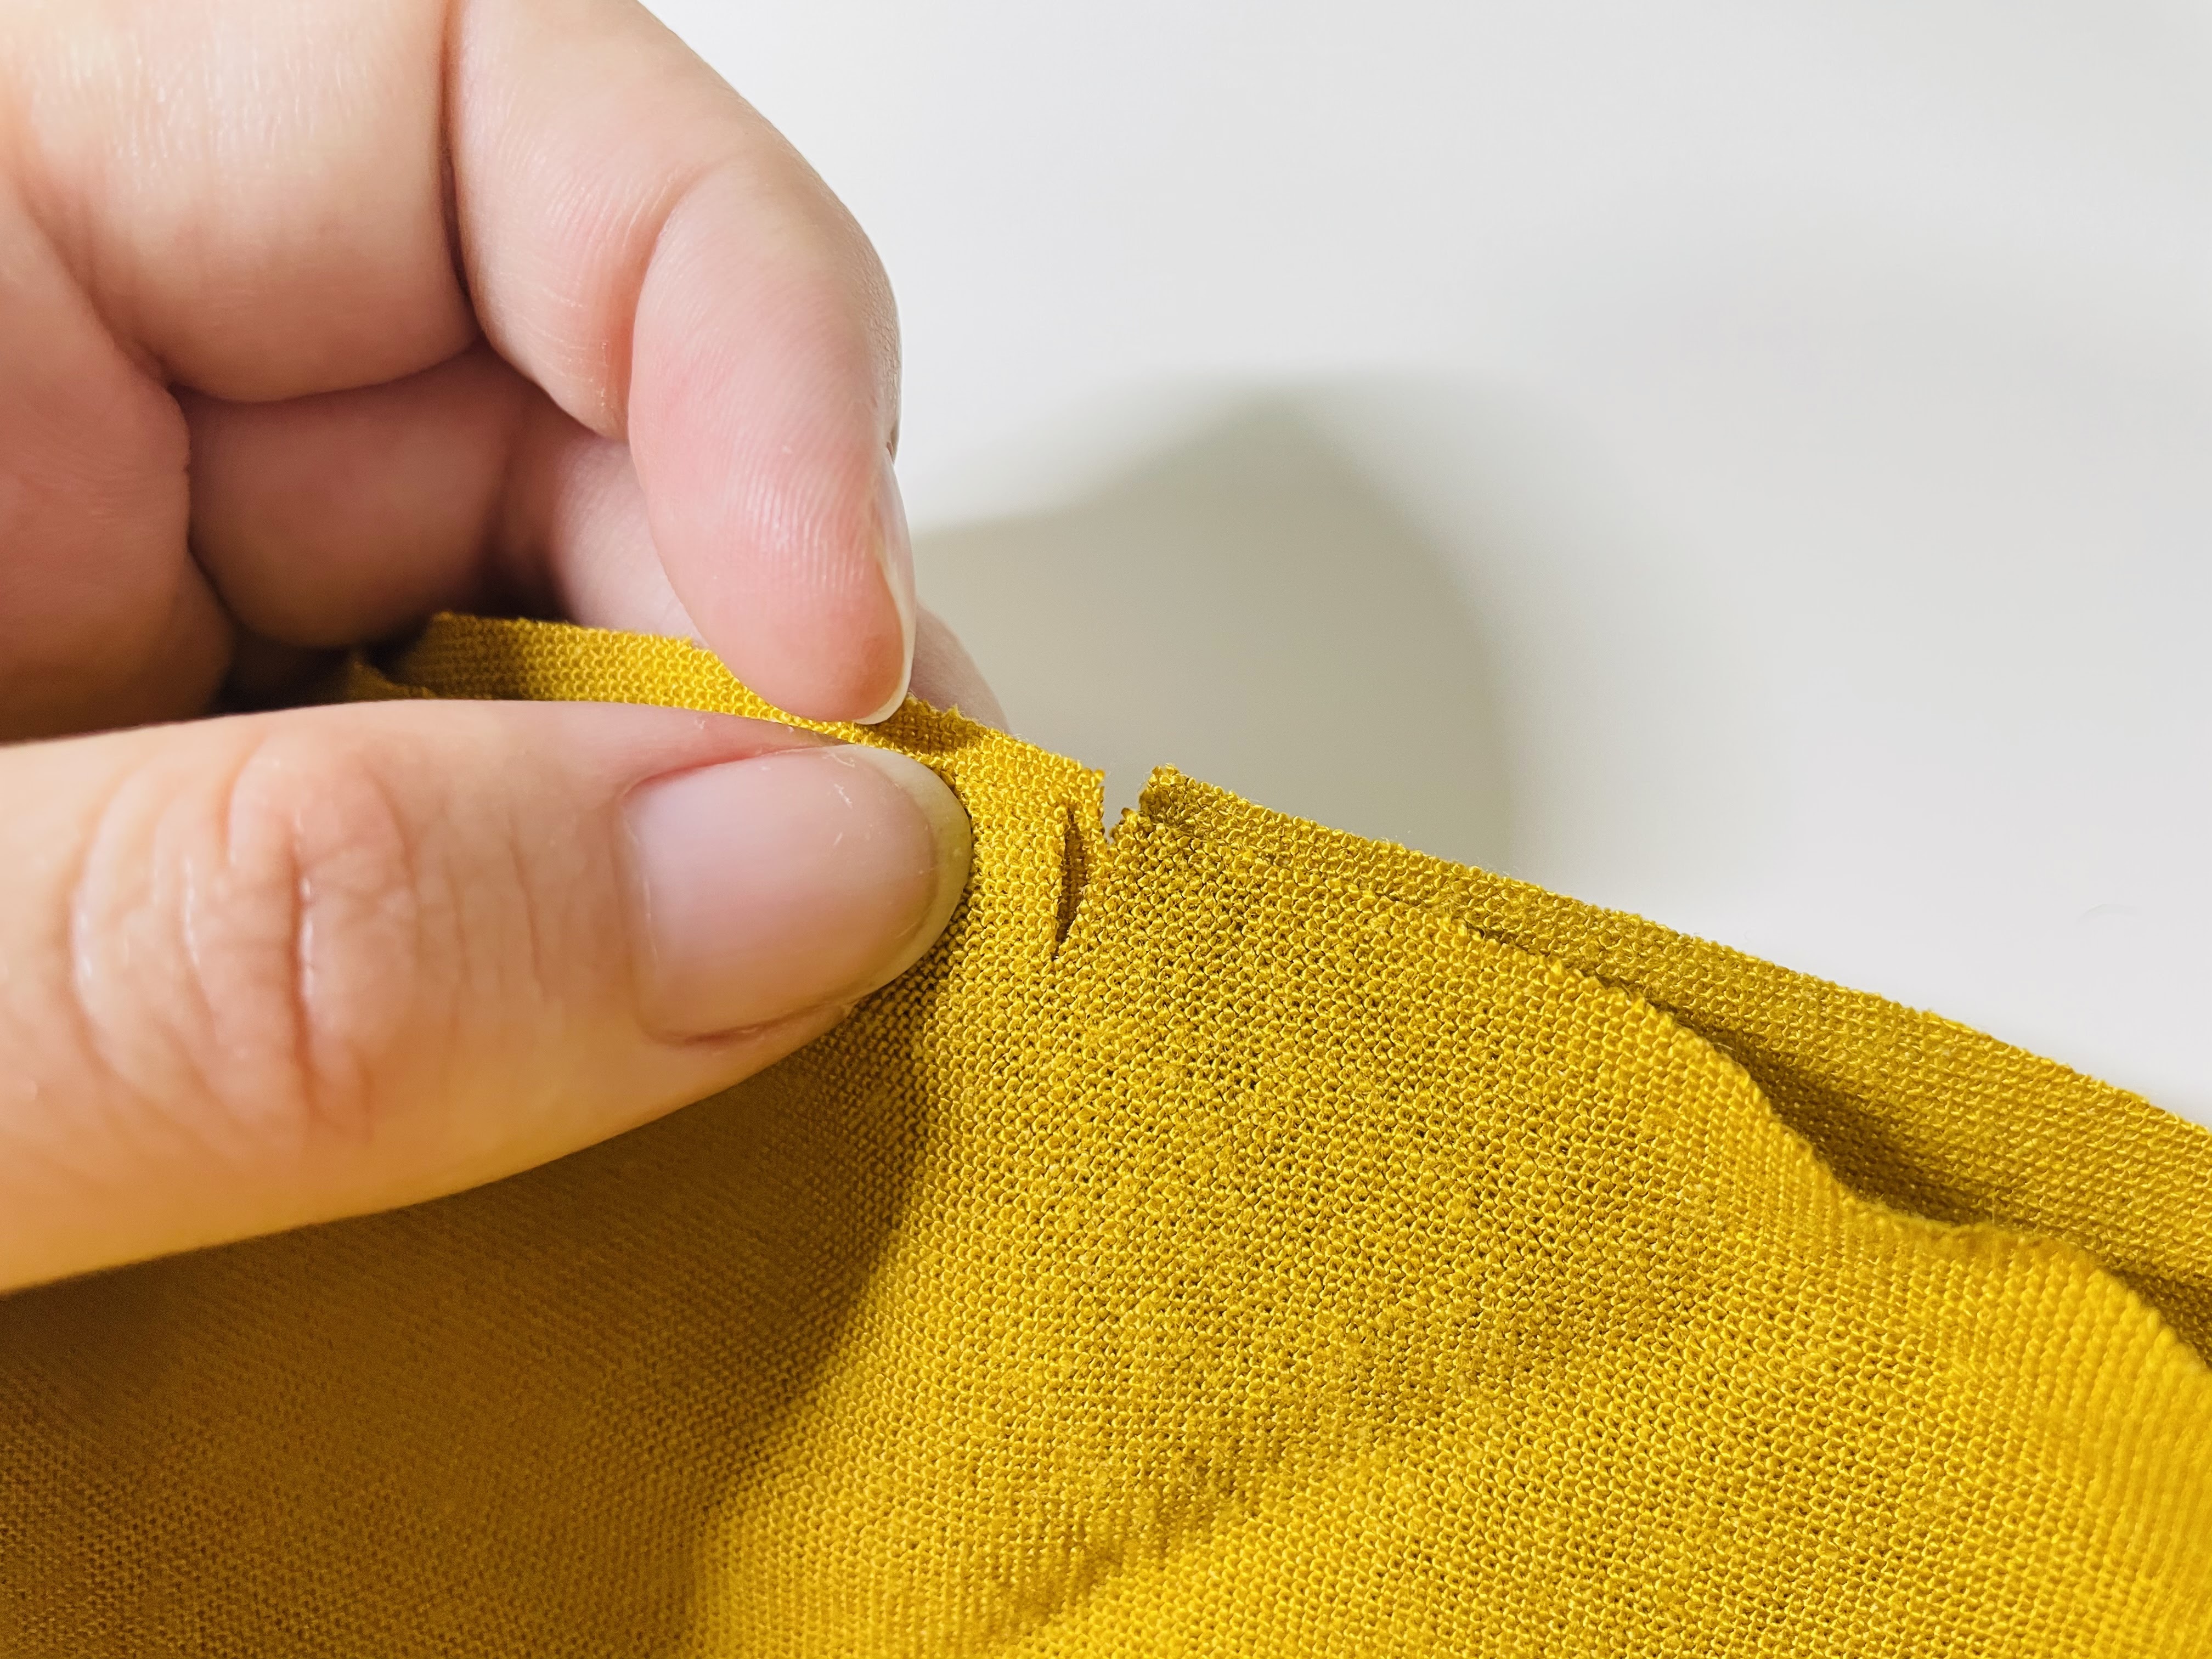
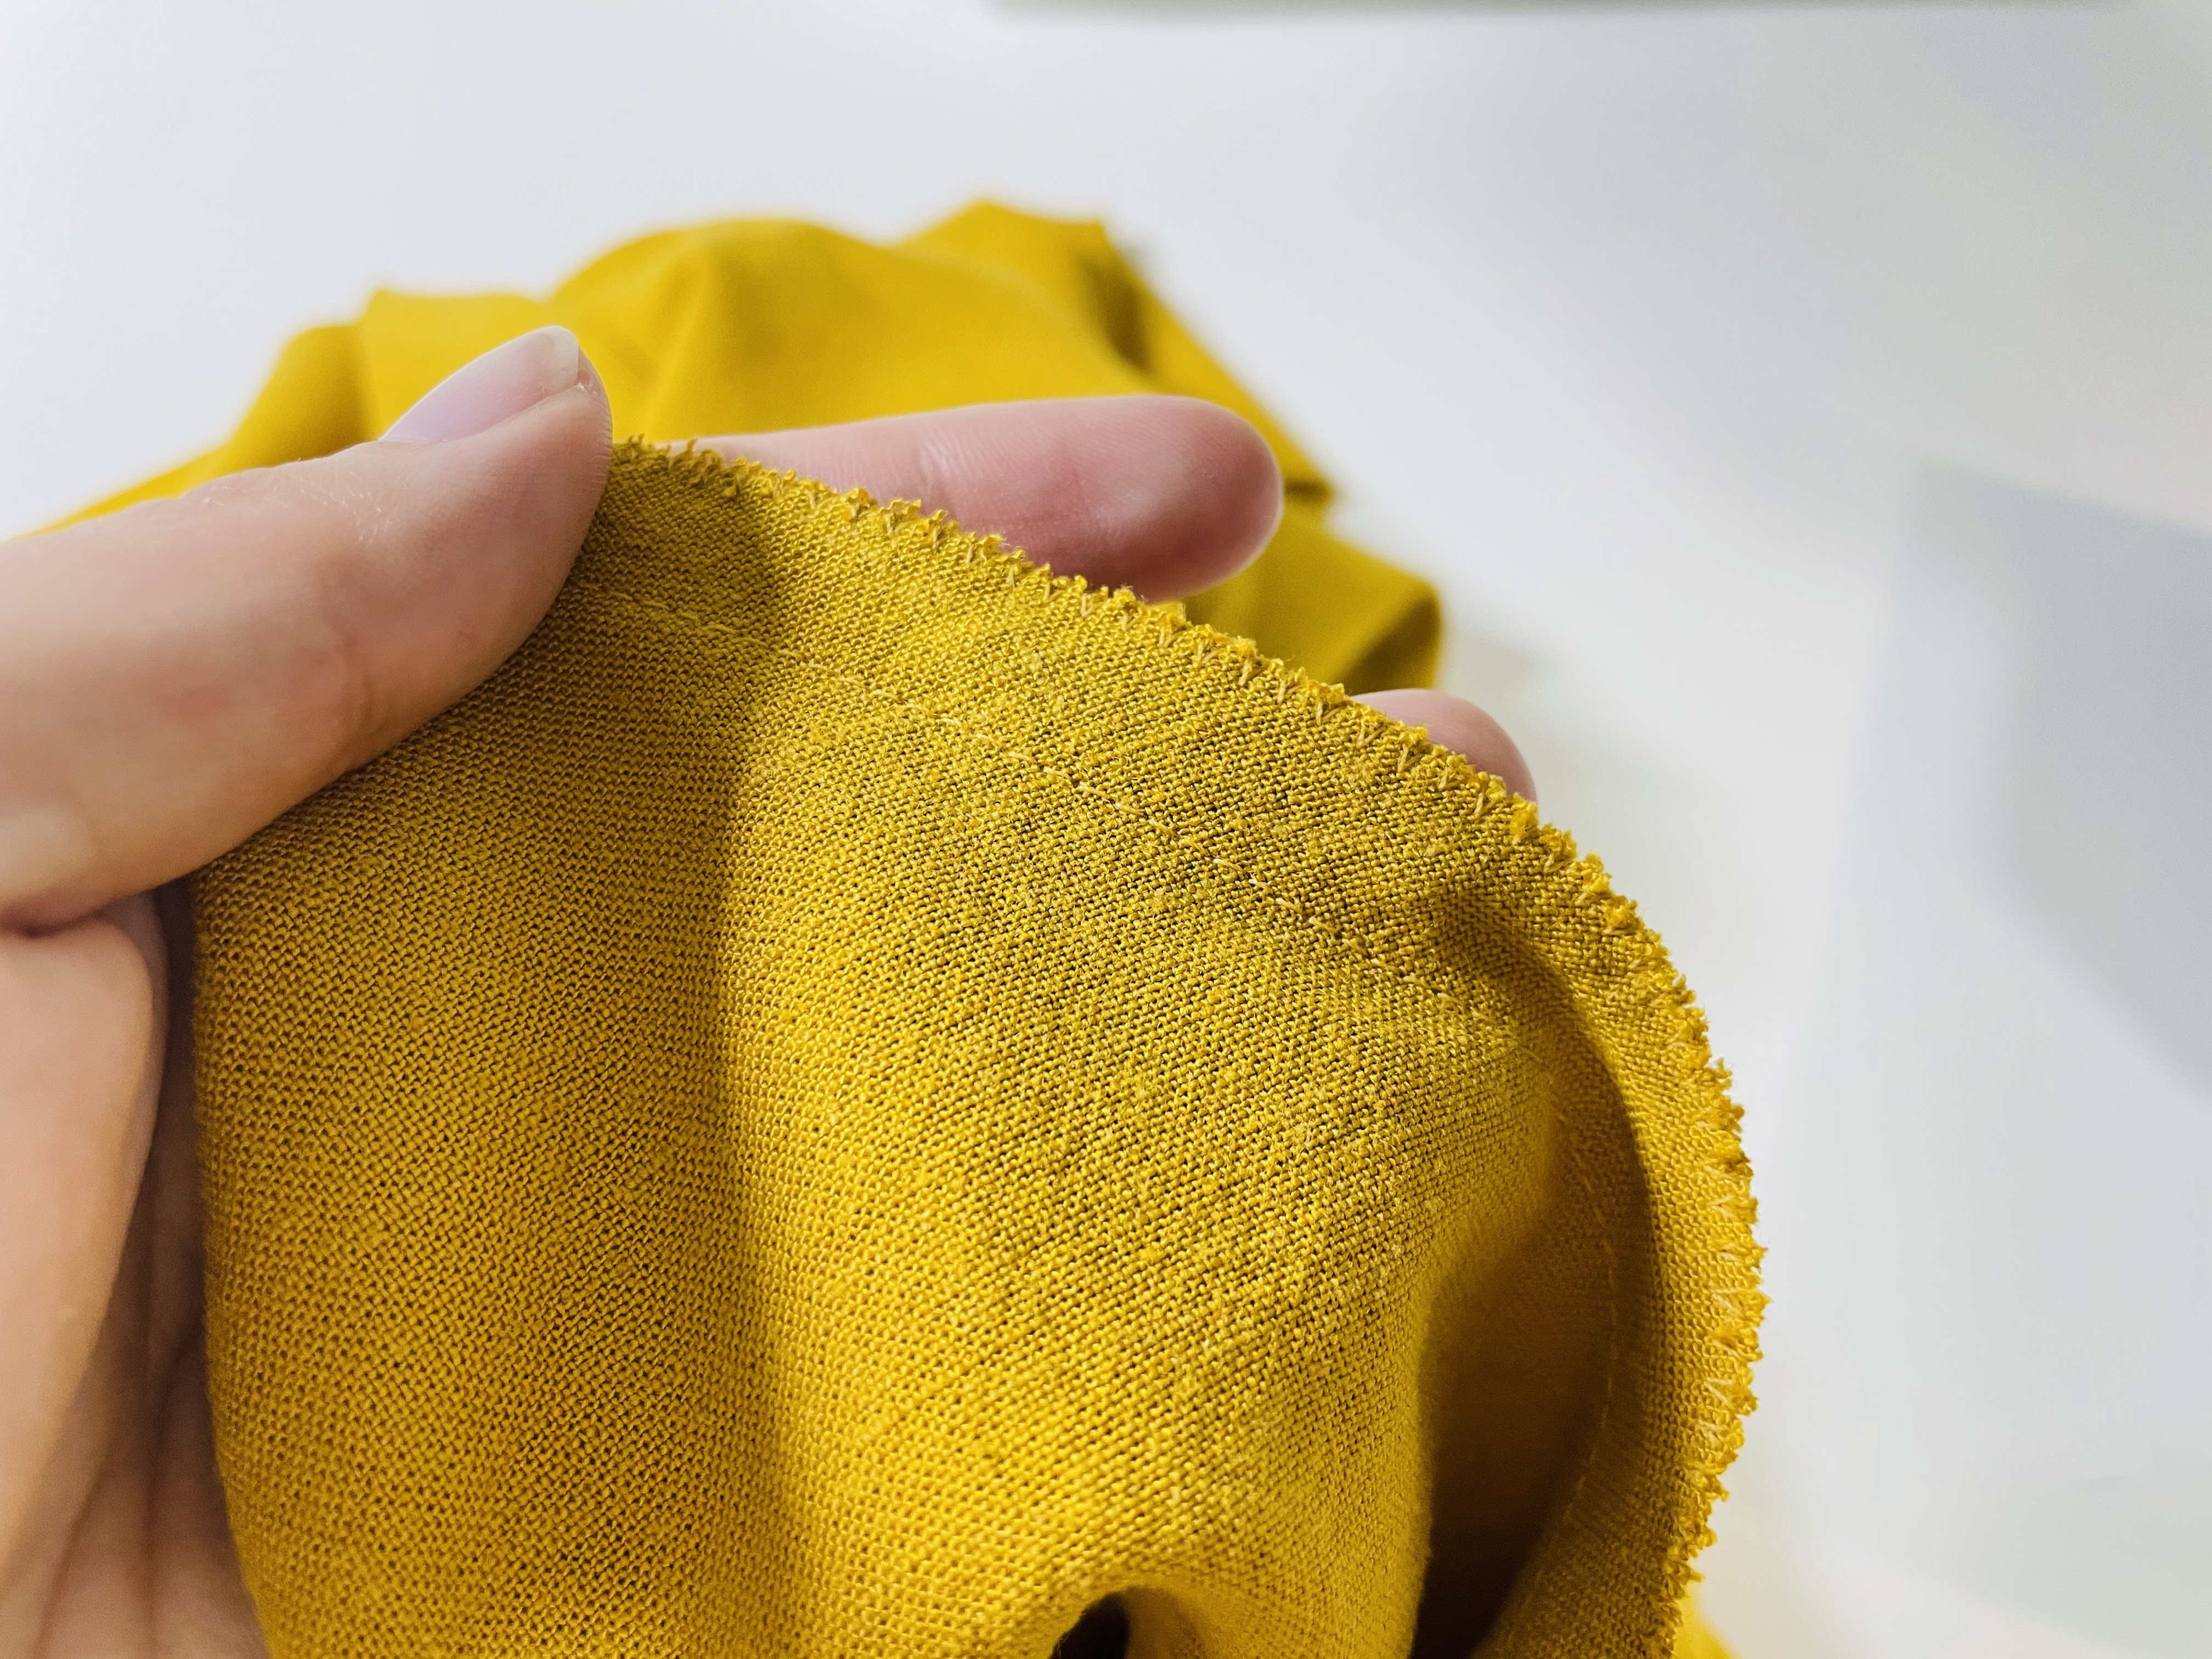
Sew this seam at a 1/2″ (12 mm) seam allowance. Then, finish your seam by either pinking, serging, or zigzagging, as we discussed last week.
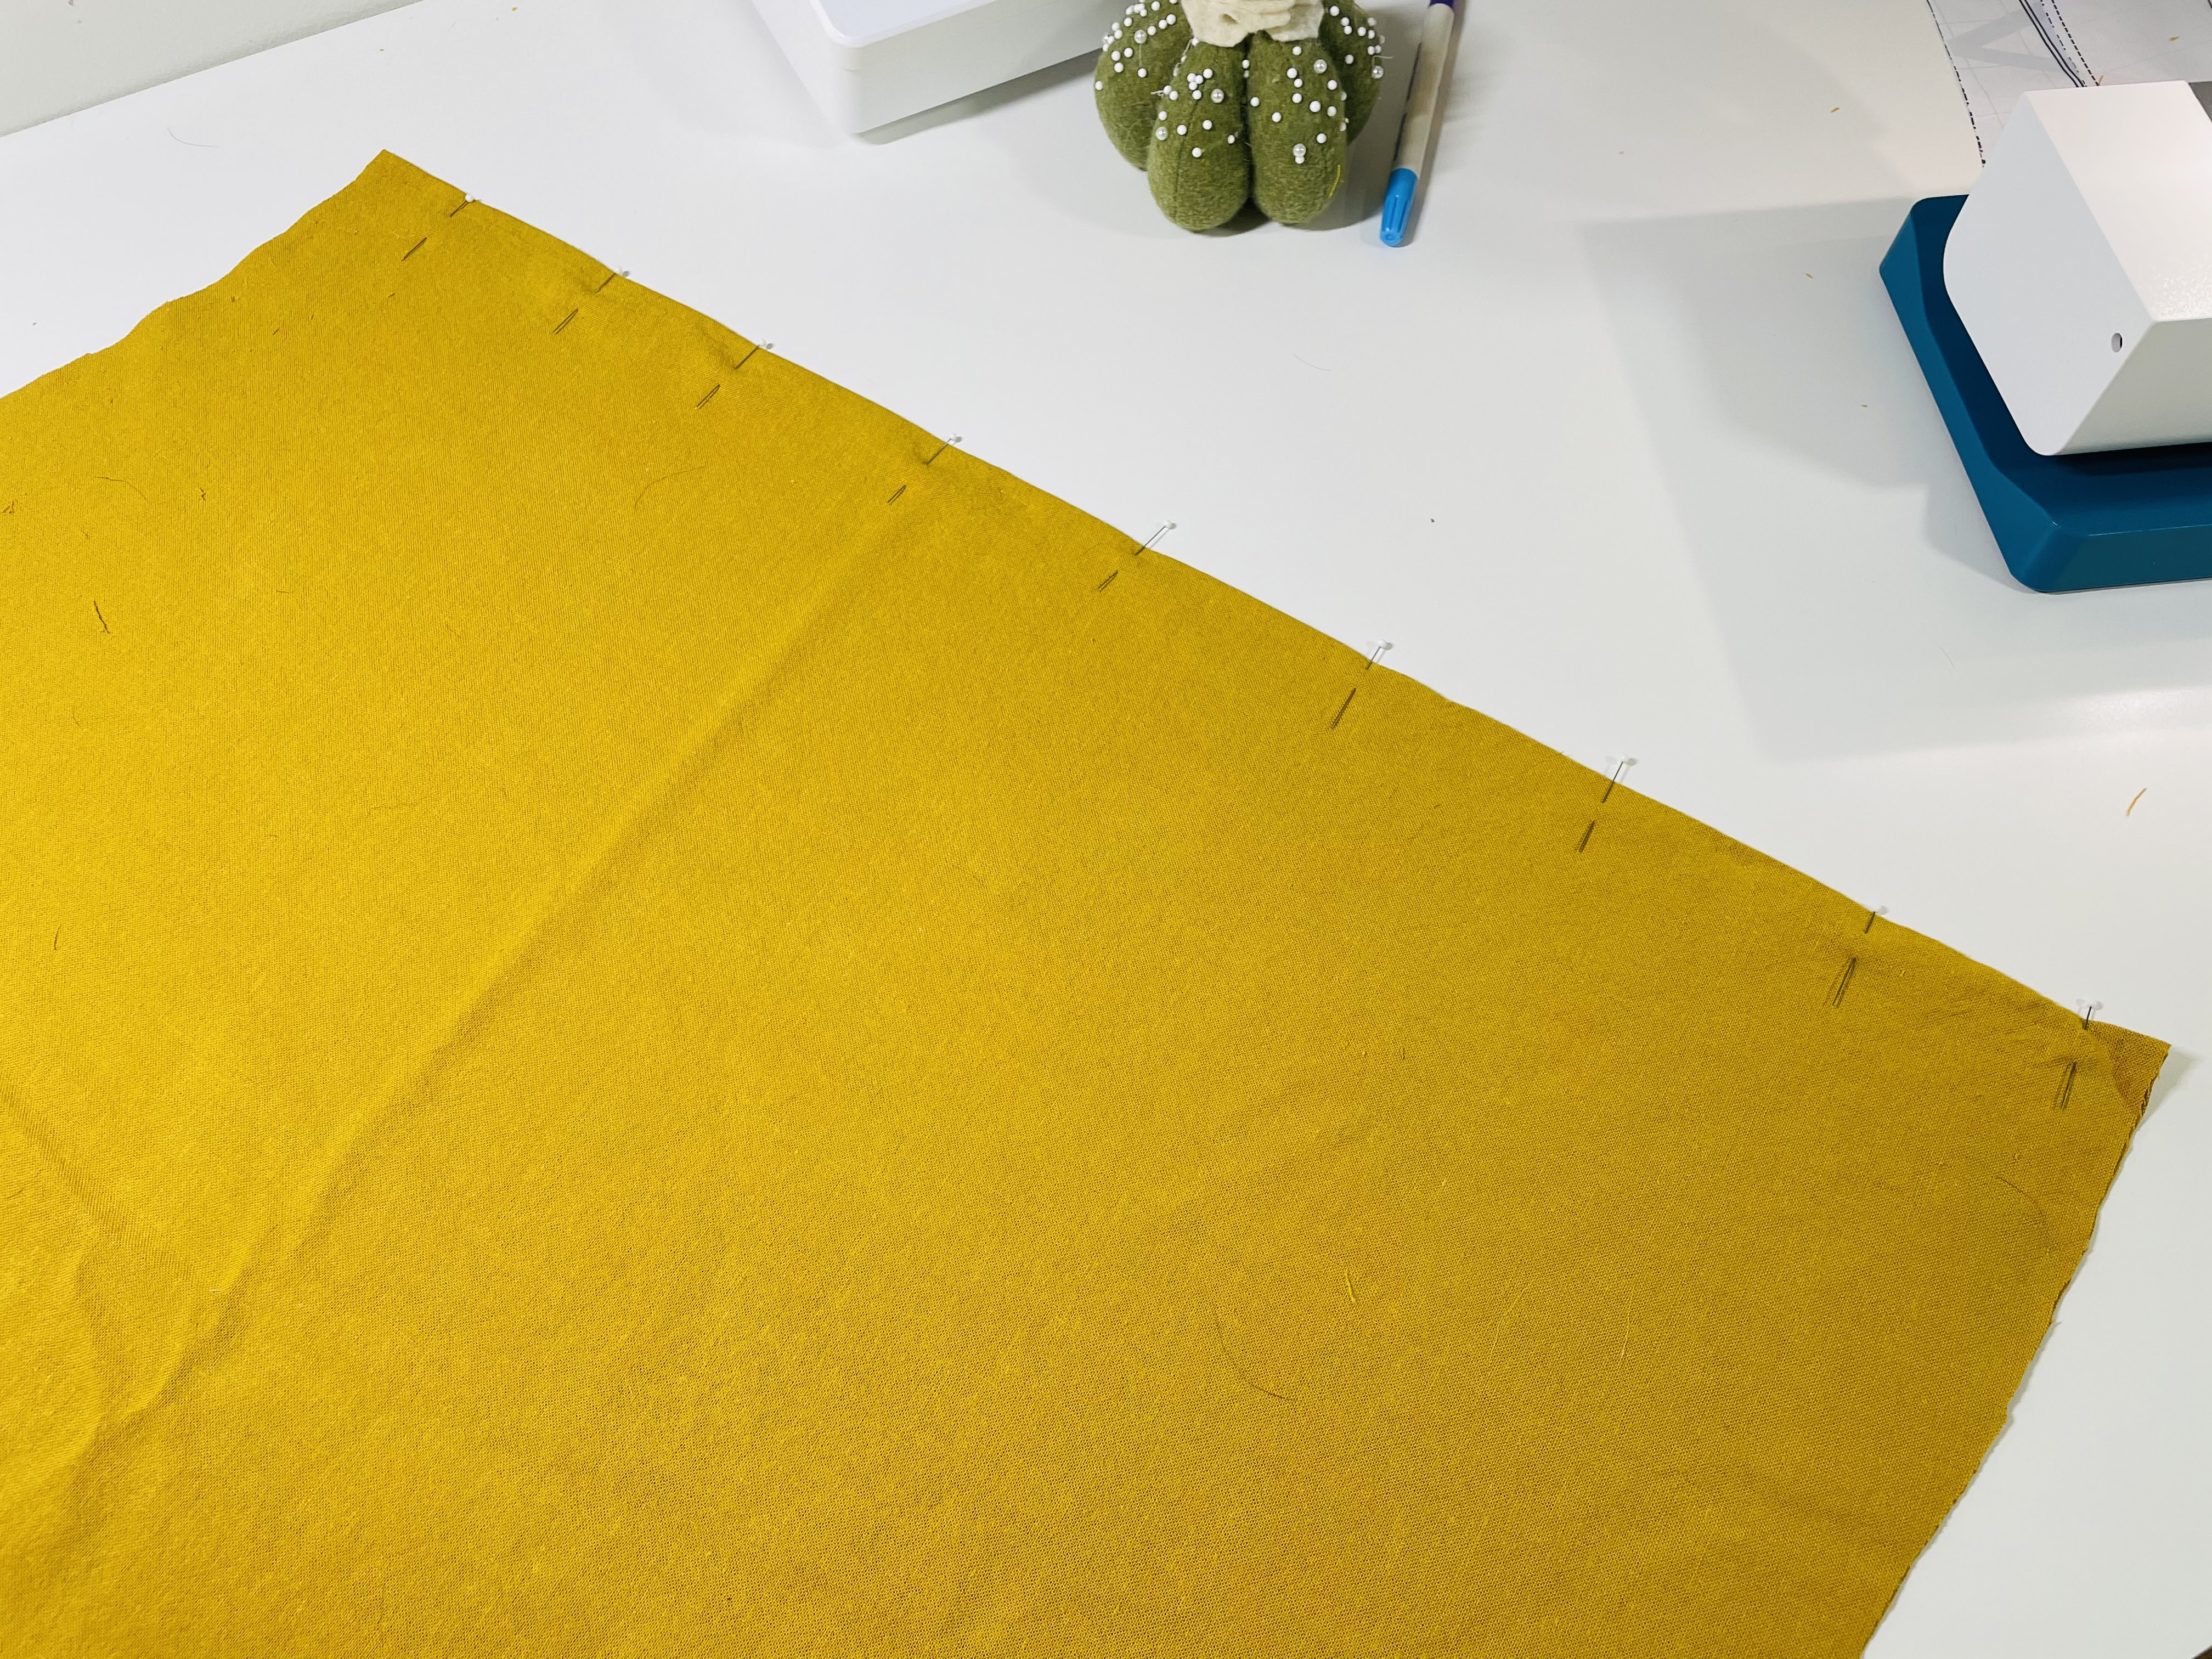
You’re going to do the exact same thing to attach the side skirt pieces to the back skirt: Pin the back skirt to the side skirts, right sides together, matching the notches. Sew at a 1/2″ (12 mm) seam allowance, then finish your seam:
Attaching Your Skirt to Your Bodice
You should now have a finished skirt! The next step is to attach it to the bodice.
With right sides of the bodice and skirt facing each other and matching the skirt’s center back seam with the bodice’s center back (which is a fold), pin. Then, pin at each of the notches. Fill in the rest of the seam with pins.
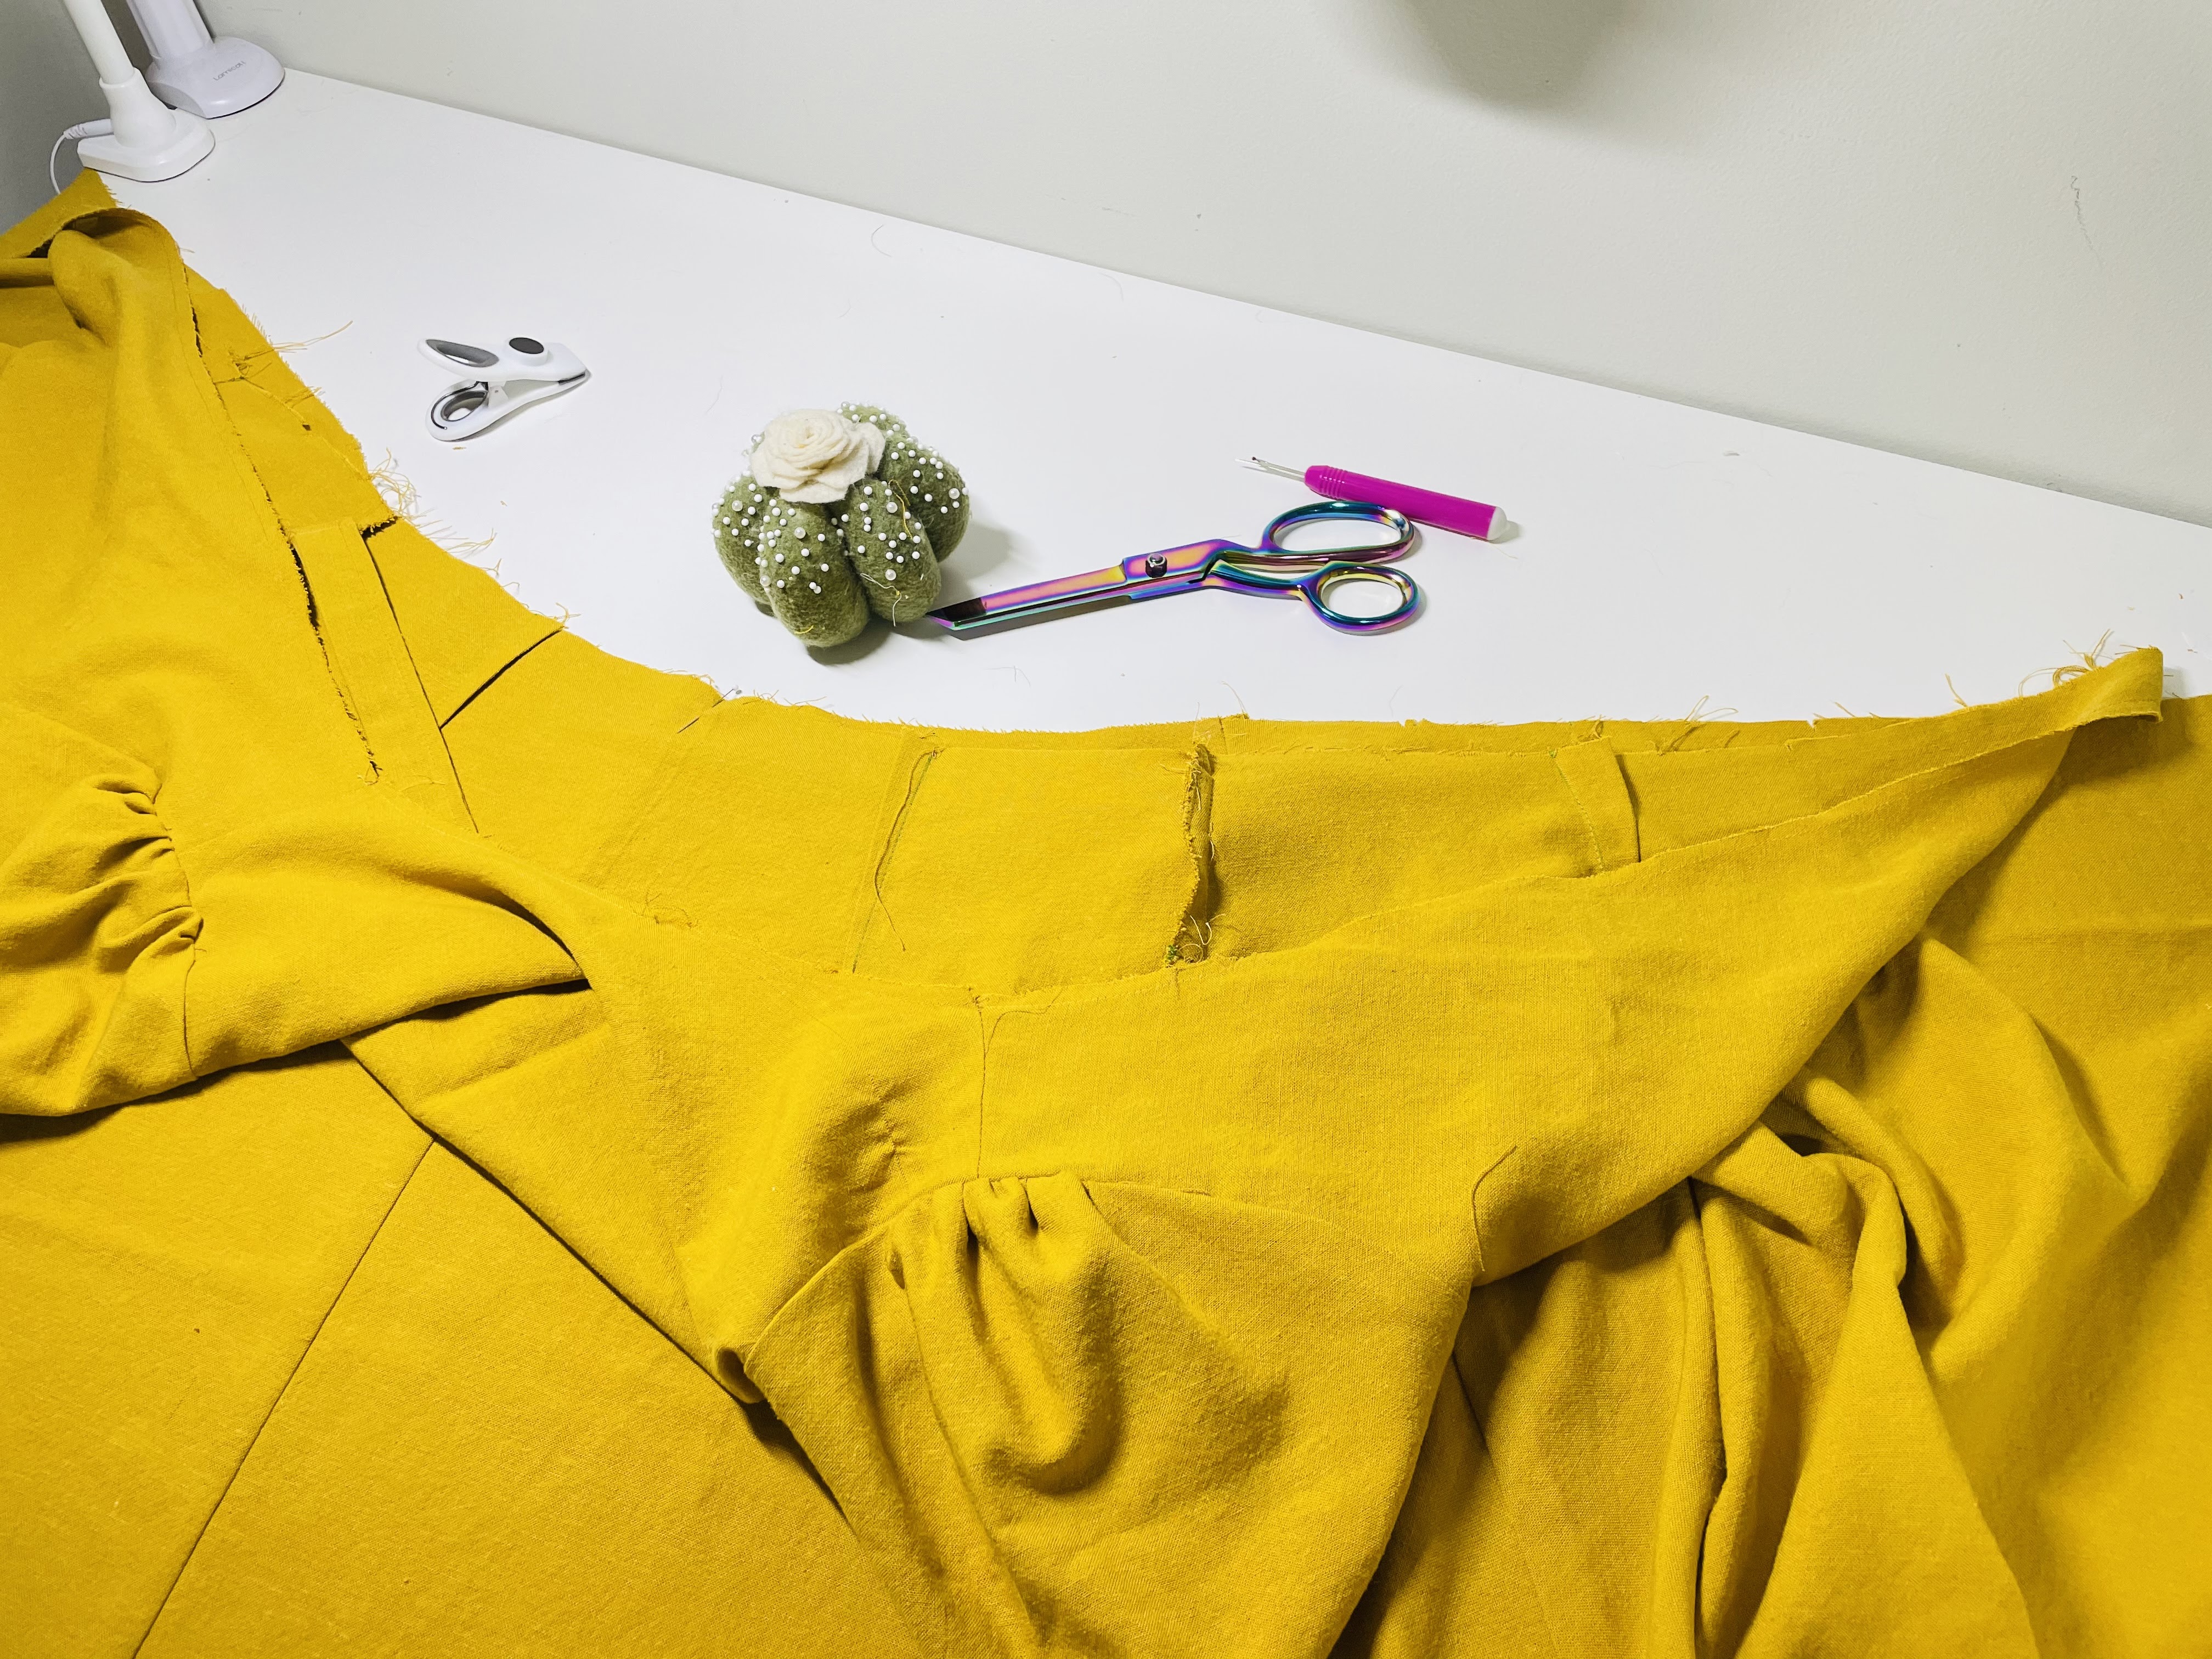
Now, you’re going to sew this seam at a 1/2″ (12 mm) seam allowance. When you do so, have your bodice on bottom. This is for similar reasons we discussed last week – your bodice is more curvy and will curve around the bottom of your sewing machine, while the skirt would try to bunch up if it were on bottom.
You now should have something that very nearly looks like a finished dress!
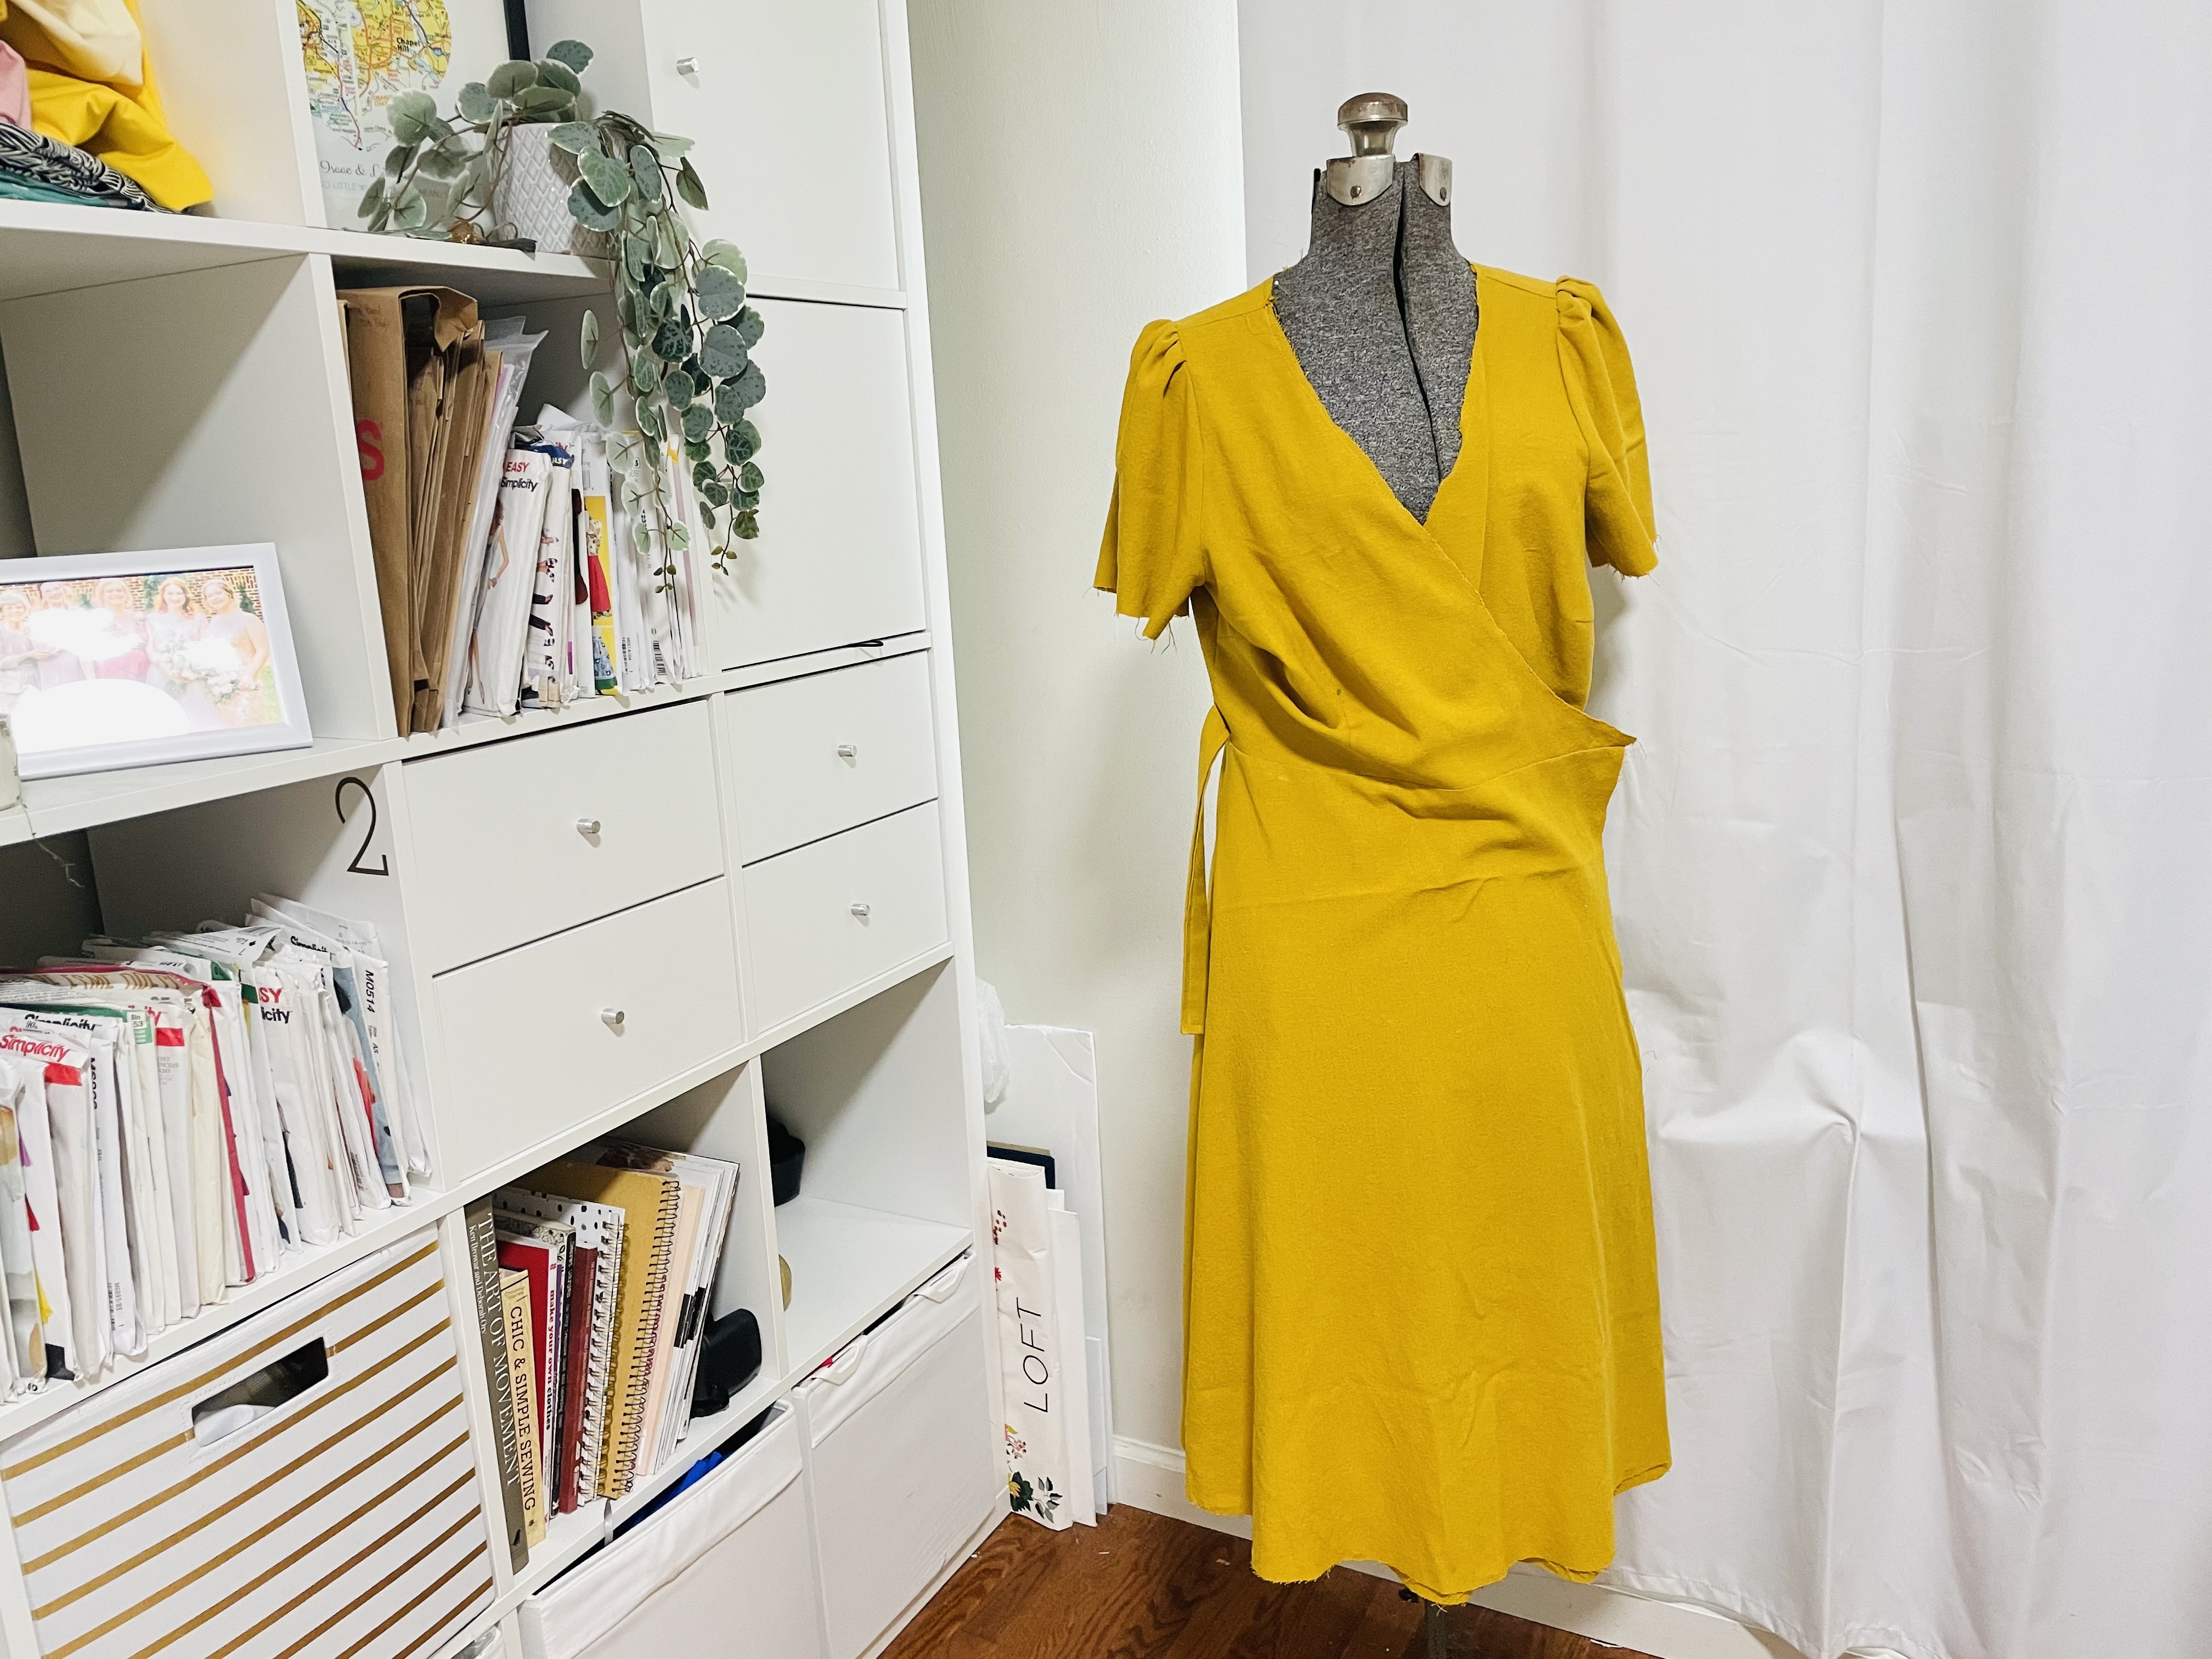
But you aren’t done 🙂
Finishing the Vertical Edge
You now need to finish all those pesky raw edges. We’ll tackle the vertical edge first.
First, fold that vertical edge in by 1/4″ (6 mm) and press. Now, fold it in by another 1/4″ (6 mm) and press. Do this on both sides.
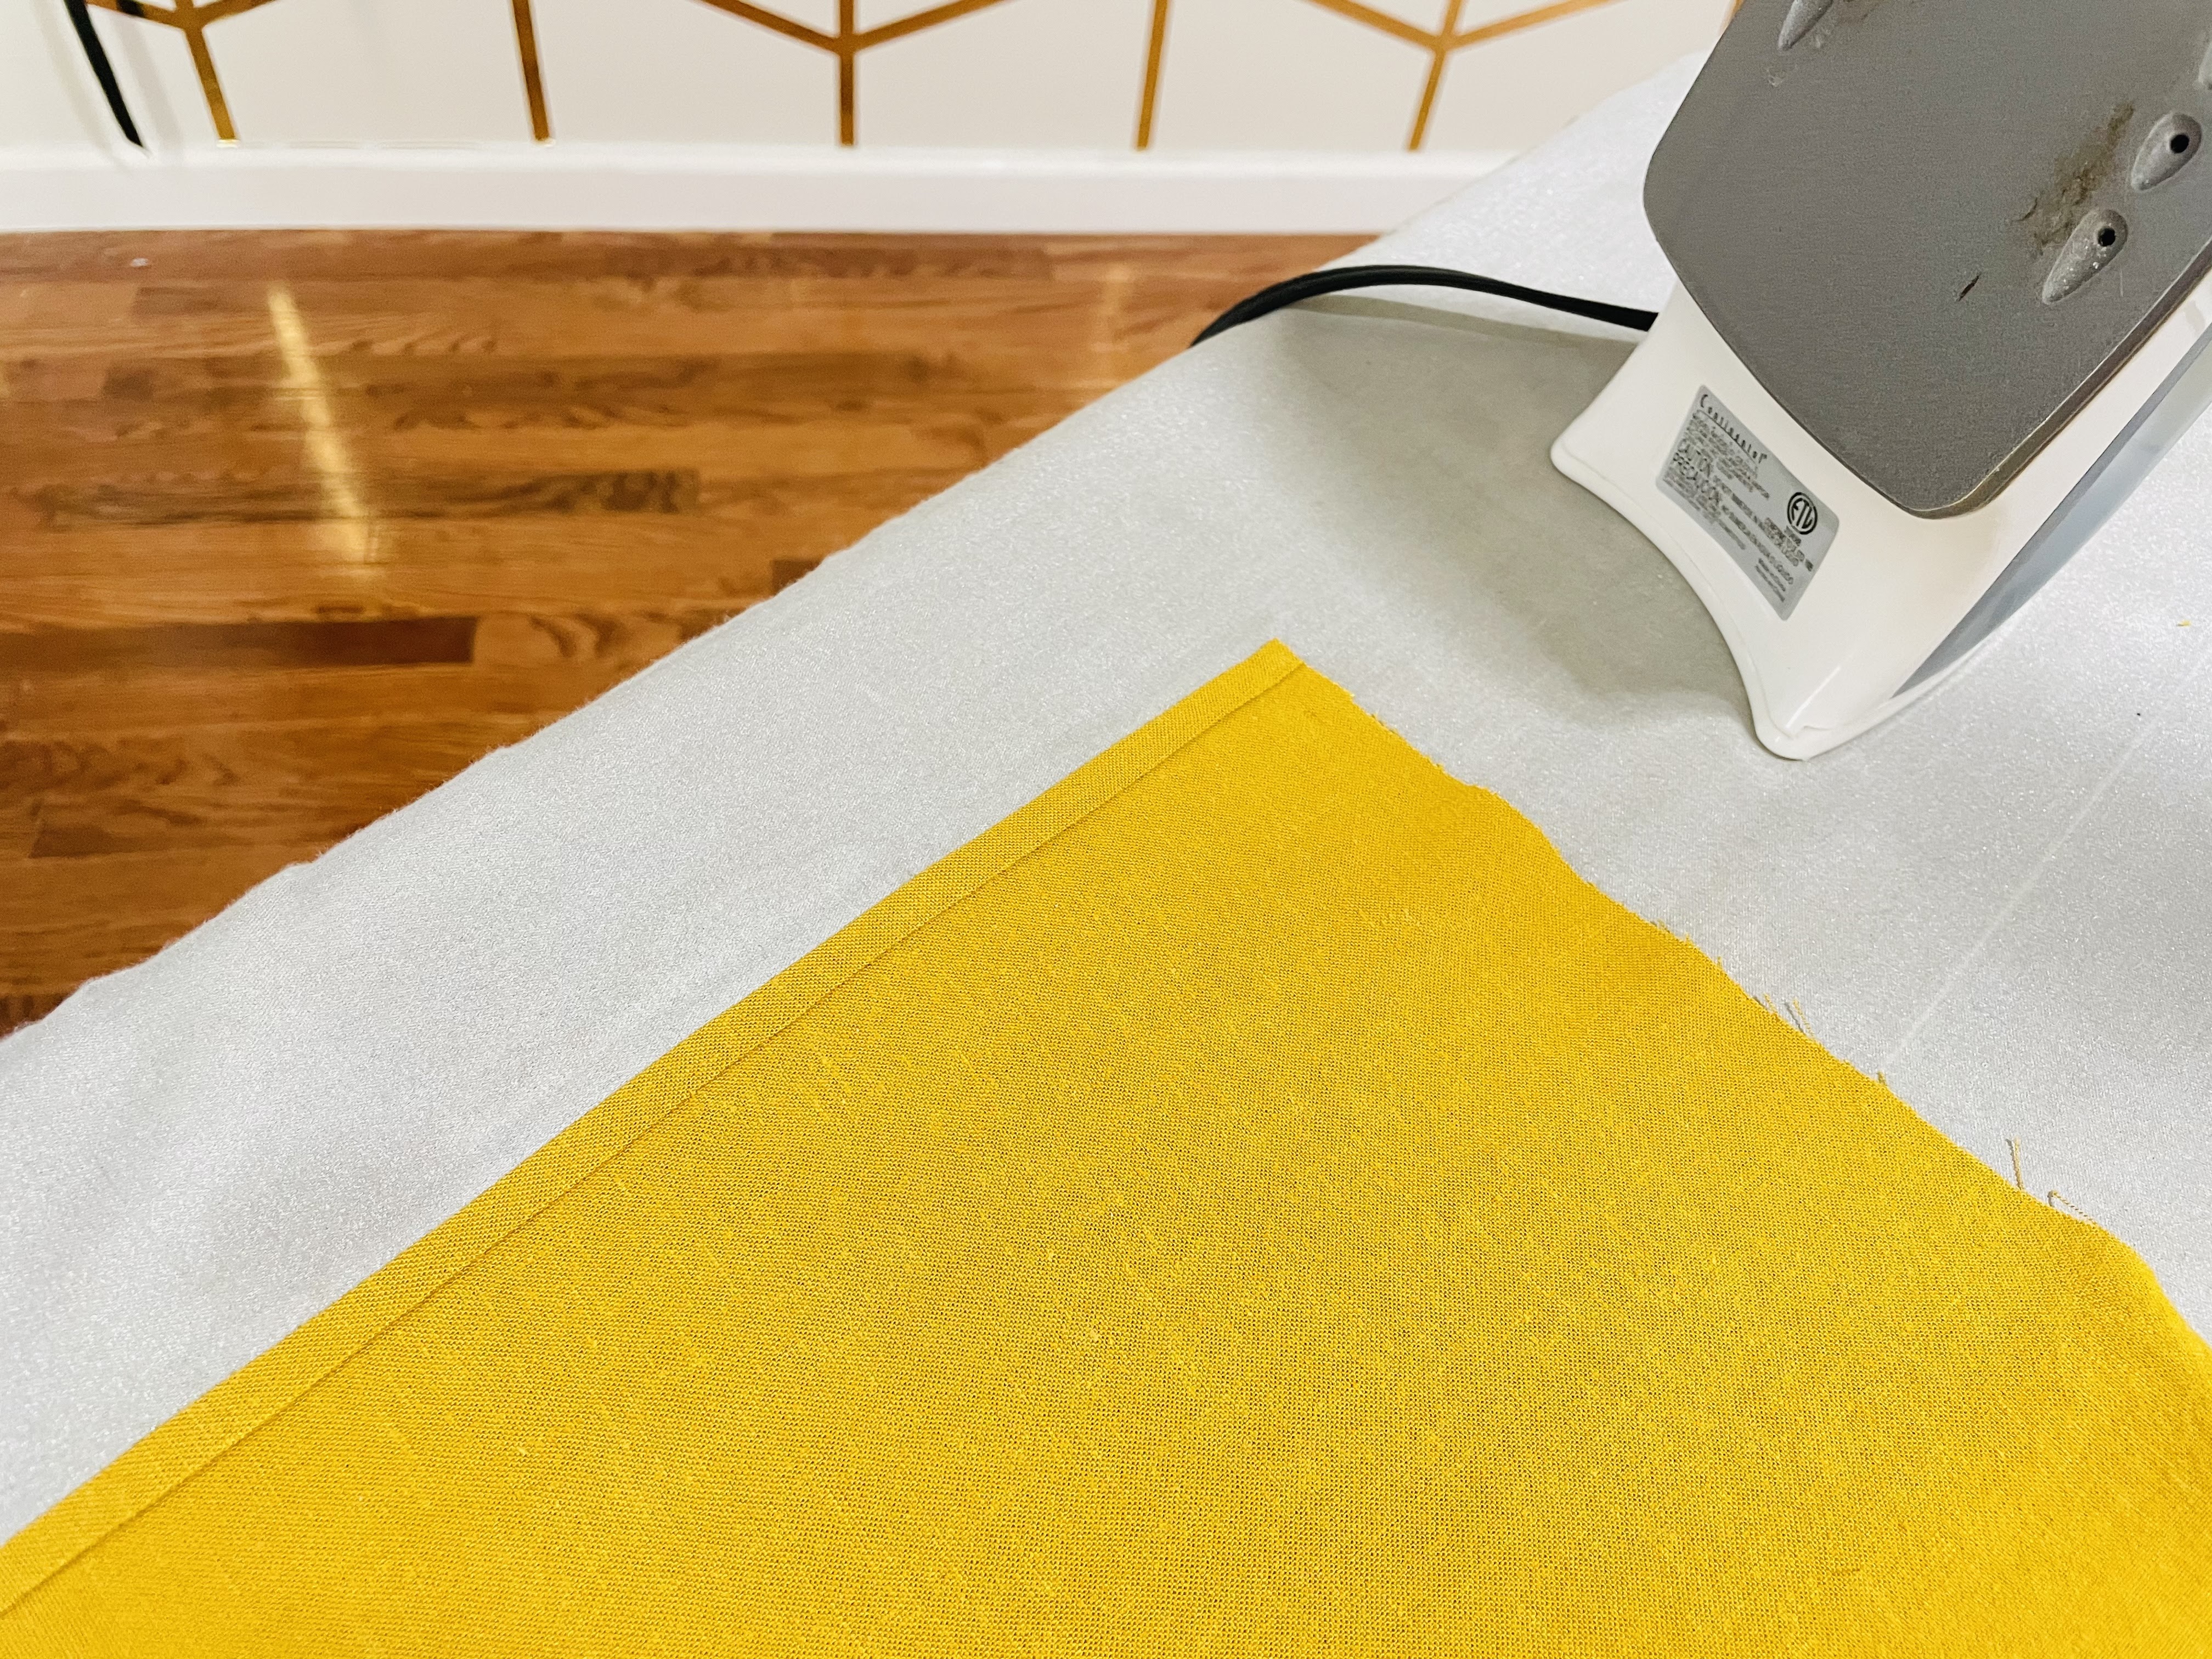
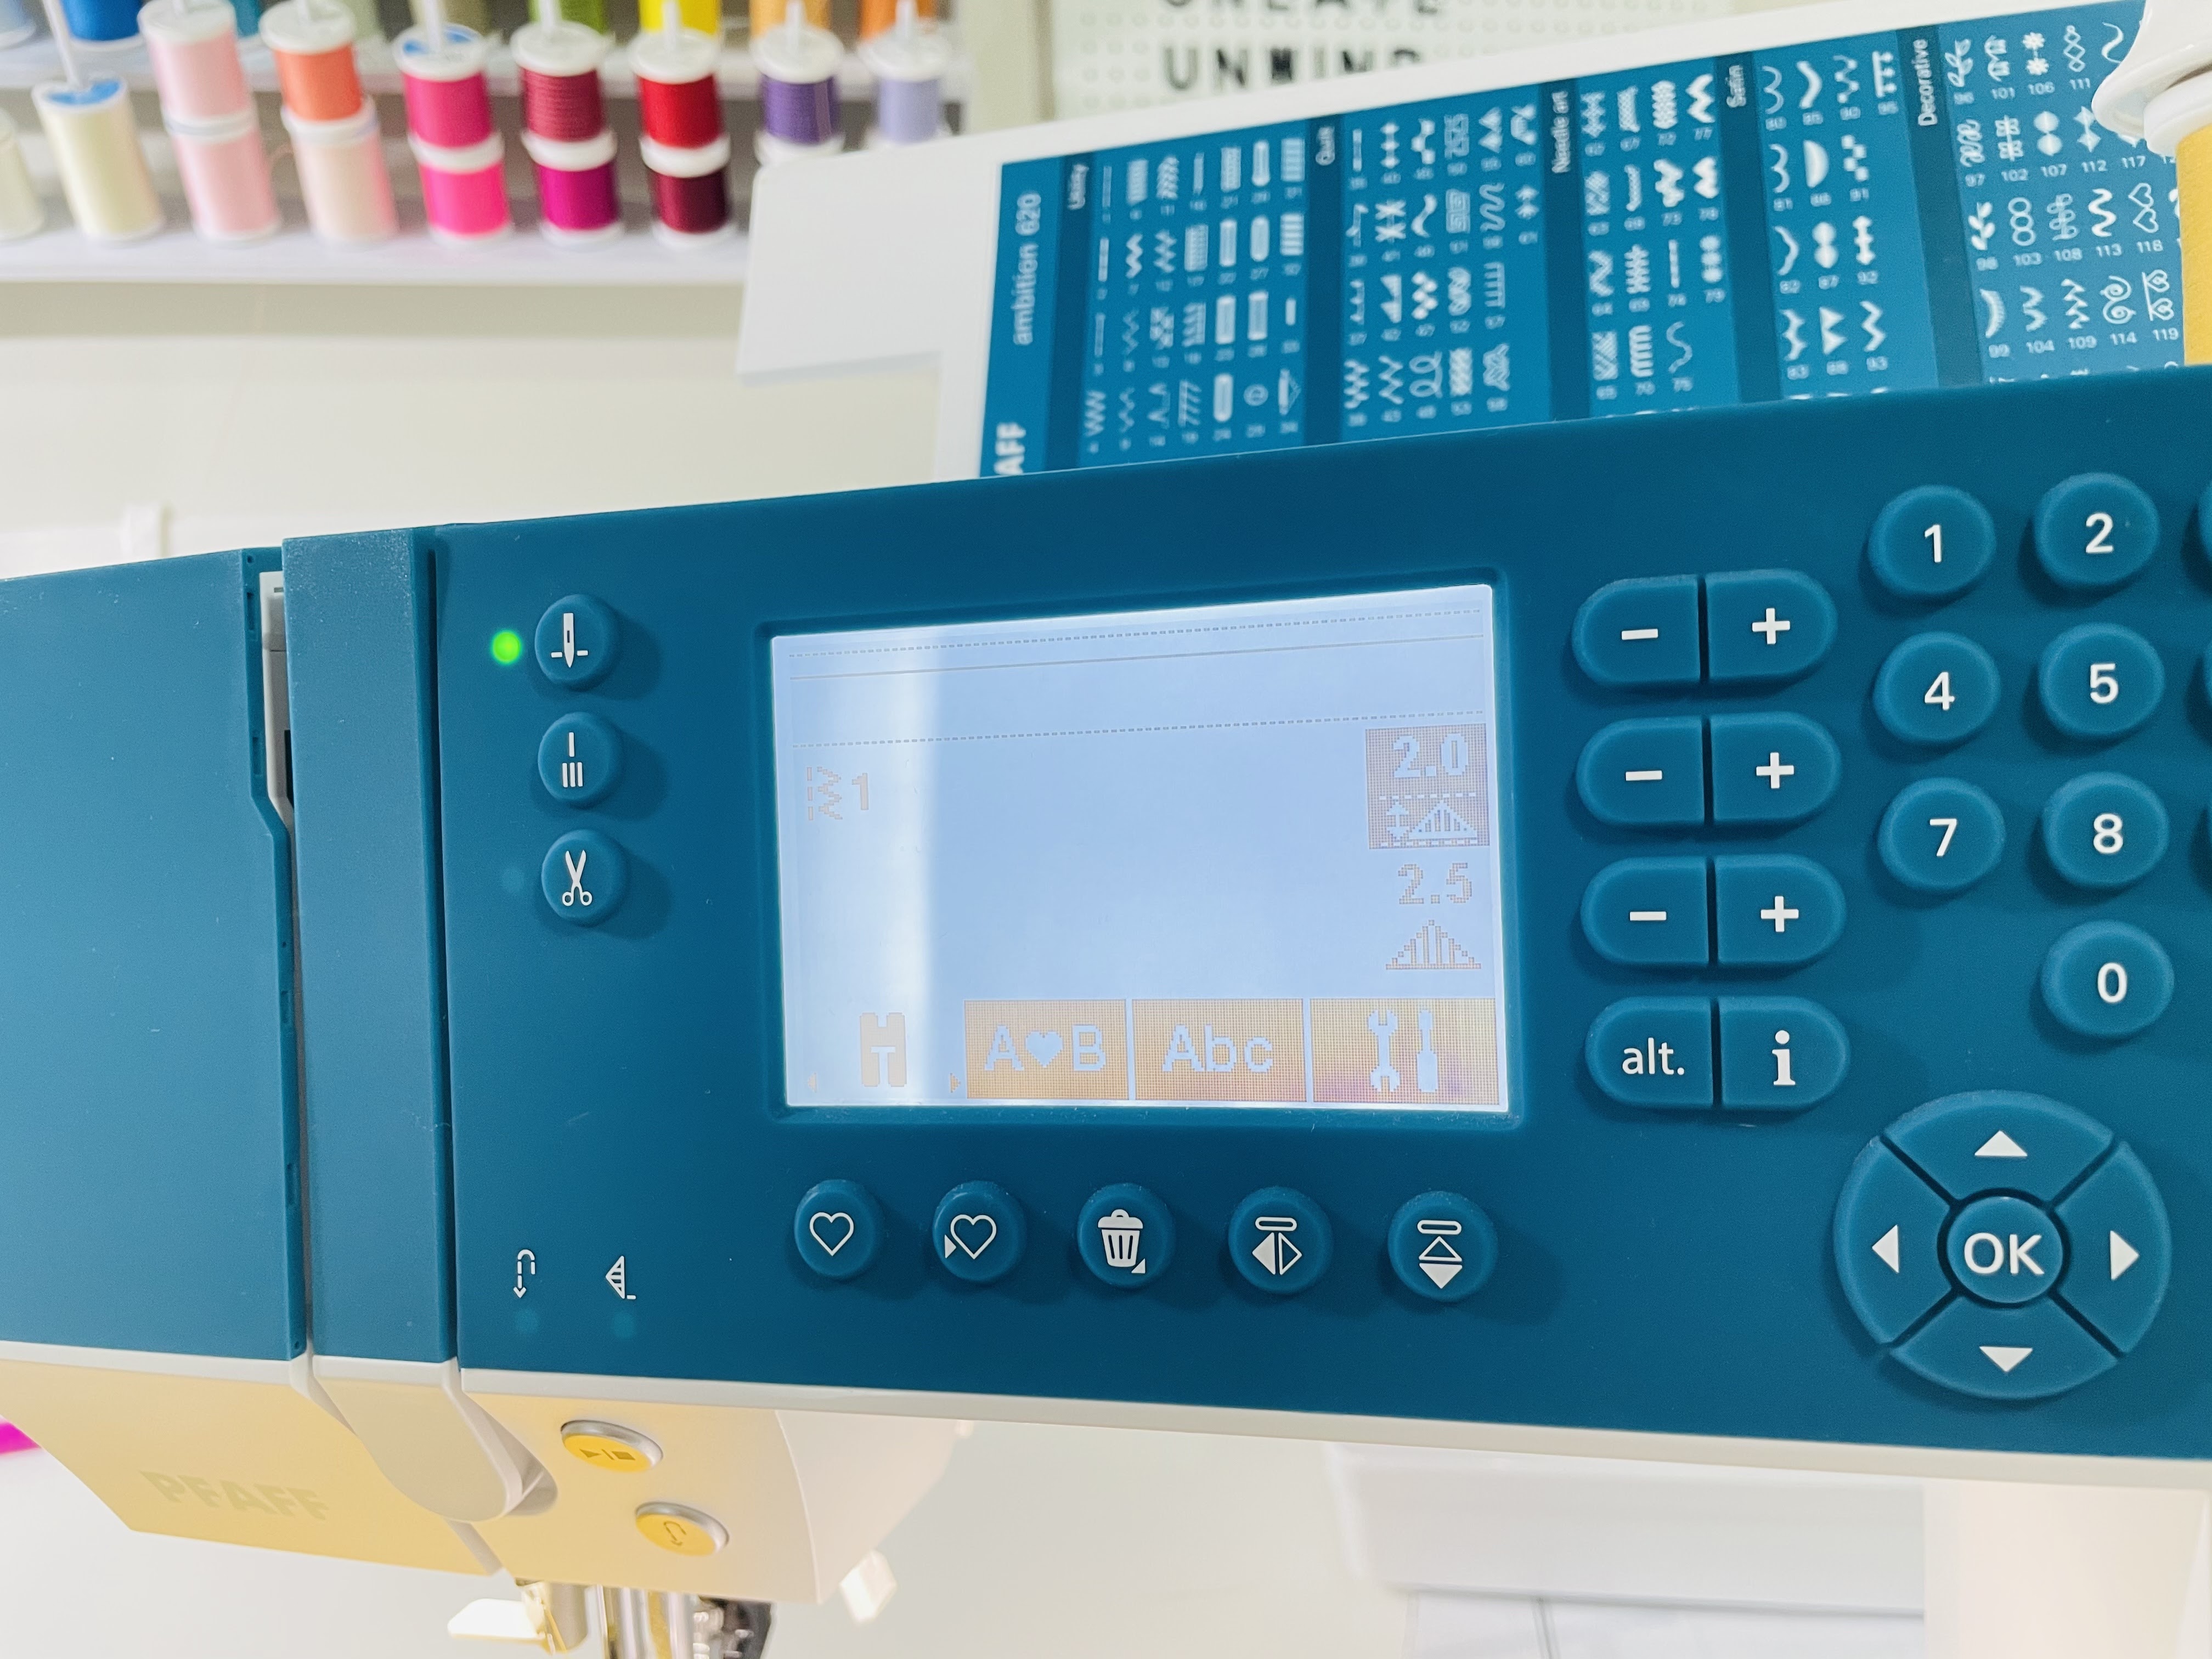
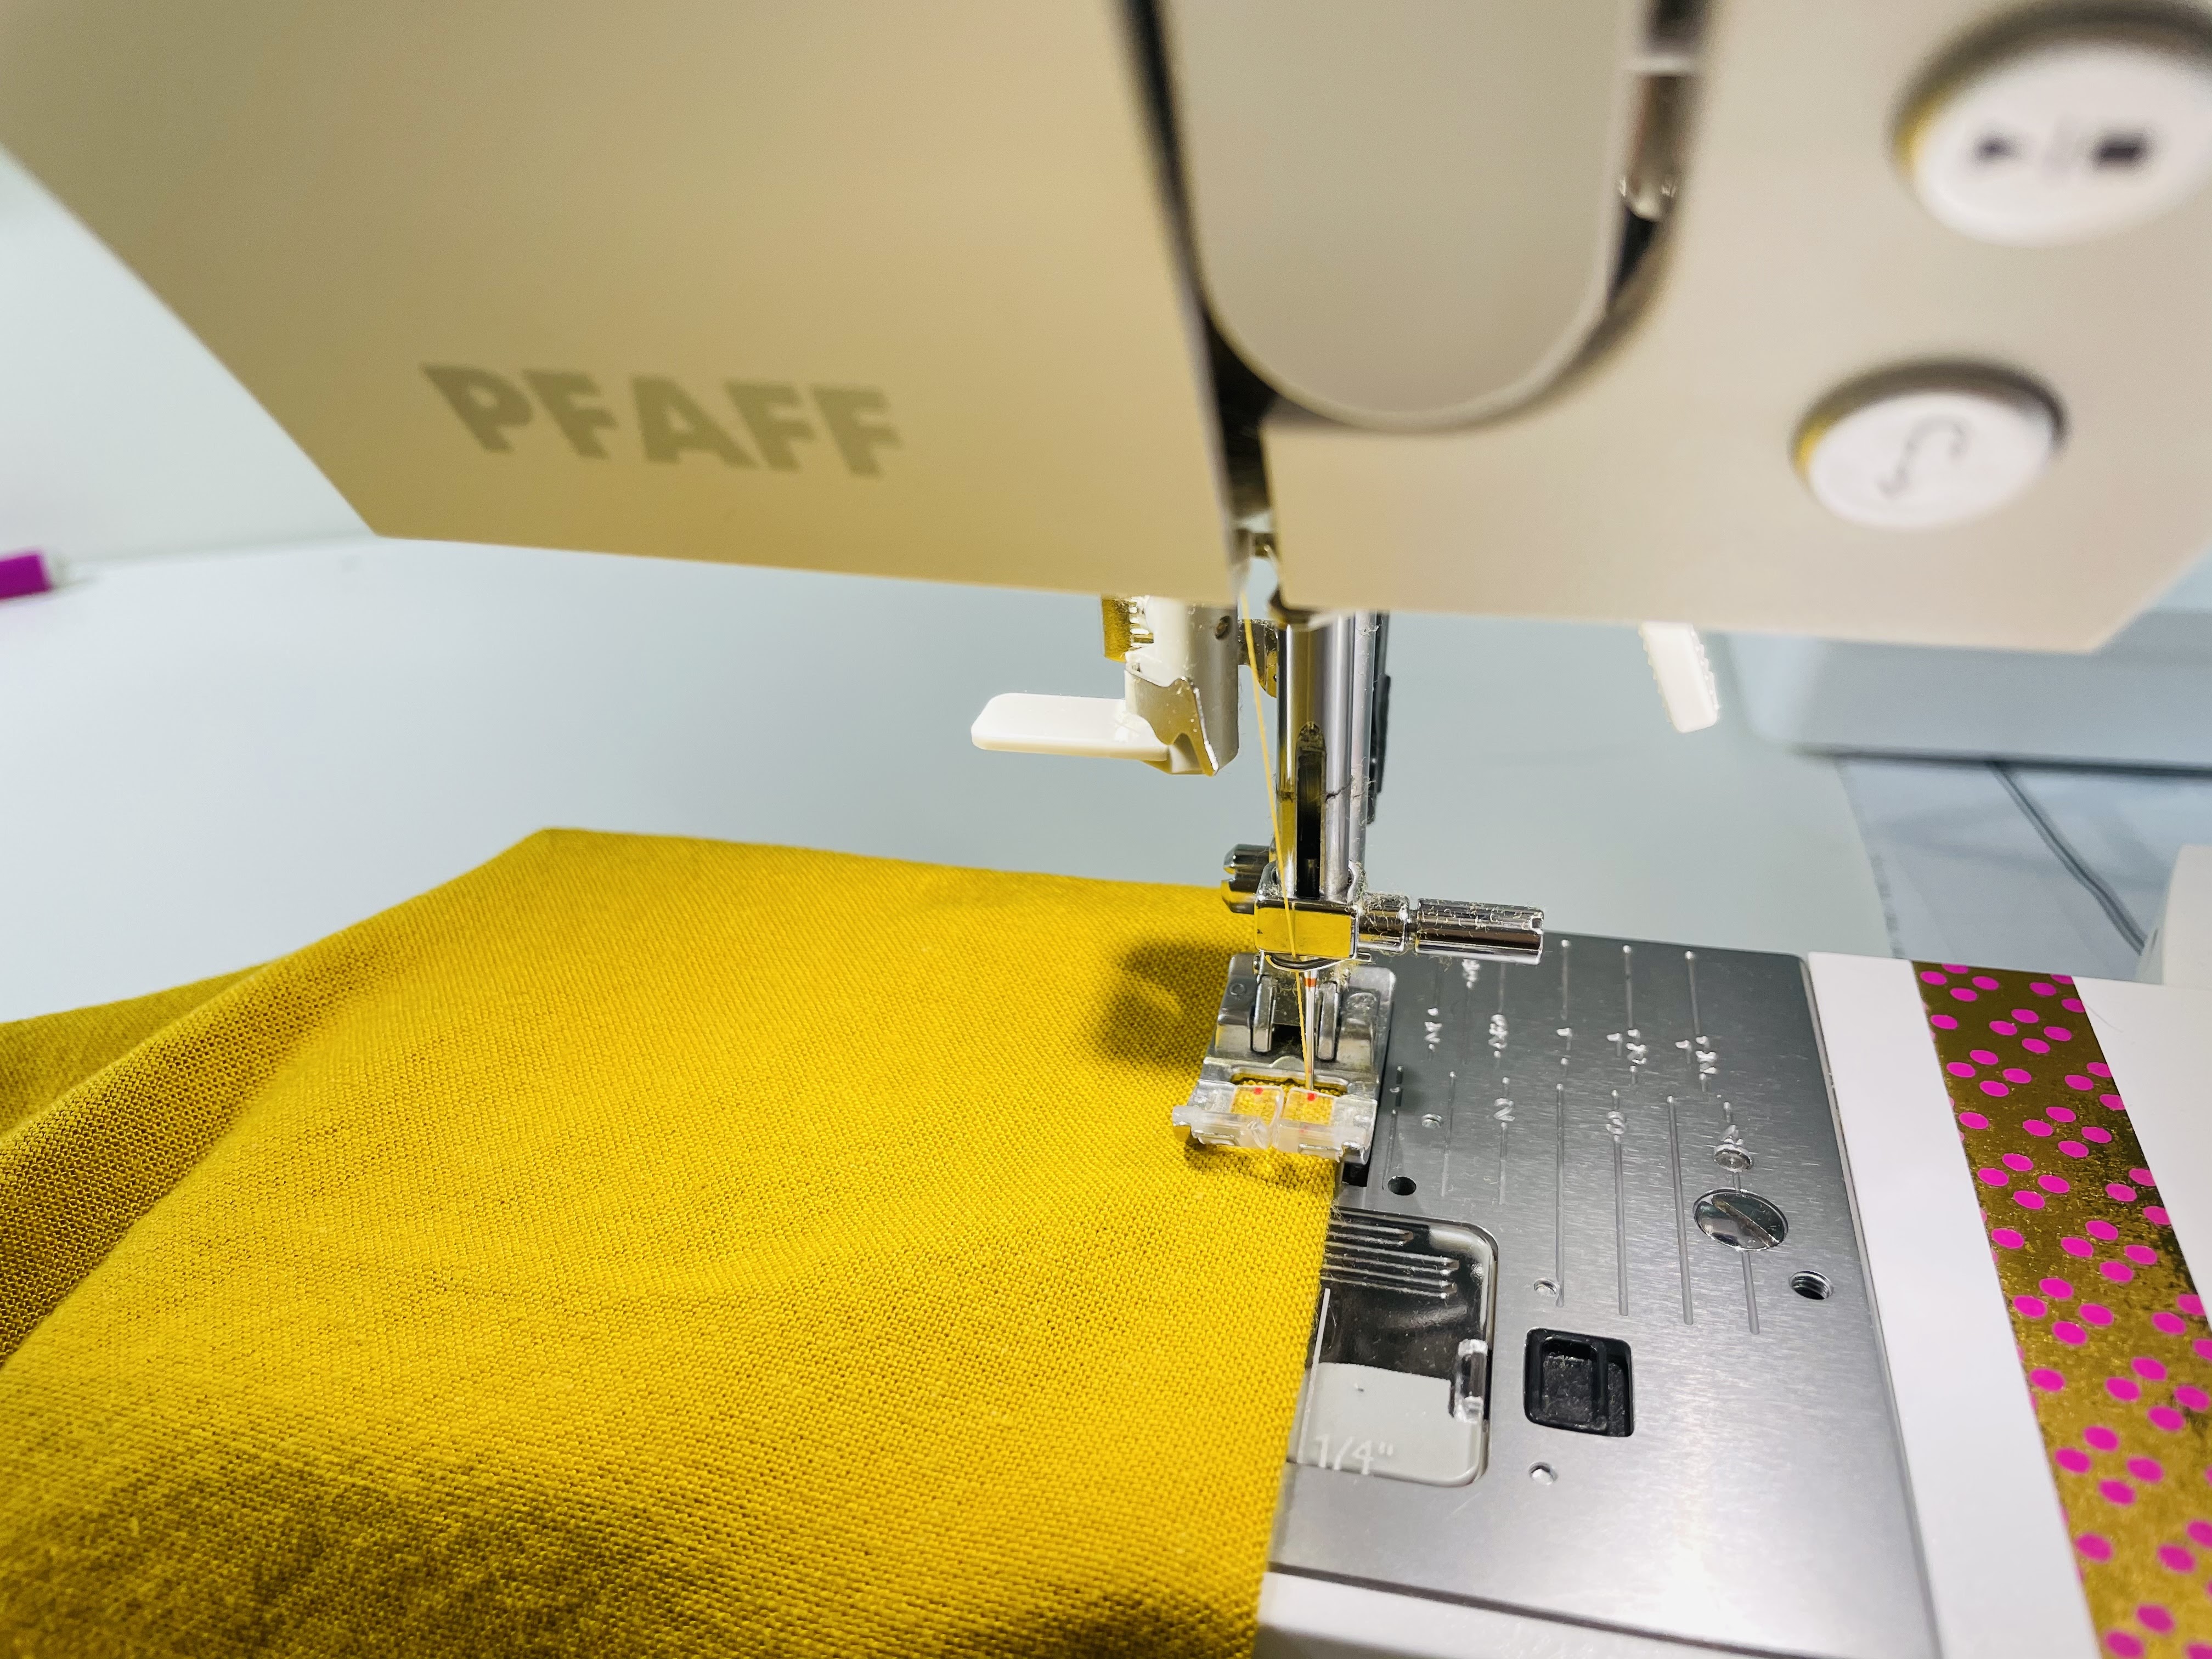
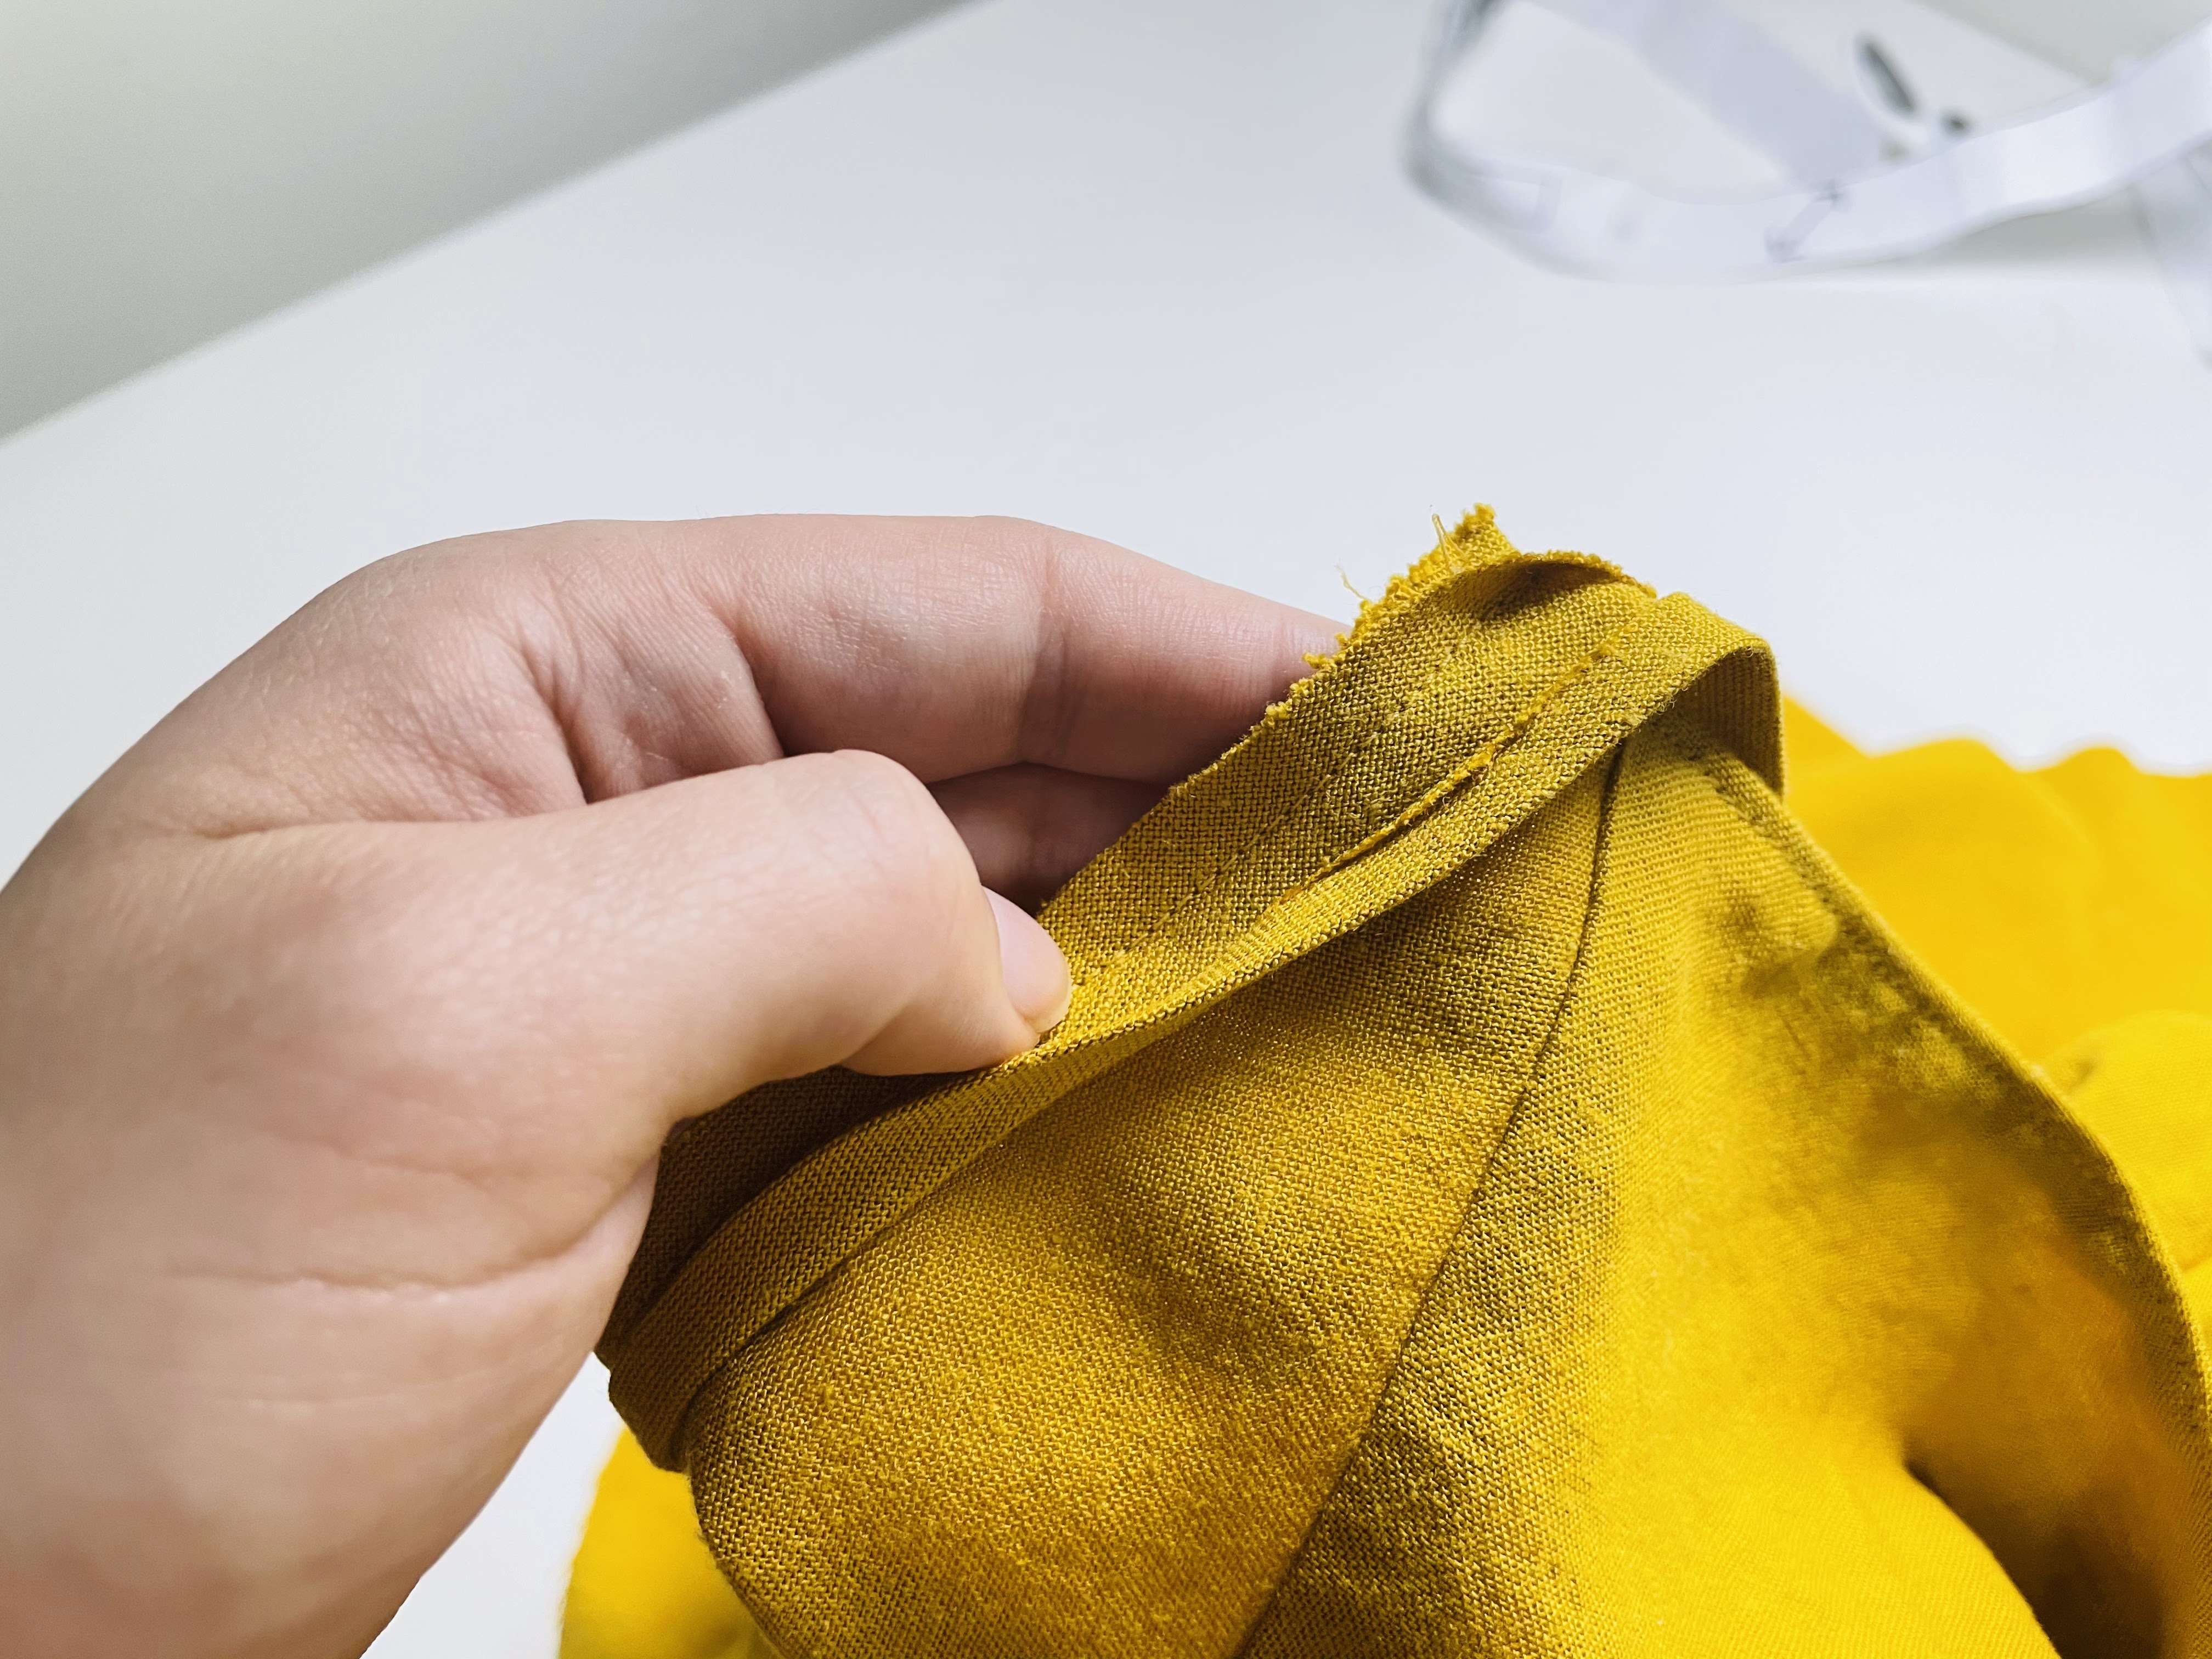
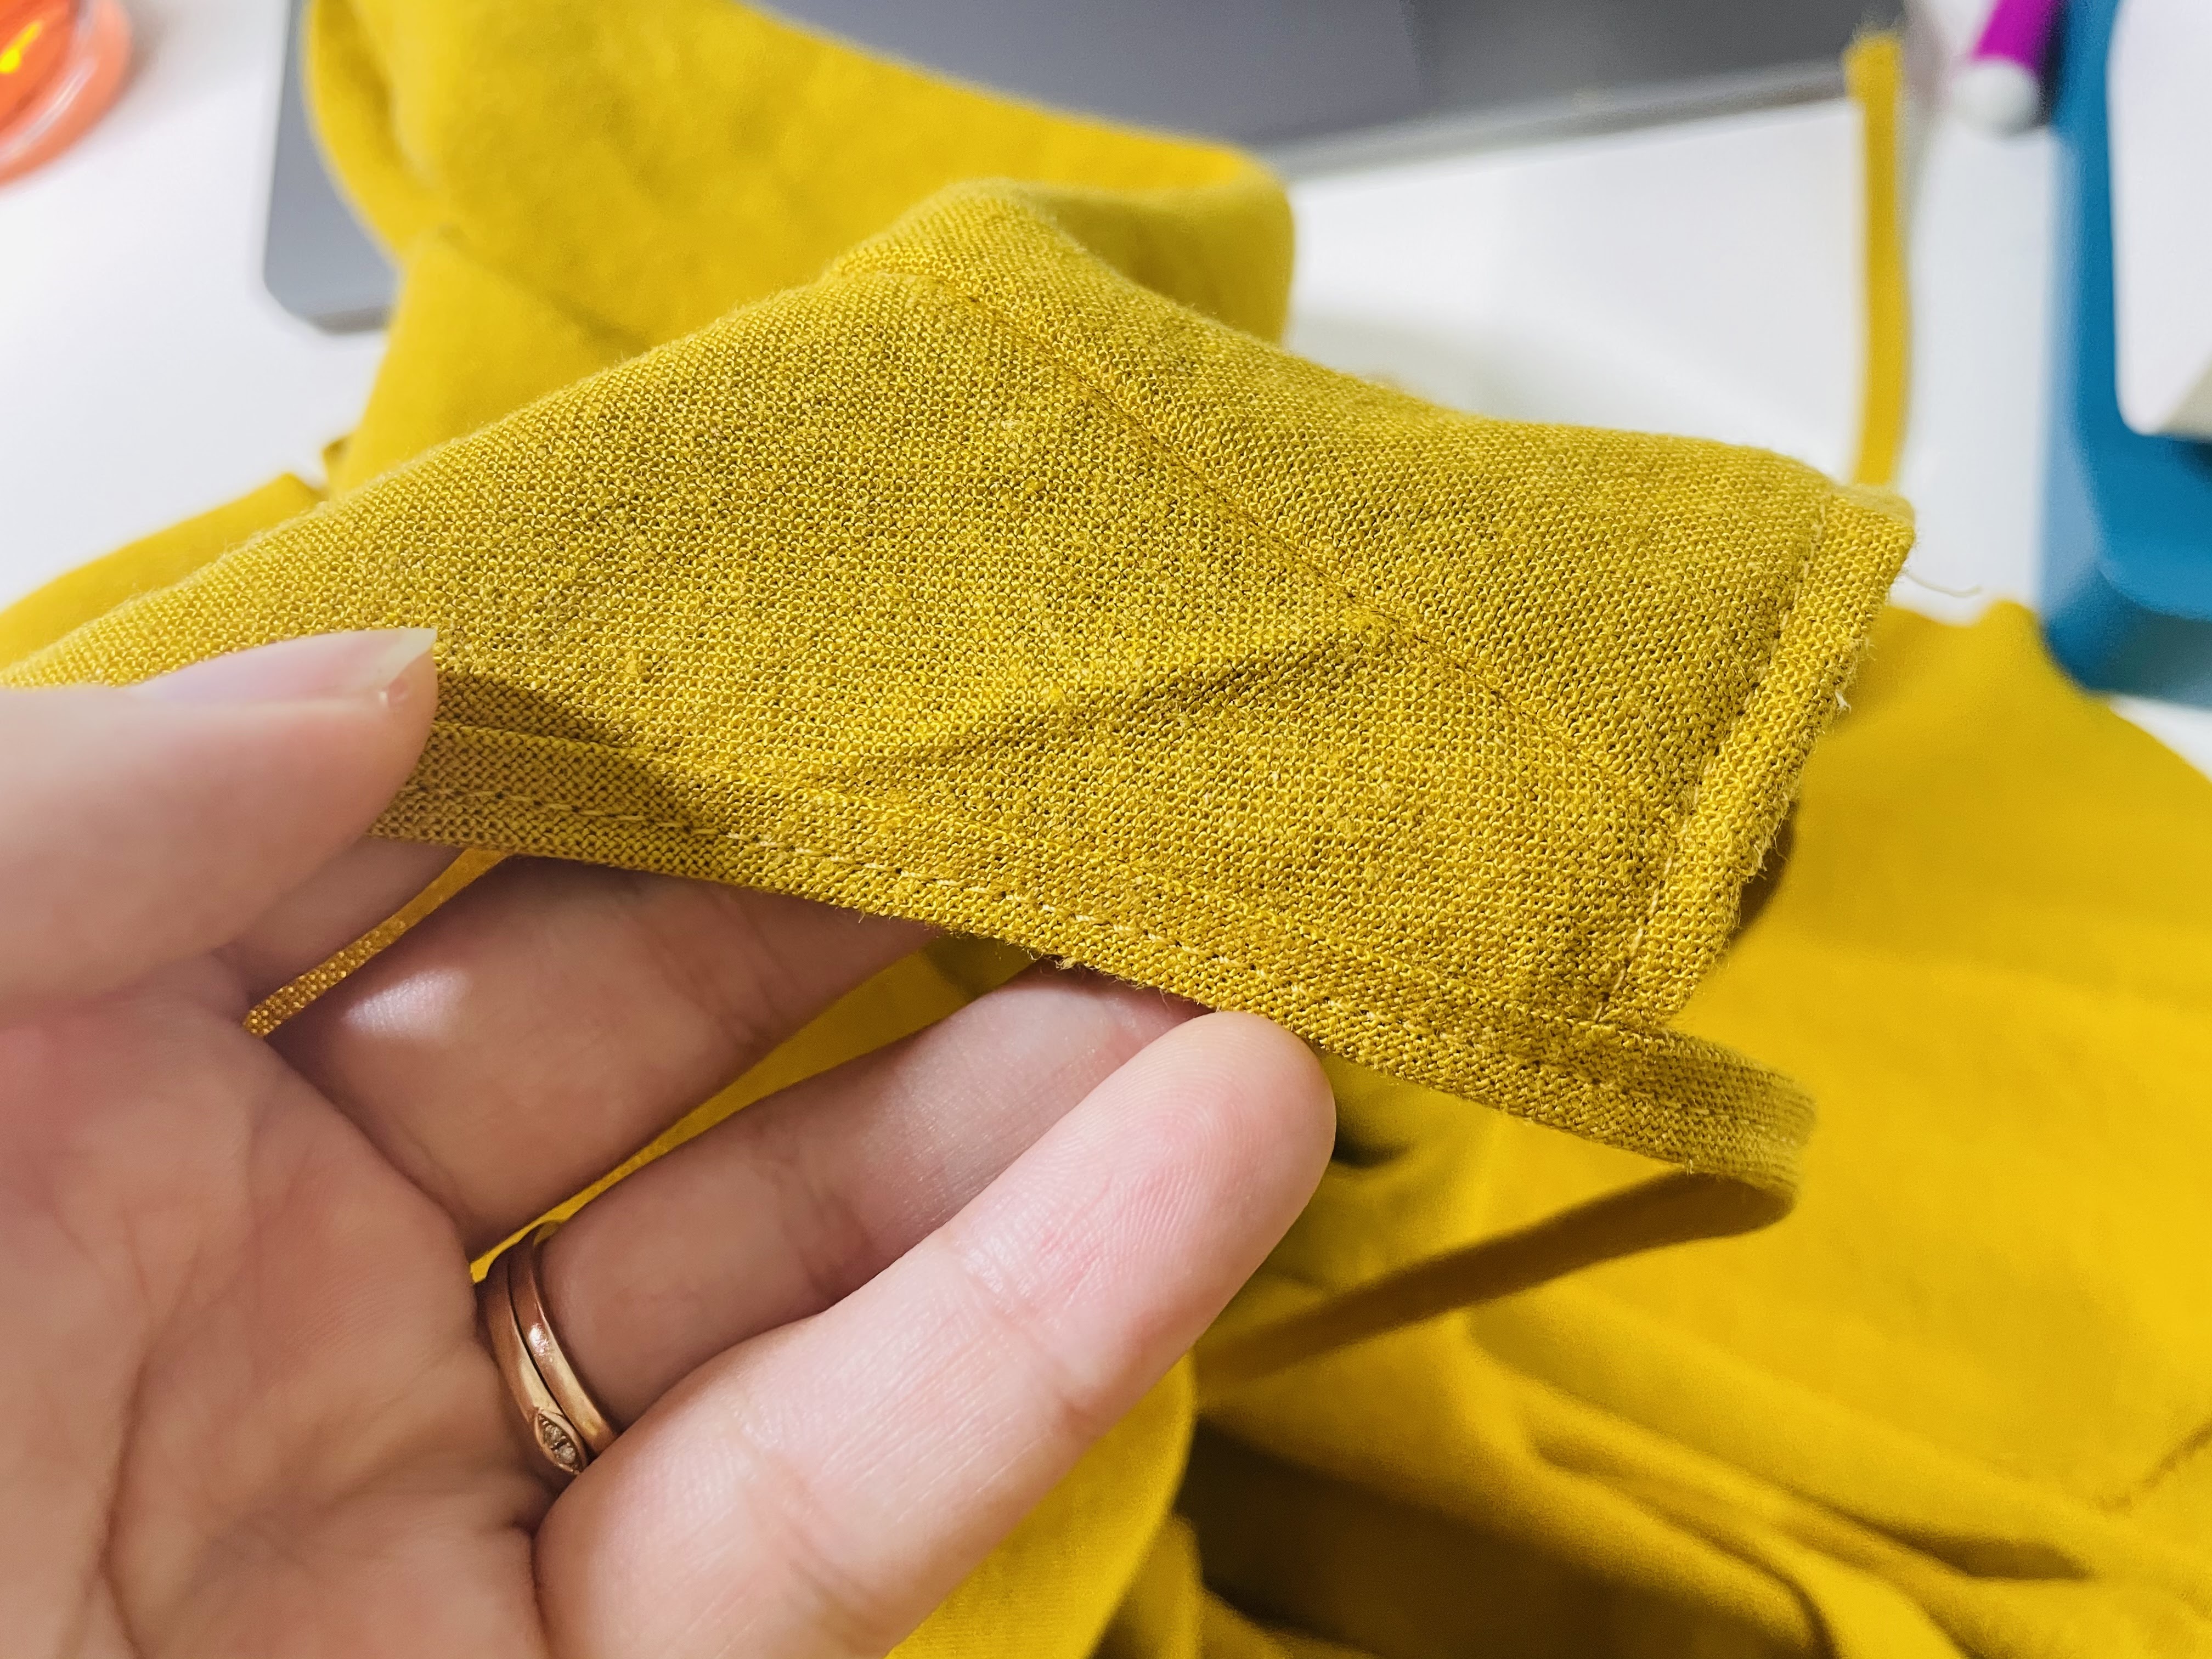
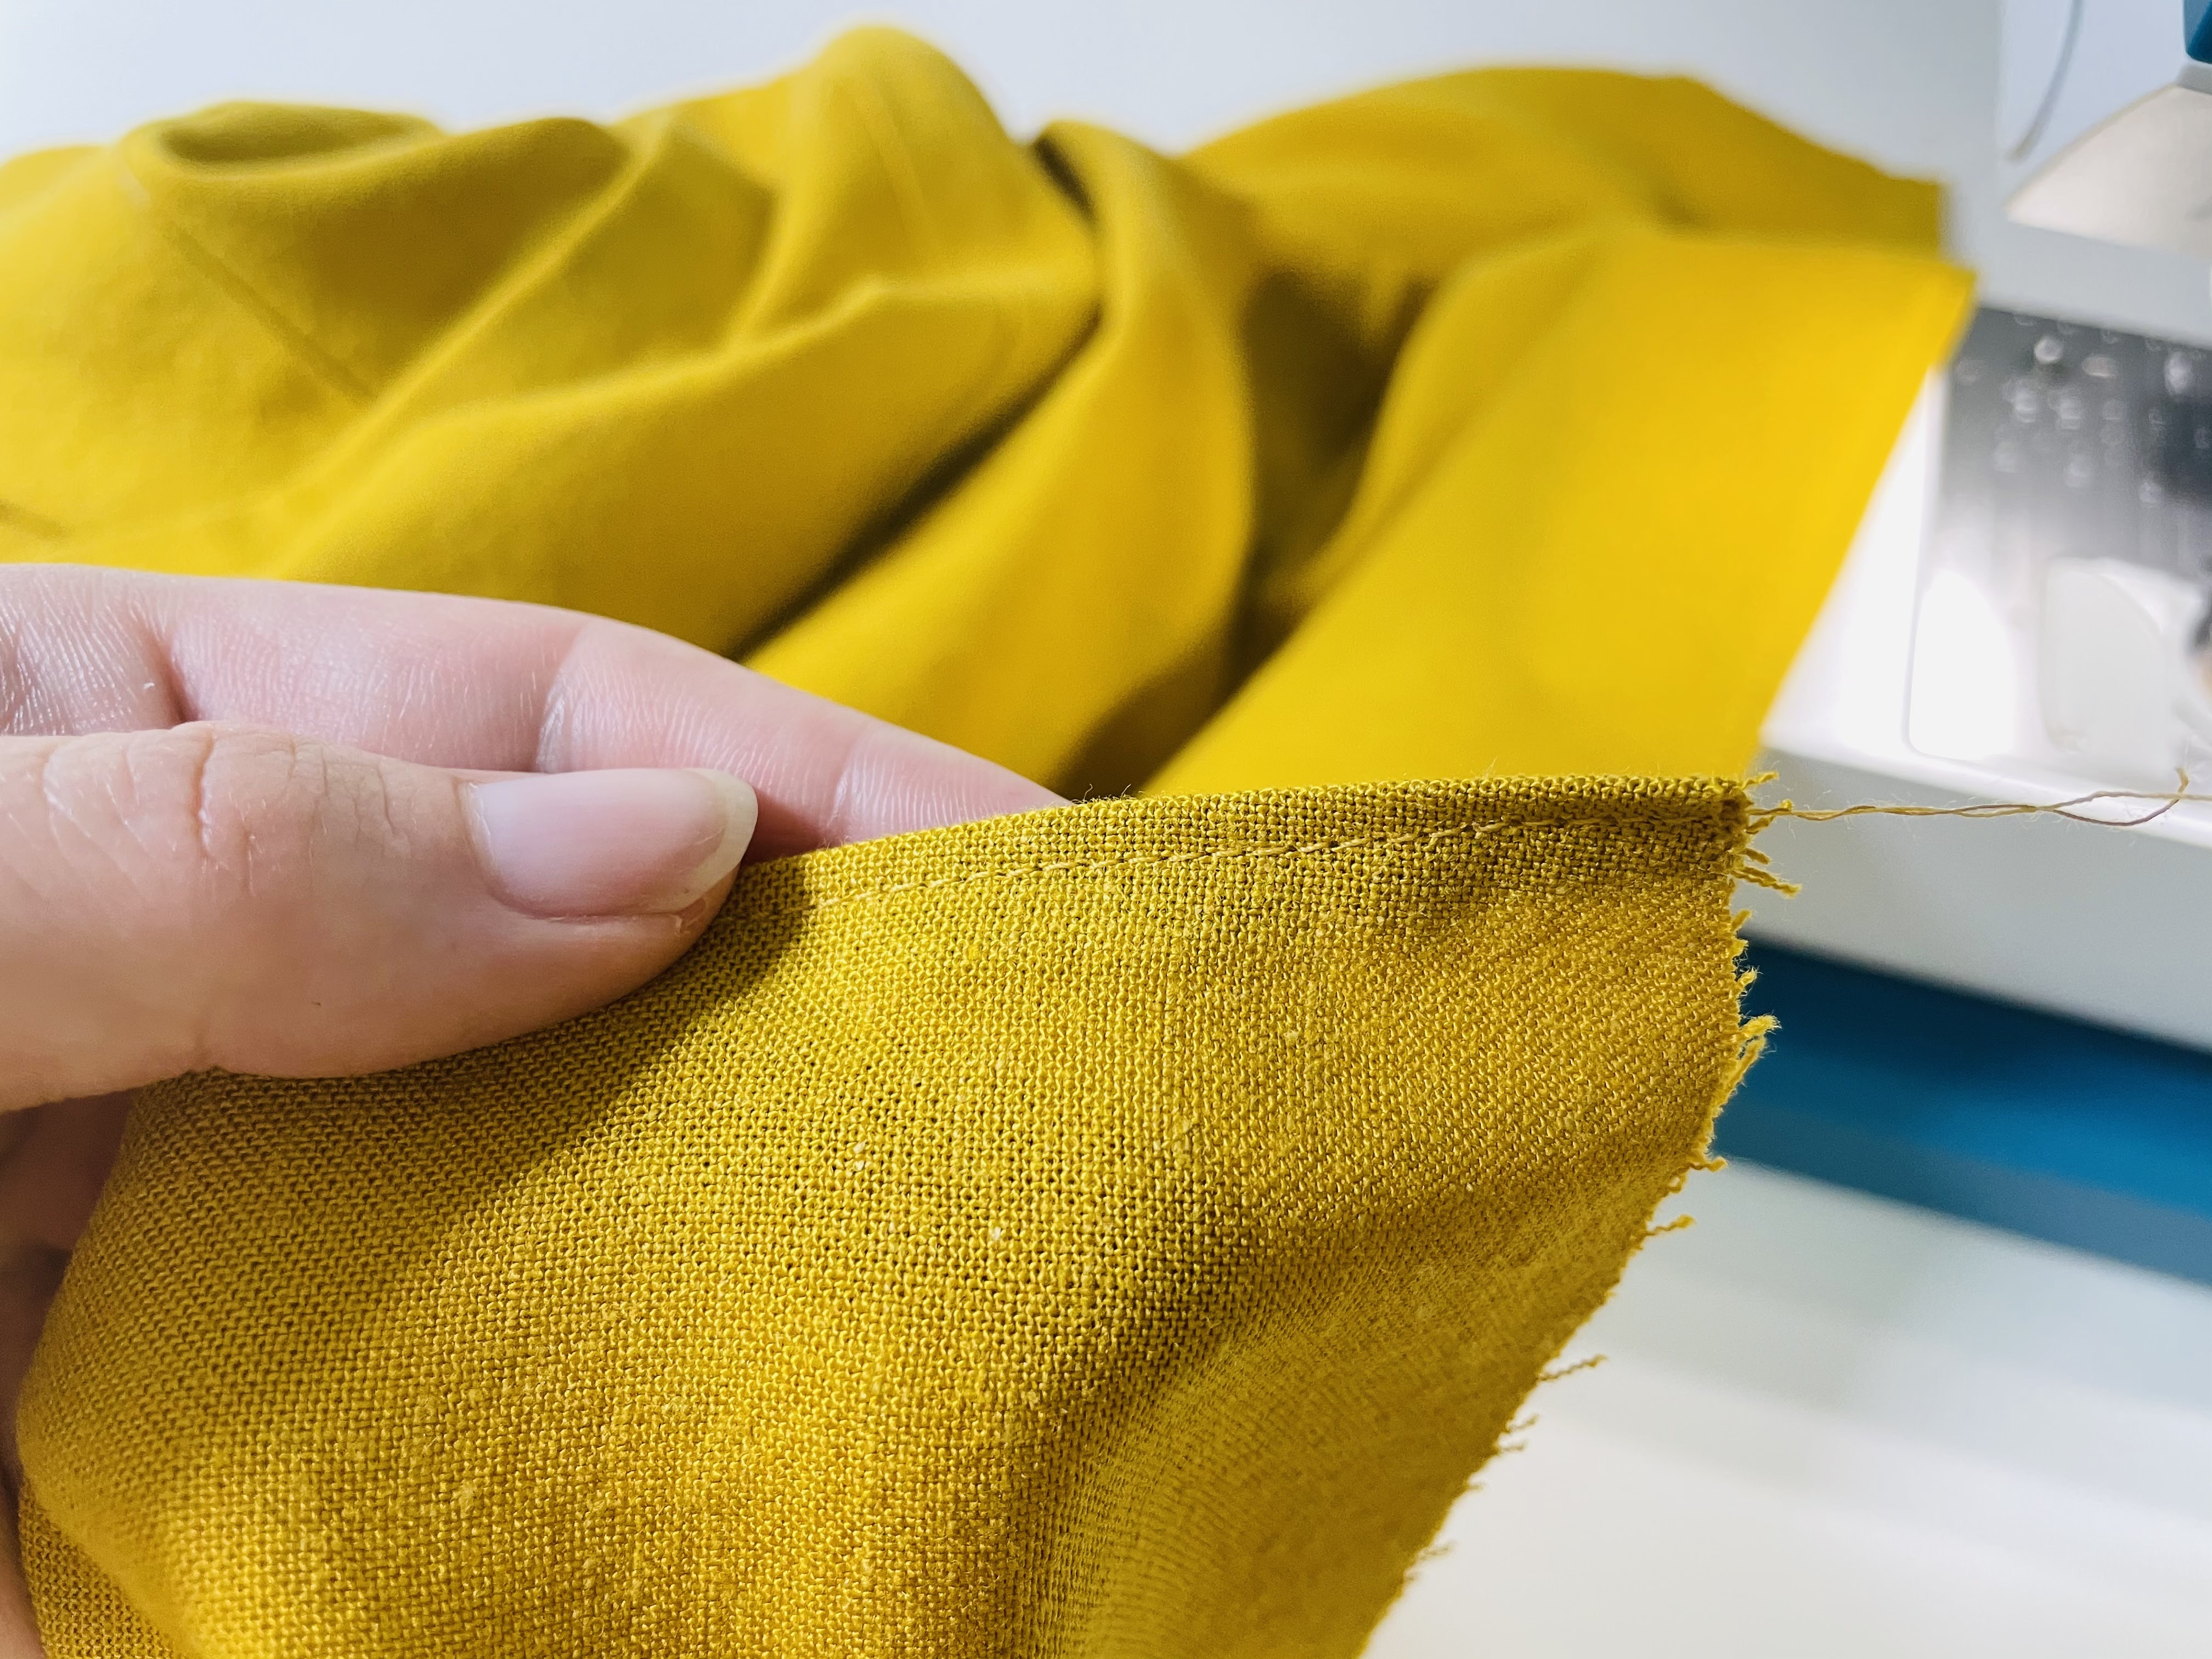
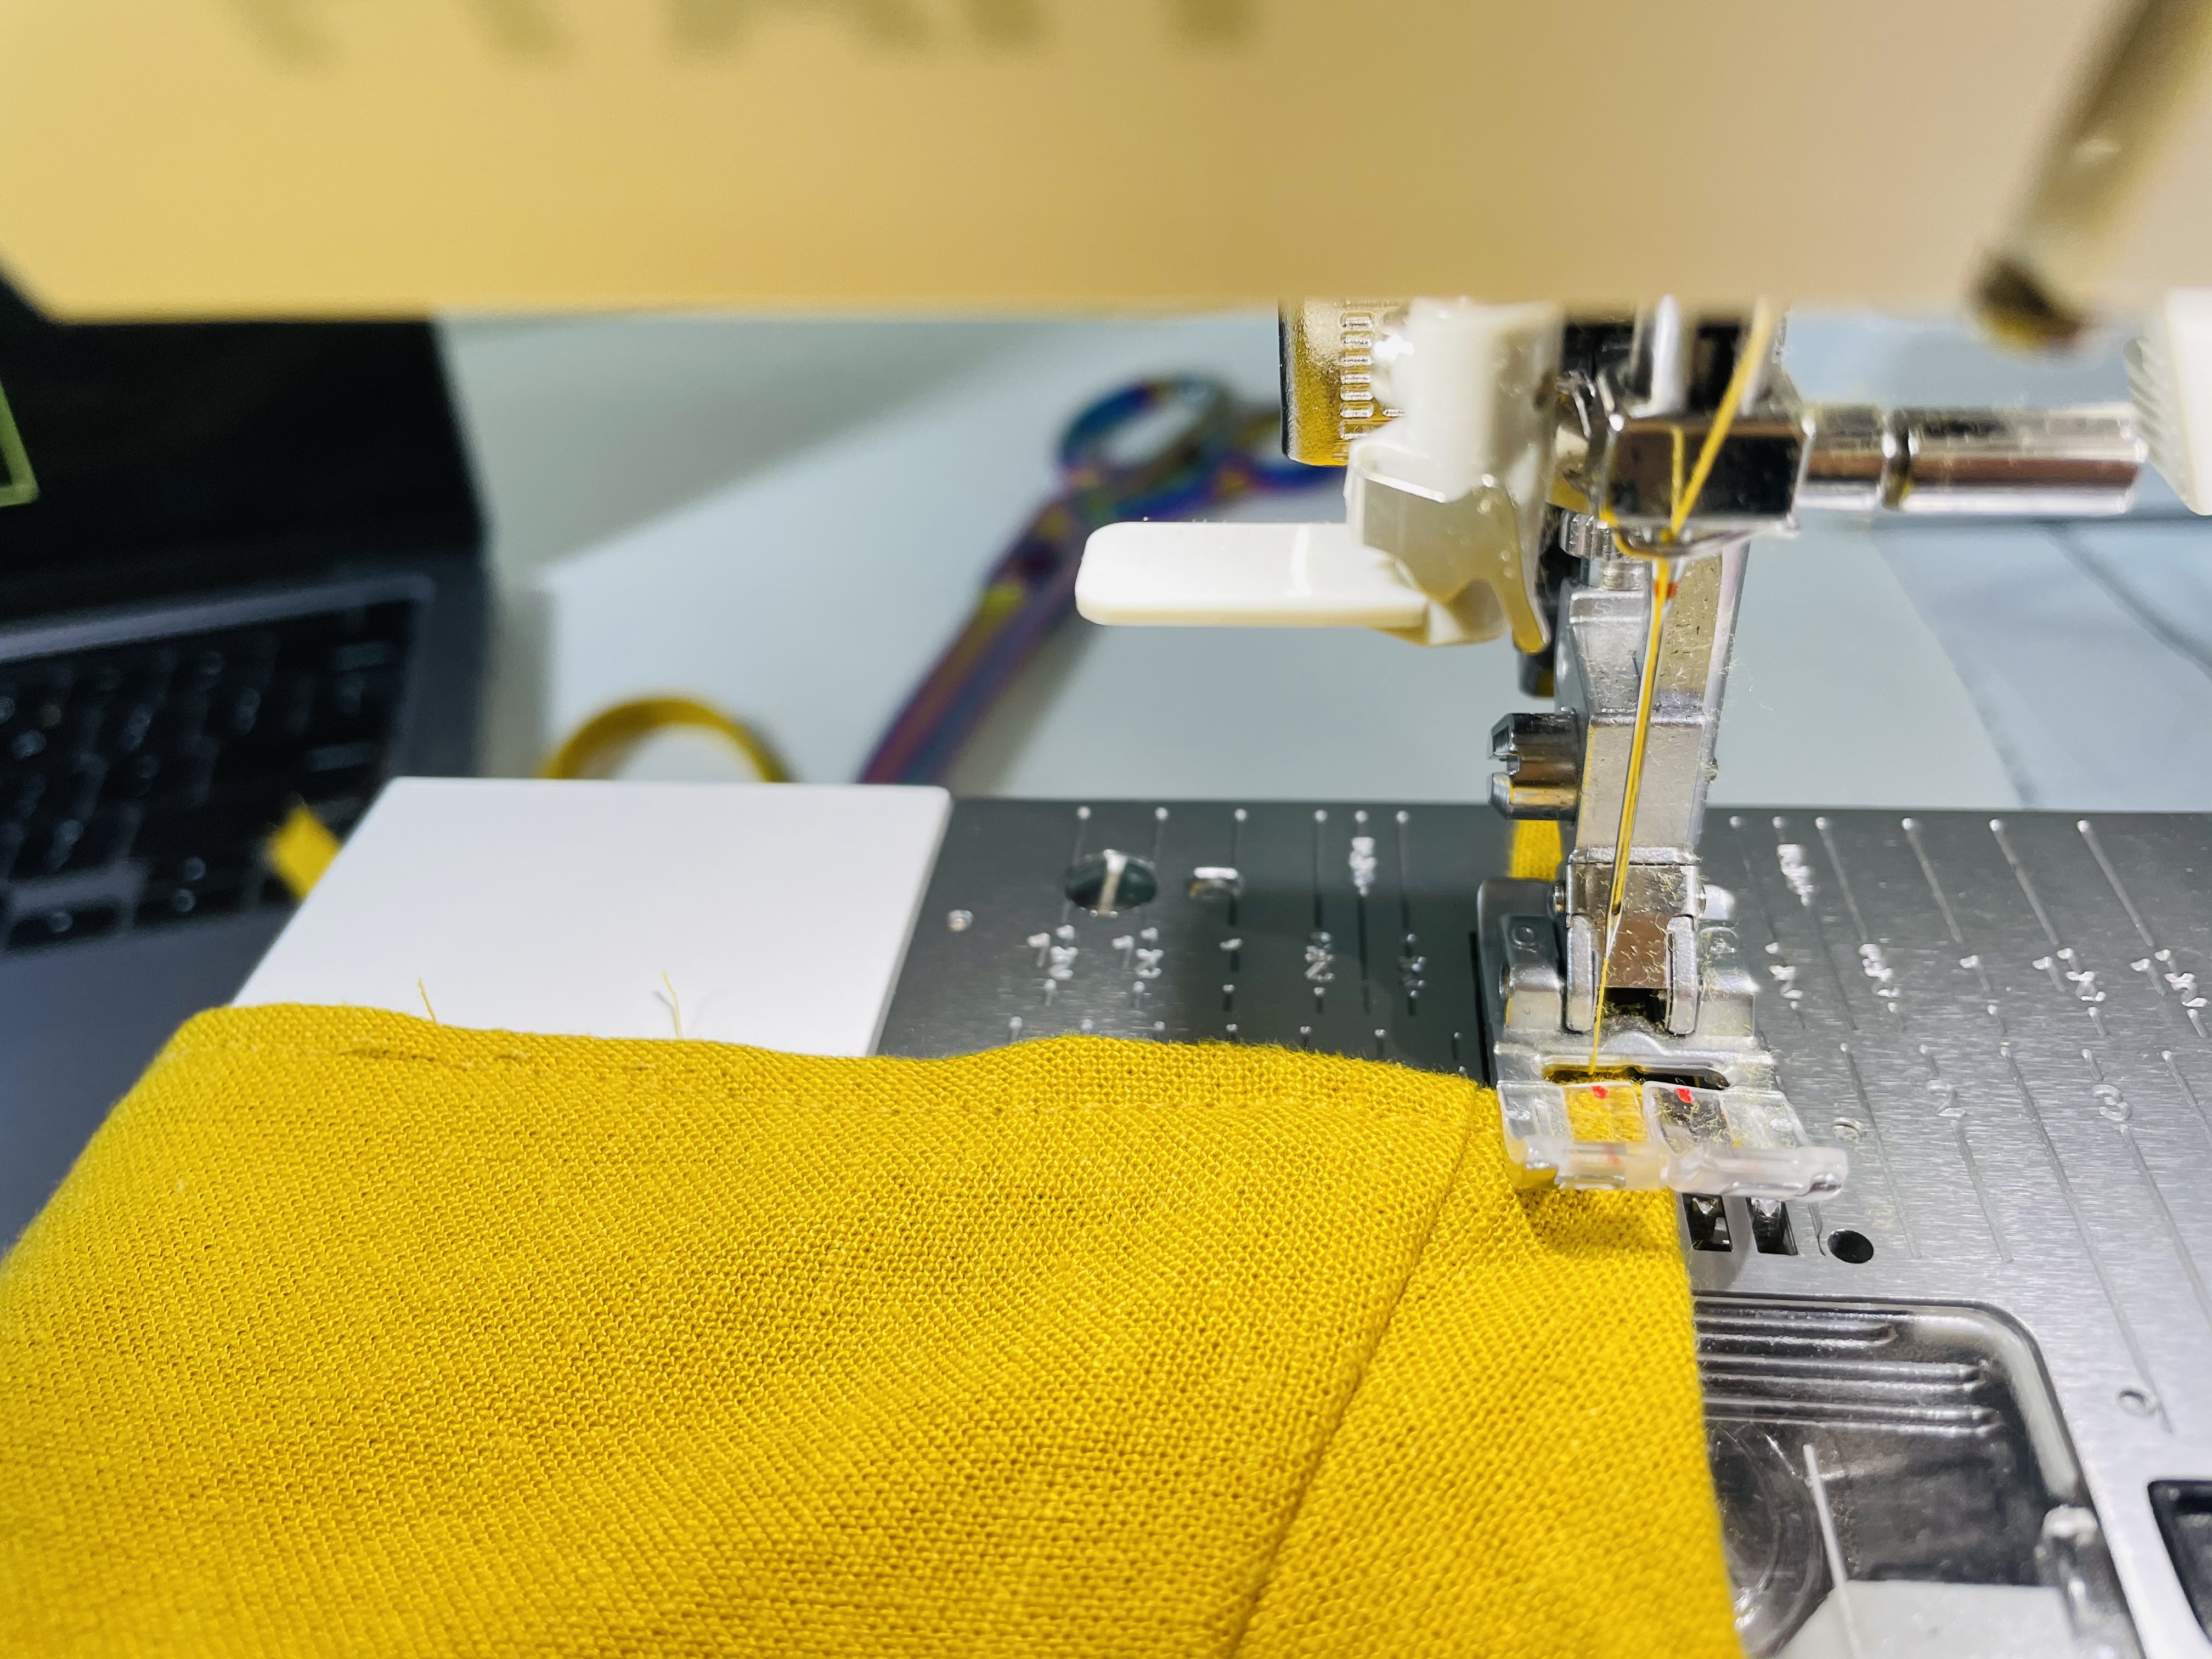
Next, you need to sew this folded edge. I’m going to set my machine on a straight stitch, but with my needle 2 mm to the left. Then, I’m going to align my fabric so the folded edge is 1/4″ (6 mm) to the right of center, meaning that my stitching will be 8 mm inward from the folded edge:
You’ll end up with an edge that looks like this:
Creating Bias Tape
I thought a lot about whether to have y’all buy bias tape (a shortcut I often take) or, per the pattern instructions, make bias tape. Ultimately, I decided making bias tape isn’t all that hard, and it’s an important skill. Sometimes, you just can’t find pre-made bias tape that perfectly matches your fabric!
So, using the neckline tape pattern piece, you first need to place your two pieces perpendicular to each other, with right sides together and matching at a corner, like this:

Stick a pin through that, then sew from corner to corner, as shown here:
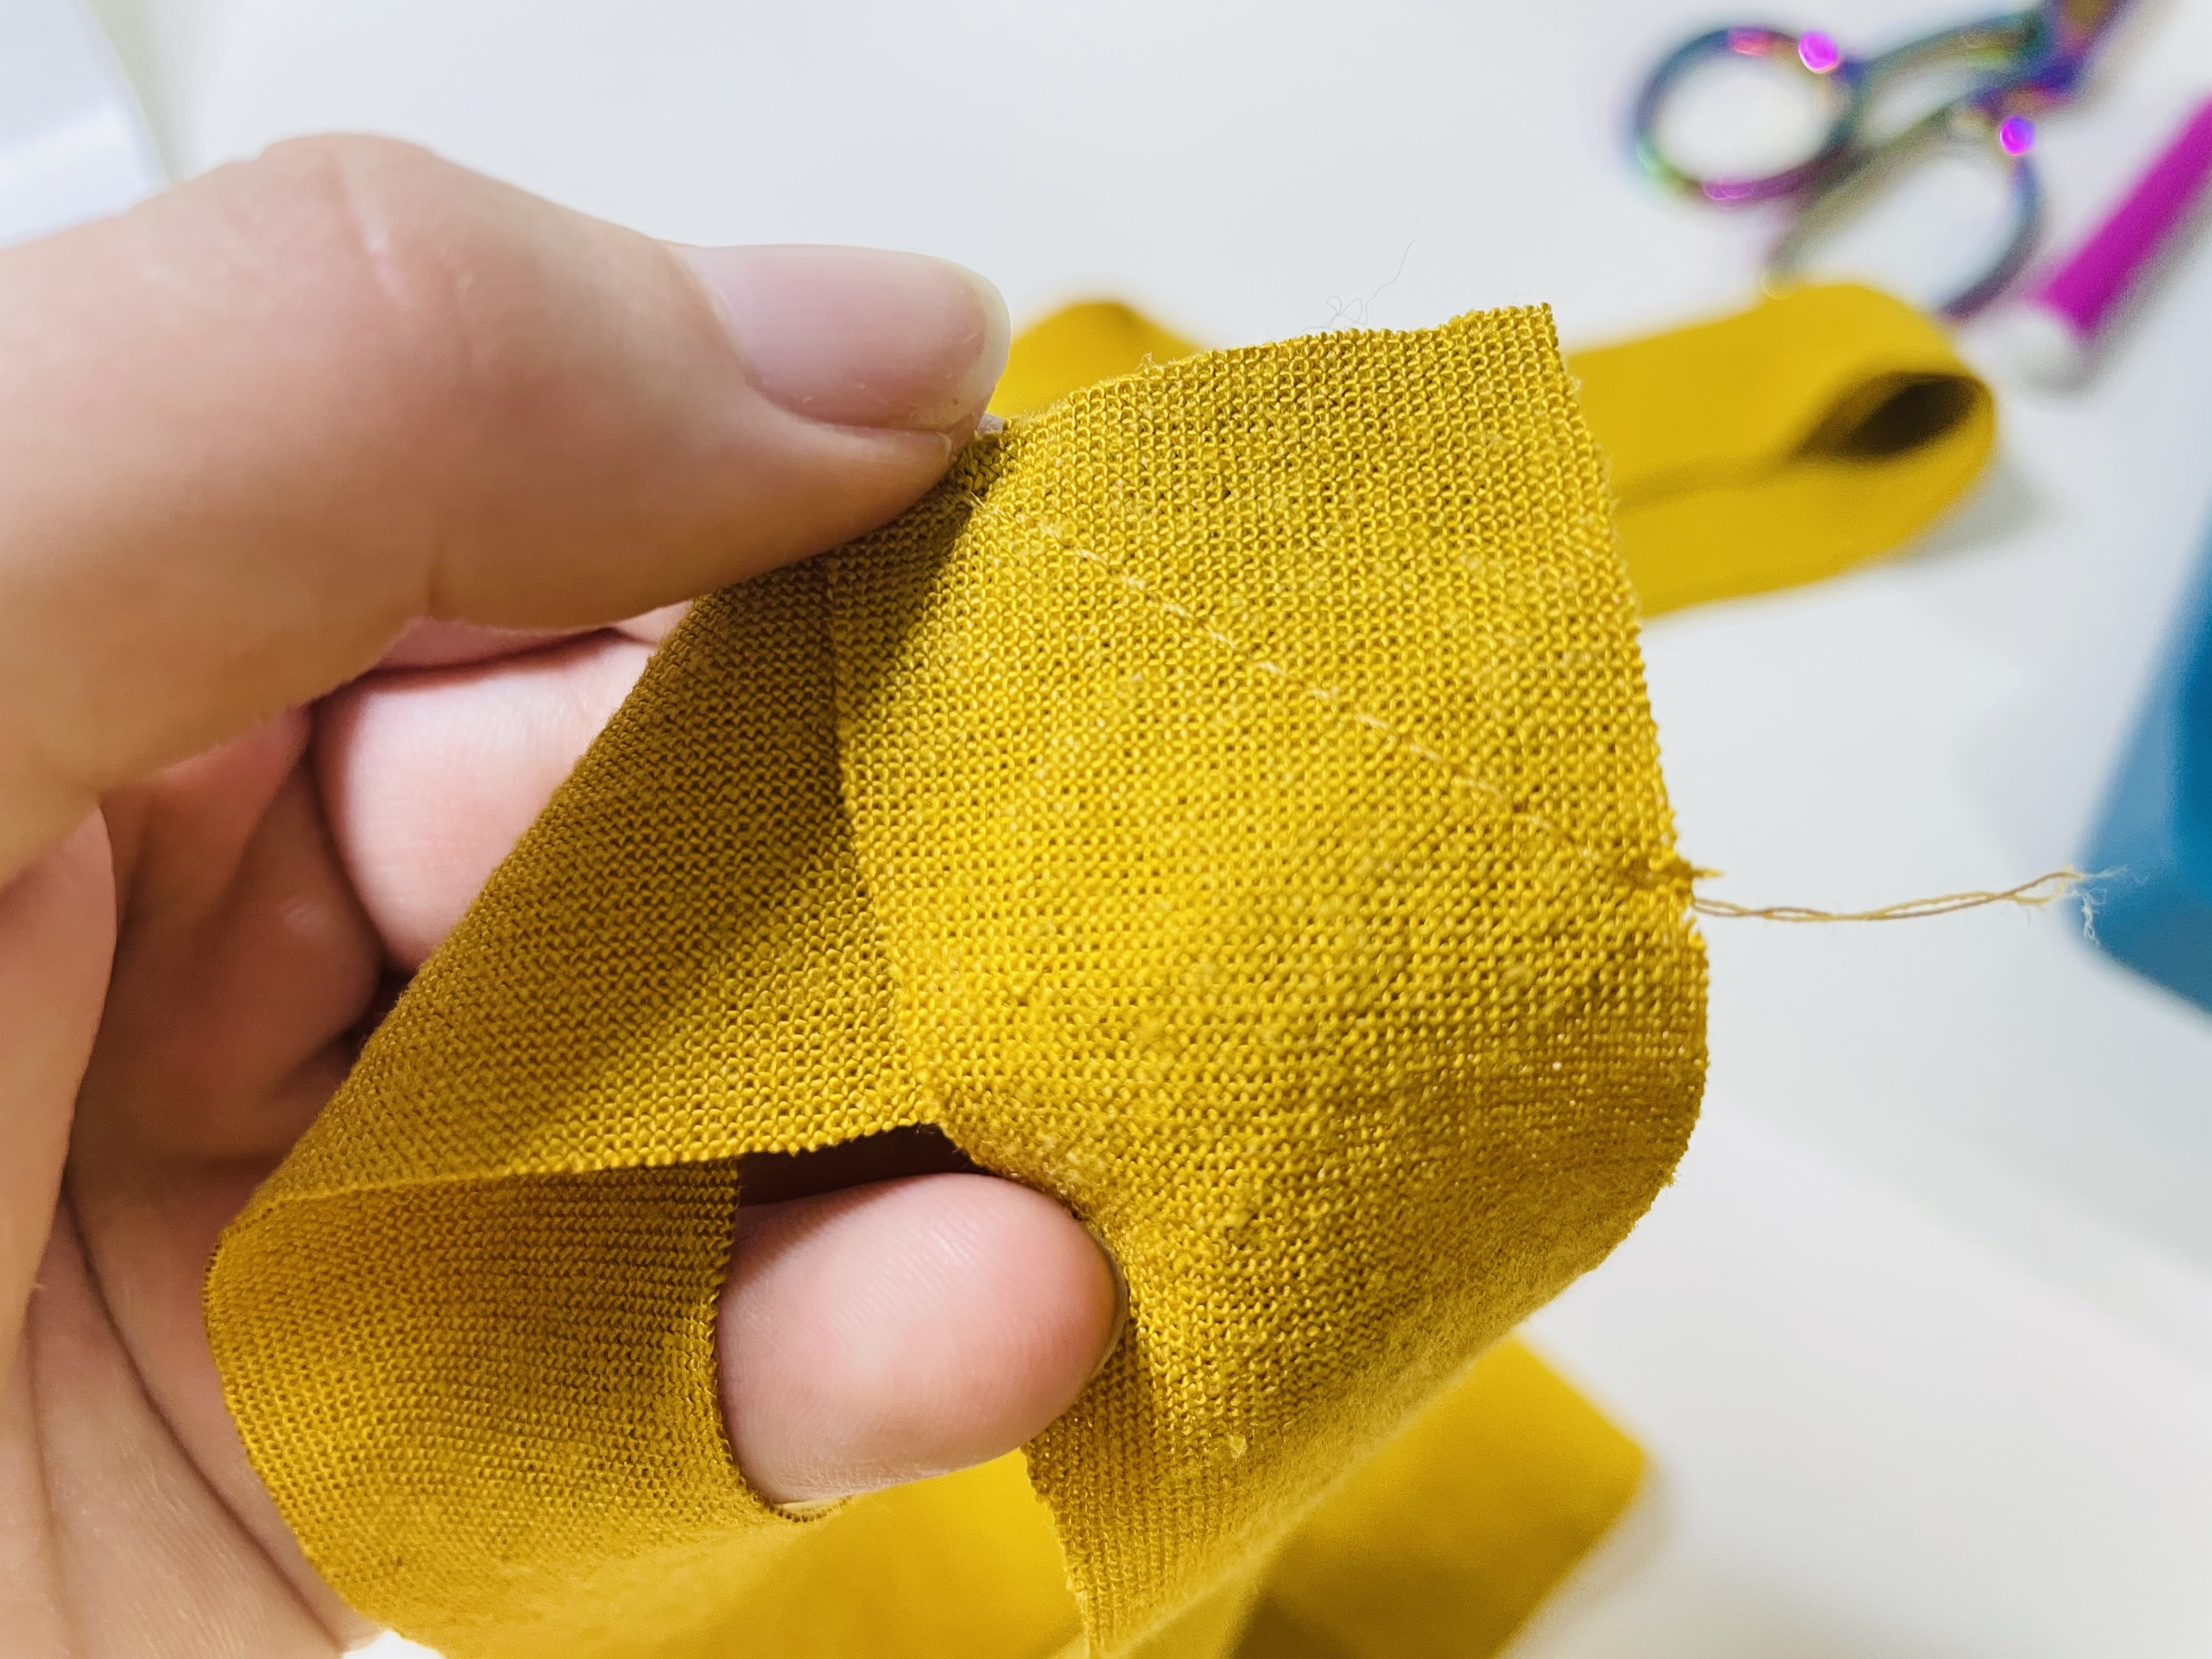
You’re now going to trim off that extra corner:
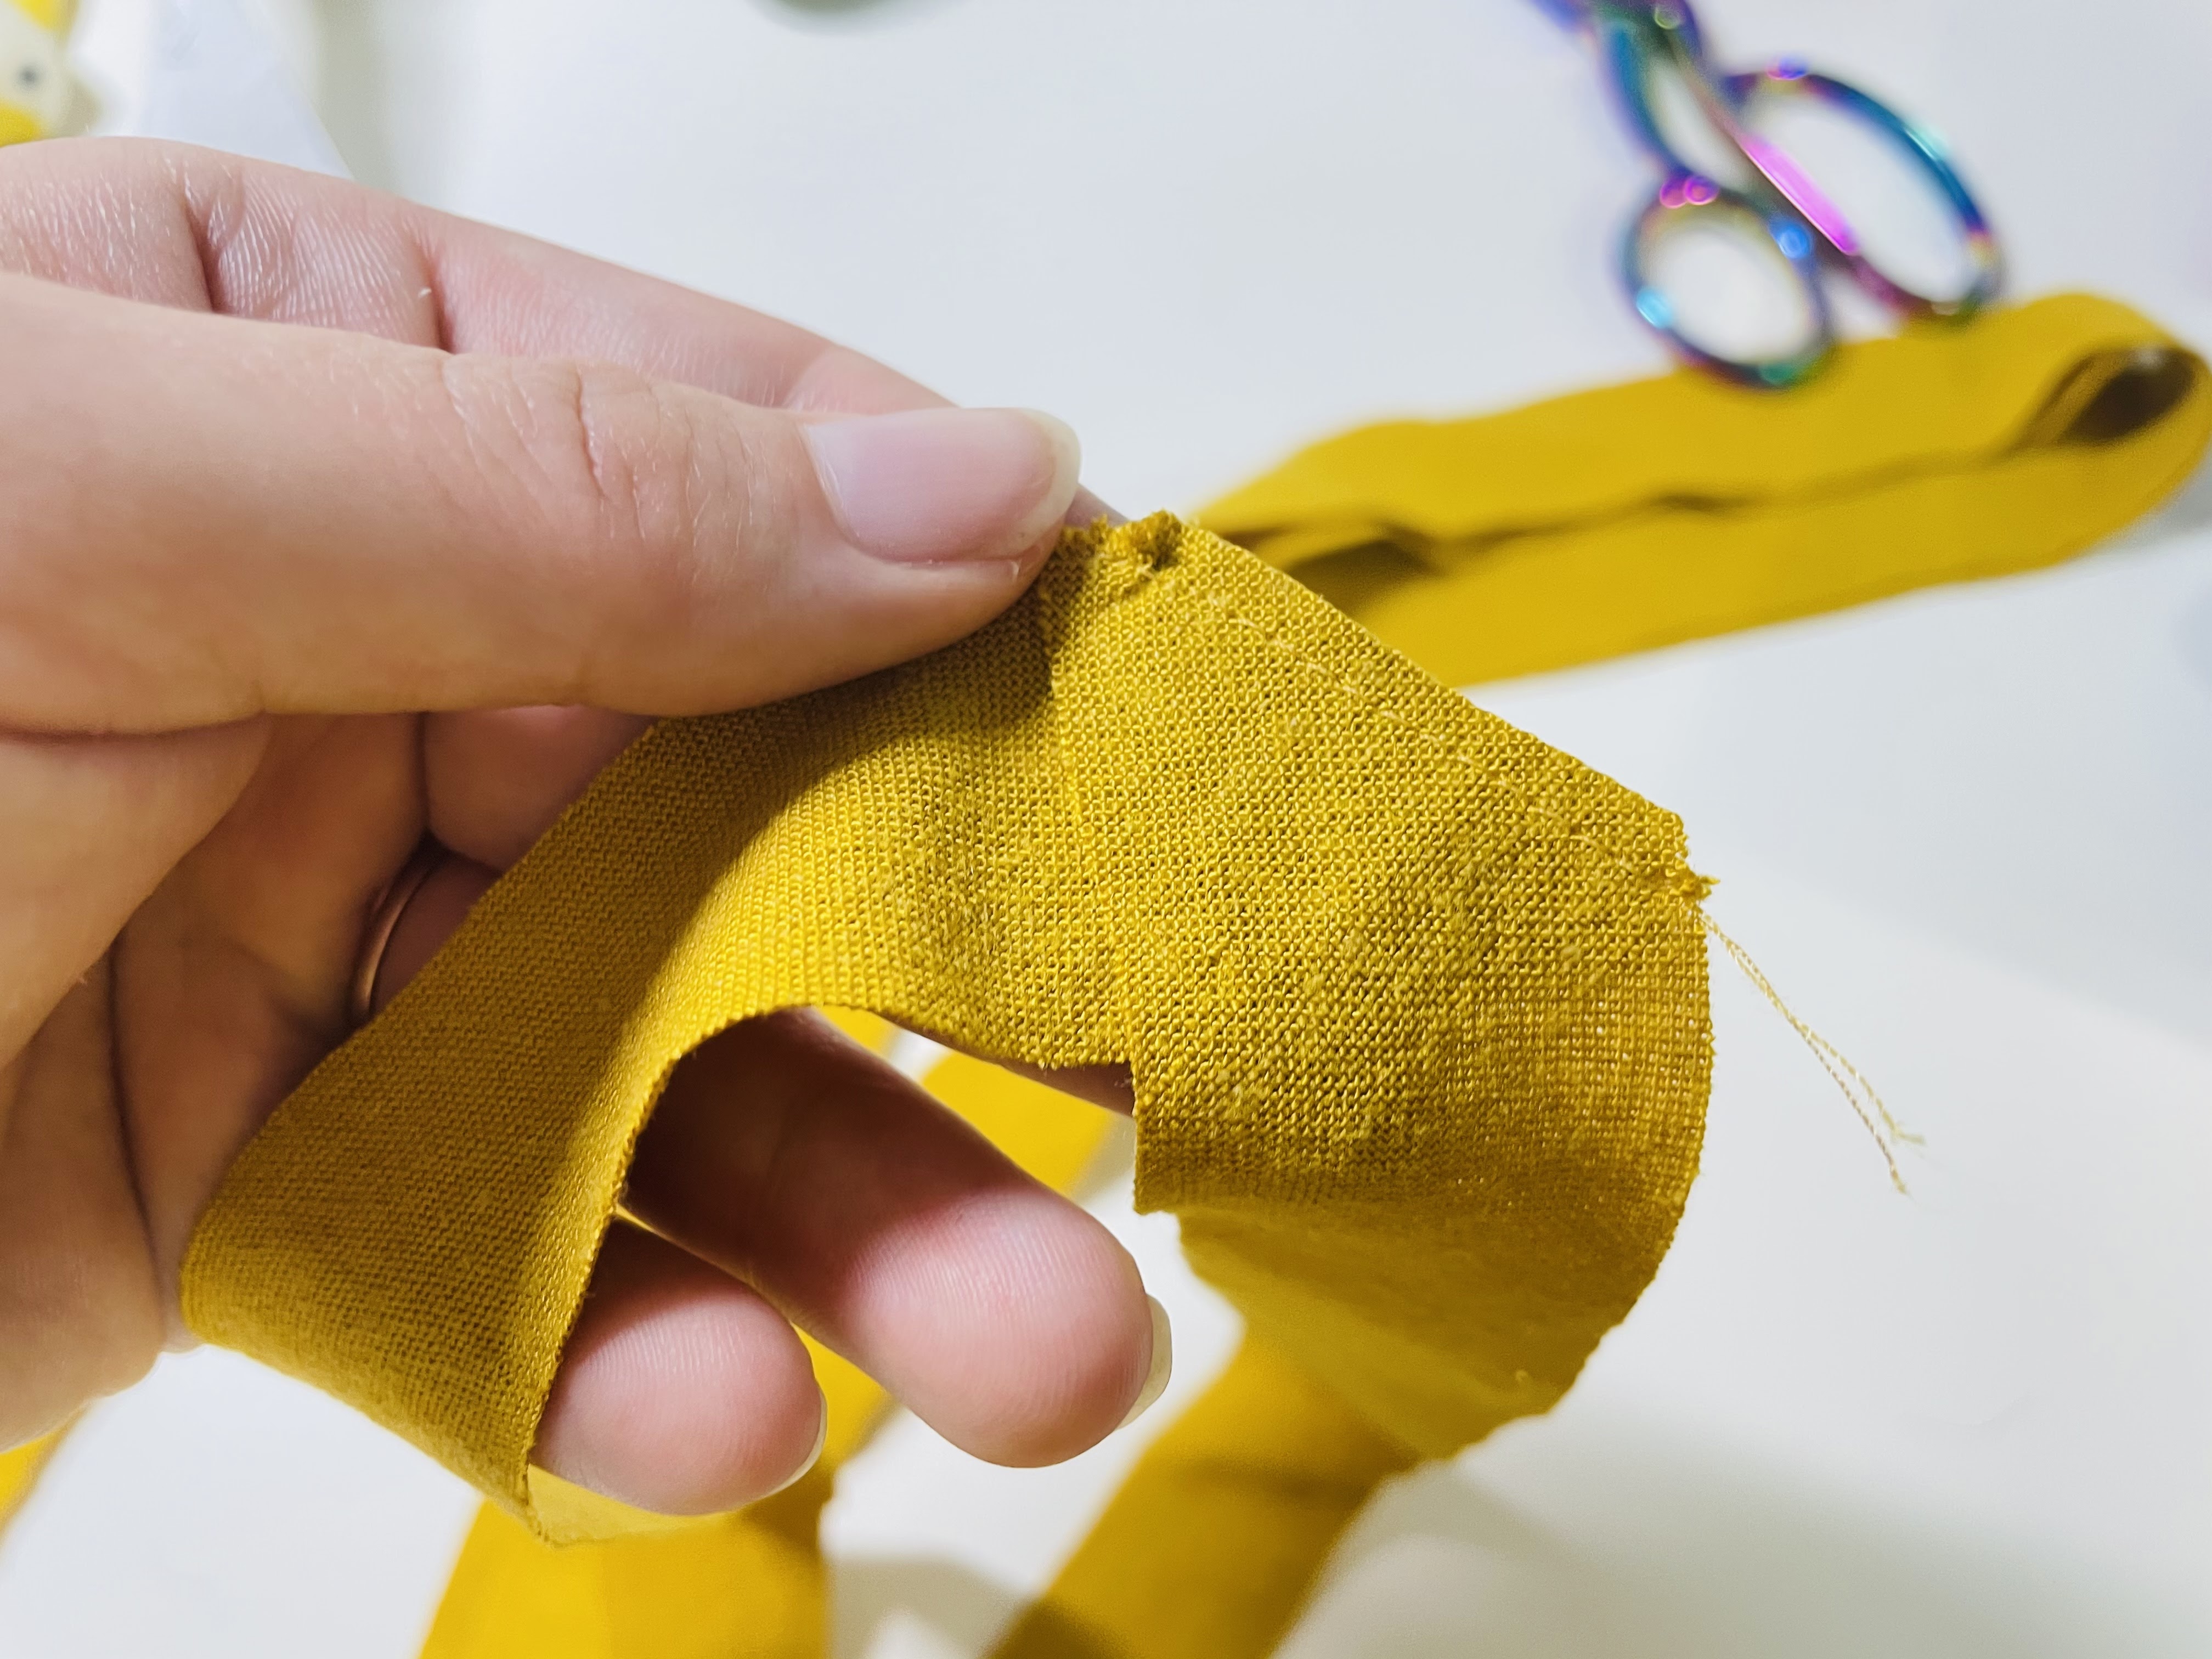
Now, at your ironing board, open this fold and press the little bit of seam allowance you left flat. You’ll be left with a long strip of fabric, all of which is on the bias!
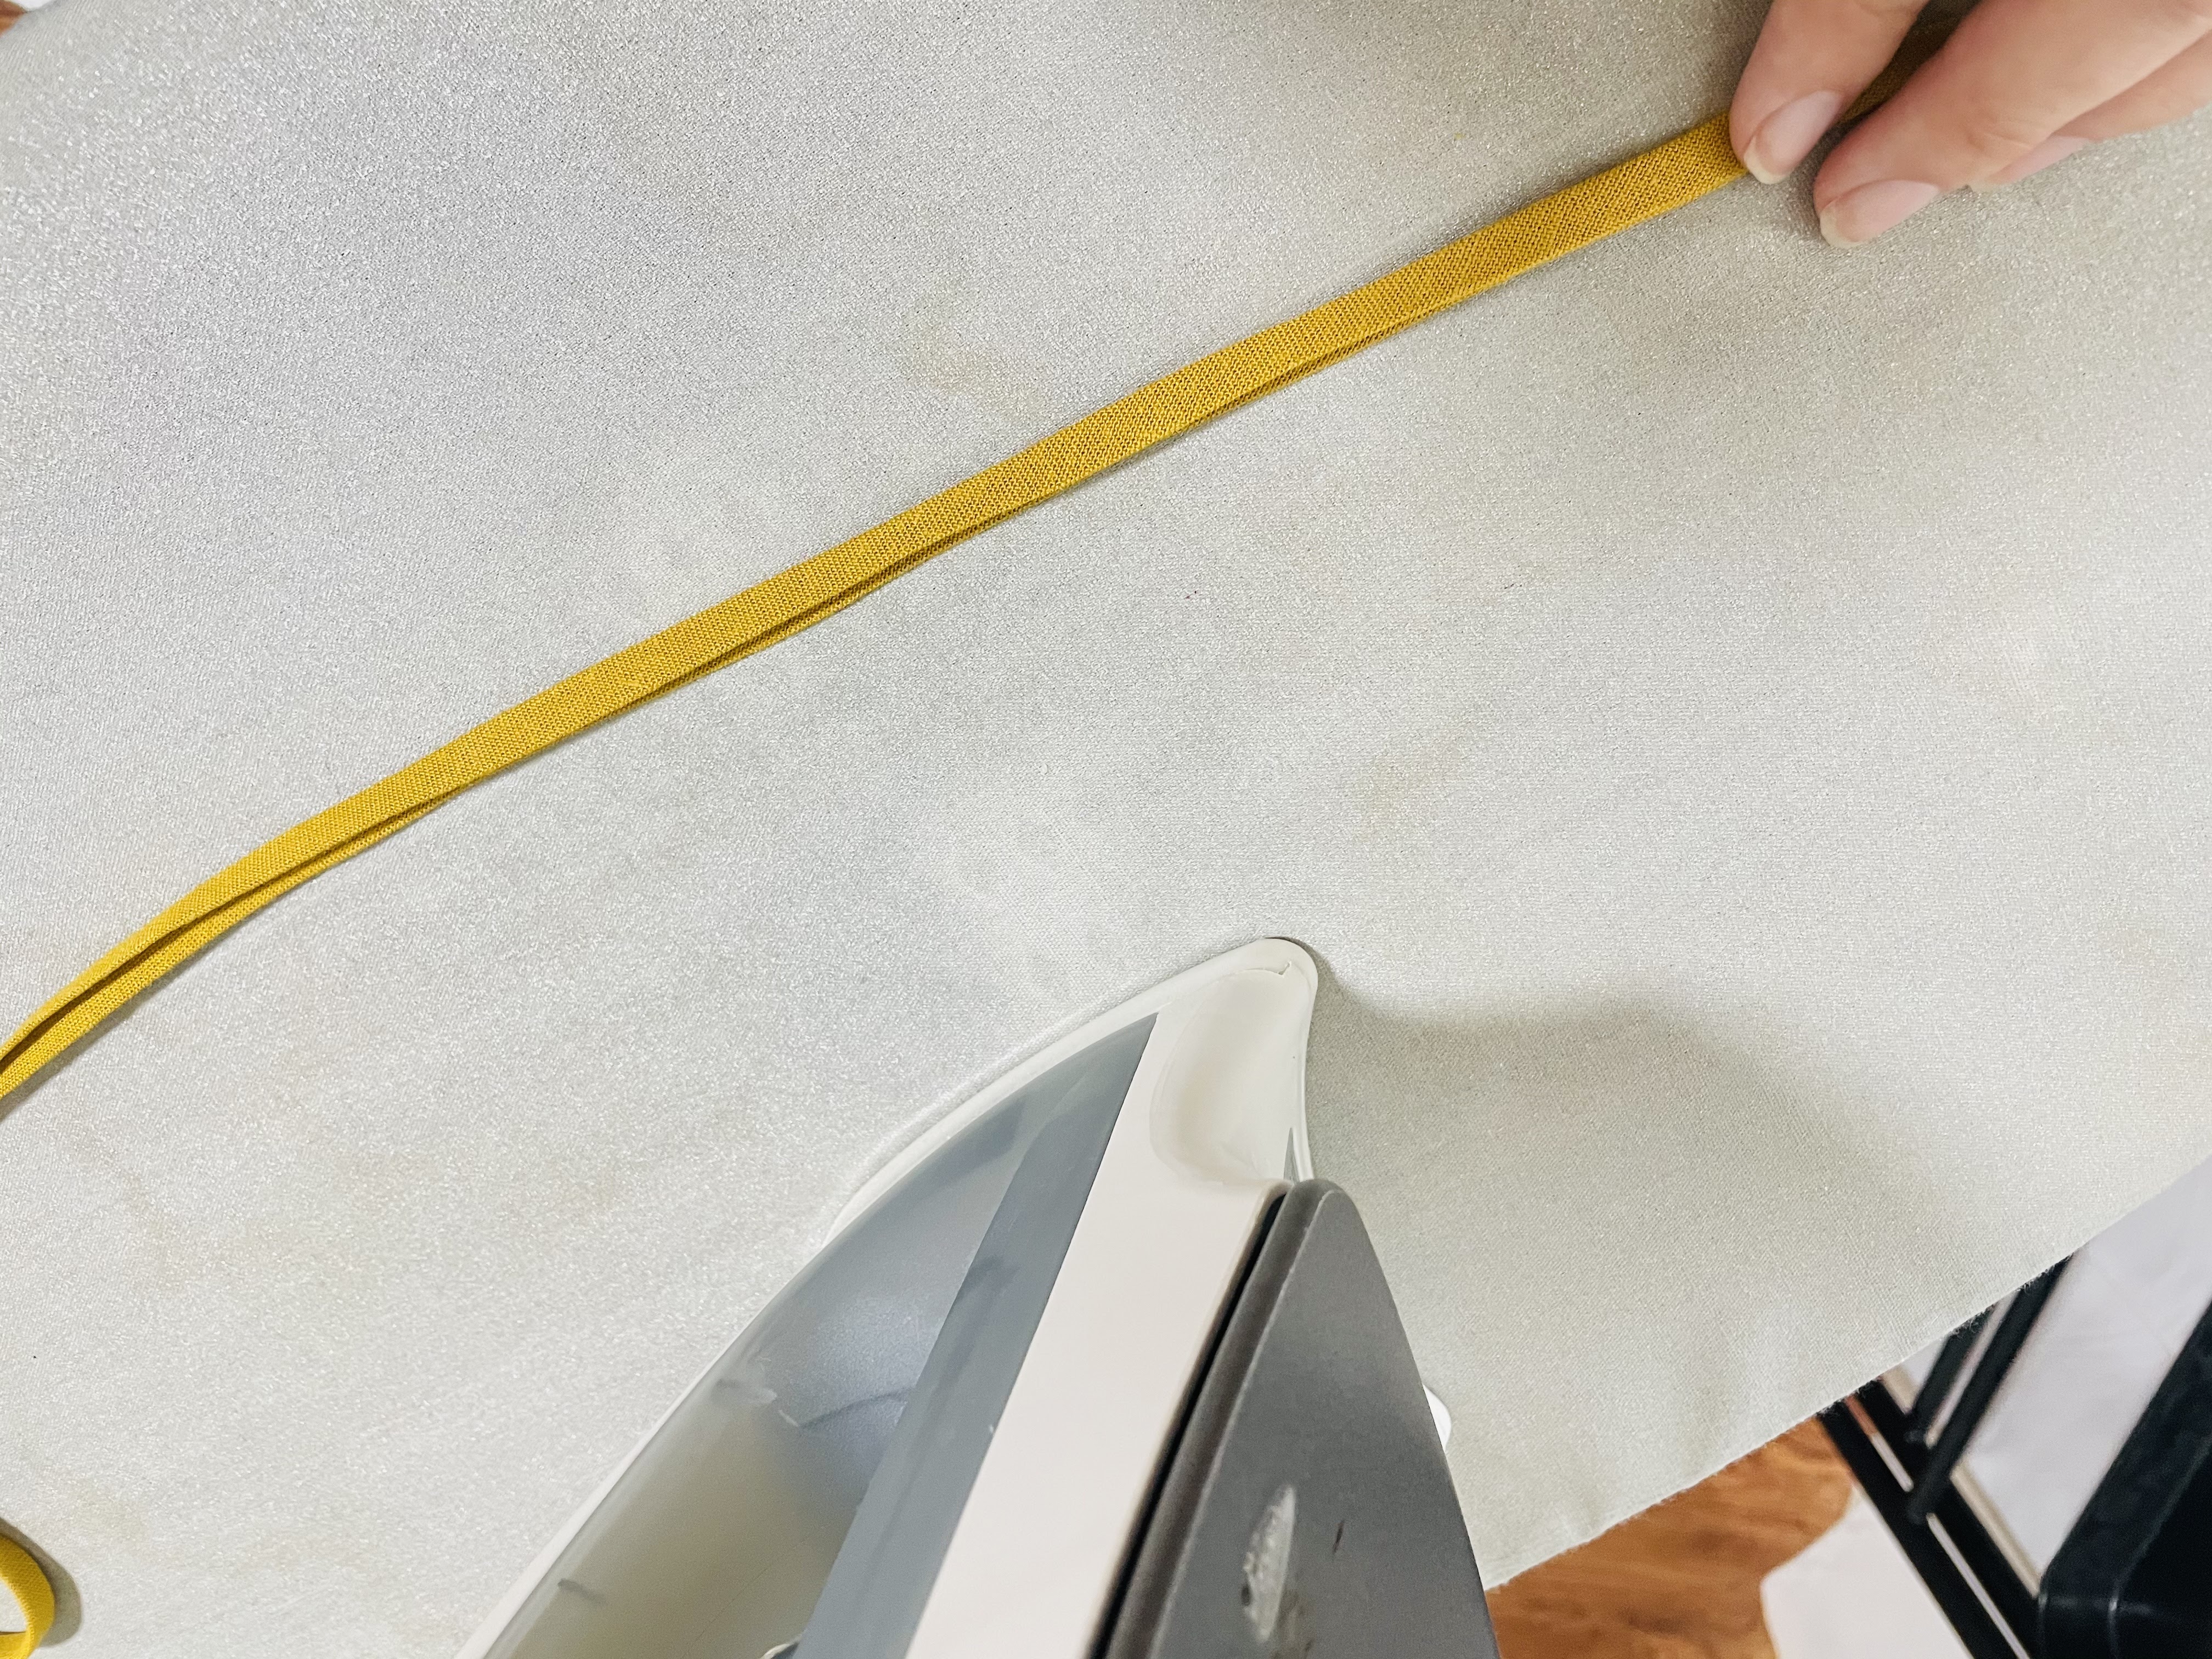
Fold this long strip of fabric in half, with wrong sides together, and press.
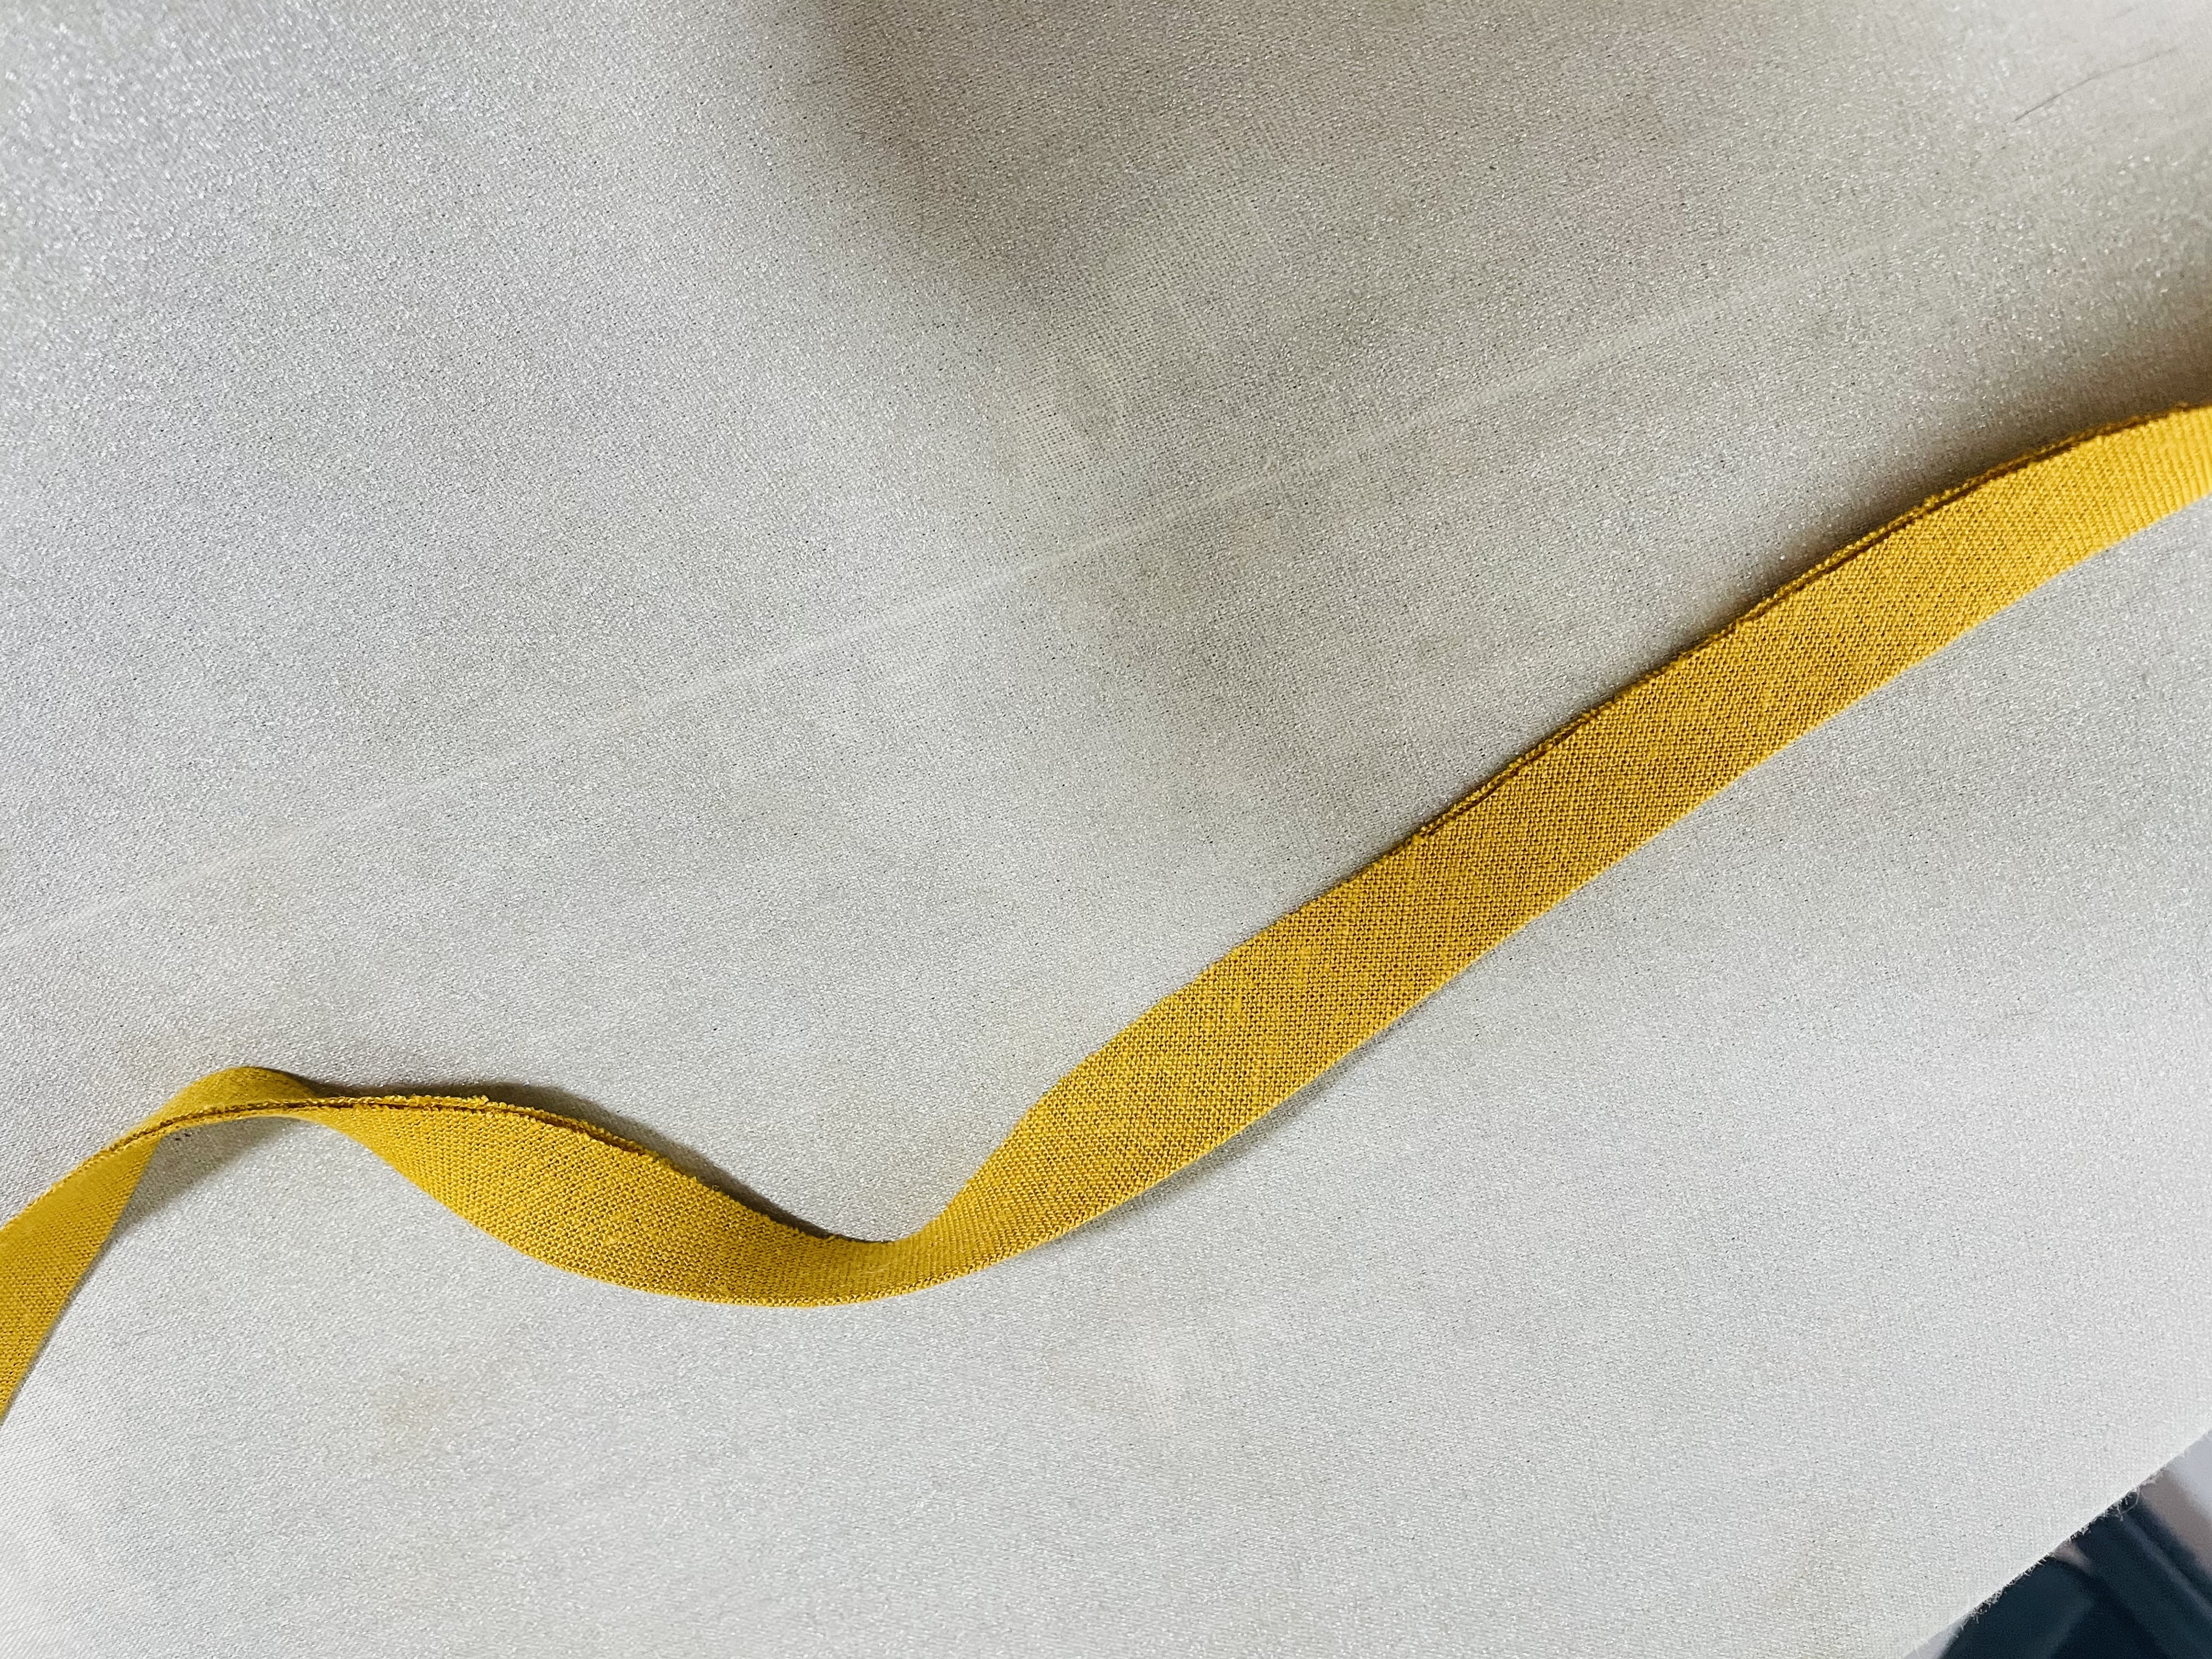
Next, unfold your strip of fabric. Then, fold each raw end inwards, with wrong sides together, so it meets the center fold line and press. I like to do this one at a time, as I find it difficult to wrangle both raw edges at once:
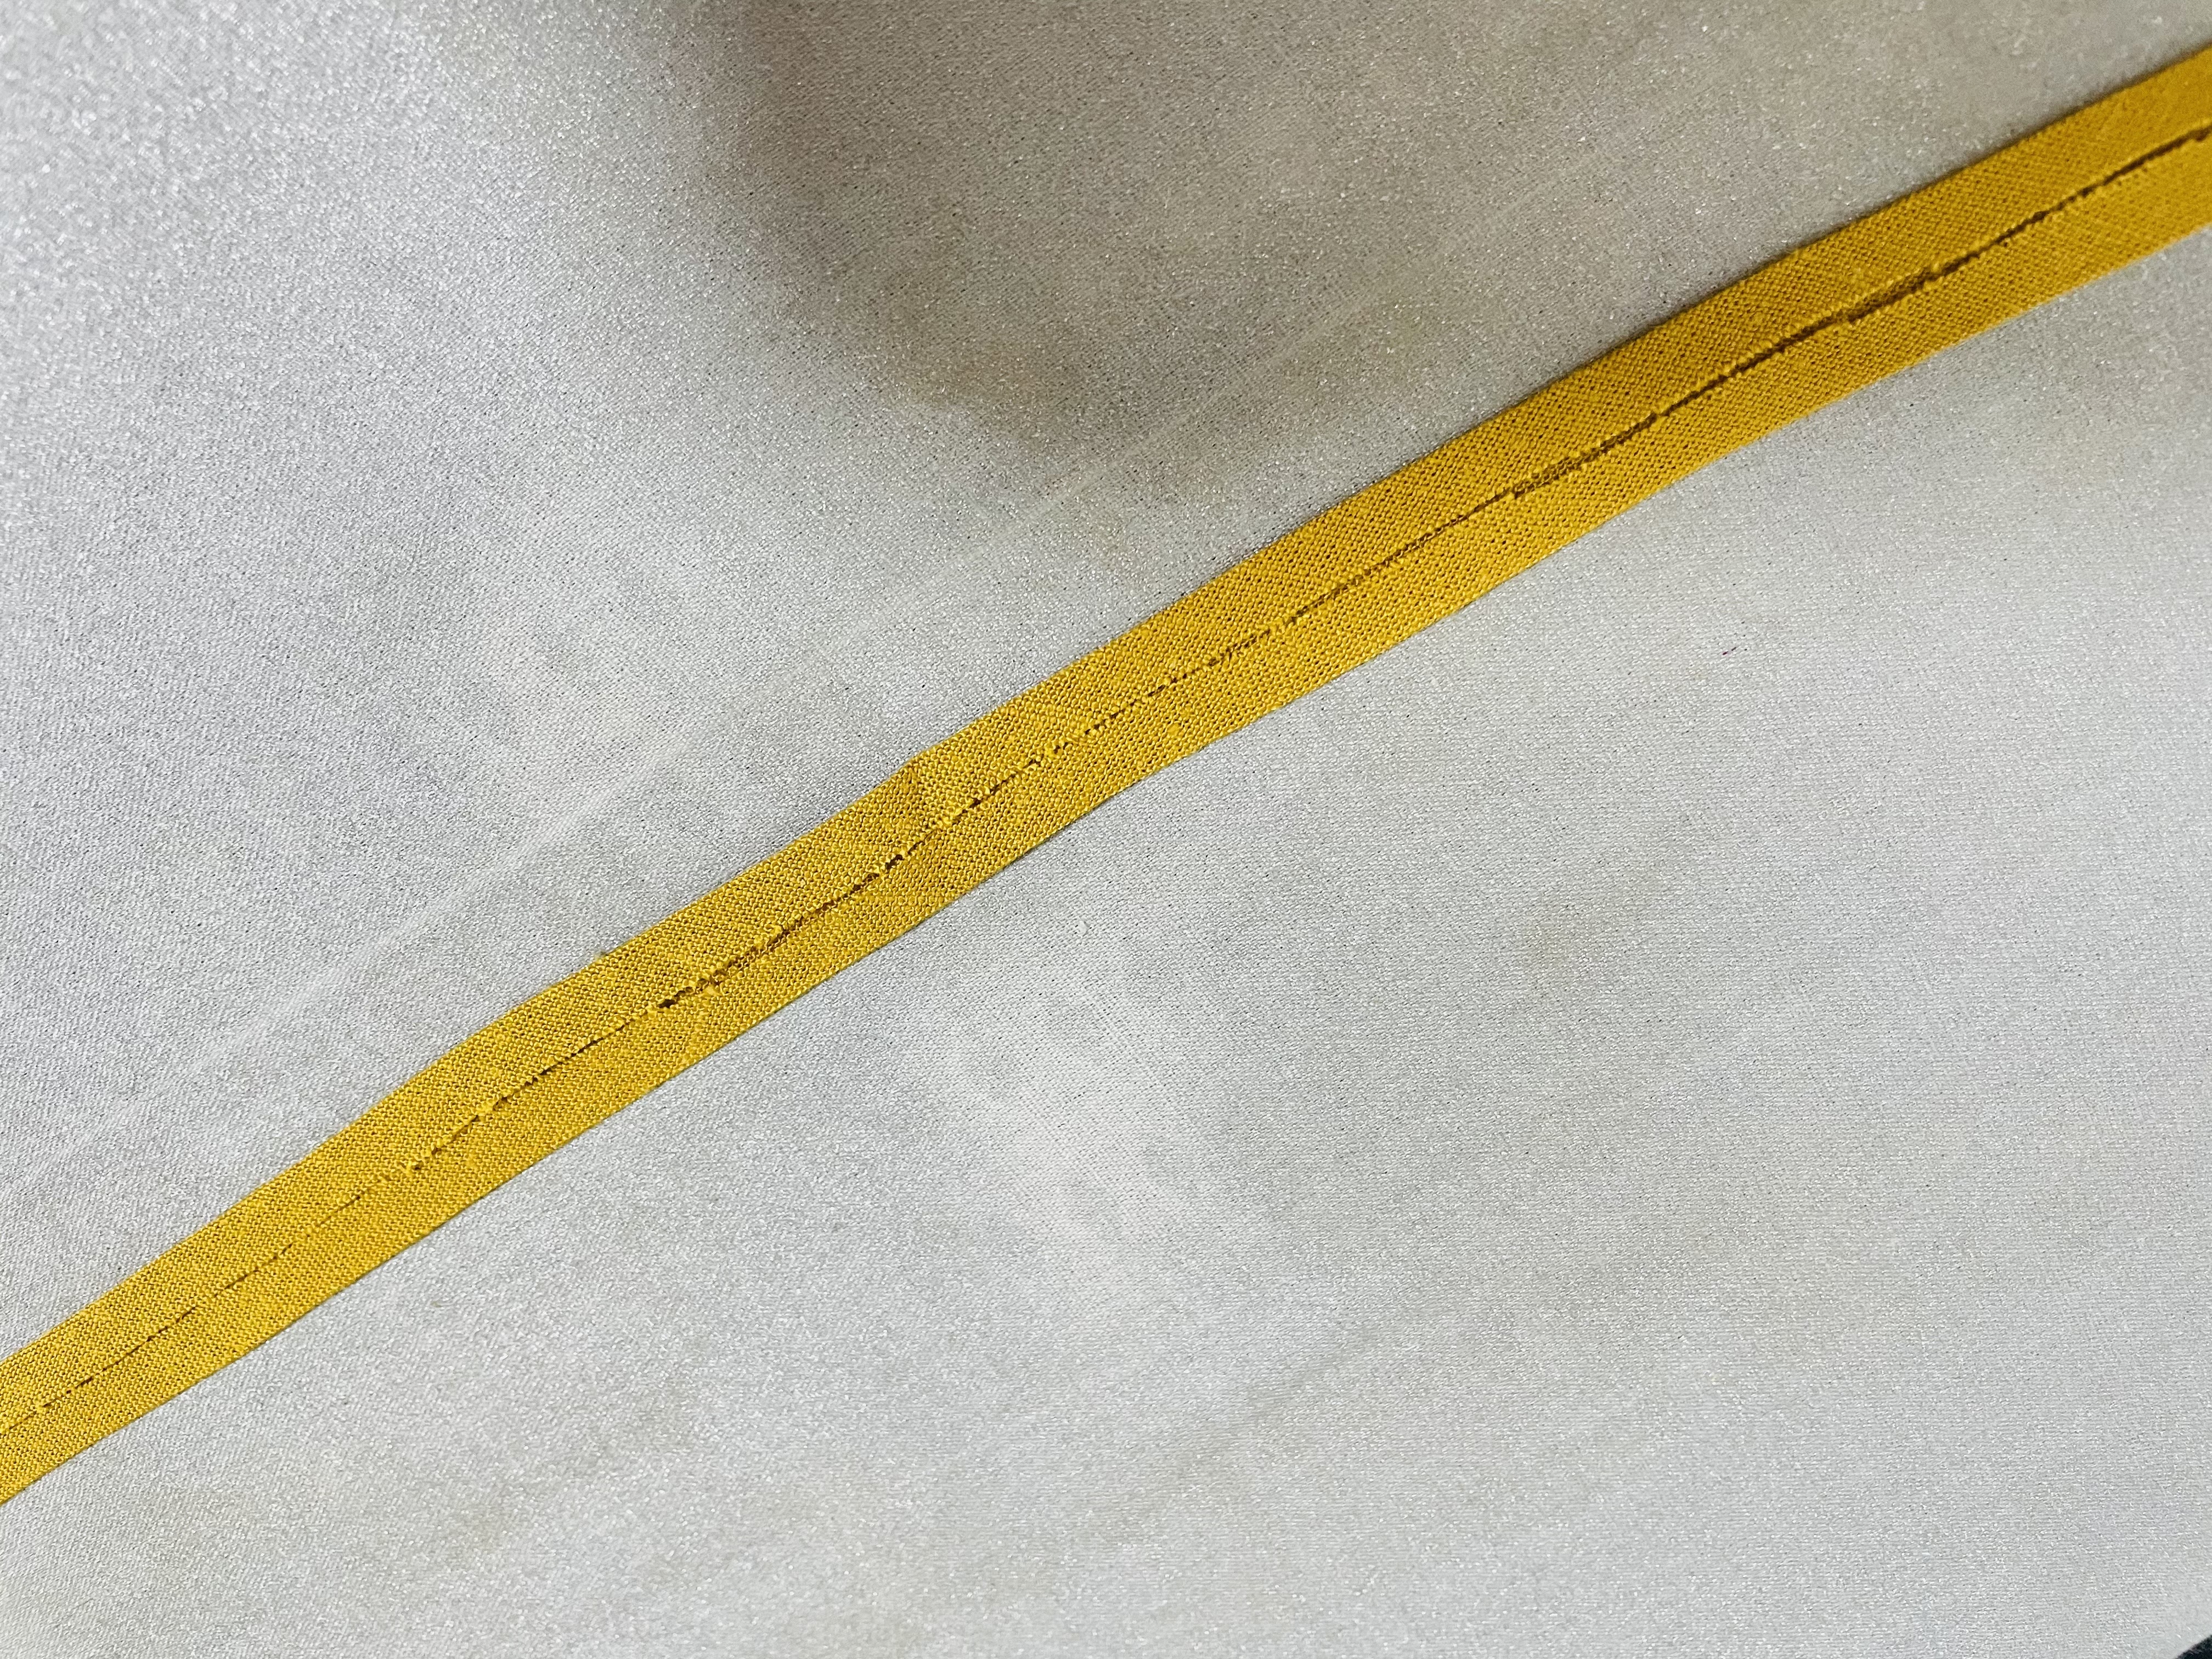
If your bias tape is anything like mine, your center fold line has disappeared from the pressing of the other folds 🙁 So we need to fold this in half and press again. You’ll then unfold the whole thing, revealing three fold lines:
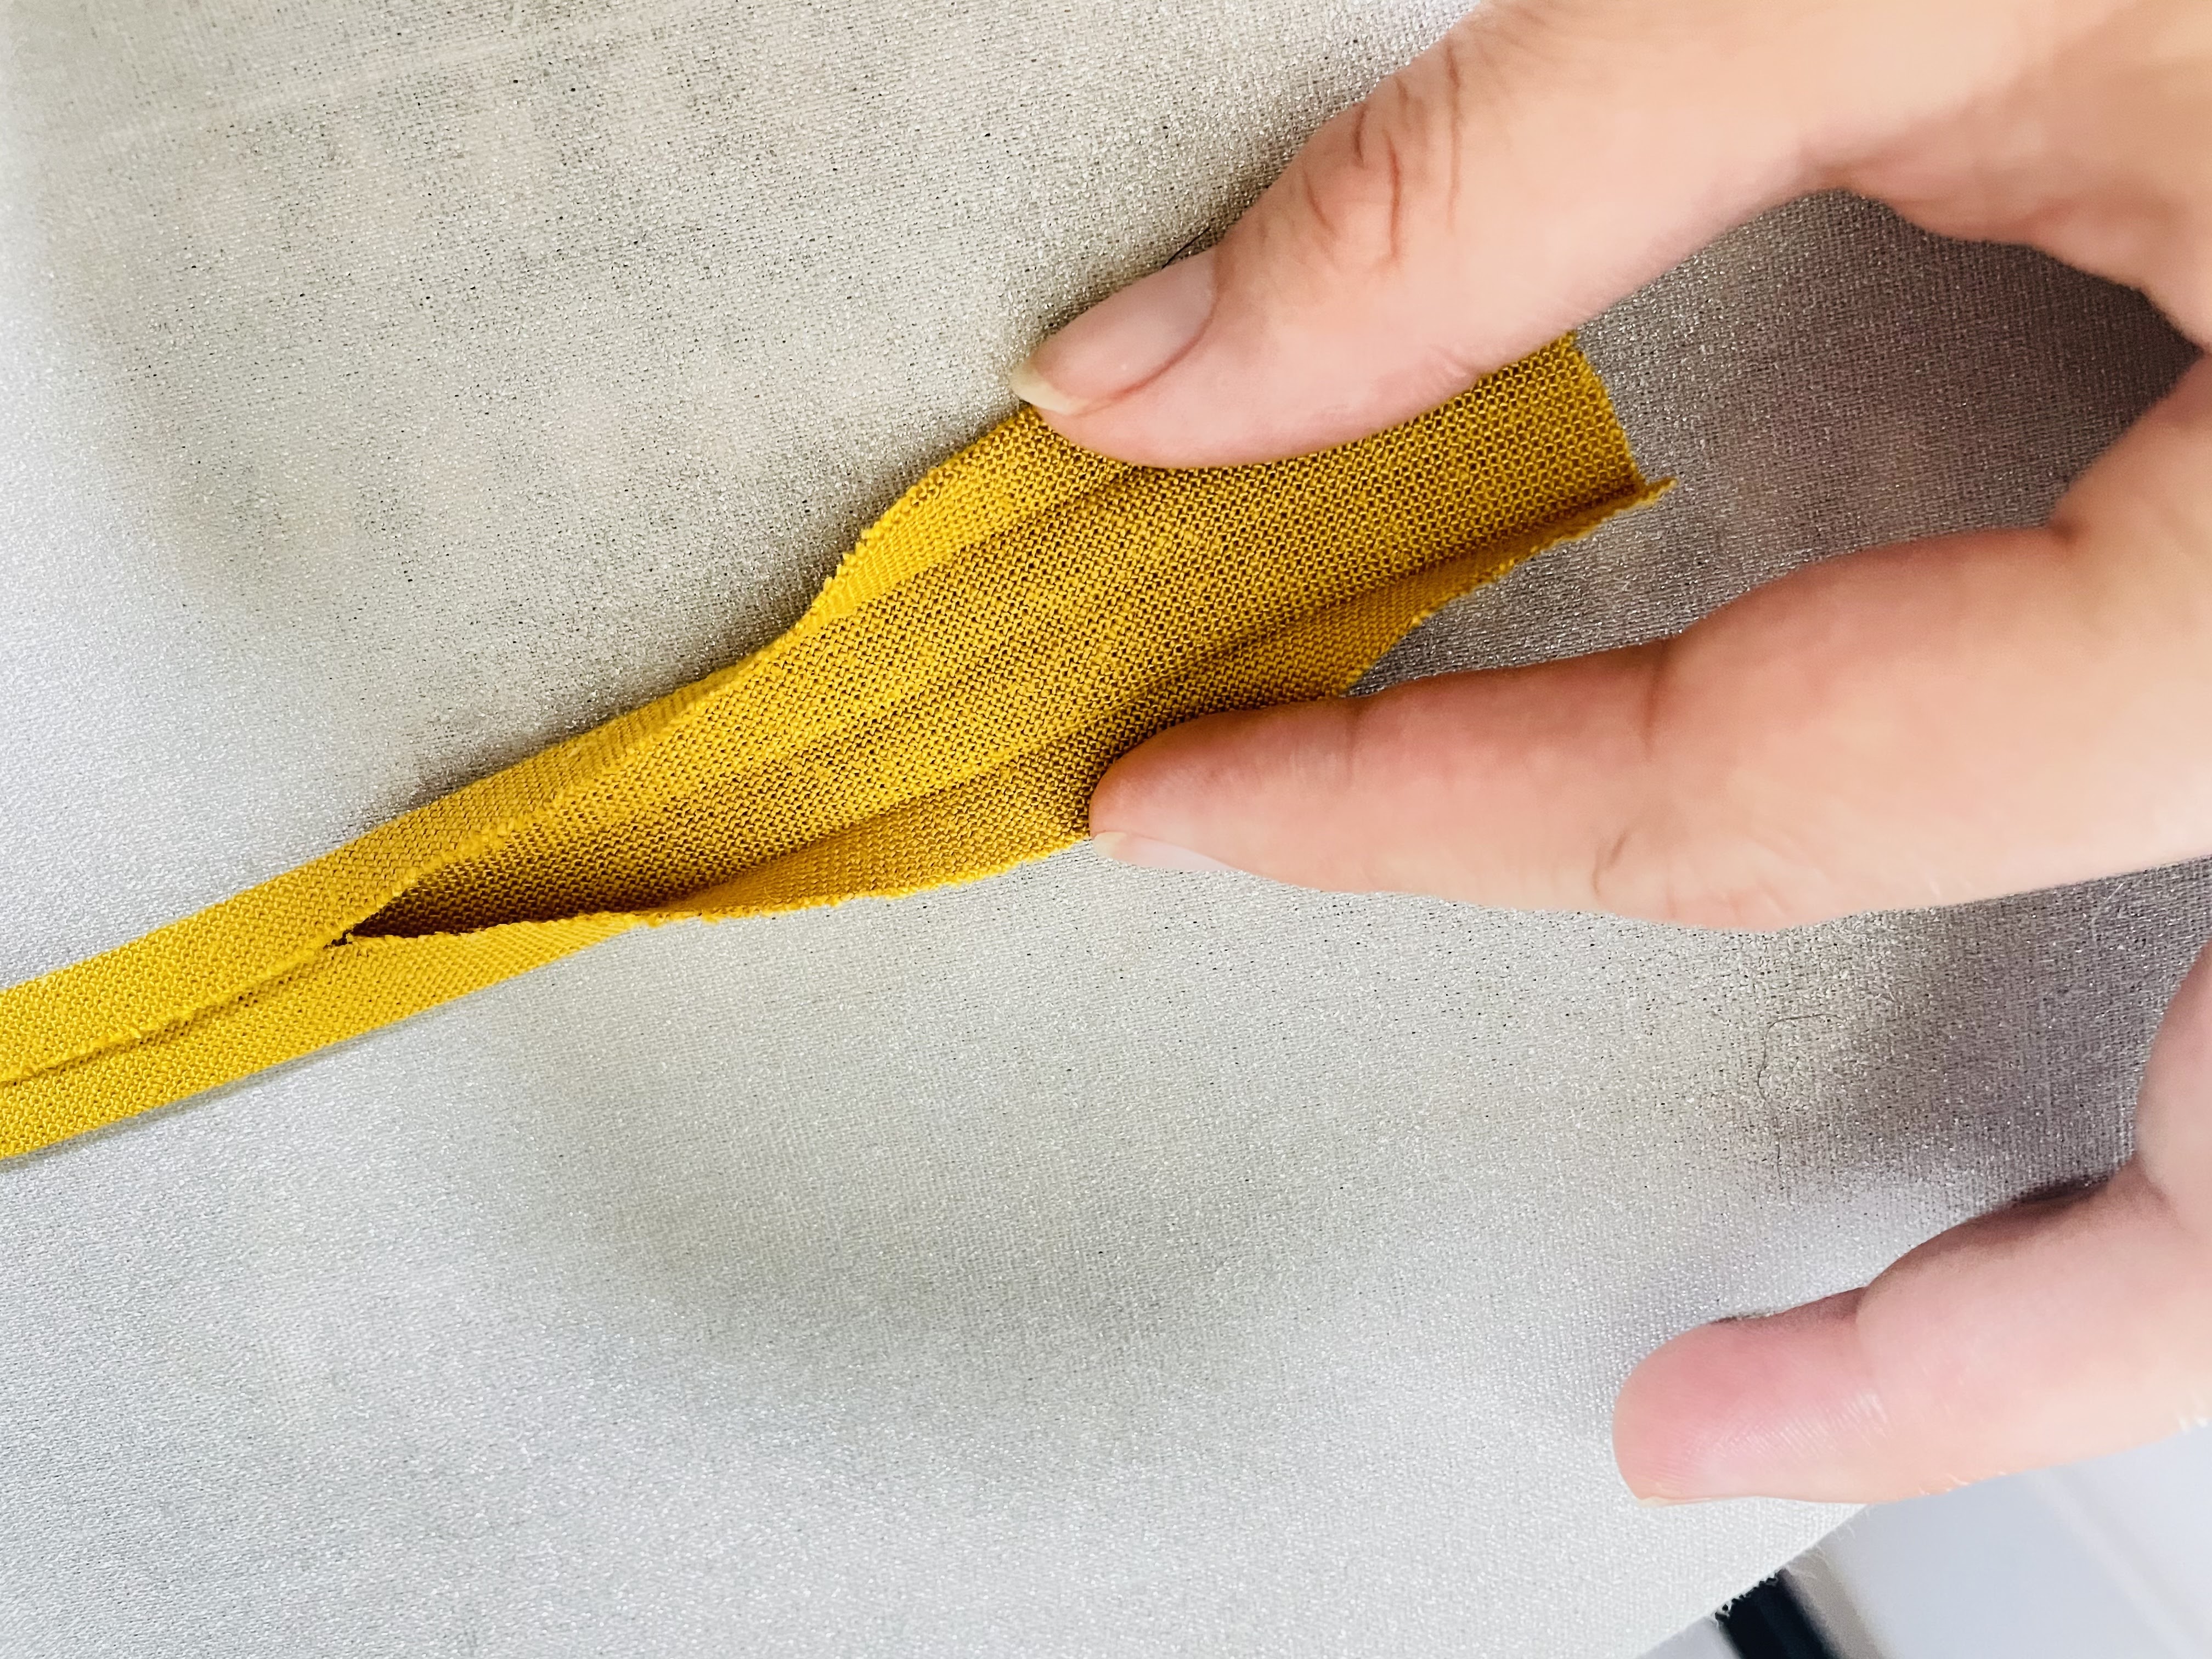
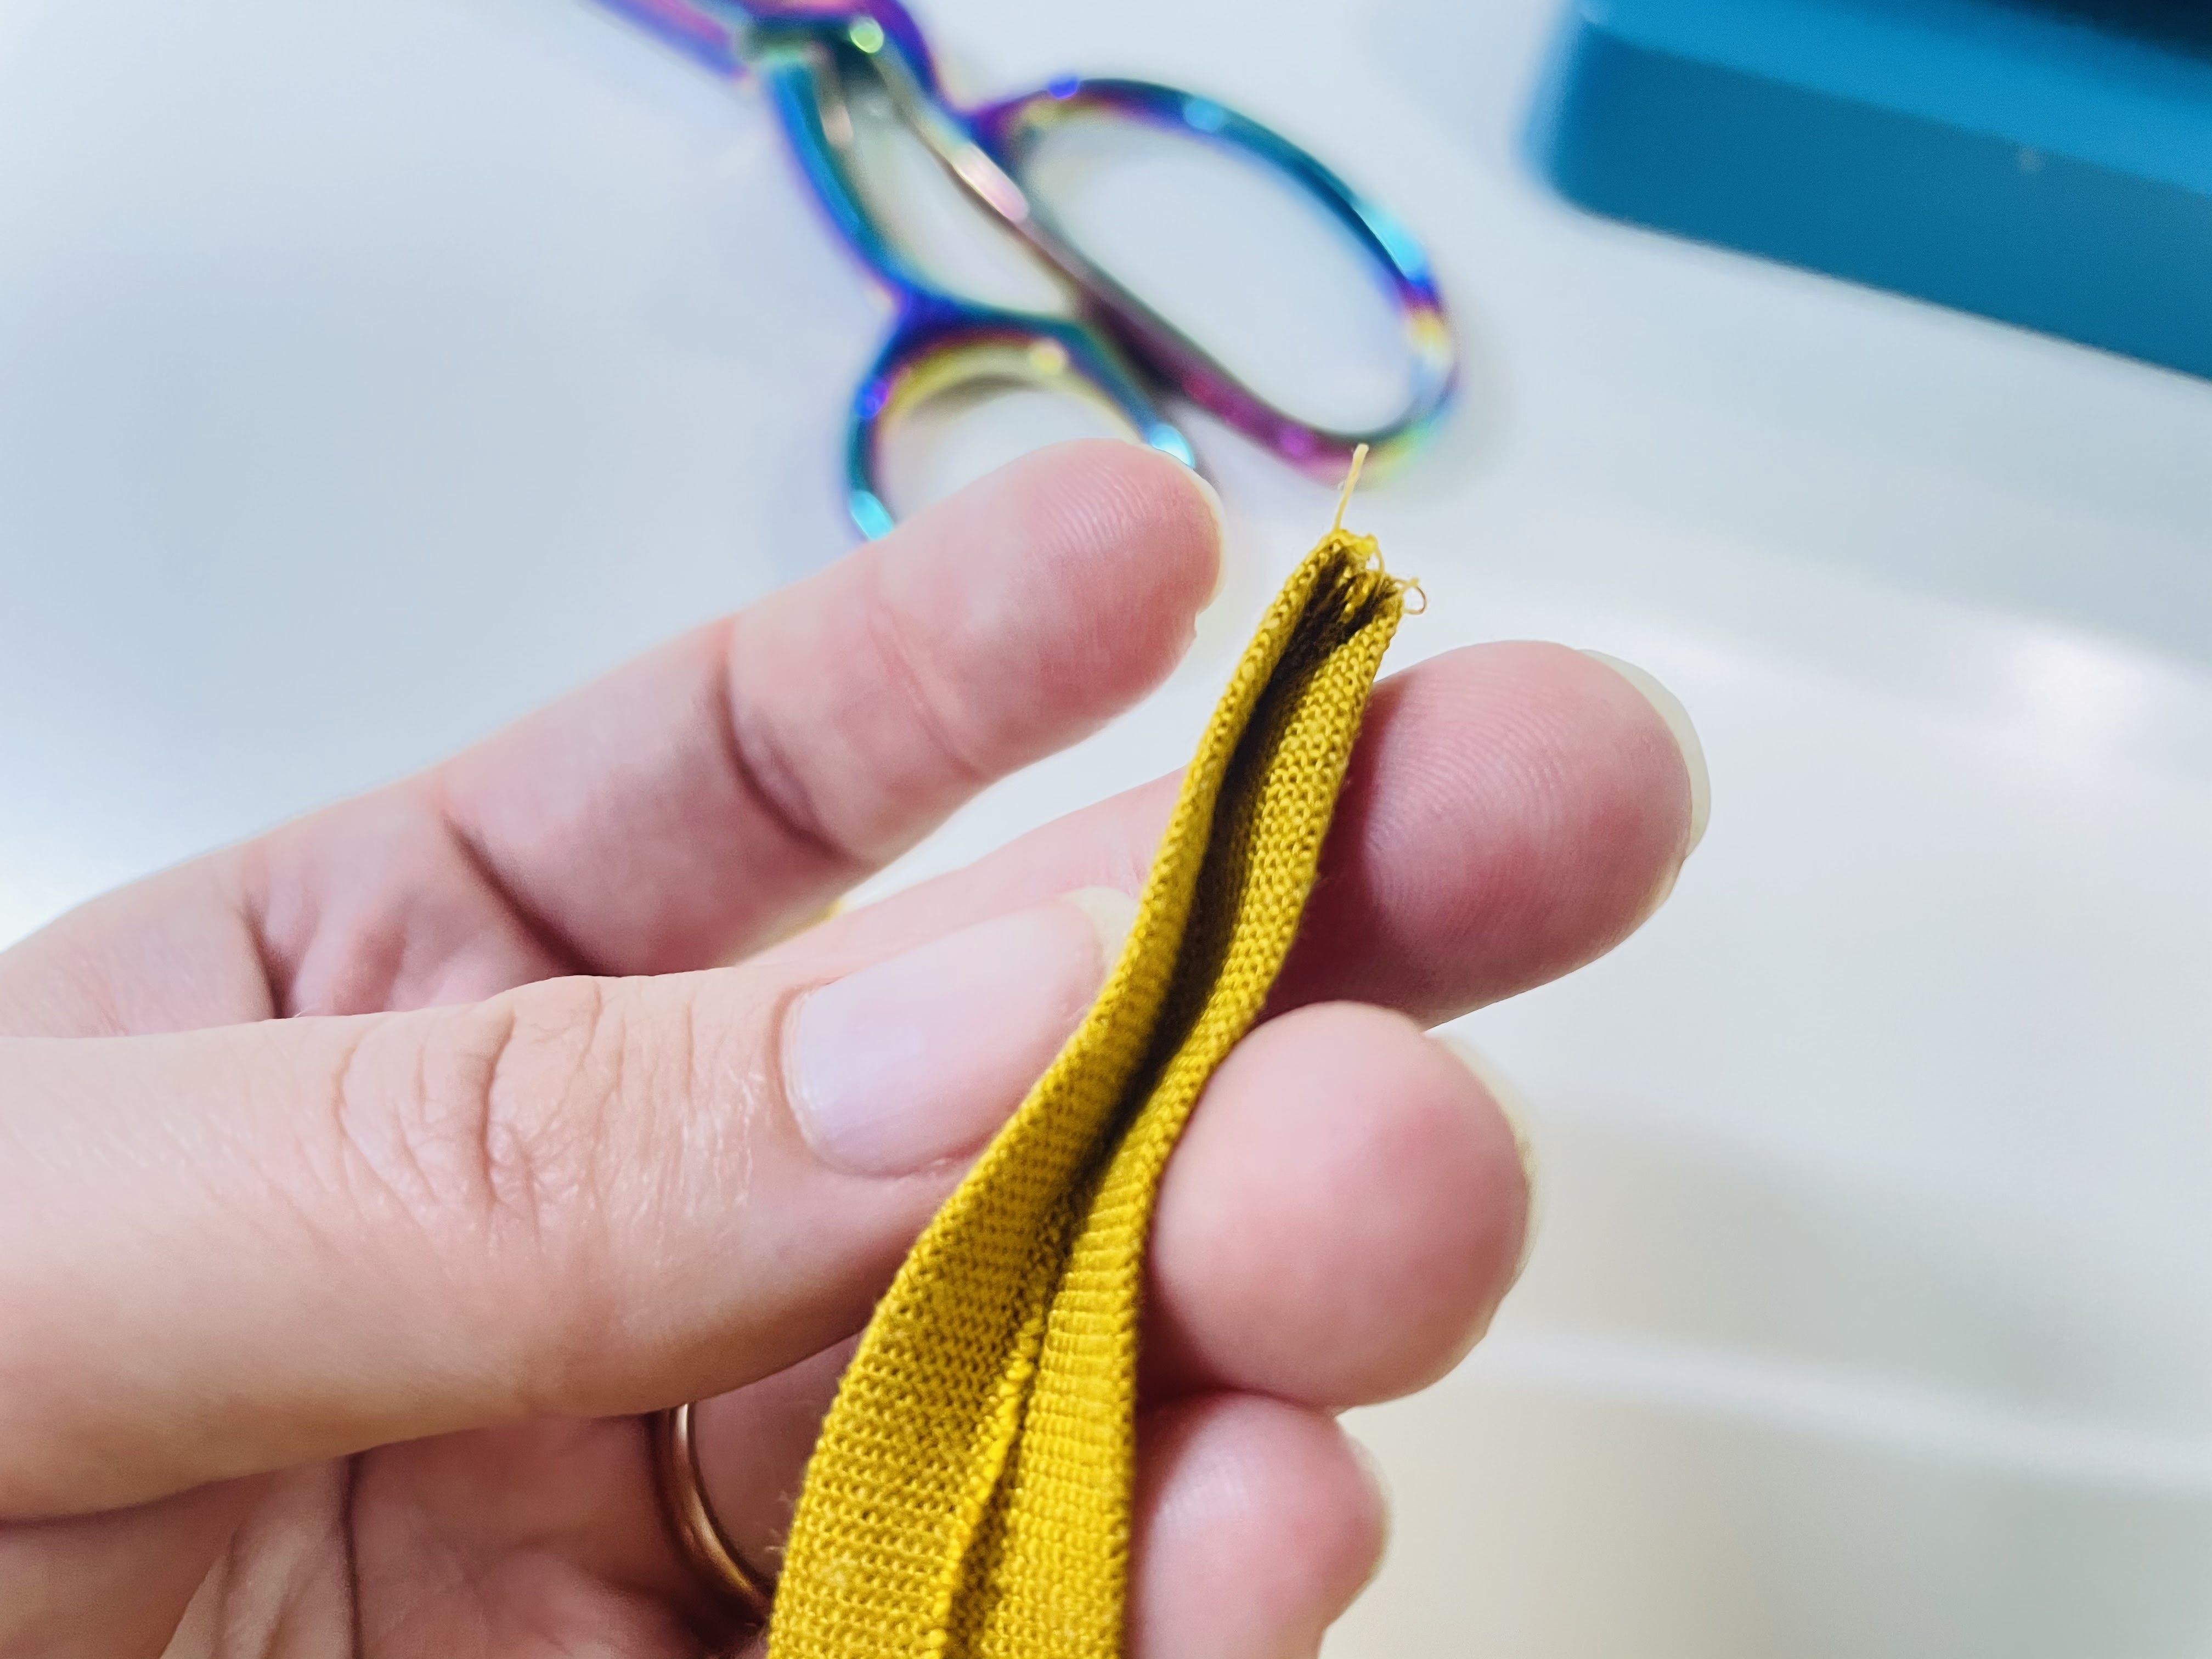
You’ve made bias tape! We now need to finish each end of our bias tape. At each end, fold it back up, but fold the center line backward so that right sides are together:
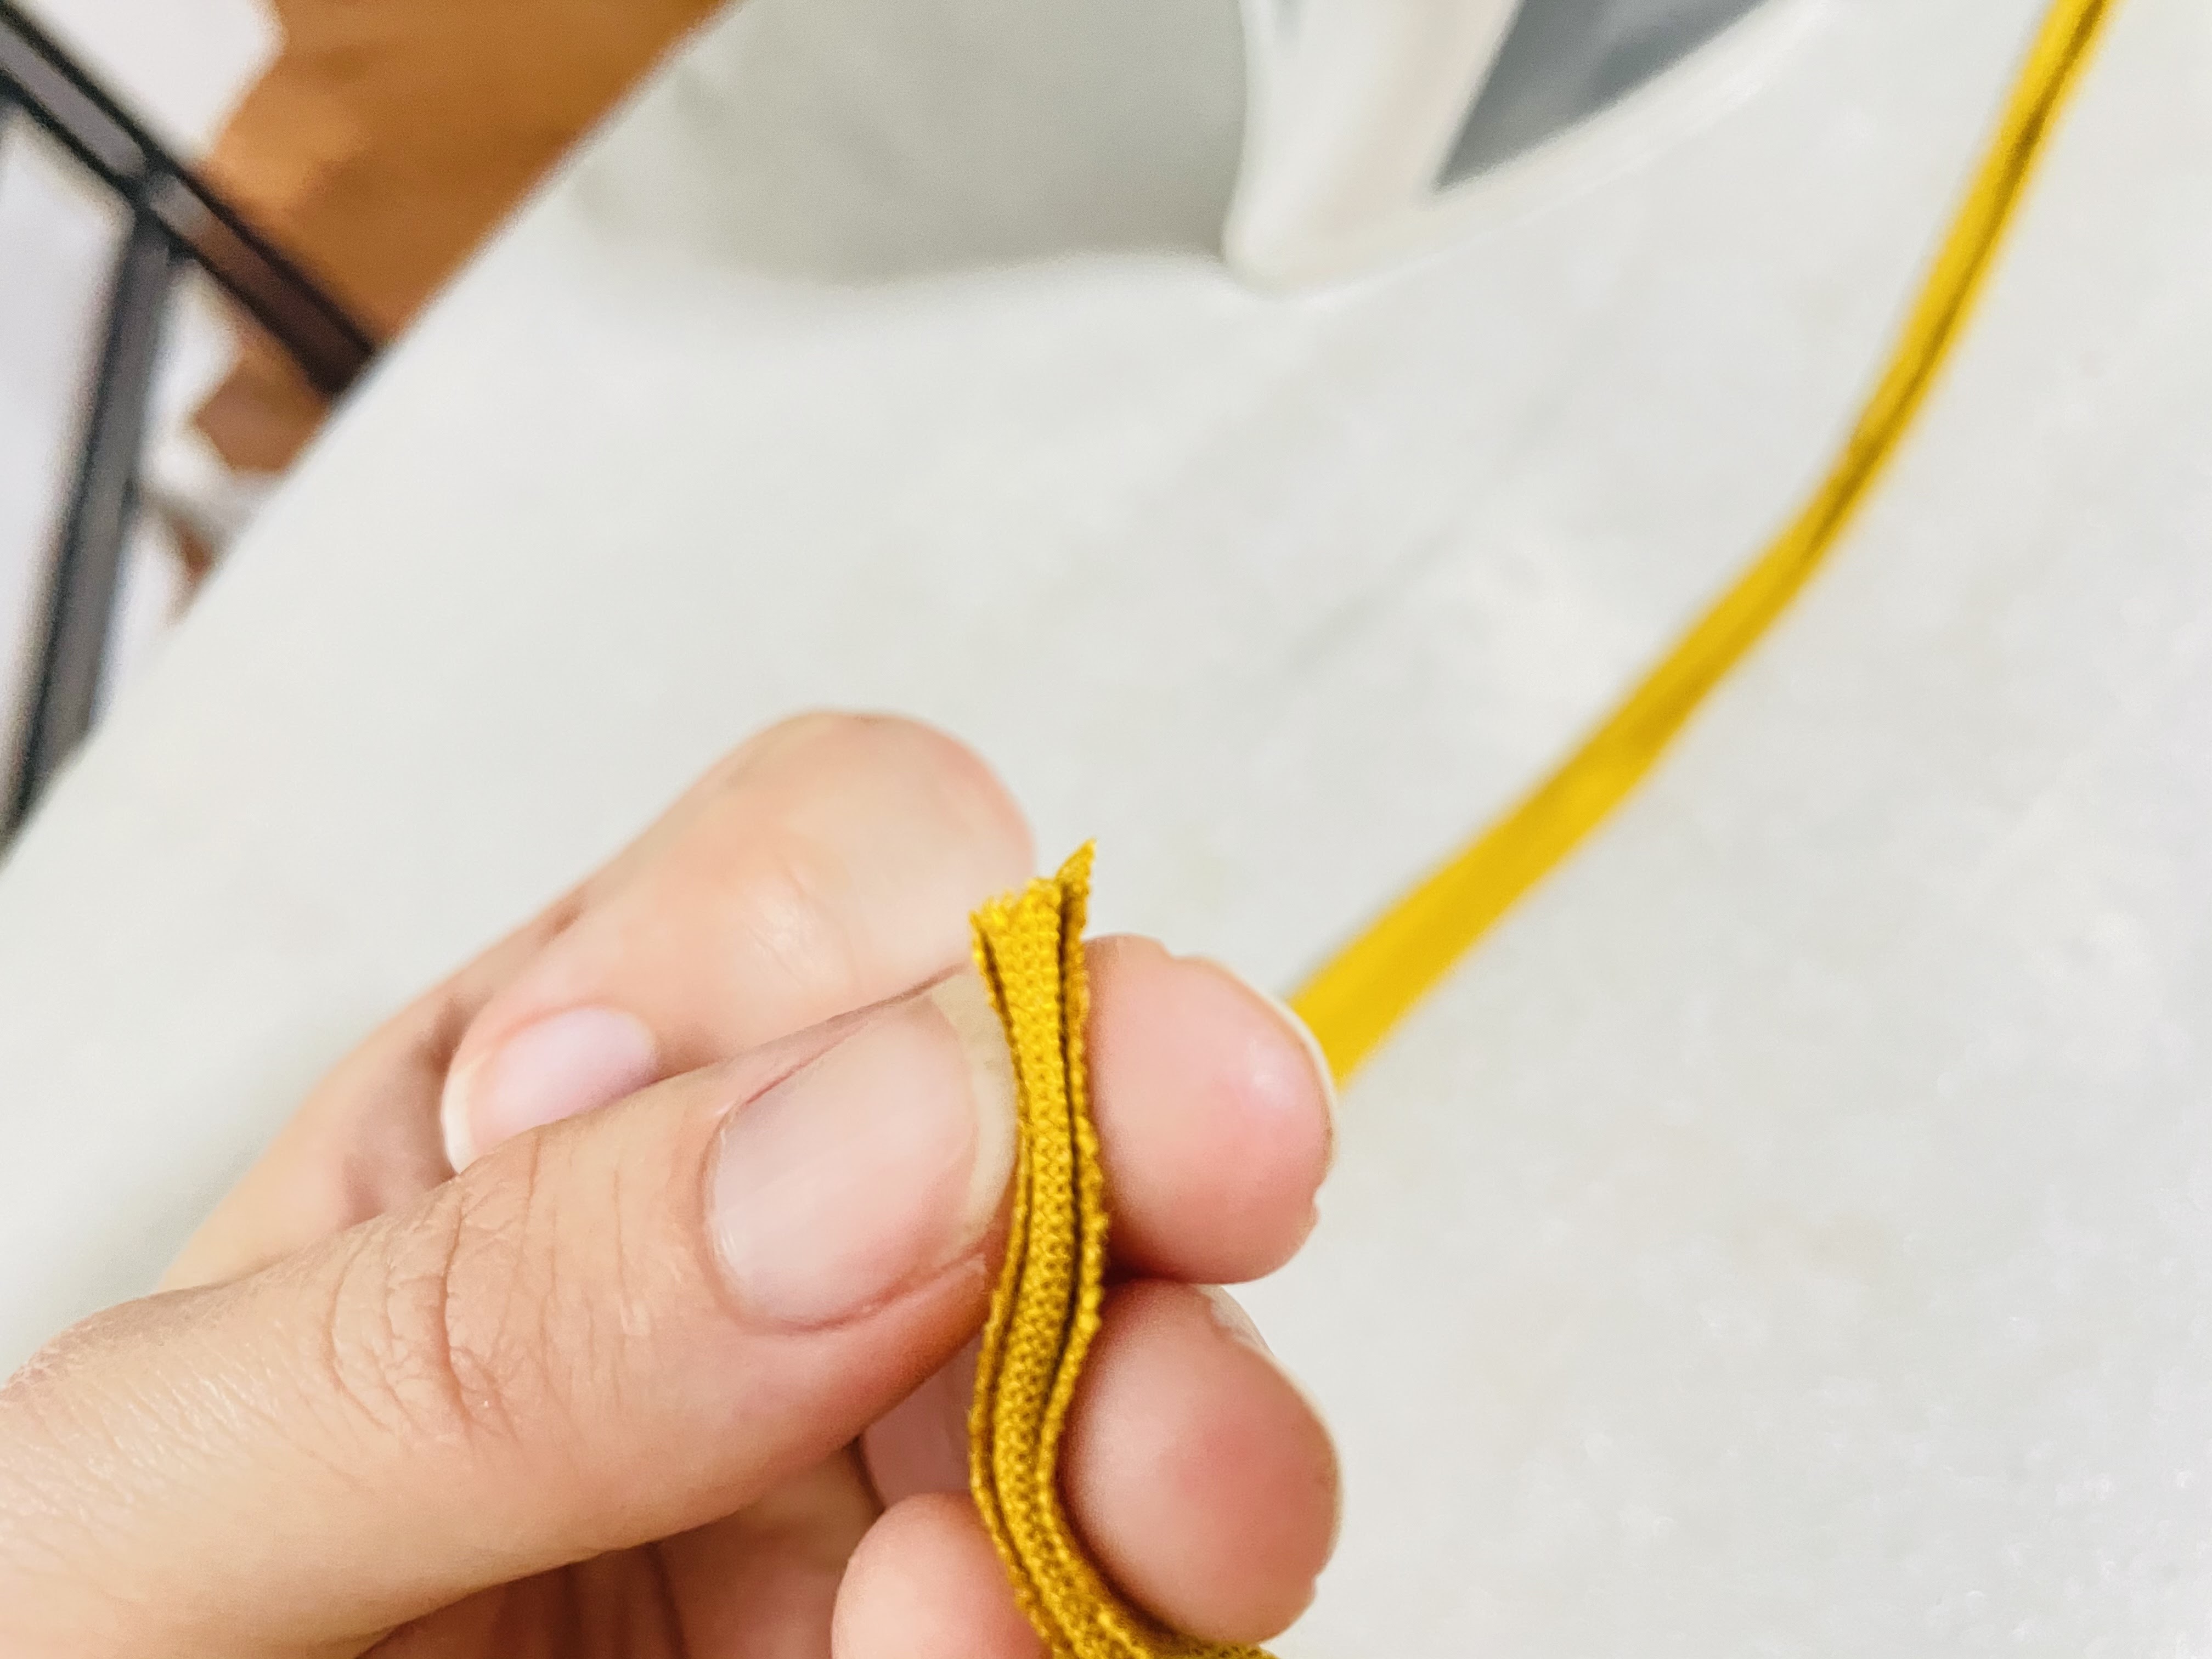
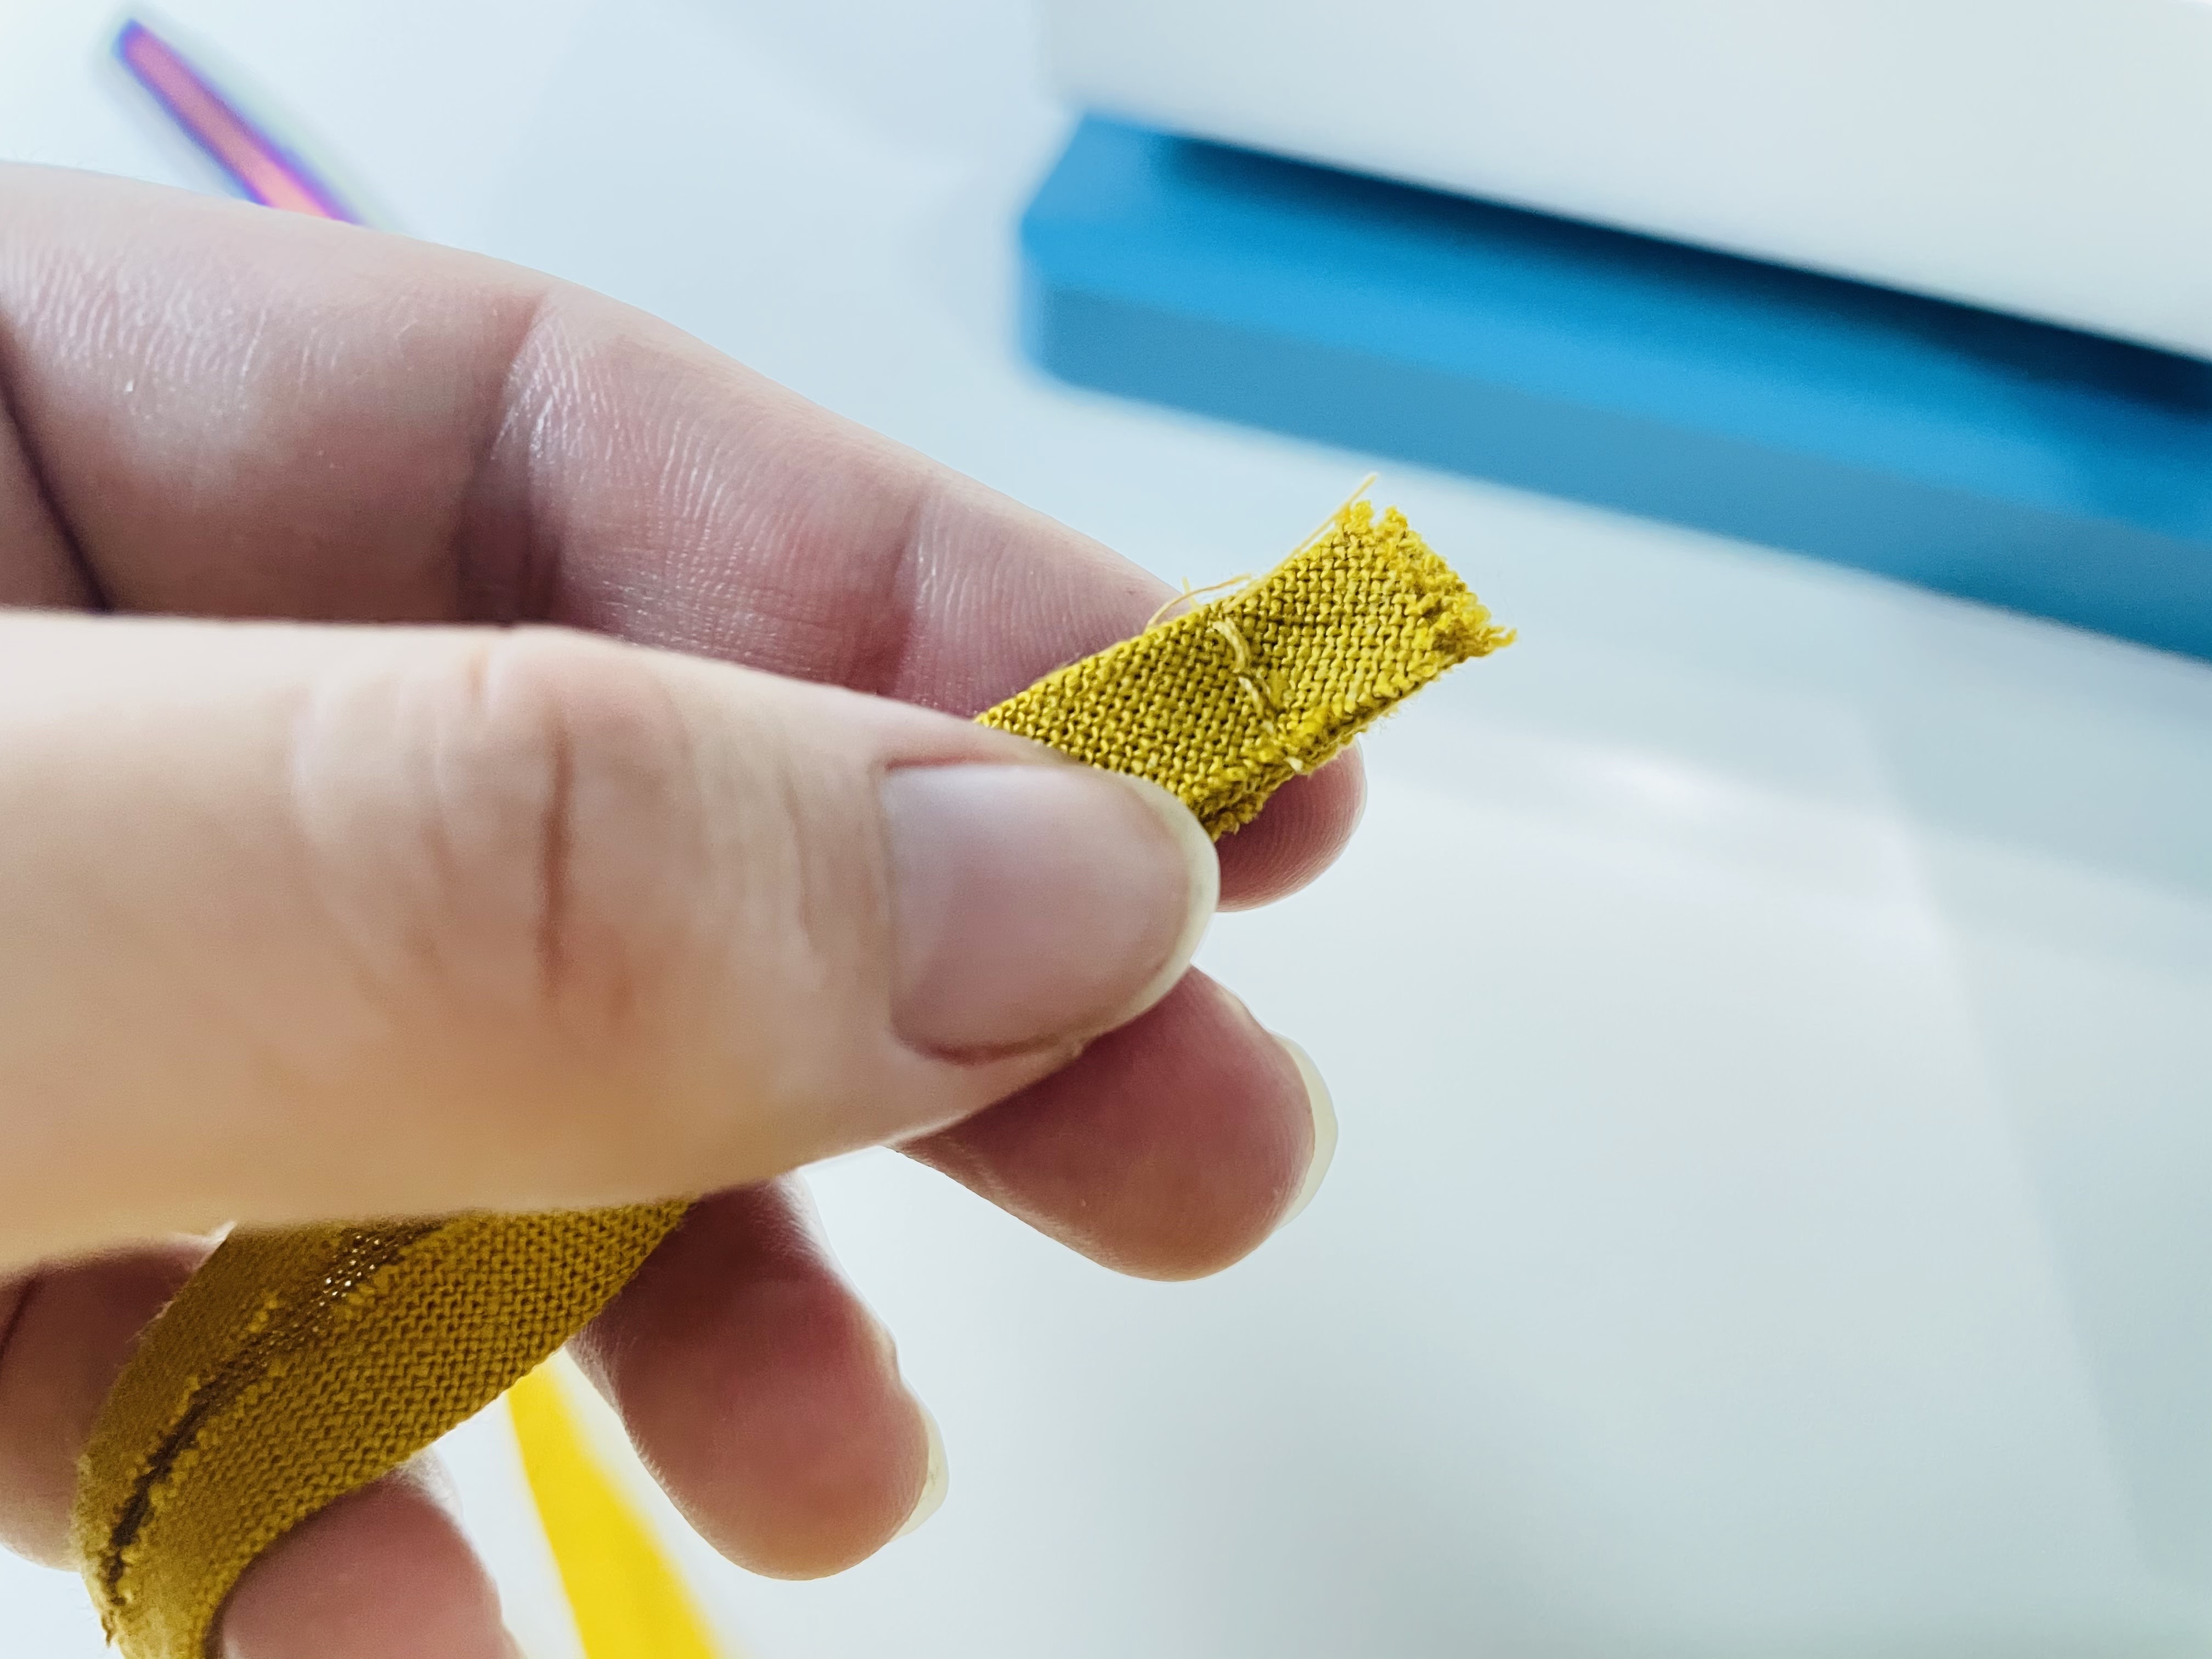
Sew this at the very end to secure, trim the seam allowance, then flip this in on itself, so the short raw edge is inside all the folds:
Finishing the Neckline
We’re now going to use your me-made bias tape to finish the neckline!
With your bias tape unfolded, match the seam where you brought together your two pieces of neckline binding fabric with your center back fold at the neckline. Pin these two points together with right sides together. Working from this center point out, continue to pin your bias tape to your neckline, matching raw edges, until the entire neckline is covered. You will have extra bias tape on both sides.
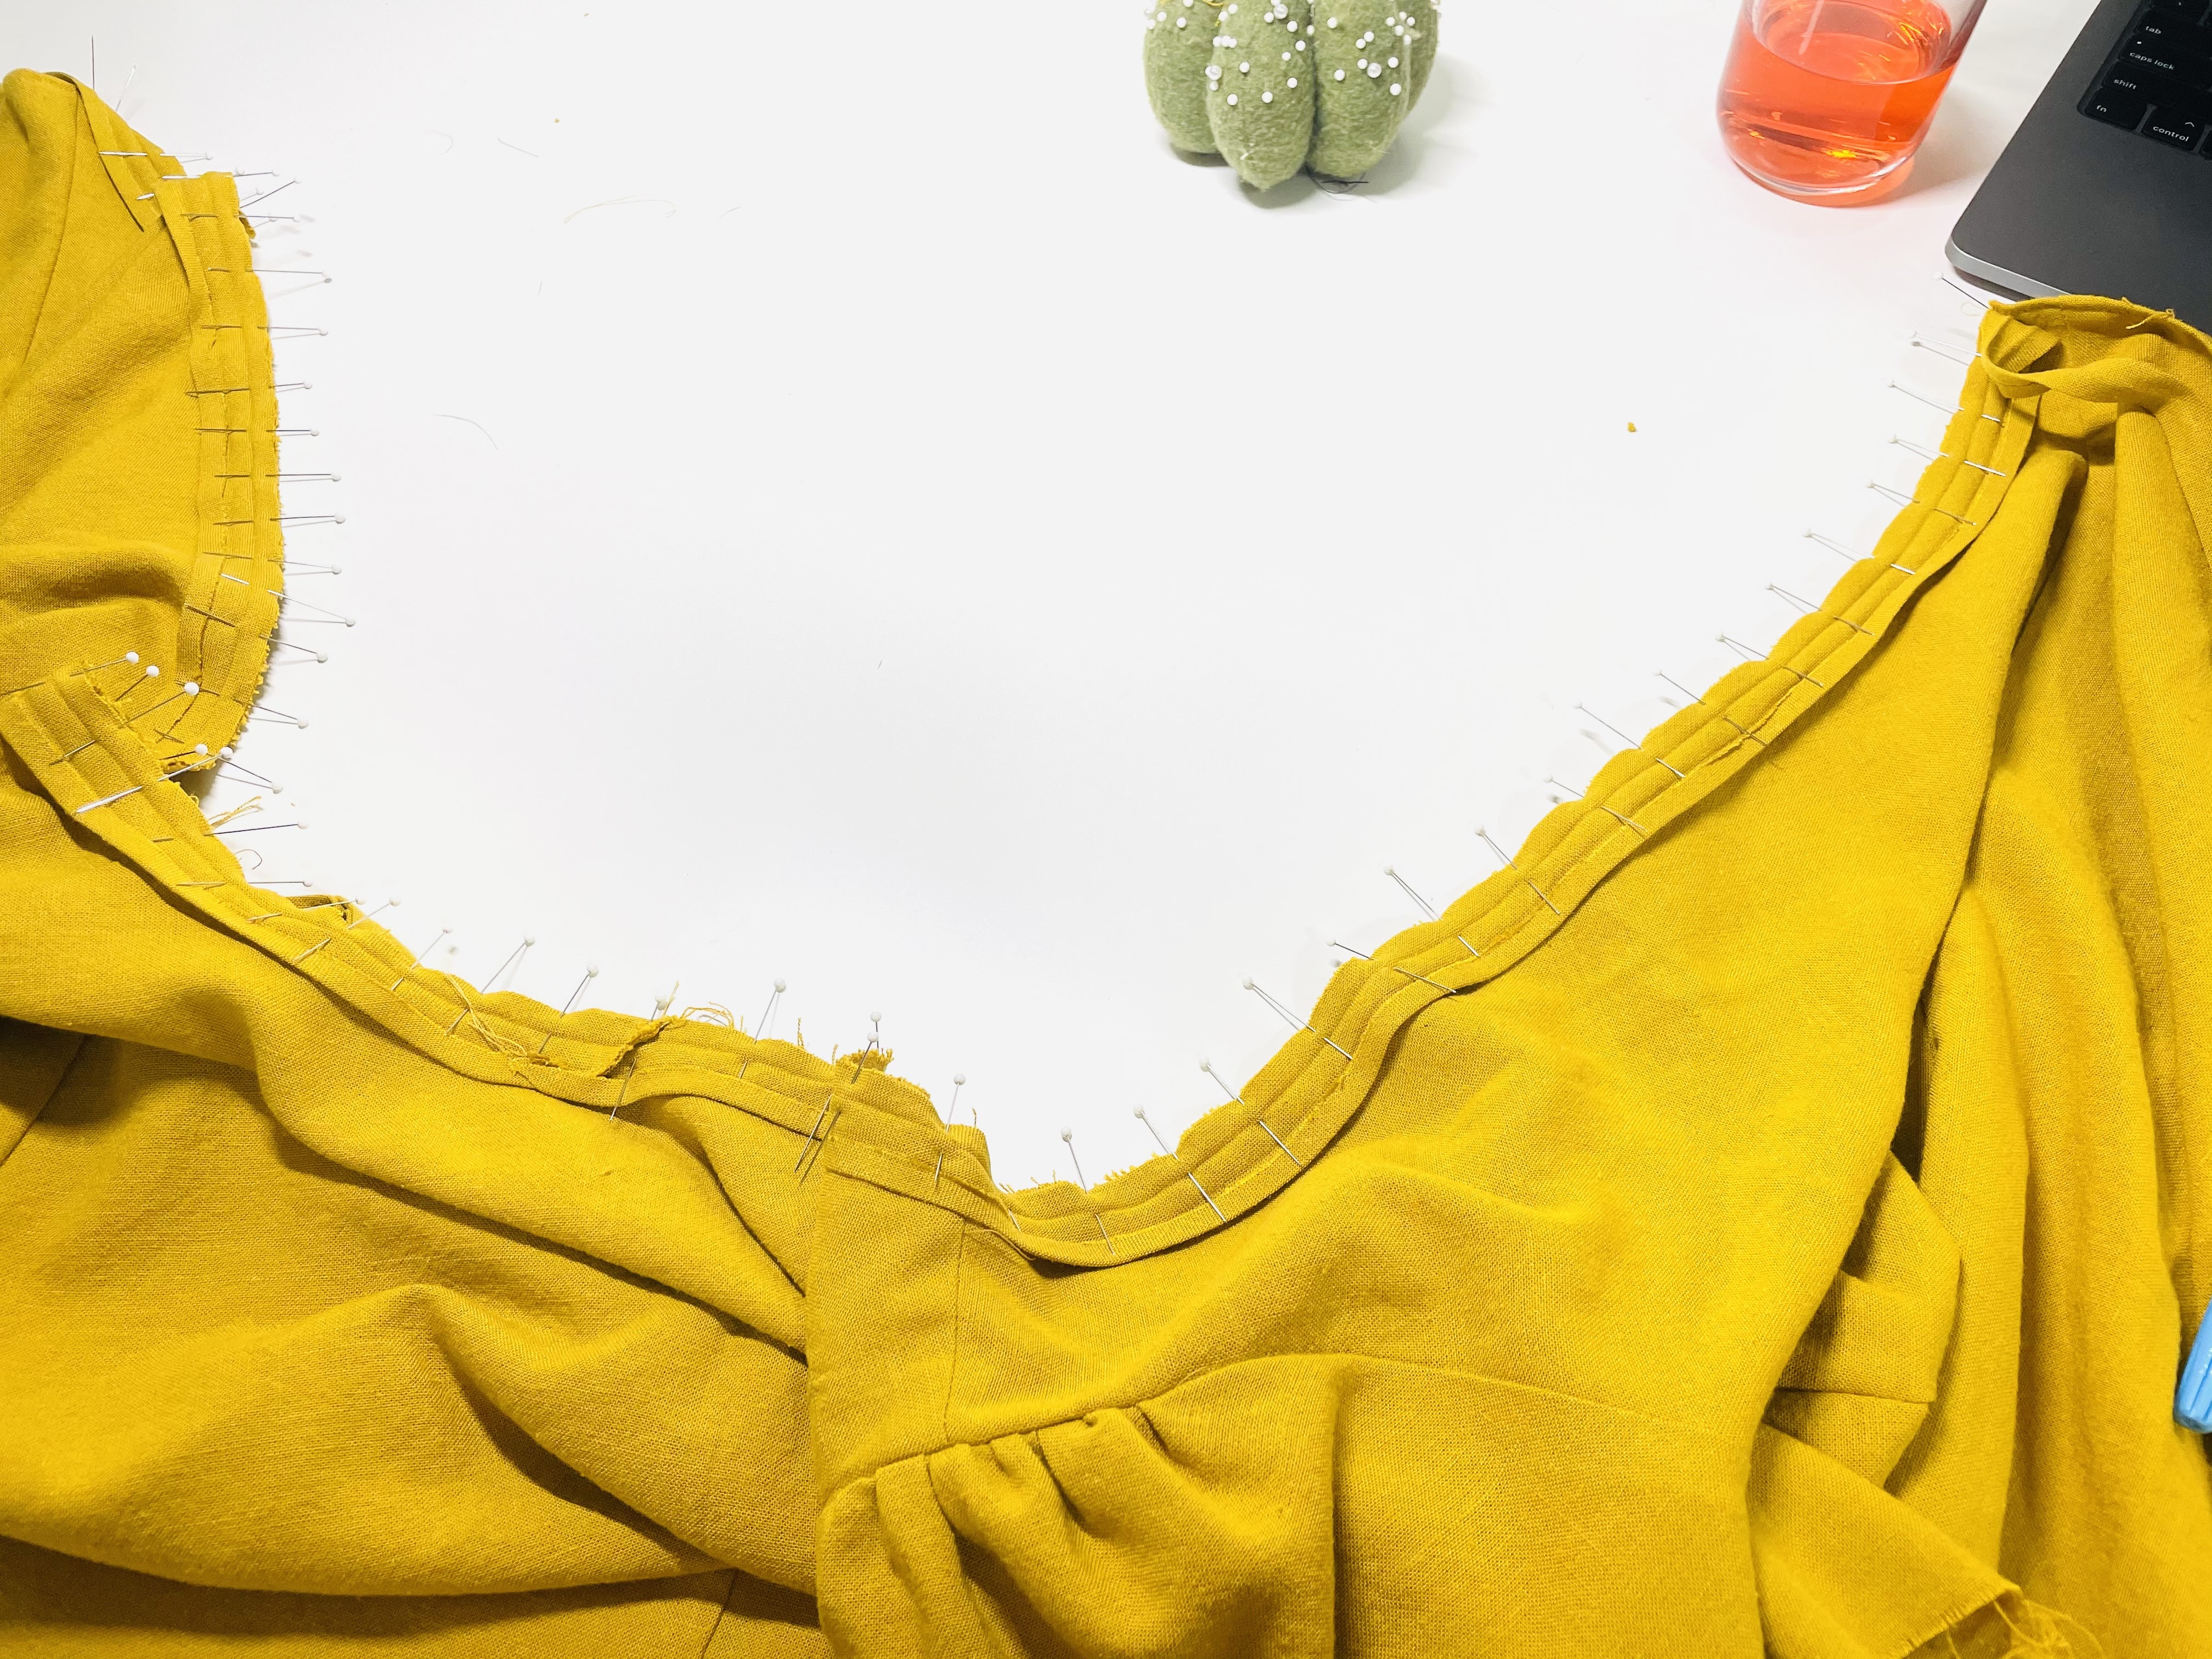
Now, bring this to your sewing machine. Position your fabric so that your bias tape is on top. You should center your foot and your needle over the fold line closest to the edge of the fabric:
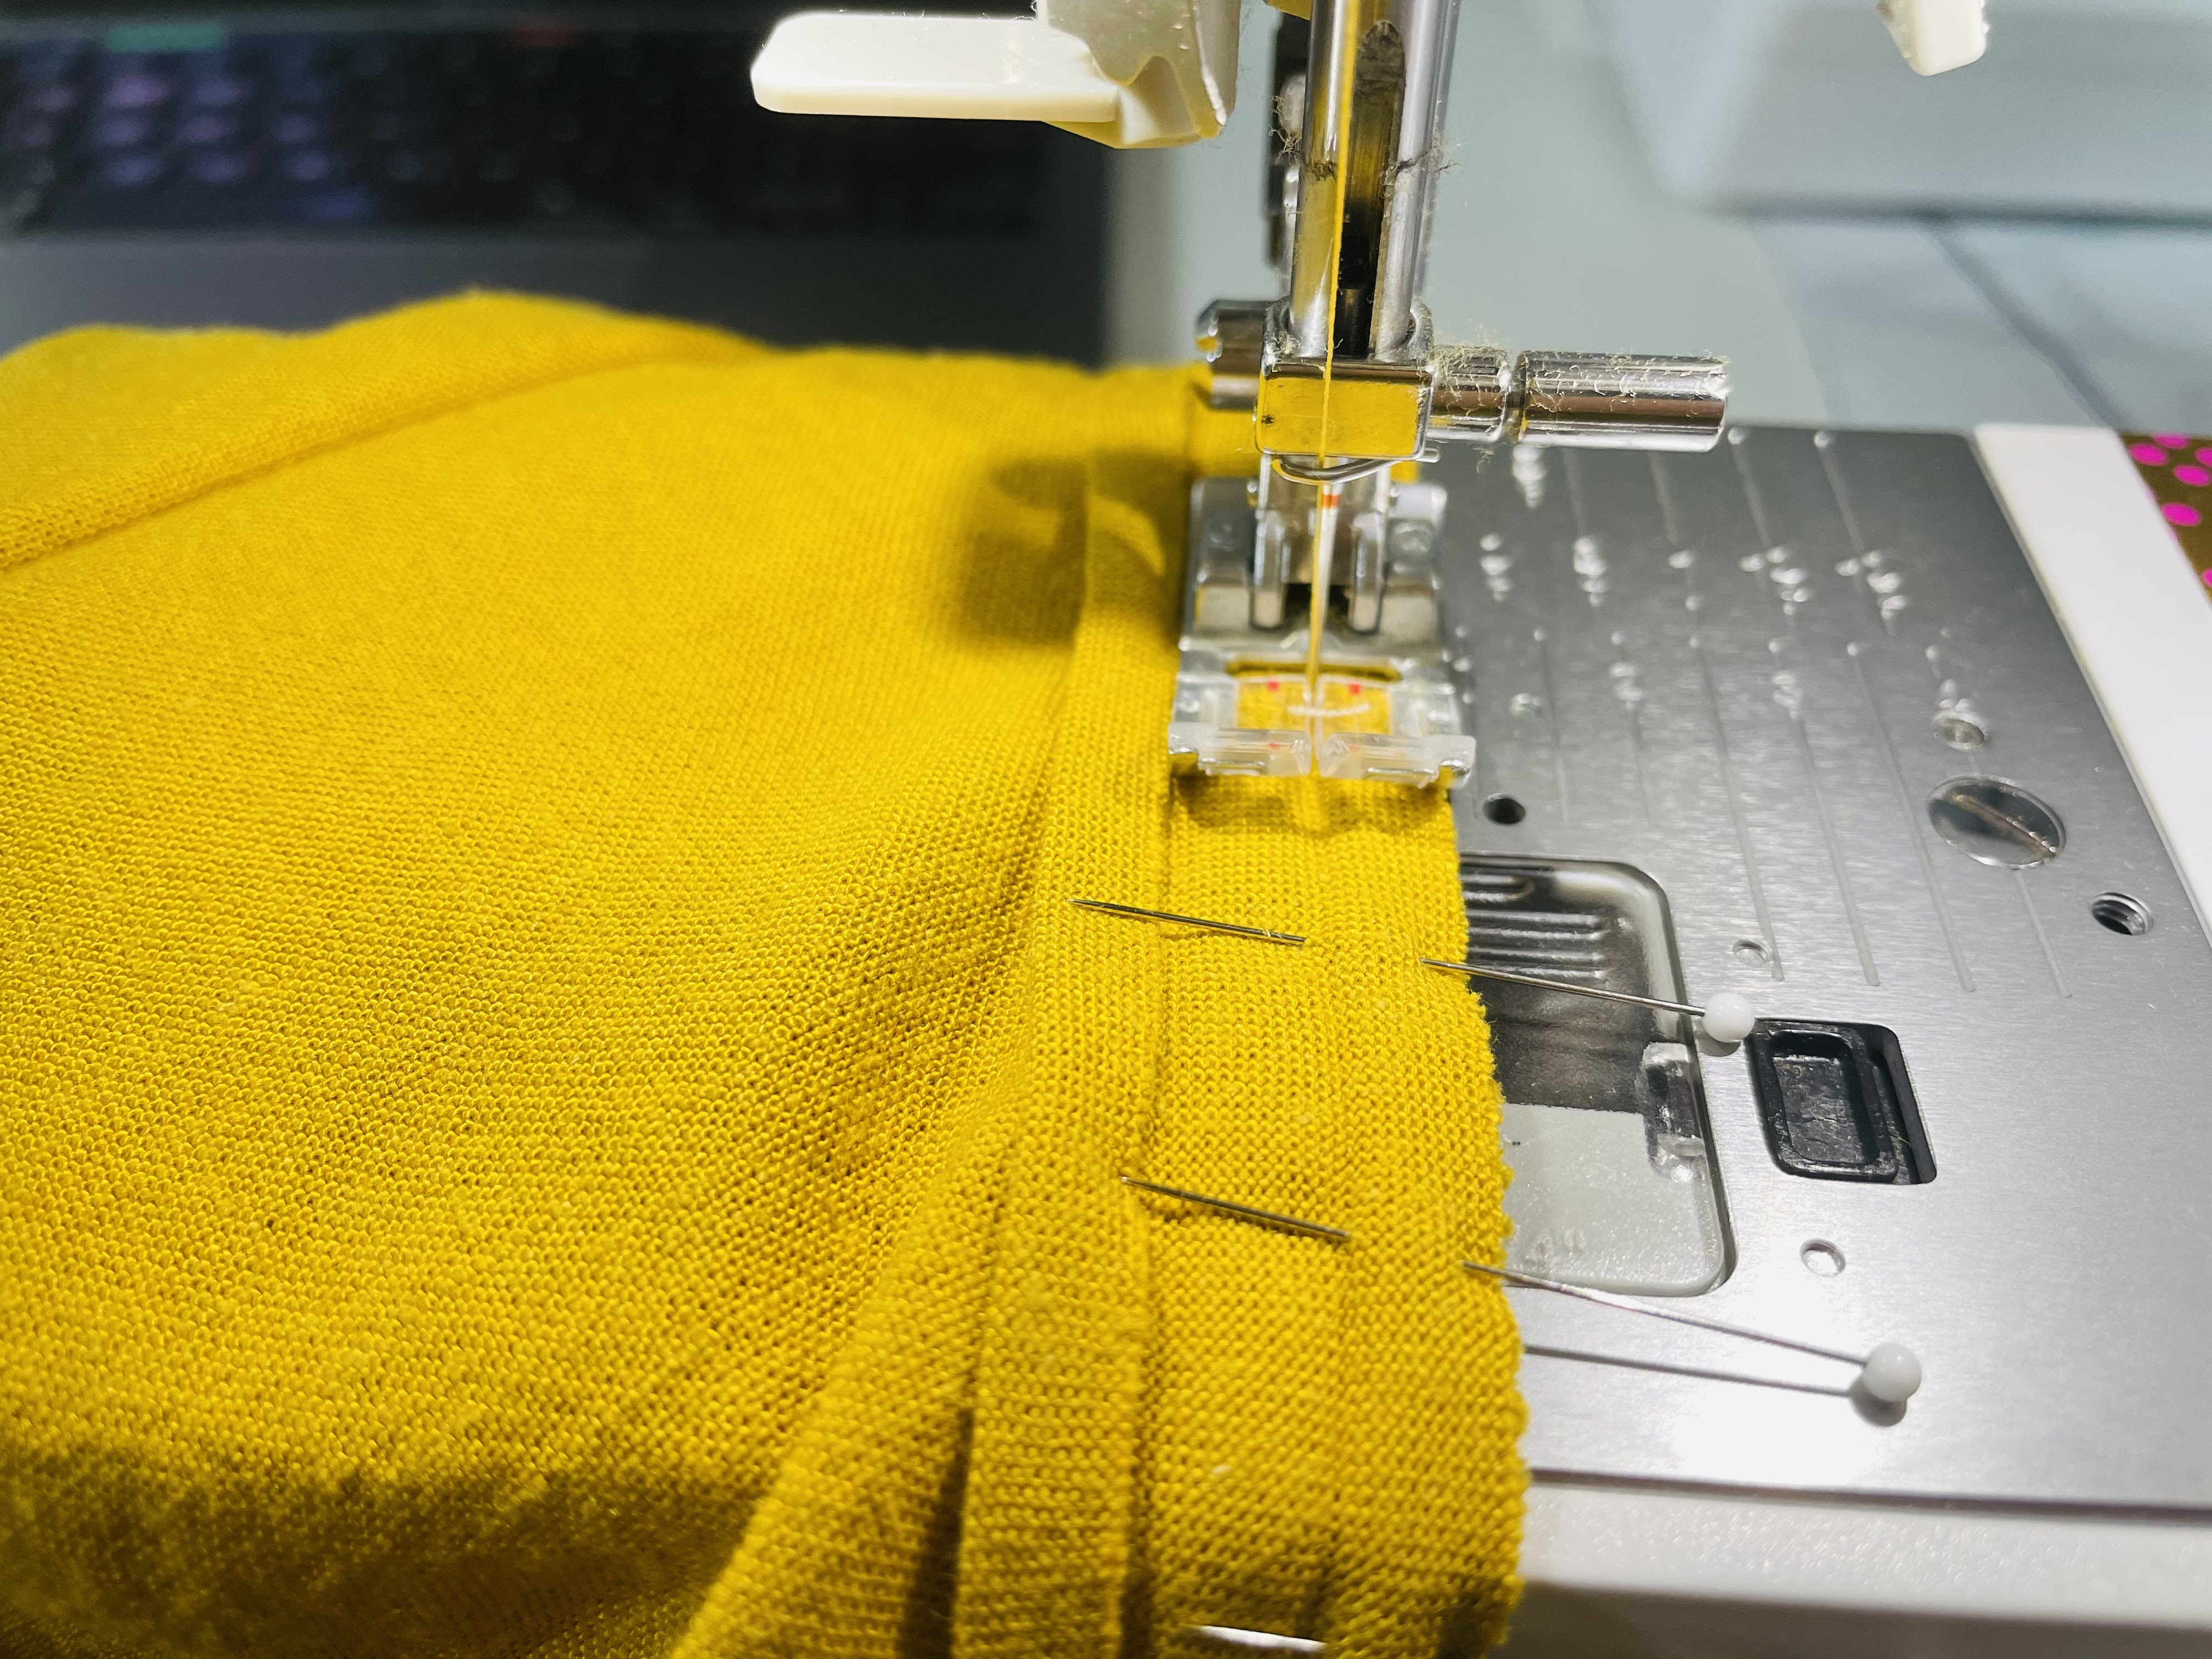
You do not need to finish this seam. Instead, you’re going trim the seam allowance a bit:
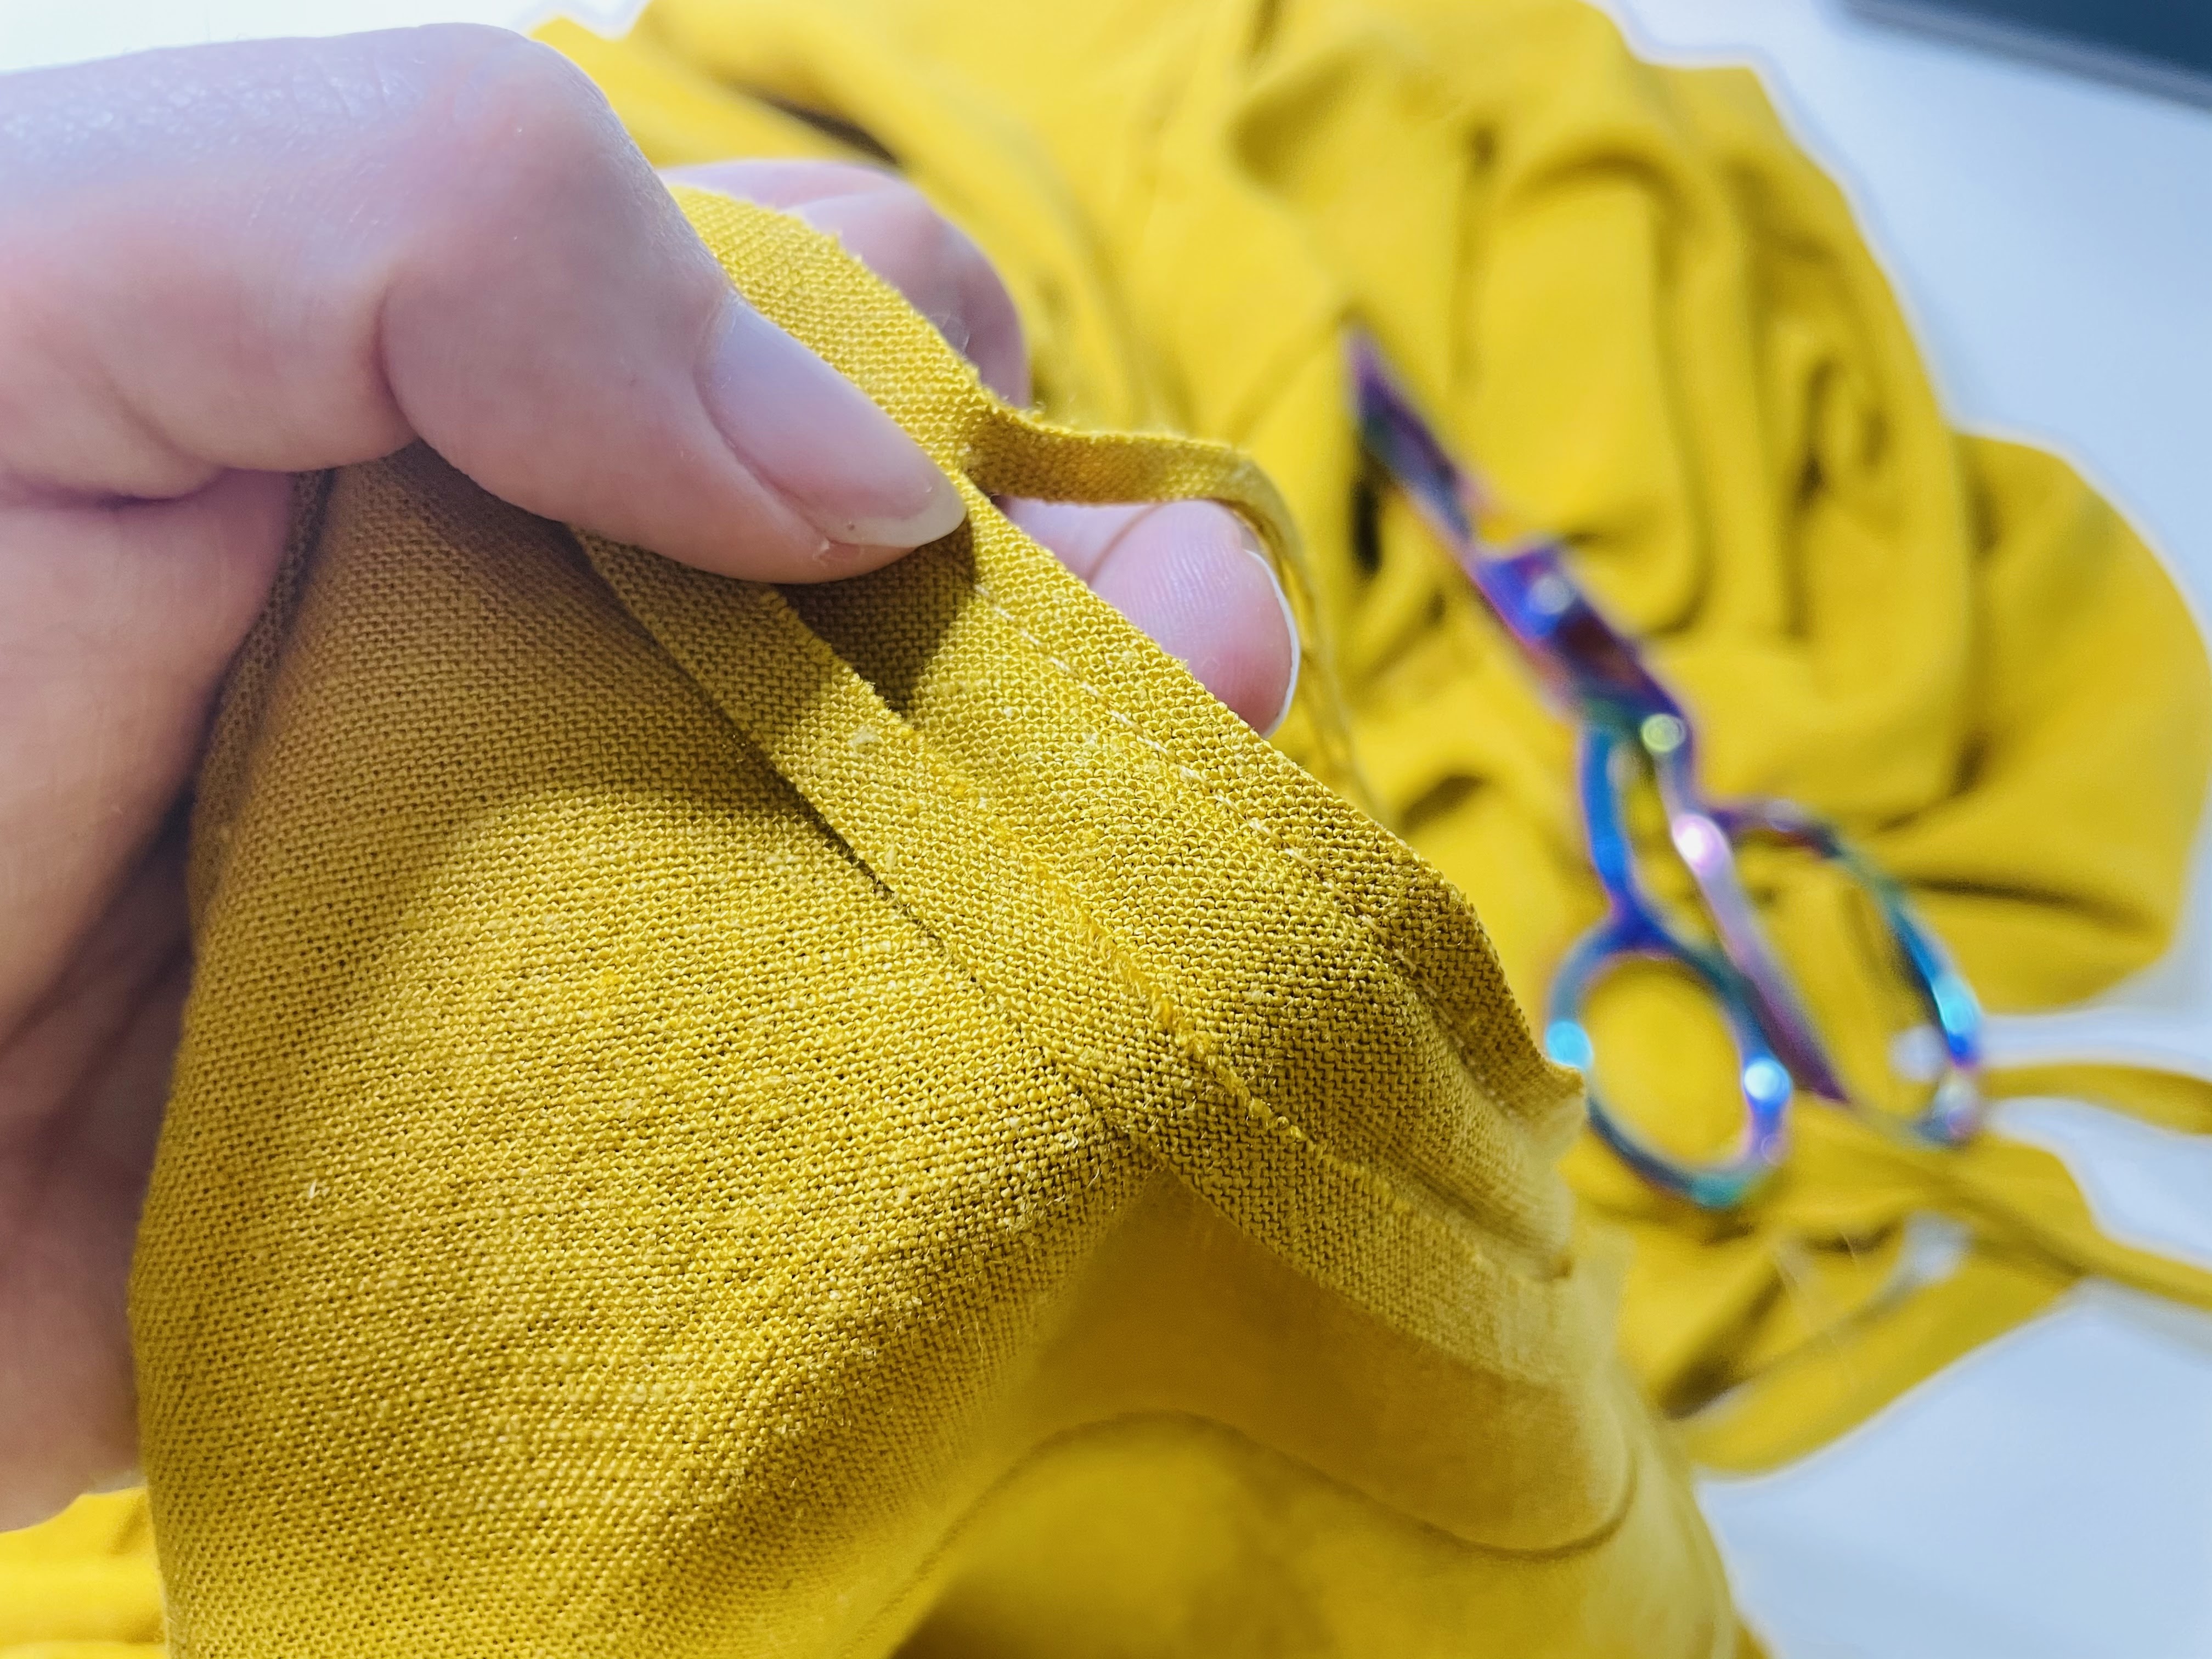
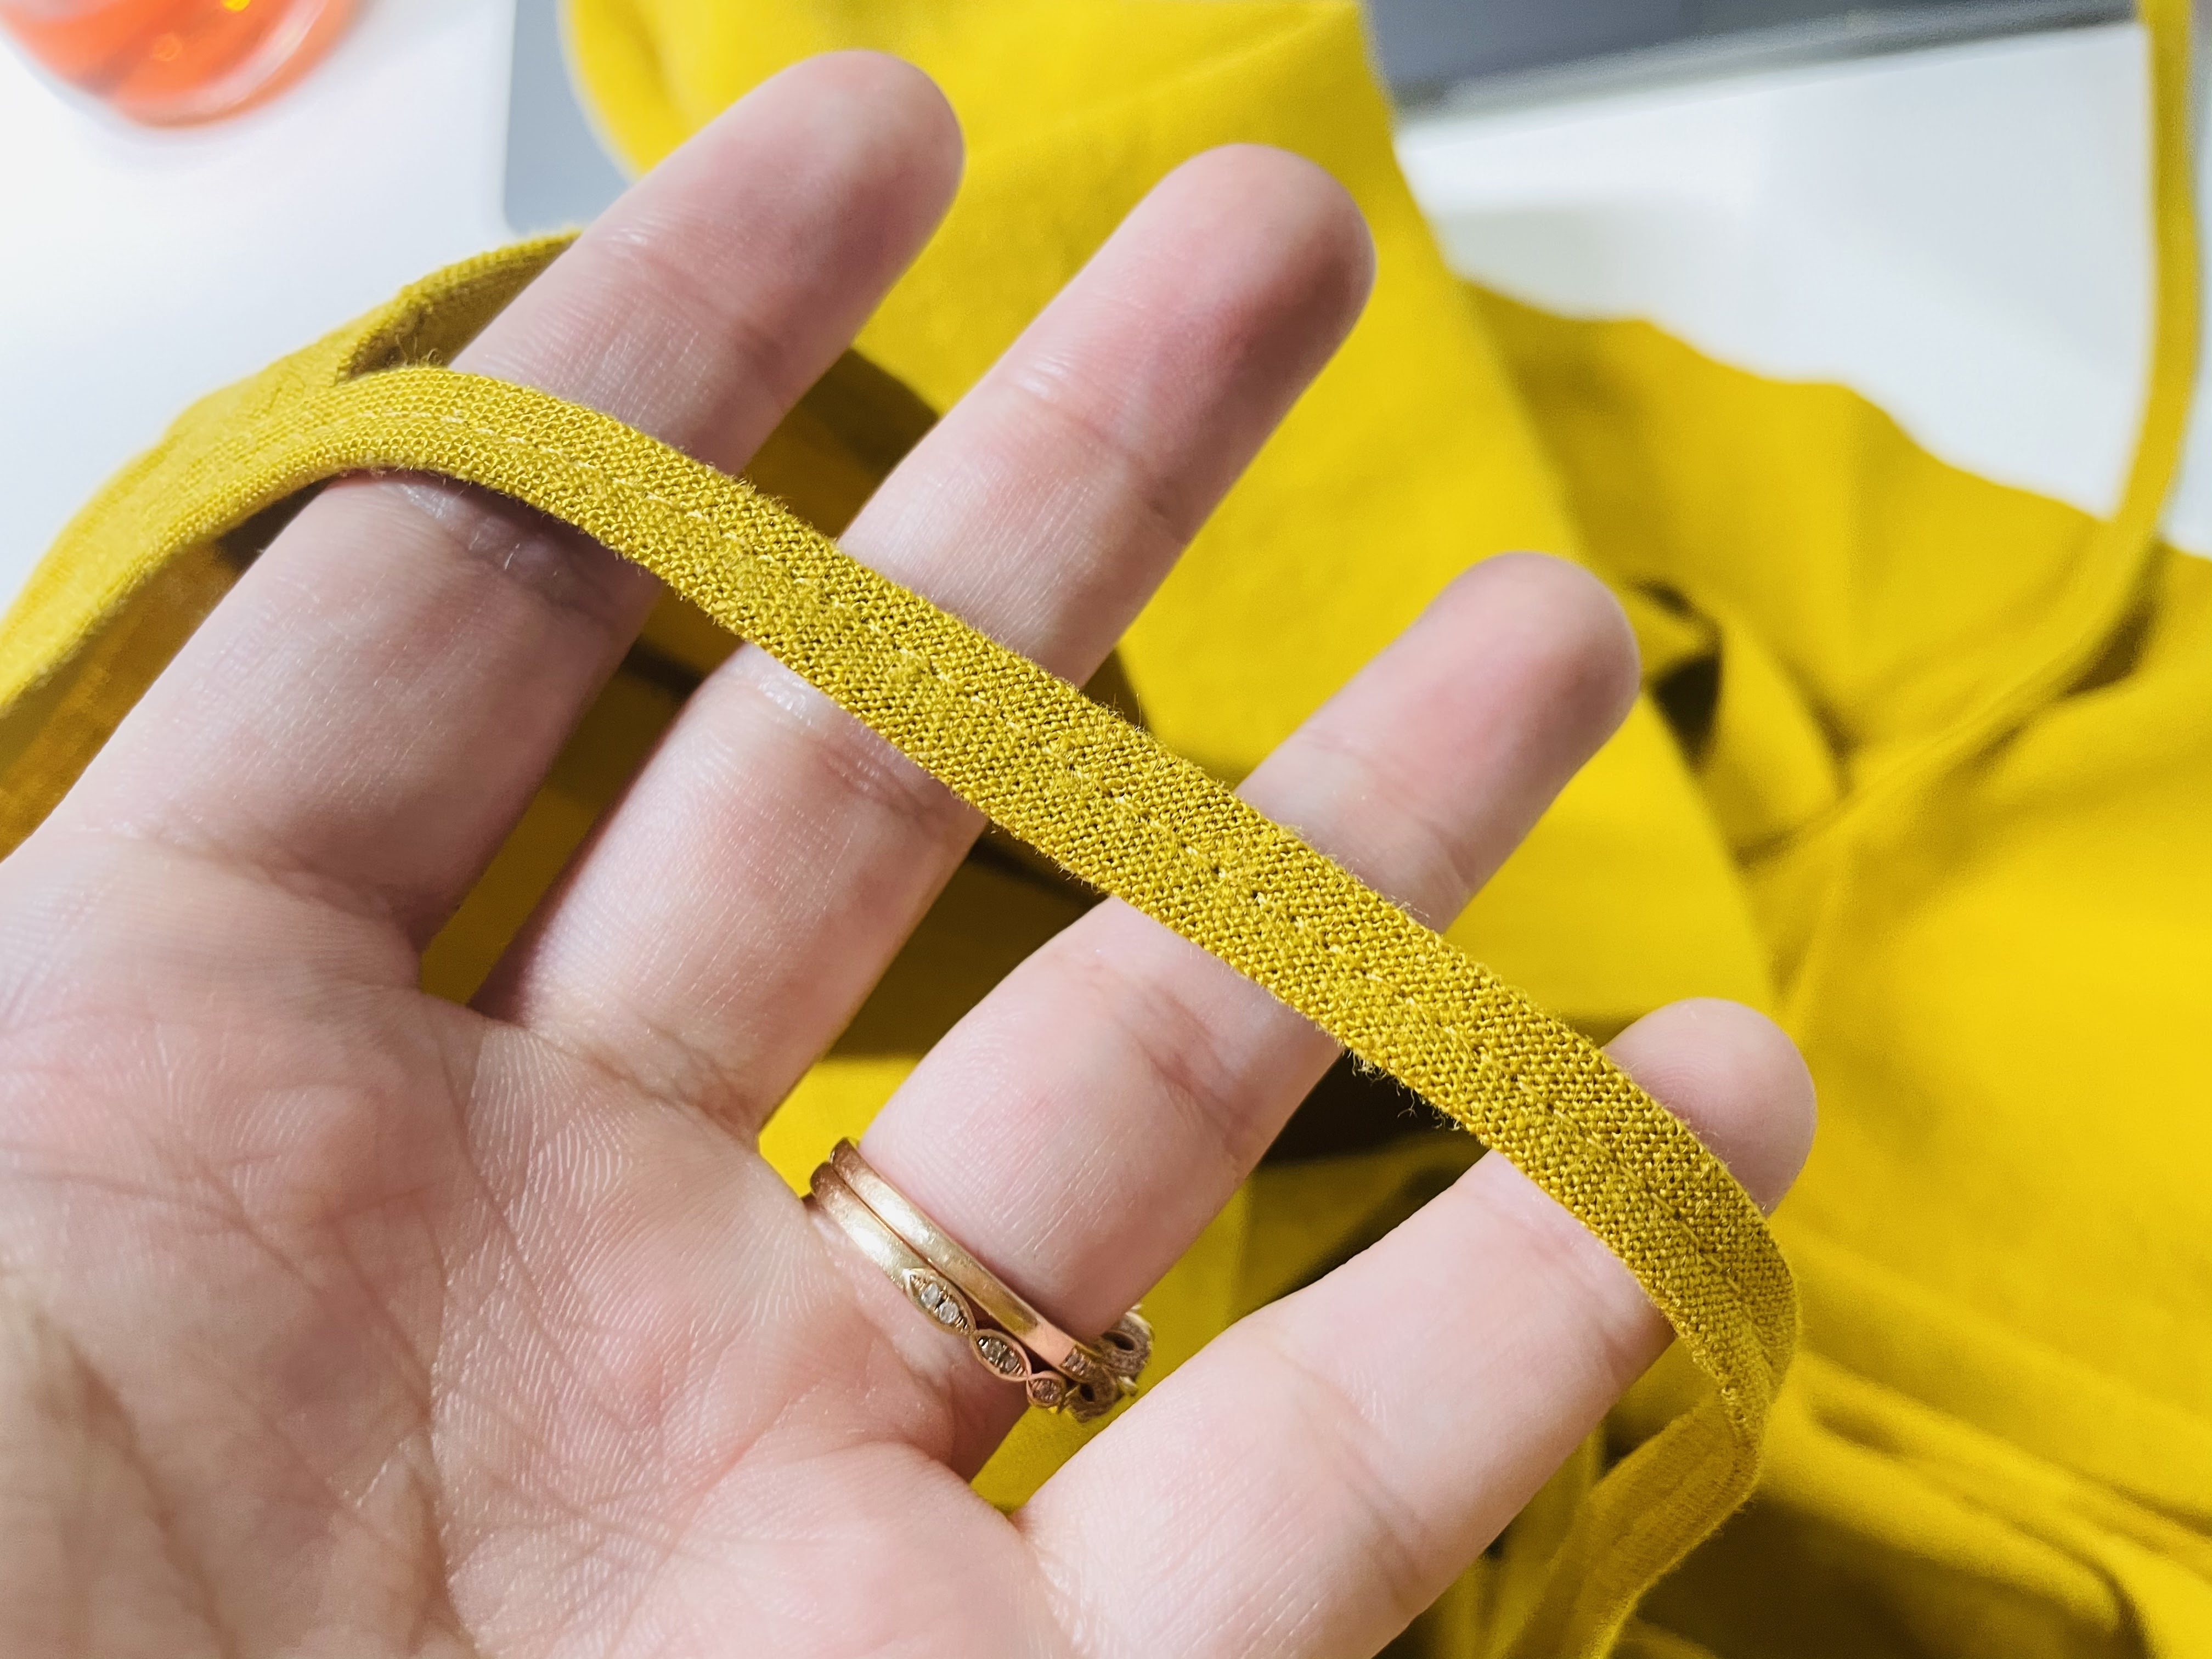
Then, double fold the bias tape up and press so that the seam allowance is on the same side of the seam as the bias tape. Head back to your sewing machine, and stitch about 2.5 mm inward from the fold along the entire bias tape – including the free-floating parts at the end of your neckline:
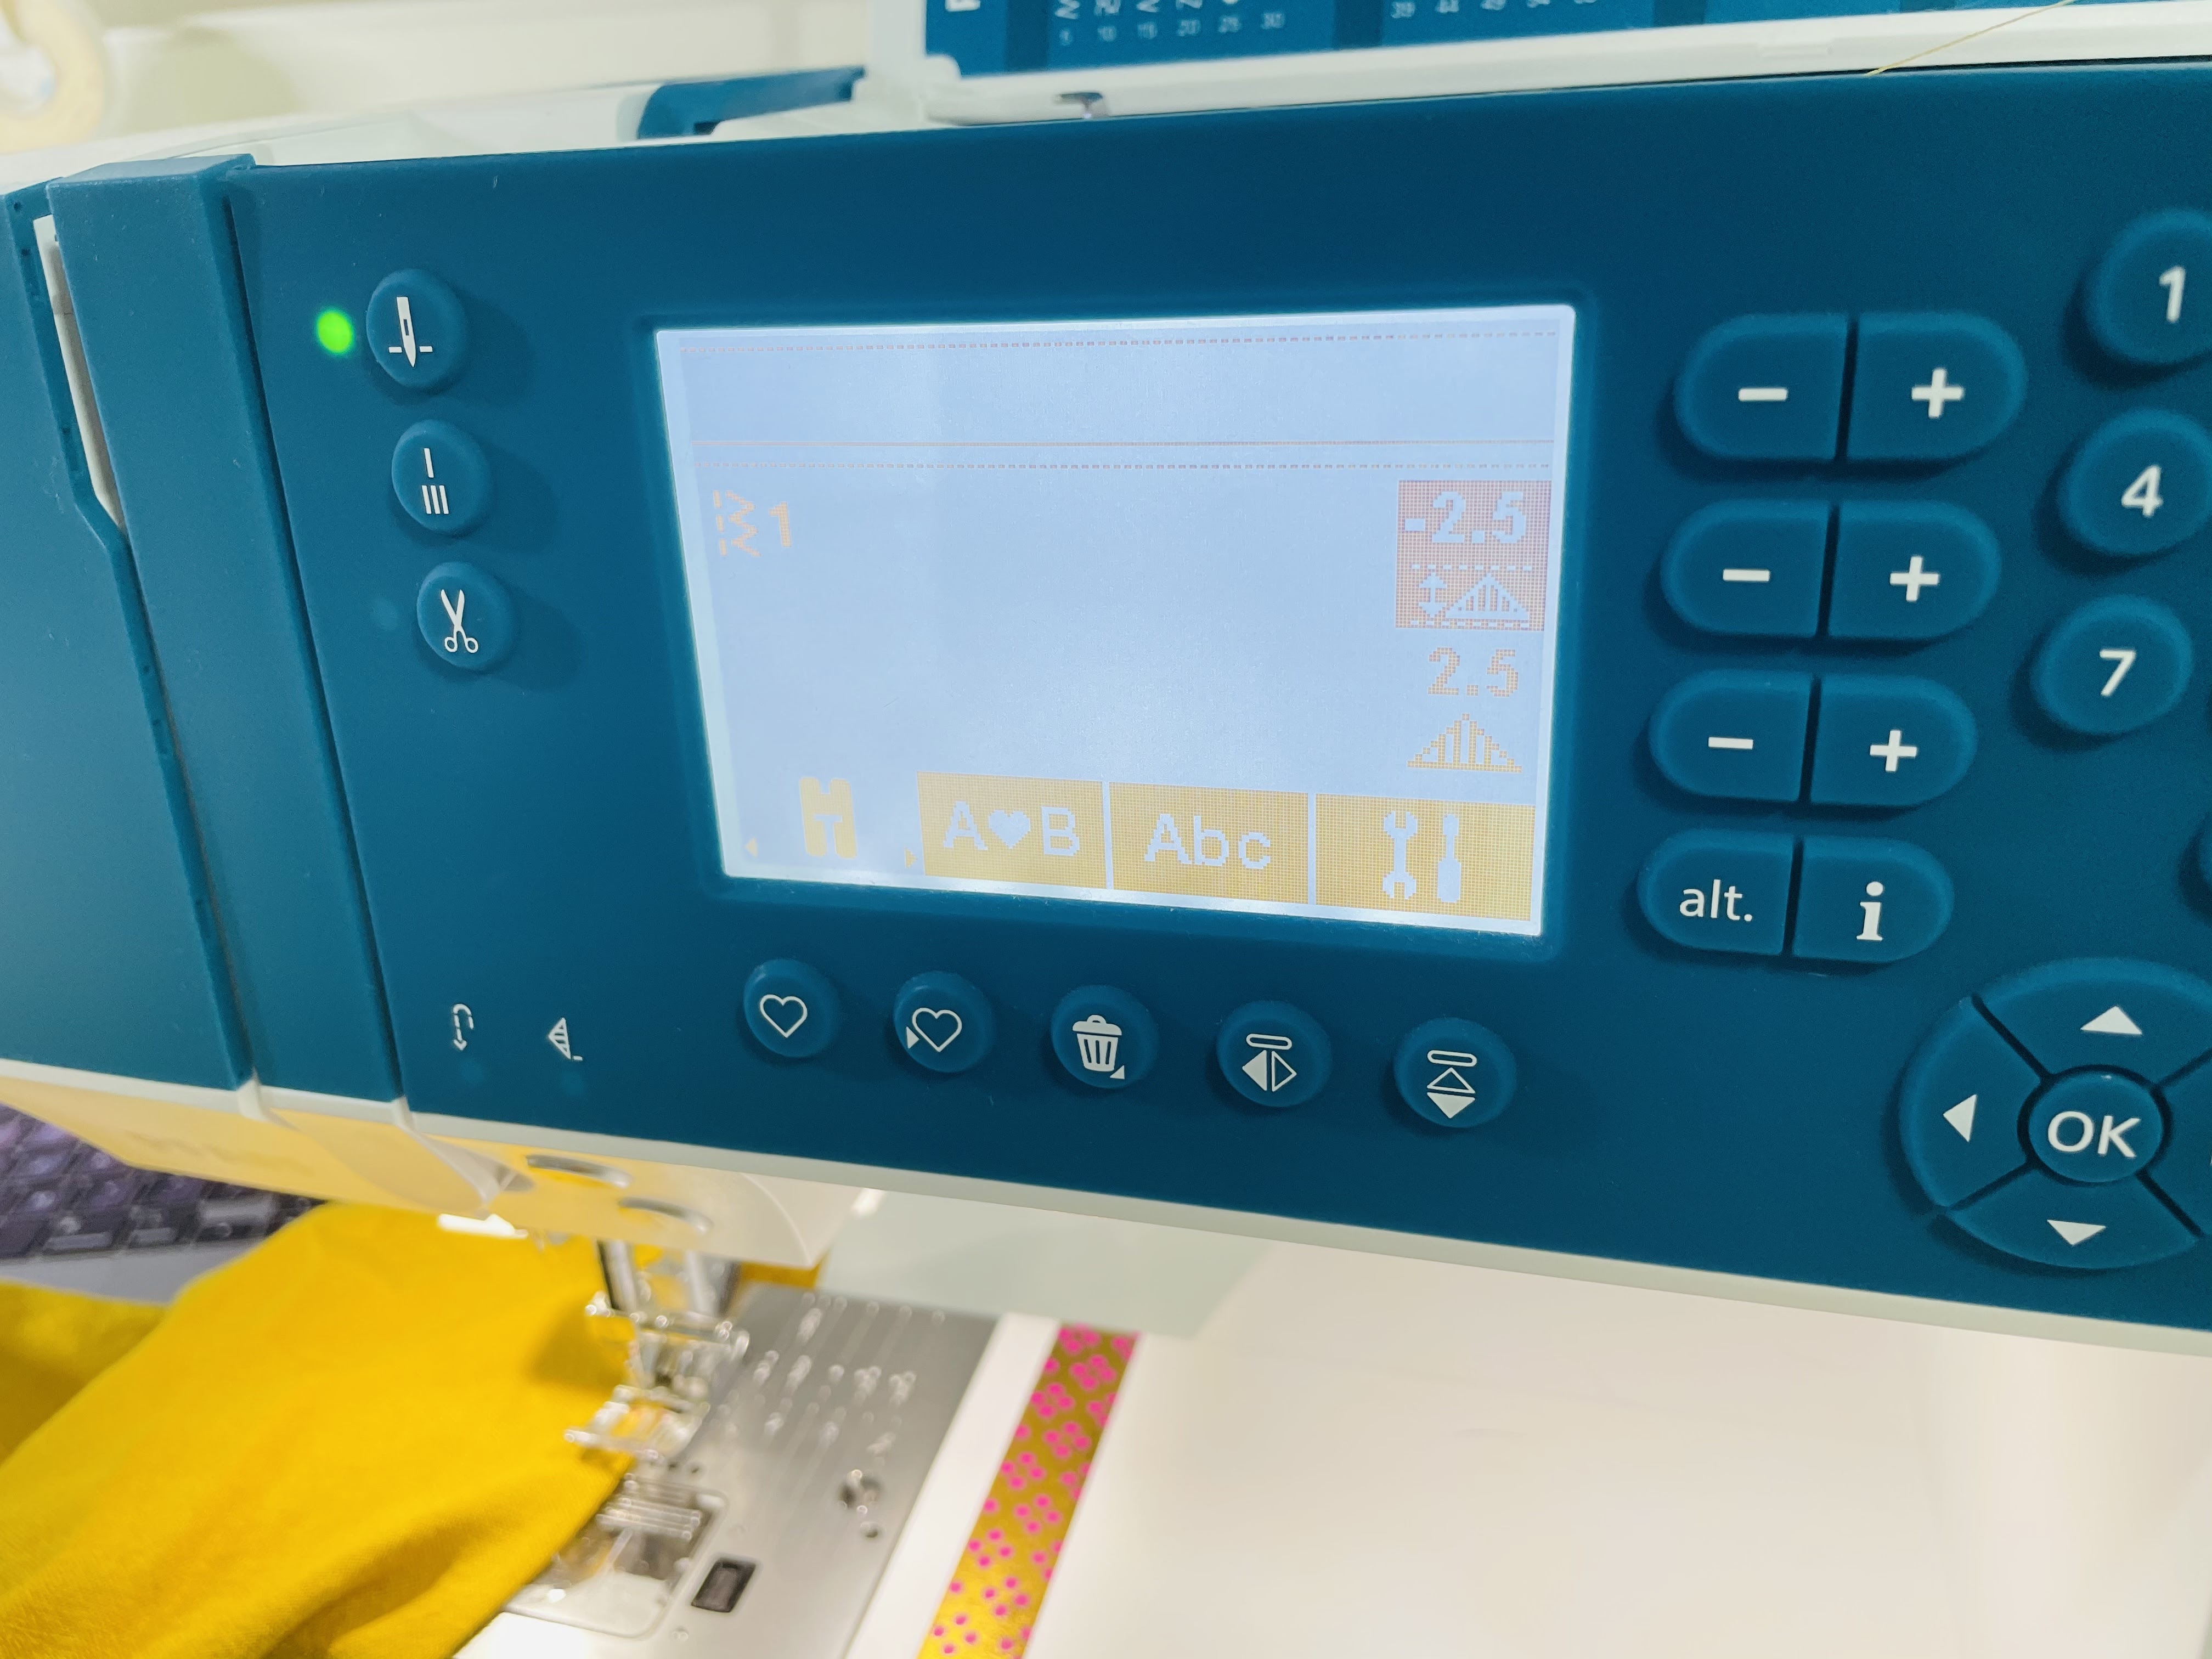
Your neckline and floating bias tape should now look like this – no raw edges to be seen:
You’re now going to flip that sewn edge under once more, and again sew at about 2.5 mm inward:
Finishing the Sleeves
Now, to finish the sleeves, which we left raw last week! You can either finish these sleeves in the way I describe here, or check out the pattern instructions to learn how to make them puffed!
At your ironing board, fold the edge of the sleeves inward, to the wrong side, 1/4″ (6 mm) and press. Fold inward another 1/4″ (6 mm) and press again.
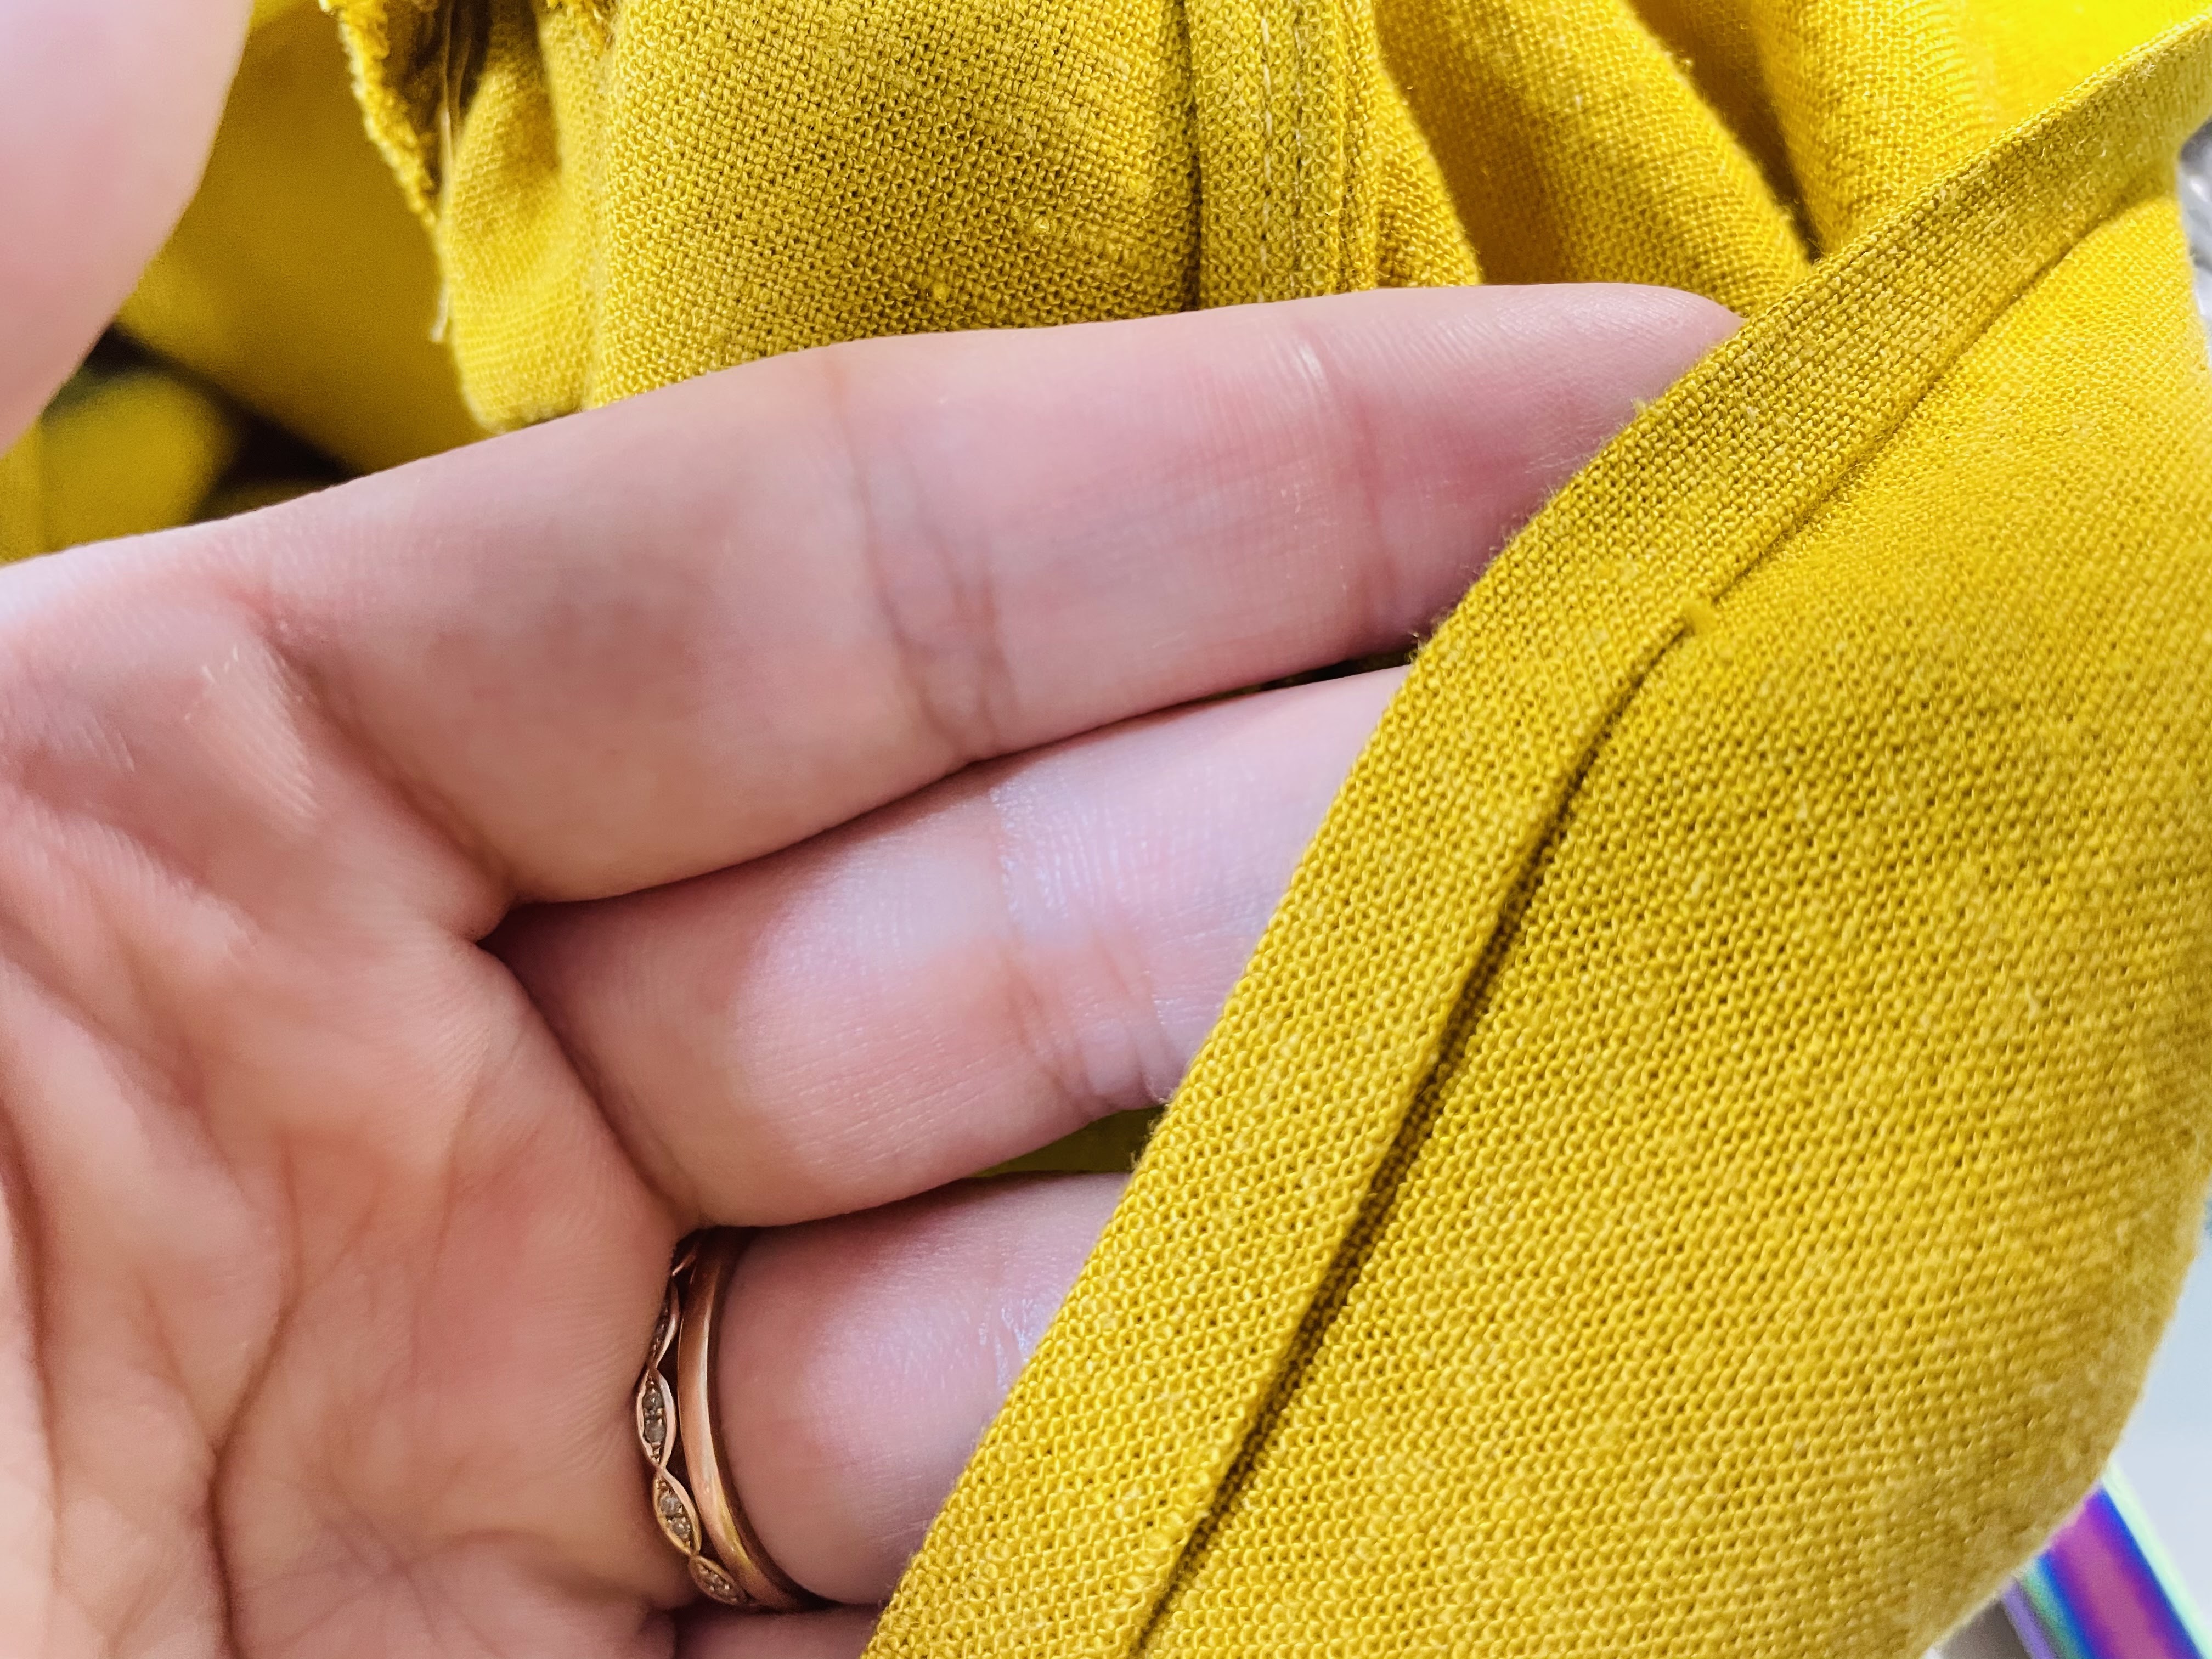
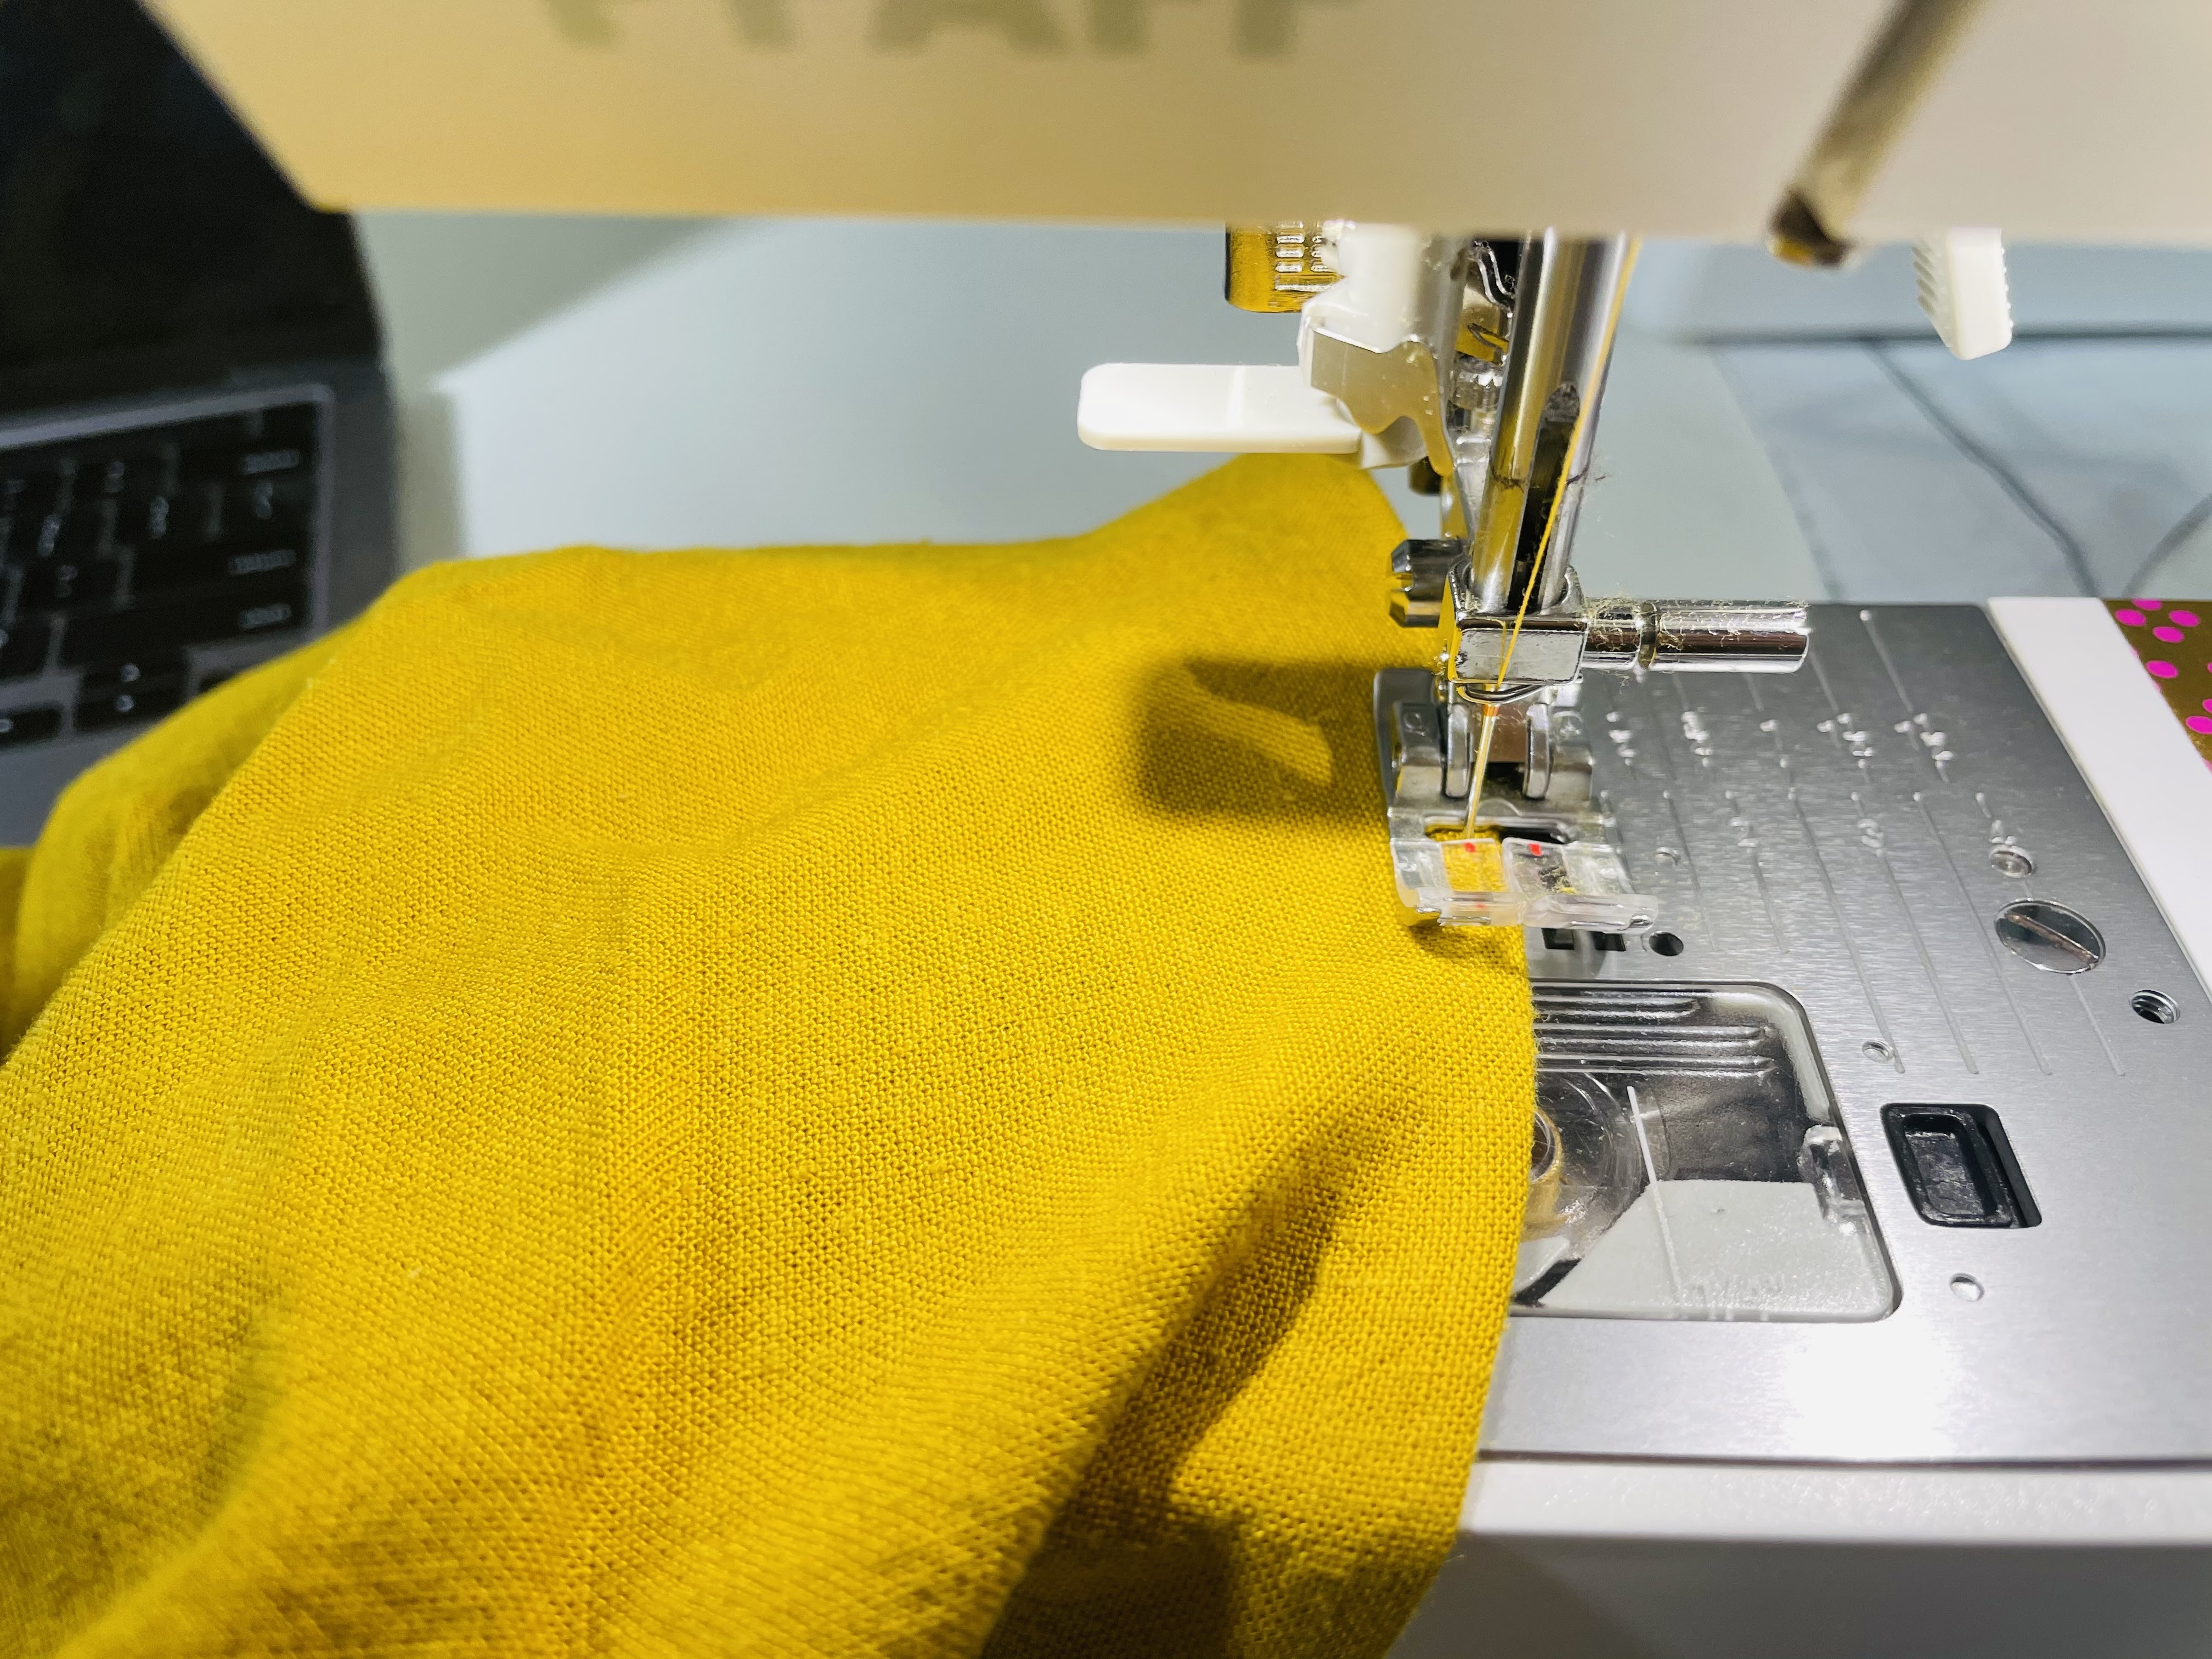
Now, sew this. Again, I like to set my machine so my needle is 2.5 mm to the left, then align the fold with the center of my presser foot.
Almost Finished … Now, the Waiting Period
Okay, your dress is so close to being done. All you need to do is the hem. But here’s the thing: You need to hang that baby up and wait 24 hours (or at least overnight).
Why? Because you need to wait for the hem to drop. With woven fabric, gravity will pull different parts of the hem down unevenly. If you hem it now, before letting gravity do its work, you’re going to end up with an uneven hem. But if you wait 24 hours, or at least overnight, for gravity to do its thing before you hem, you can account for any unevenness in your hem by trimming it while it’s hanging (or better yet, having a friend or spouse trim it while you’re wearing it) so it will be even with wear.
Hemming Your Dress
Now, to hem! This is really subjective, as it sort of depends on the look you’re going for. Sometimes, I love to do really wide hems. Other times, I like something more narrow. This time, I went for in between.
The basic steps are the same regardless of how wide a hem you’re after: You need to fold your fabric to the inside twice, and you need to stitch it so both folds get captured in the seam.
I opted to fold my hem up 1/4″ (6 mm) for my first fold, then 1″ (about 2.5 cm) for my second:
Then, I stitched this with a 5/8″ (1.5 cm) seam allowance, so that my stitching would catch both layers of fabric.
All Done!
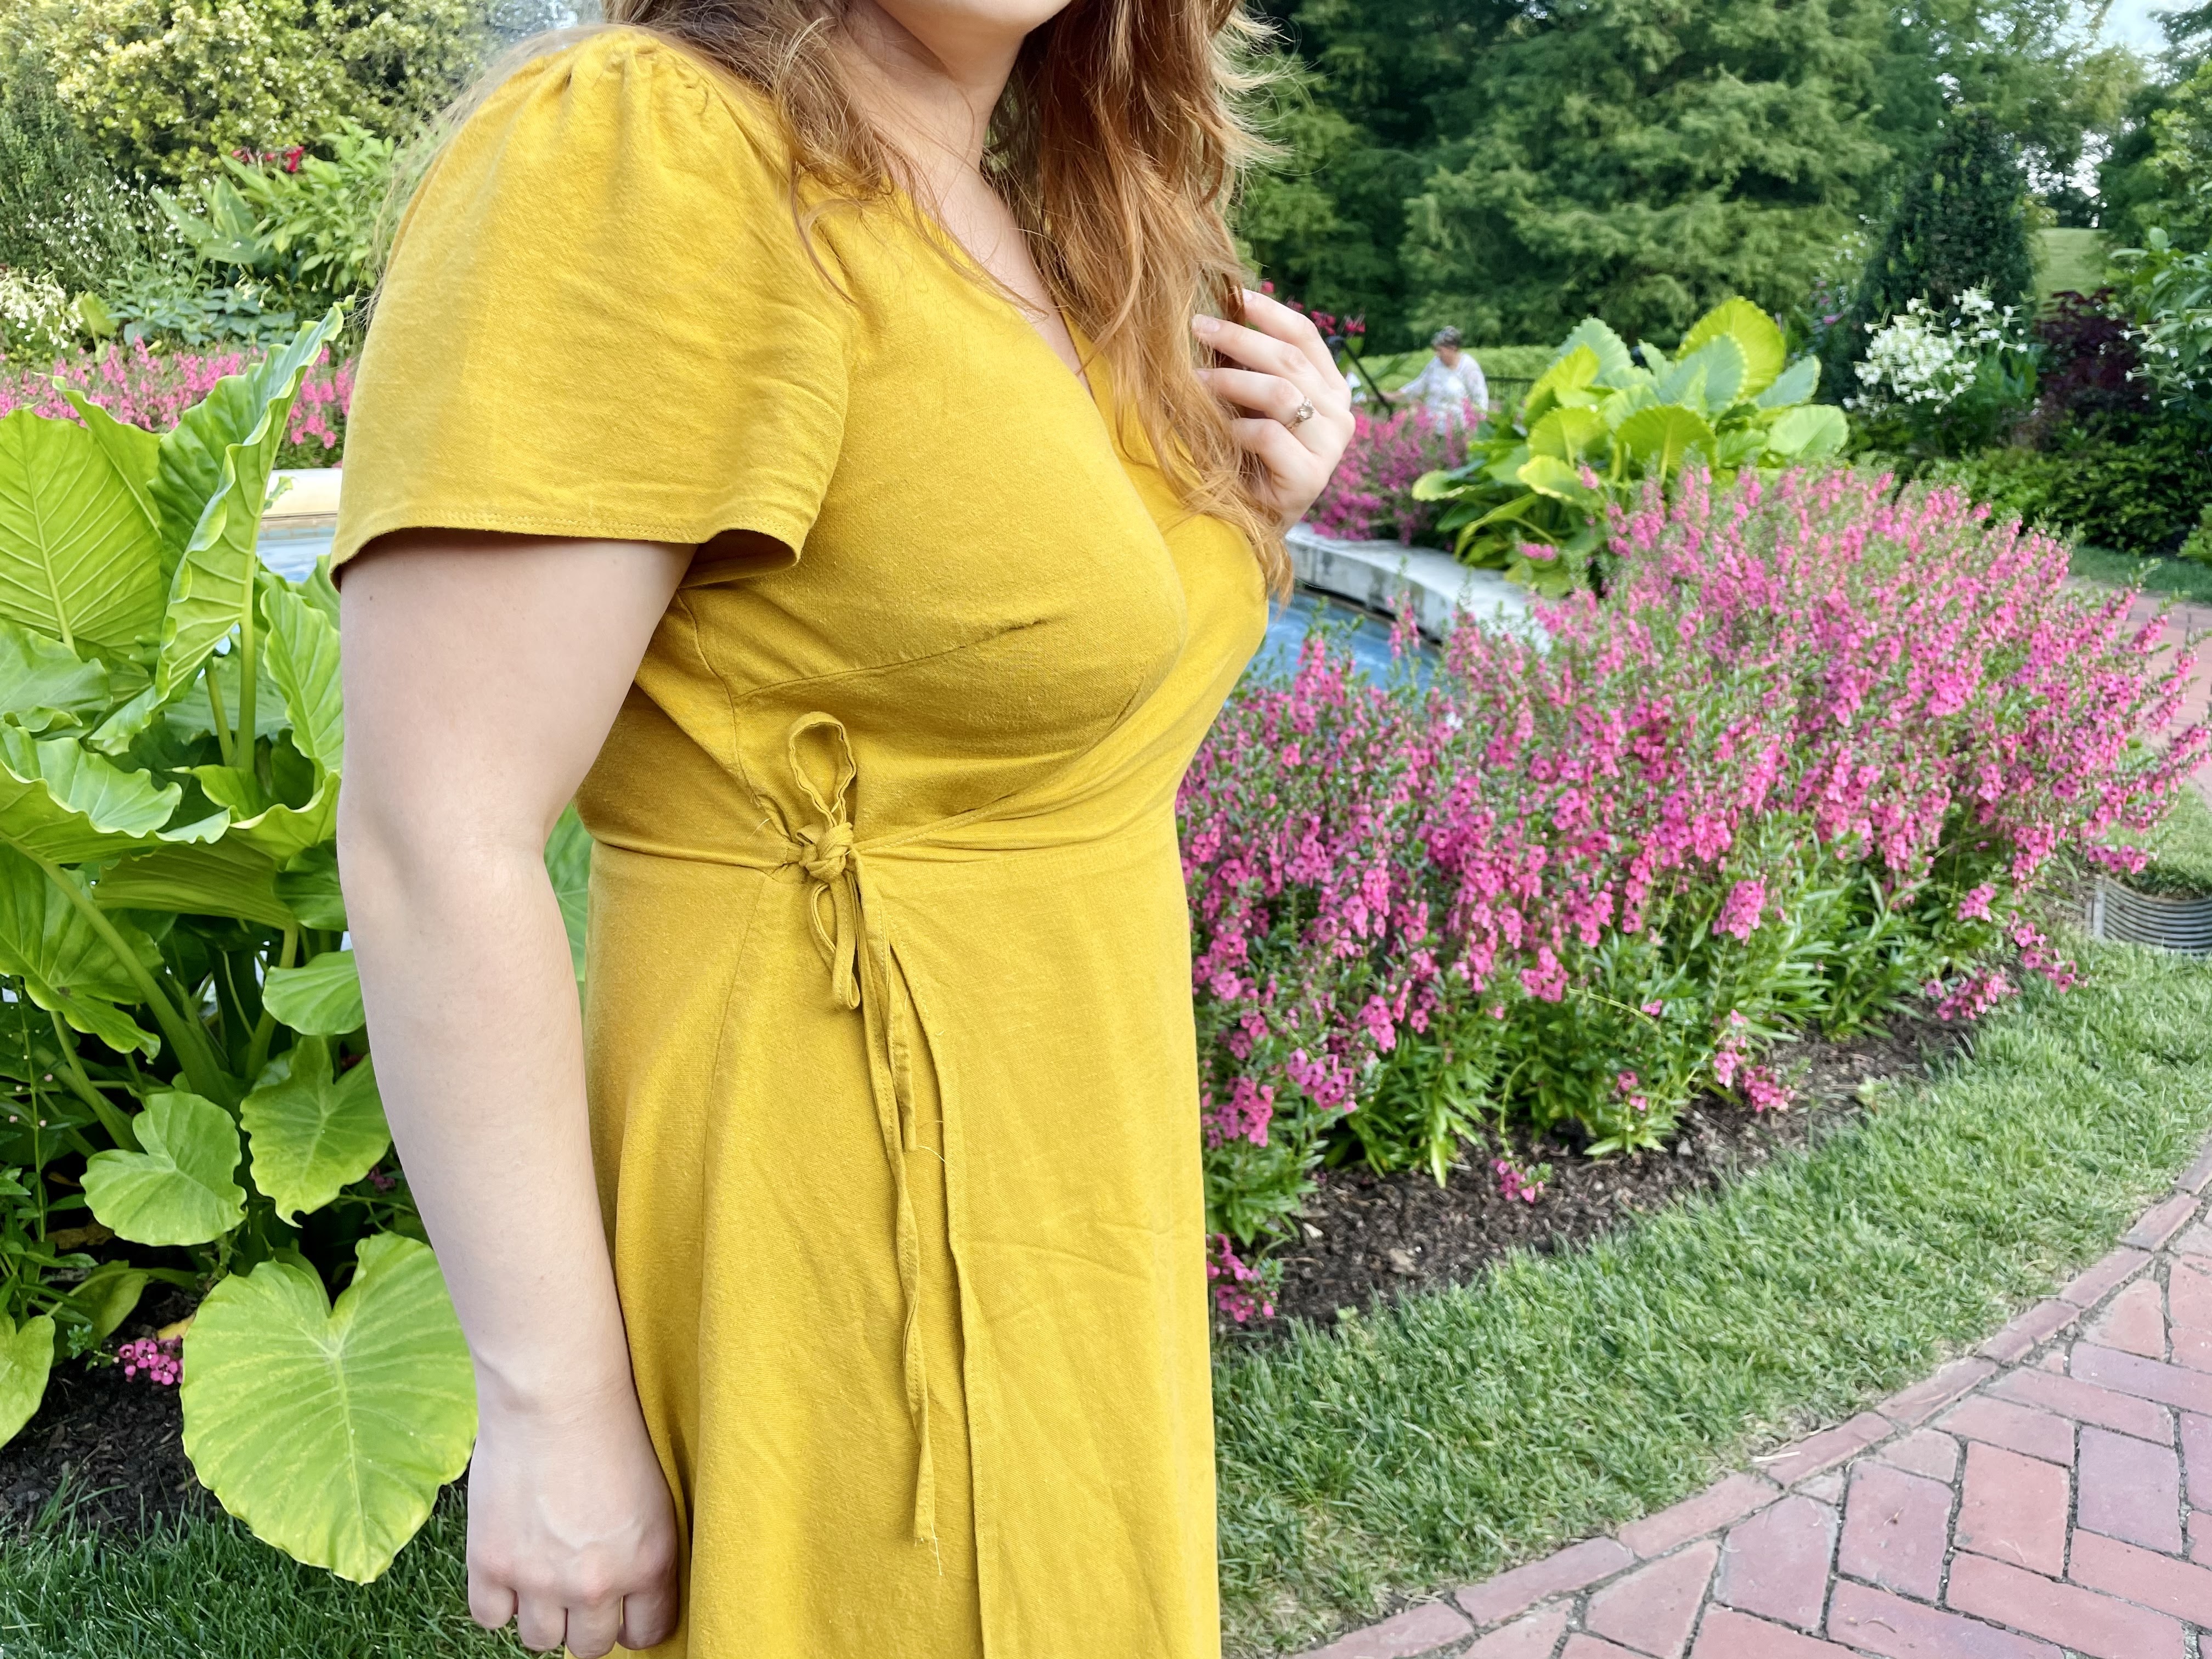
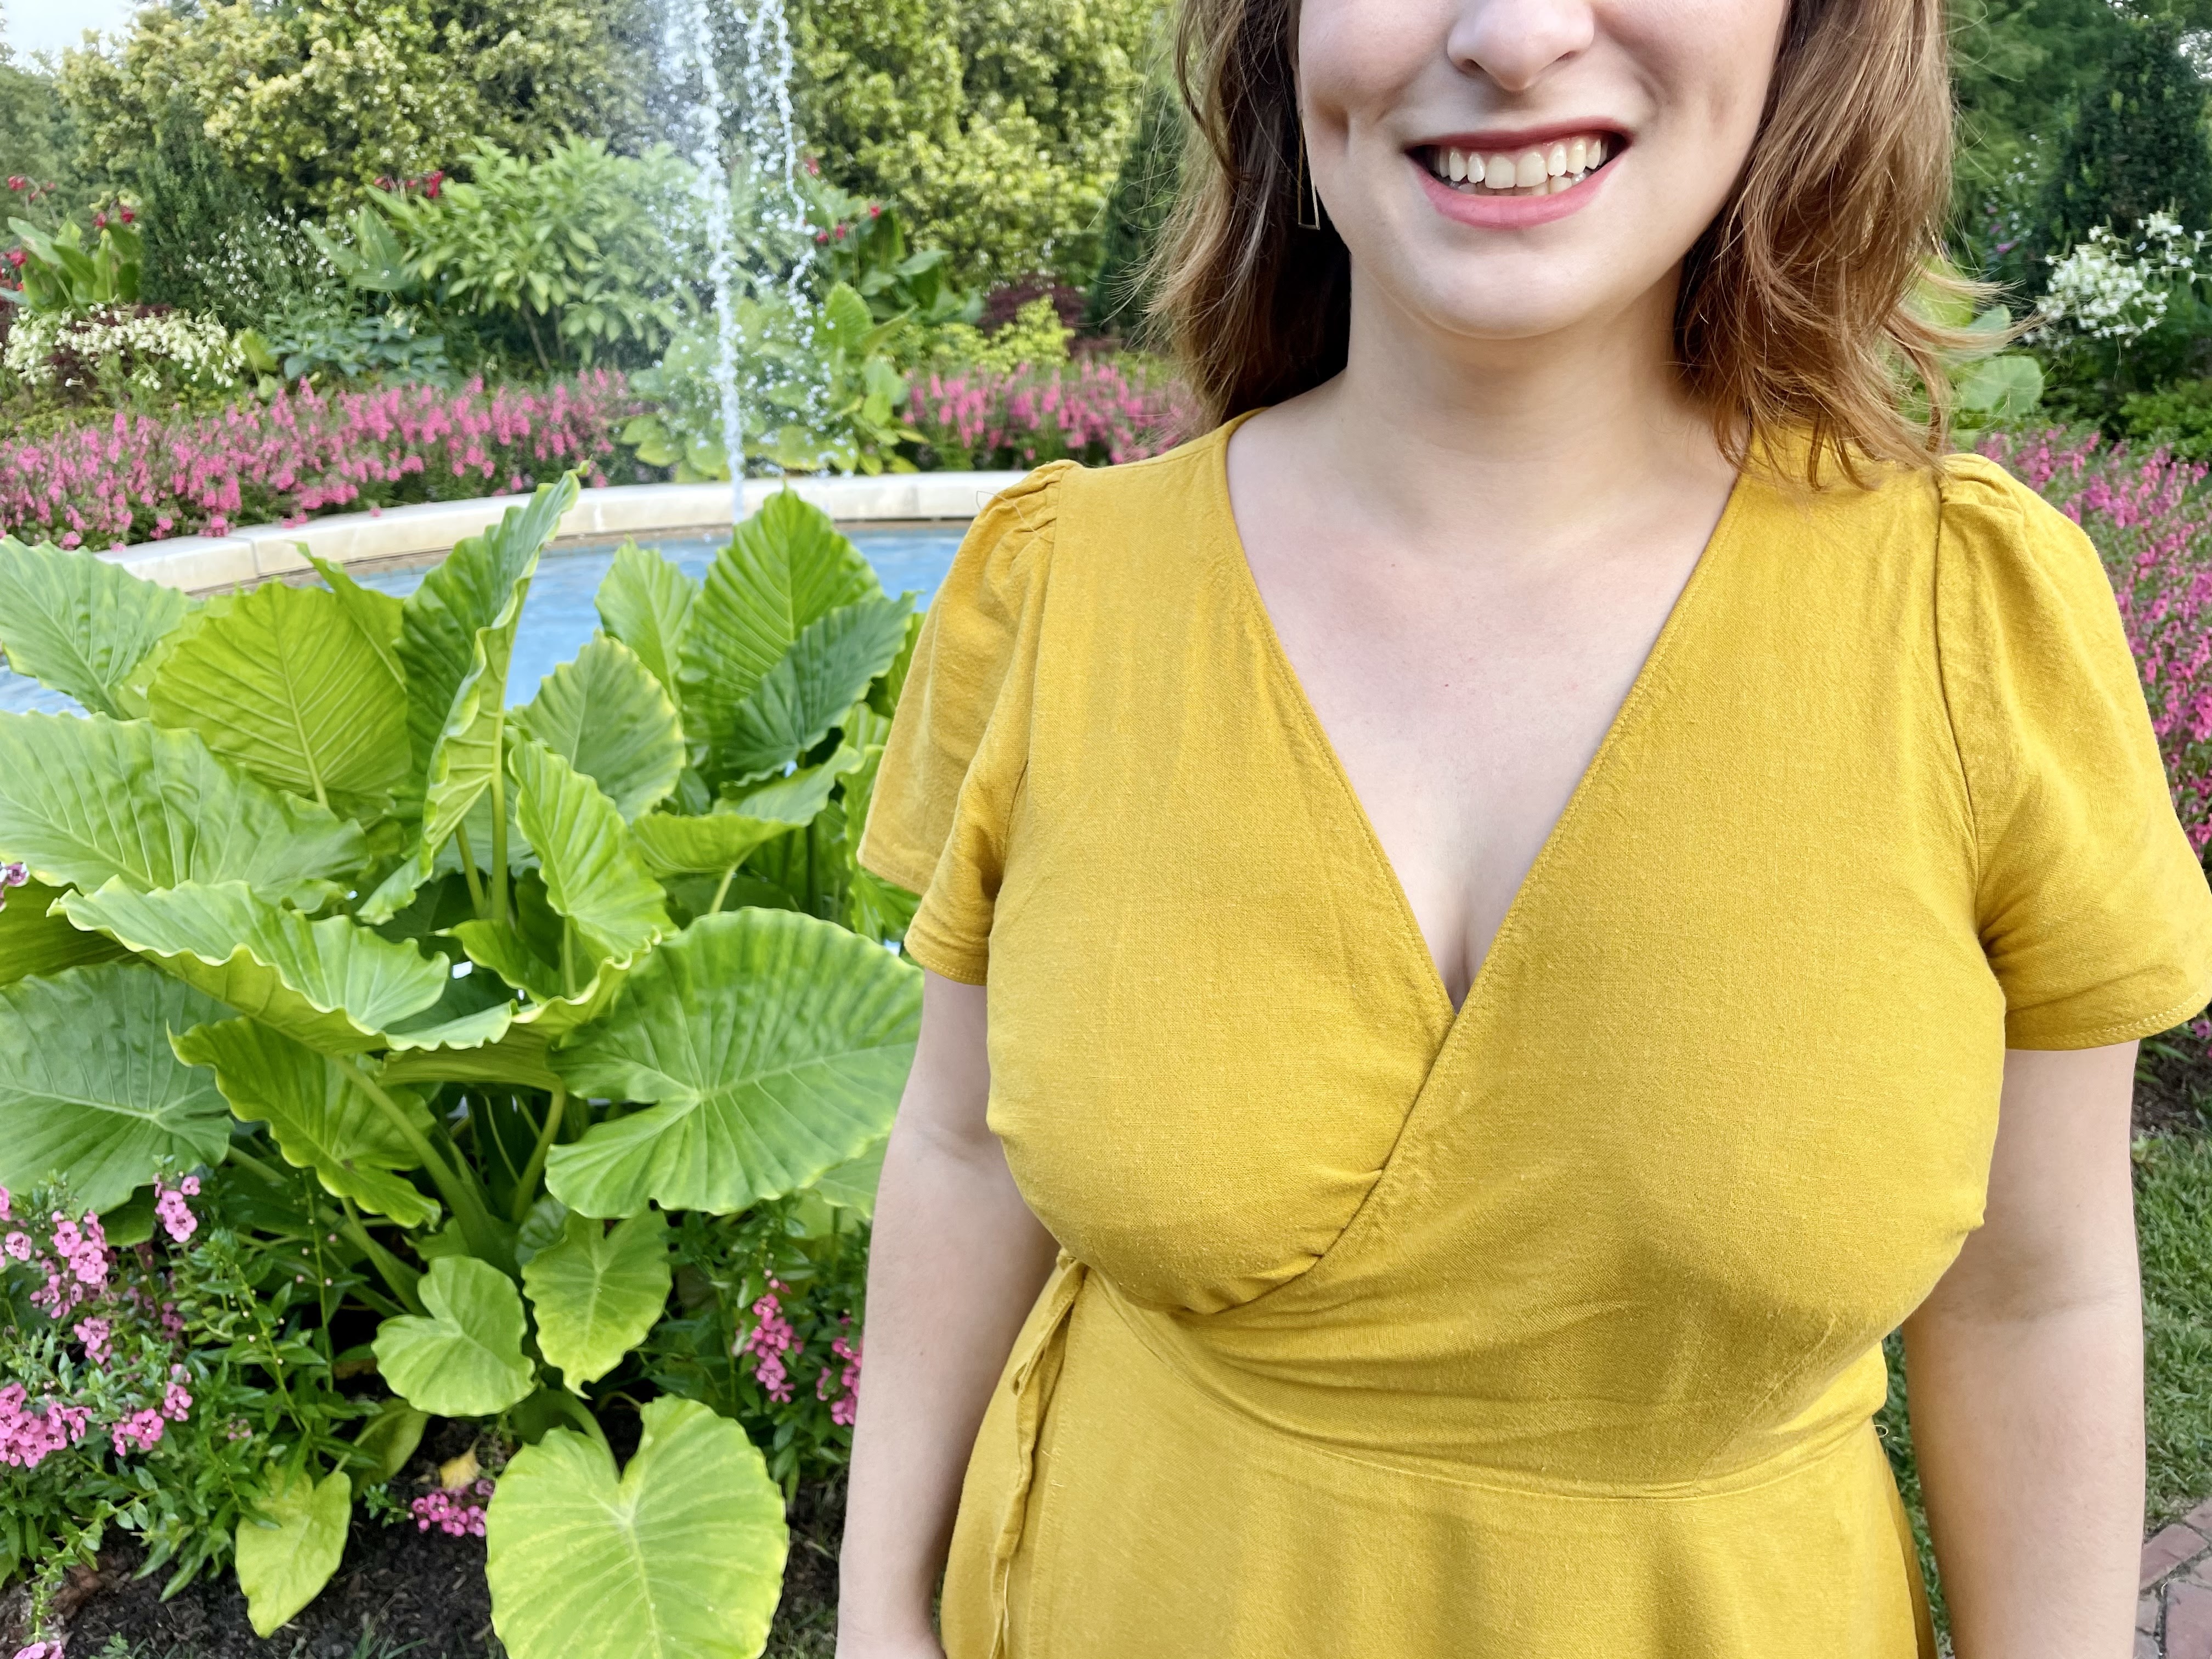
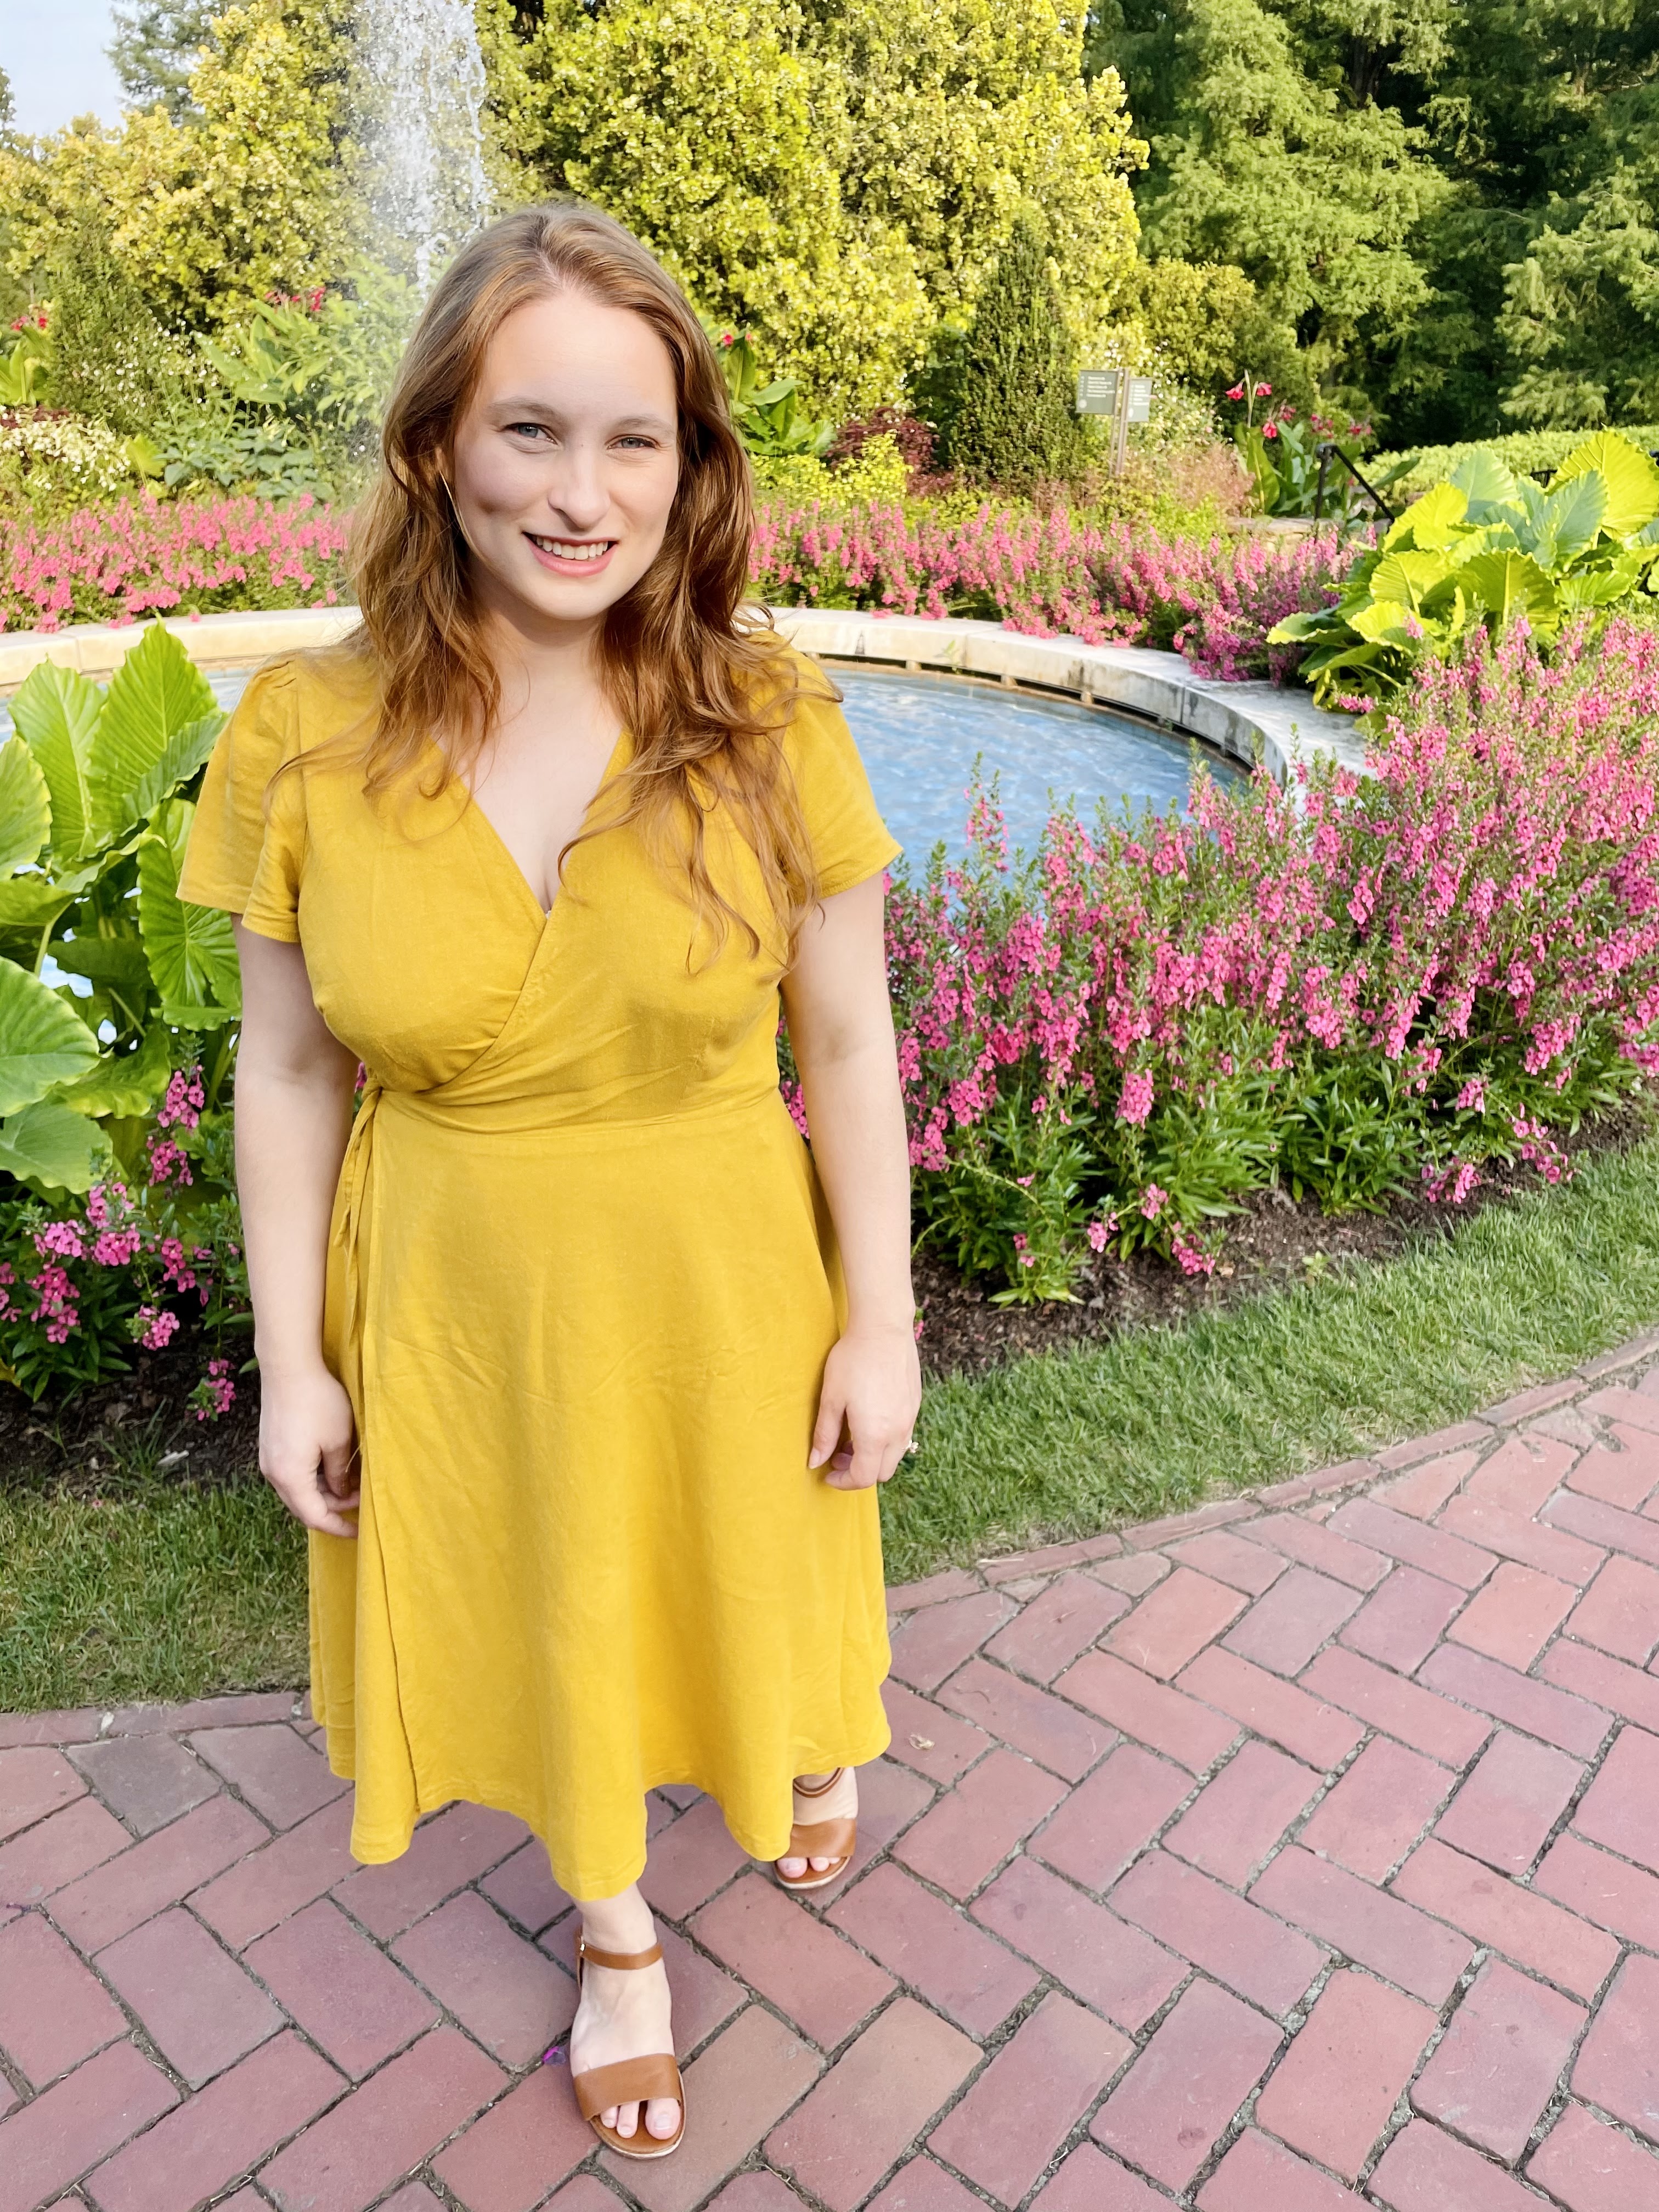
Now, try it on, snap a pic, and post with #sewbusty so I can see! I can’t wait to see your gorgeous Roseclairs!



Your Homework:
- Sew your skirt together by sewing and finishing the center back seam and side seams
- Attach your skirt to your bodice and finish that seam
- Finish the vertical edges of your skirt
- Make and attach bias tape to your neckline
- Finish your sleeve edges
- Hem your skirt
- Take a picture and share with the community on instagram using #sewbustycommunity, or share on the Sew Busty Facebook group or subreddit!
Questions about this week’s steps for the Roseclair dress? Drop a comment below, or ask on the Sew Busty Facebook group or subreddit.

