
Sloper Series: Using Your Bodice Sloper for Well-Fitting Bust Darts WITHOUT a Muslin
Back in May, I guest blogged for the Curvy Sewing Collective on drafting a bodice sloper for big boobies. In that blog, I experimented with four different sloper drafting methods, and ended up with a well-fitting sloper at the end! Maybe you followed along and have your own bodice sloper now, too! Well, what do we do with these slopers?! Let them collect dust?! I THINK NOT. In this new Sew Busty Sloper Series, I’ll talk you through different ways to use your sloper – from pattern alterations to drafting. See the whole series here.
Today, we’re going to talk about using your sloper to modify bust darts on any bodice pattern!
Now, I want to start with a note: I am not an expert seamstress, fitter, pattern maker, etc. What I am is a home sewer who has spent a lot of time reading and experimenting. And from those experiments, I’ve determined that some of this is more of an art than a science.
With that stated, let’s get started!
For today’s experiment in getting well-fitting darts without a muslin, I’m going to be using Designer Stitch’s Eden Jumpsuit. This is an older Designer Stitch pattern, dating back to 2018, but goodness, it’s on trend for today, don’t ya think?
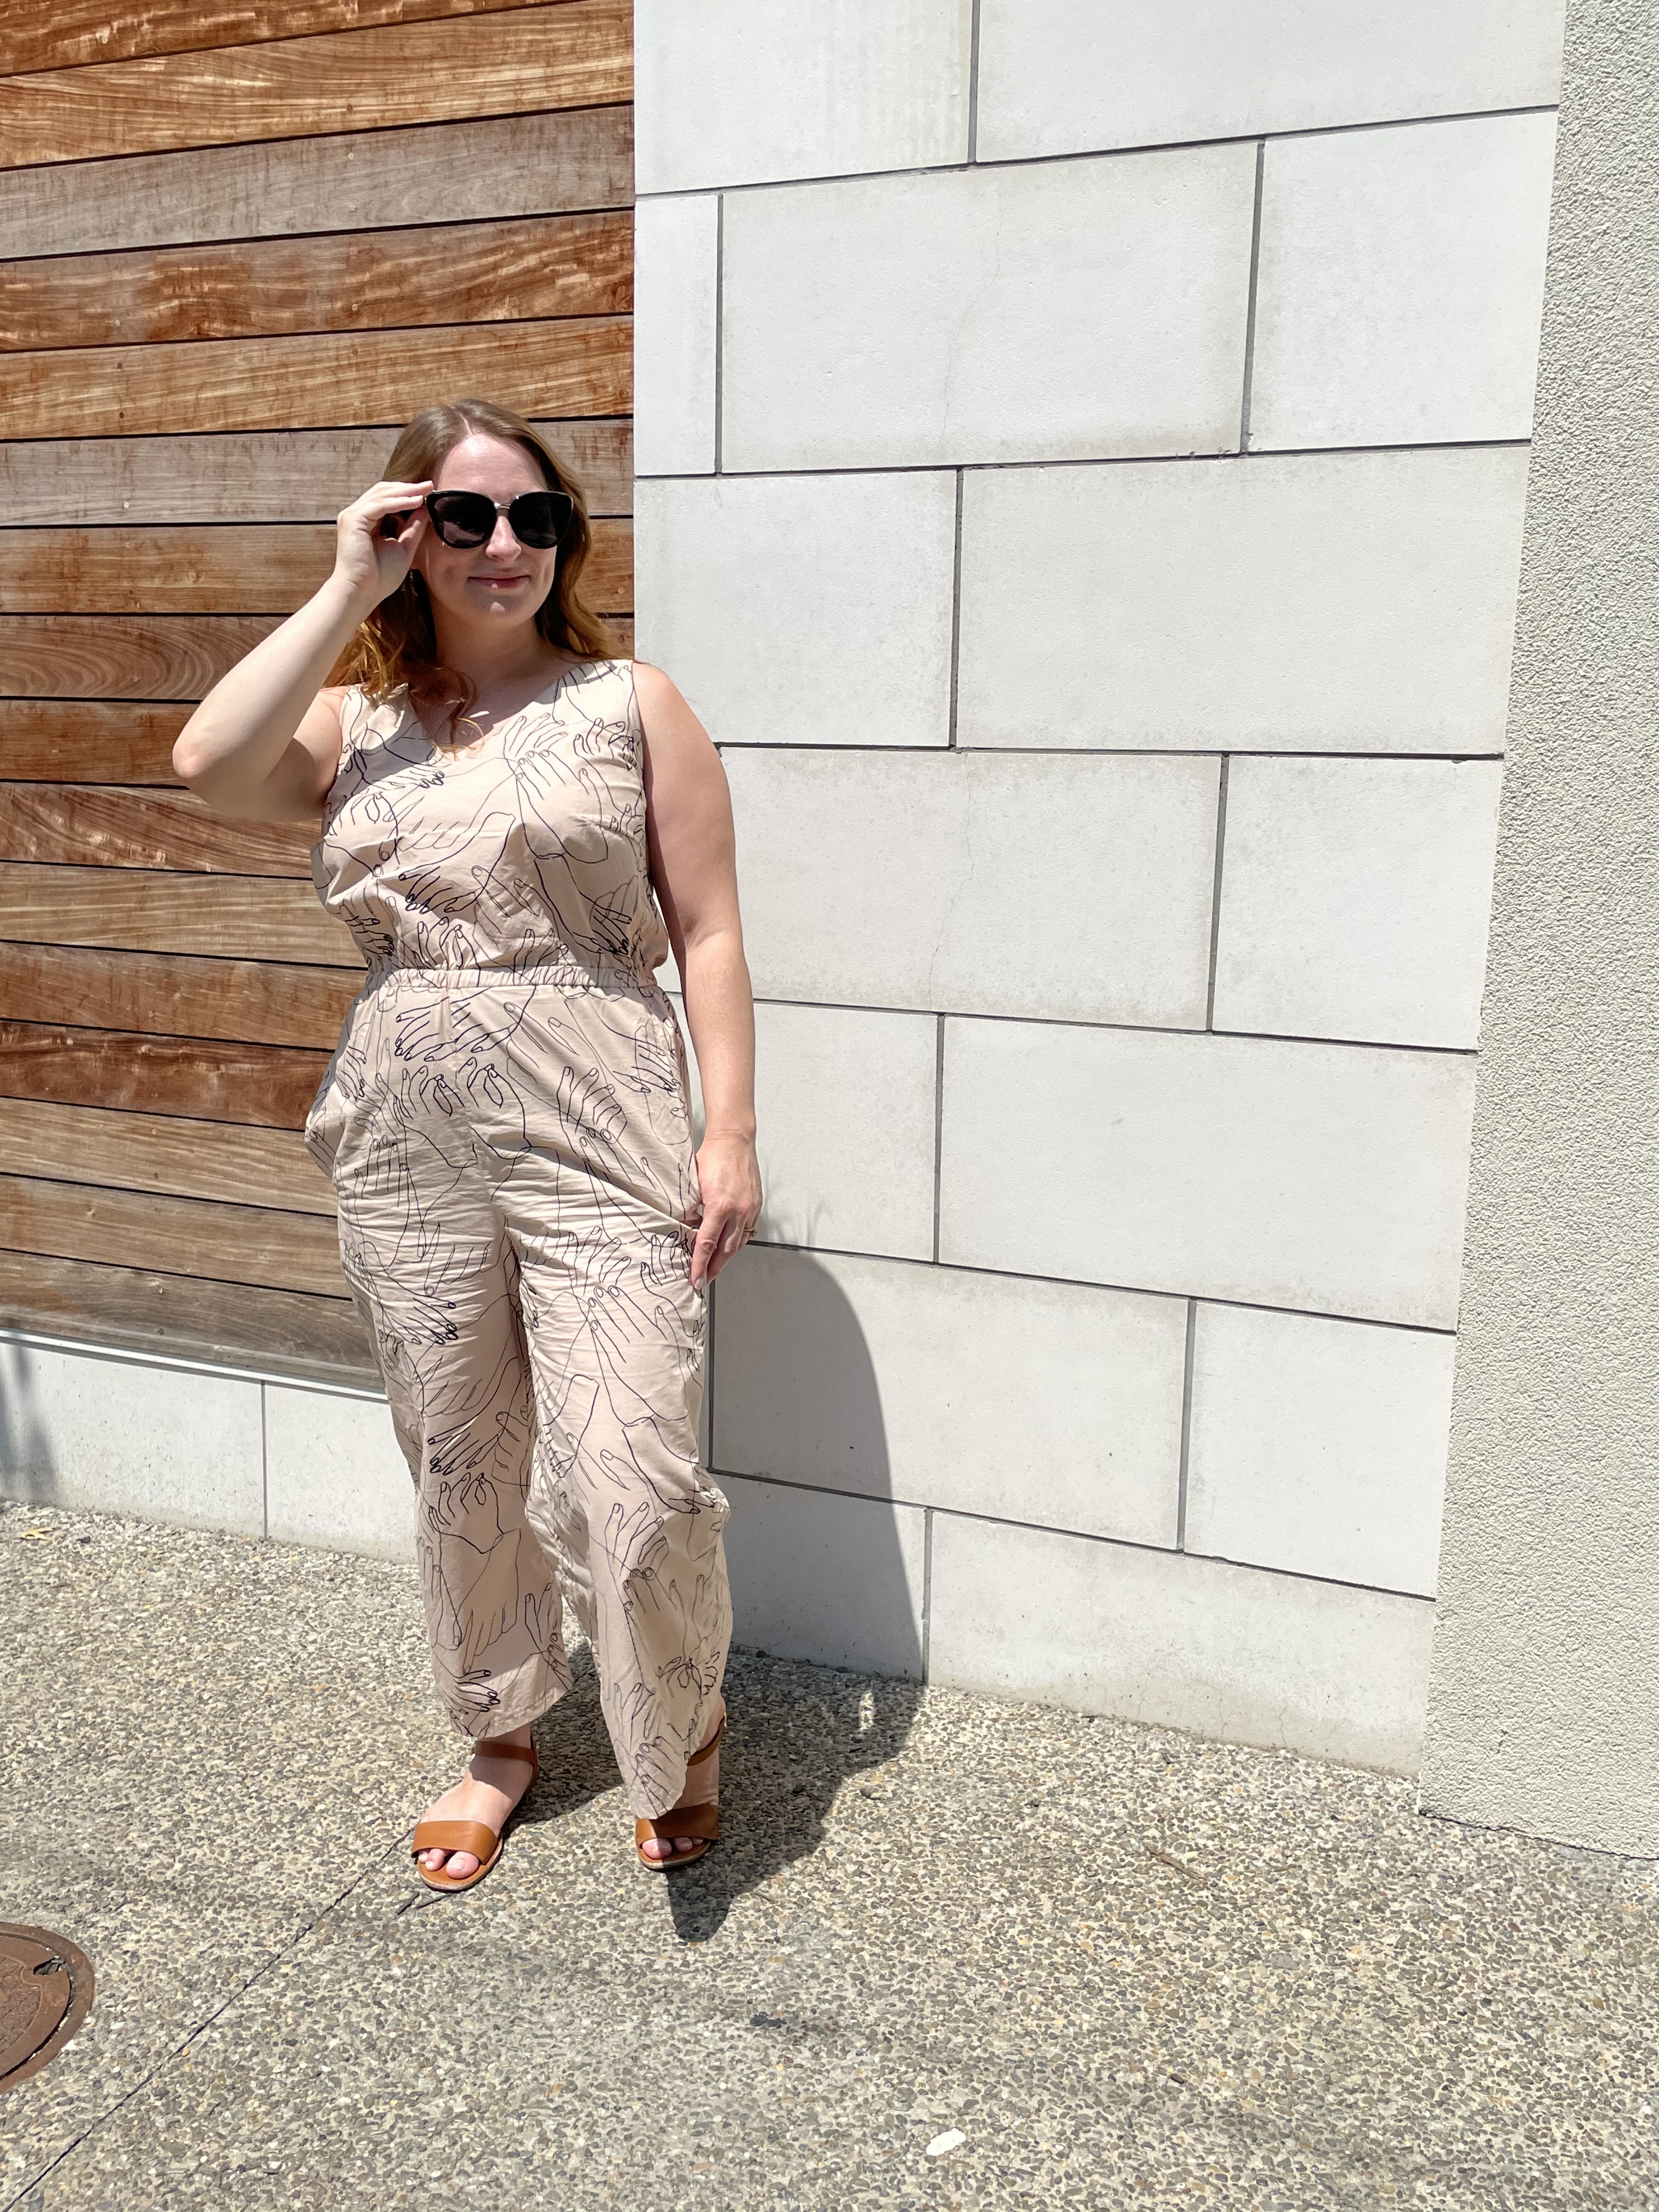
So, to get started, I cut the pattern according to my measurements, which, for this pattern, was a size 3DD. In Designer Stitch, I usually wear a 3DD graded to a 4 at the waist, then back to a 3 at the hip, but since this pattern has an elasticated waist, there’s lots of ease there. So I just cut a straight 3DD, no grading.
The first thing I needed to do was adapt my sloper to have darts that match the Eden. My sloper – the version I posted on the CSC blog – has a side bust dart, a shoulder seam bust dart, and a waist dart. But the Eden only has a single bust dart. So I first made a sloper version with a single bust dart by rotating my darts into a single dart.
I’m not going to go over dart rotation in this post, but suffice to say it’s SUPER EASY. There are a few ways to move darts, and I prefer the pivot method, shown in the second part of this video:
Now, you might be thinking, “But Lindsie, some of the shaping that would normally rely on darts is surely happening through the elasticated waist, right? How do you account for that?”
Well, remember when I said this was an art, not wholly a science? Let’s just keep going and see where things lead.
The next thing I’m going to do is place my newly-created single-dart sloper over my front bodice pattern. In this image, I’ve marked the correct bust point and the dart legs in pink.
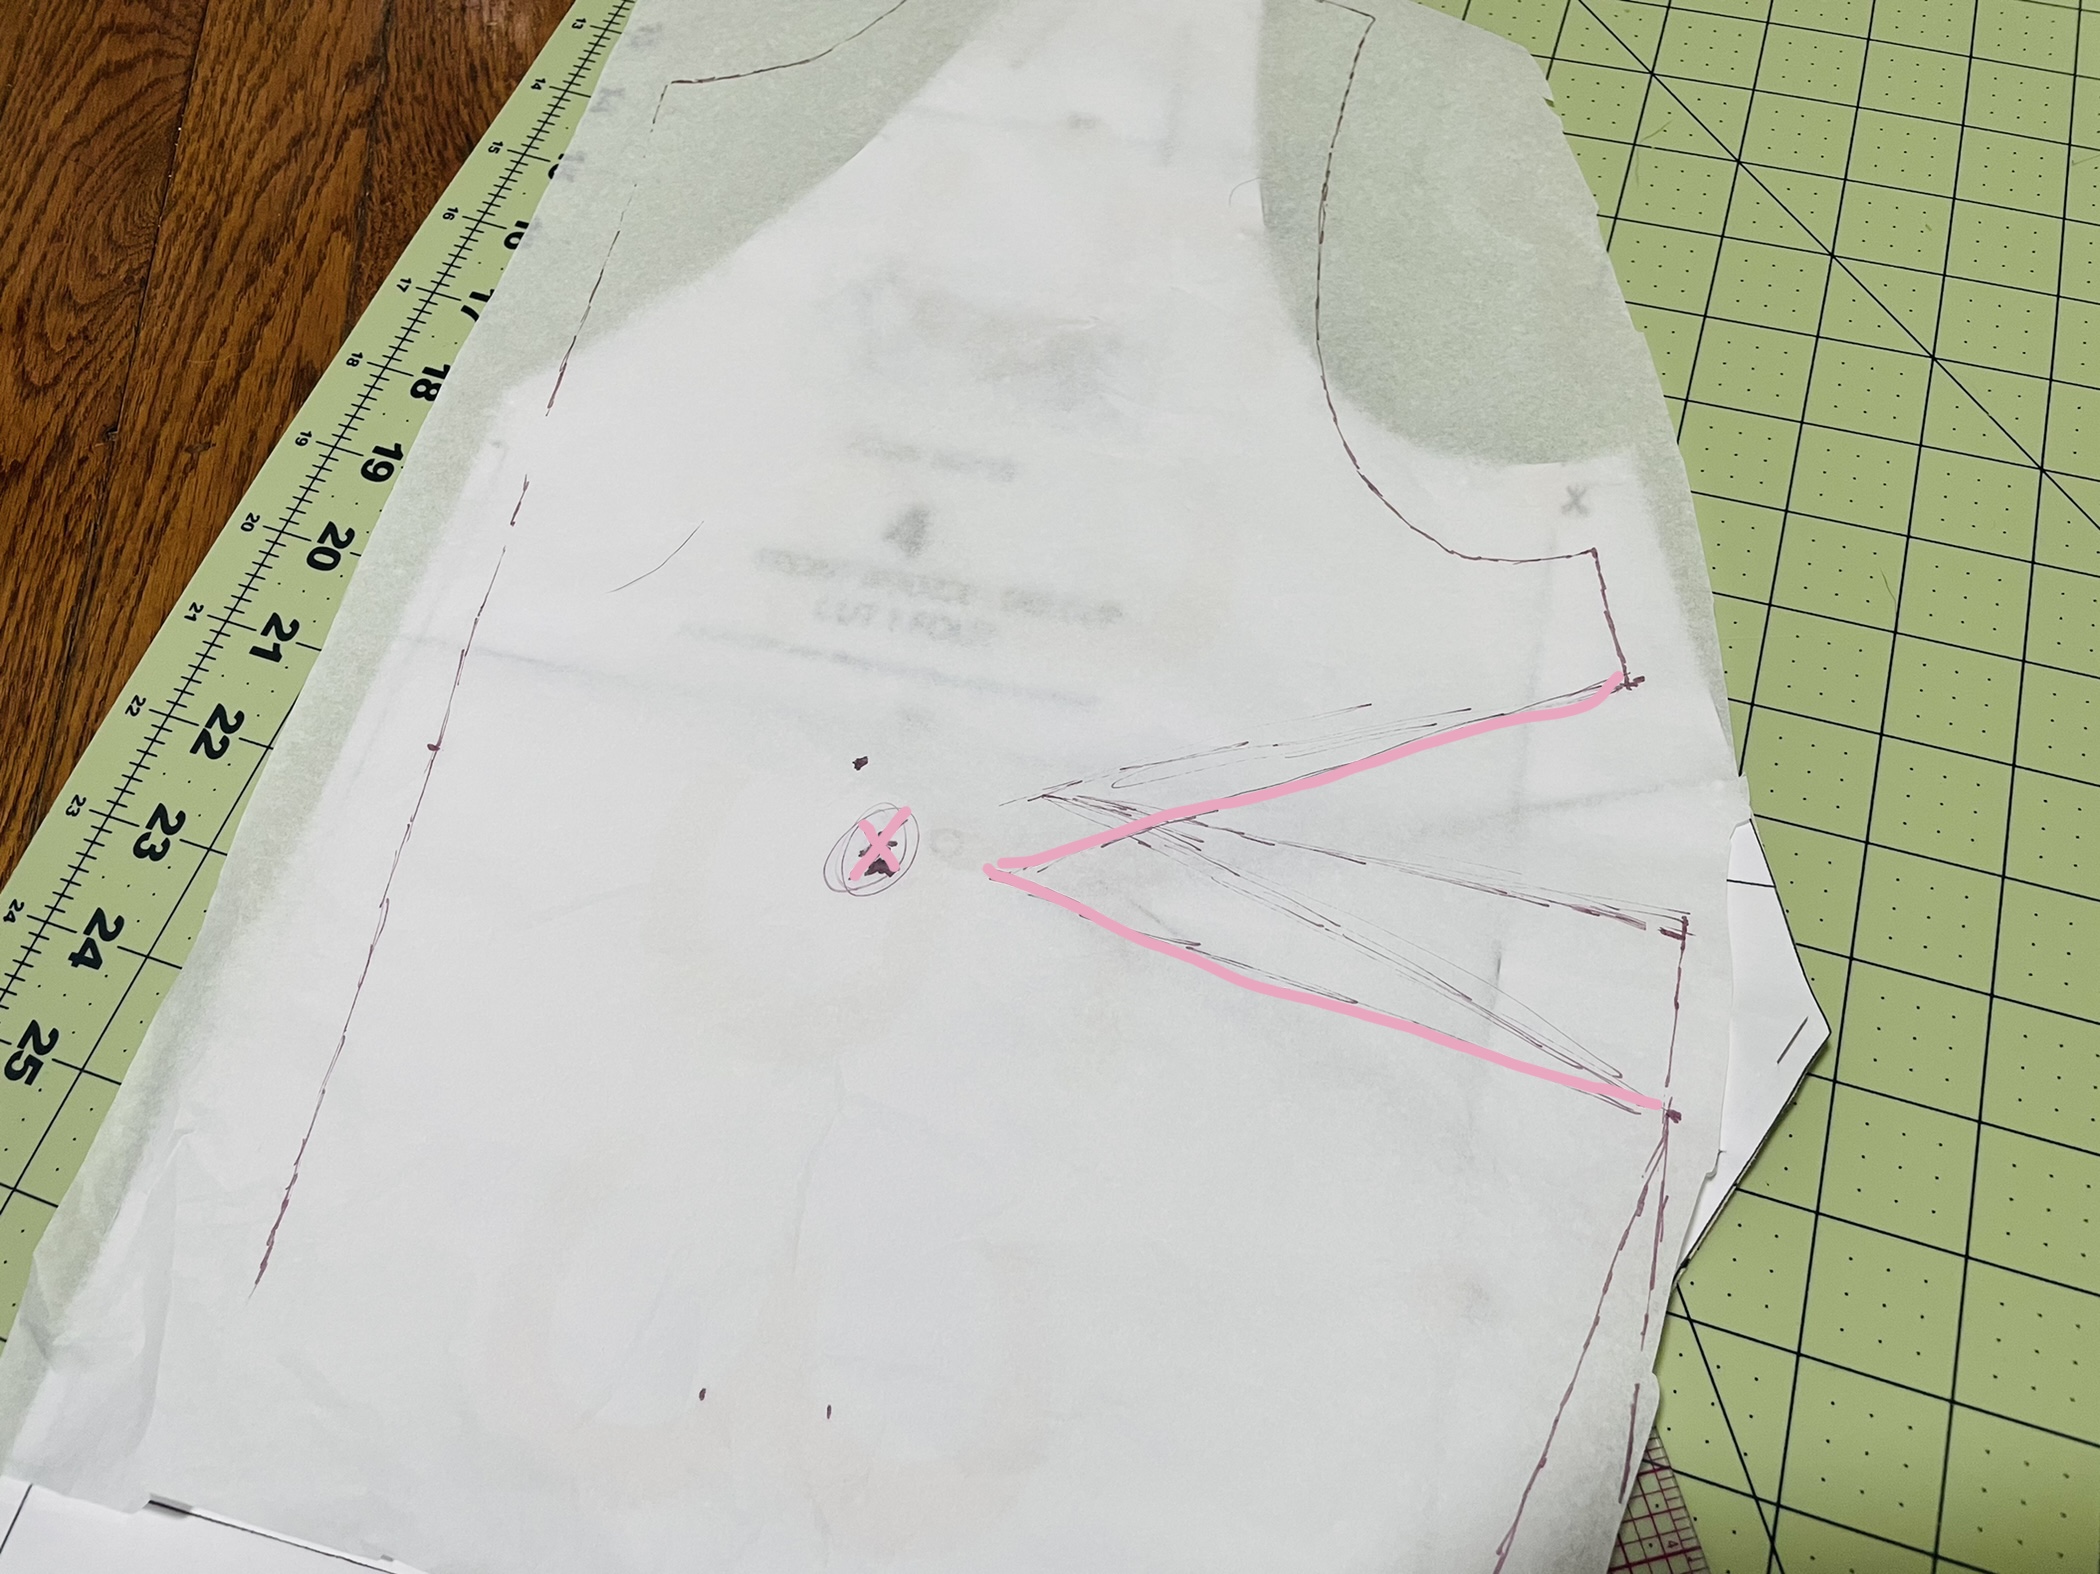
You’ll notice that all the lines of my sloper are just slightly inward of the outer edges of my pattern. This is because my sloper has no seam allowances, while the Eden has 1/2″ seam allowances. So I placed my sloper edge roughly 1/2″ inward from the edge of the pattern.
You will also notice that The center front of the pattern piece is angled differently than the center front of the sloper. This is because the pattern has an elasticated waist, while my sloper is designed to form-fit my body.
Okay, so what can we learn from this?
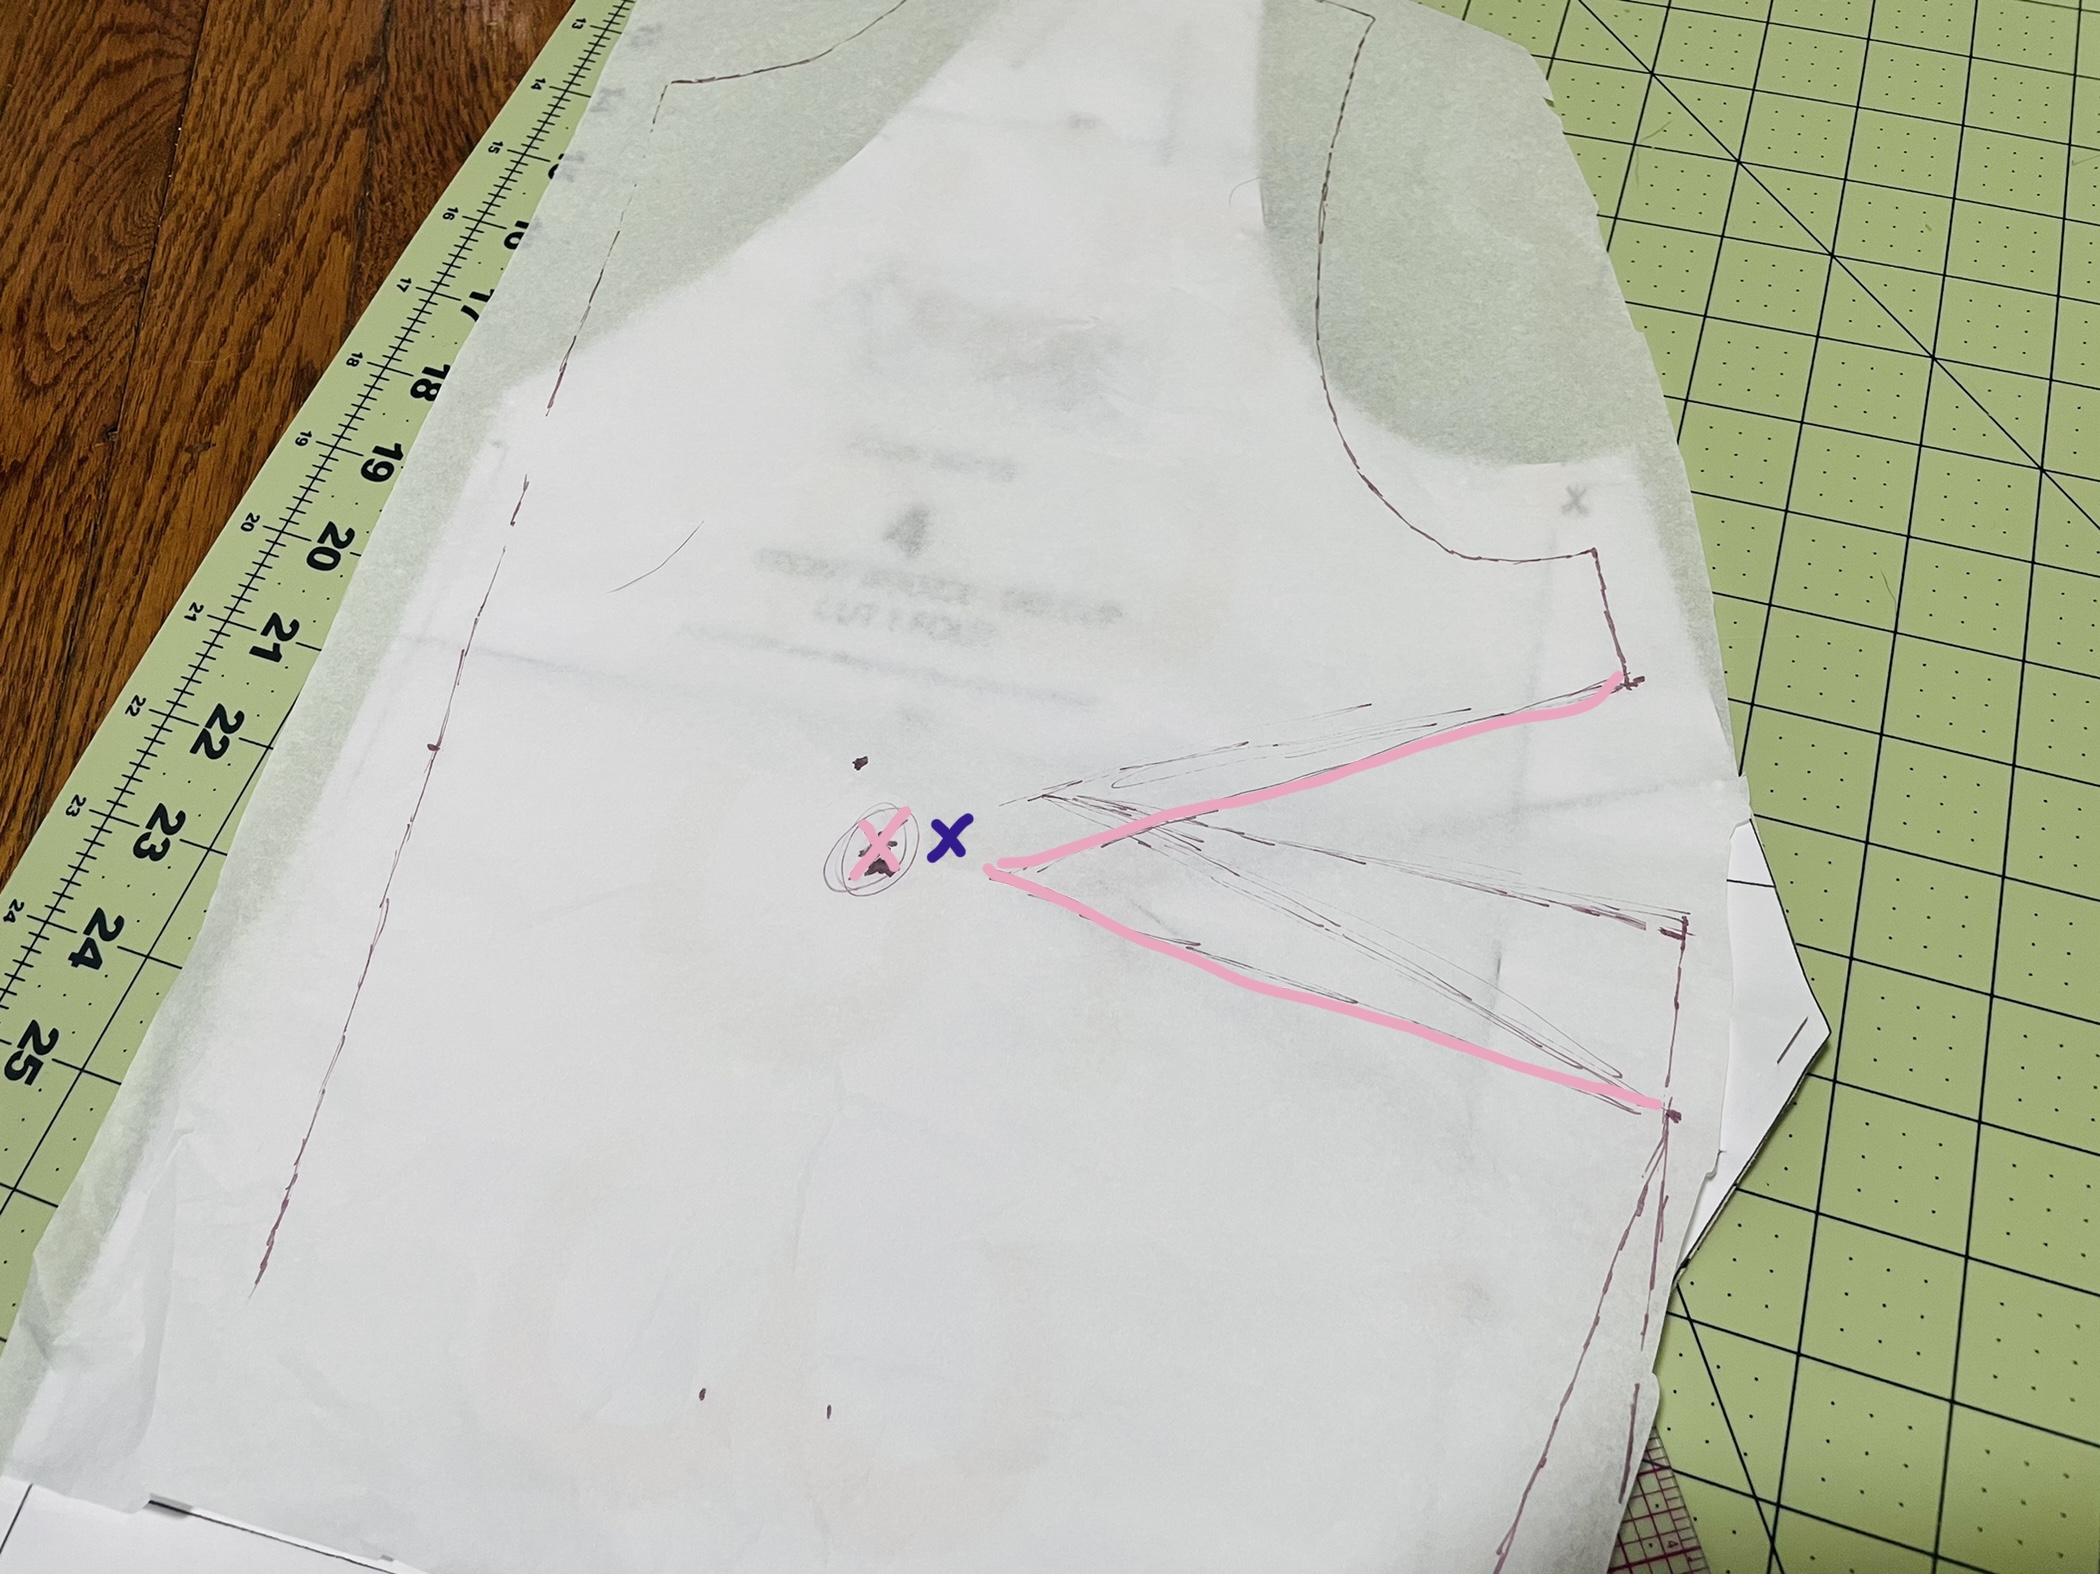
Well, the biggest thing I noticed is that my bust point, marked here with a pink X, is about 1/8″ lower and 1/2″ inward from the bust point of the Eden pattern. You can see this a bit more clearly on the following picture, where I’ve marked the Eden’s bust point in blue:
Another thing that you might notice is that the angle of the bust darts is different on the Eden than on my sloper. Here, I’ve traced the Eden bust darts in blue:
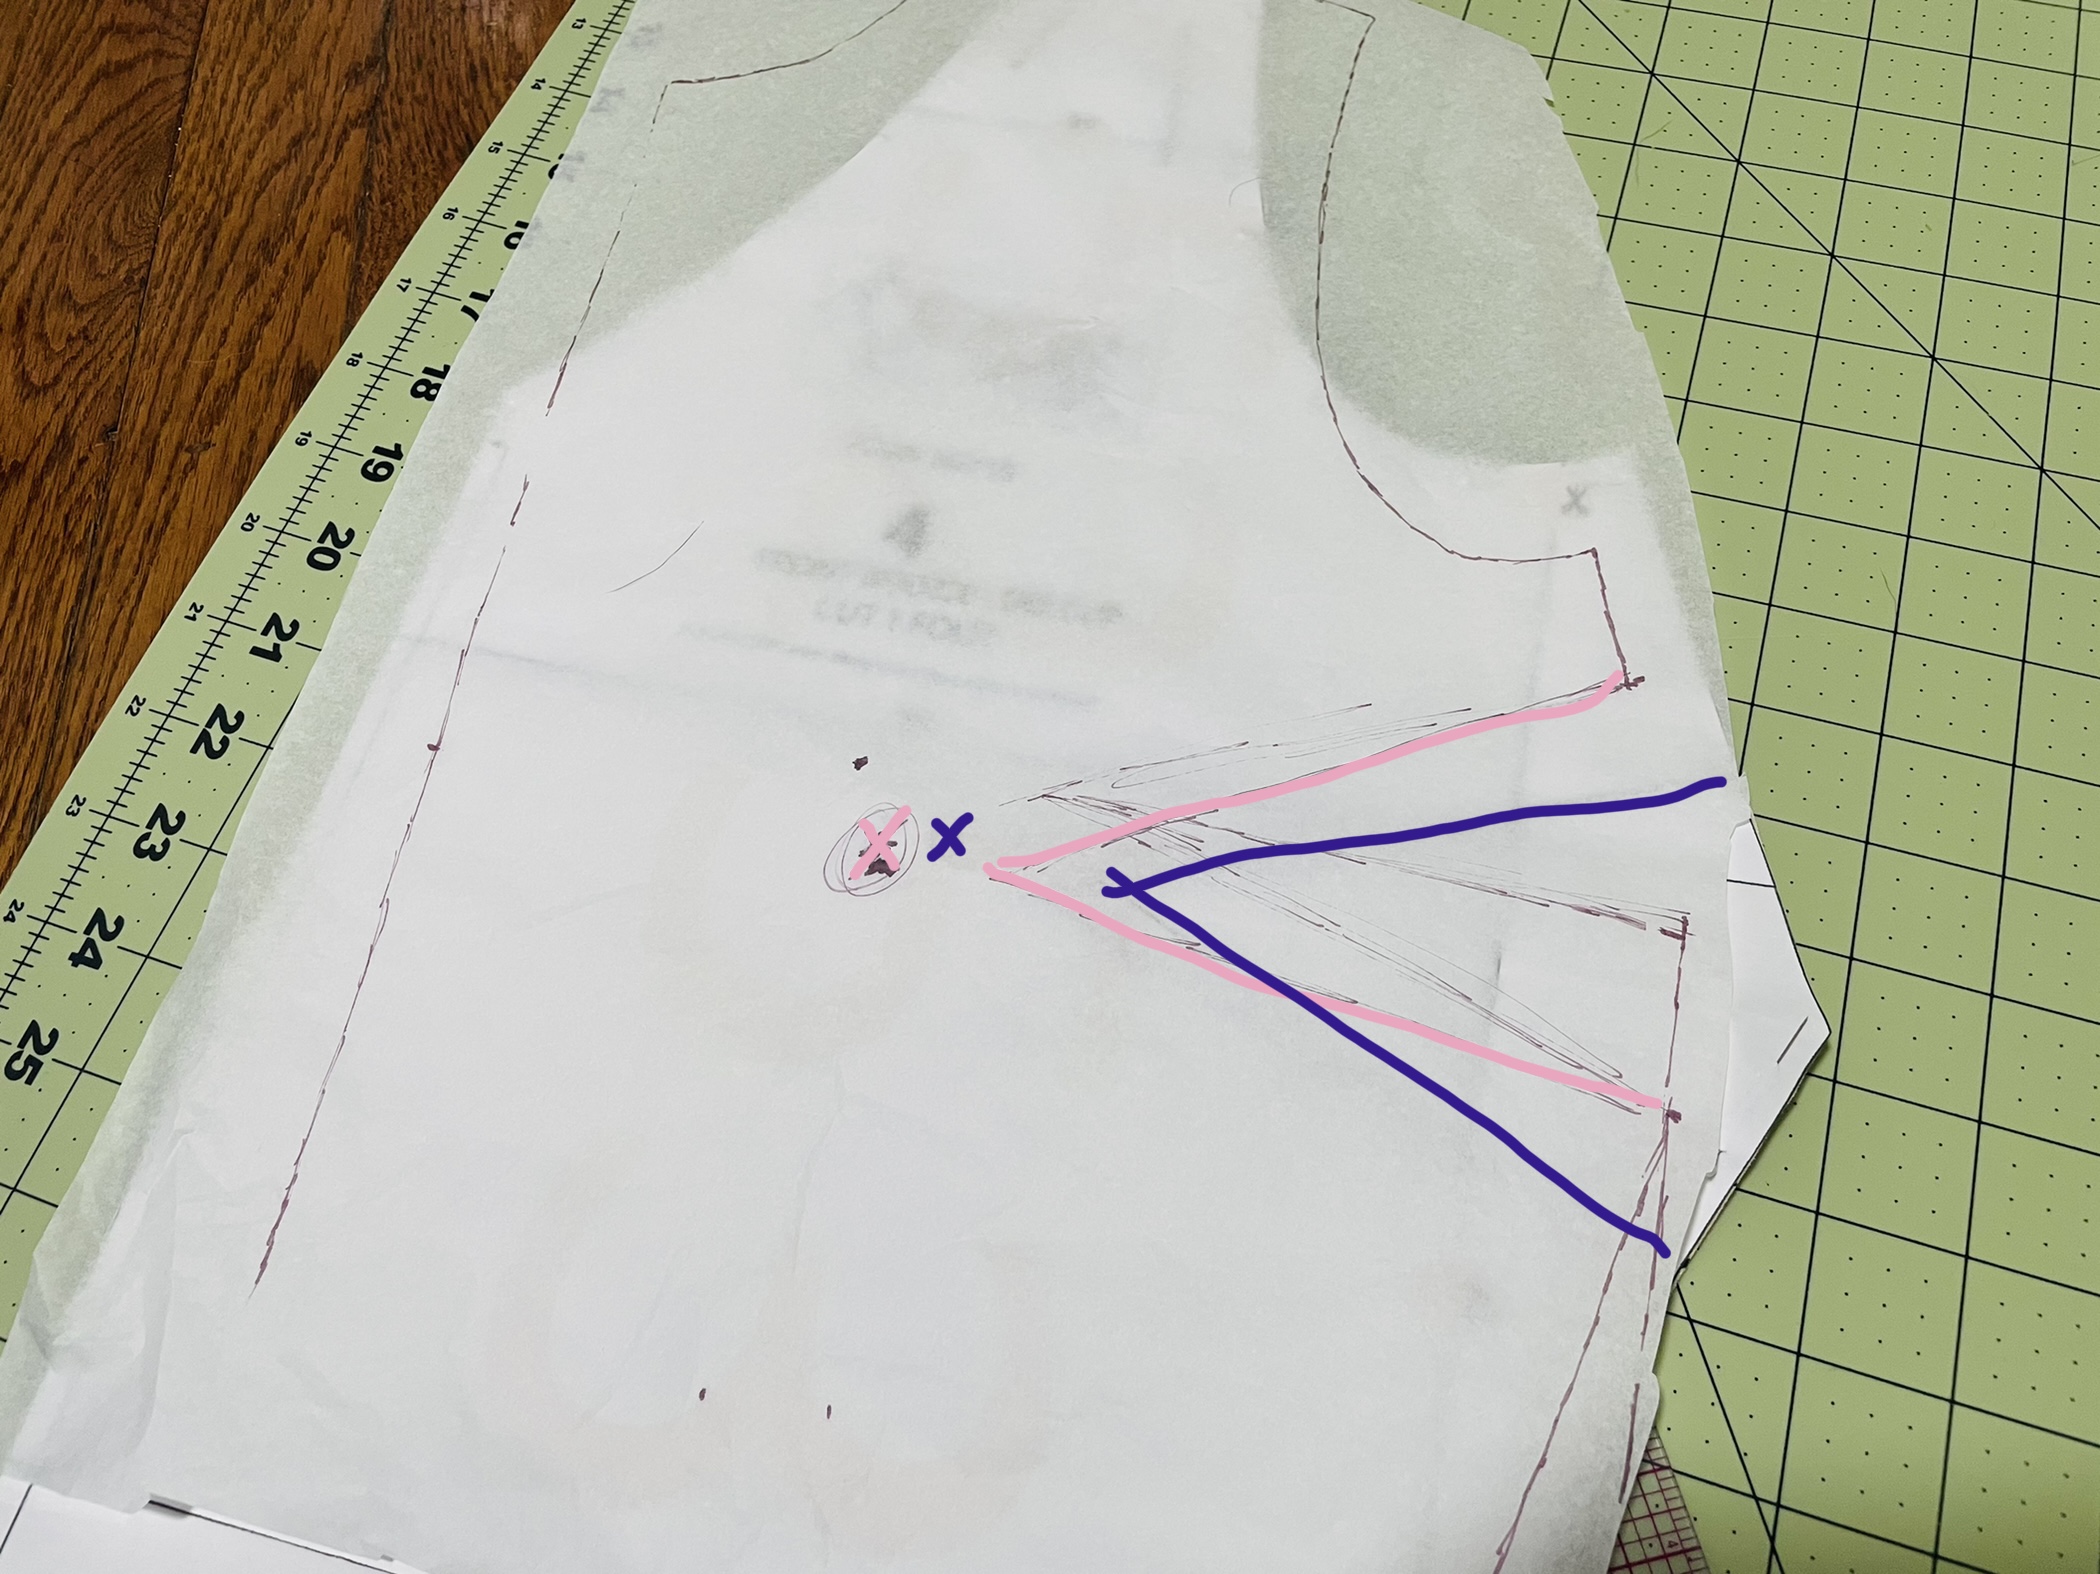
What you may or may not be able to see in this picture, though, is that the bust darts – while ending at a slightly different apex and having a different angle – are actually about the same width.
In fact, moving my sloper to have its apex match the Eden’s apex and rotating to have the dart legs match, I could see that the darts were actually just about correct in size.
So, my biggest issue was the apex being ever so slightly off. (And frankly, this isn’t much of an issue, and this whole process really showed me why Designer Stitch patterns are some of my favorites … their block appears to match my bust very well).
To fix this, I drilled through the apex and marked the Eden pattern underneath. Below, you can see my new apex drawn as a purple X:
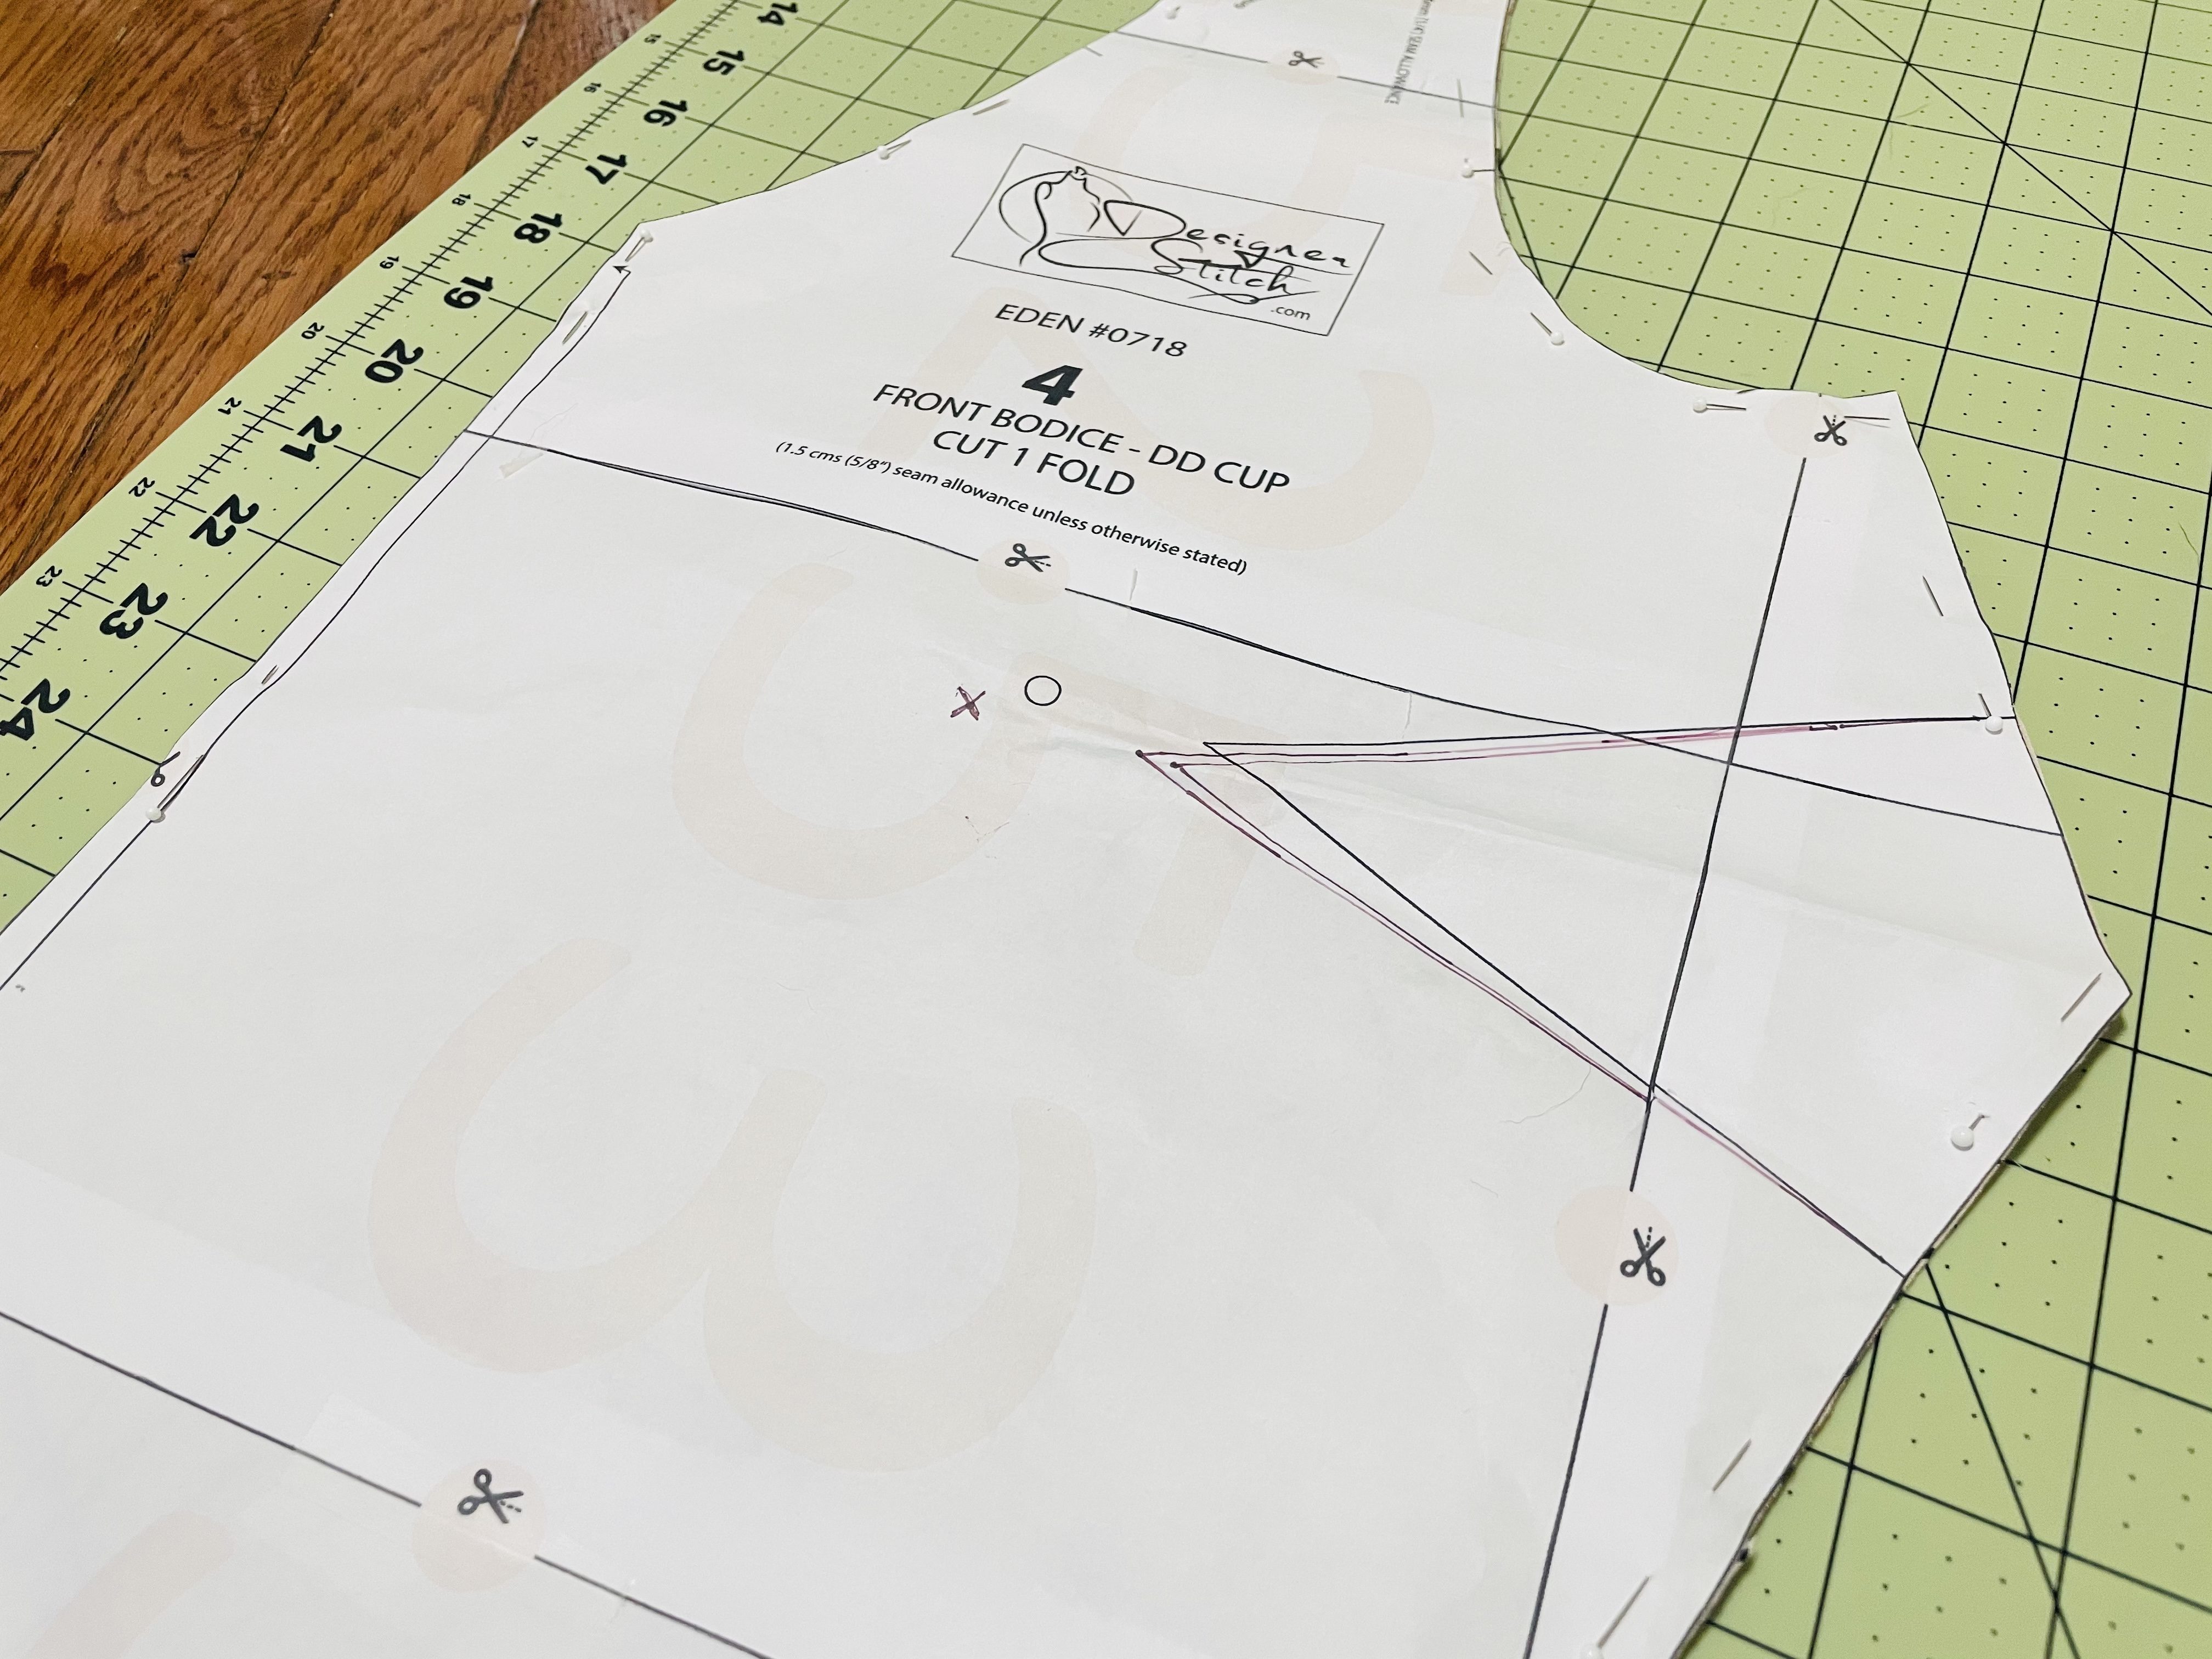
Now, this is the tiniest apex change. But, for a near-perfect fit, I still wanted to make it!
The most correct way to move the apex down is to cut out the dart and move the whole damn thing down. You can see a tutorial on this from the Curvy Sewing Collective here. Only then would we lengthen the dart to account for my closer-to-center apex.
But, I’m lazy, this was literally a 1/8″ lowering, and – looking at my sloper bust dart angle – I knew that I like my darts to be at a slightly more downward angle. So instead, I marked my dart’s disappearing point 1-1/4″ from my apex, and redrew the damn dart.
Here, you can see me trying it on before adding the elastic or zipper. This photo also happens to be helpful because it shows how the bust fit before I wore the thing and introduced mega wrinkles. (Ohhh cotton poplin, how I love you, but how you also get SO WRINKLY.)
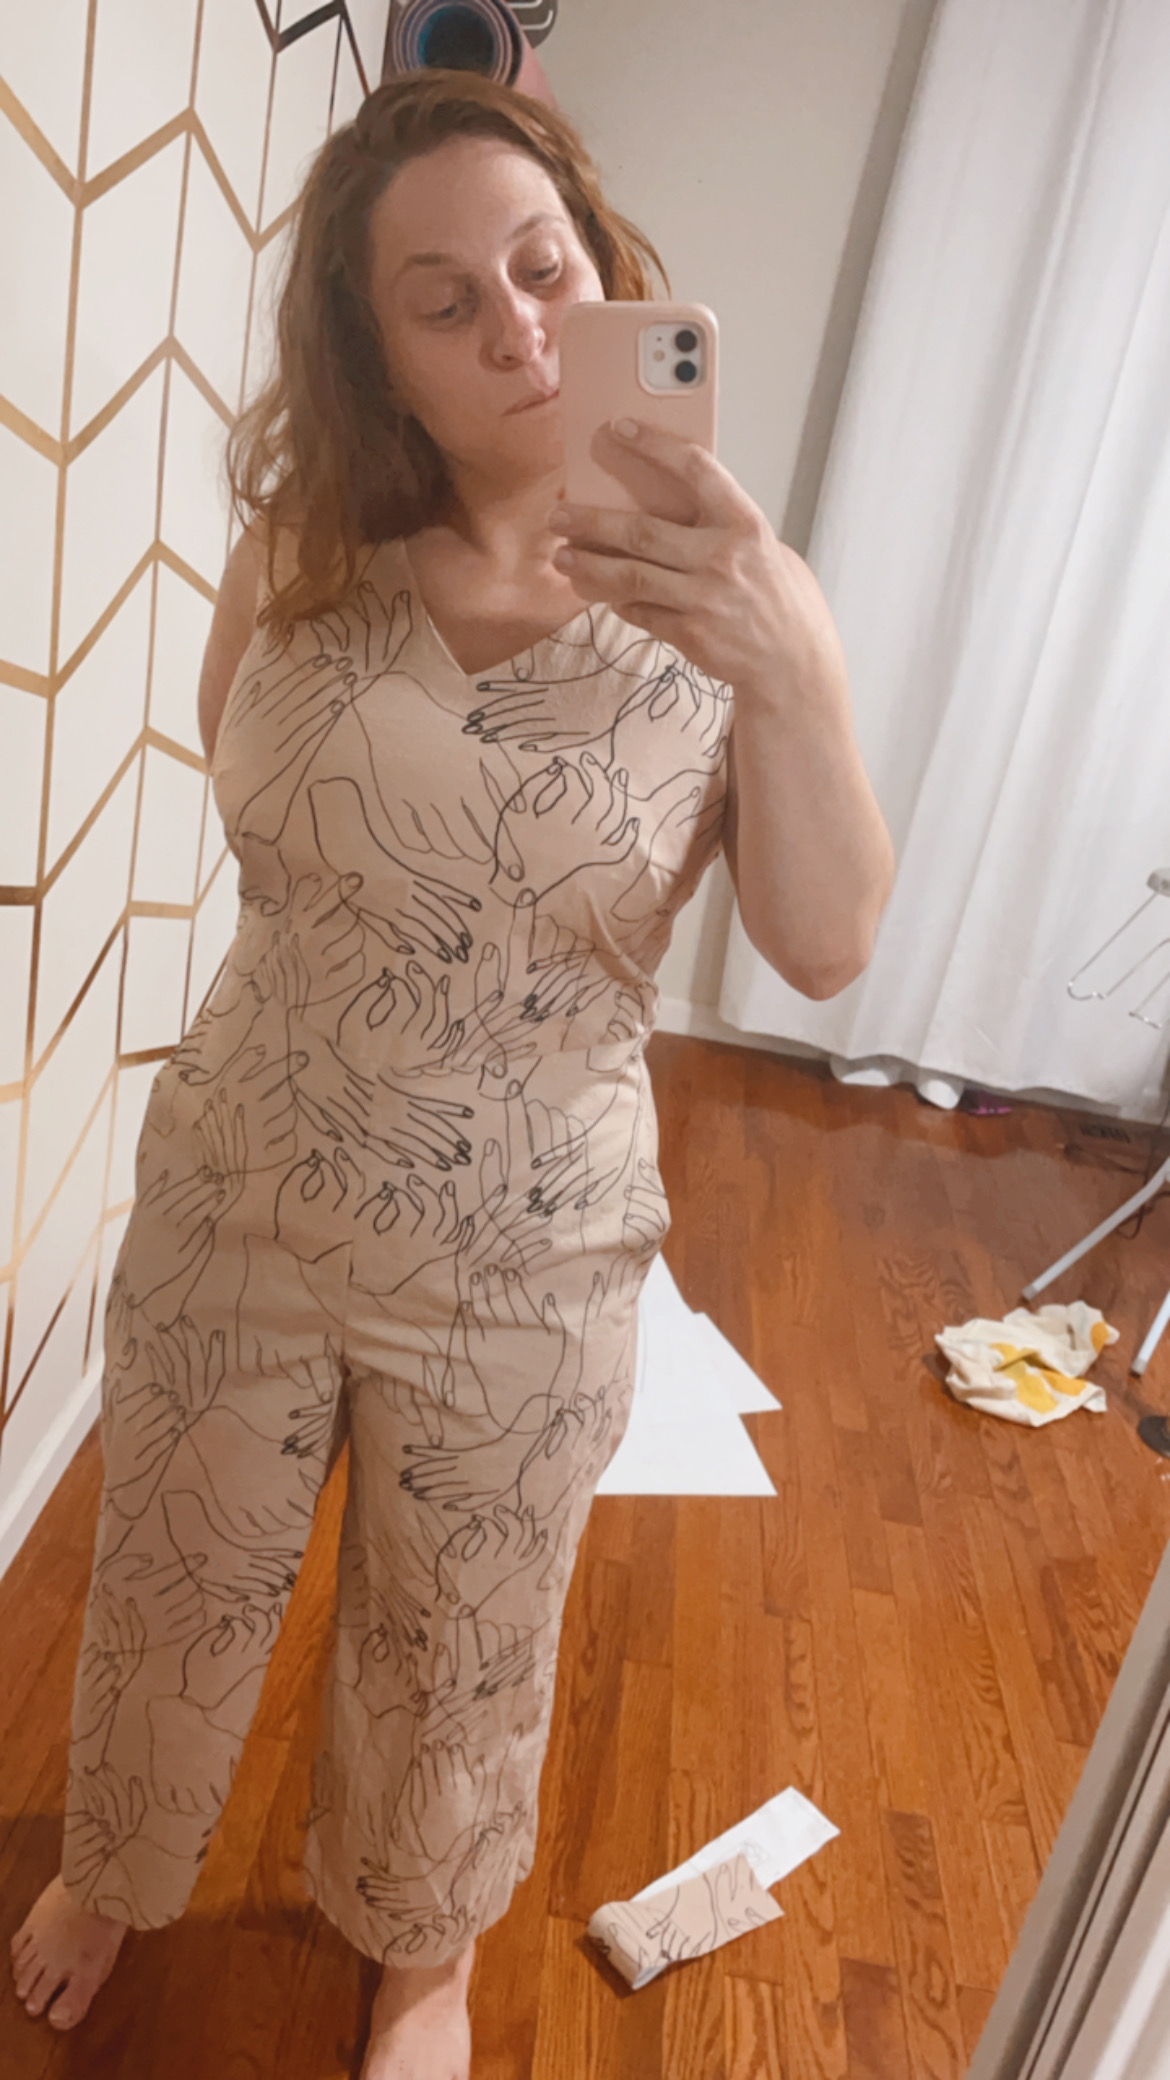
That’s literally it, folks. That’s the dart I used. I did try the bodice on after sewing the darts, and ended up lengthening the darts by about 1/4″ and curving the ends – something I often do with darts, and something that didn’t surprise me, as I prefer my darts to end about 1″ from my apex, while Ann from Designer Stitch ends her darts 1-1/4″ from the apex.
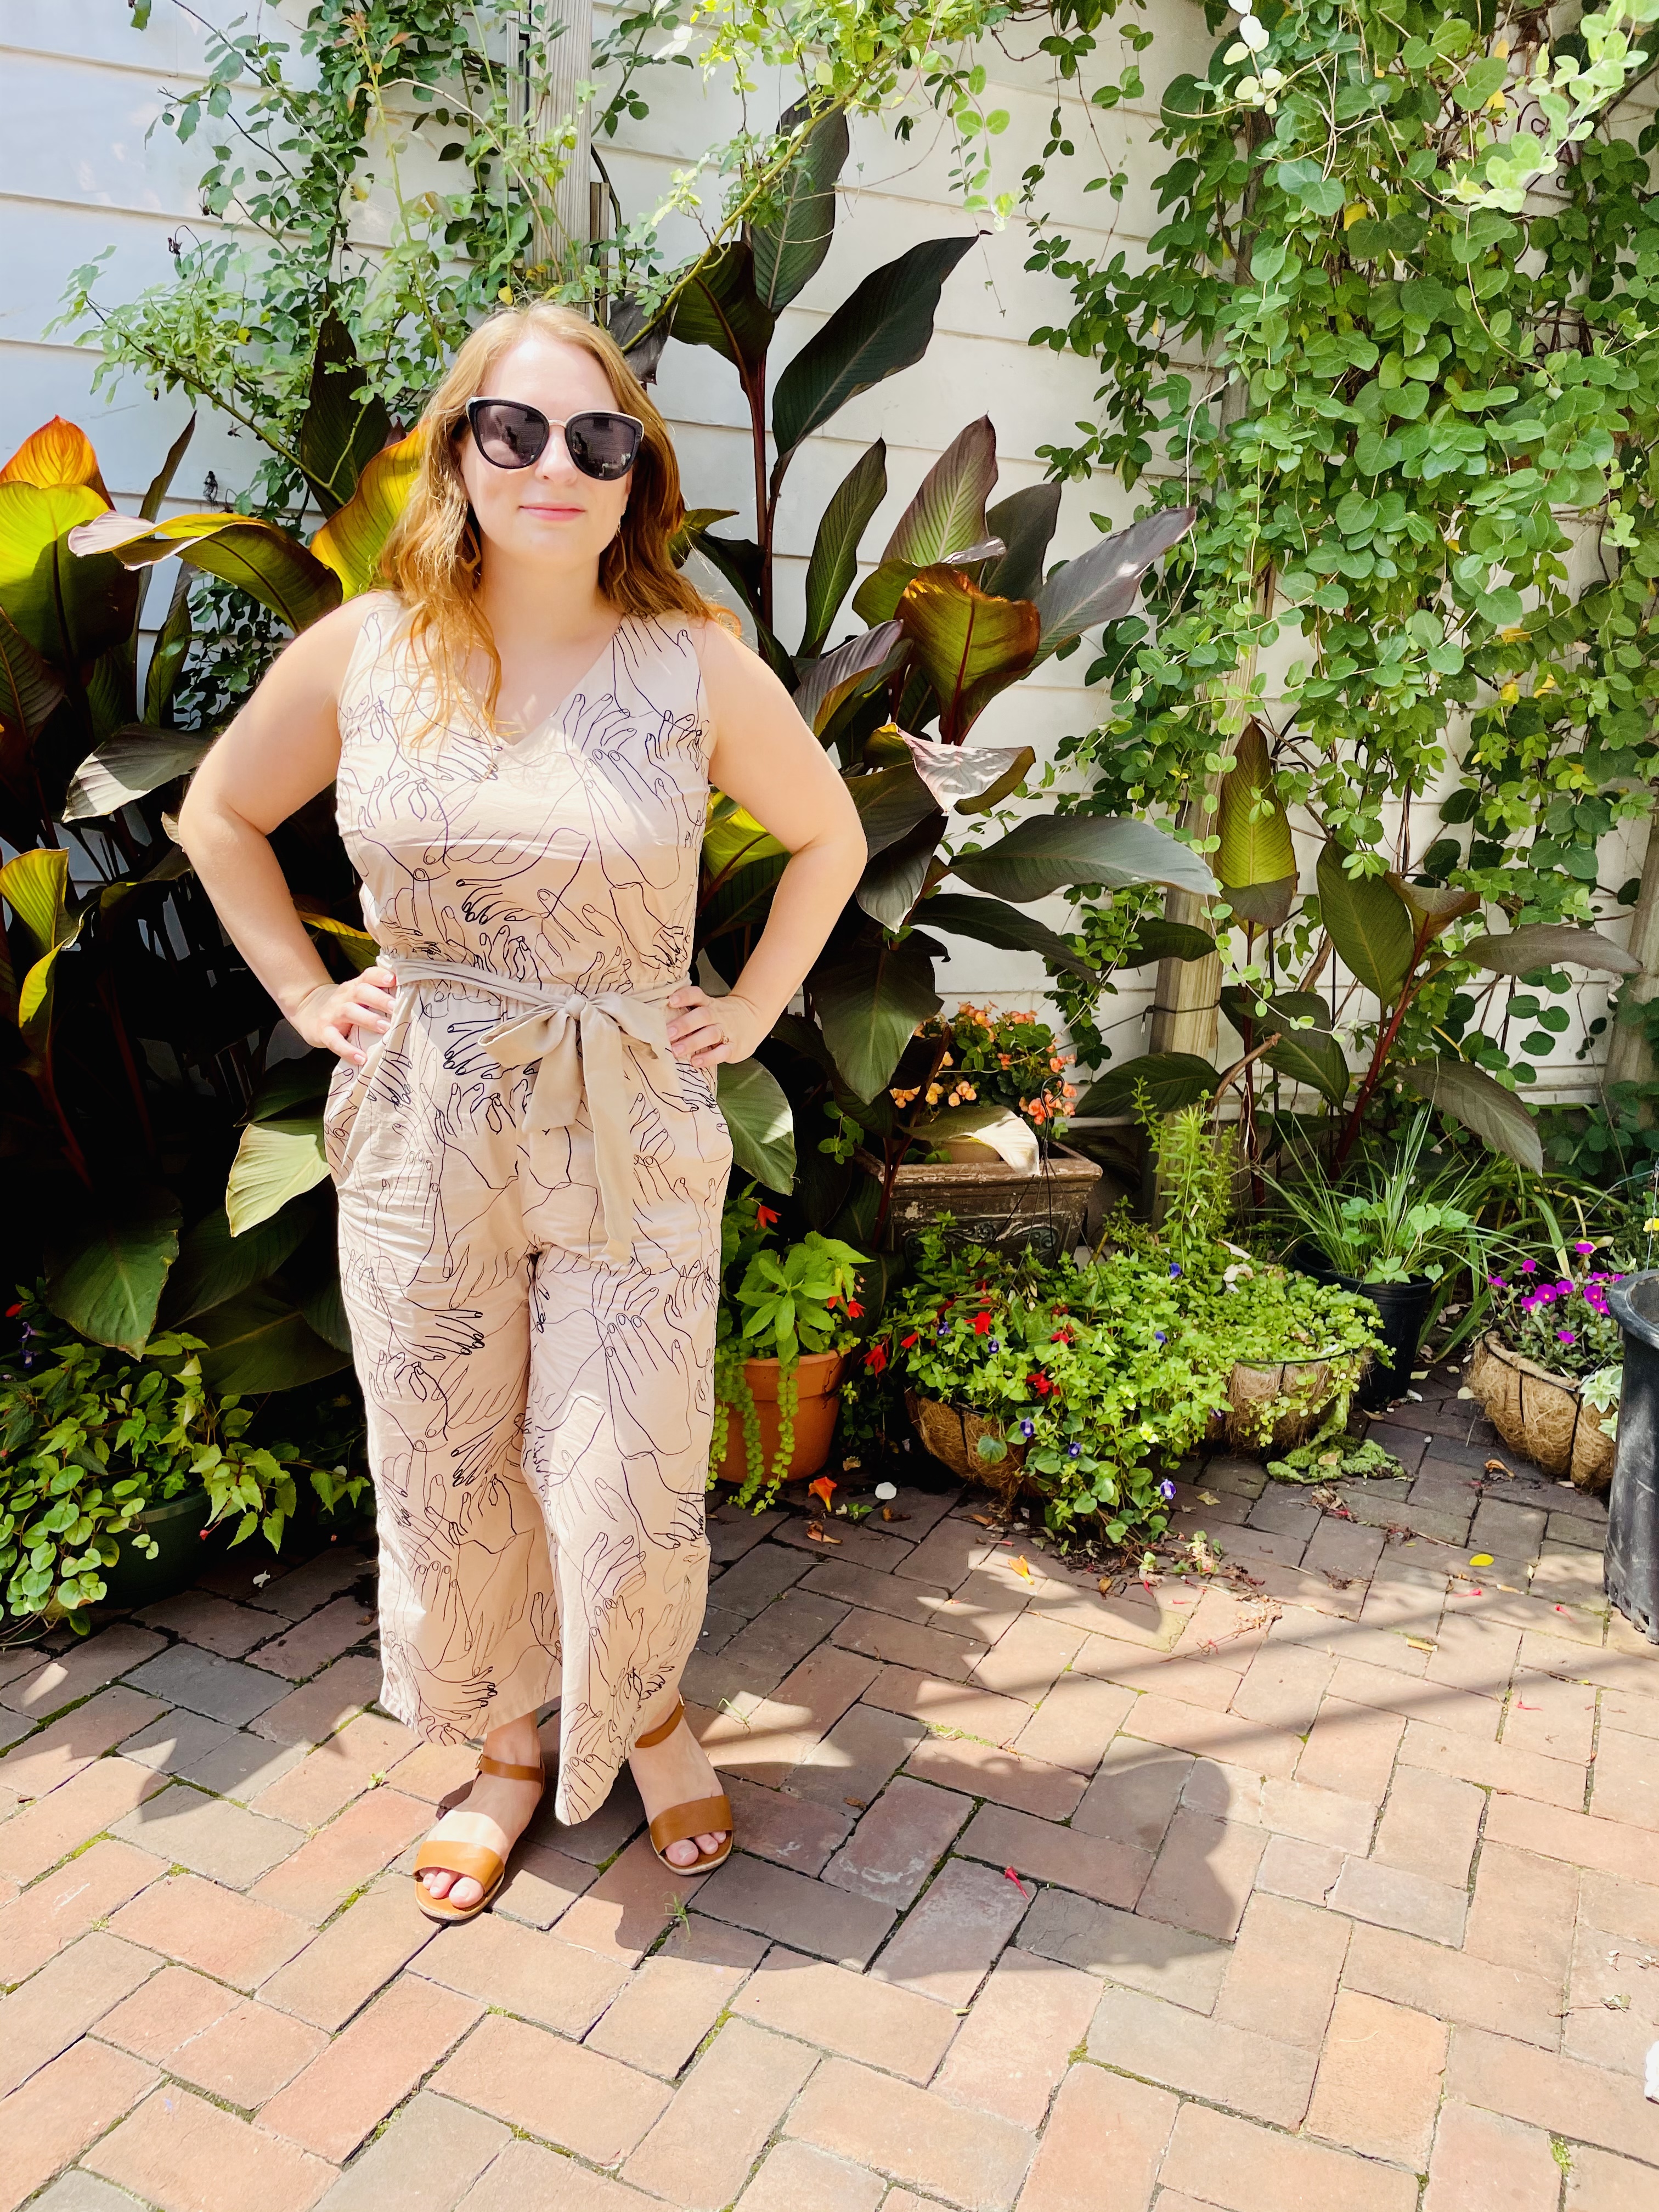
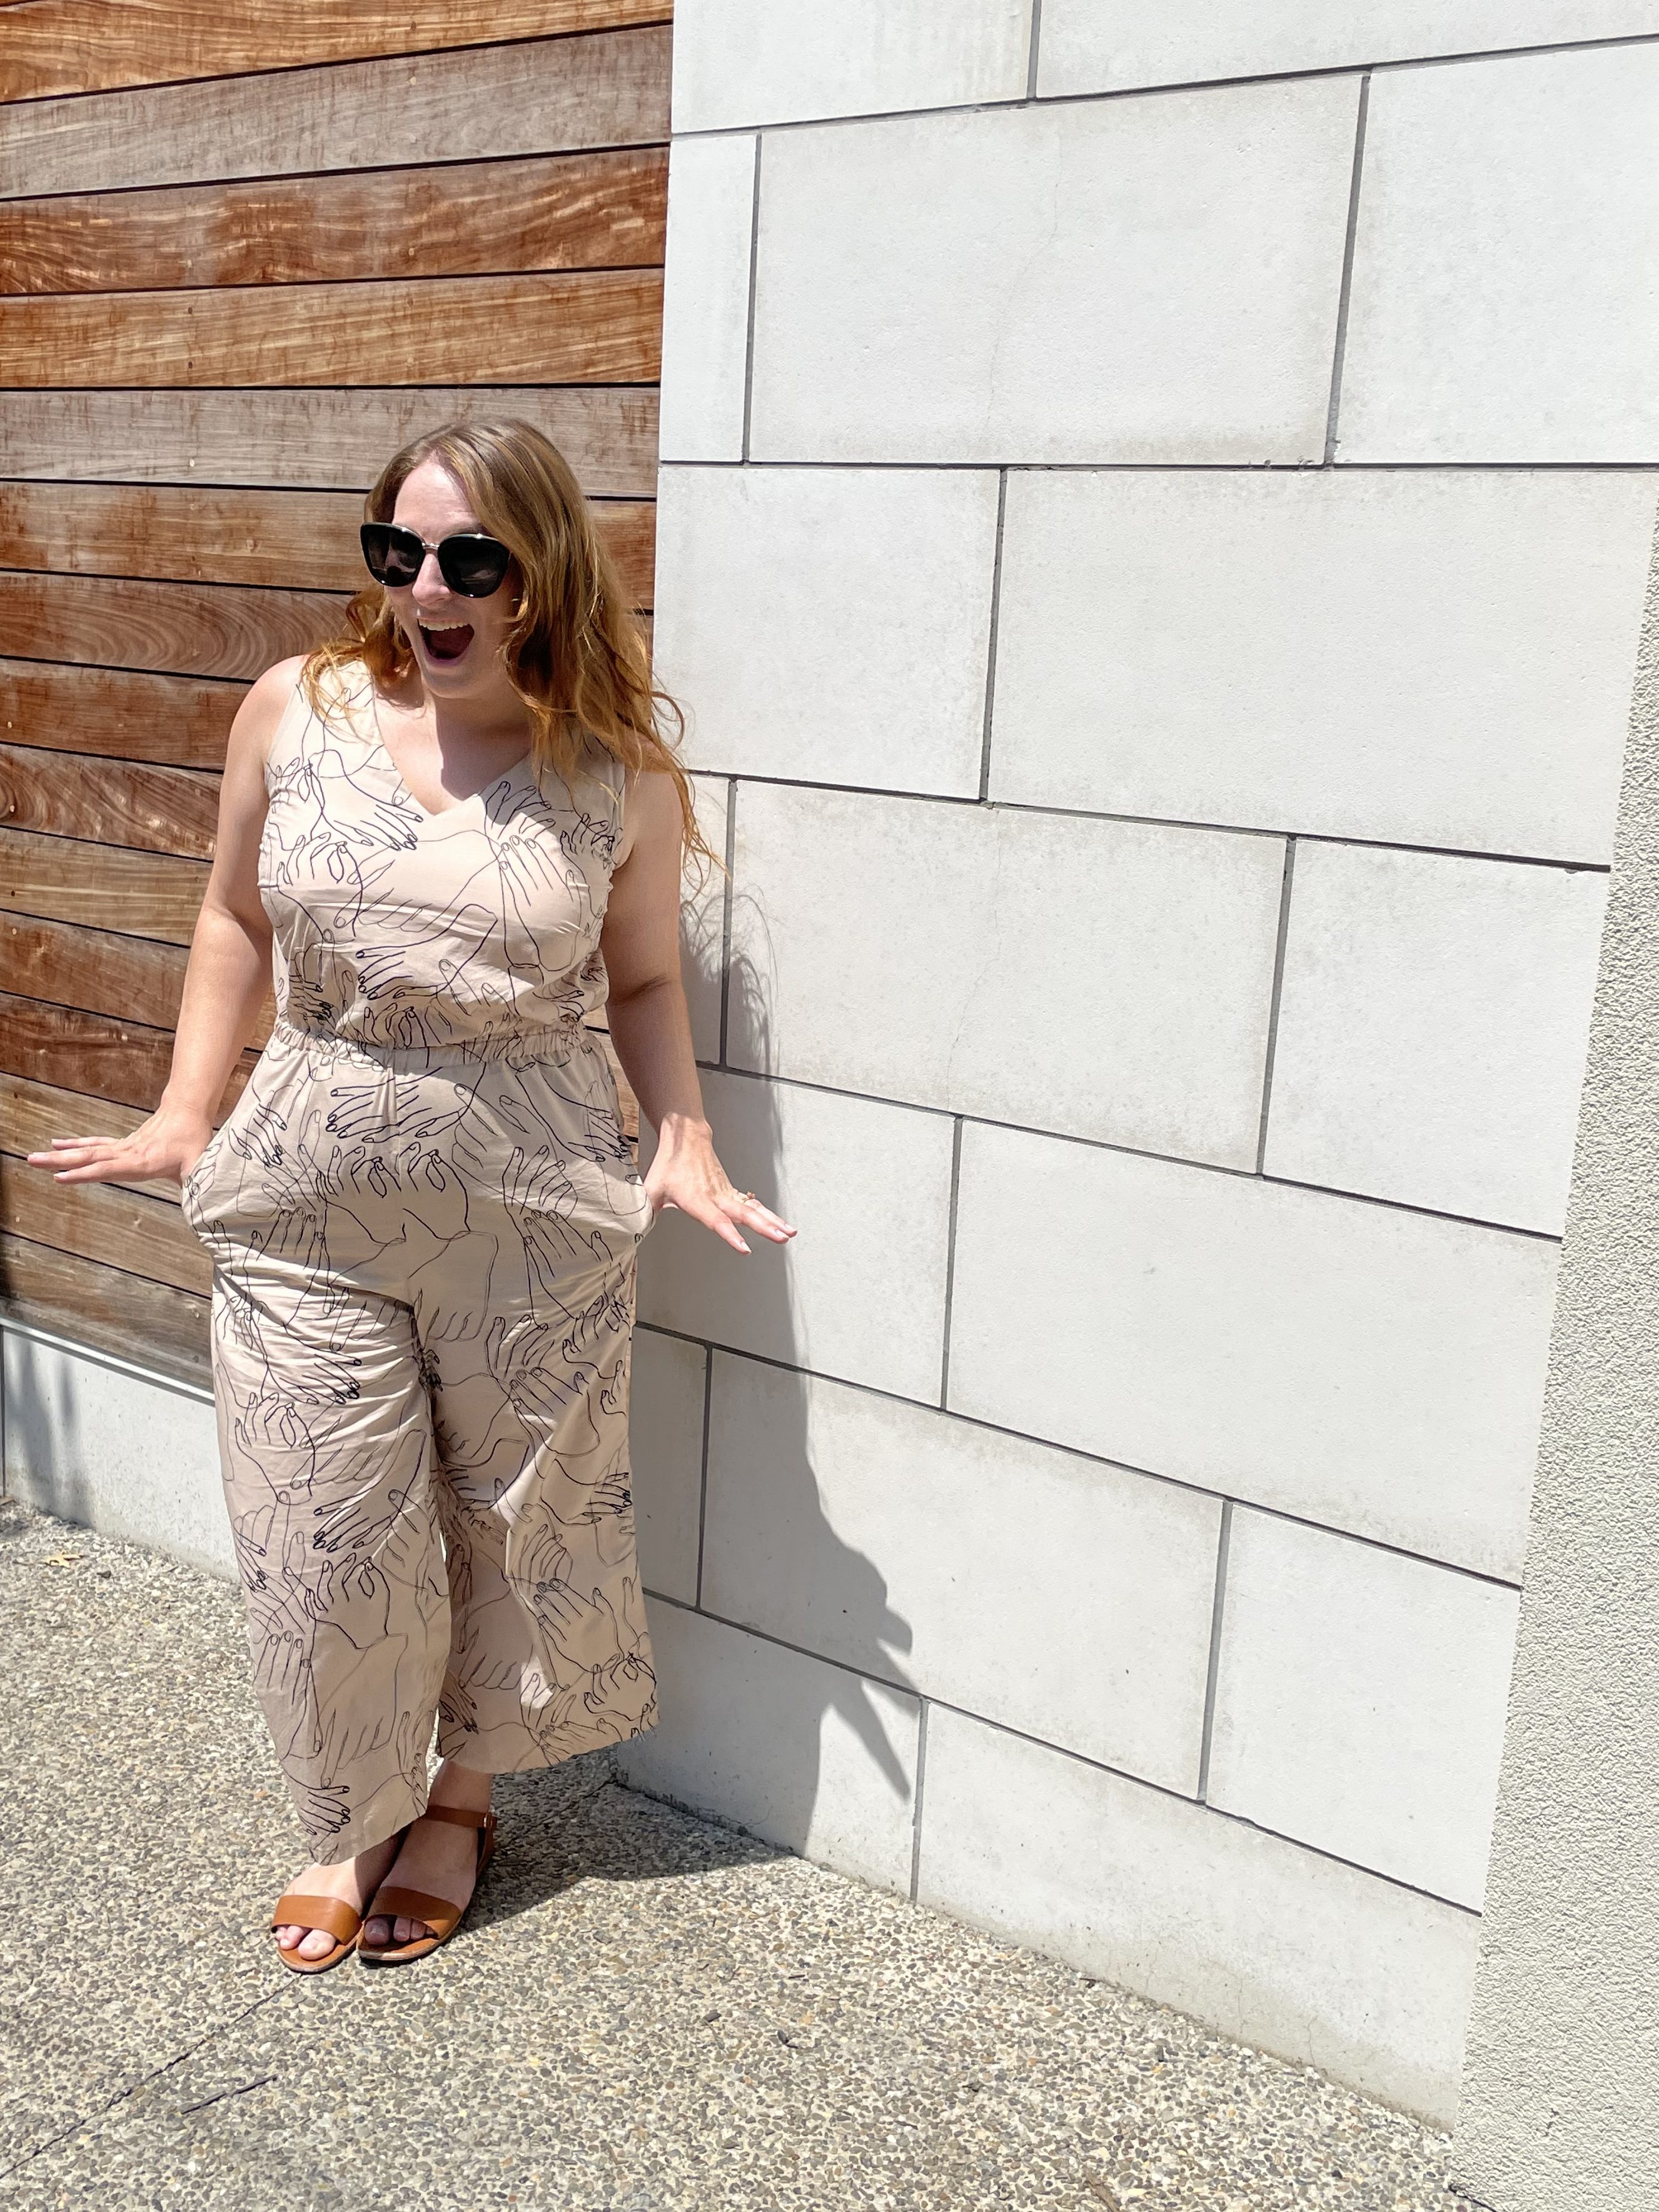
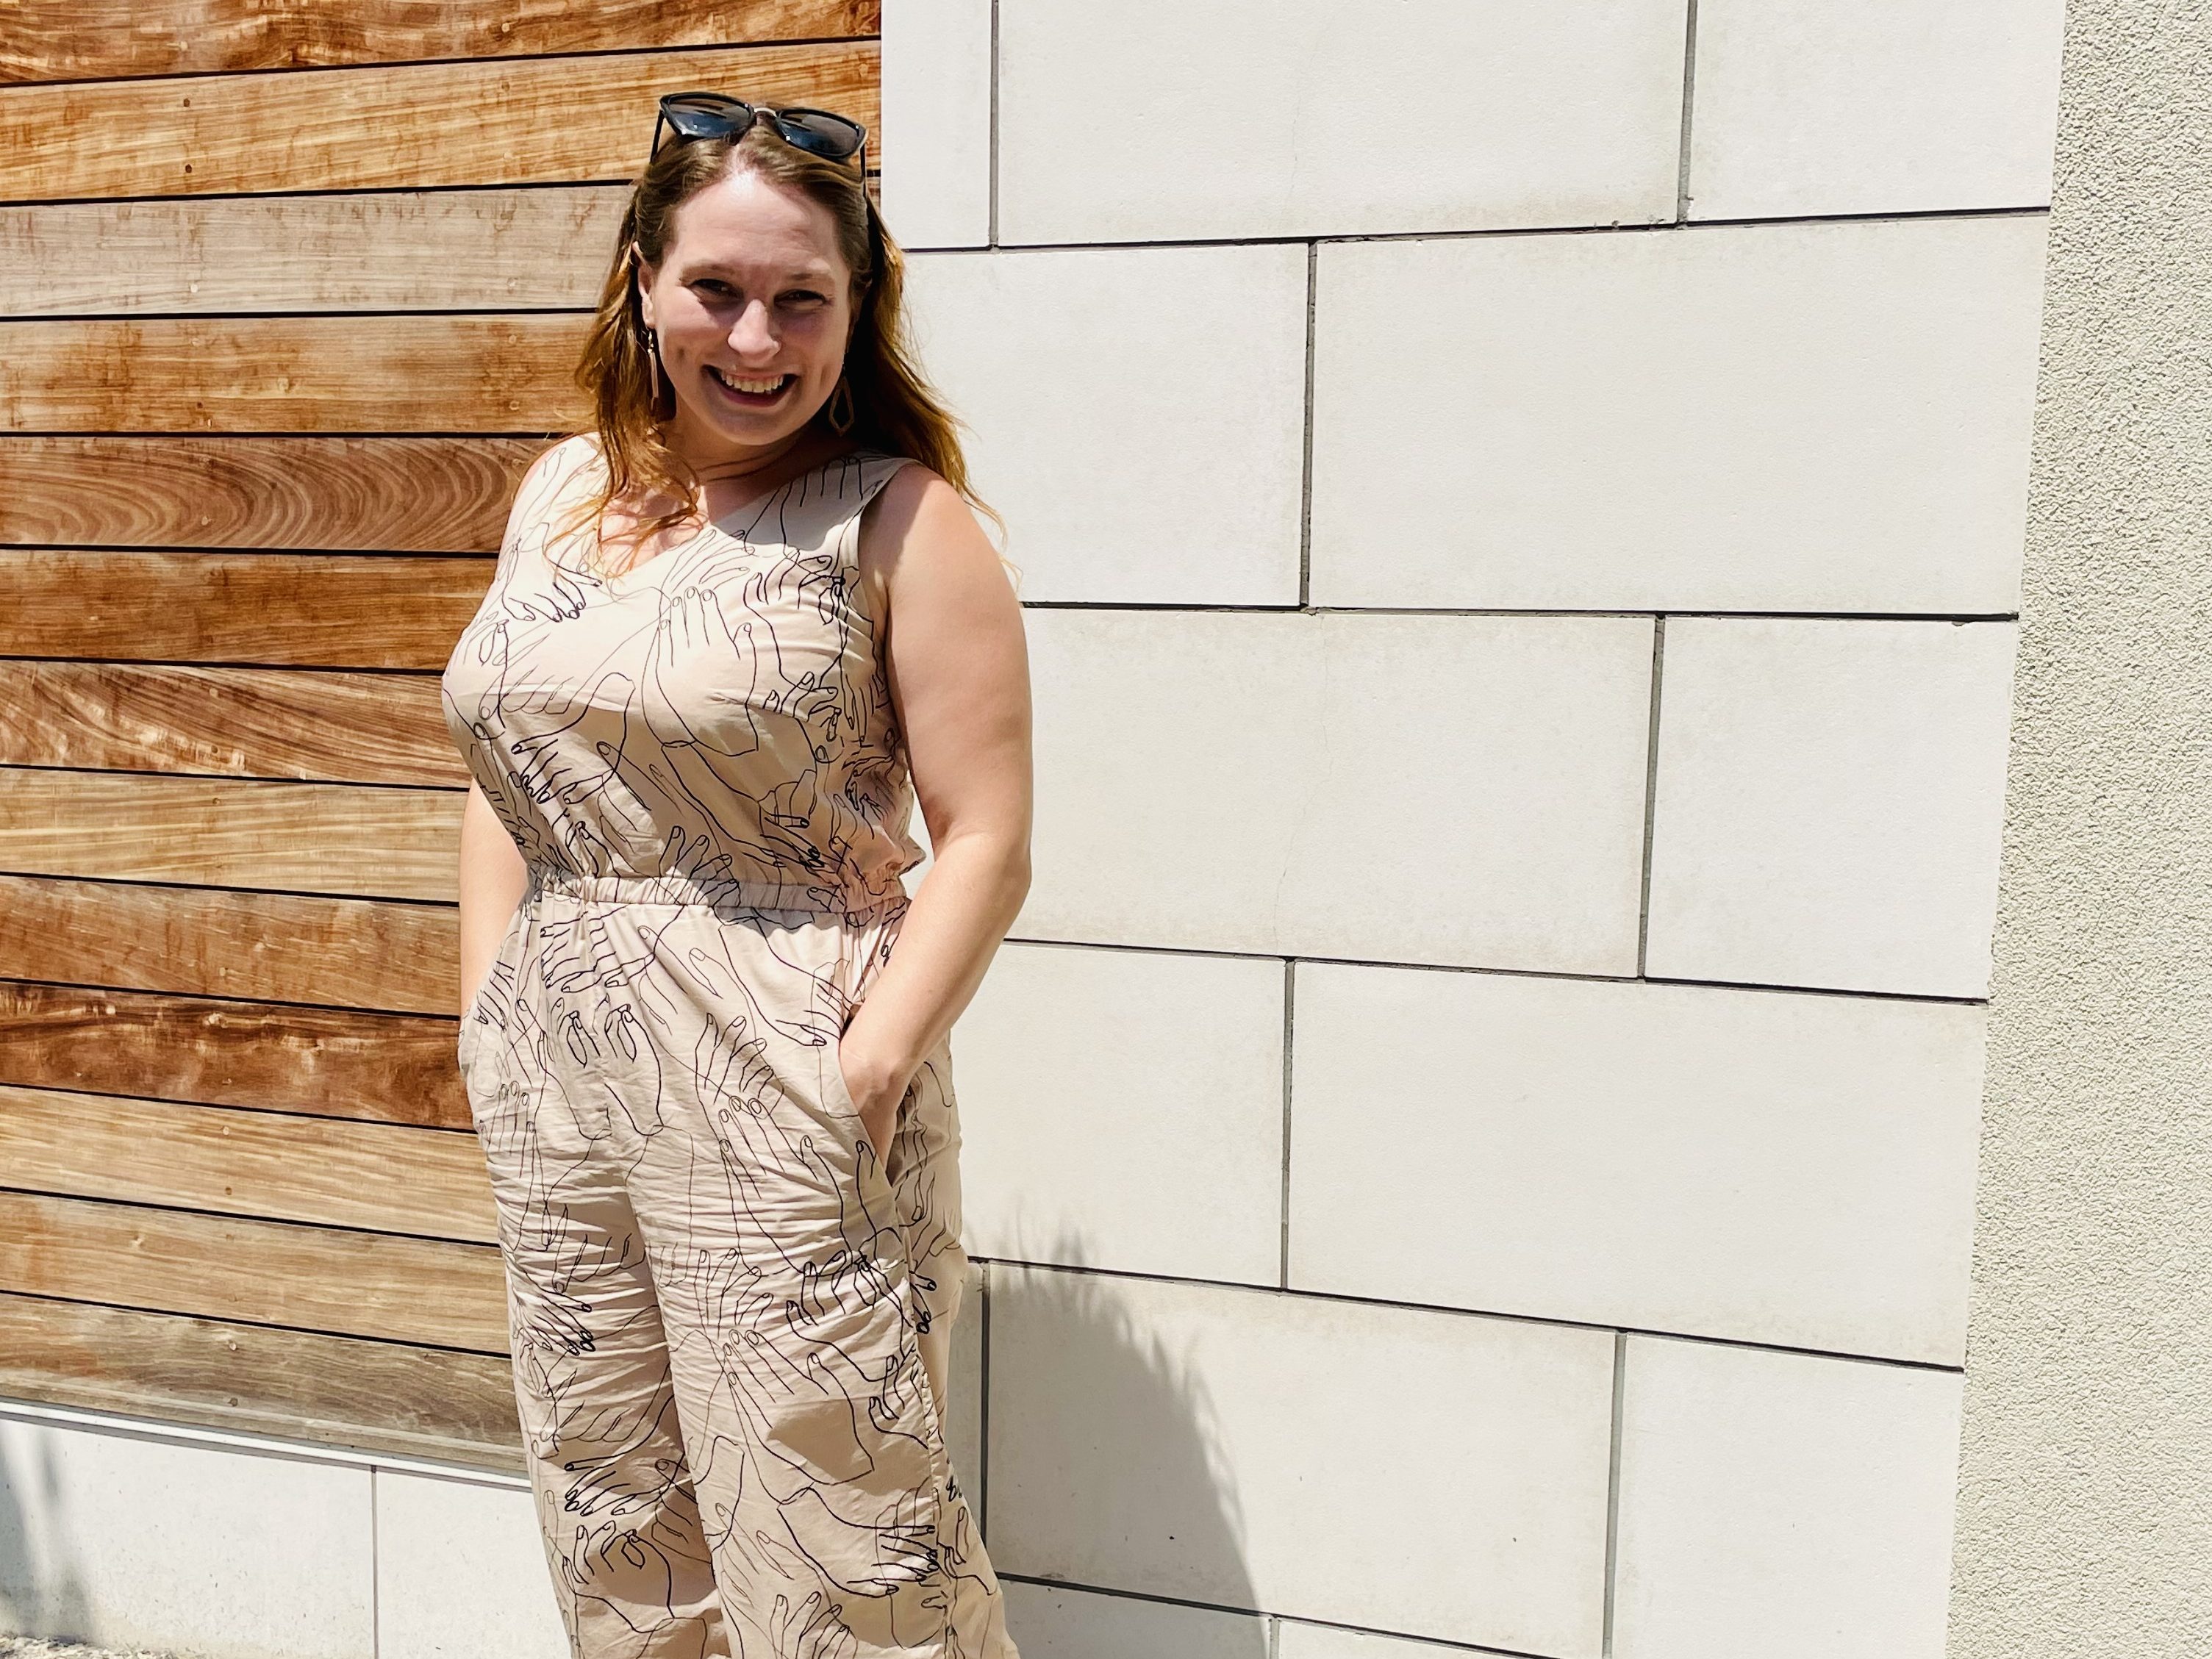
I am absolutely chuffed by the near-perfect fit on this jumpsuit!
How have you used your sloper to achieve better-fitting busts on your makes? Tell me in a comment below or post about it in the Sew Busty Facebook group or subreddit.
Some of the links in this post are affiliate links. Using the affiliate links in Sew Busty posts is a great way to support the costs of running Sew Busty, as when you click on the link and purchase the item, I will receive an affiliate commission at no extra cost to you. This helps me pay for the hosting, domain, design, and other costs associated with administering this site. All opinions remain my own.
