Roseclair Sew Along Week B: Sewing the Bodice & Sleeves (Beginners’ Sewing Series Part 9)
Brand new to sewing? Start here, with posts on gathering your tools, taking your measurements, and figuring out your garment sewing cup size. The Sew Busty Beginners’ Sewing Series will be your step-by-step guide to learning garment sewing. Each installment will build upon the last, getting progressively more advanced in skills and techniques. Catch up with the whole series here.
As part of the Beginners’ Sewing Series, we’re doing a sew along of the Cashmerette Roseclair Wrap Dress. Check out the full sew along here.
Per last week’s post, over the past week, you should have:
- Chosen a size, printed, and adjusted your pattern (check out Christy’s post on making the Roseclair’s darts perfect for you and Karey’s post on avoiding gaping necklines on wrap dresses for some tips and tricks on adjusting your pattern!)
- Made any necessary pattern adjustments, and
- Gathered your materials, including fabric and thread
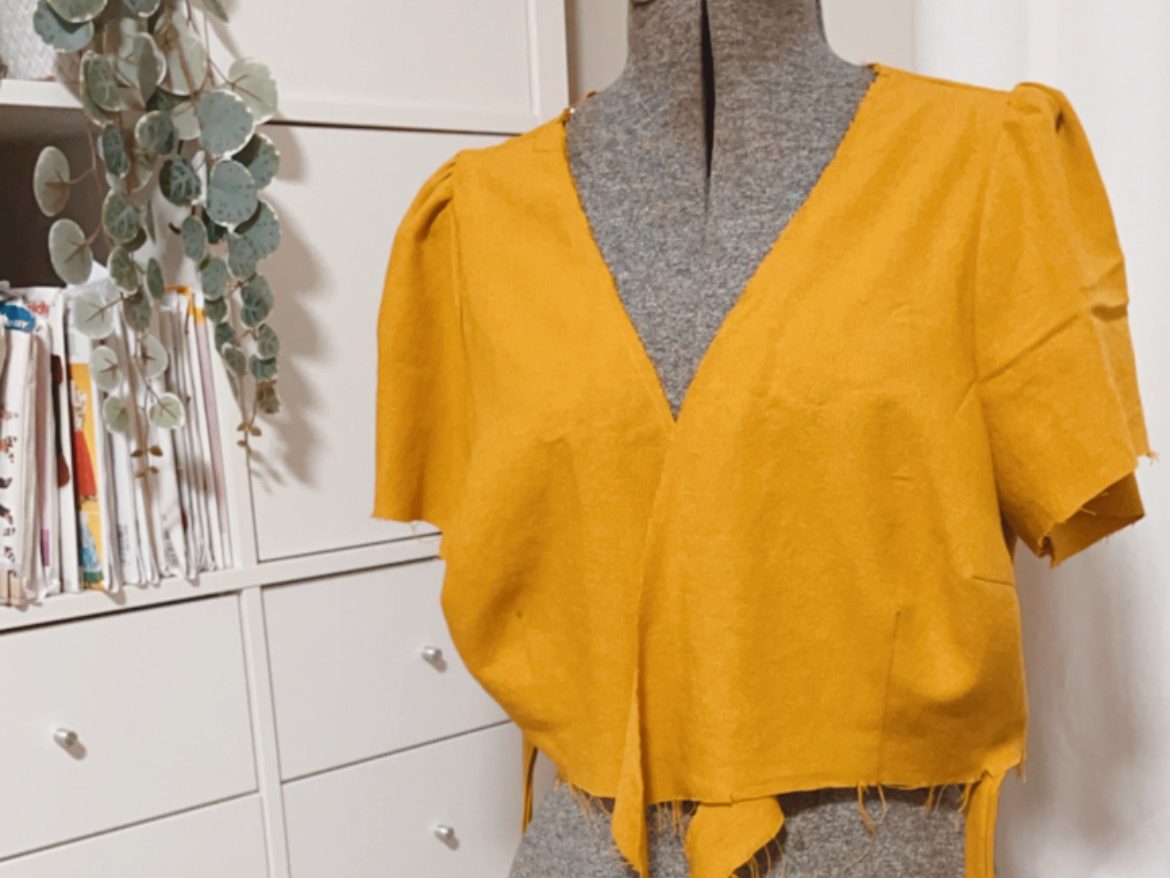
Today, we’re going to sew up the bodice, which means you’ll end up with something that looks sort of like a shirt at the end of the day! I’m really excited to introduce you to darts and to seam finishing for woven fabric today!
This month, I won’t be going over things like threading your machine, marking notches, or keeping yourself organized. But if you need a refresher on those topics, hop back to May’s Lago/Saybrook sew along, where I share all the deets on those points!
Getting Ready to Sew: Marking Notches & Darts
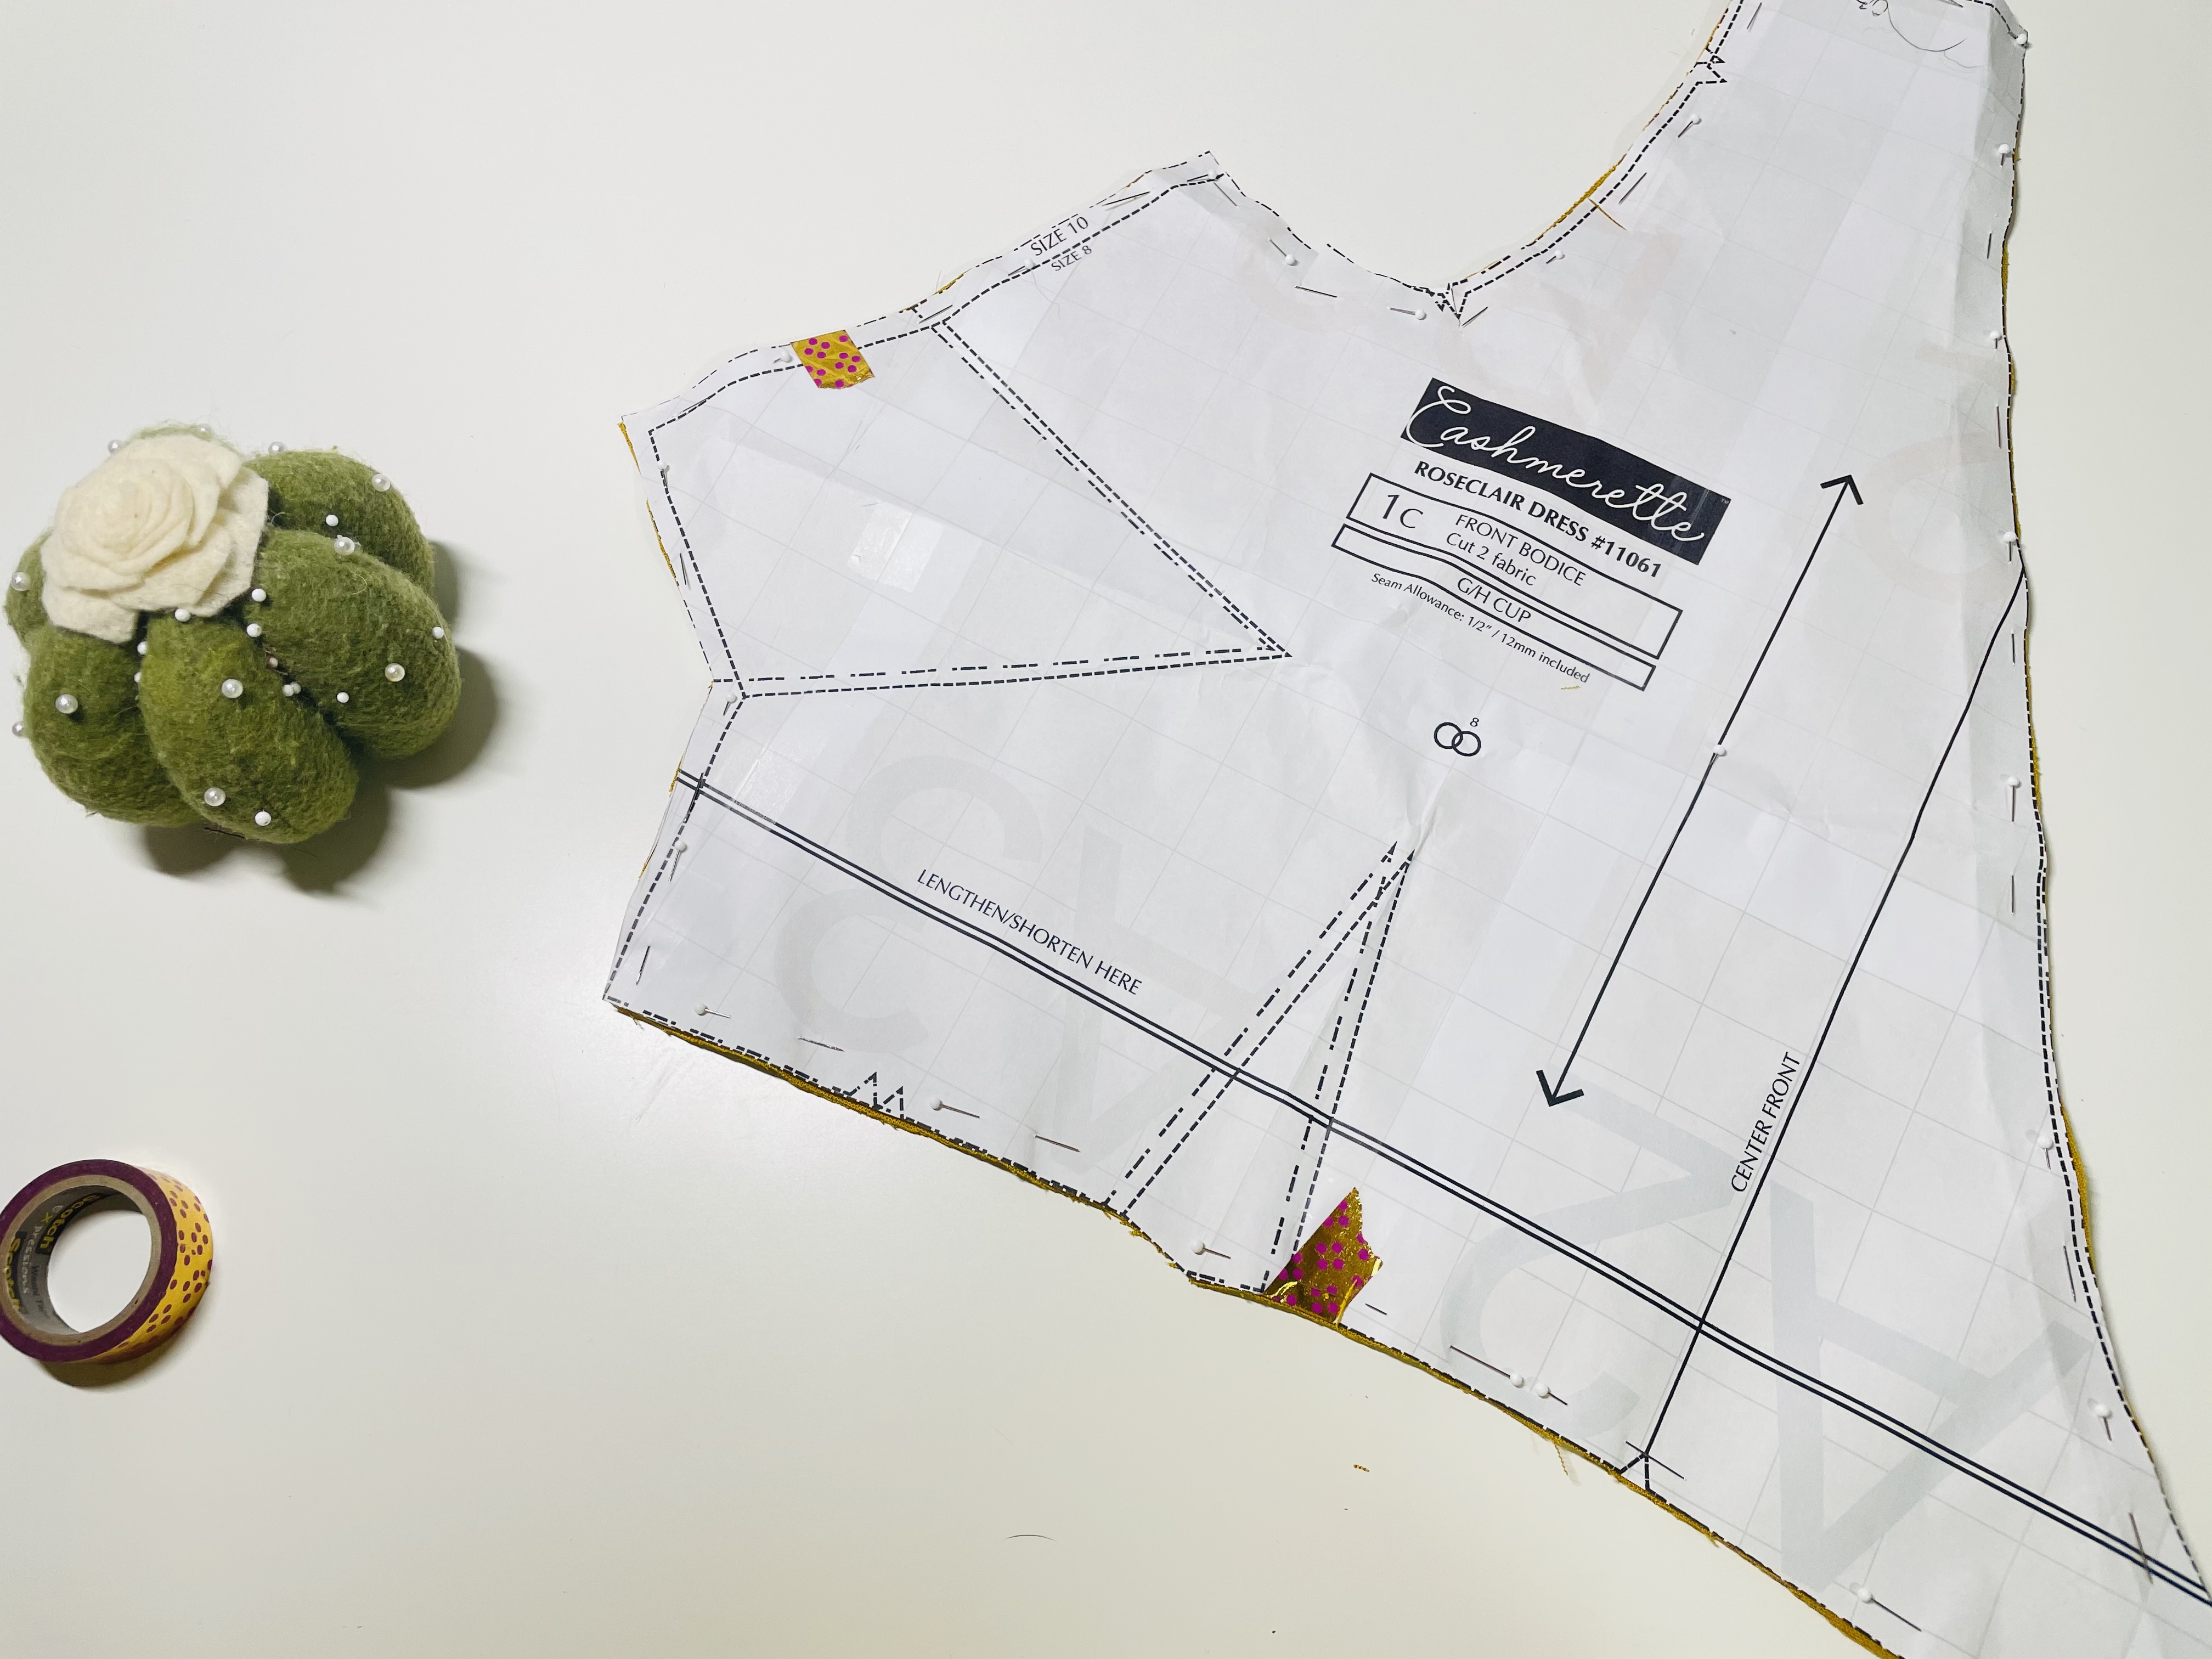
BEFORE YOU UNPIN YOUR PATTERN PIECES, we have a couple steps.
First, always start by marking your notches. On all your pattern pieces. Yes, even that one.
Trust me. I didn’t do this, and there were a couple pieces that I unpinned from the pattern, only to realize I hadn’t marked my notches 🤦♀️ Learn from my mistakes. Mark all your notches!!!
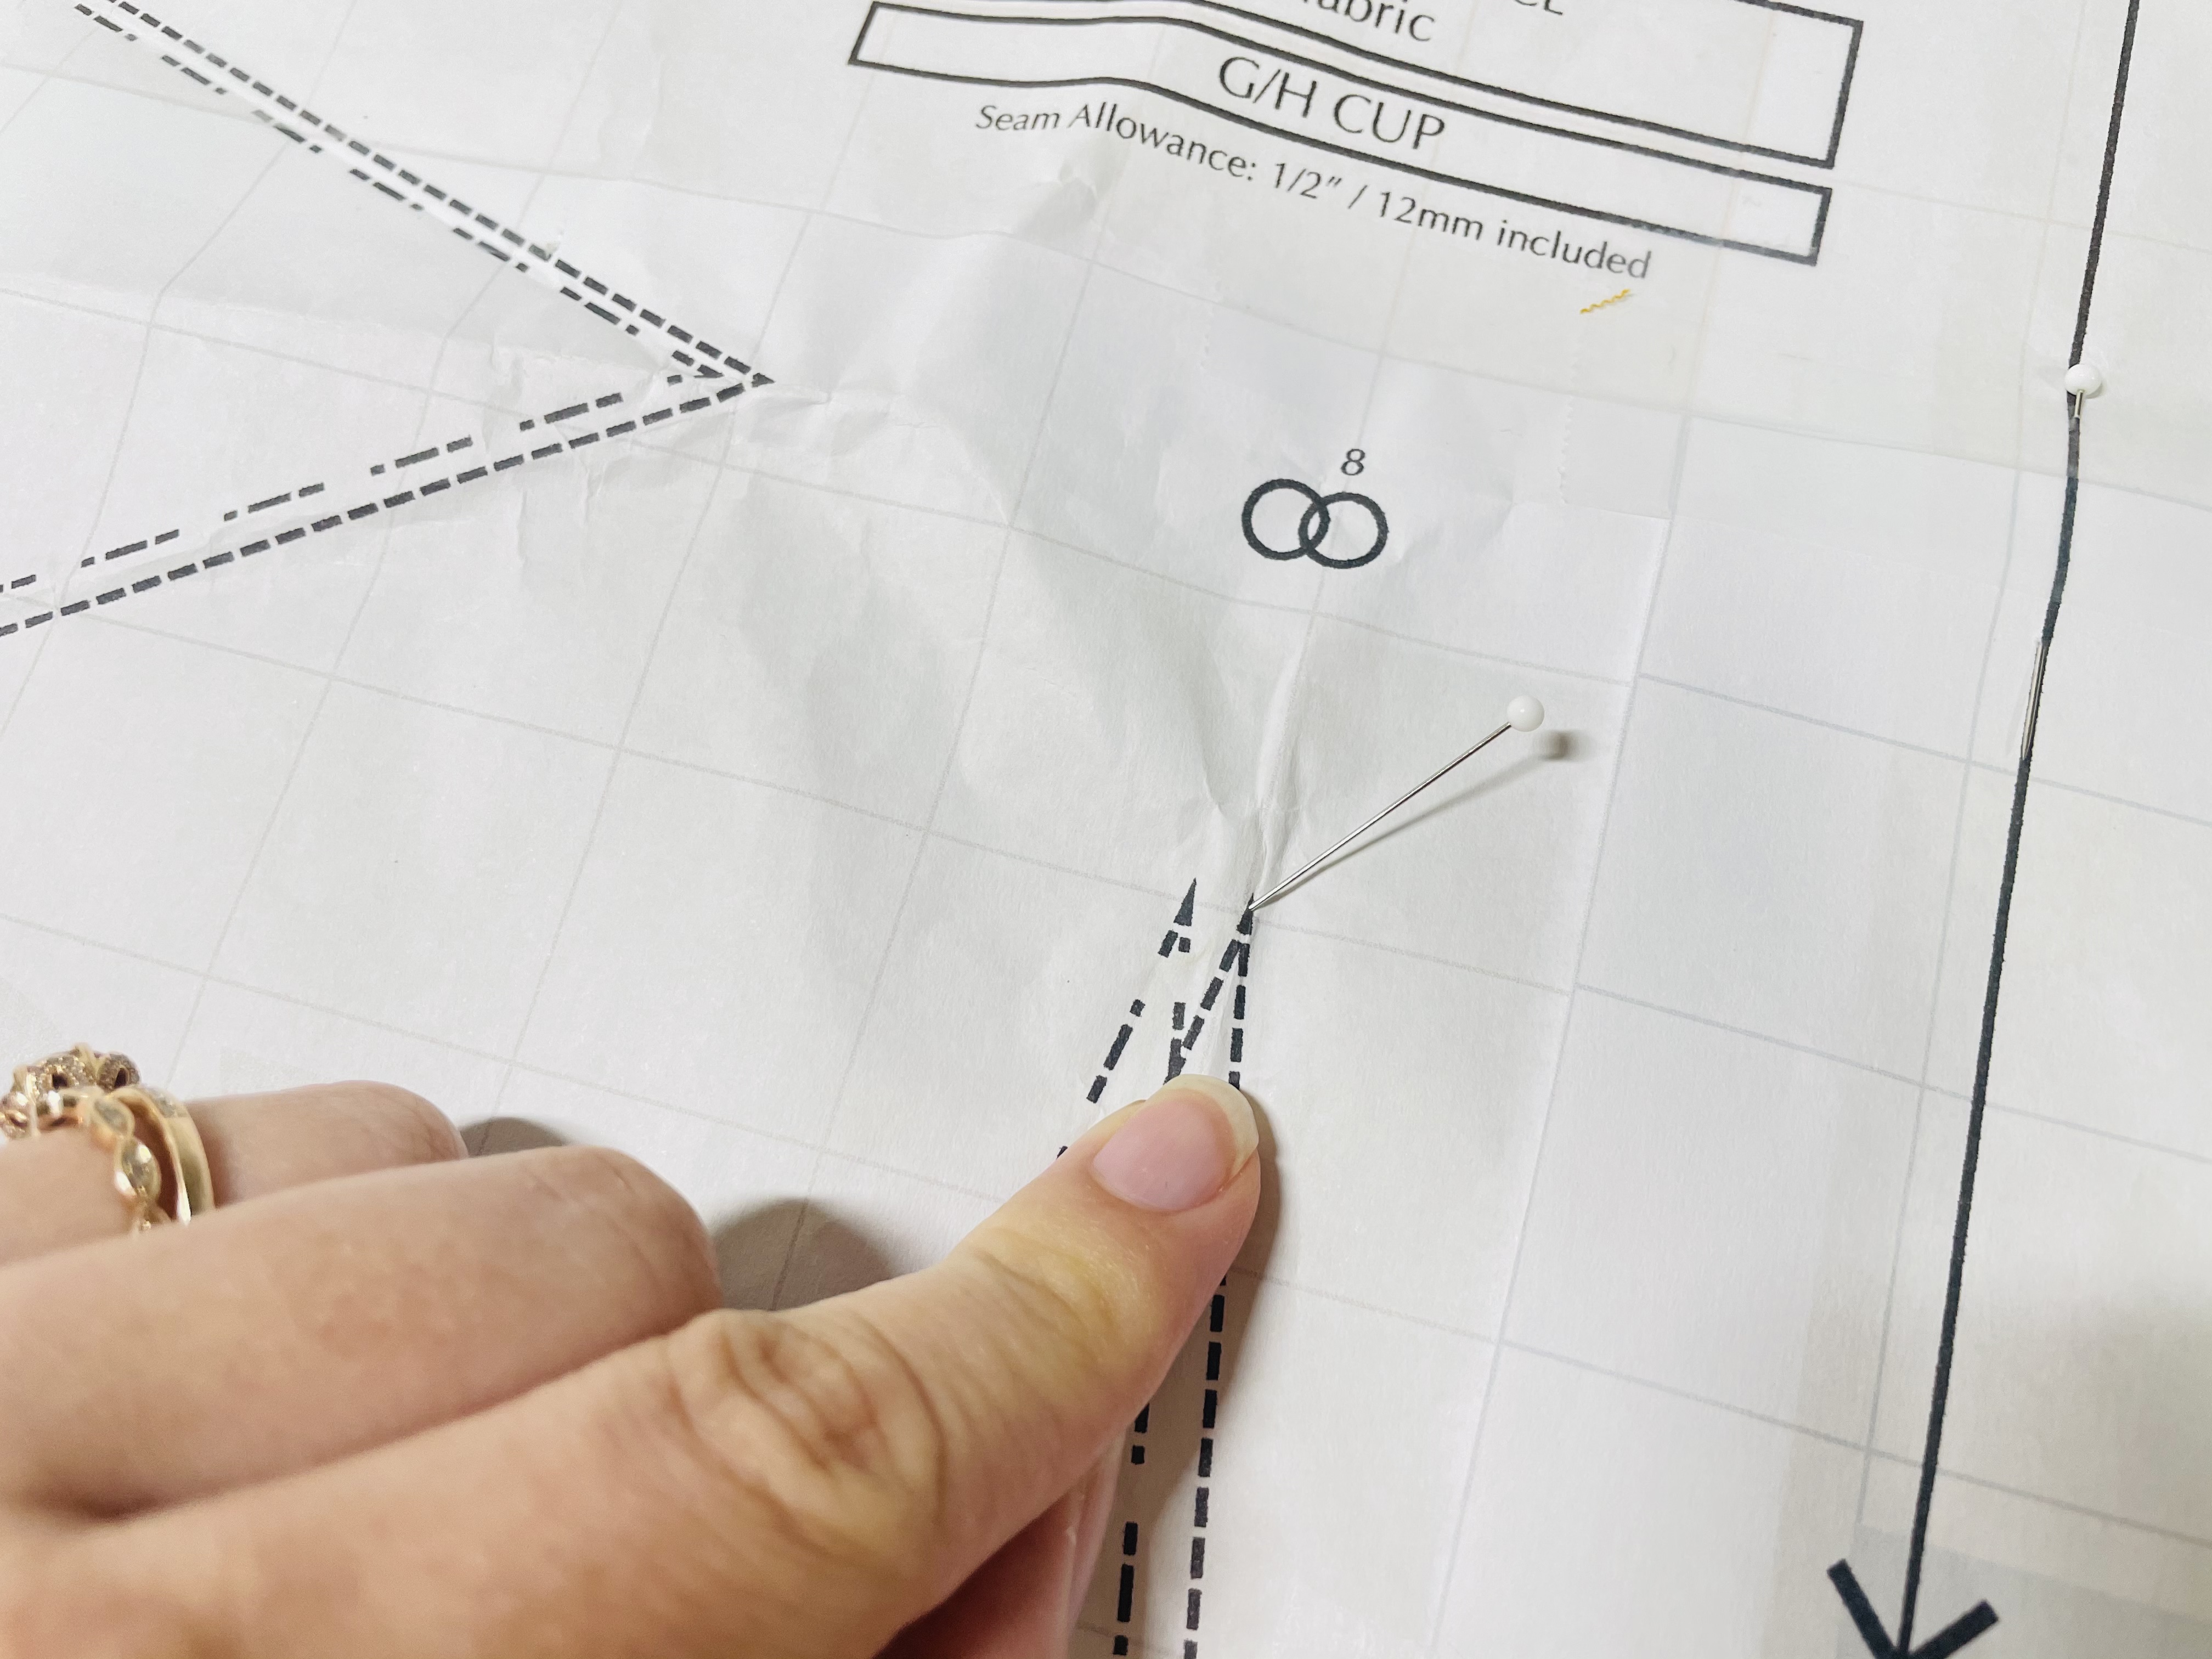
Second, we need to mark our darts. There are a lot of techniques to marking darts! Some people like to use tailor’s tacks, some like to use a tracing wheel. Well, this is how my mama taught me, so this is how I do it.
I first pierce the dart point using a pin, piercing through both layers of fabric:
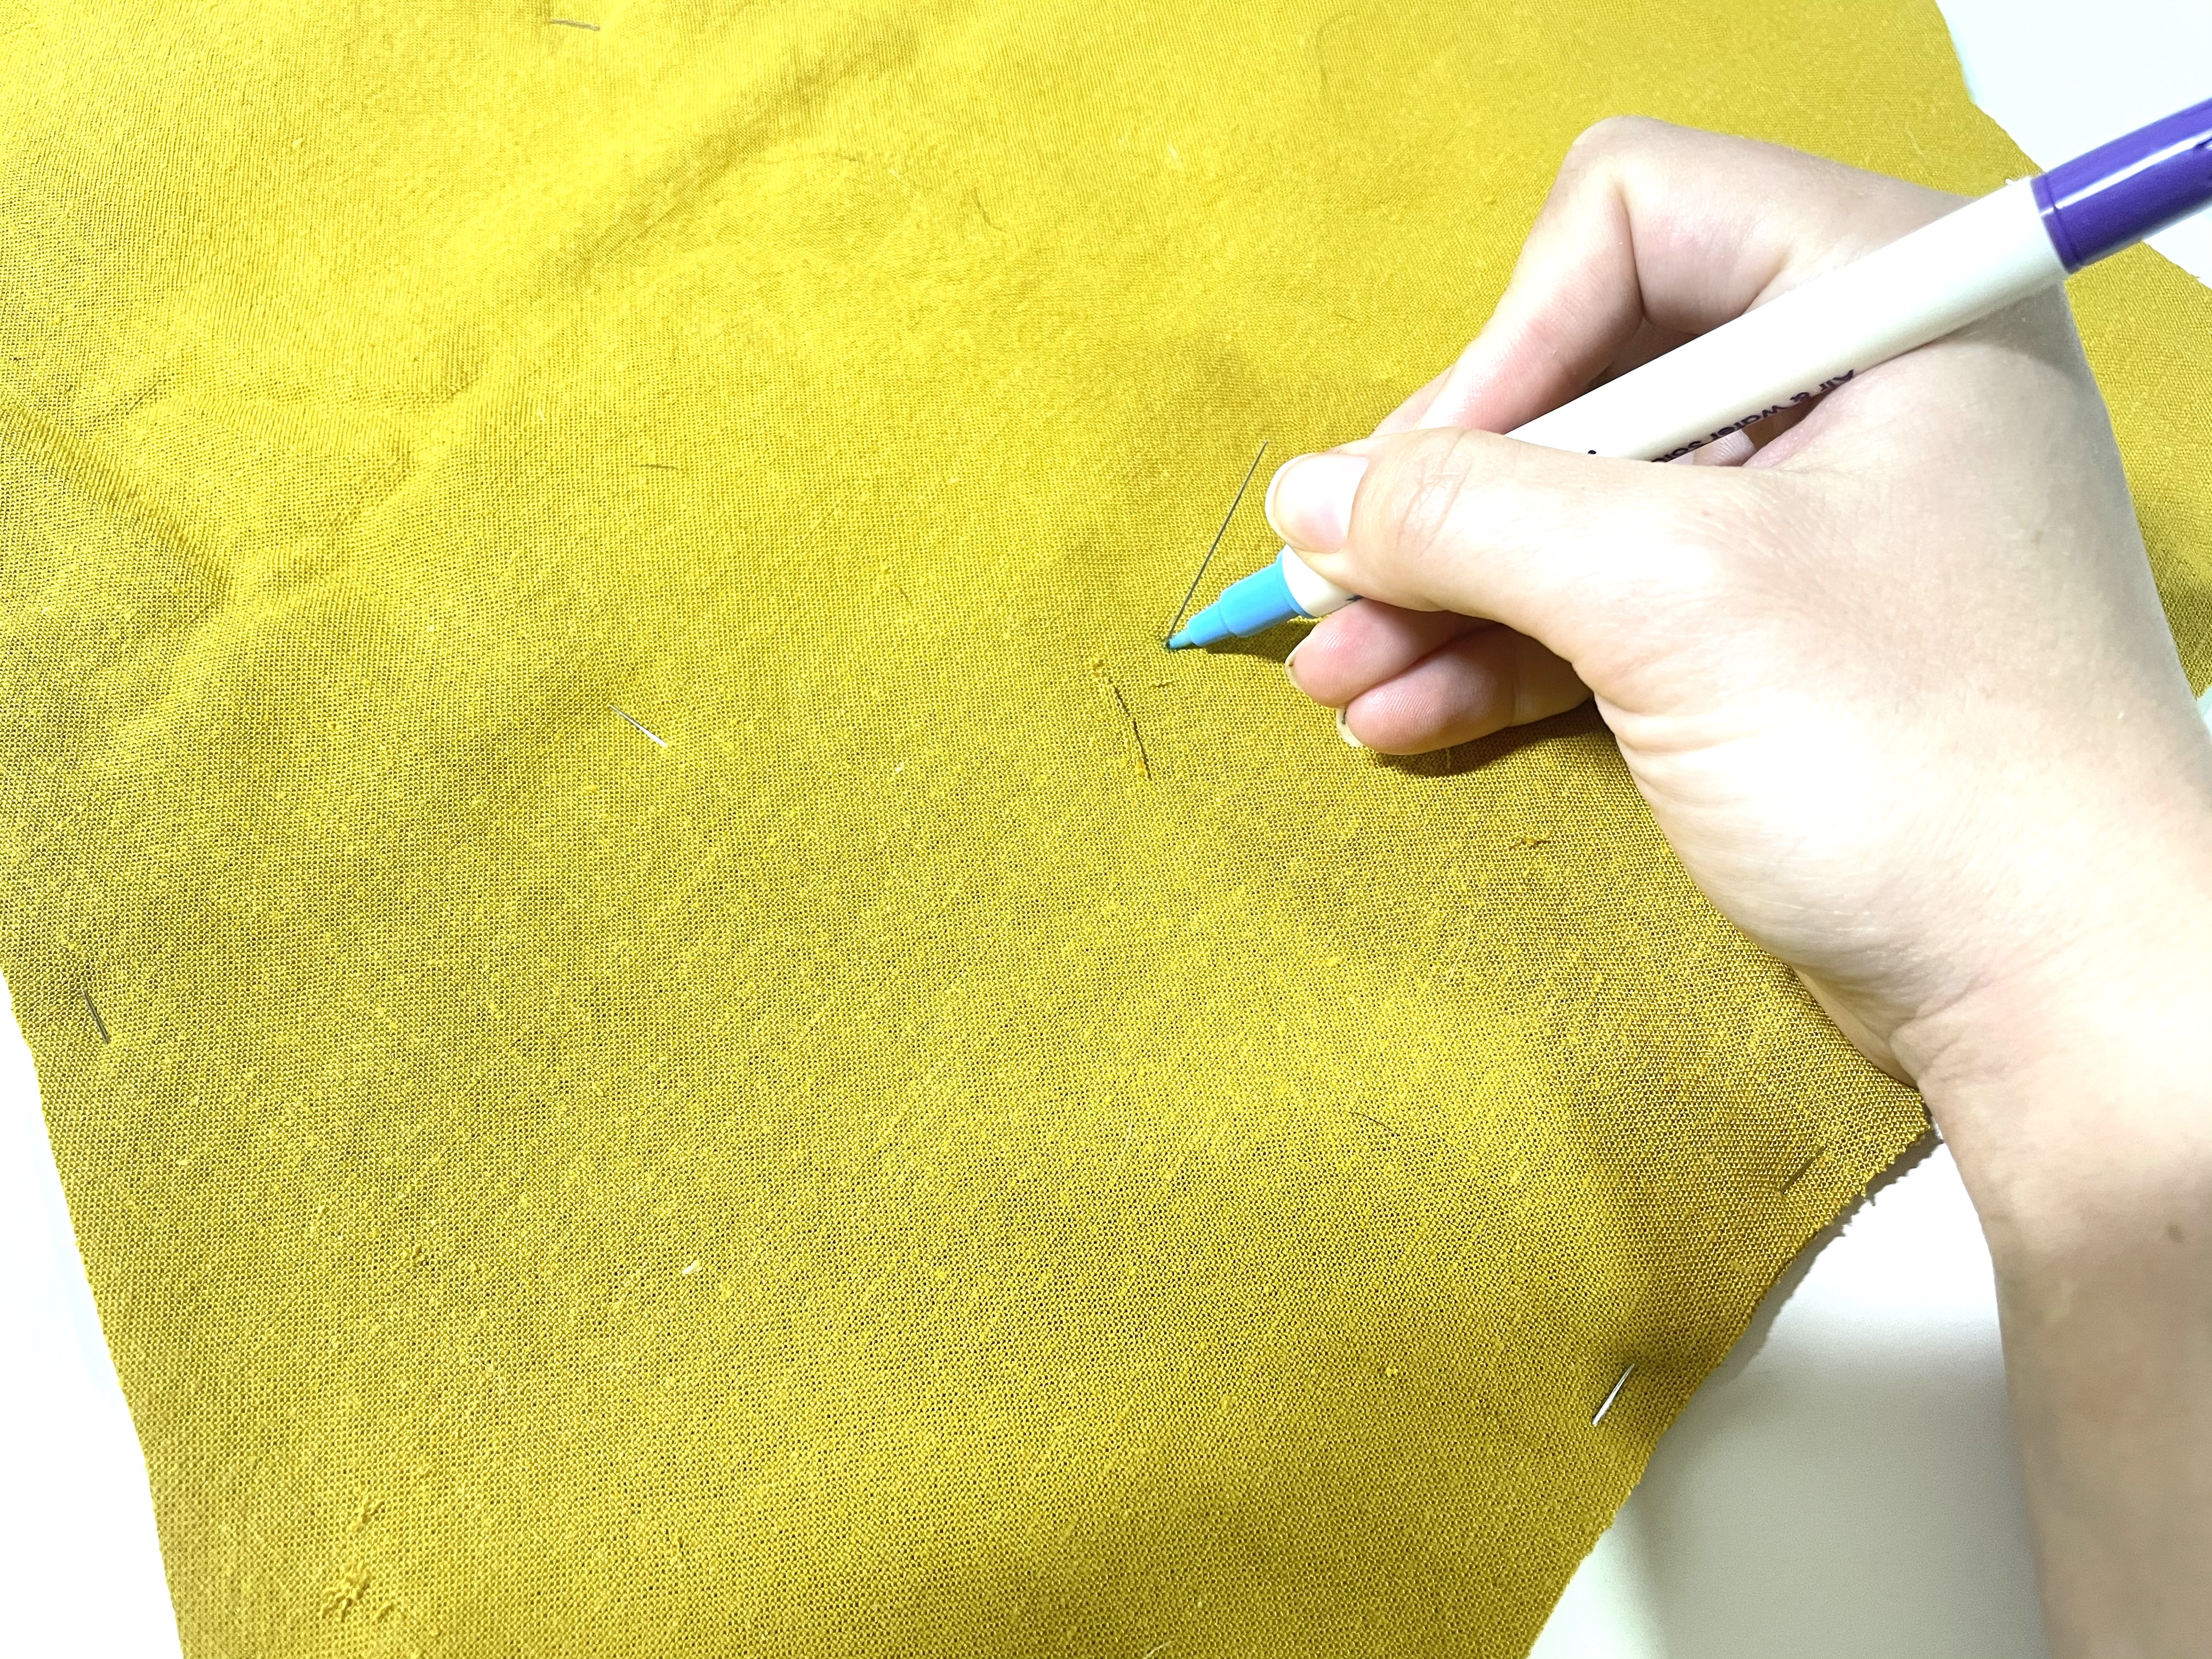
Then, I flip my fabric over and use my fabric marking pen (water soluble side, not air soluble side, because I don’t want this marking to disappear before I’ve sewn my darts!) to make a dot where the pin is sticking out.
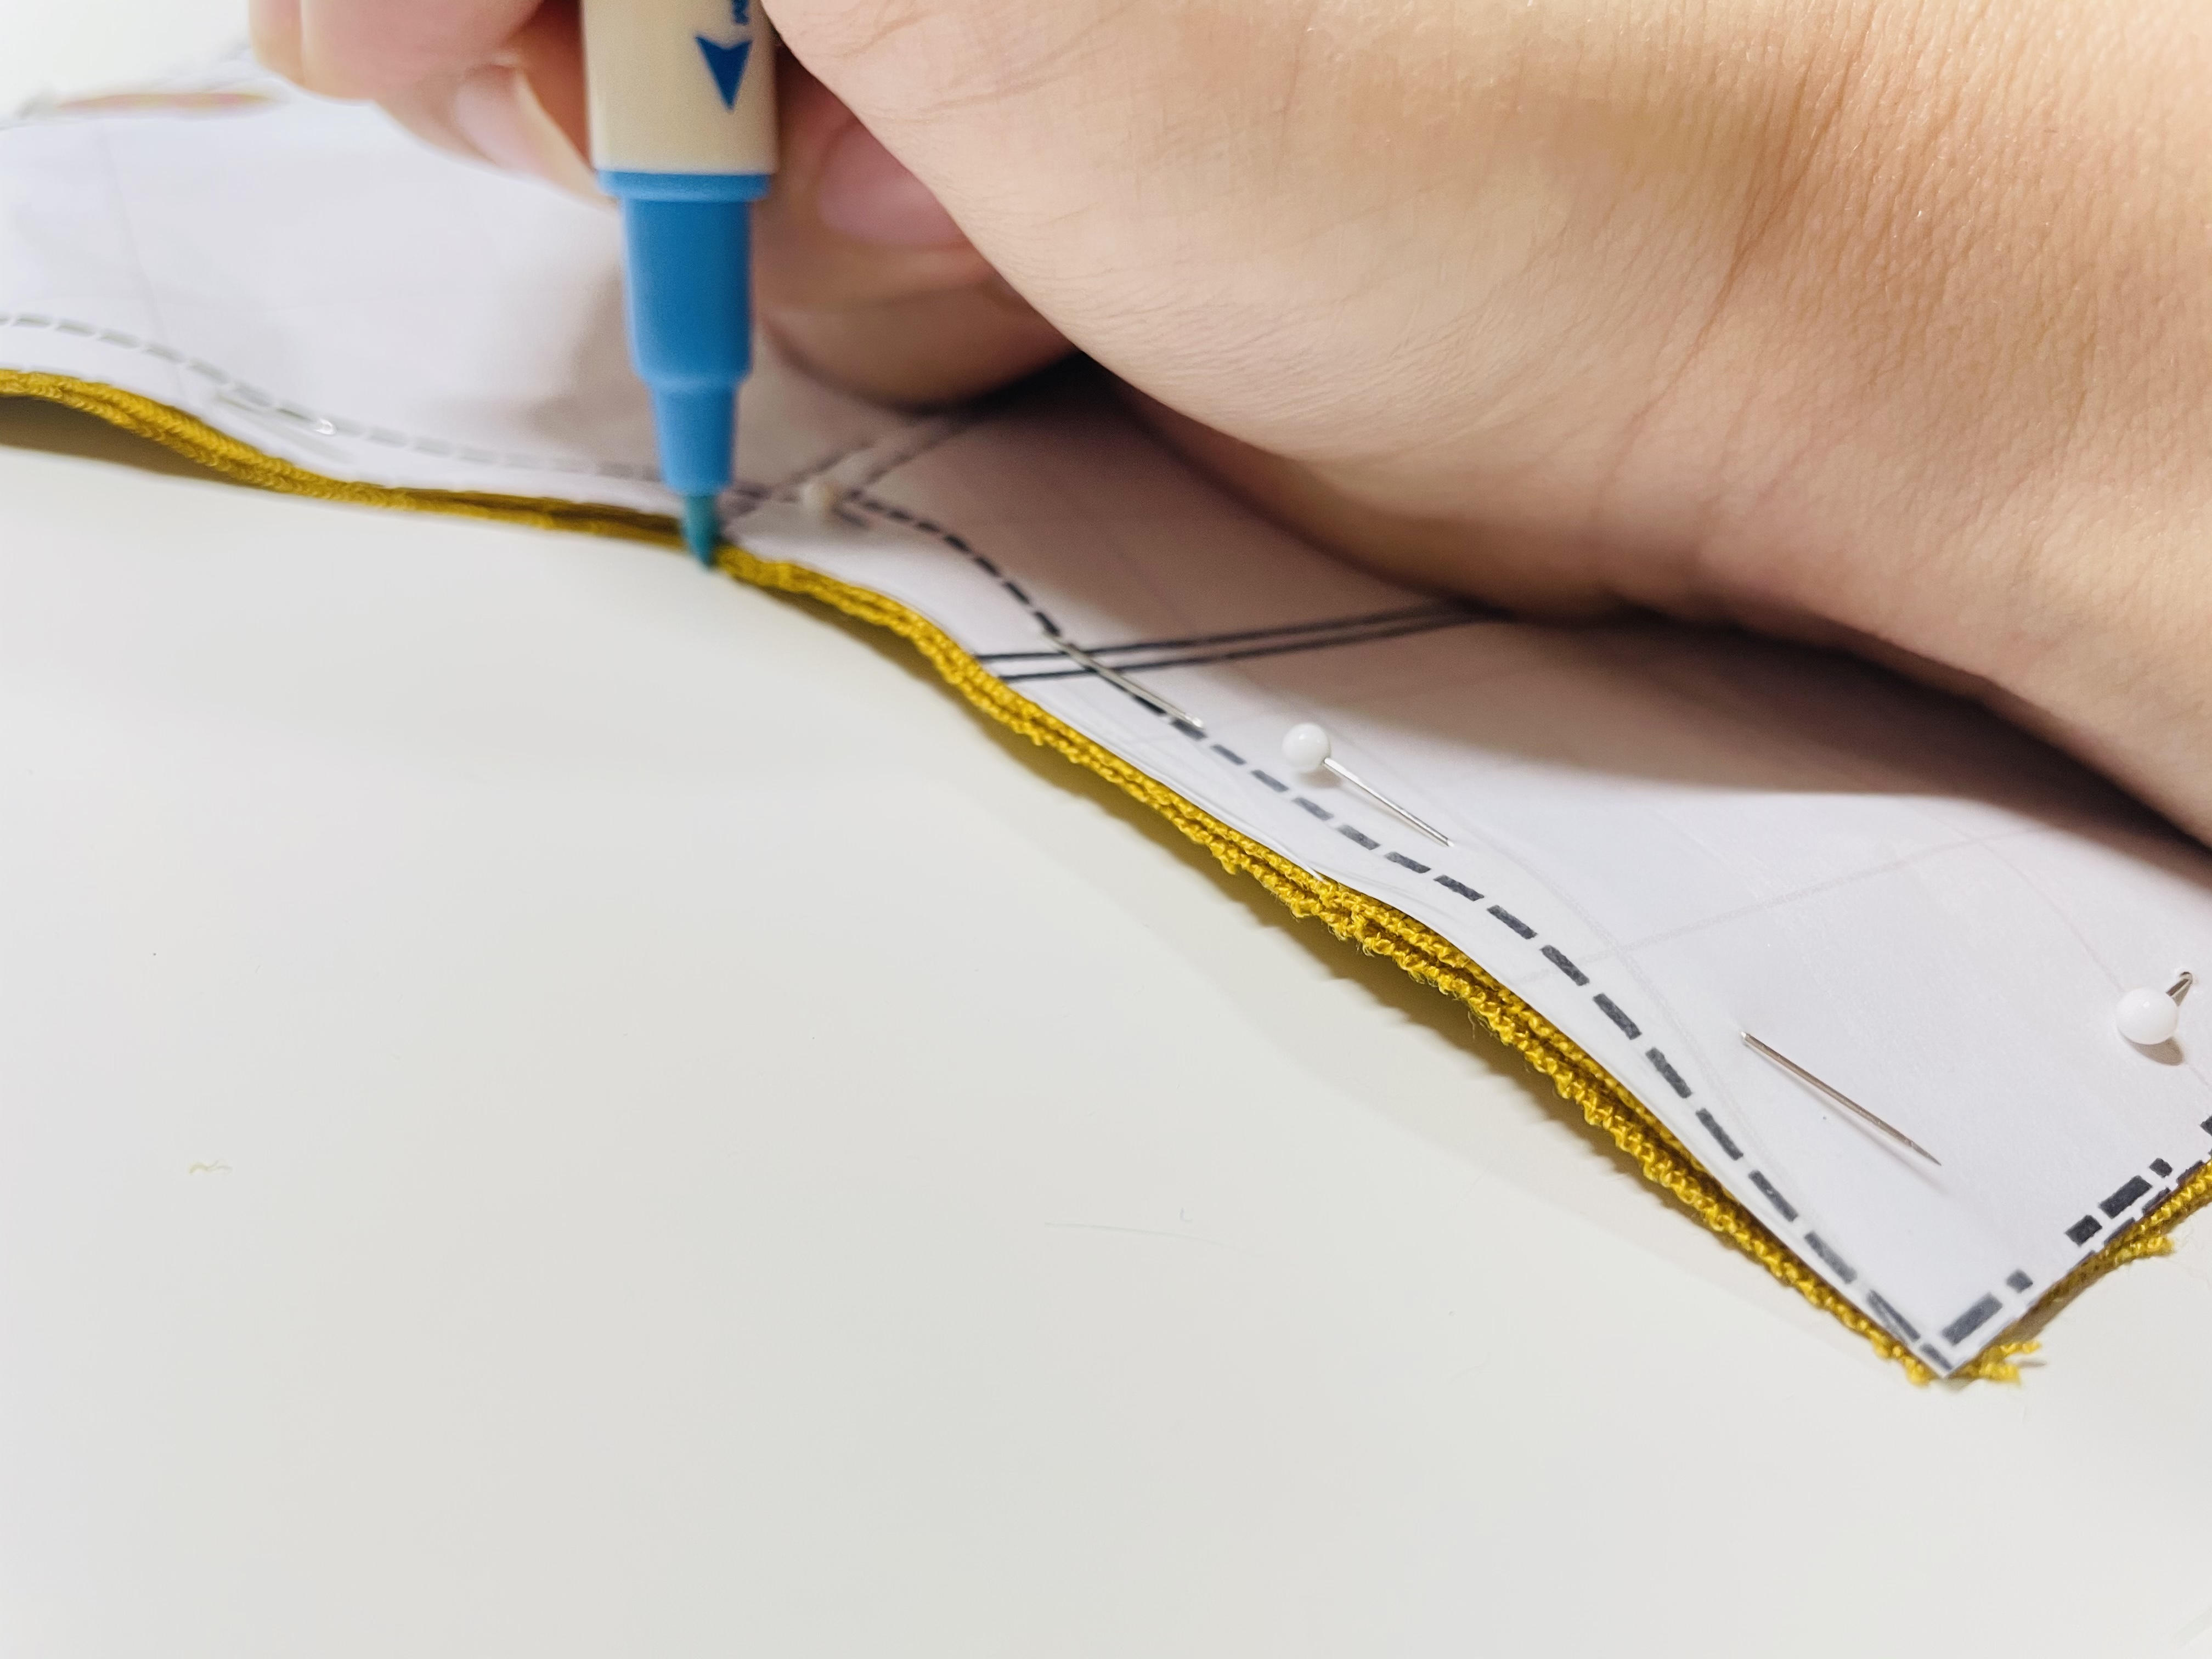
Then, I carefully flip my fabric back over, keeping the pin where it is. Now, I’m going to mark the ends of the dart legs:
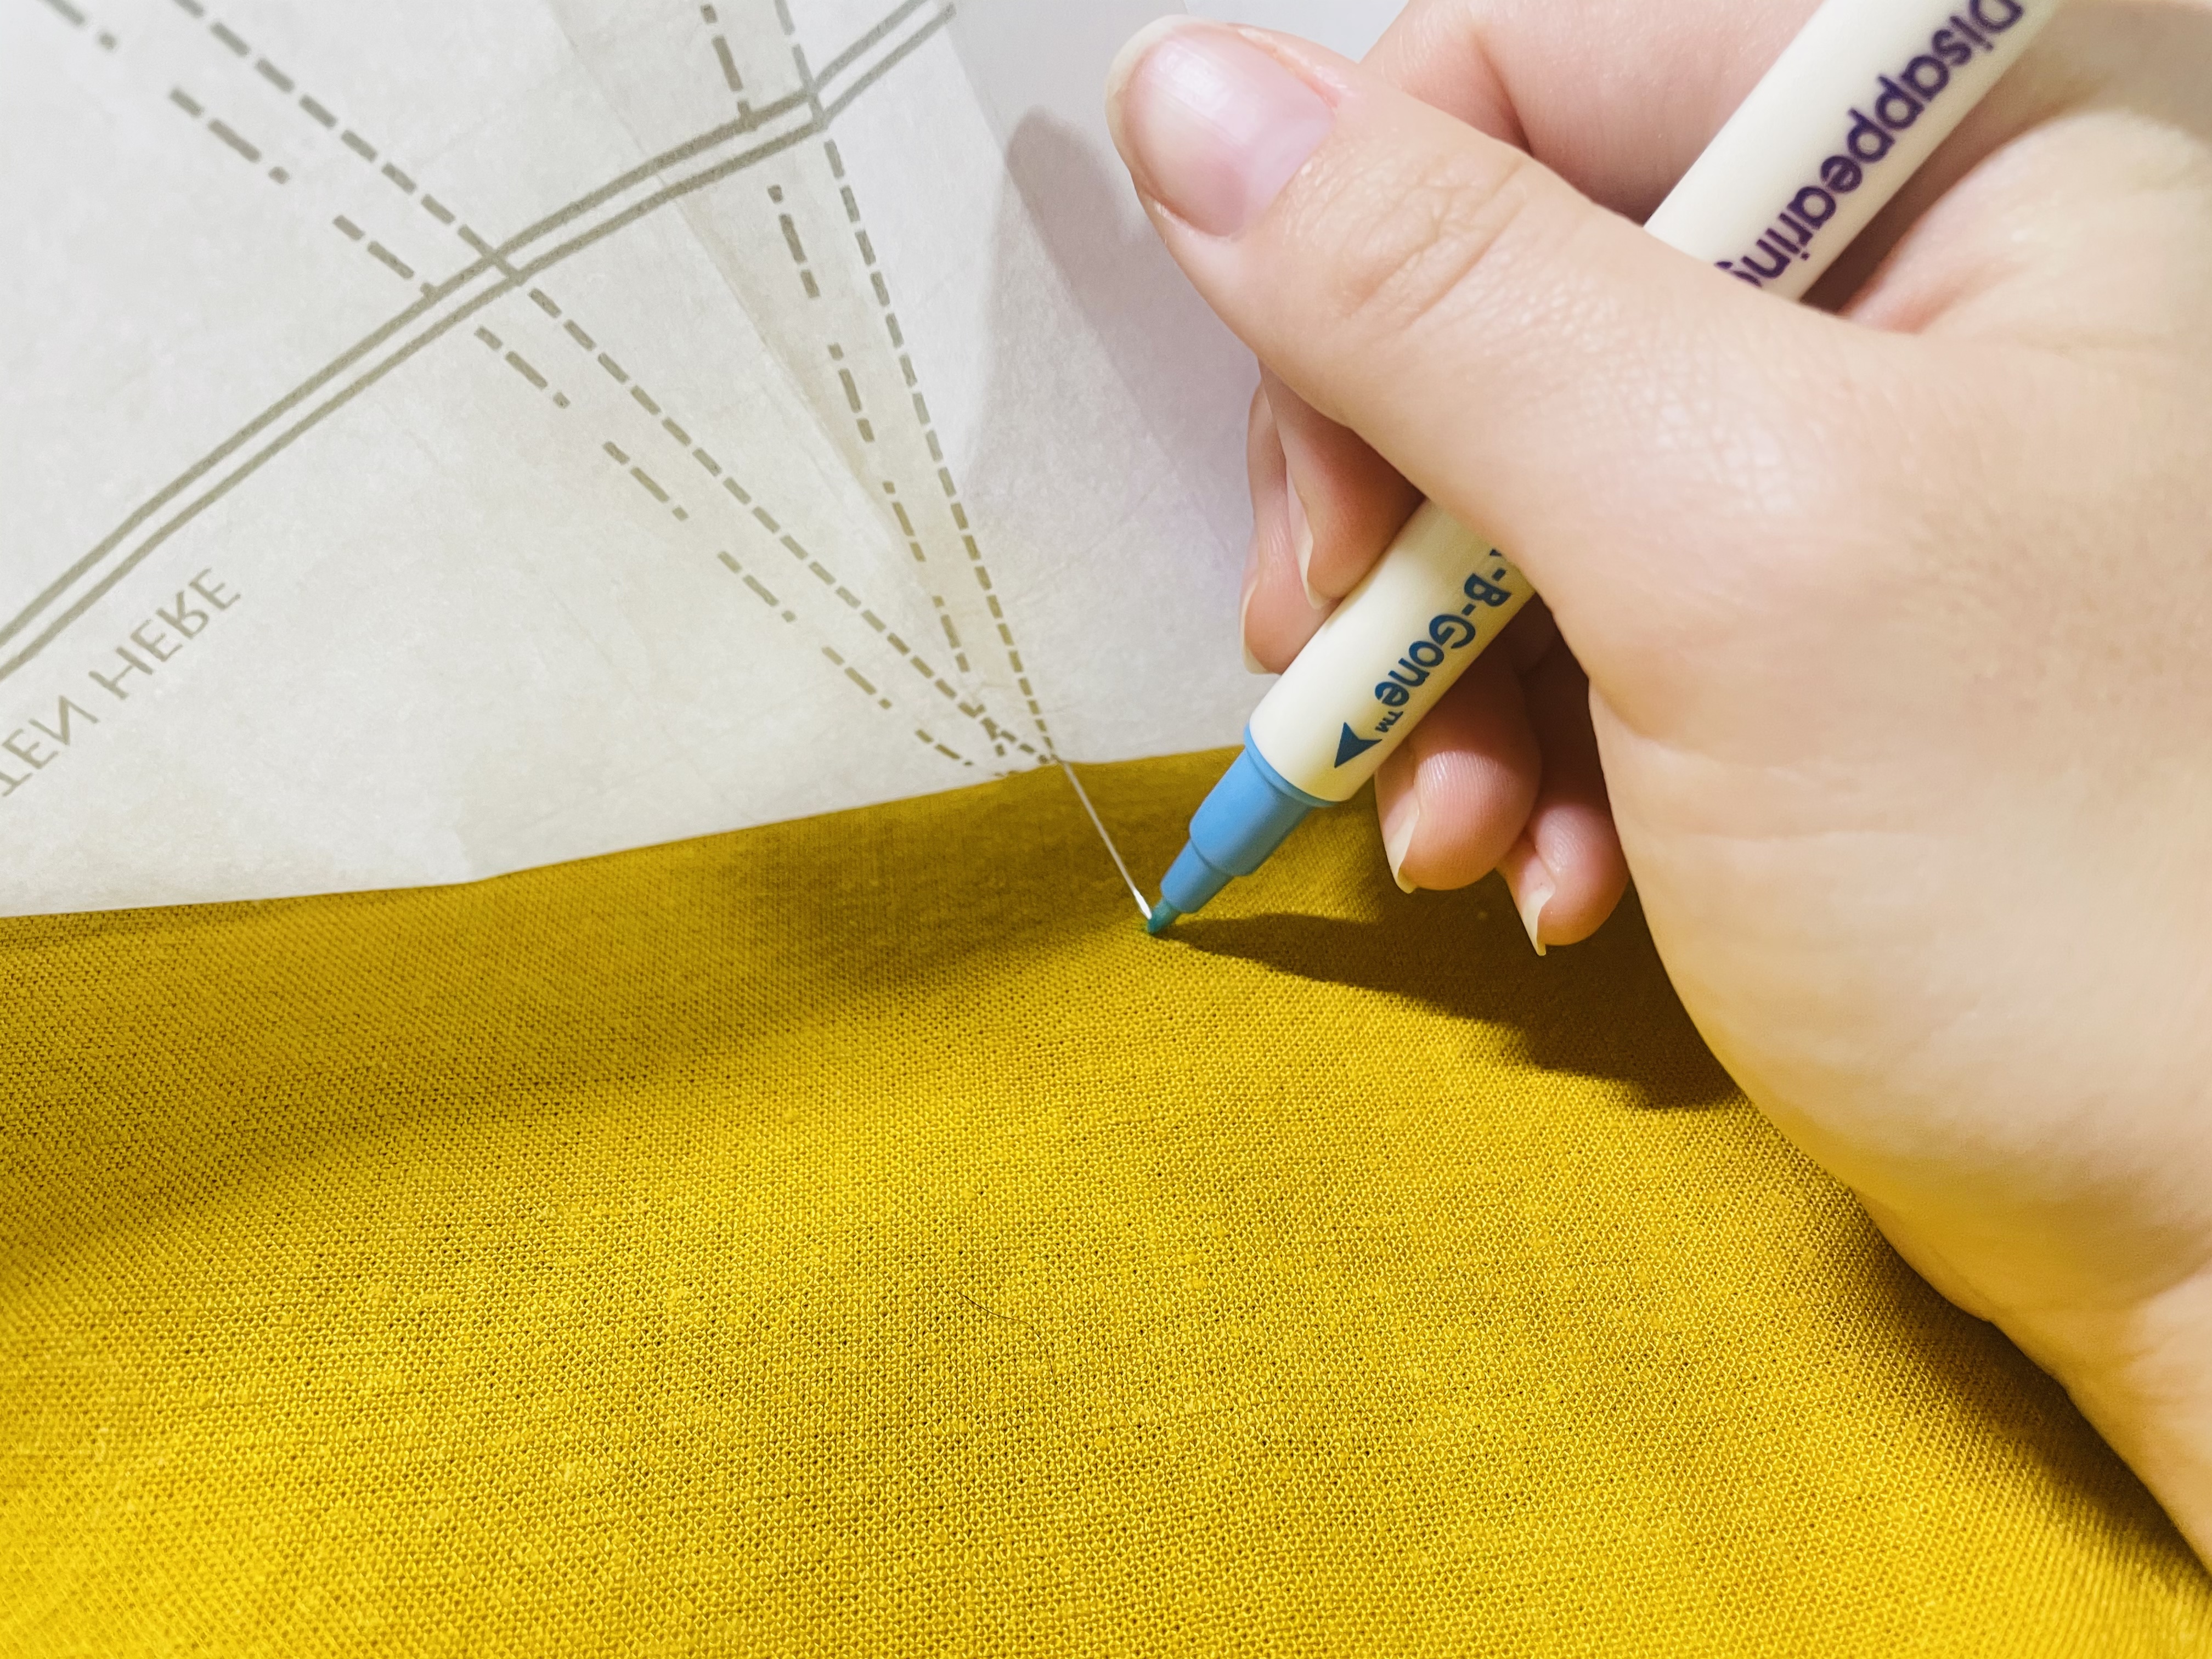
Once I’ve done that, I’ll unpin the pattern from the fabric along the edge of the dart, leaving the dart point at the apex where it is! Then, I lift my pattern, revealing the pin at the dart point sticking into my top layer of fabric. I mark this point on this side:
Now I can remove this pin. I’ll repeat this process on all the other darts so that the front waist darts, front bust darts, and back waist darts are all marked. Only then do I completely remove my pattern pieces from my fabric.
My next step is to draw in the dart legs. Now, I don’t always draw in my dart legs, and if you are an intermediate-to-advanced sewist, you probably don’t need to do this step. But, for my beginner friends, I’d recommend doing this until you’re really confident you can sew a straight line without much guide. (Honestly, my spatial reasoning skills are so bad that even after 20+ years of sewing, I still often draw in my legs. It takes 2 seconds and ensures my darts will be straight.)
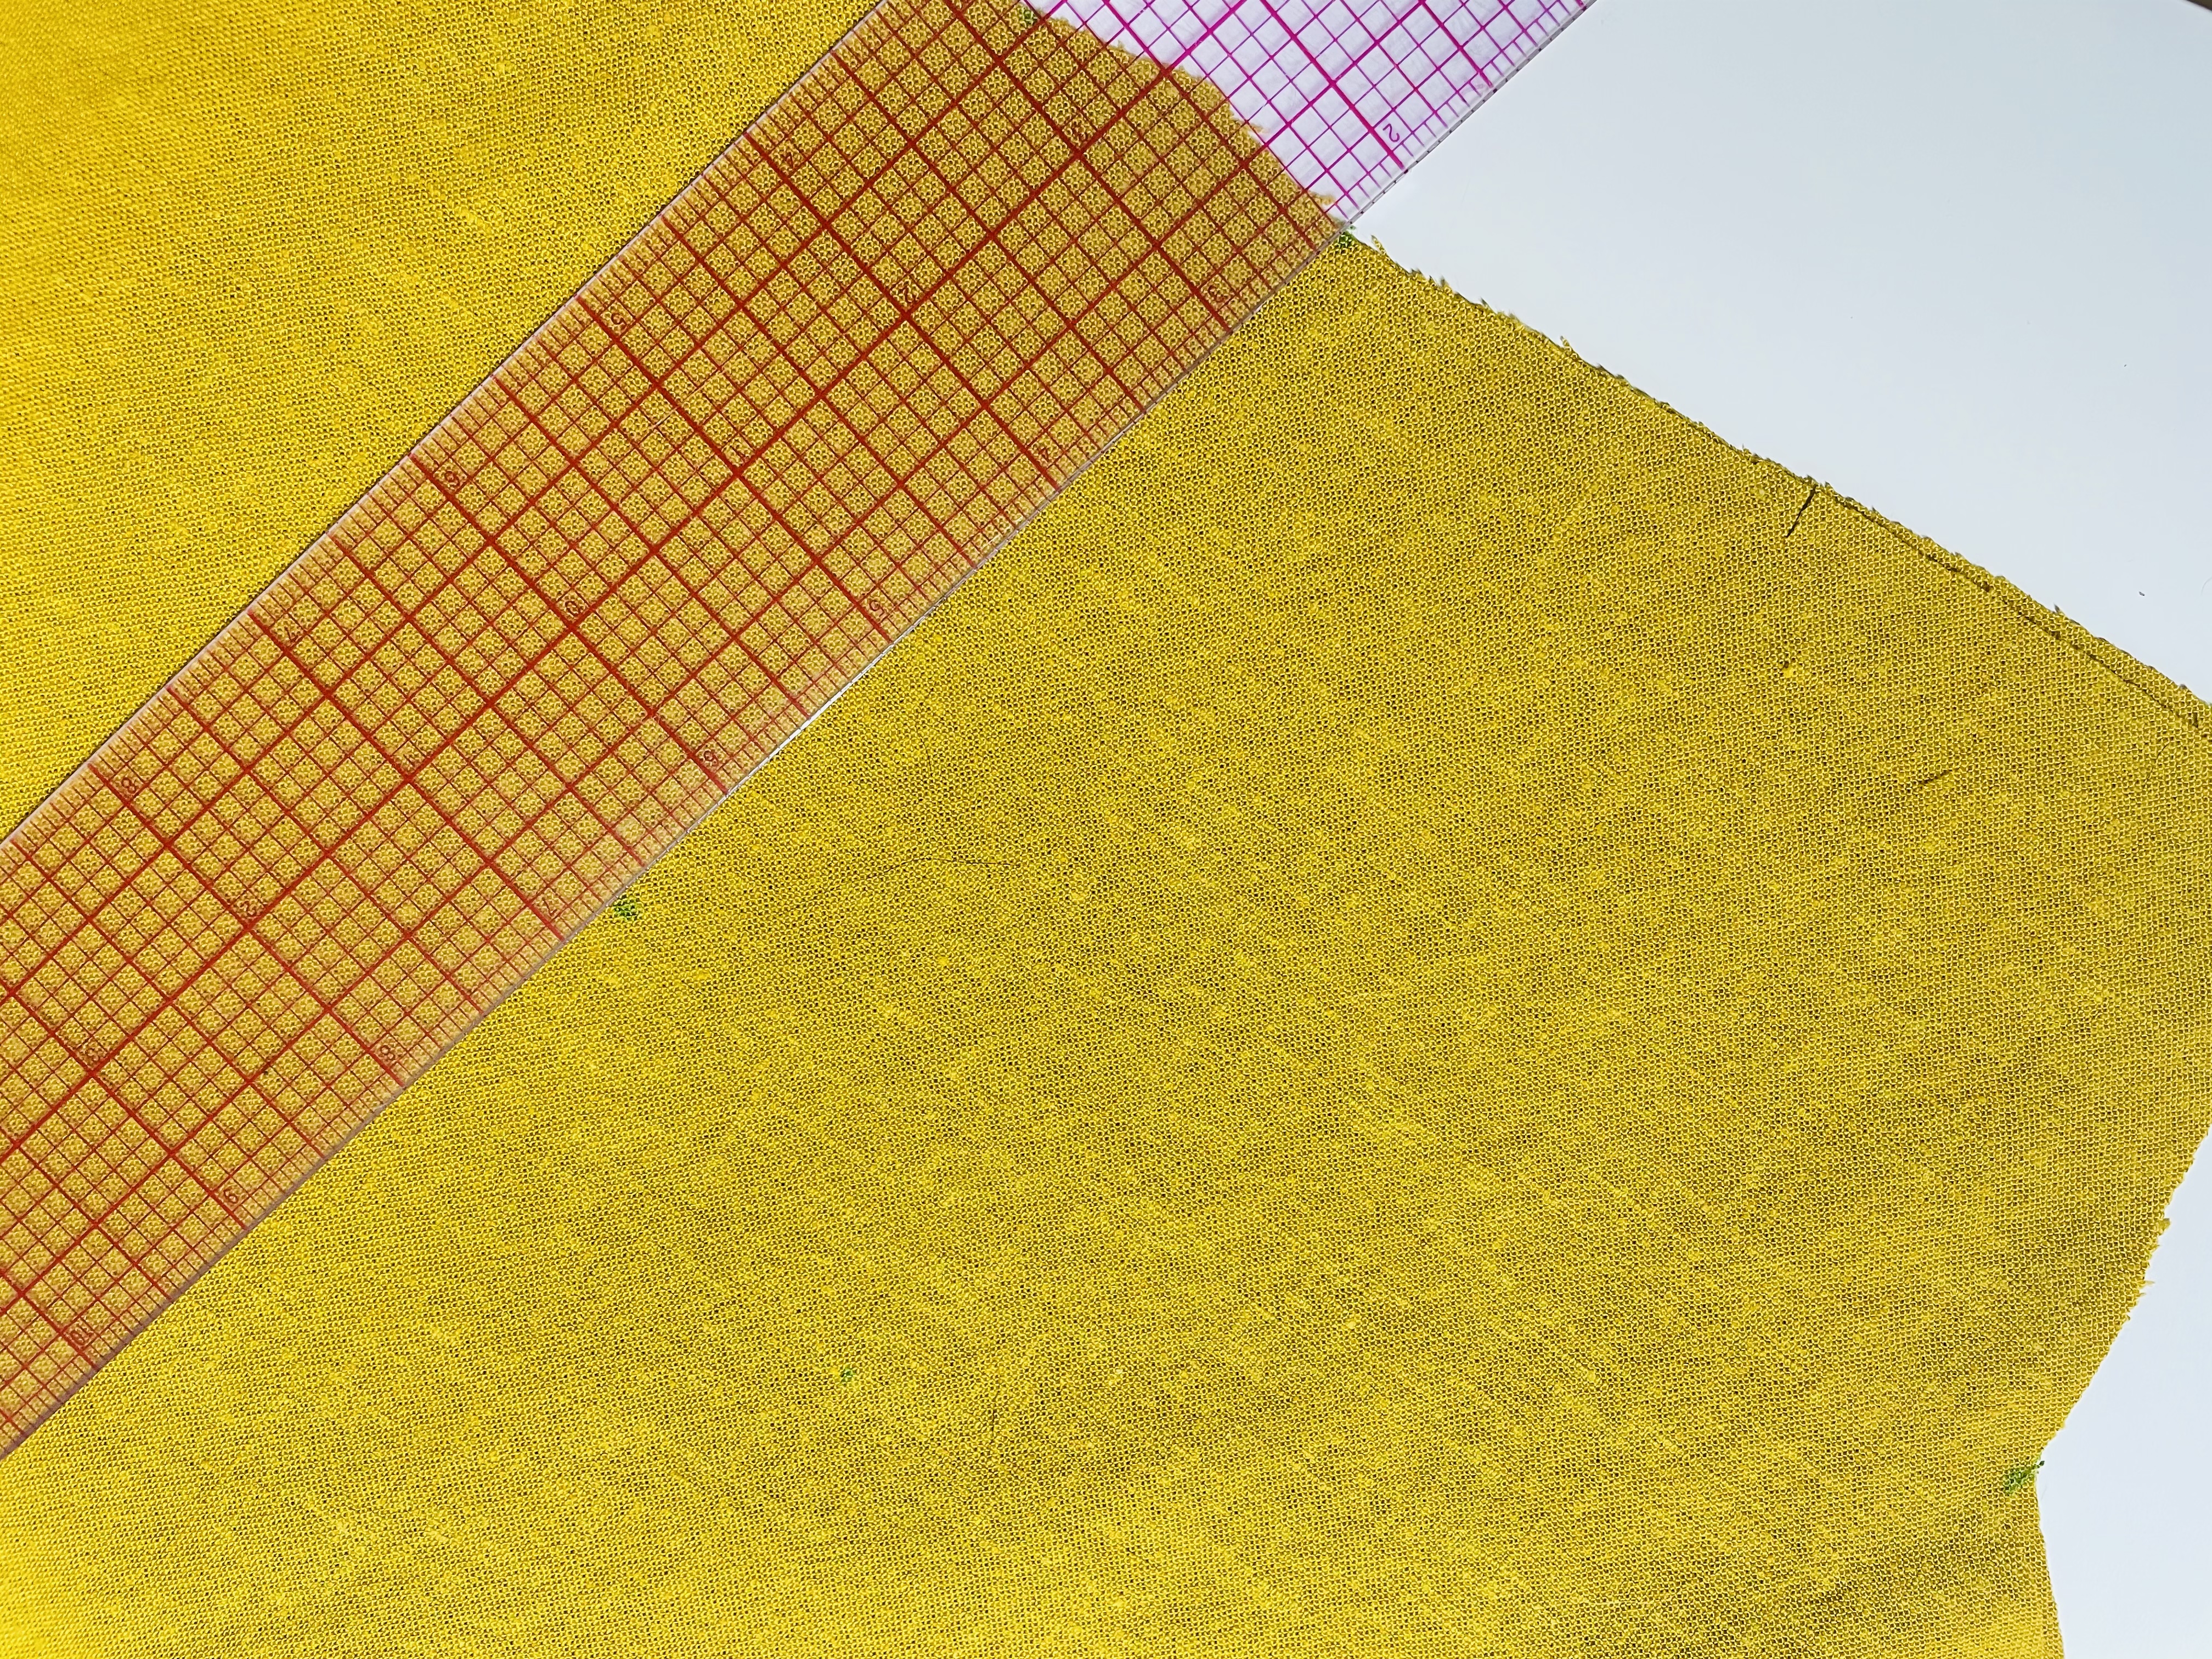
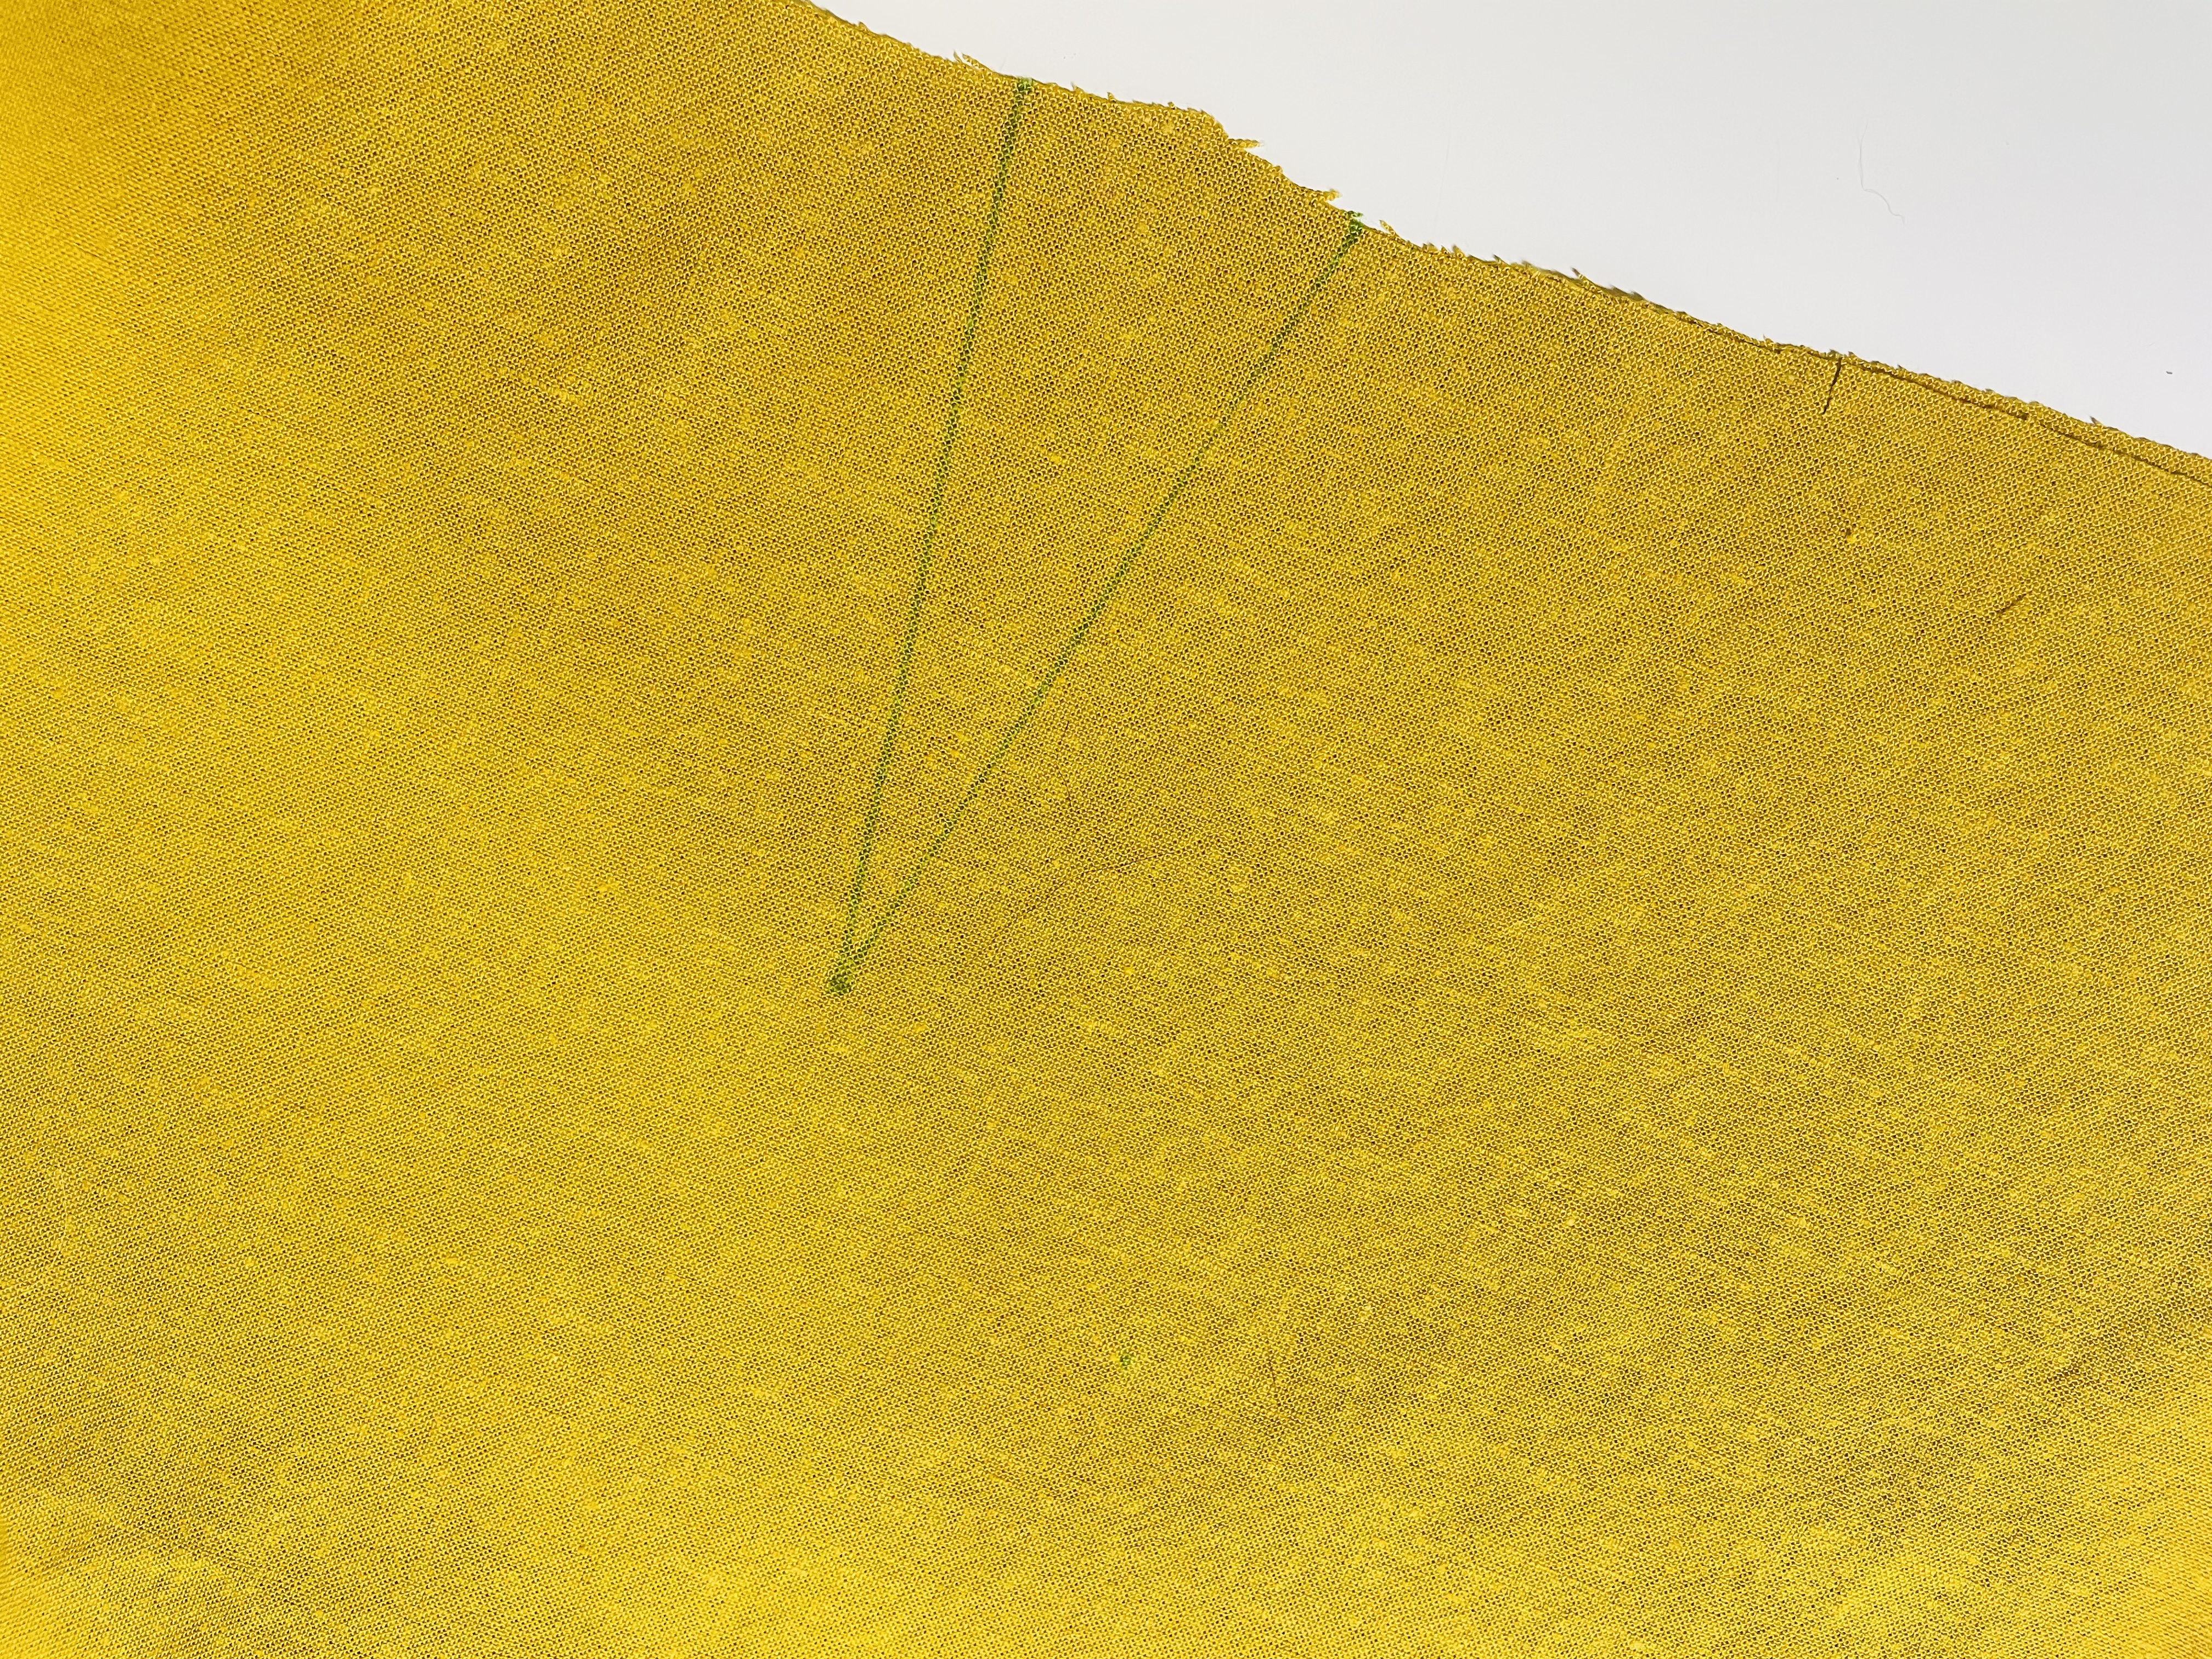
To draw in your dart legs, just use a ruler to connect your dart point to your leg ends – all of which you’ve marked at this point.
Do this on all of your darts. Your pattern pieces will now look like this:
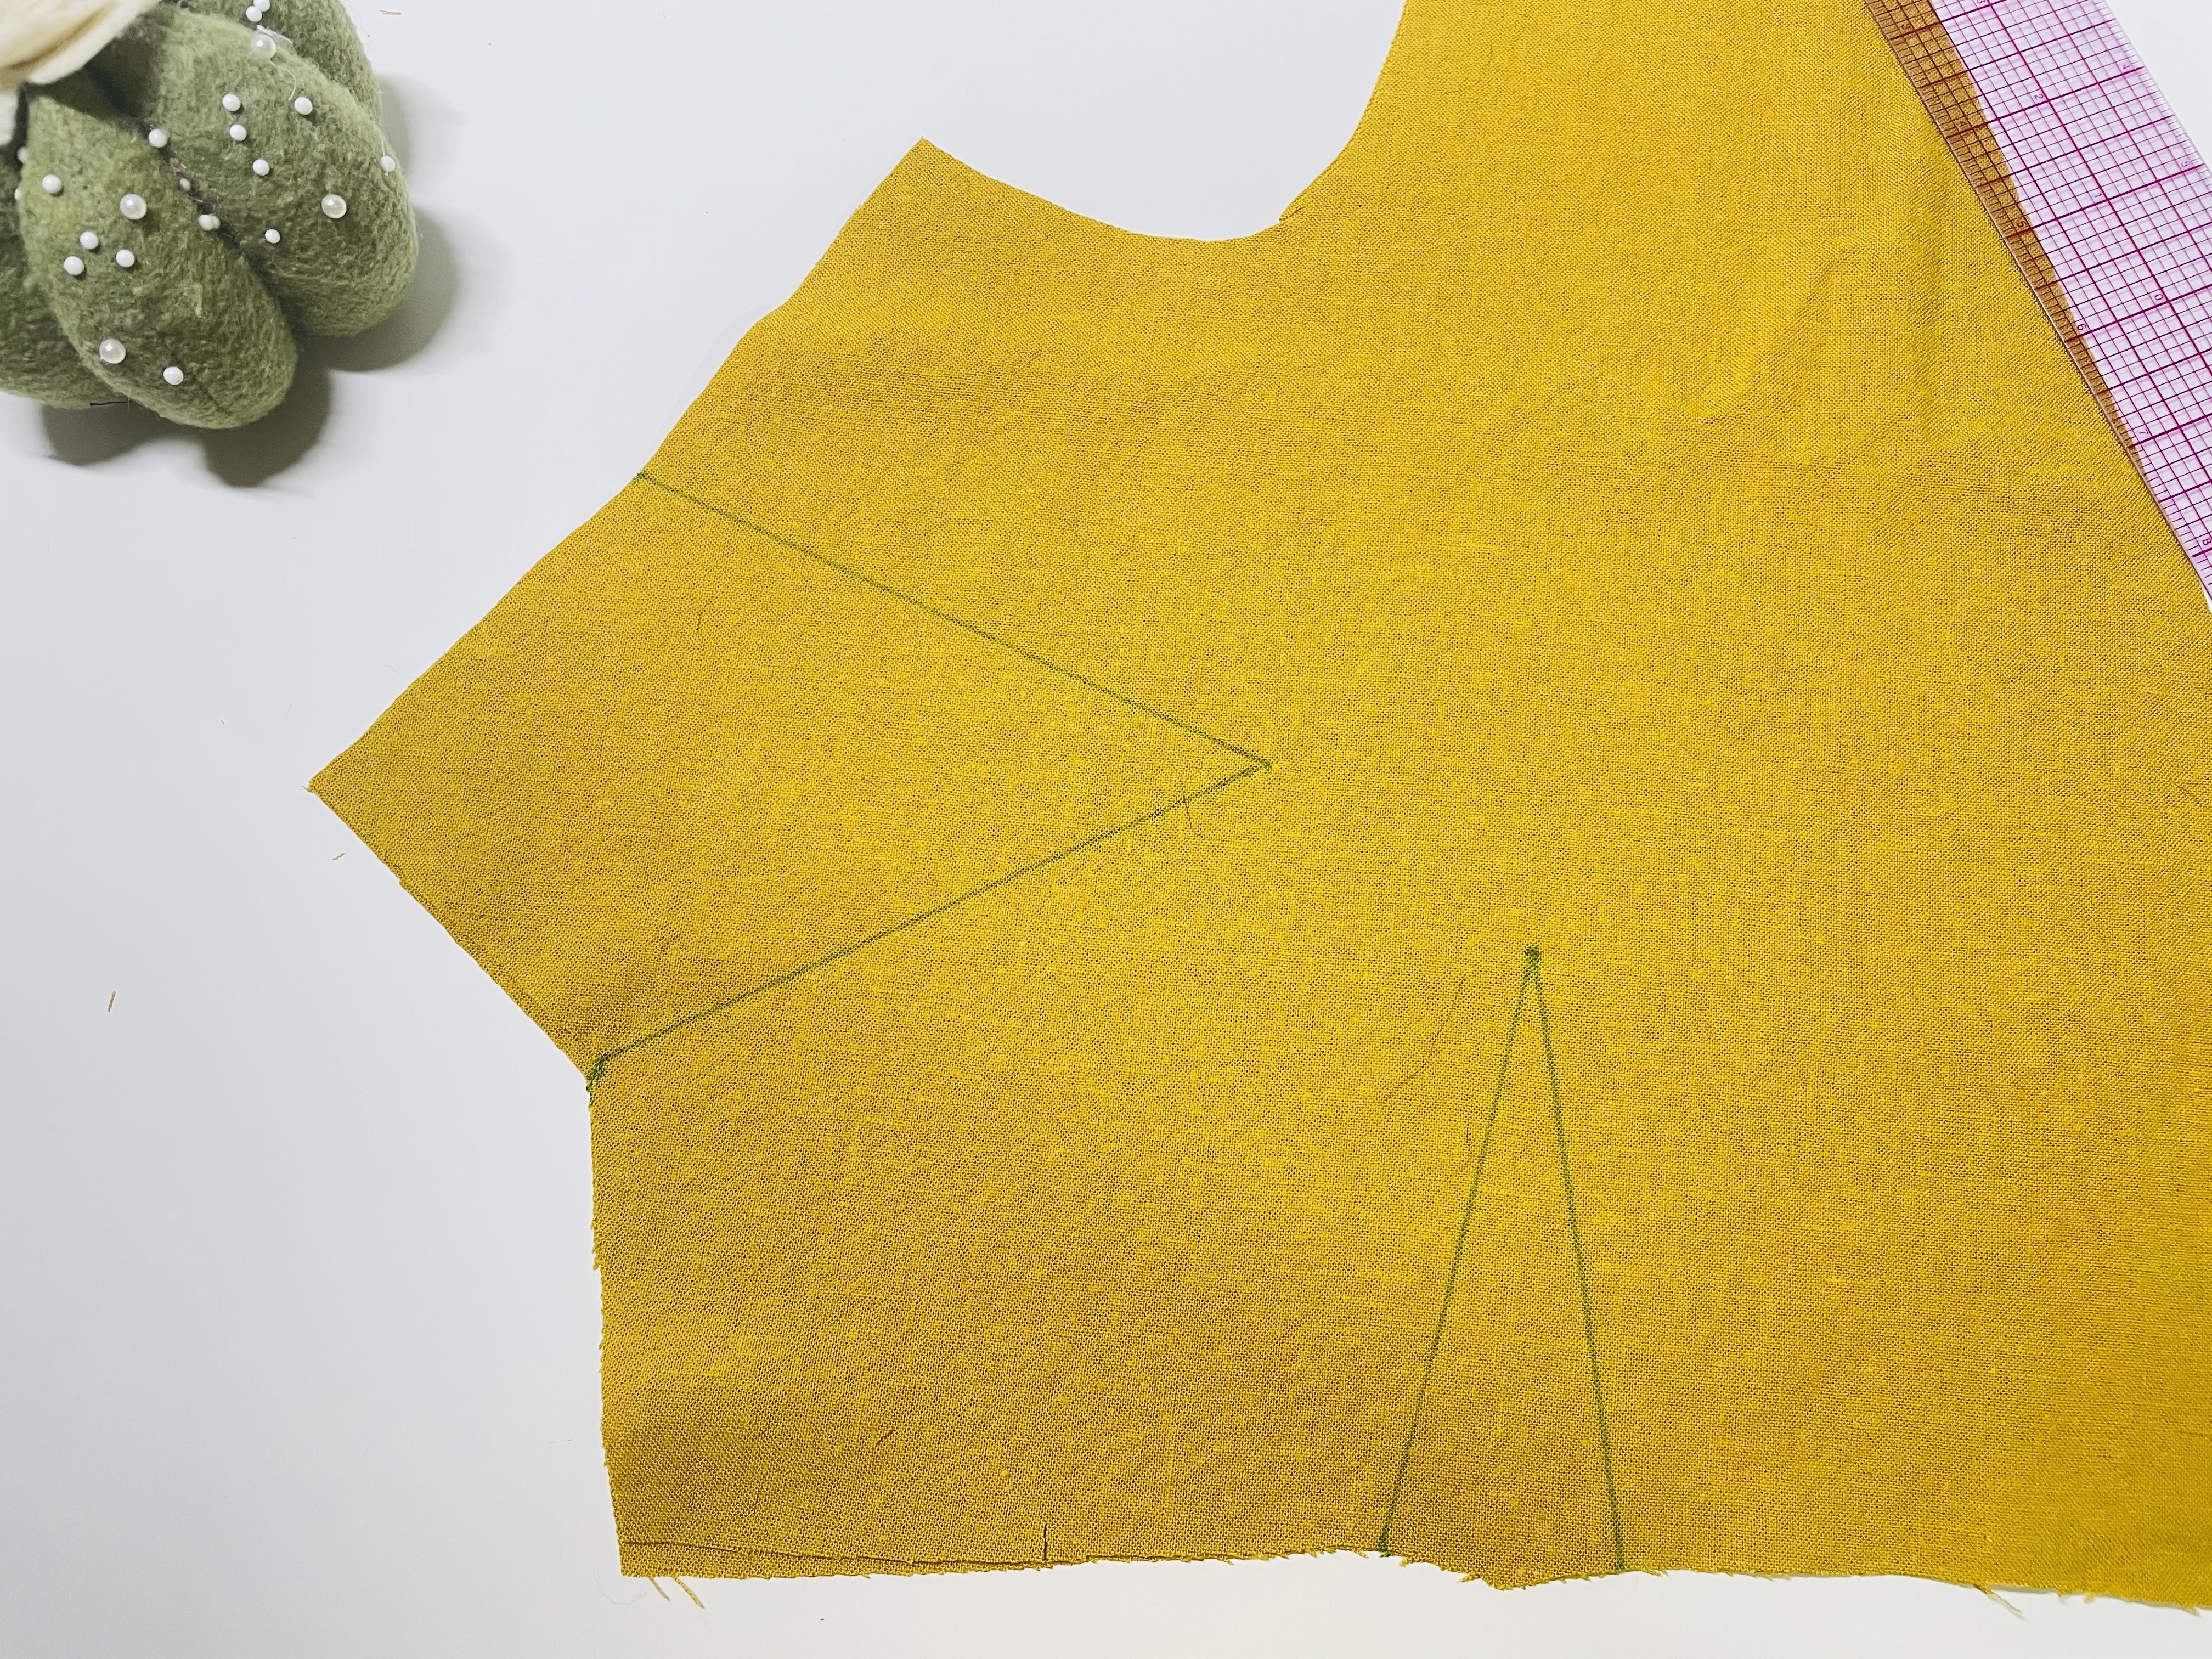
Let’s talk a bit about what darts are: For your Lago or Saybrook tank, you didn’t have darts, because the stretch of the fabric will mold over your mounds. But, for woven fabrics, because they don’t stretch, we must add shaping to them. Enter darts. In this Advanced Fit Series post, Ann from Designer Stitch talks more about how darts shape around your boobies.
Staystitching
Okay, I’ll be honest with you. I always forget to stay stitch first. I dunno why, but my first inclination is always to get my darts sewn, and then I look at the directions only to realize OMG I WAS SUPPOSED TO STAYSTITCH.
But staystitching is super important on this particular pattern. Why? Because the wrap front is cut on the bias.
Staystitch. Bias. … Lindsie, you’re talking gibberish!
I know. It’s a lot of vocab all at once! Let’s break it down:
Bias: Remember when we talked about the grain and the cross-grain very briefly with the Lago/Saybrook sew along? As seen in the diagram below, the grain is parallel to the selvedge and the cross-grain is perpendicular to the selvedge.
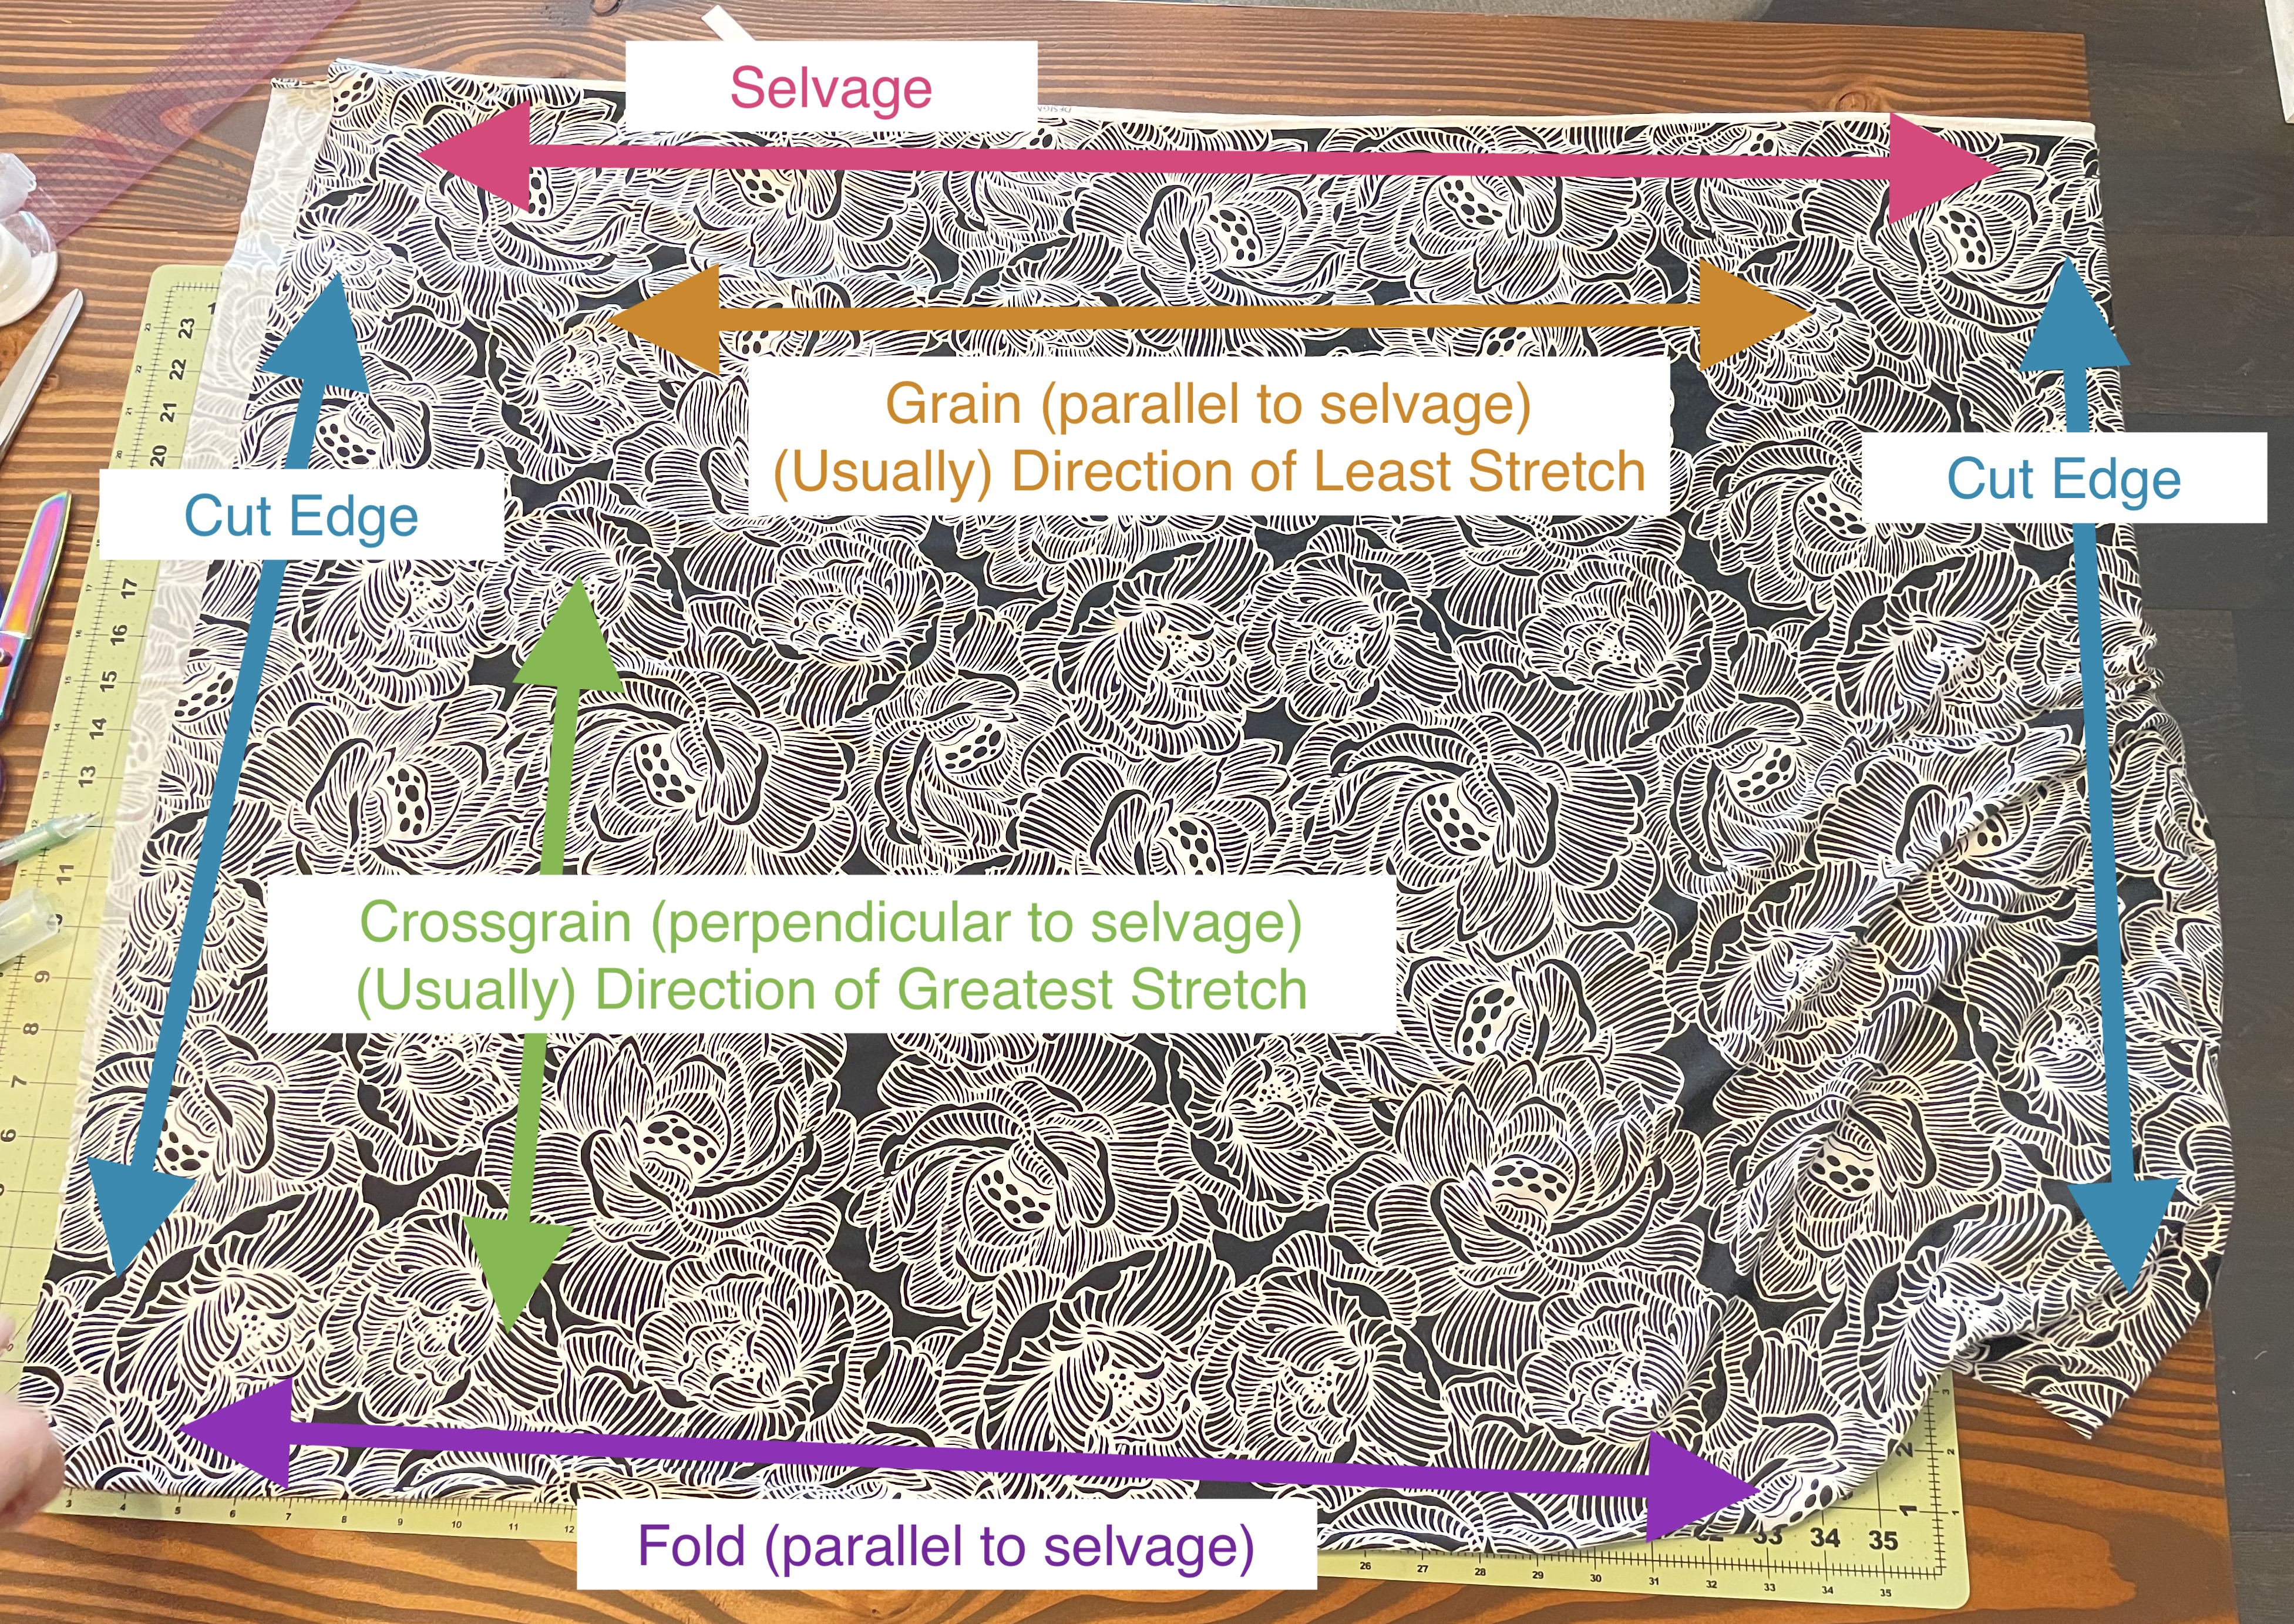
The bias is the 45-degree angle between the grain and the cross-grain. As you’ll have seen when you cut your pattern, the neckline binding is cut at this angle.
Not only is the neckline binding cut on the bias, but so is the neckline, since the side seam is on the grain, and the neckline is at an angle from that.
Why does this matter? Because, on the grain and cross-grain, woven fabric doesn’t stretch. But, on the bias, you’ll notice that woven fabric has a tad bit of stretch. Unlike stretch/knit fabric, though, woven fabric, once stretched on the bias, doesn’t easily return to its unstretched state. (This is what we call recovery – many knit fabrics have excellent recovery.)
What we don’t want is for the neckline to stretch while we sew the other parts of the garment, leaving the neckline too long. So we staystitch. Which brings me to …
Staystitch: Staystitching is when we sew along the edge of fabric in order to prevent stretching. There’s nothing really special to it. I like to stitch 1/4″ from the edge of the fabric, because this then gets caught in the seam allowance and saves me the step of having to remove the staystitching later.
You want to stitch from the shoulder down to the end of the neckline. Here, you can see that I’ve staystitched the front neckline:
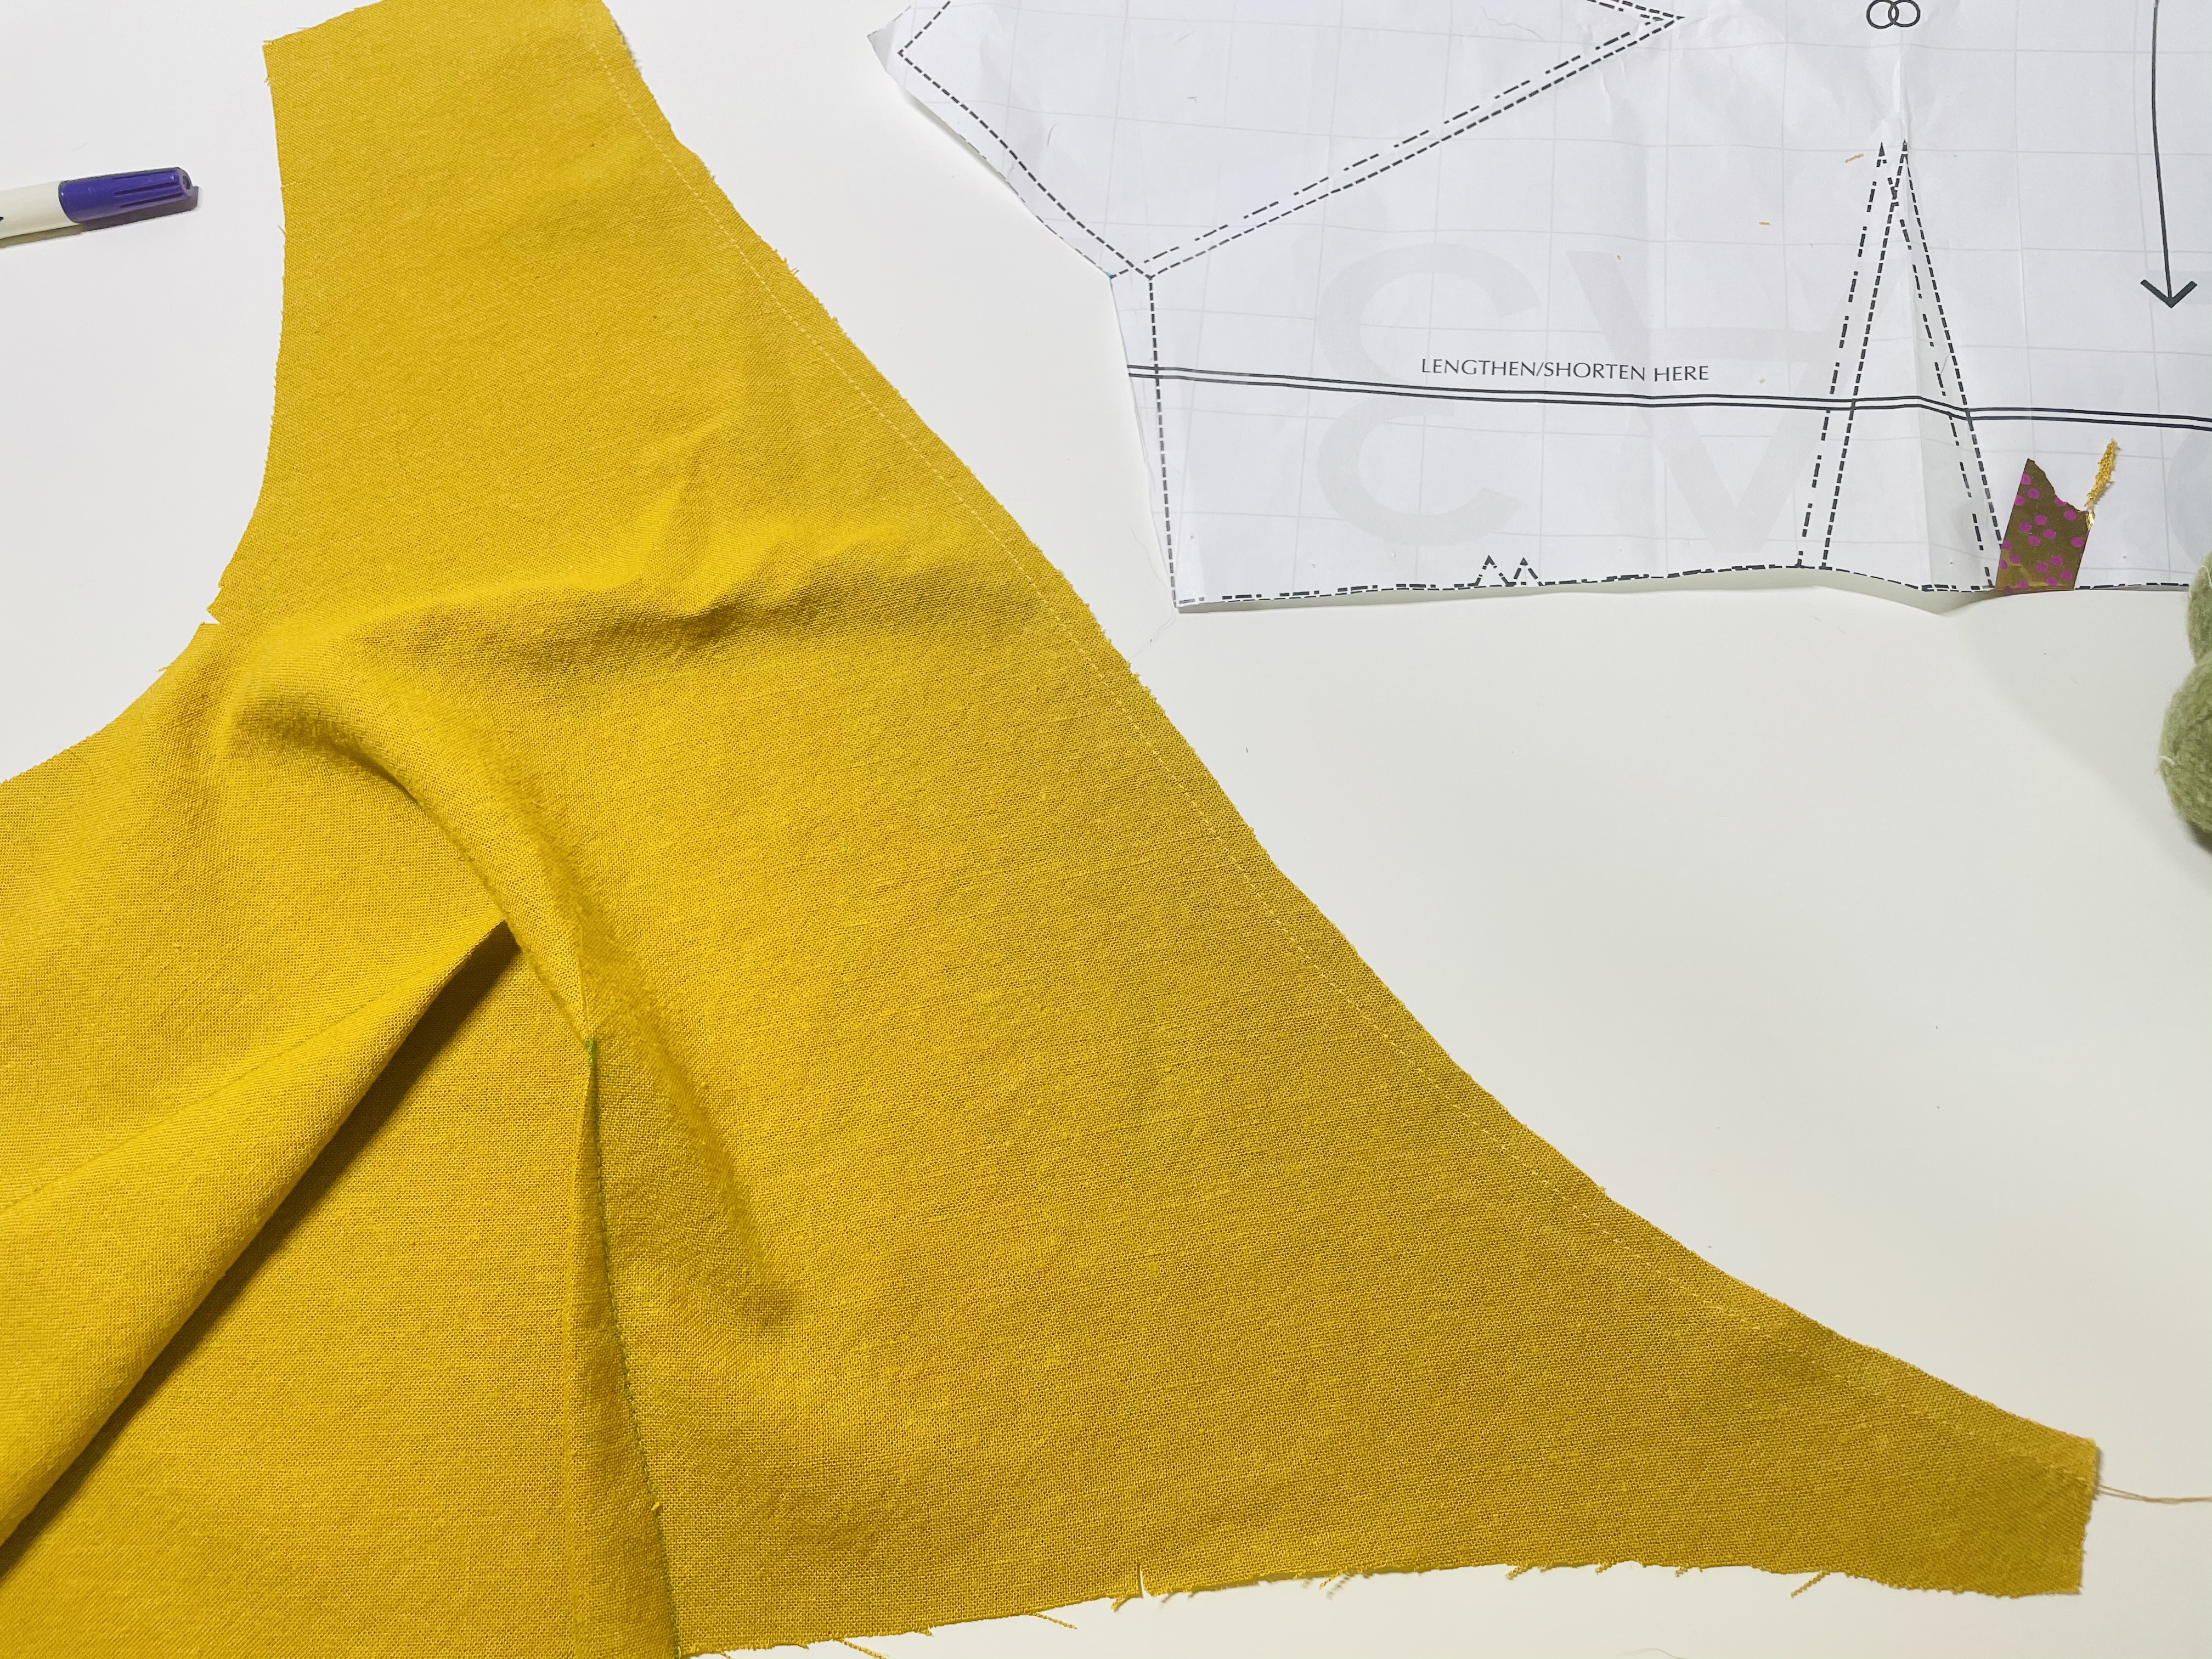
Once again, PLEASE pretend that my darts aren’t already sewn in this picture. Do as I say, not as I do! Staystitch first!
You also need to staystitch the back. Stitch from the shoulder to the center back, then again from the other shoulder to the center back.
Sewing the Darts
Our next step is to sew our darts. To do this, we must first fold and pin them. Here’s my process for that:
Pinning the darts
First, I put a pin through the dart point – going in, then back out of the fabric so my pin sticks out on the wrong side of the fabric.
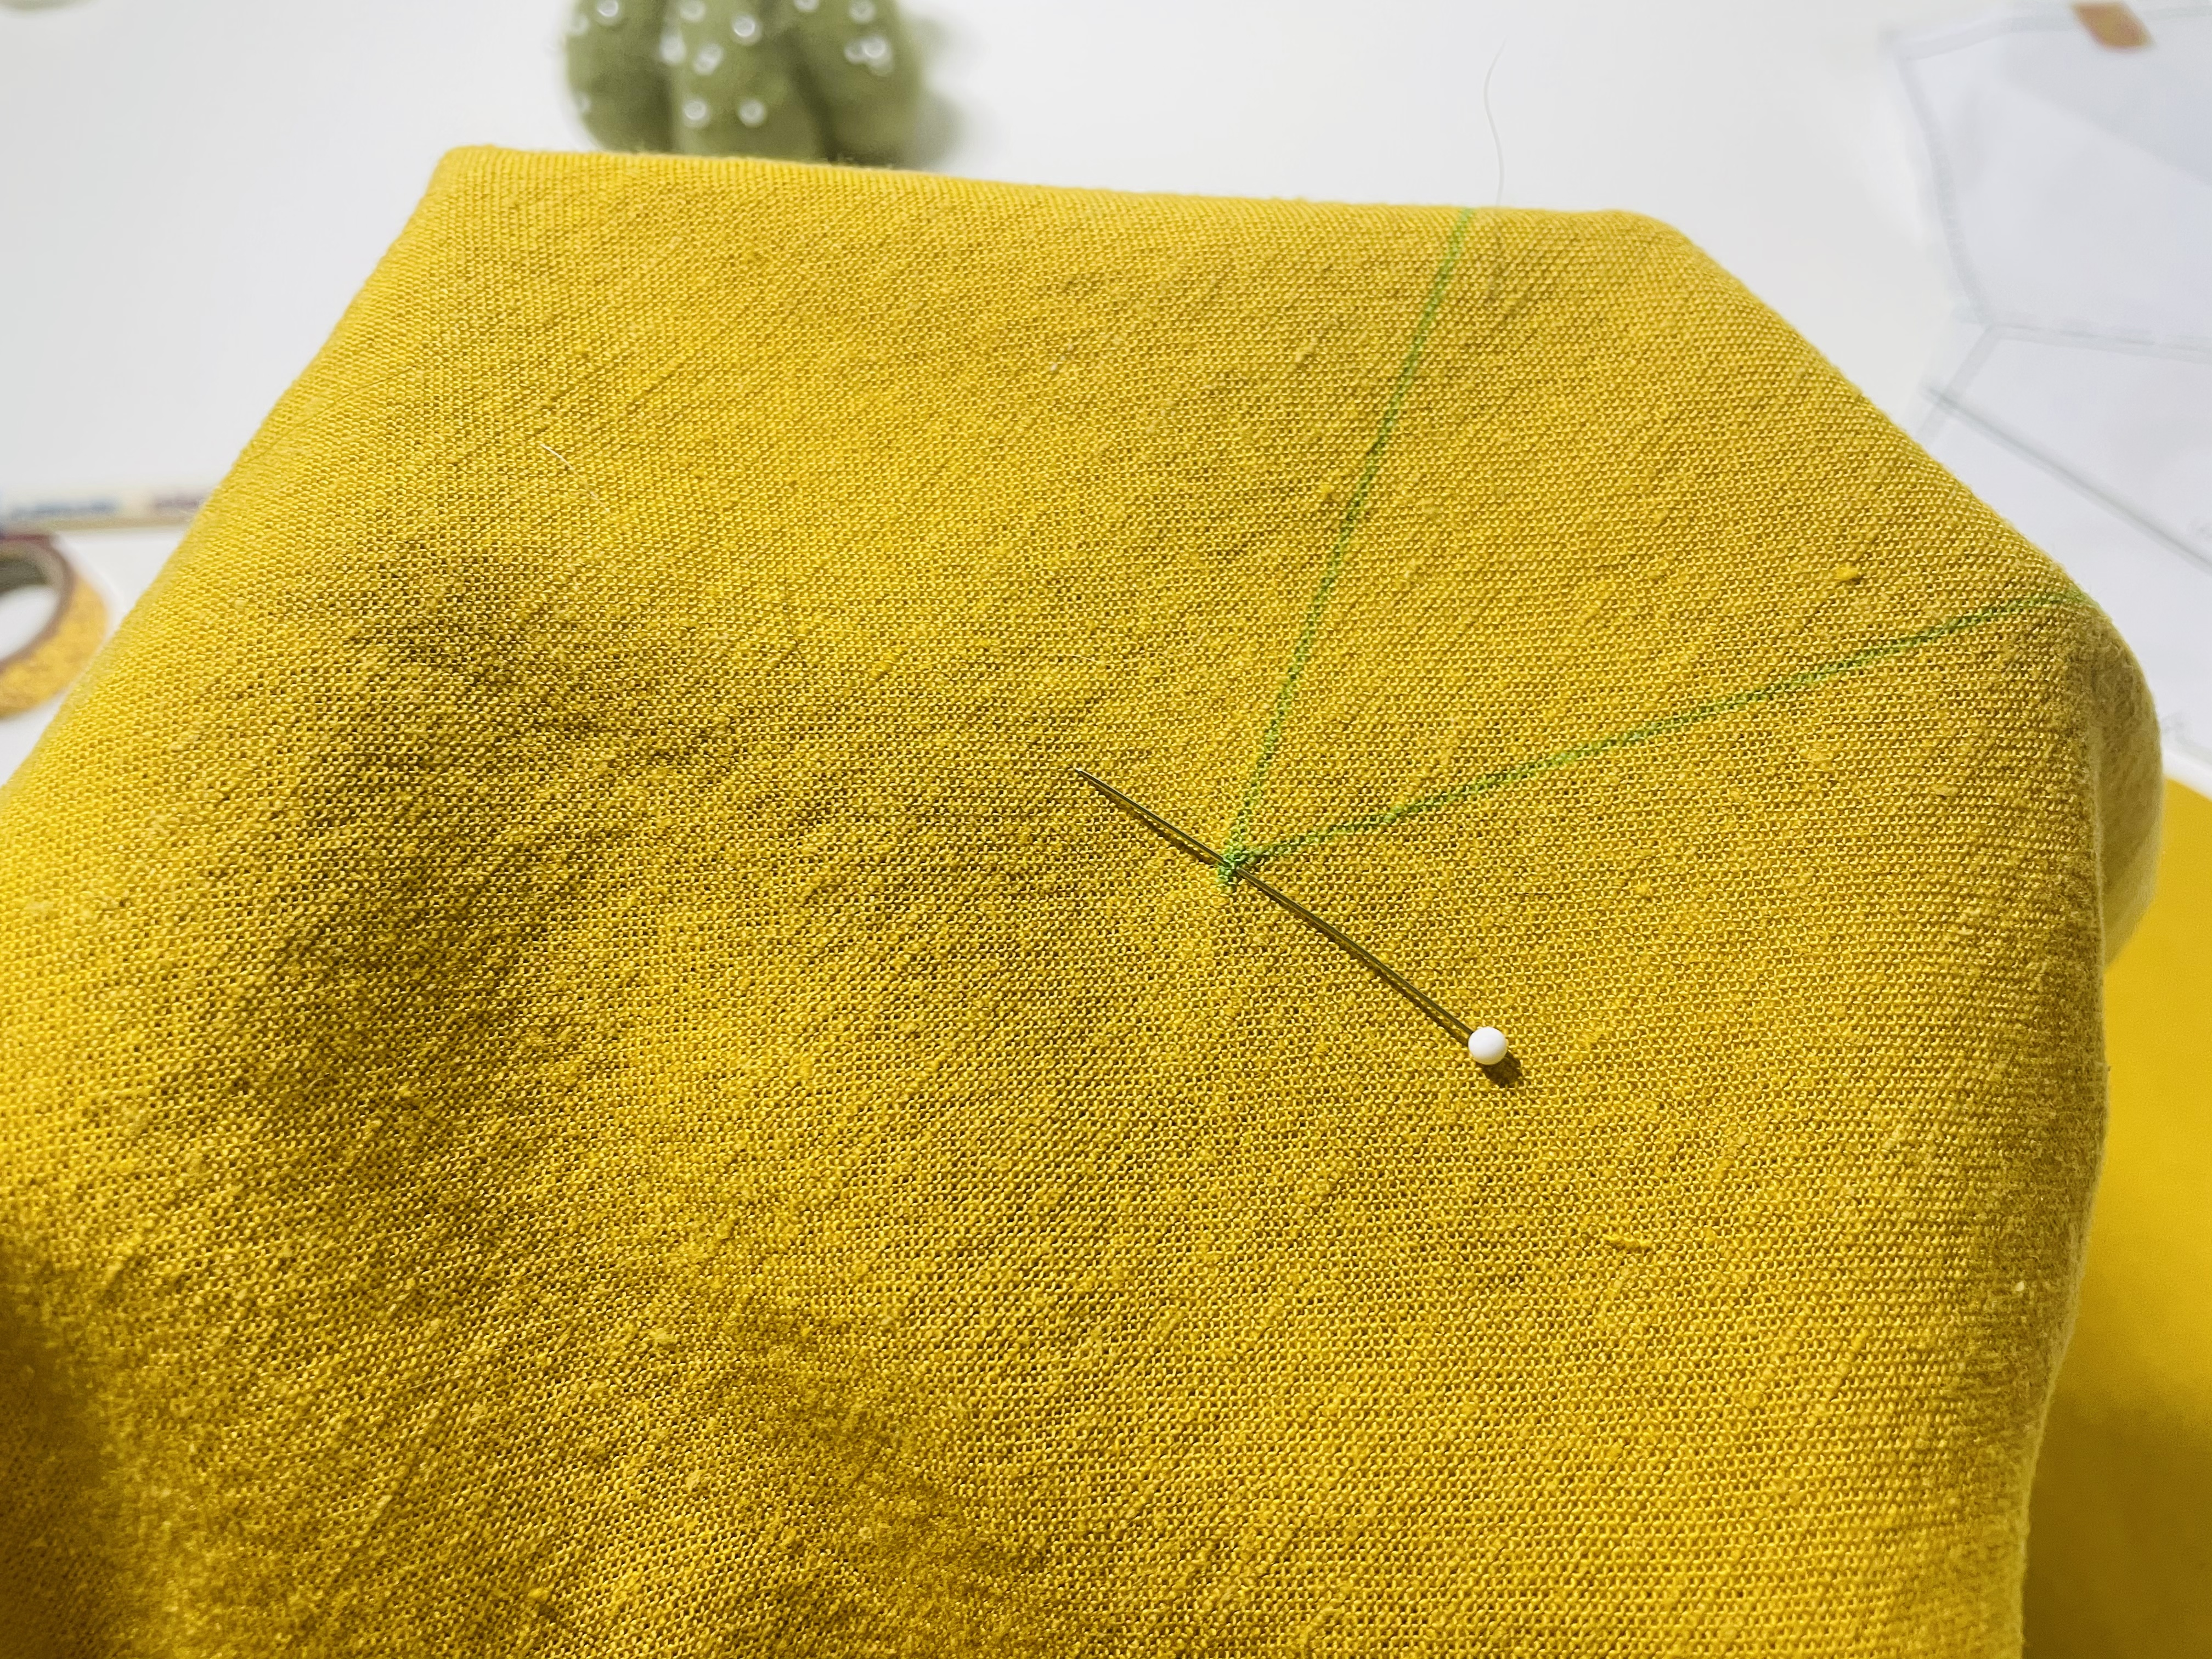
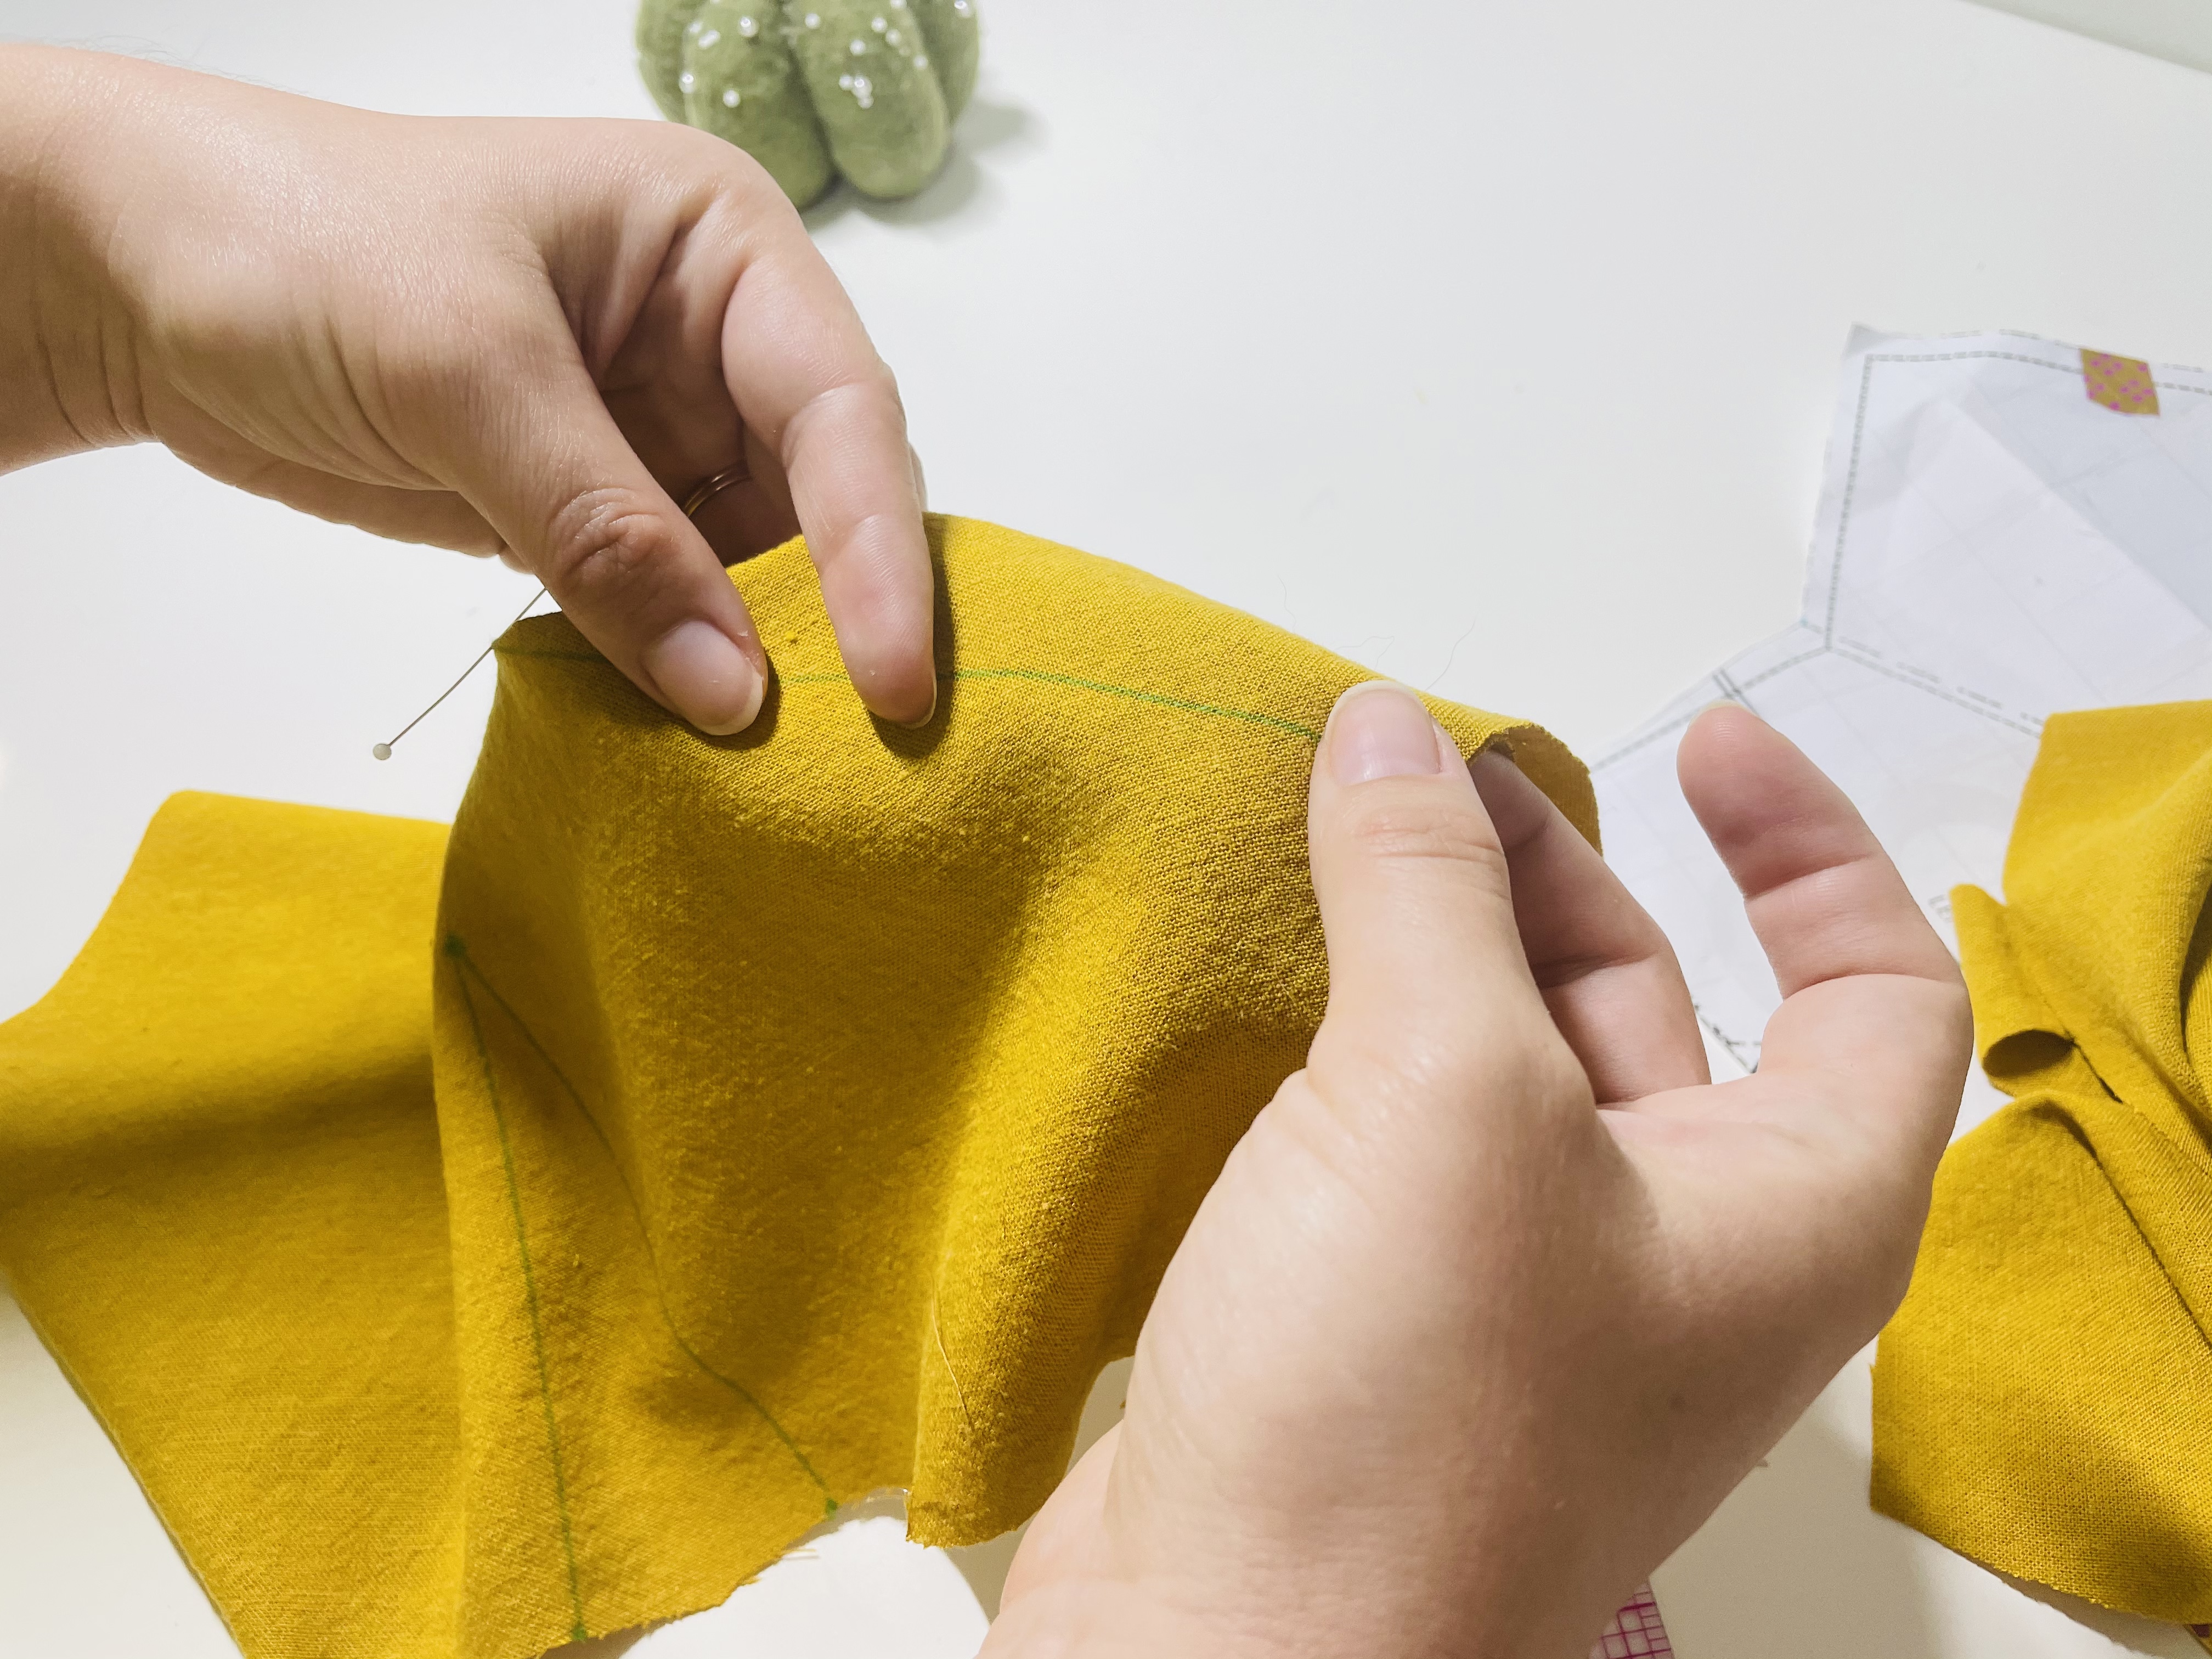
Then, I pick the fabric up by holding that pin, and match the ends of the dart legs, like this:
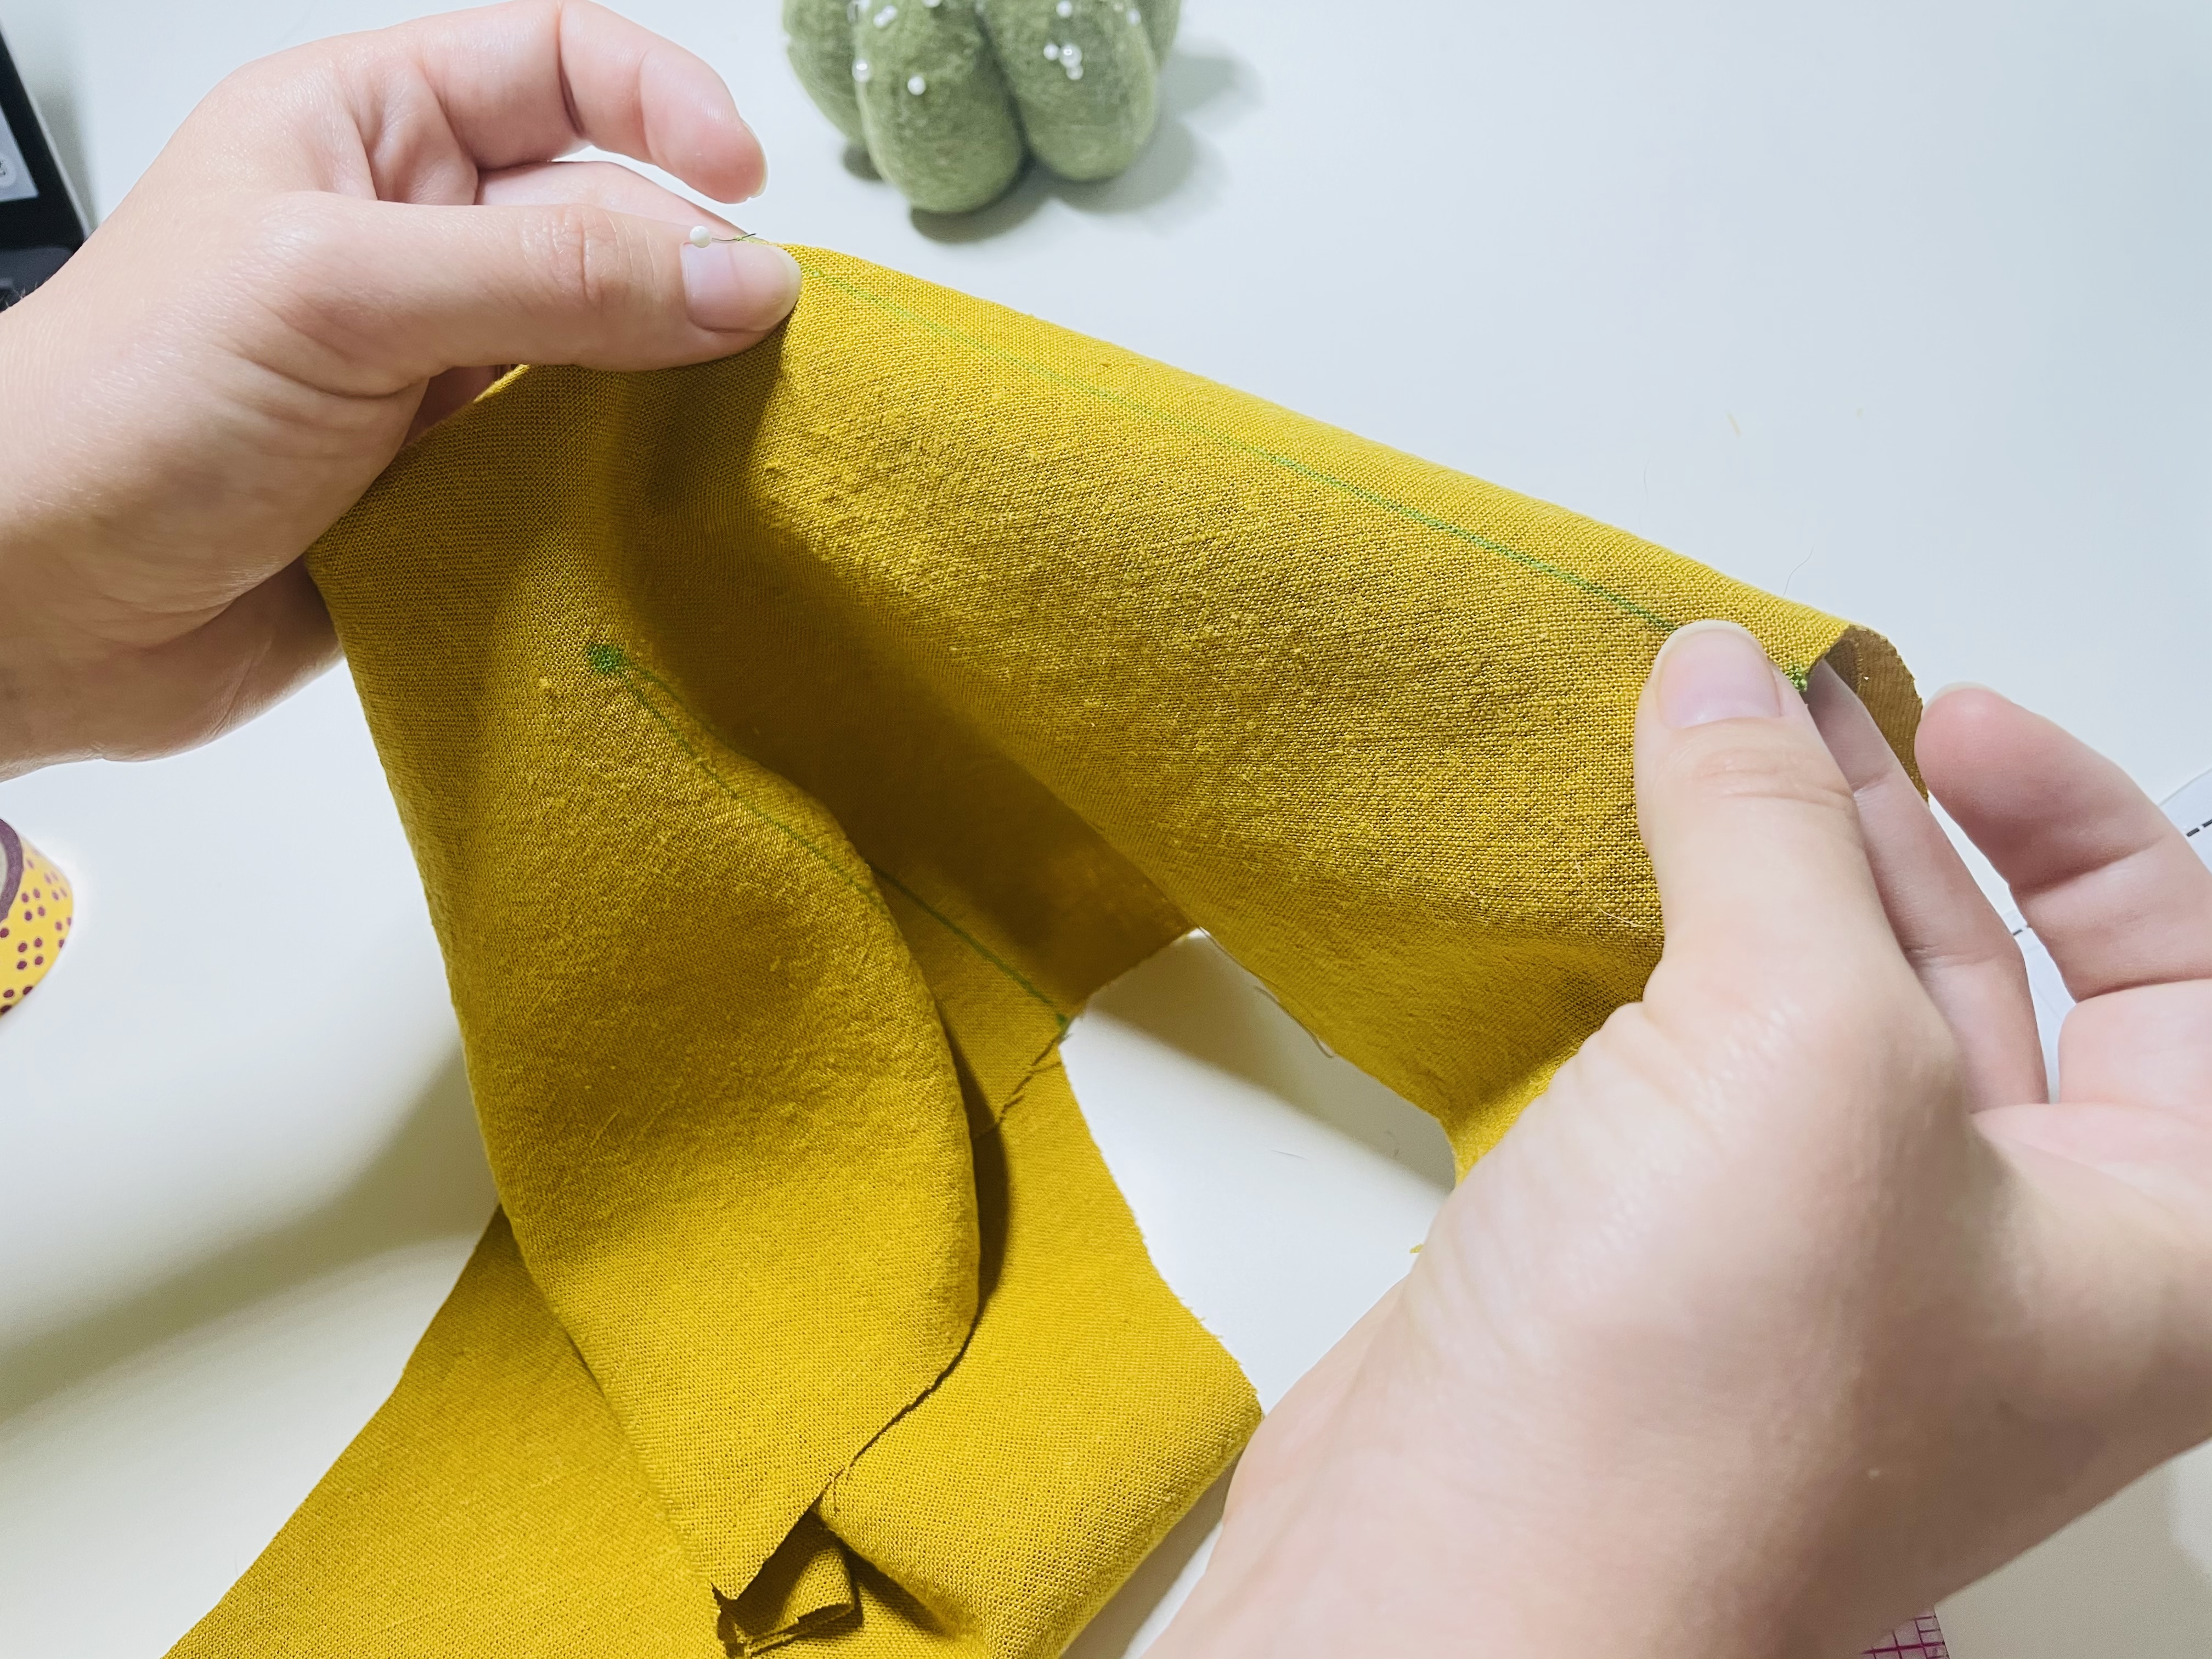
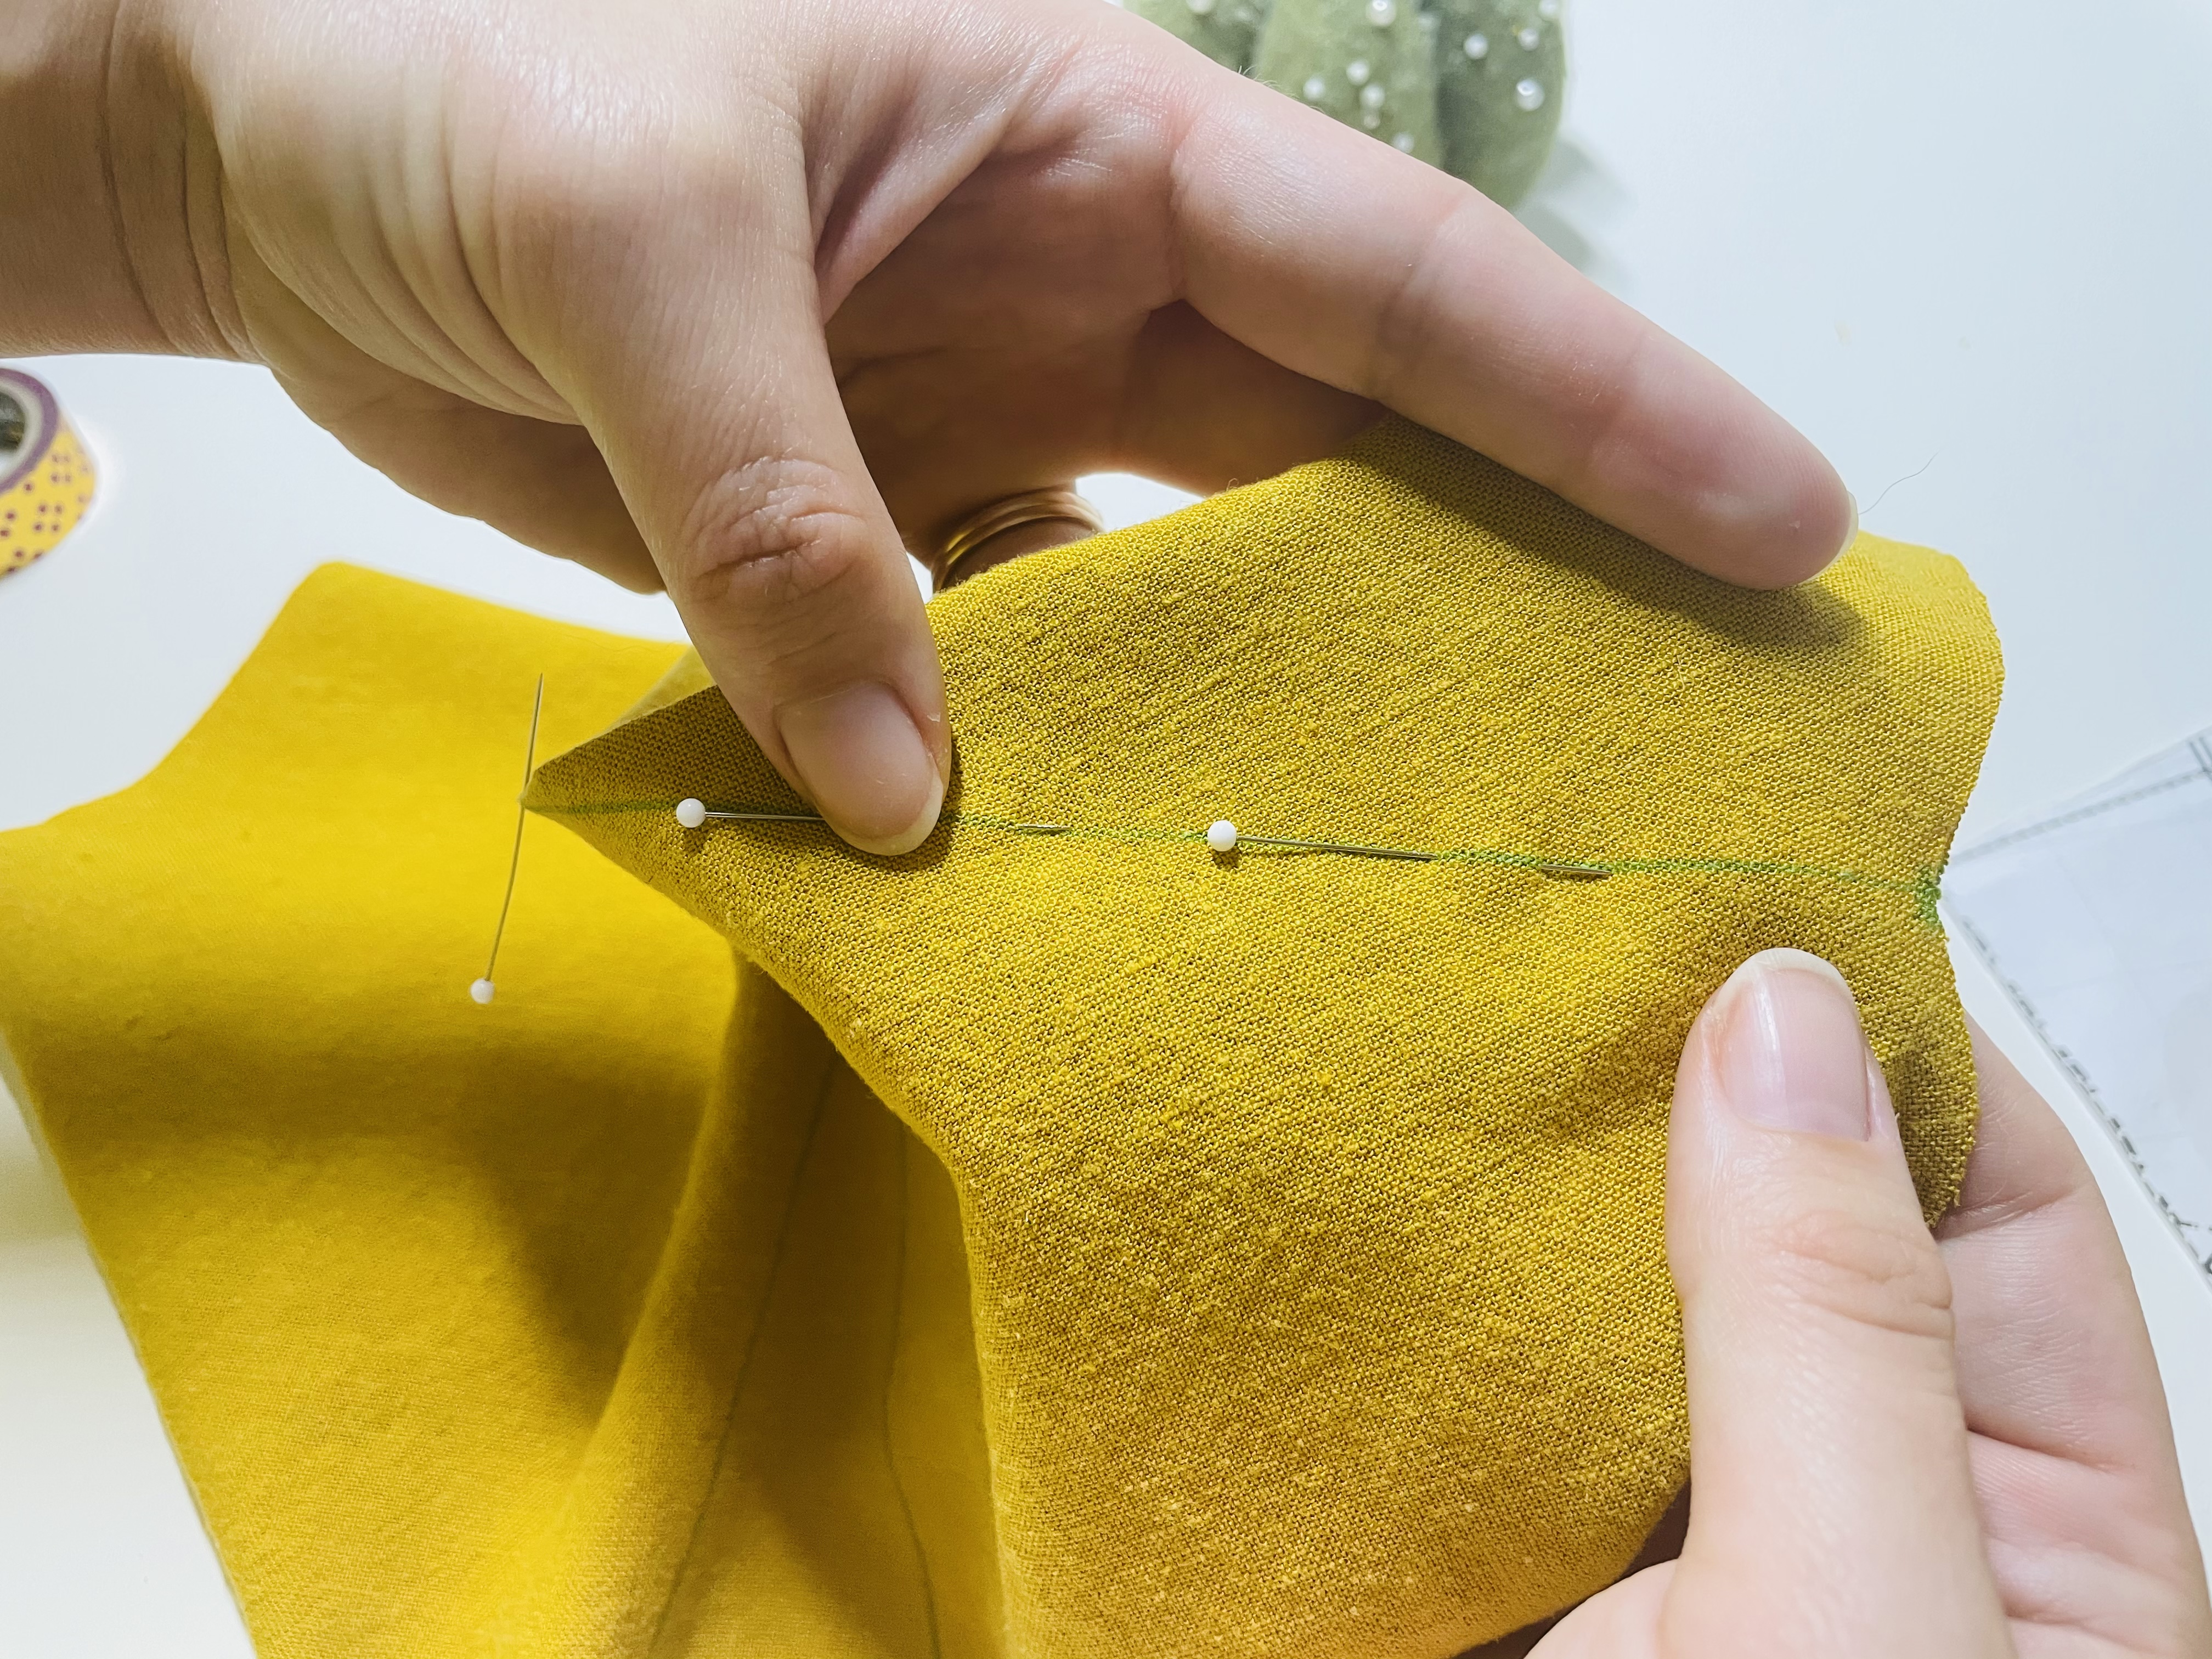
Then, I start pinning my dart. As I pin, I flip the fabric over to ensure that my pin is aligning straight with my drawn dart legs on both sides:
At this point, I don’t worry too much about which direction my pins are facing. I find it easier to just get everything pinned and aligned, then worry about pin orientation later.
Once it’s all pinned, I’ll carefully re-pin, removing only one pin at a time, in order to get my pins such that they’ll be on the top, head toward me, when I sew from dart leg end to dart point with the bulk of my fabric to the left. You can see that I’ve adjusted my pin orientation in this picture:
stitching the darts
So the thing about darts, especially on busty bodies, is you don’t want to introduce a lot of bulk to the dart ends. Normally, when we sew a seam, we either lockstitch or backstitch at the beginning and end of the seam in order to secure that stitching. But, with darts, you don’t want to do this, because both lockstitching and backstitching cause bulk.
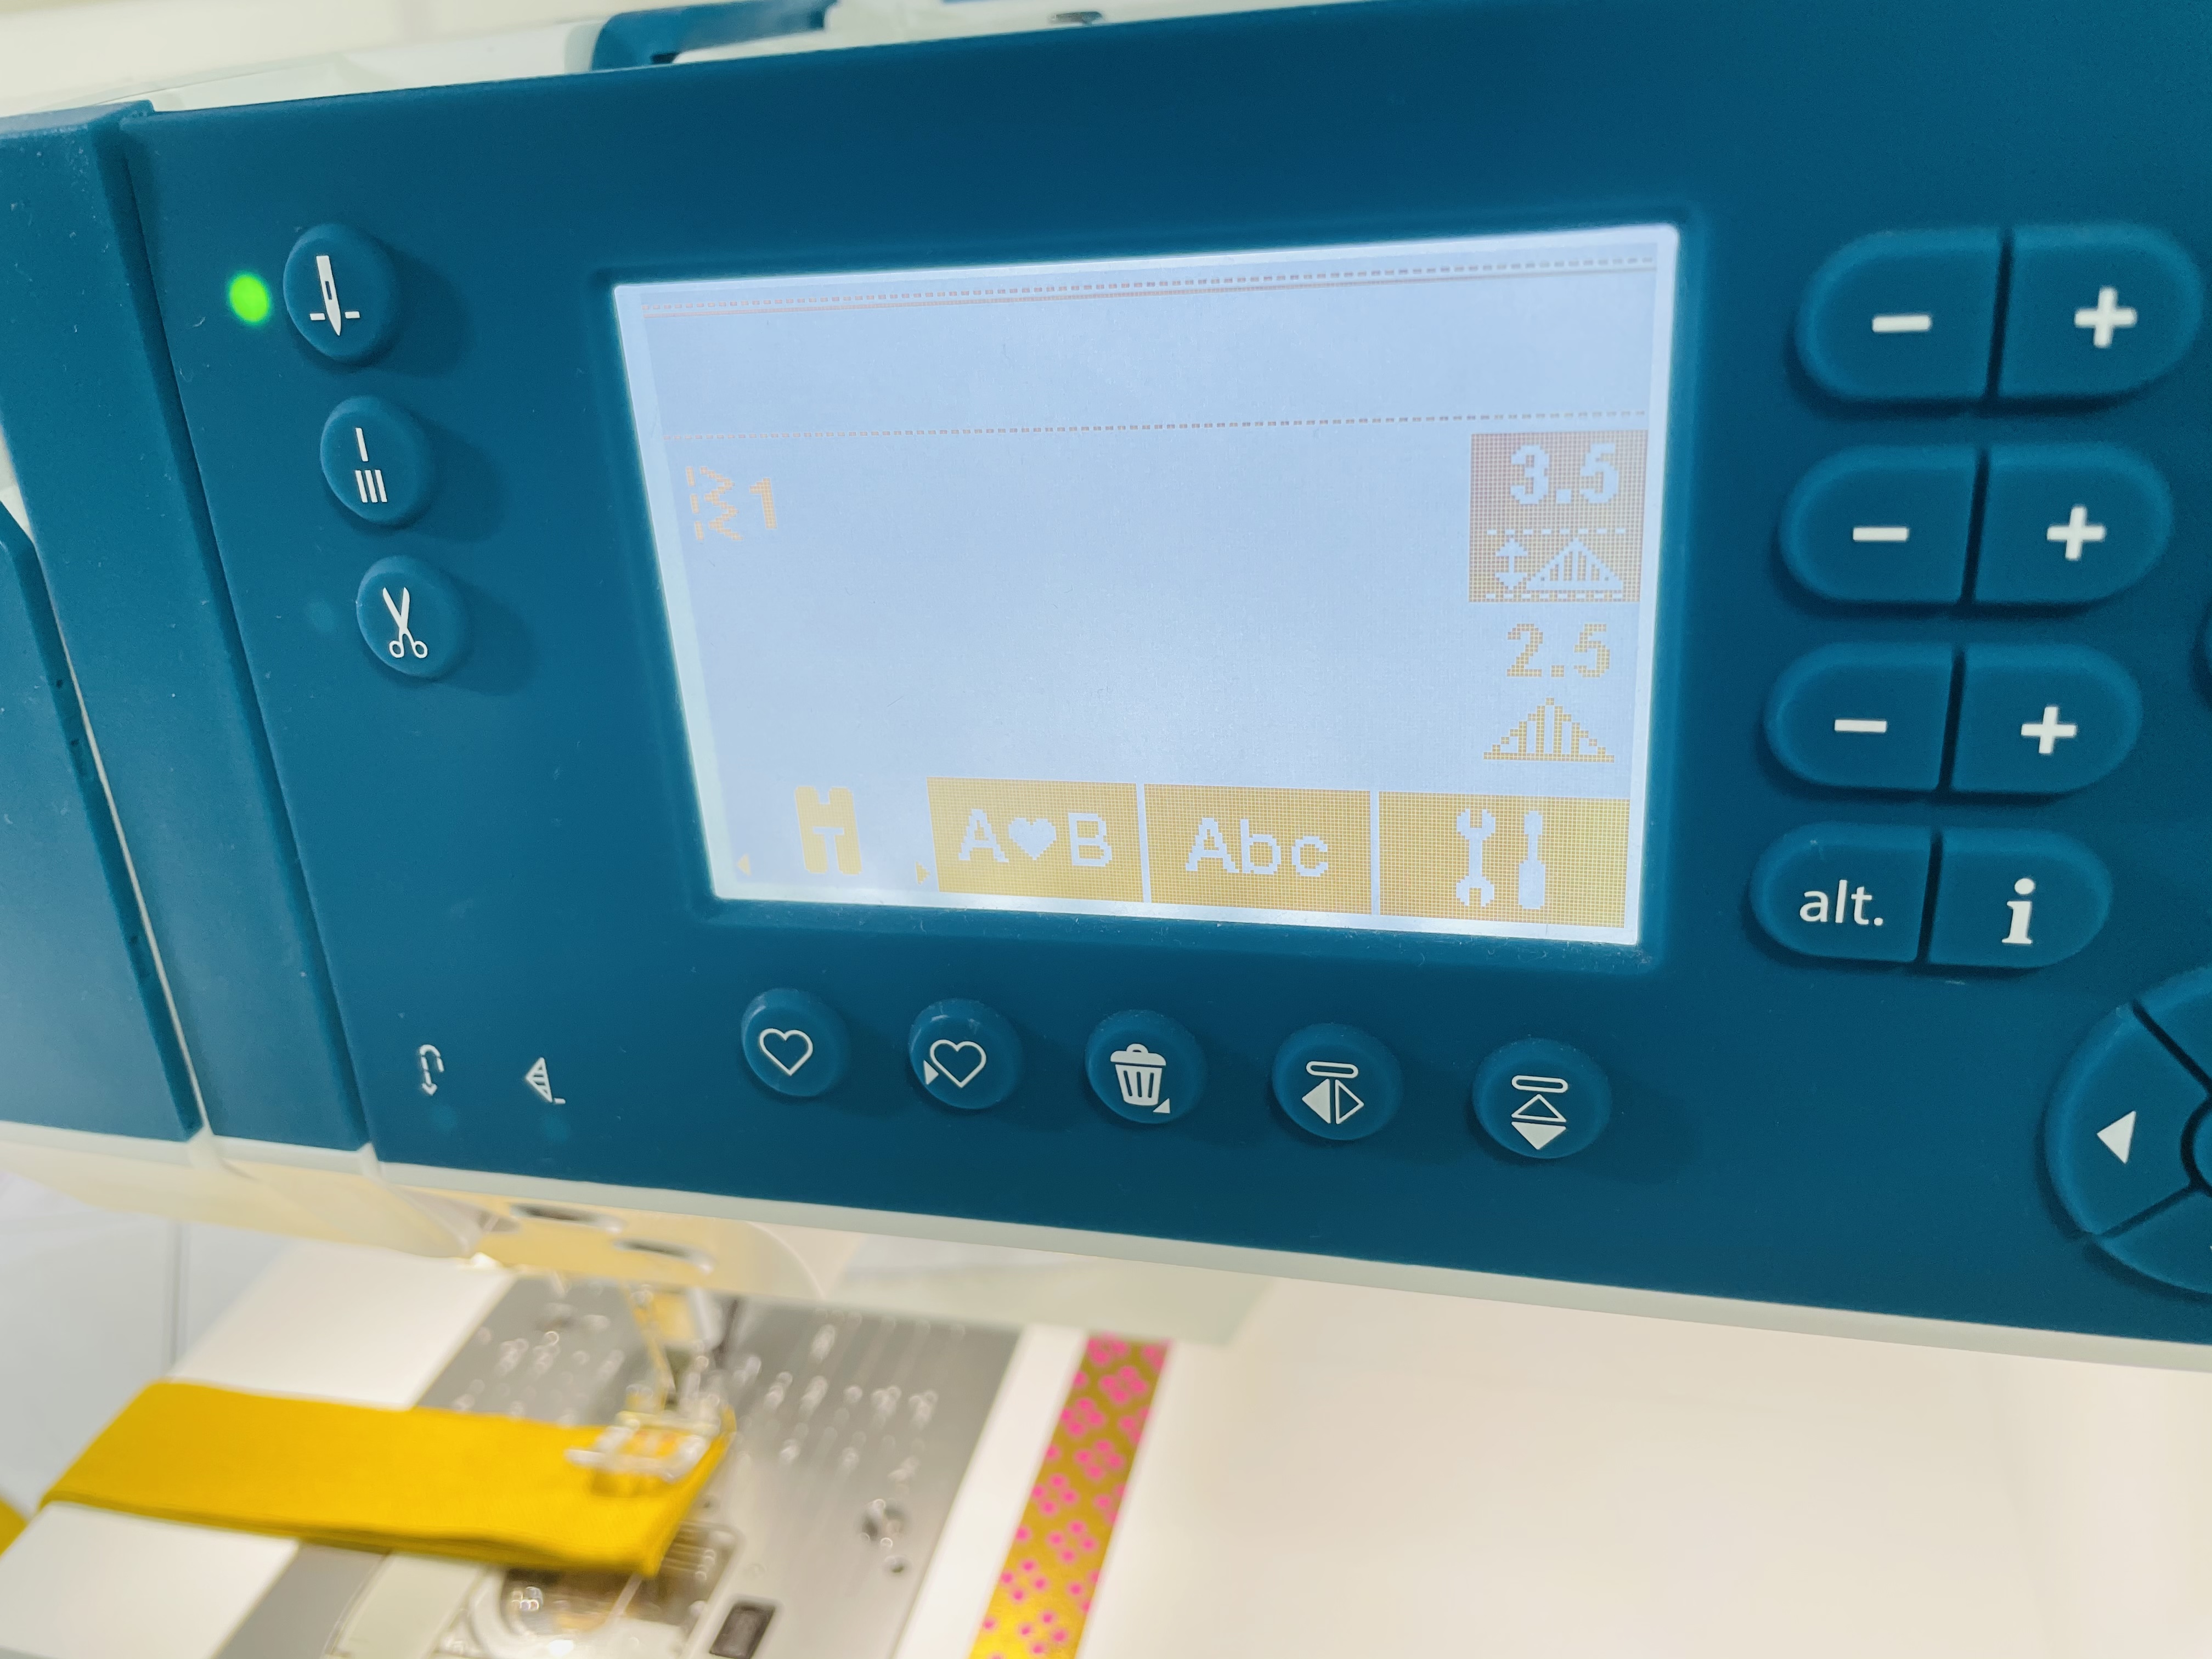
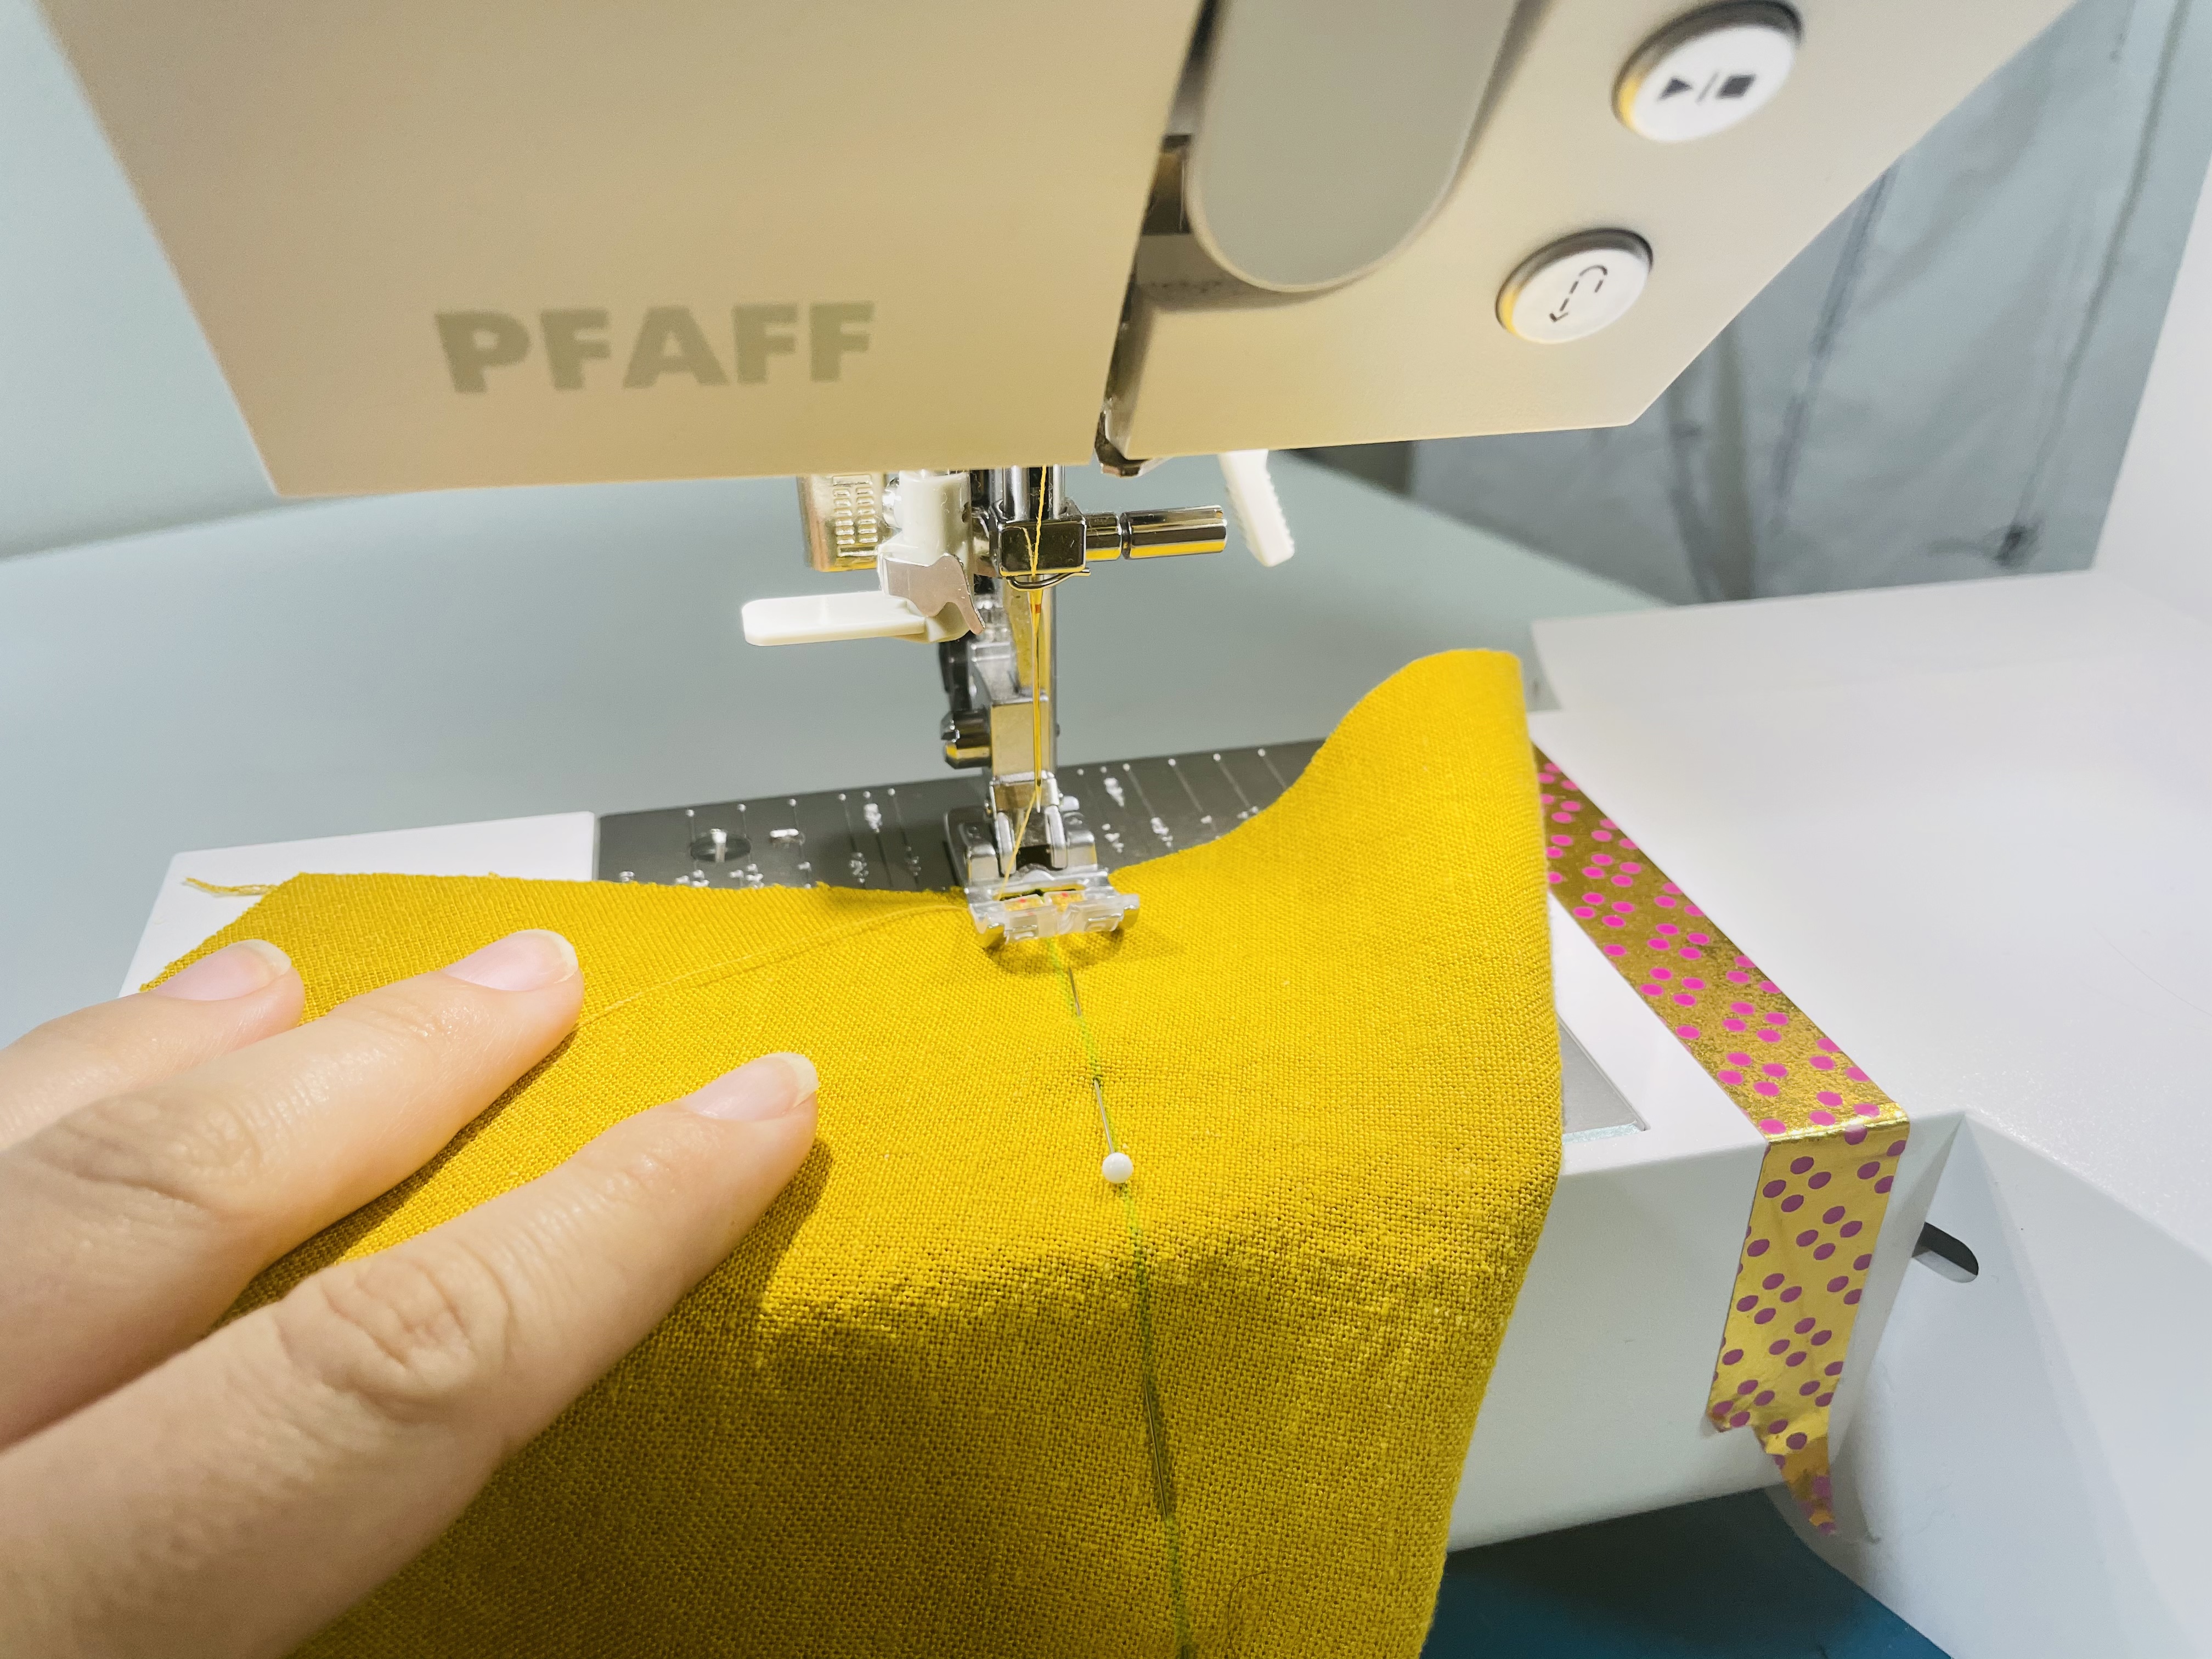
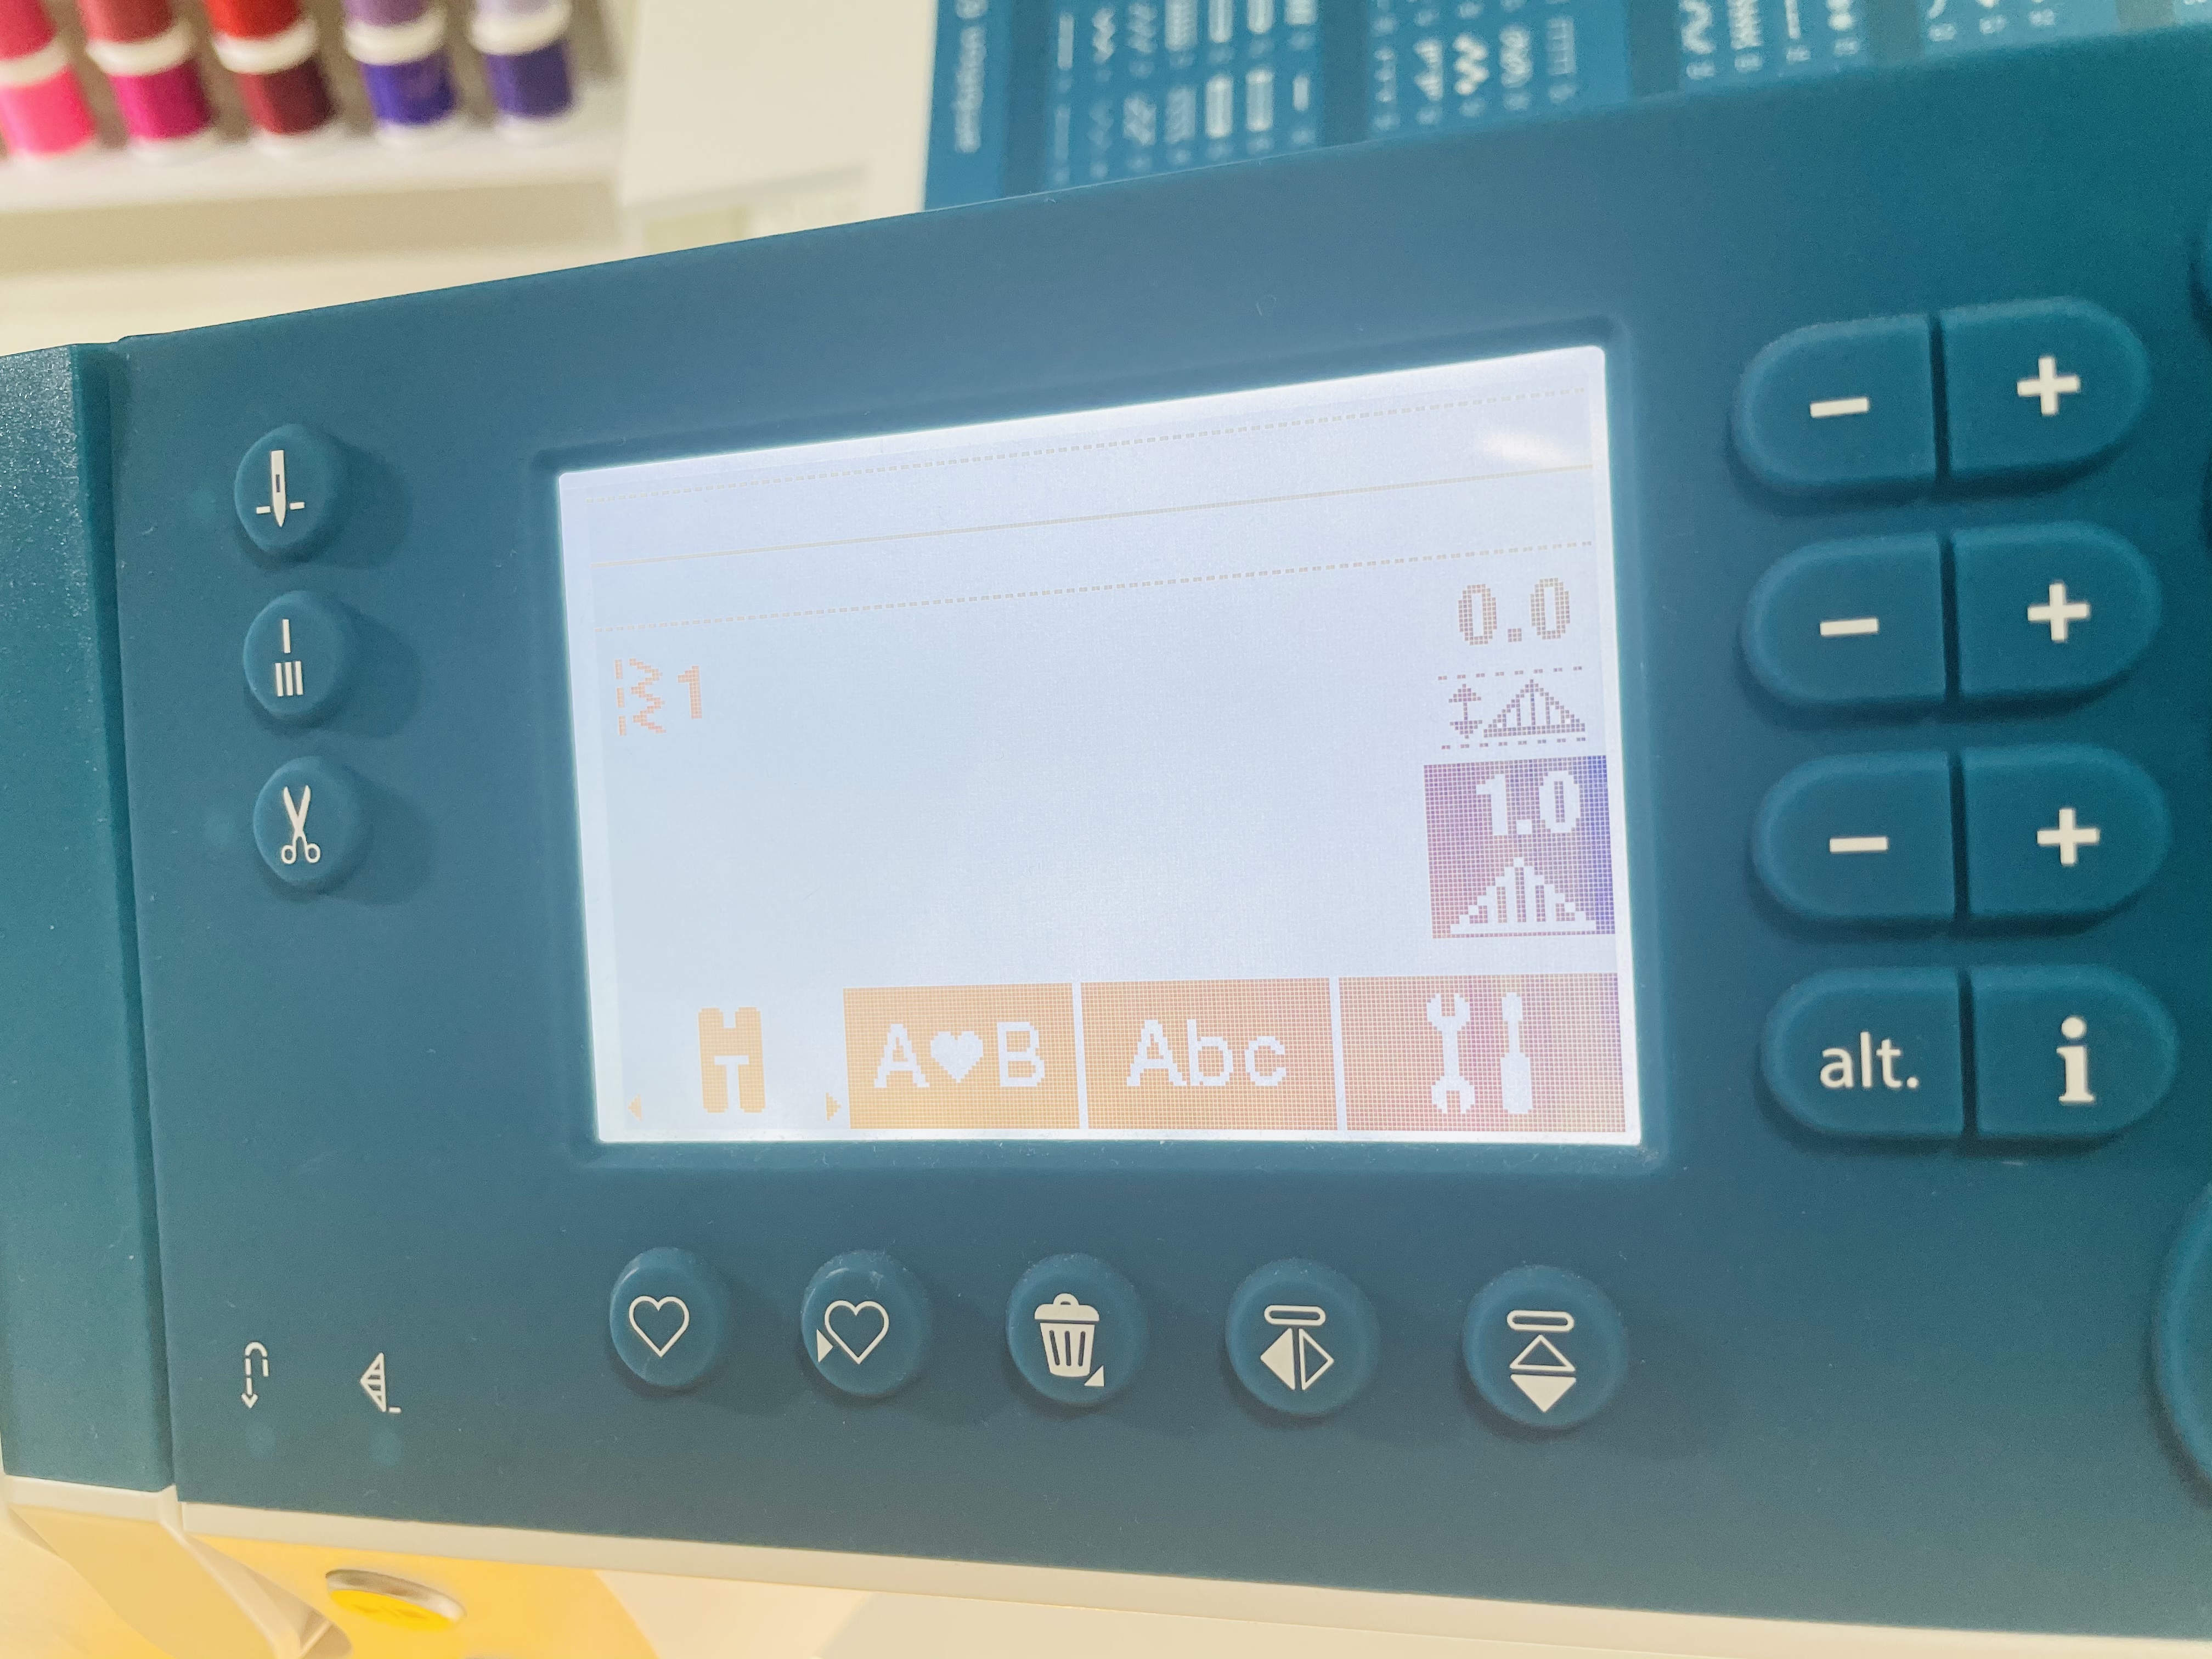
So what do we do instead? Reduce our stitch length, dramatically. I start my darts from the edge of the fabric, and I start with a 1 mm stitch length:
I align the center of my foot with the dart leg, as you can see in this picture, then I begin stitching.

Once I’ve stitched about, I dunno, 3/4″ to 1″ of the dart, I switch back to my standard straight stitch – 2.5 mm stitch length.
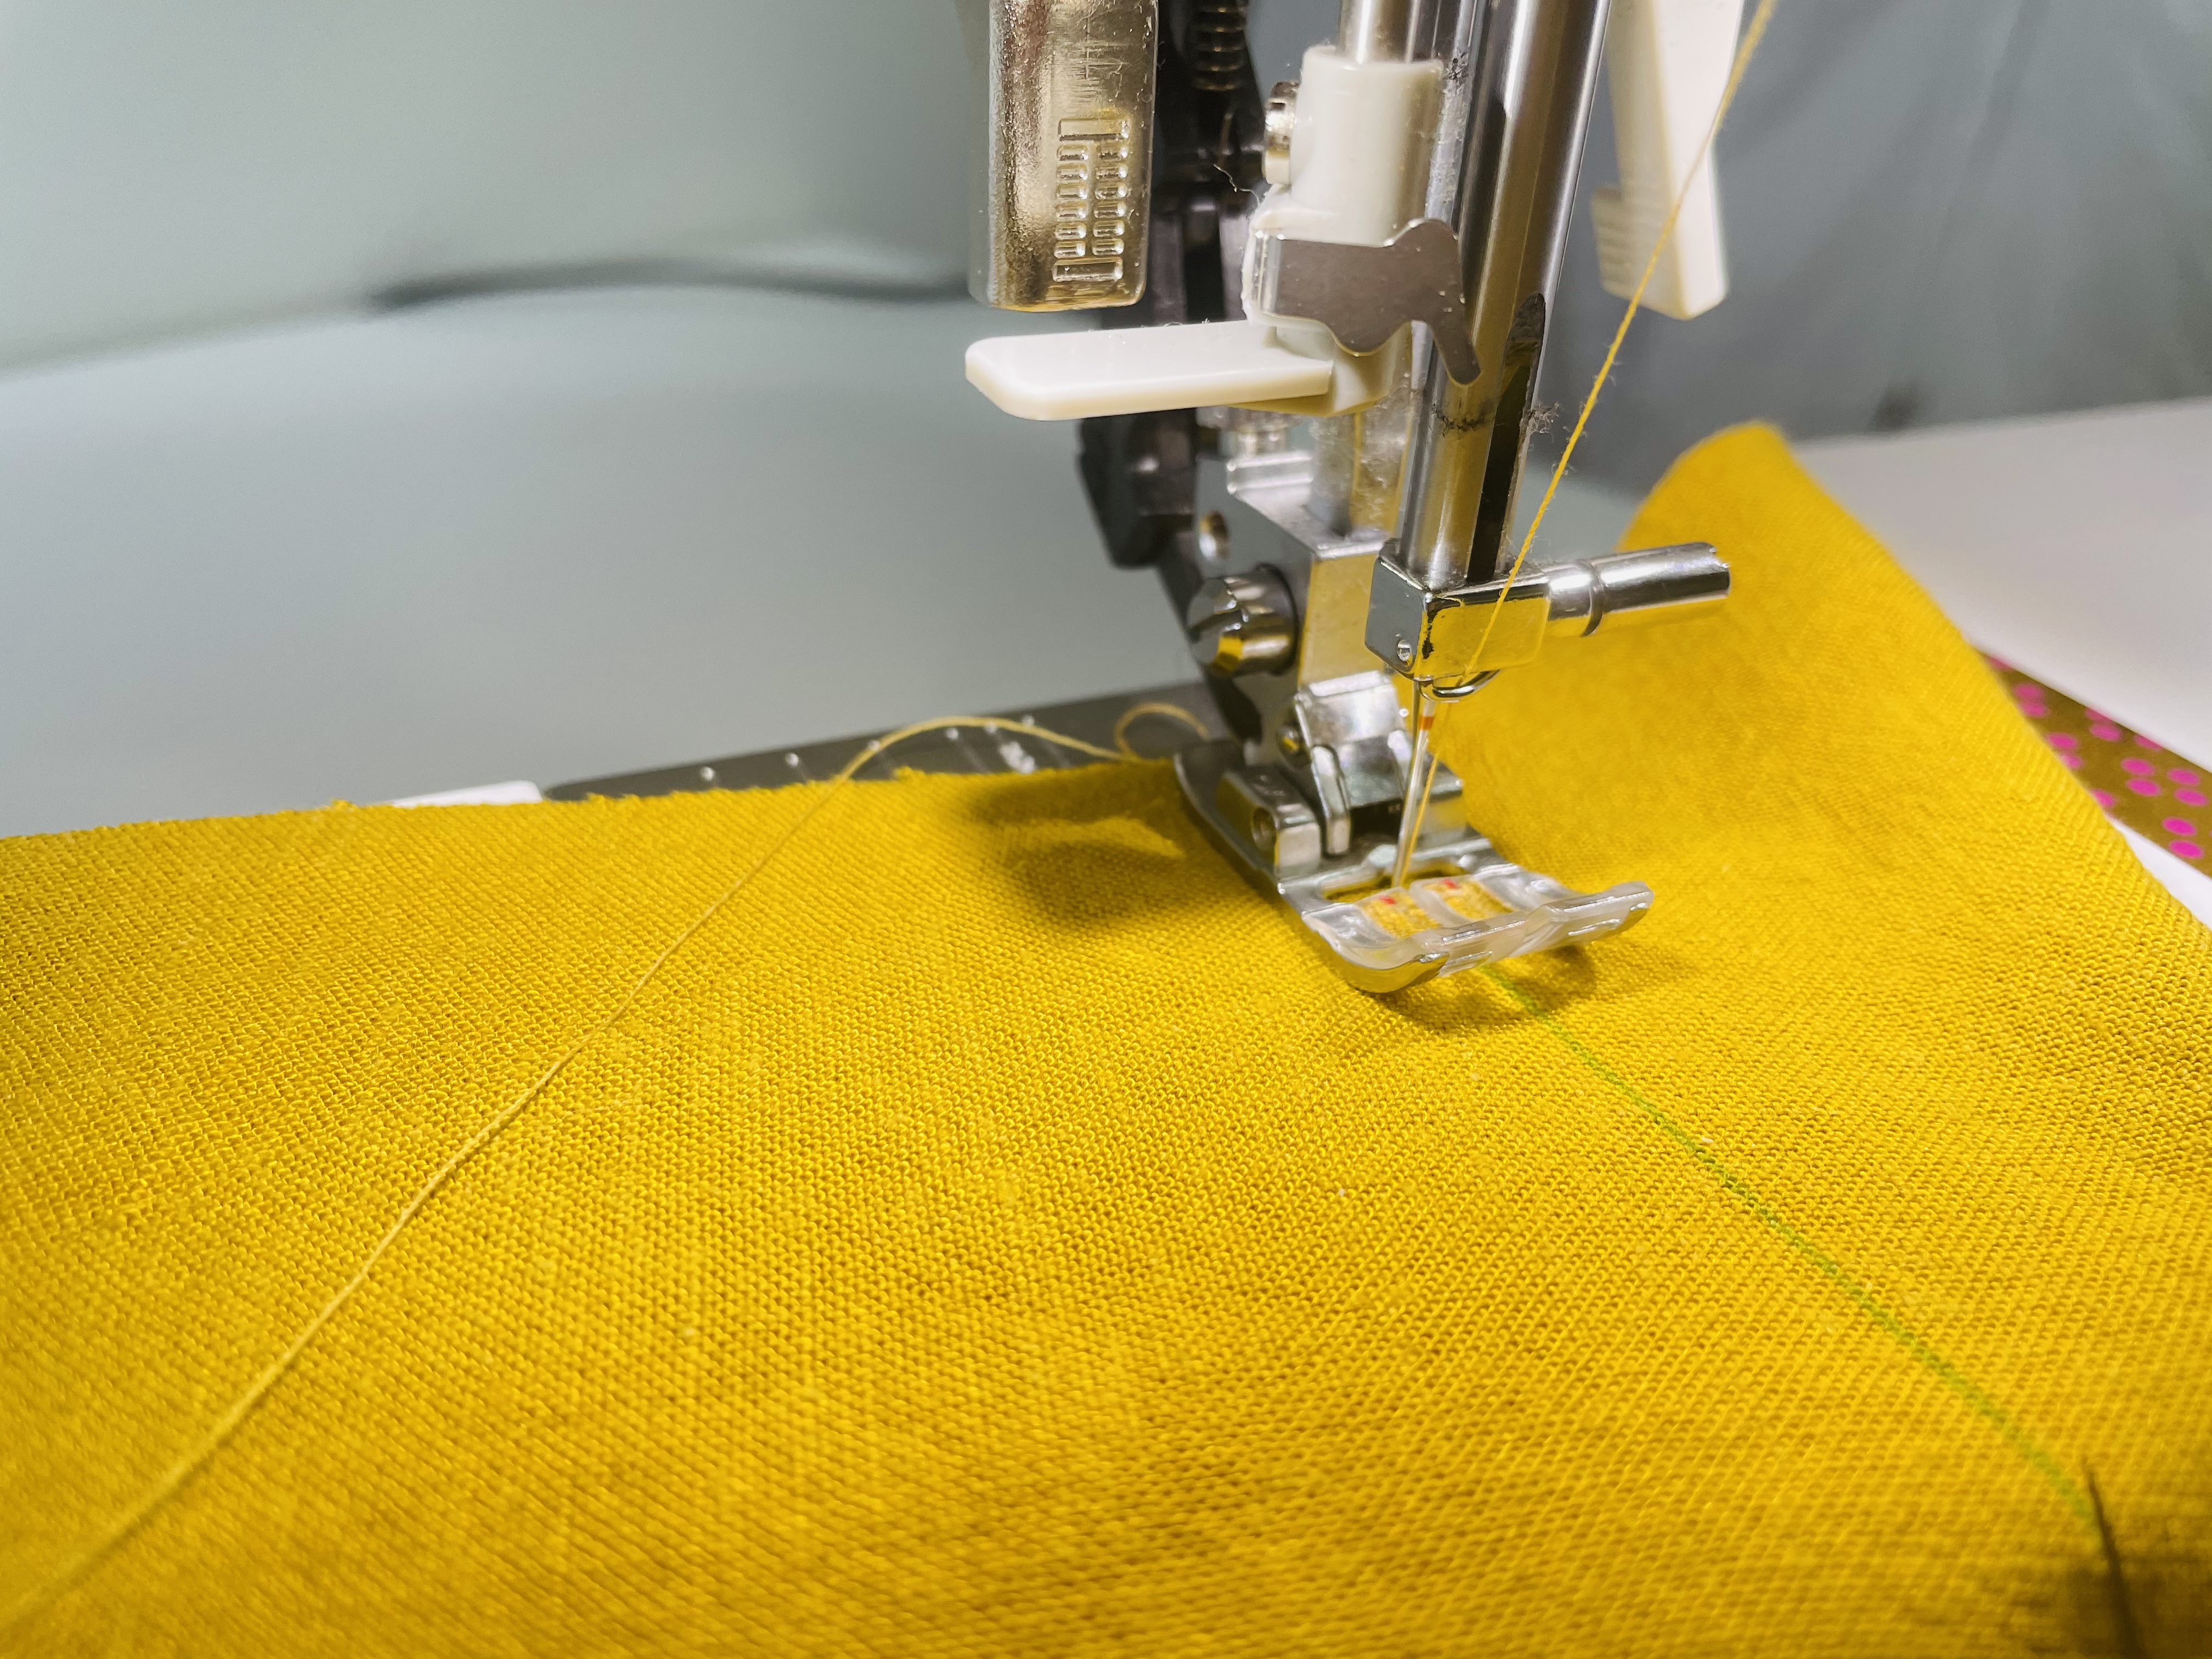
Then, once I’m about 3/4″ from the end of the dart, I switch back to the 1 mm stitch length.
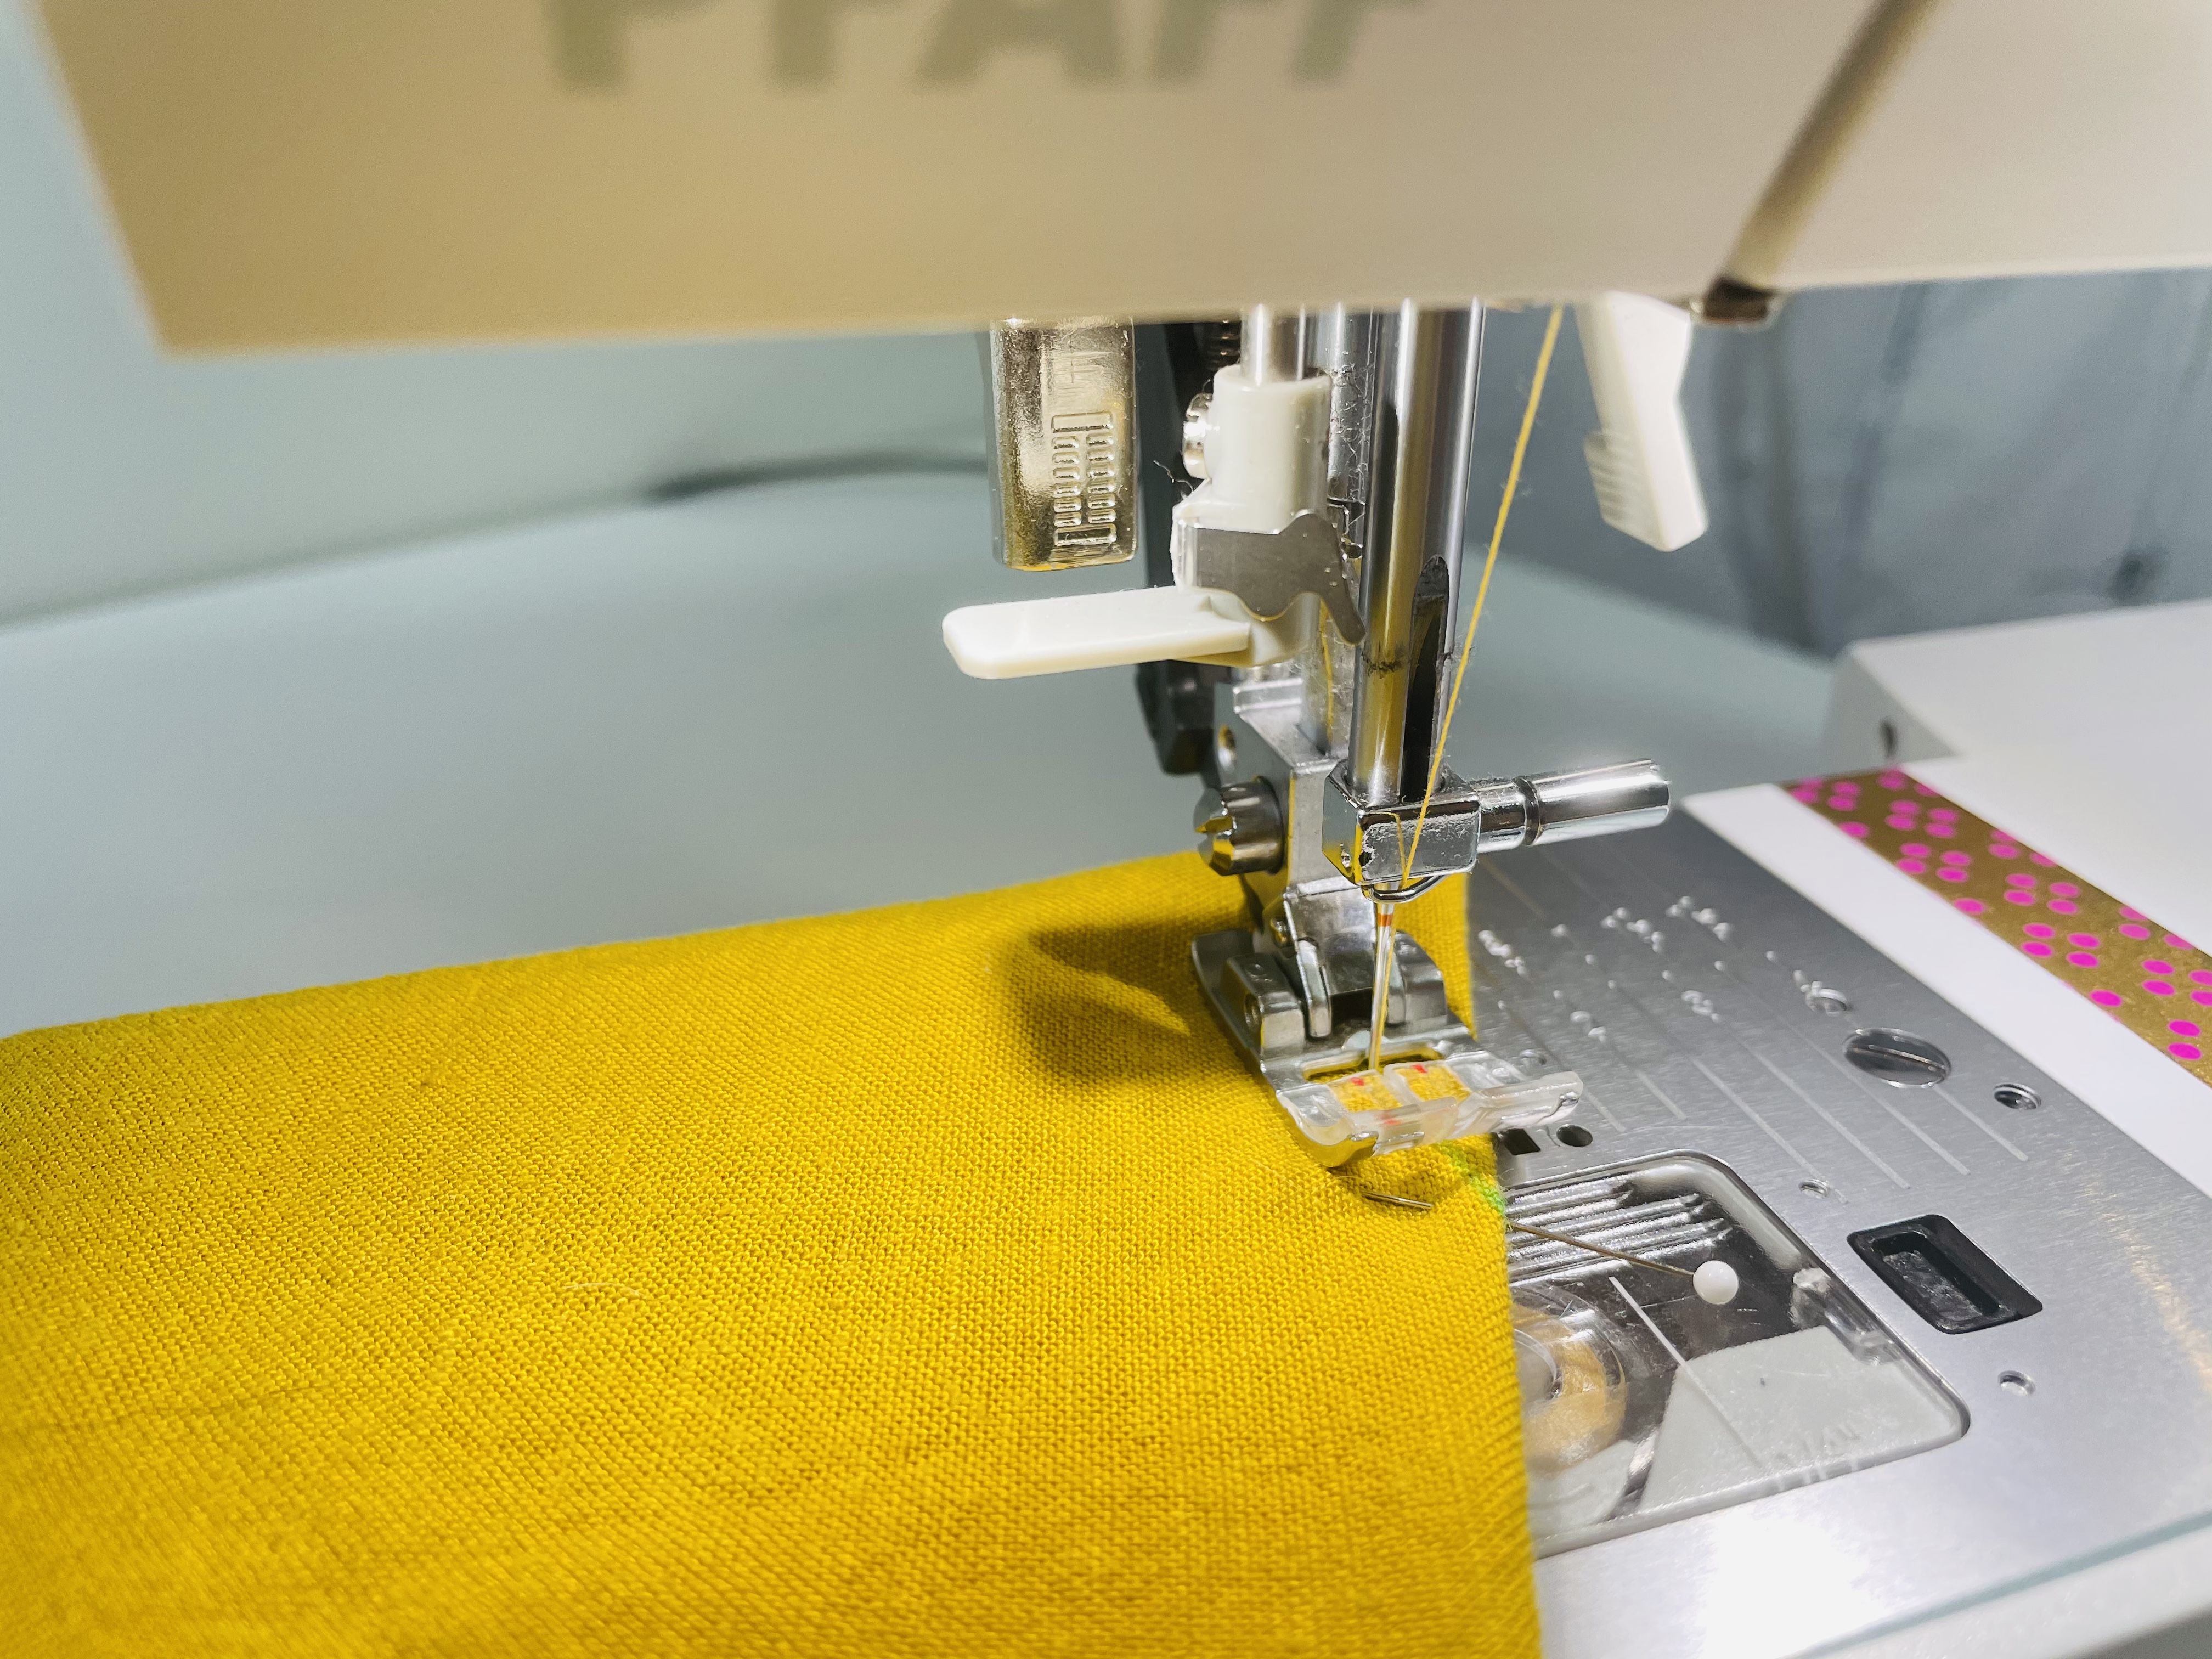
Then, and this is very important, stitch right off the folded edge of your dart. Don’t stop sewing until your needle is no longer on fabric, as seen here:
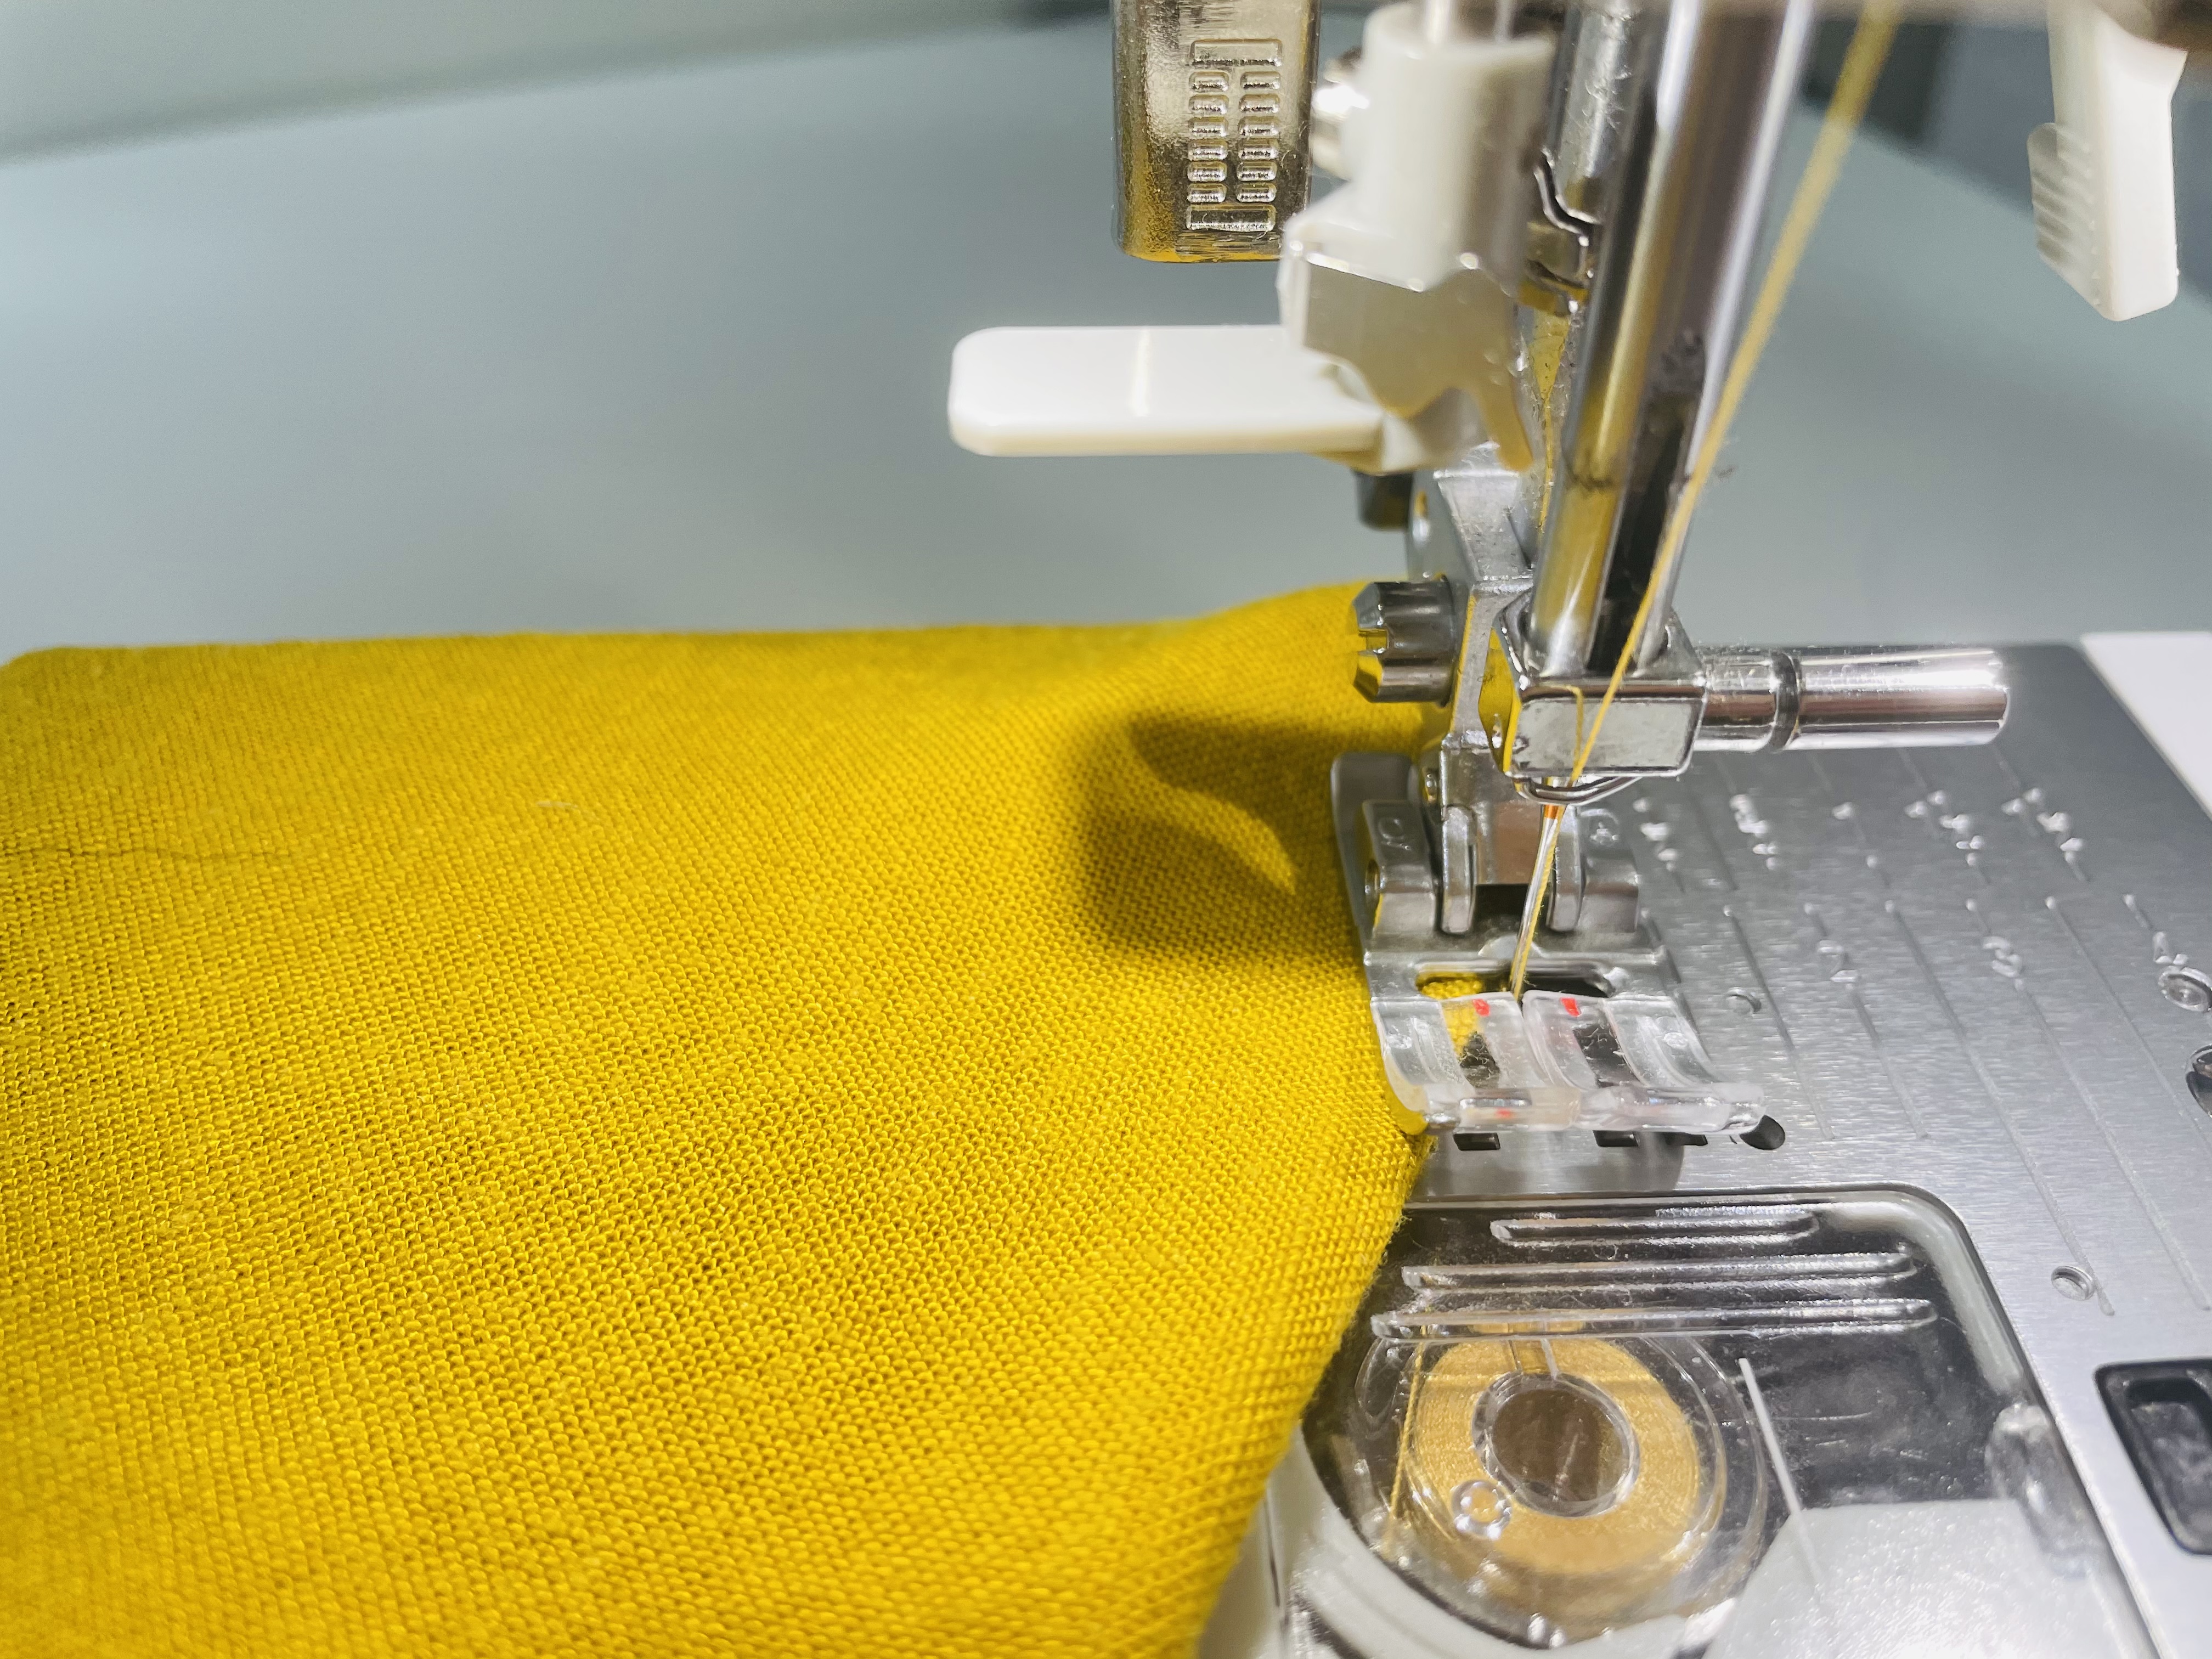
At this point, you can cut your thread. Some people tie their thread ends here before snipping them, for extra security. I find that the 1 mm stitch length is enough security to keep everything in place.
Repeat these steps for all of your darts – the two bust darts, the two front waist darts, and the two back waist darts.
Pressing your darts
Set your iron temperature according to your fabric. I’m using linen, so I have mine on a pretty high heat. But, if you’re using any synthetic fabrics (polyester, rayon, etc.) or more delicate fabric (like silk), you’ll want to choose your heat setting accordingly.
So, in an ideal world, you’d have a boob ham and a tailor’s ham for pressing your darts. I’m almost ashamed to admit this, but I don’t have either. 🙃 But, y’know, you’re a beginner, so I’m guessing you don’t either. That’s okay! We’re going to channel our inner Tim Gunn and MAKE IT WORK.
My alternative to a ham is this balled up old t-shirt. Yeahhhh, it’s the same color as my Roseclair fabric. It’s my favorite color, what can I say?!
So you’re going to grab an old t-shirt and ball it up like a softball, just like this:
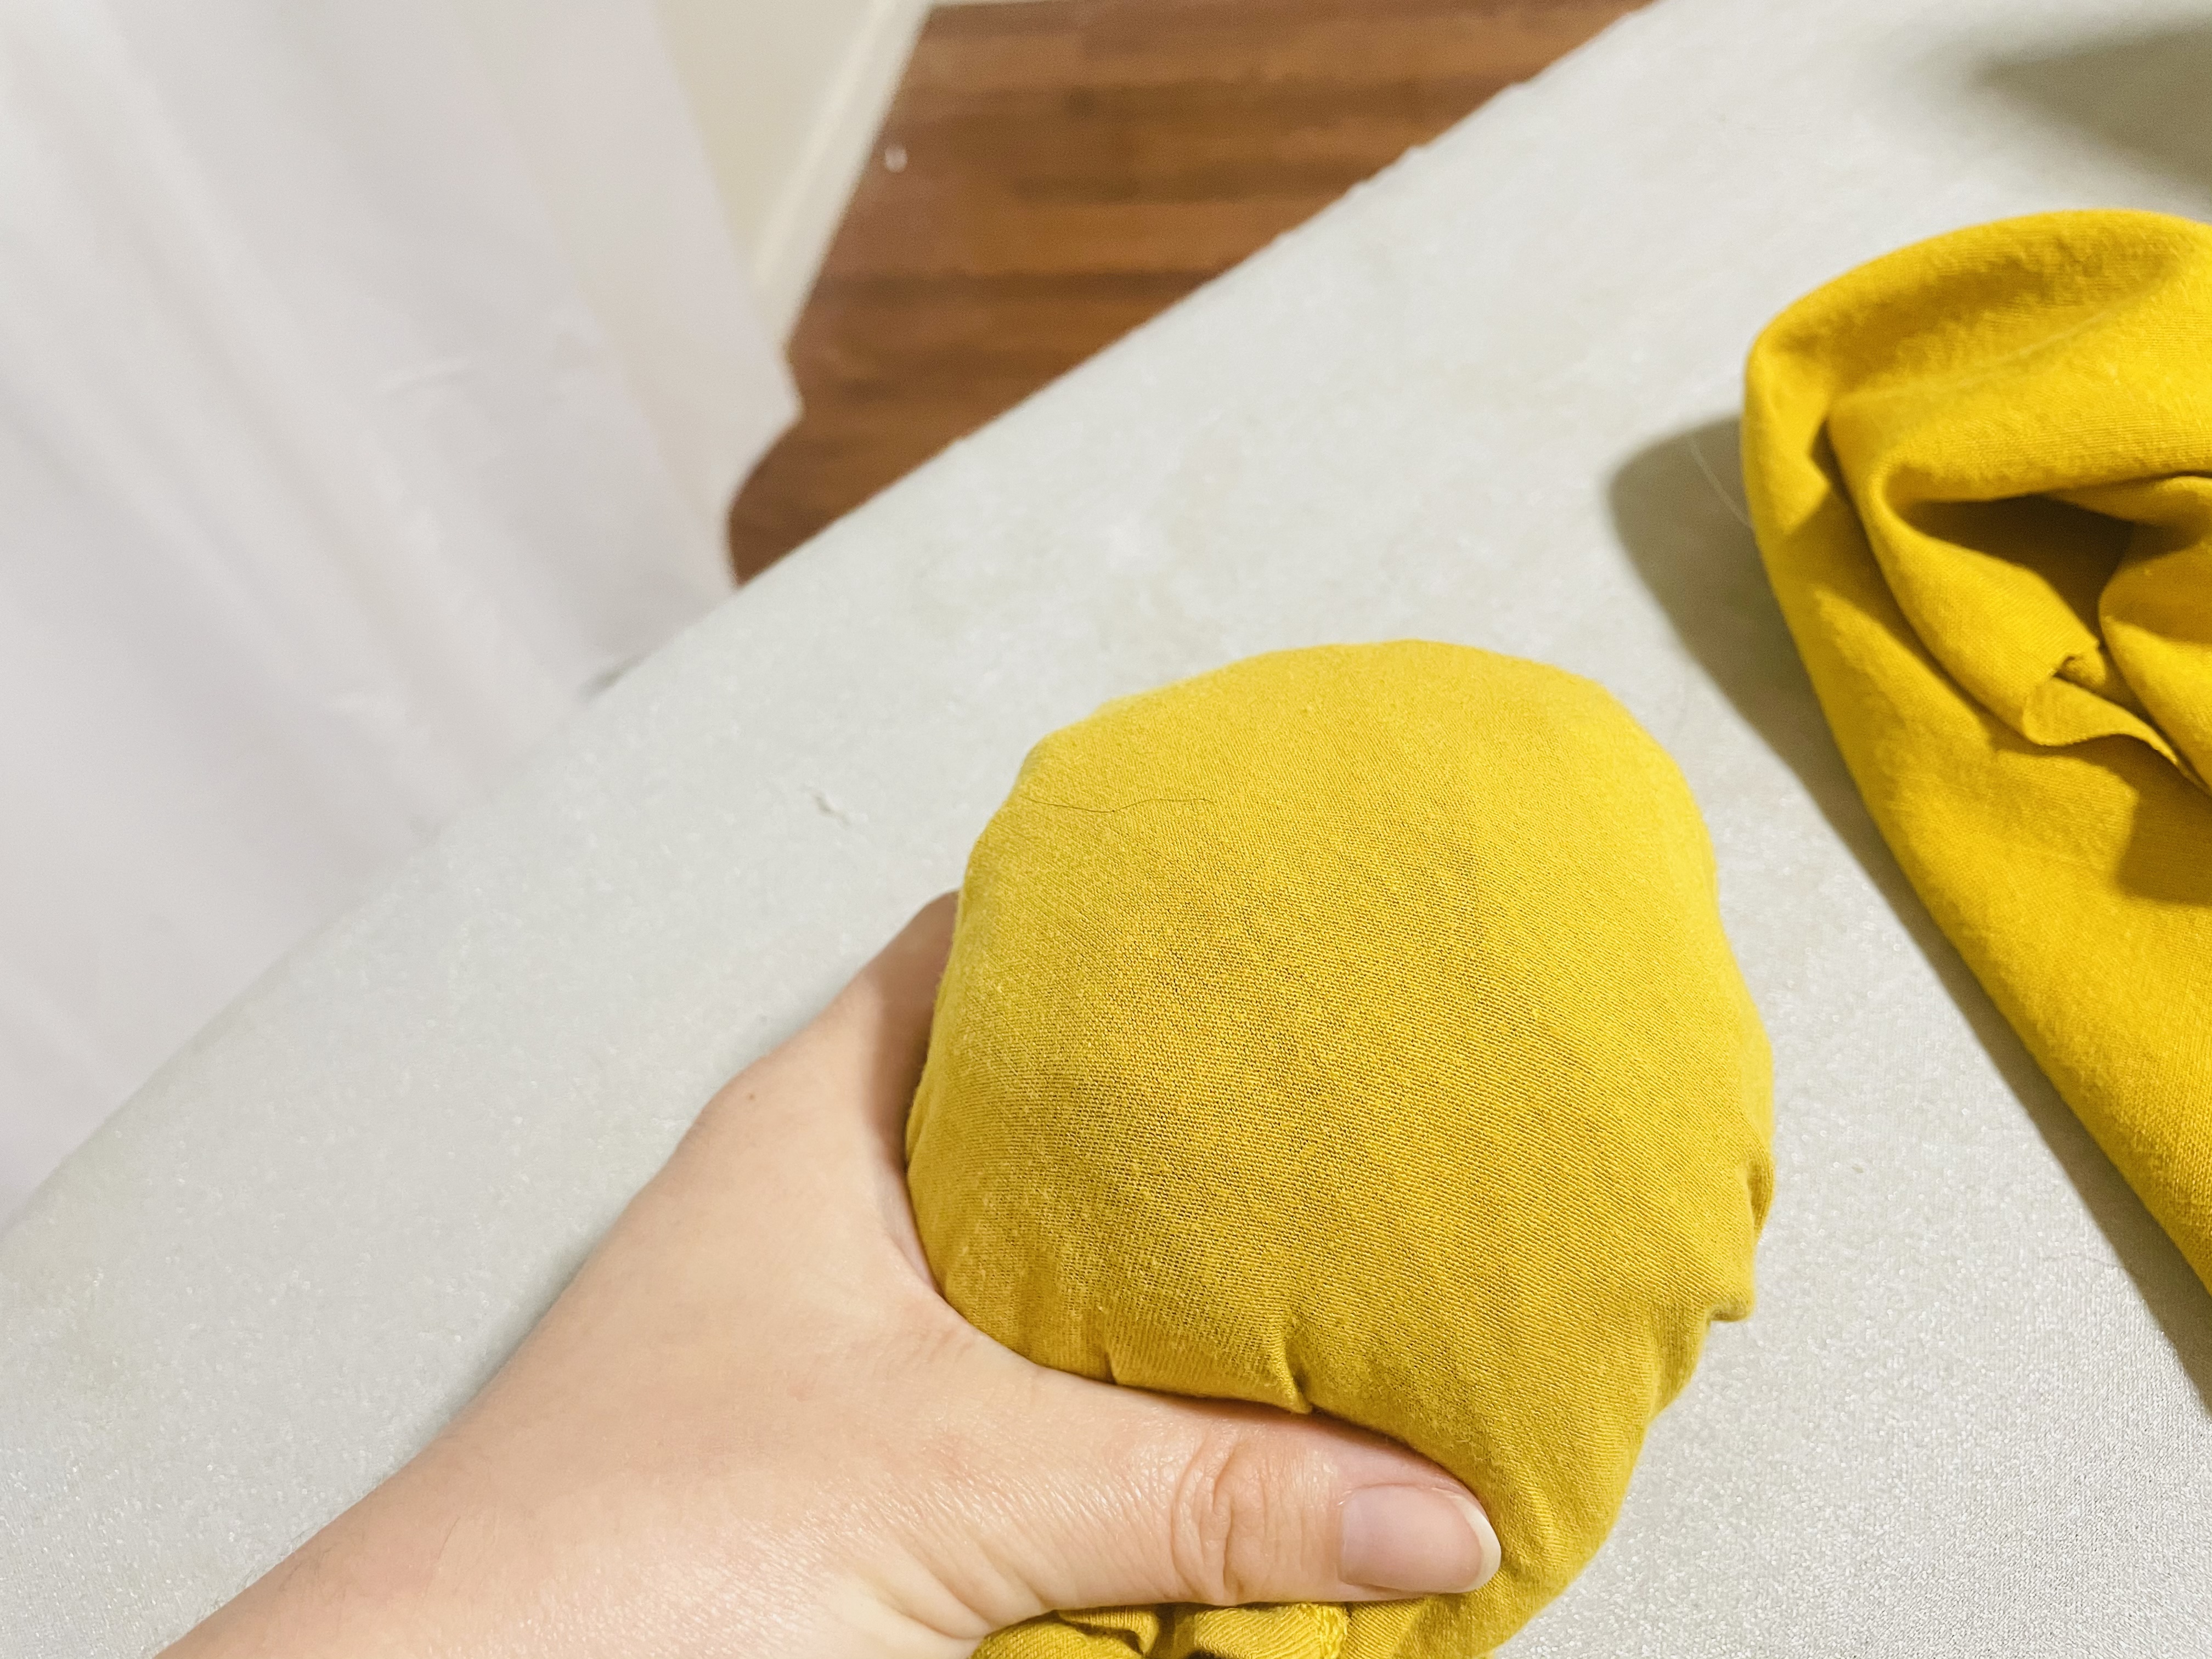
Then, you’re going to place those bust darts over this balled-up t-shirt, and press. Now, most tutorials will instruct you to press bust darts downward, so the extra fabric is toward the waist. Cashmerette, though, recommends the same thing I do: That you press your bust darts upward, so the extra fabric is toward the armscye (armhole). Why? Because it looks better on a large bust. Seriously.
Here’s my bust dart before pressing. See that dimple in the fabric?
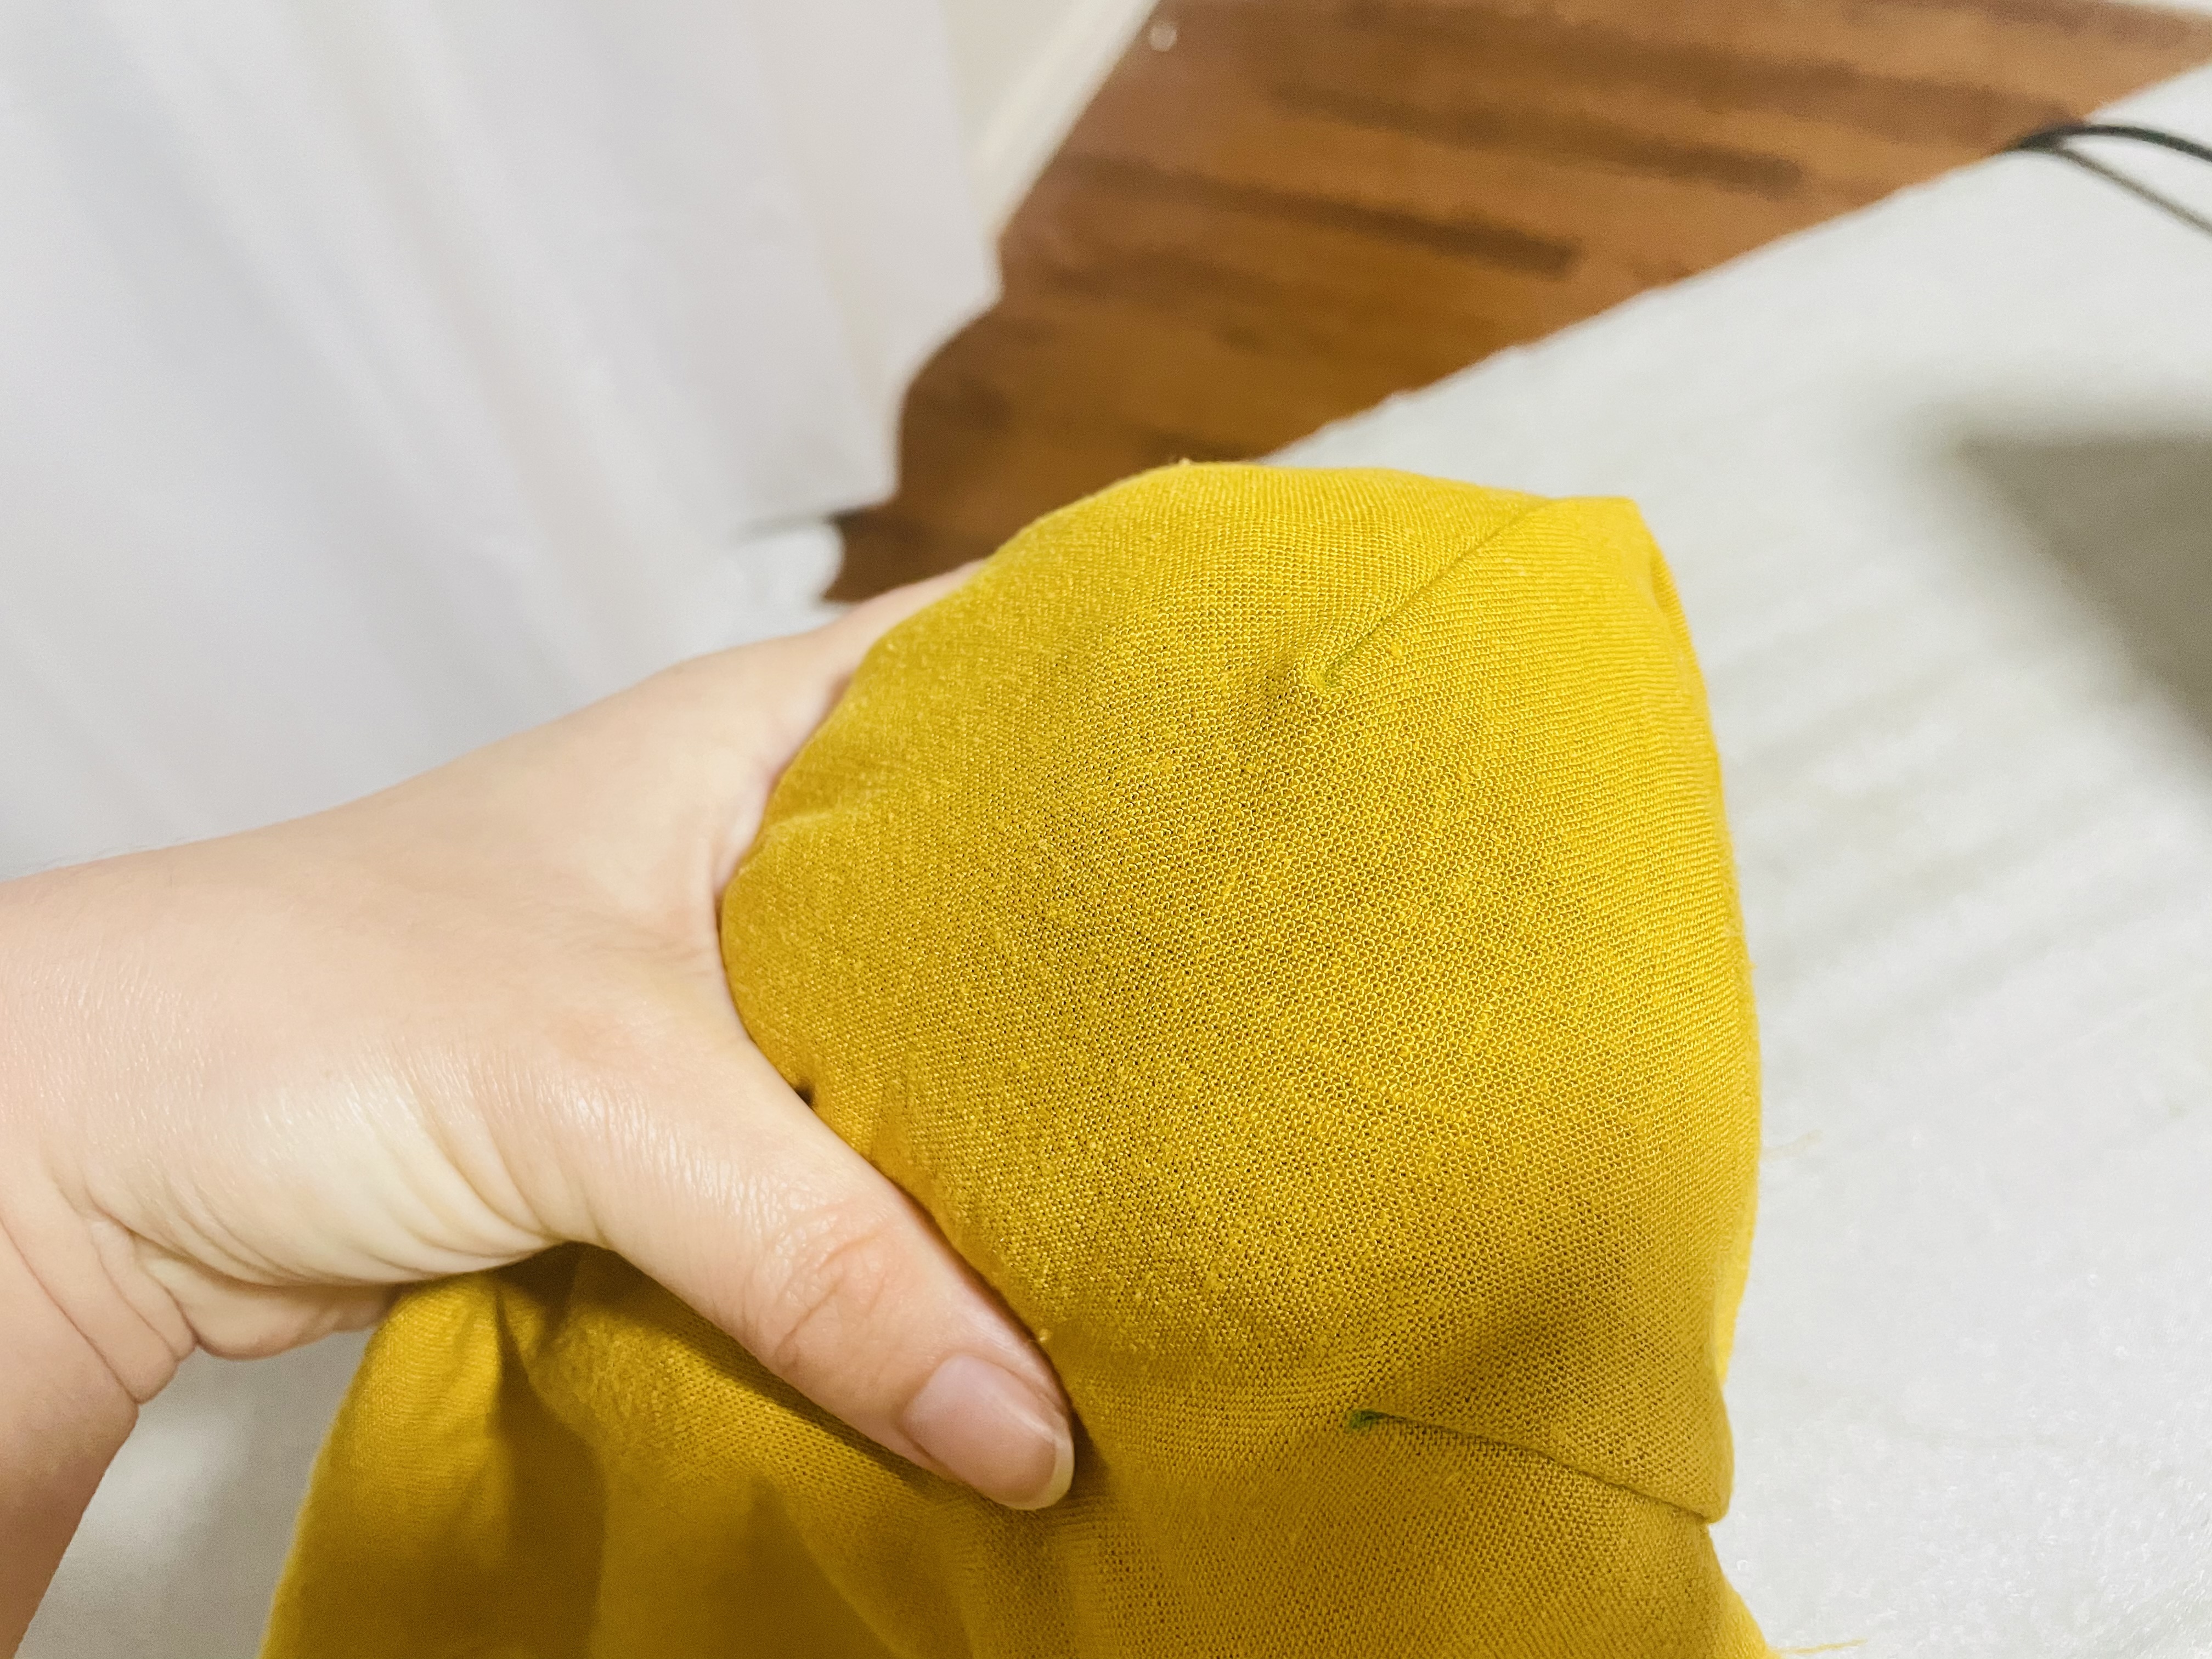
And here it is after pressing. Dimple is gone! Pressing does wonders!
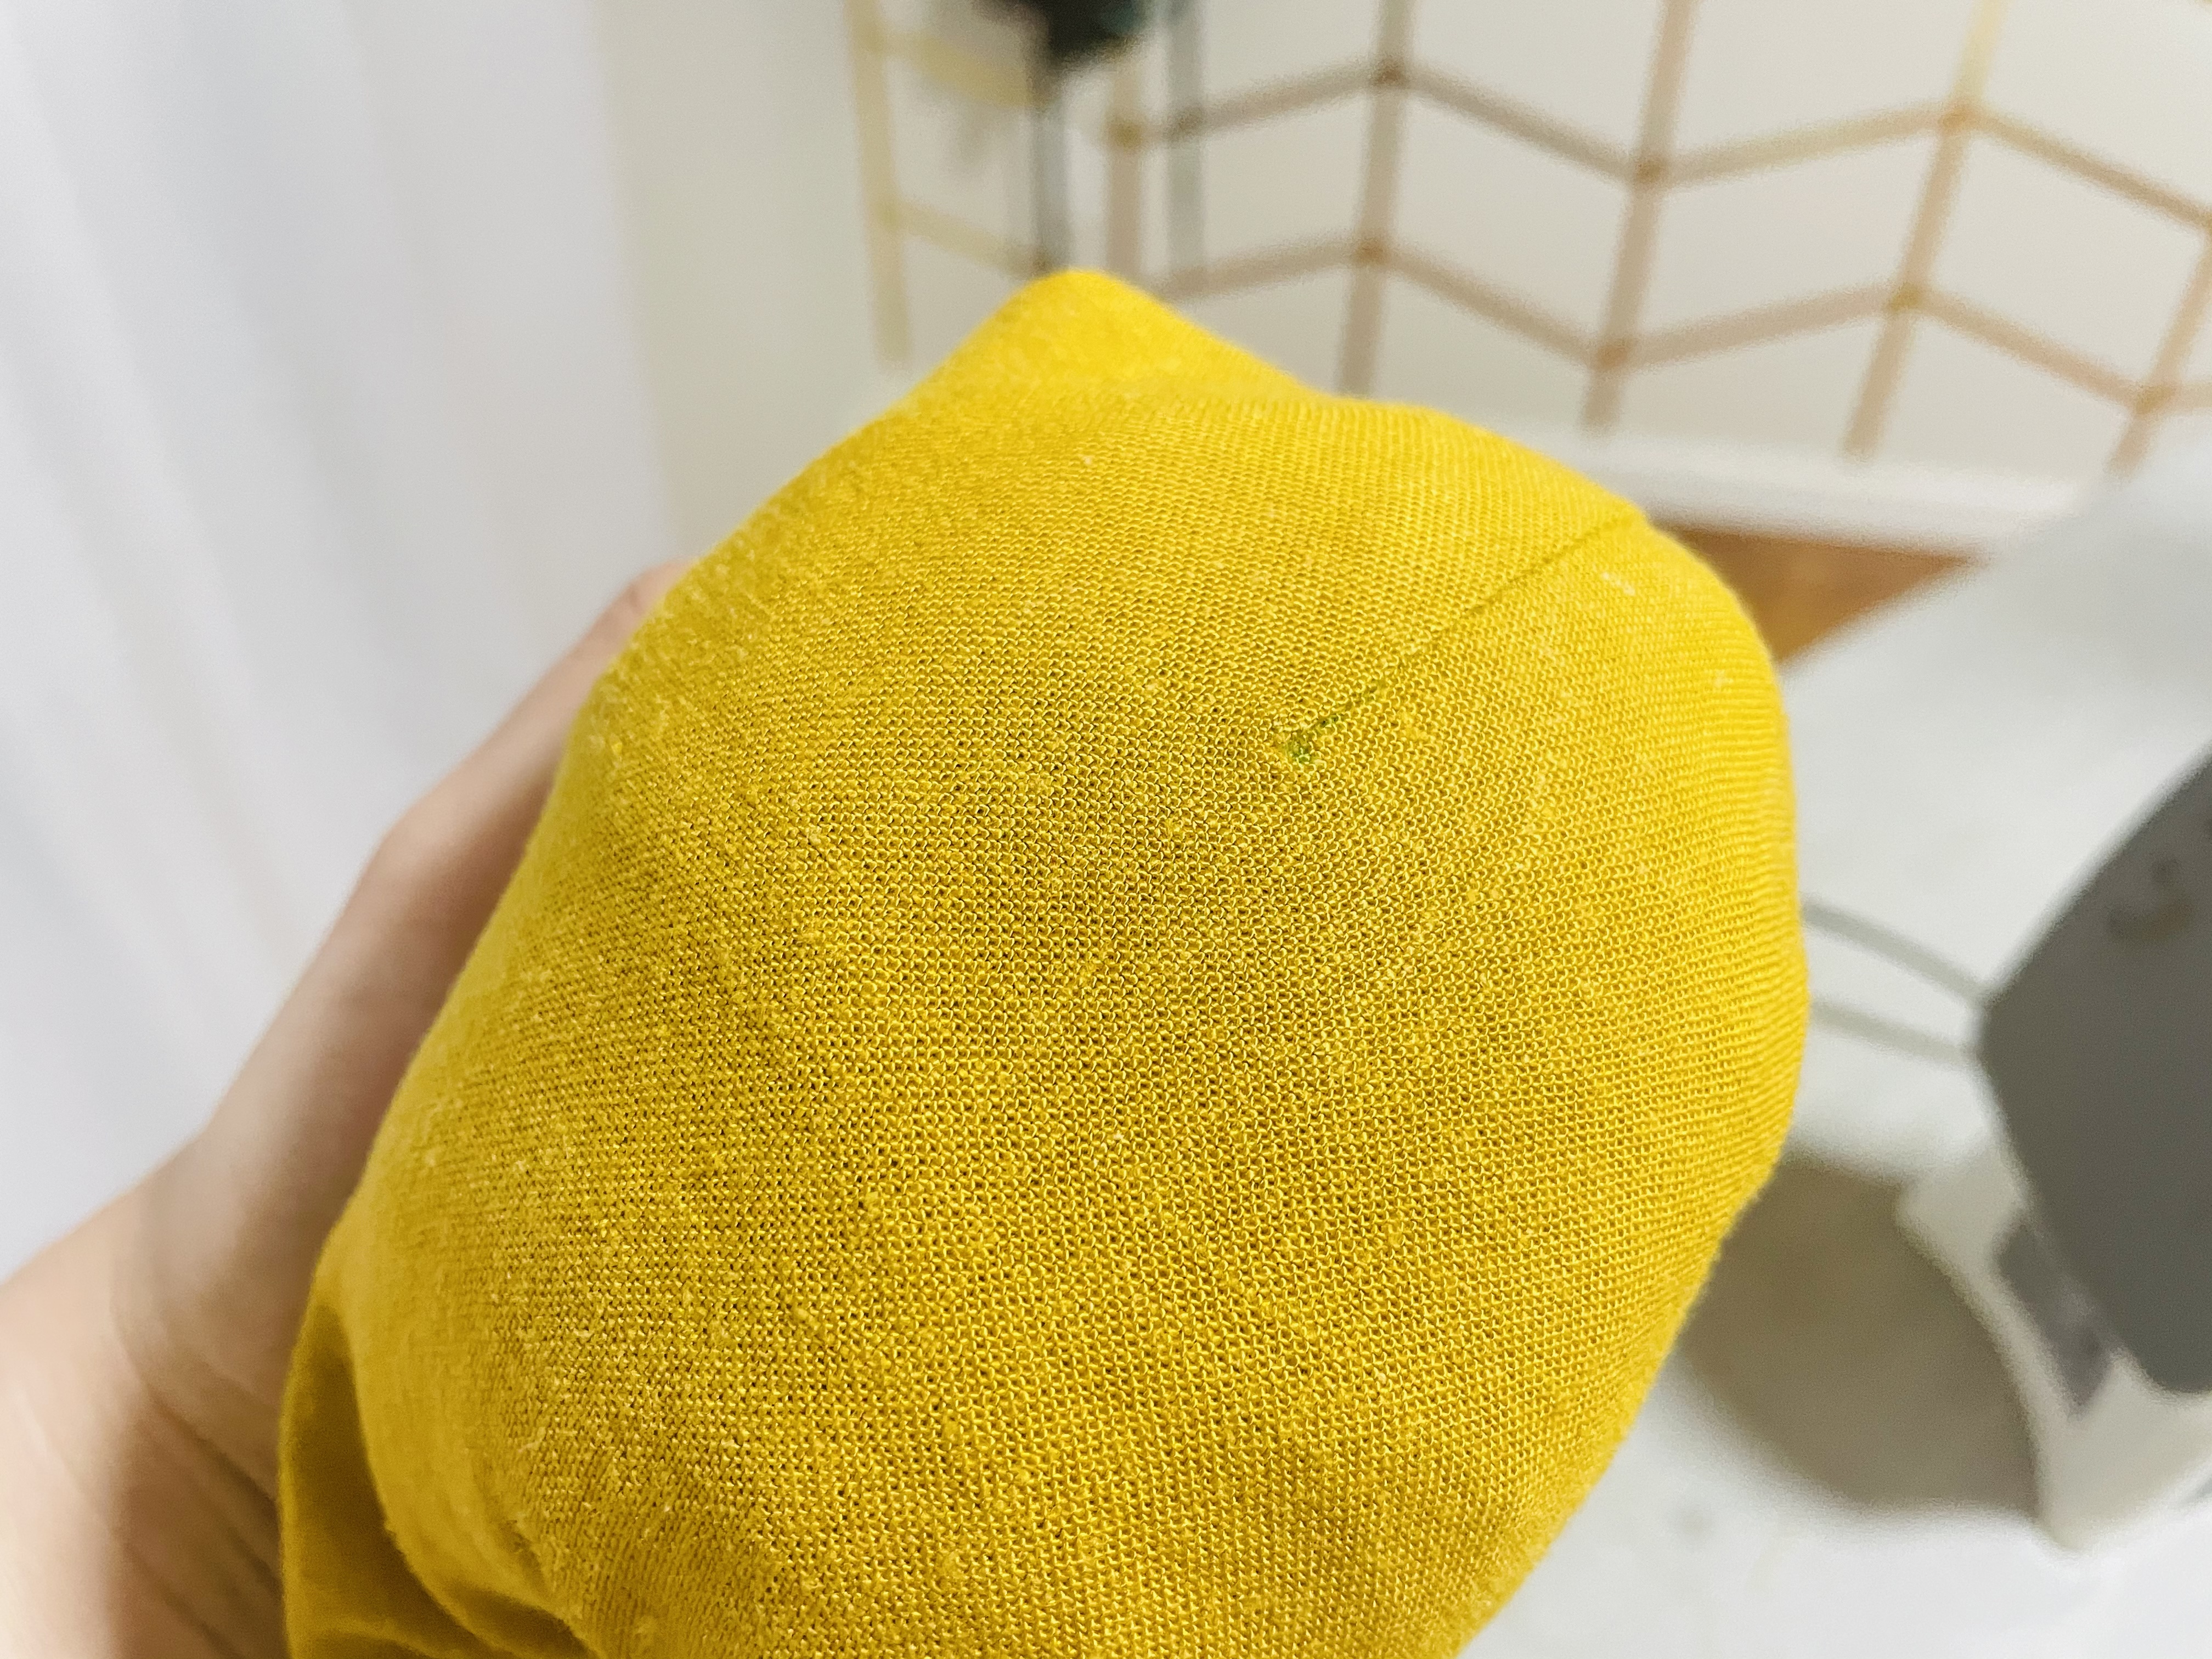
For the waist darts on the front and back of the bodice, we’ll press those toward the center of the dress. These darts are less curvy, so they can generally be done on the flat surface of your ironing board.
Tacking the bust darts
Now, this is a step I do that not everyone does, but I find it helps me a lot. My bust darts are HUGE, so I don’t want that extra fabric flapping around or threatening to go downward when I just pressed it up. So I tack the darts.
To do this, I first put my fabric back over my balled up t-shirt. Then, I pin the edge of the dart, as seen below. The reason I put the fabric over the t-shirt before pinning is that I want to ensure I’m allowing the dart fabric to curve around something, as it will lay differently that way than if it’s laid out flat. If I pin while it’s laid flat, I can end up with not enough fabric there, making it lay weird when on.
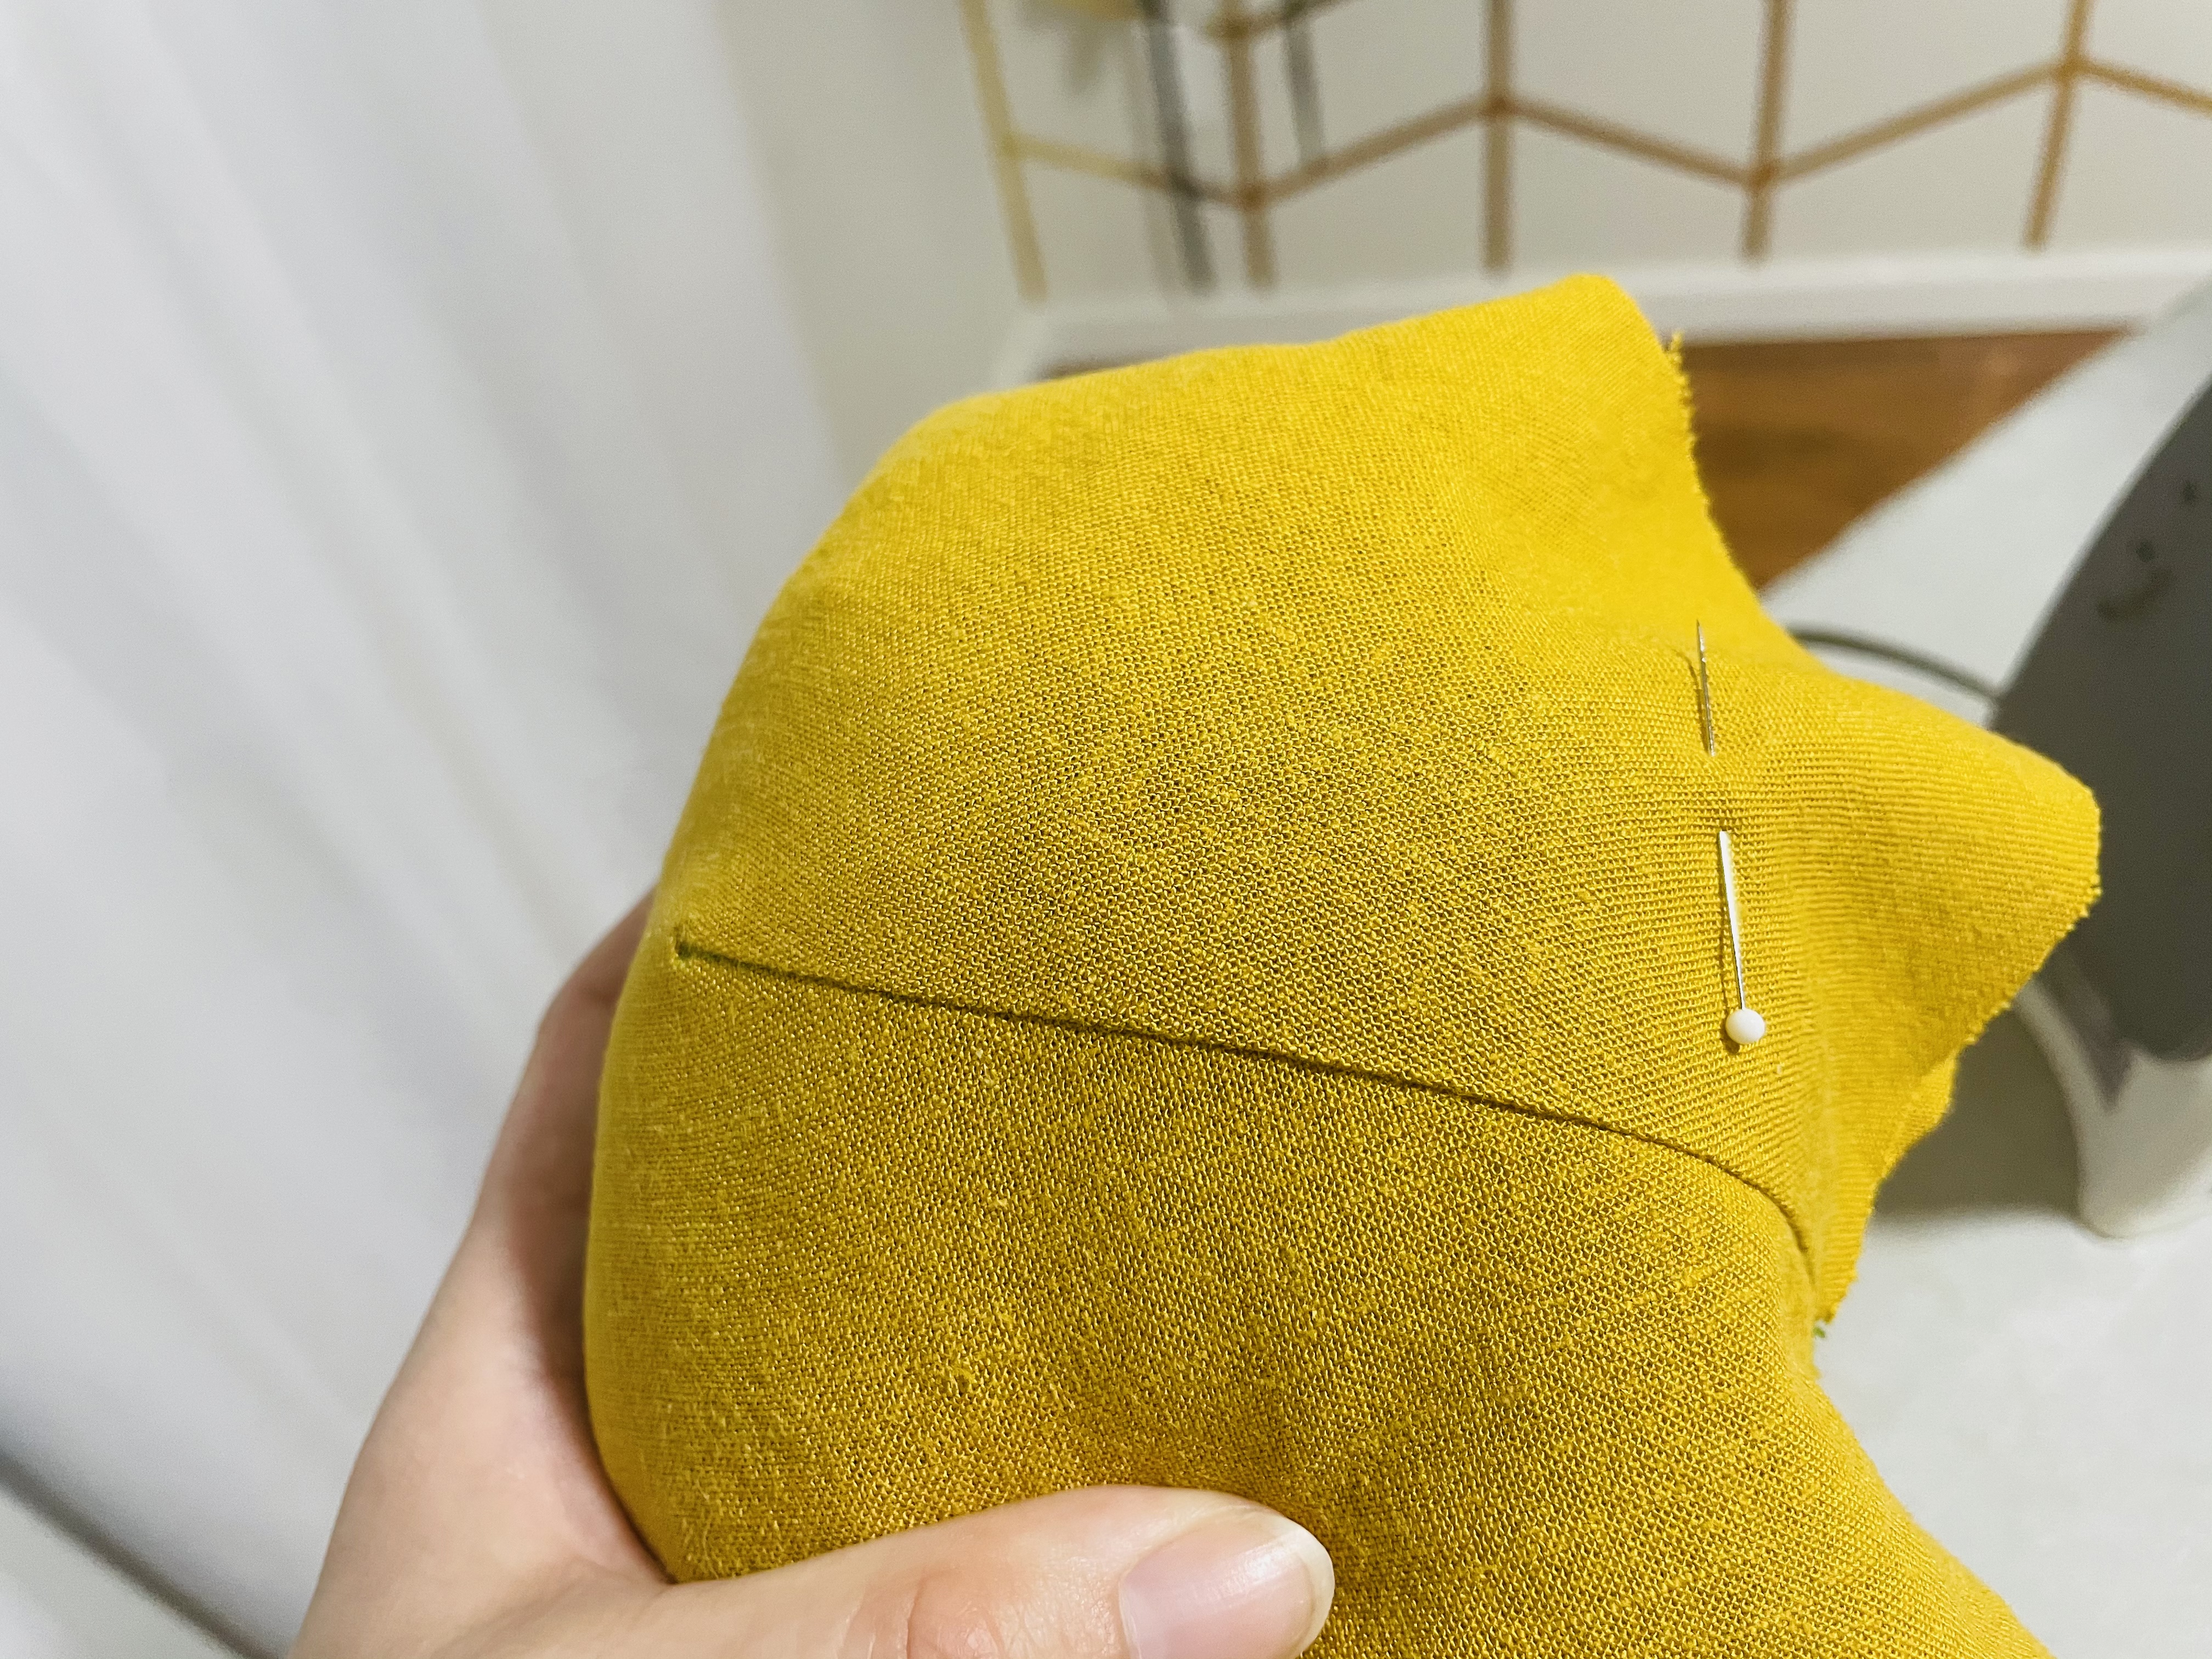
Now, I’m going to use a 5 mm long basting stitch to just tack the dart to the main fabric. I do this at 1/4″ from the edge, as this will be within my seam allowance. Once I have it tacked, I also trim the extra dart fabric, so that the dart is even with the edge of the main fabric:
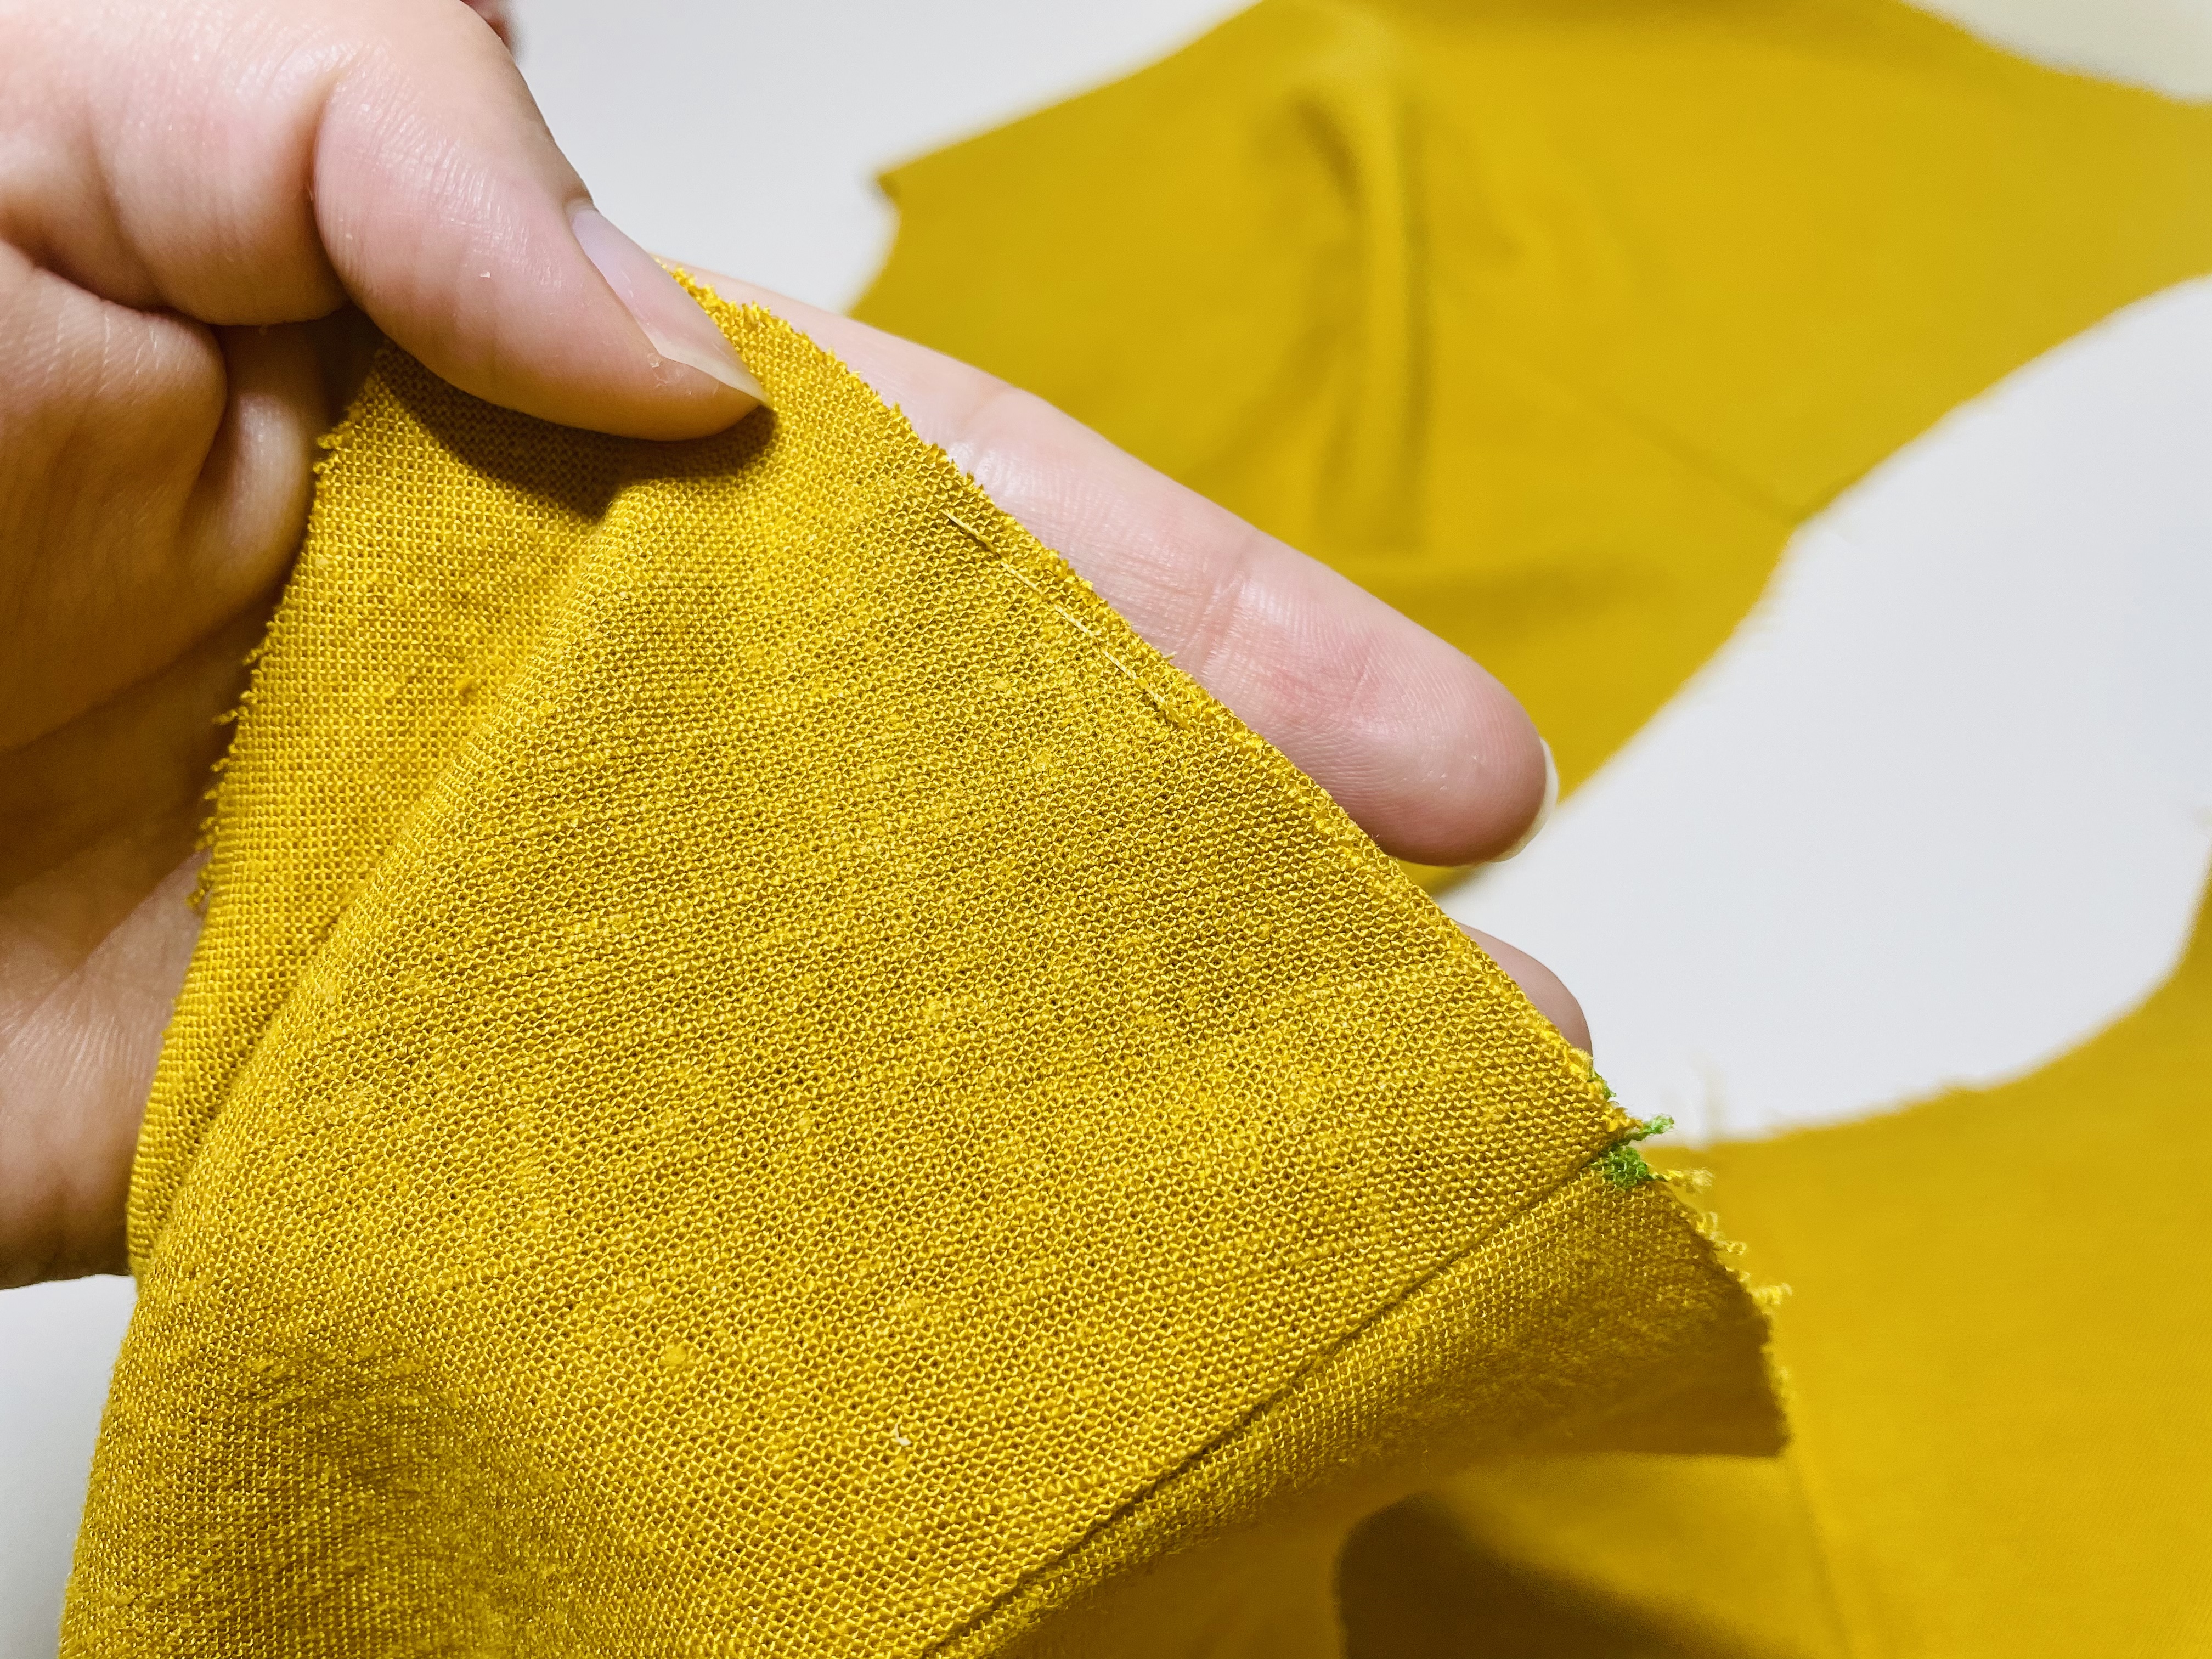
Sewing the Shoulder Seams
We’re going to start sewing the pieces together! First, align your back bodice piece with your front bodice pieces along the shoulder seams, right sides of the fabric together, like this:
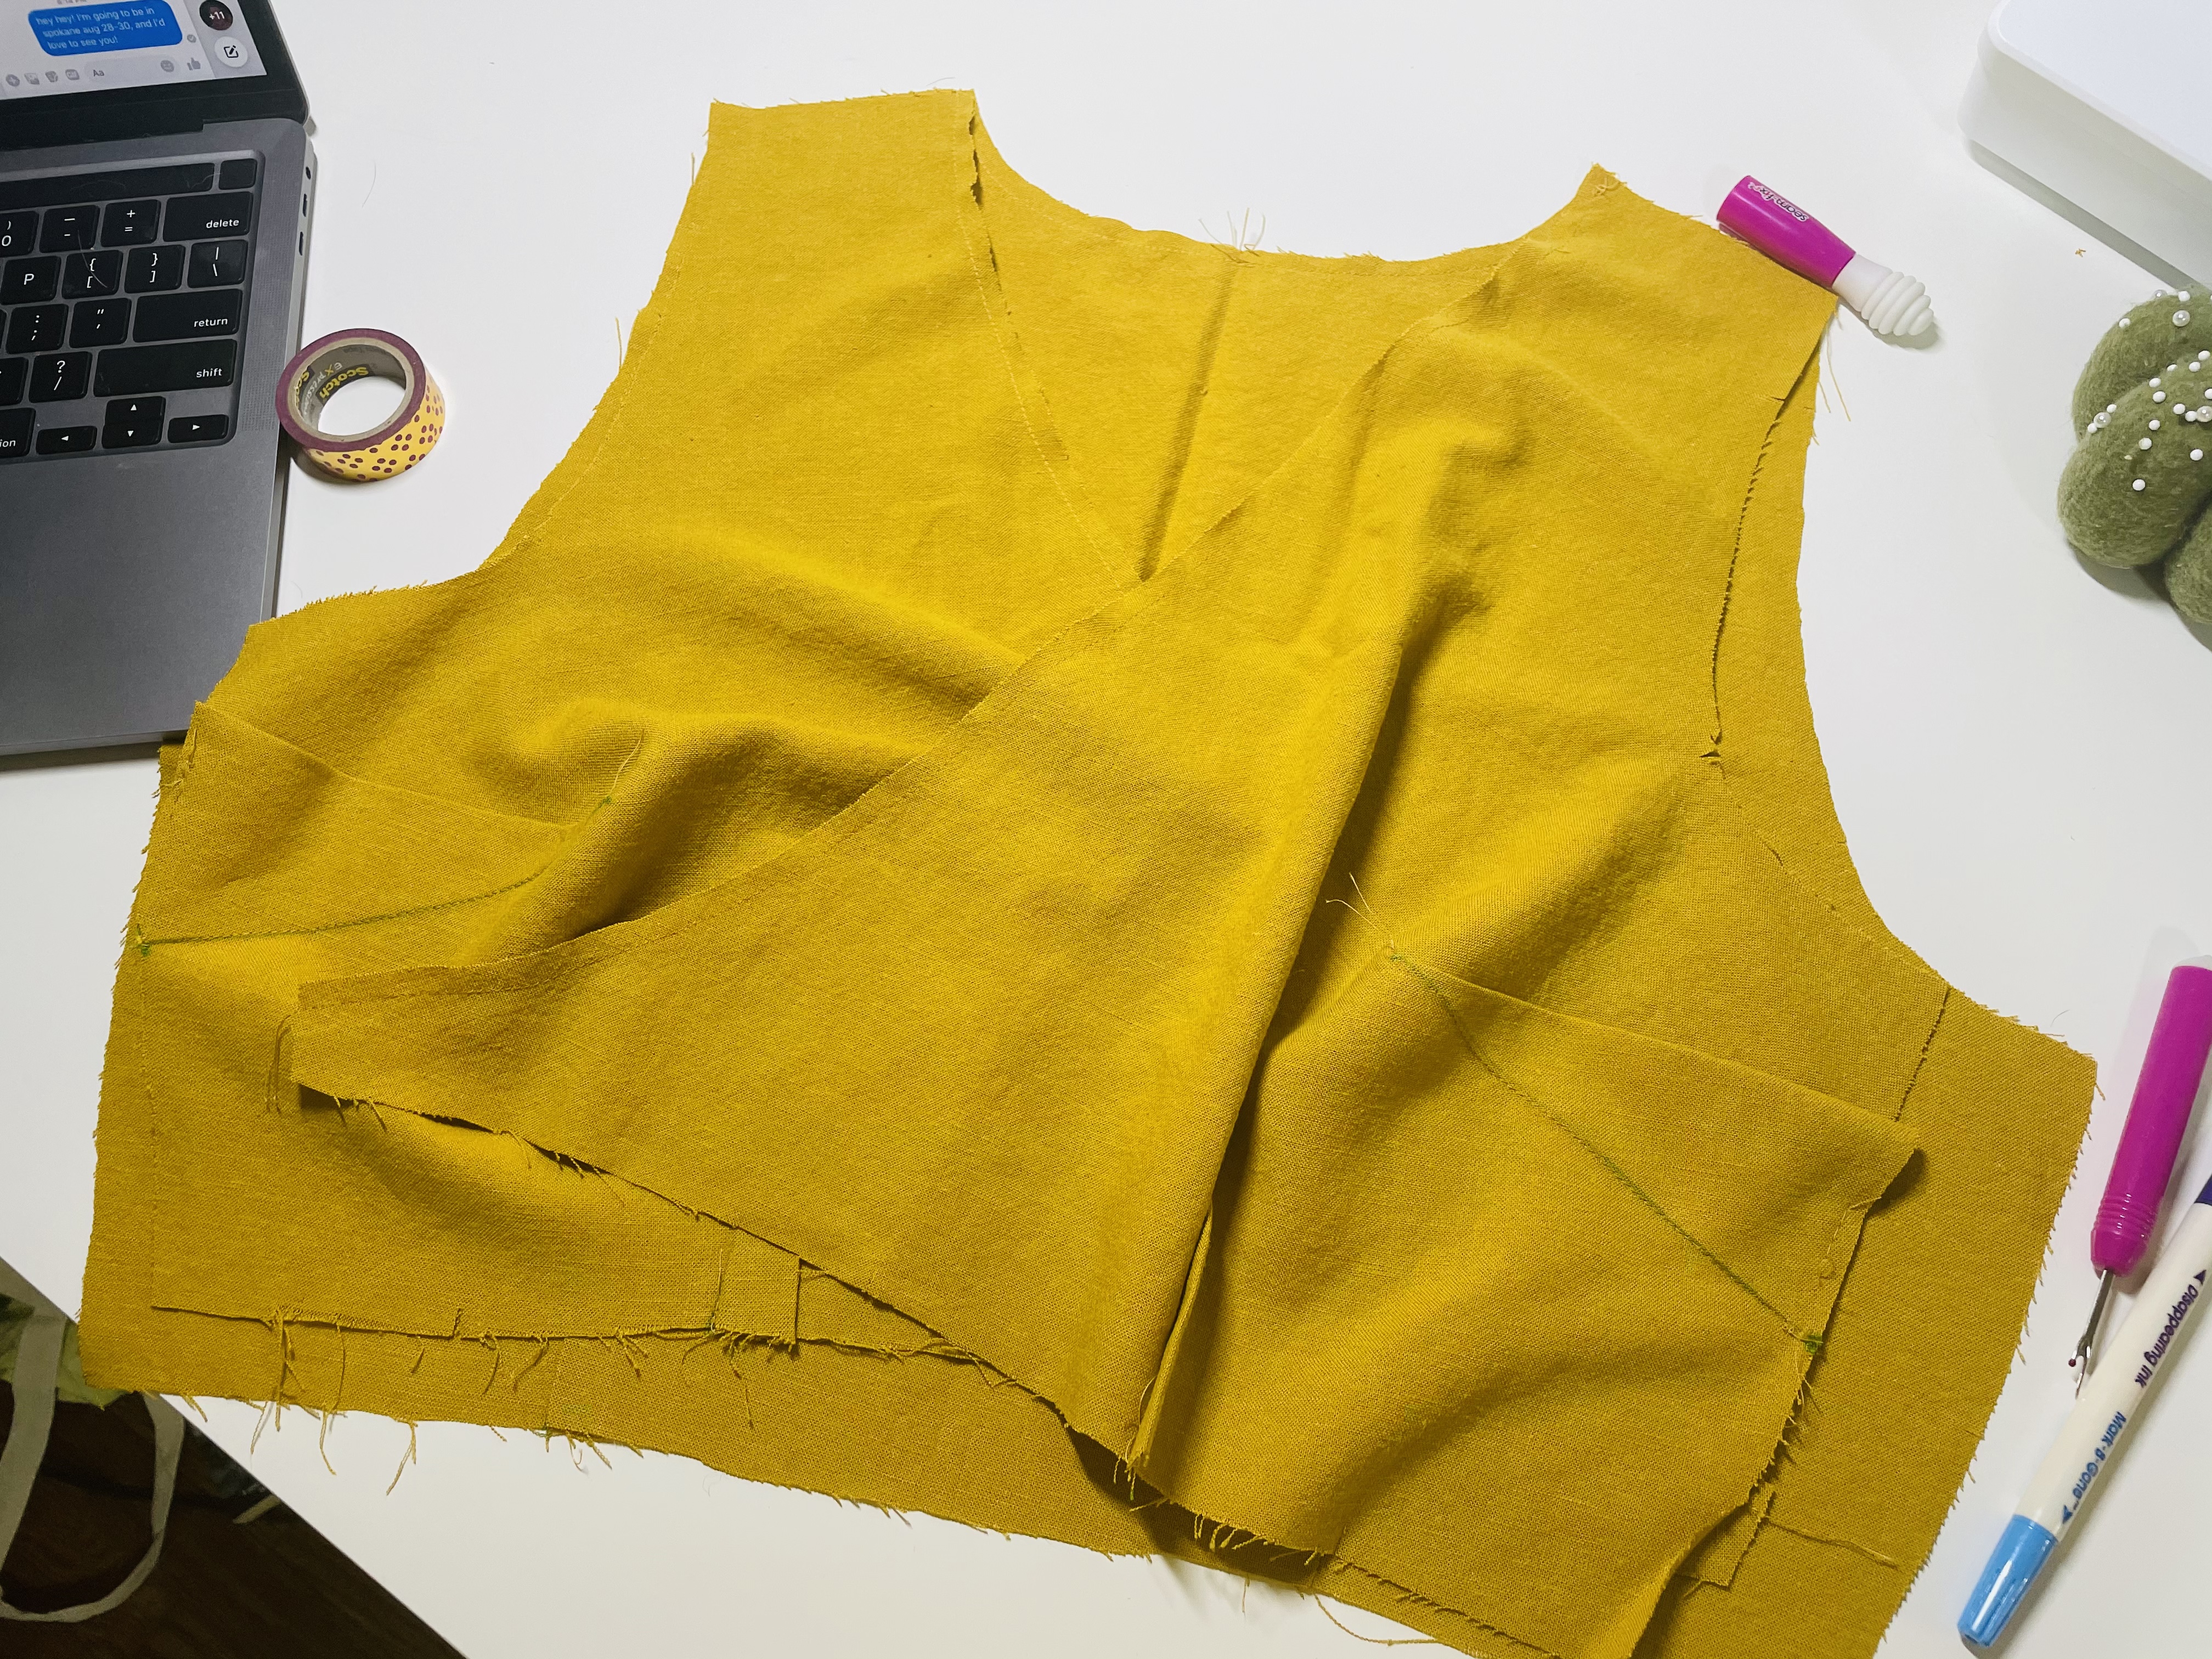
Then, we’re just going to pin those shoulder seams:
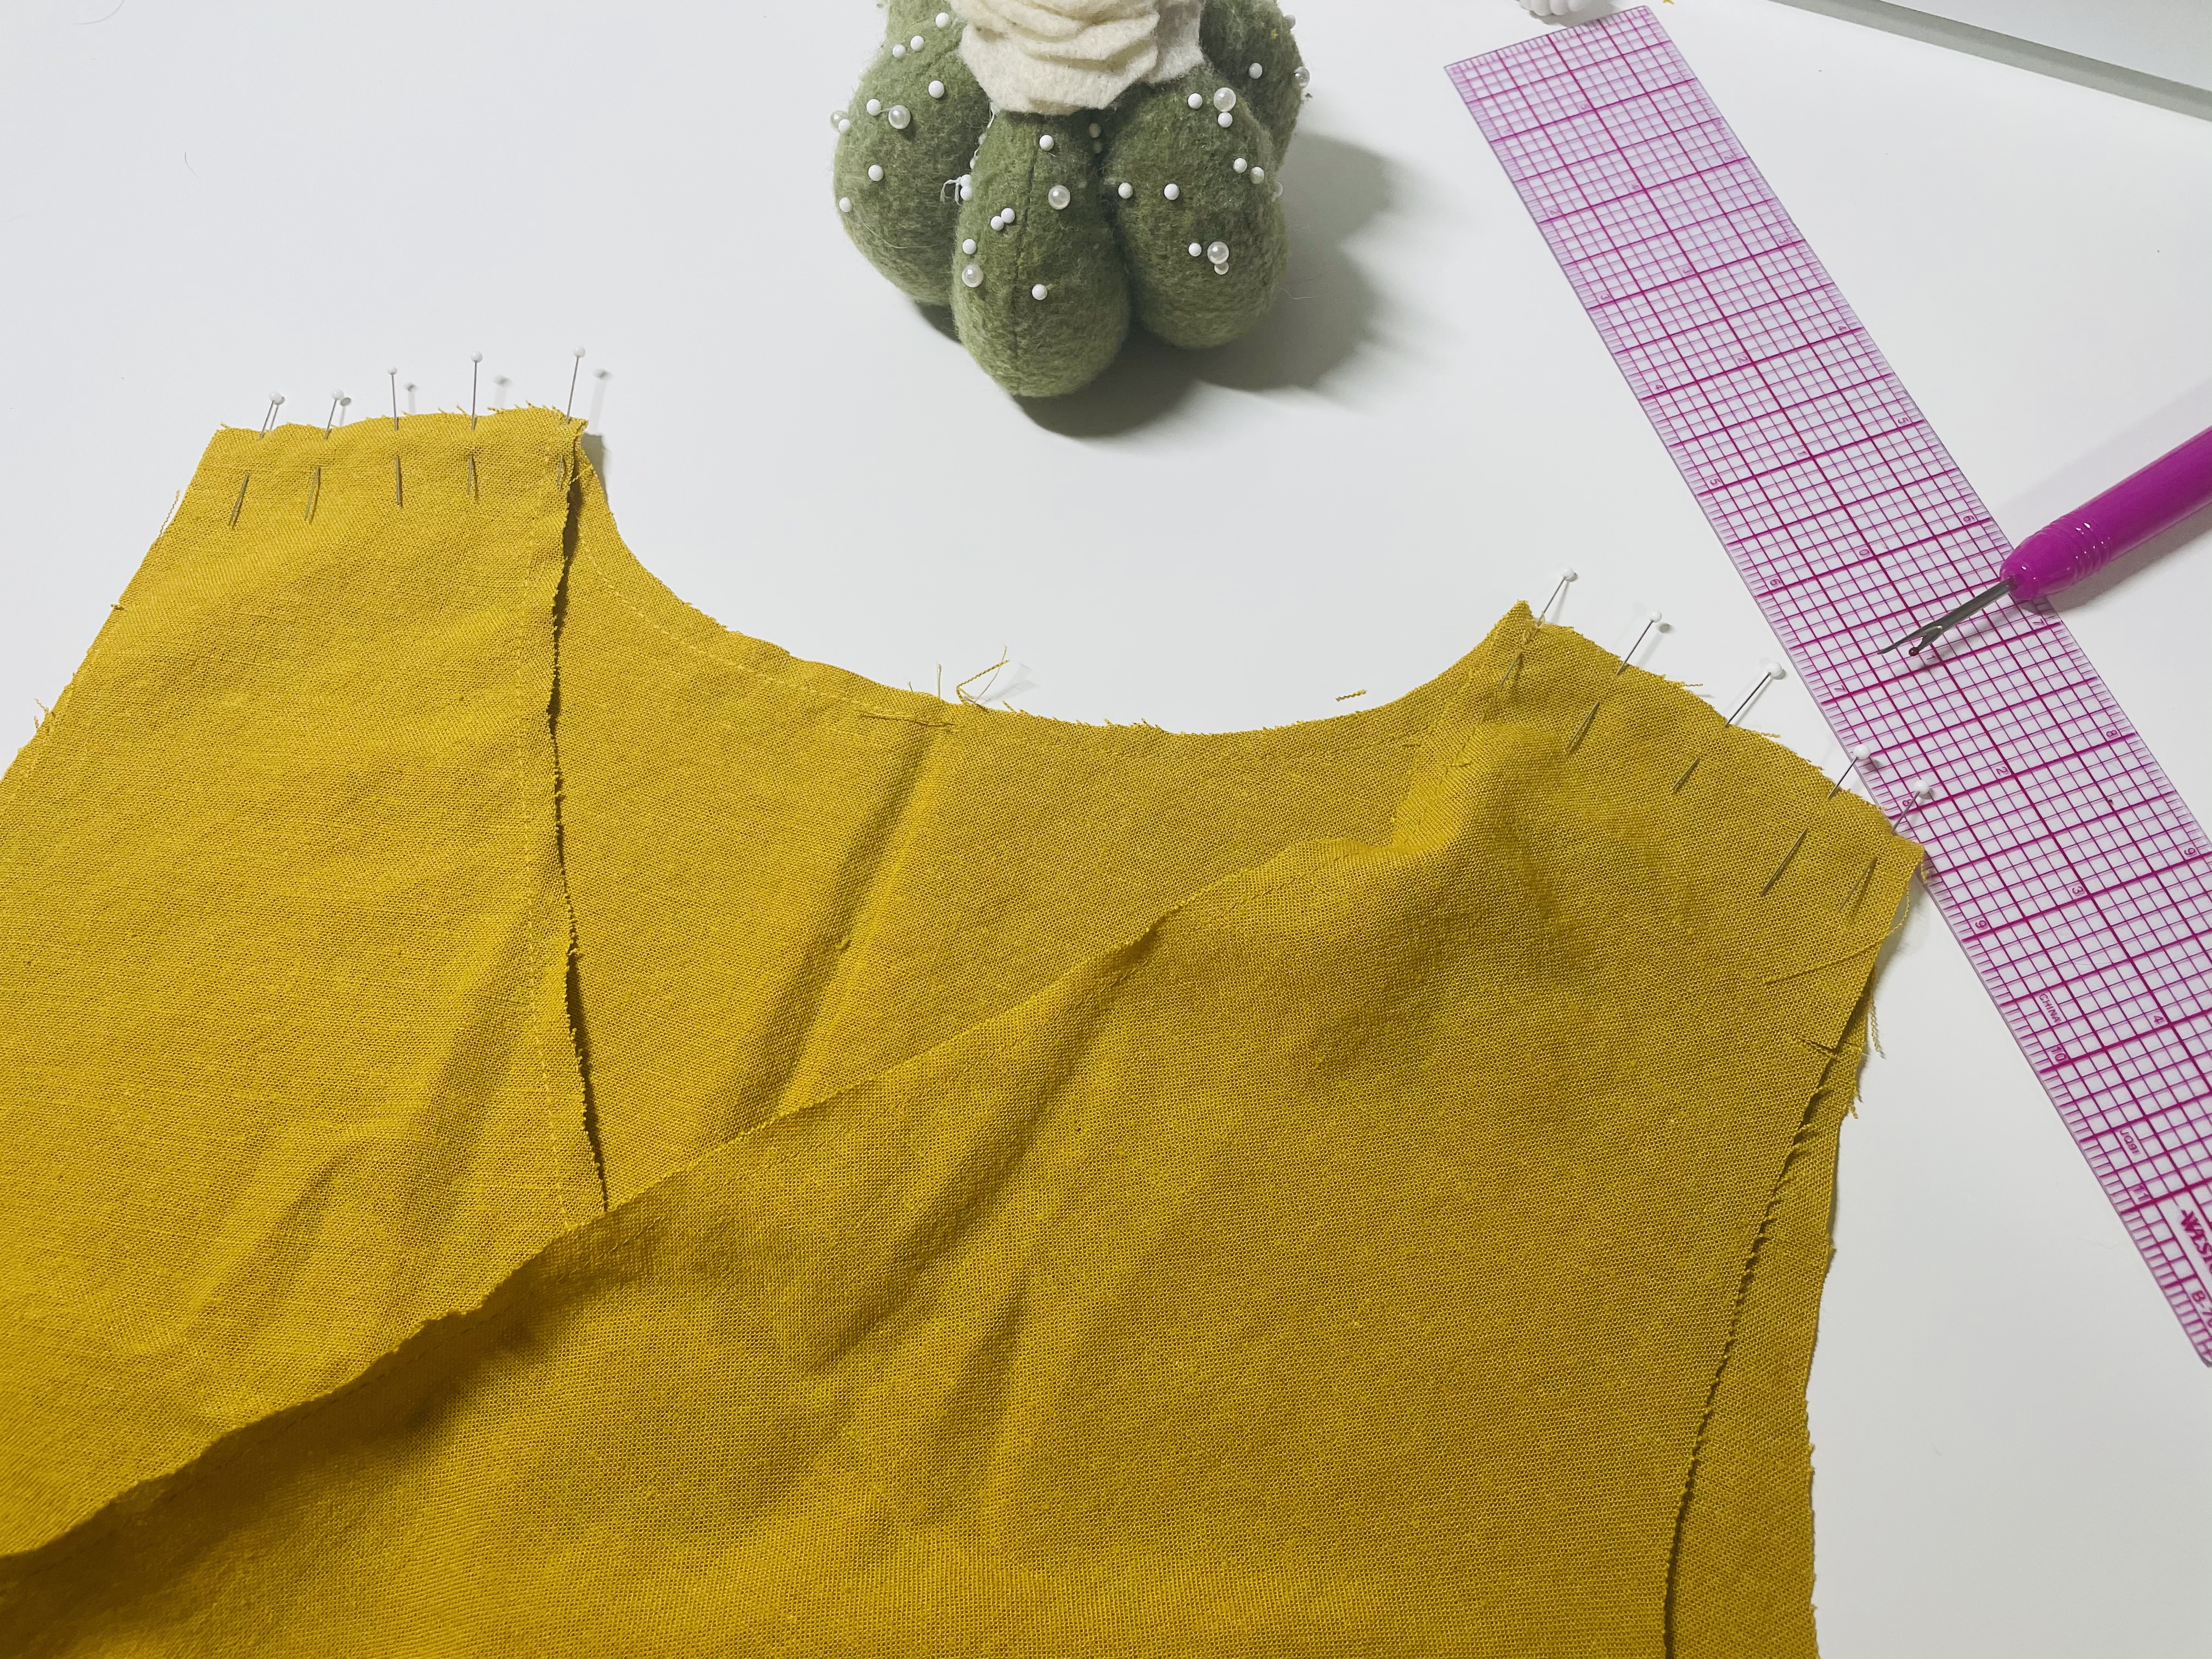
Now, to the sewing machine you go! Just use your standard 2.5 mm straight stitch, and sew at a 1/2″ seam allowance – that’s 1/2″ from the edge of the fabric. Lockstitch or backstitch at the beginning of your seam, and again at the end of your seam.
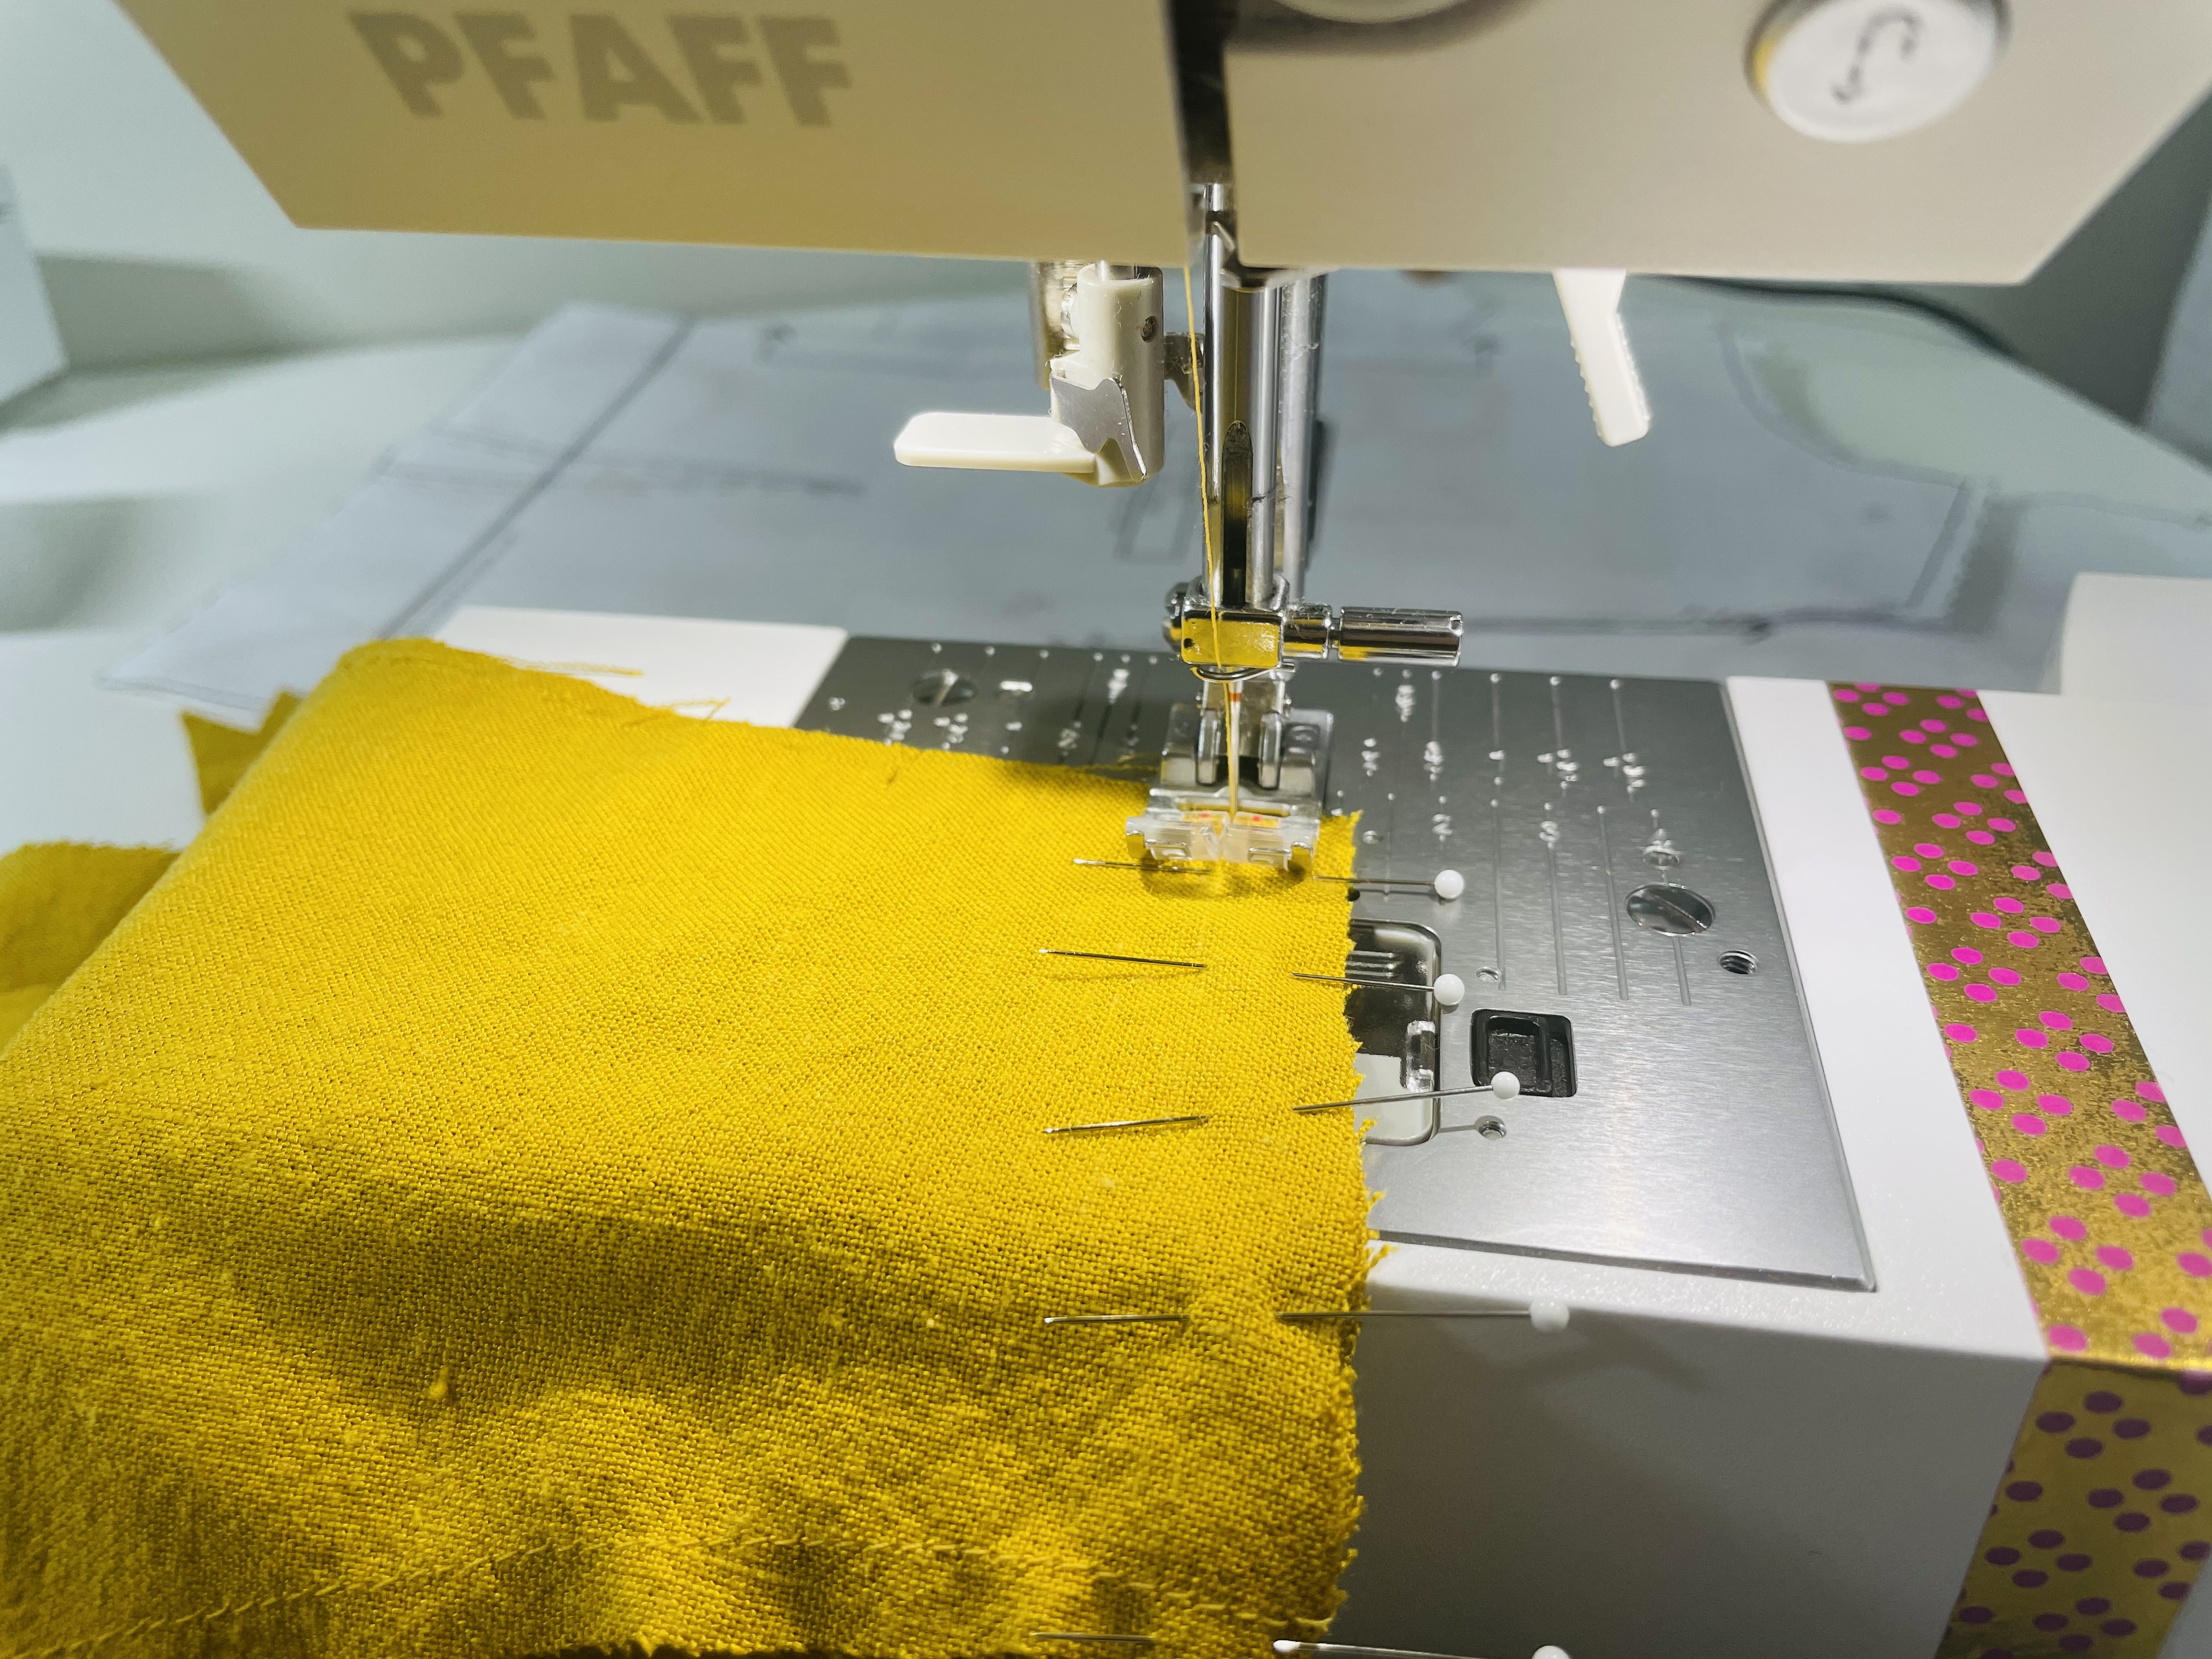
Seam Finishing Options
Now, here’s where things get interesting! On stretch knit fabrics, we don’t need to finish the edges of the fabric because knit fabrics don’t fray. Why? Remember how we talked about the difference between wovens and knits last week? Remember how knits are knitted, while wovens are woven? Well, this means that wovens will absolutely fray.
So we have to do something to prevent this. There are a few options. Some people LOVE to serge their fabric edges. Personally, I HATE my serger (and all sergers). It just feels like the machine is controlling things instead of me controlling things, and I don’t like it. Serging also requires an entirely separate machine, and for those beginners reading this as part of our Beginners’ Sewing Series, I’m assuming you probably don’t have a serger.
So here are some options for those who don’t have or don’t want to use a serger:
Pinked edges
I like to think of pinked edges as the old school way of doing things. Pinking is what my grandma and my mom used to finish seams. It’s also often the option I go for.
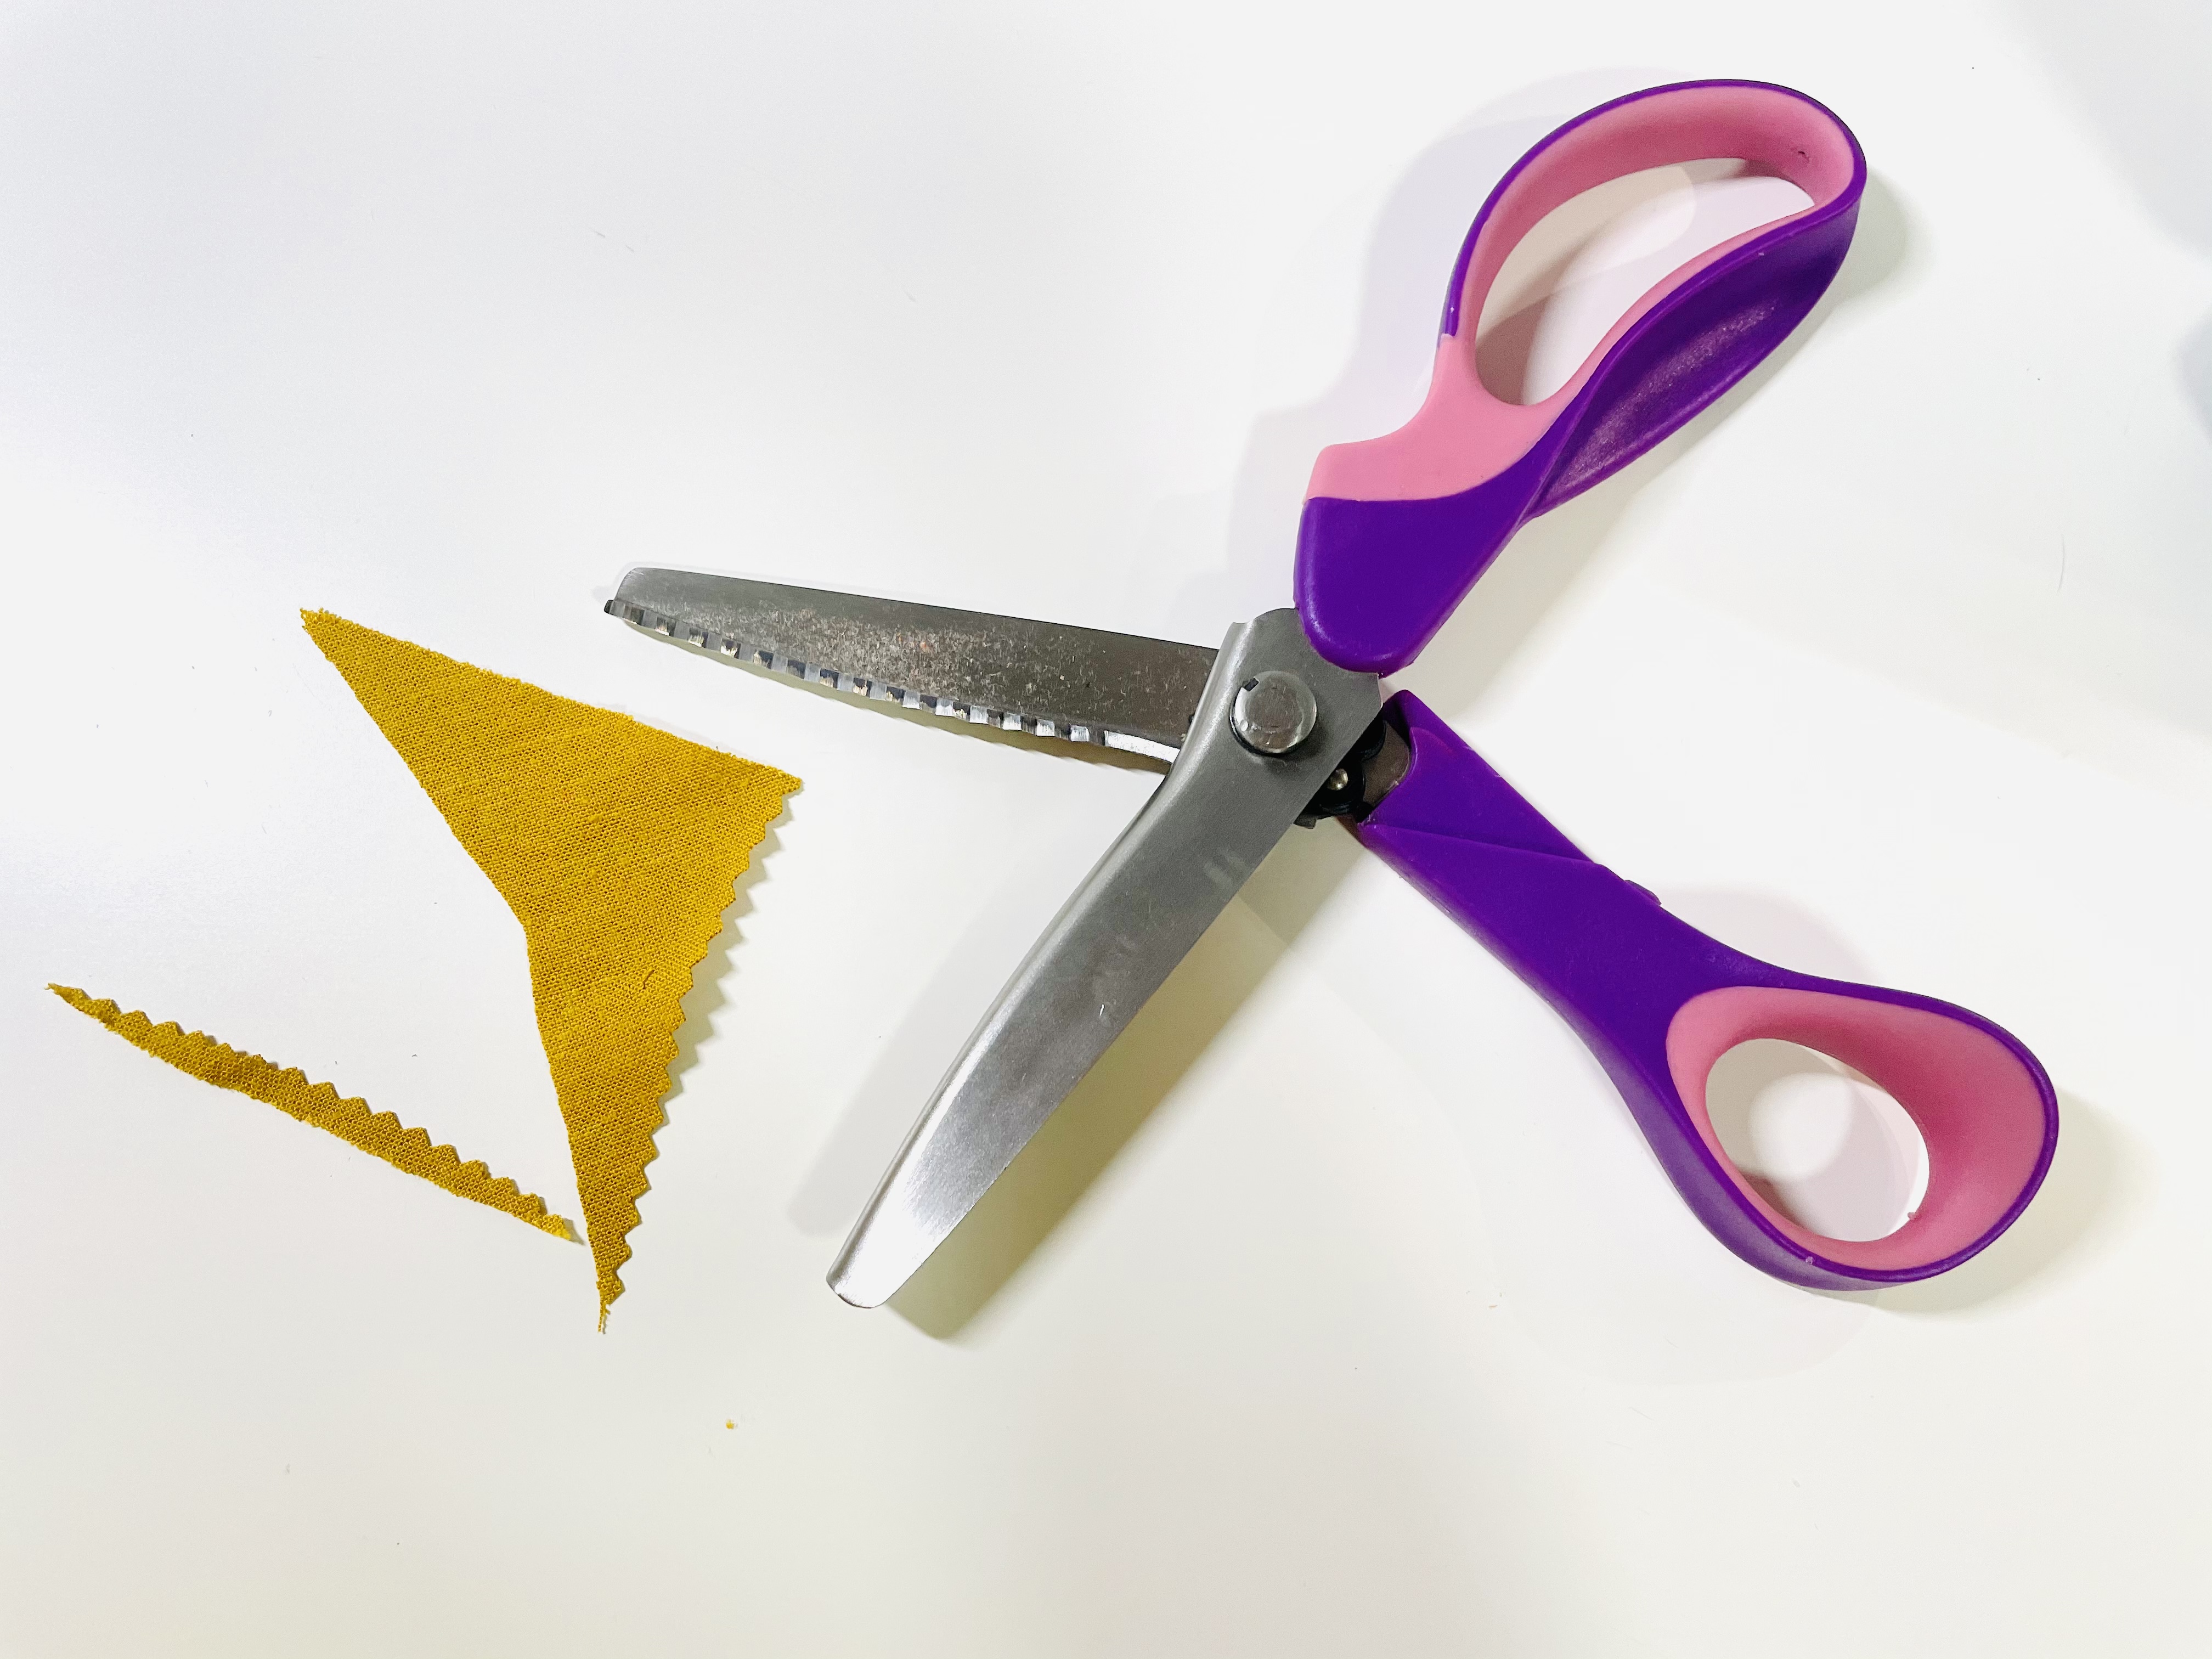
Pinking is simple. Using pinking shears (the kind meant for fabric; please don’t use the zigzag scissors meant for paper!), simply cut down the length of your seam allowance, leaving about 1/4″ seam allowance. Be very careful not to cut too close to your stitching, and be extra extra careful not to accidentally catch some of your main fabric in the shears. (I’ve done this enough times that I’ve now mostly switched to the next method I’m going to show you!)
Pinking your seams will prevent most fraying, but it won’t stop it entirely. It’ll just limit how much fraying you’ll see.
Zigzagging the edges
My current favorite method of seam finishing is zigzagging the edges, and this is what I’m going to do for the Roseclair.
For this option, simply switch your machine to its zigzag stitch, 4 mm wide by 3 mm long or so. (This is what my machine defaults to on zigzag.) Align your fabric edge so that the edge of your fabric is just shy of where the needle will go down at the outermost point in the zigzag. In other words, you’re going to be zigzagging off the edge. Sew down the entire length of the seam.

You’ll end up with something like this:
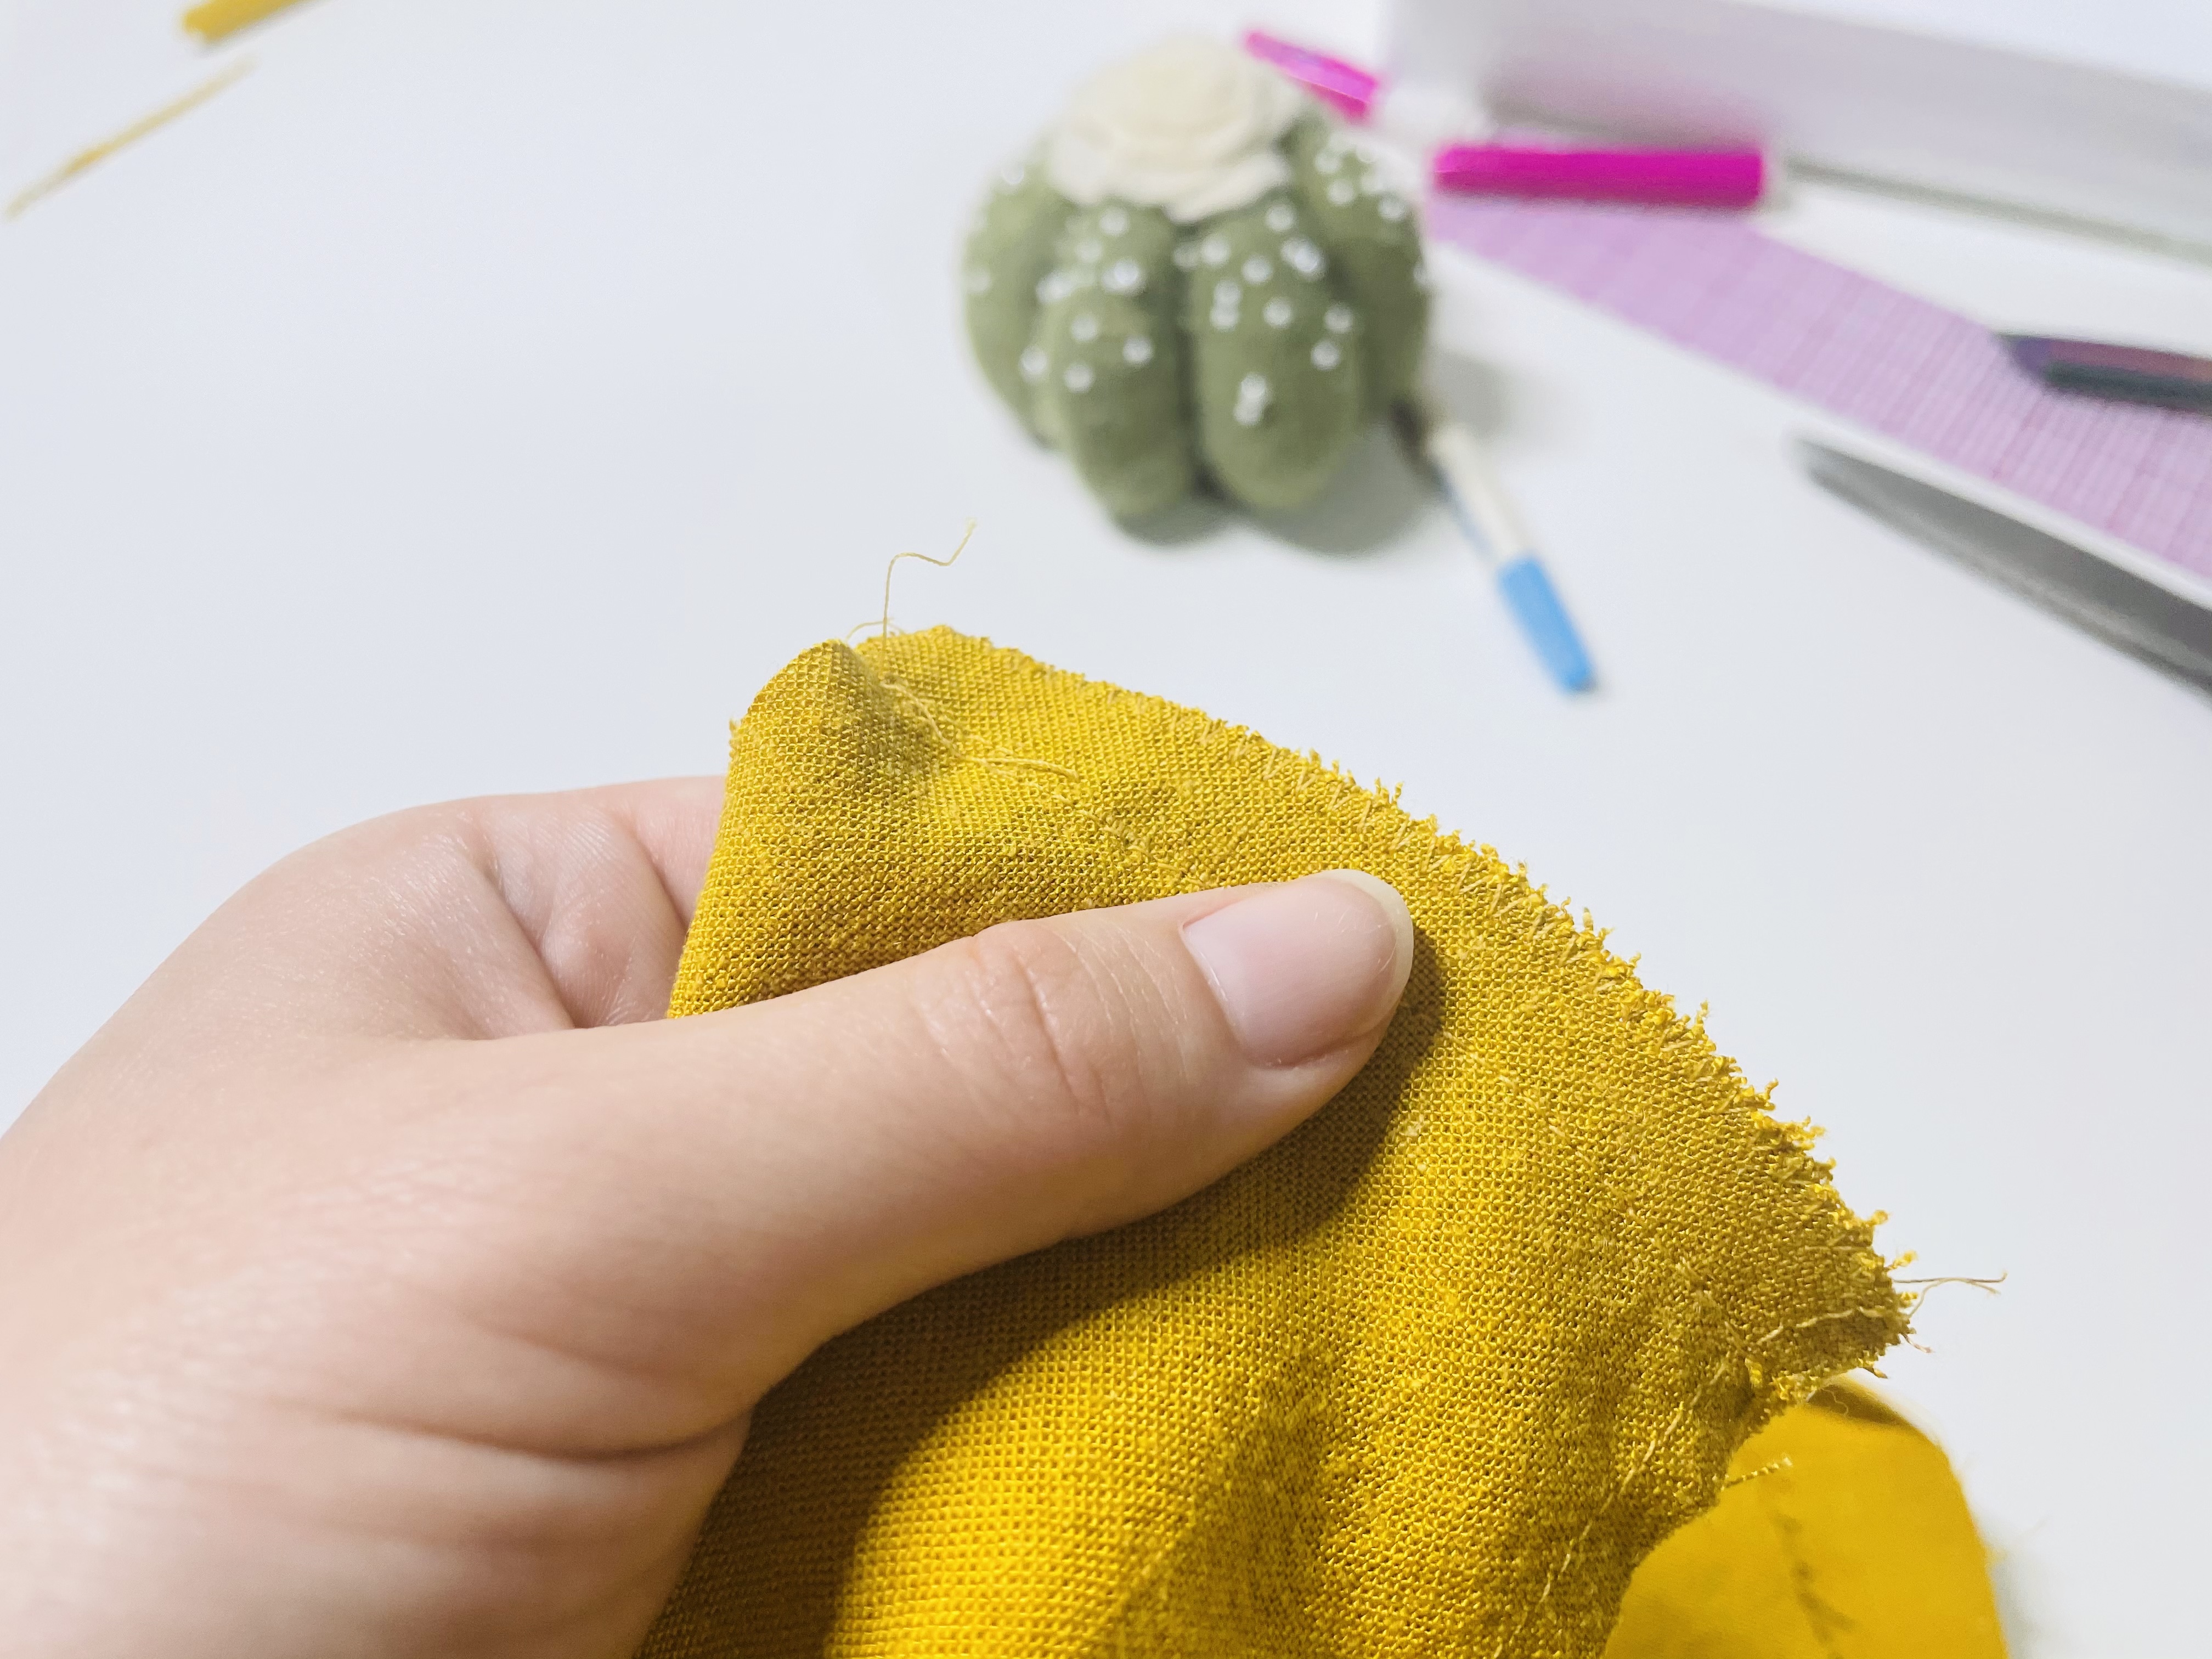
And that’s all there is to it! Finish both shoulder seams this way. Once they’re finished, press the seam allowance toward the back of the bodice.
Sewing the Sleeve
Time to move onto the sleeve! The first step on the sleeve is to sew two gathering stitches.
At the curve of the sleeve, you’ll see three notches. The center one marks the top of the sleeve. The two notches on either side of the center notch are to mark where to sew your gathering stitches.
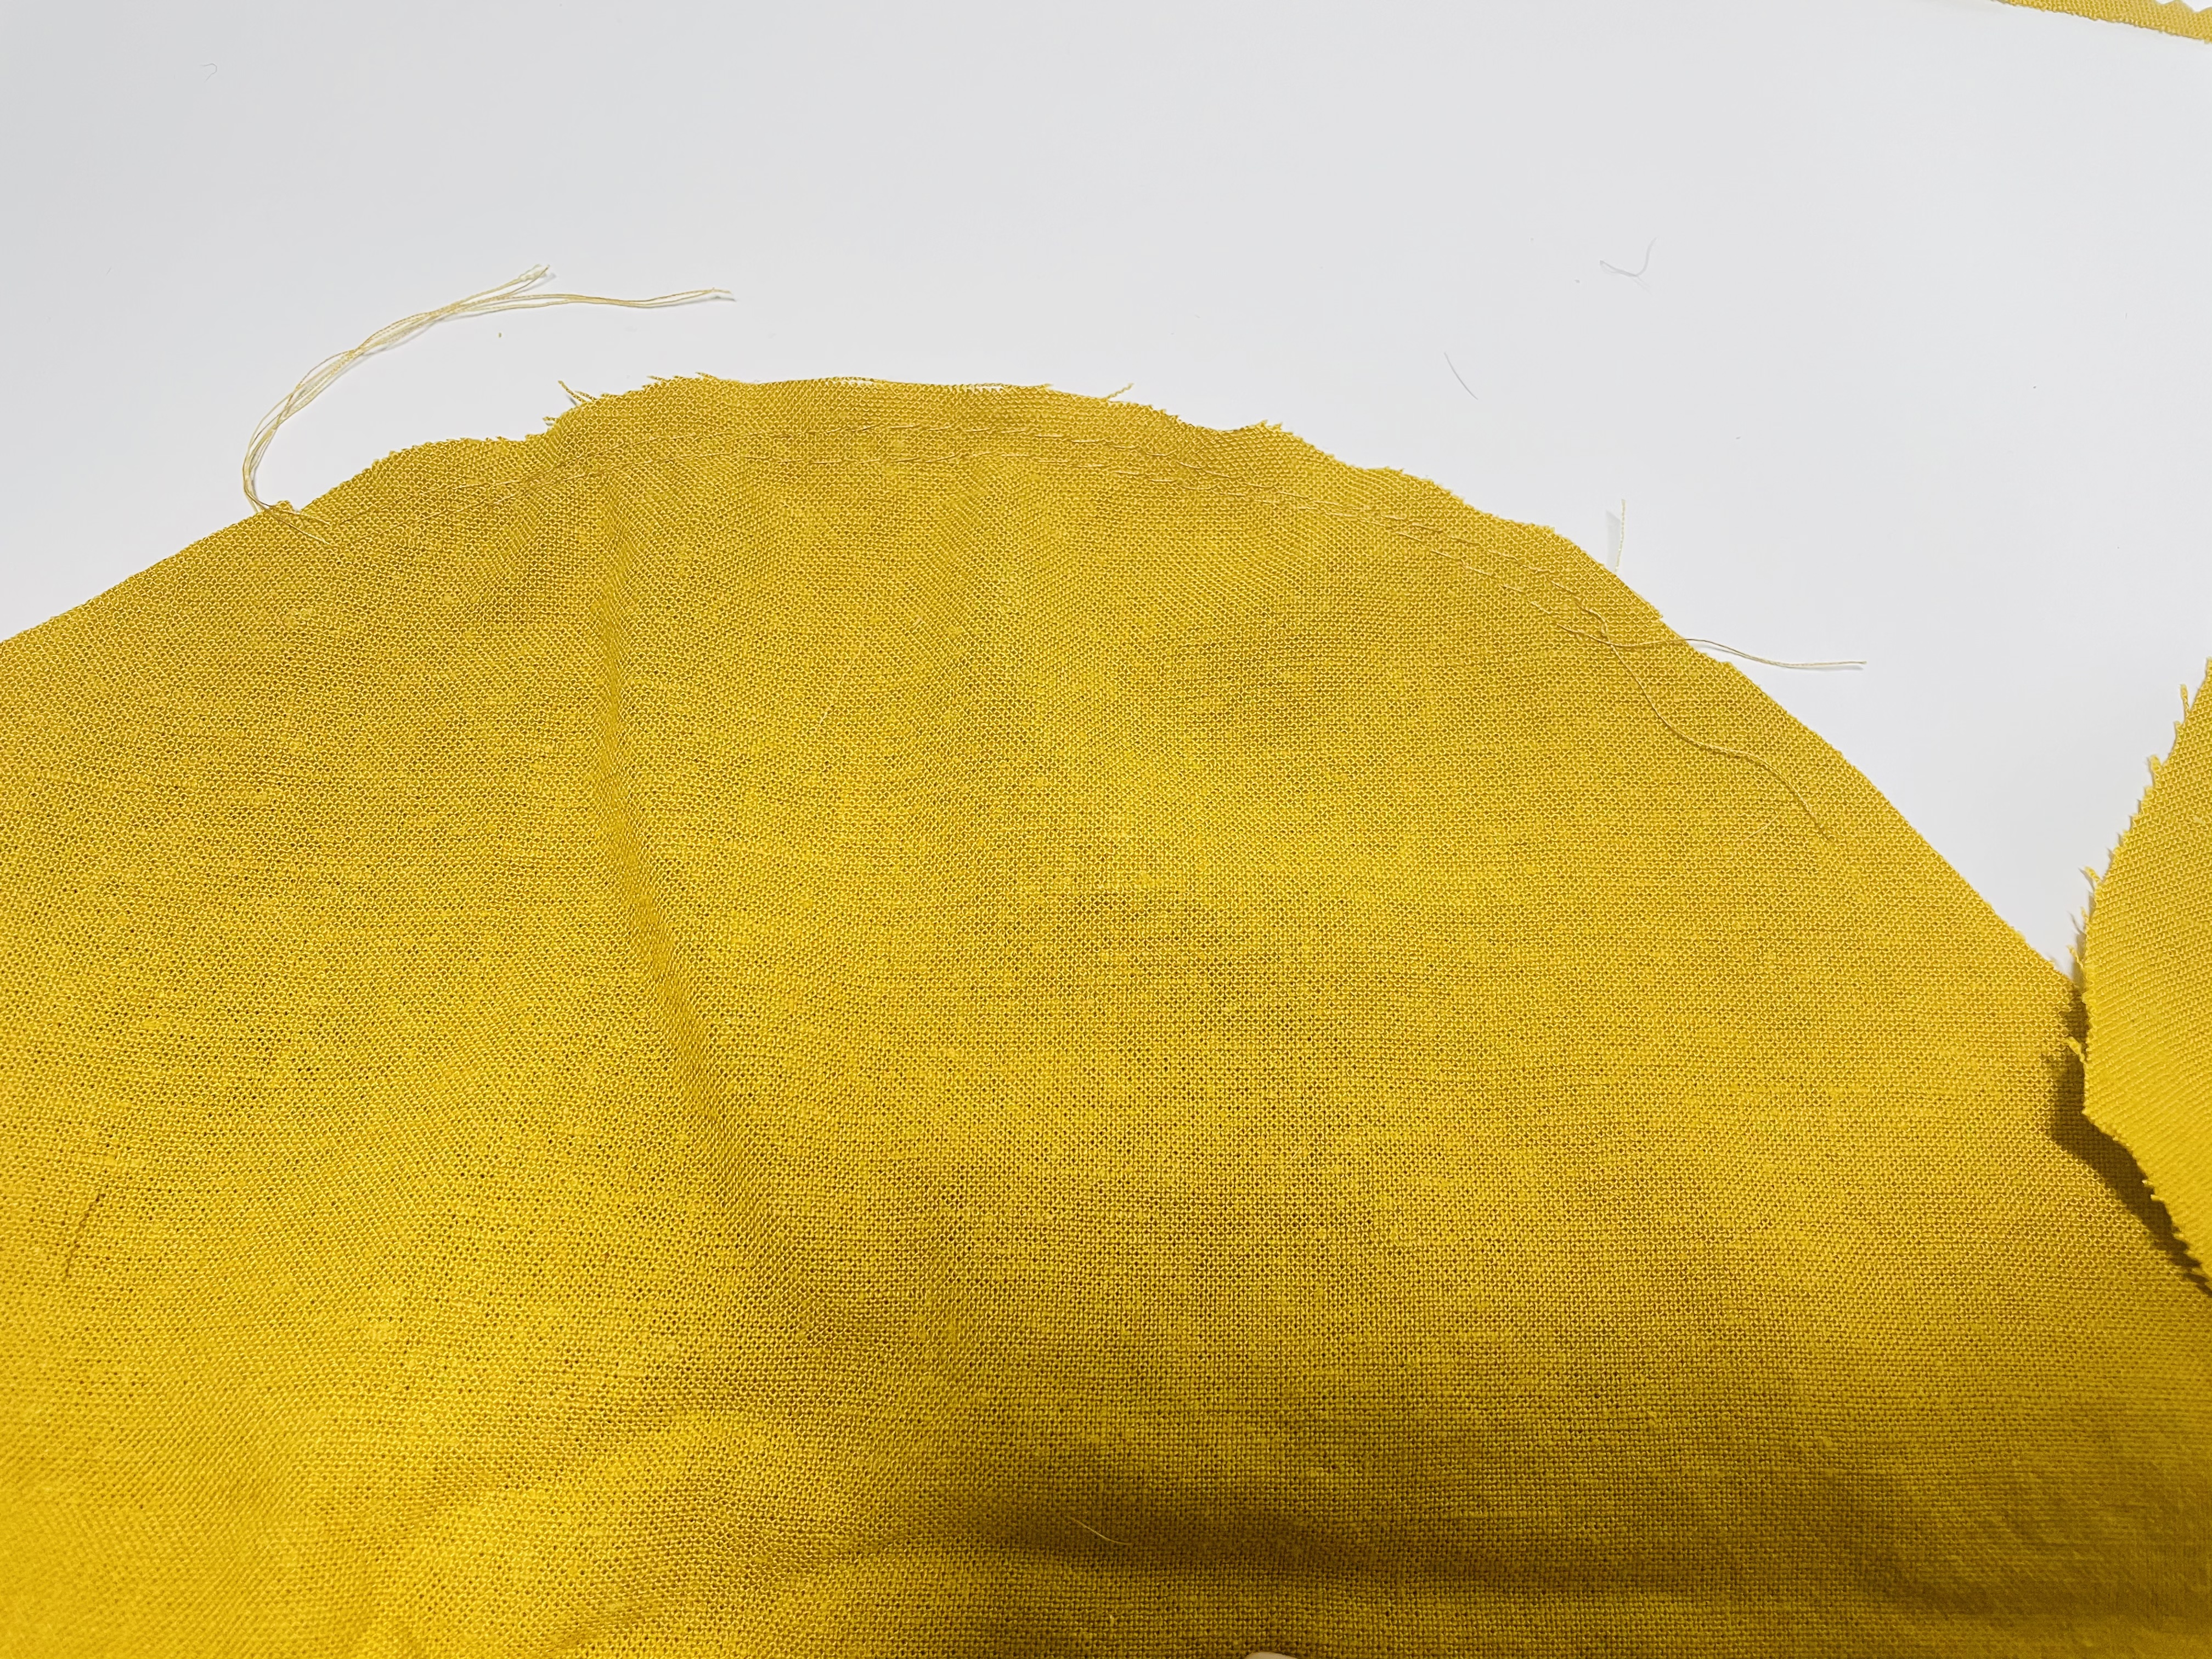
To sew the gathering stitches, set your sewing machine on a long stitch length. I like 5 mm stitches, just like I’d use with basting, and I stitch at 1/4″ from the edge for my first pass, and then 3/8″ from the edge for the second pass. When you do this, make sure you keep your thread ends long on both sides.
I know it’s hard to see, but the sleeve ends up like this:
Now, you’re going to lay your sleeve on top of your bodice with right sides together, making sure that the double notch on the sleeve is on the same side of the center as the double notch on the bodice. The sleeve should be laid on top of the bulk of the fabric. I didn’t get a good picture, so let me give you this image from the Roseclair instructions.

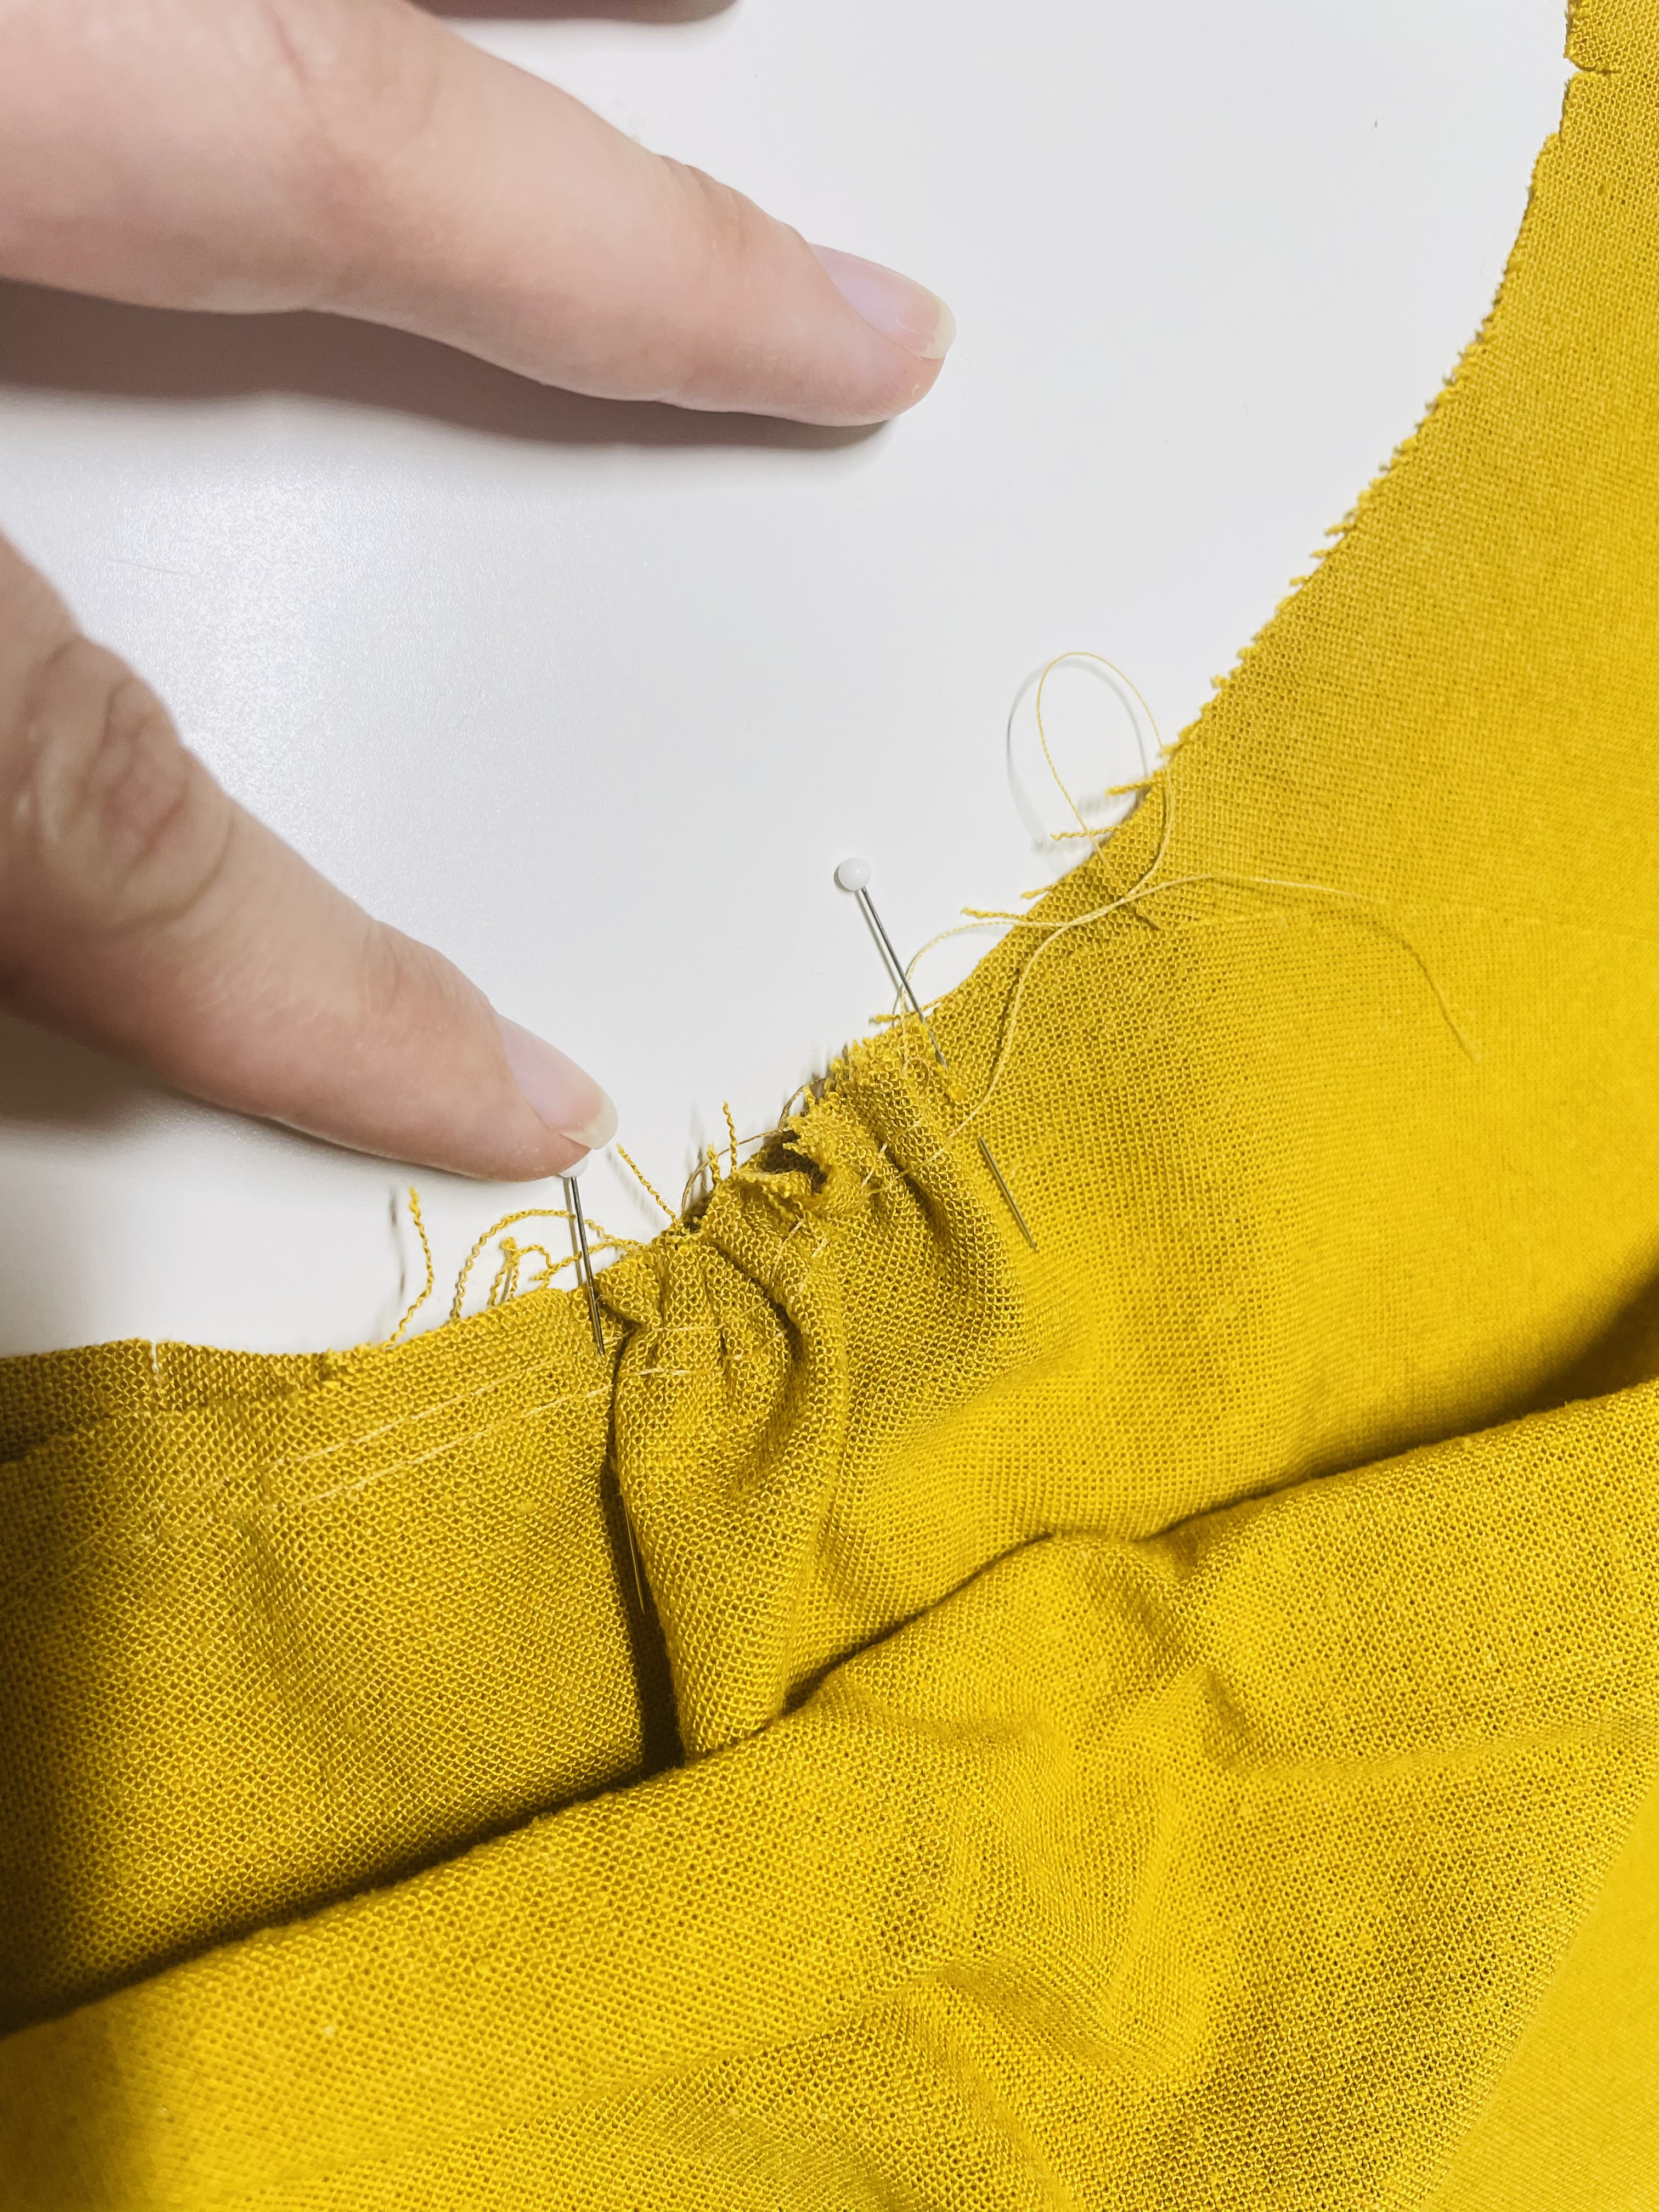
You want to pin the sleeve to the bodice, matching the center notch to the shoulder seam. Then, you need to pull on one of the gathering stitch threads to gather up the fabric so that you can match the sleeve notches on either side of the center notch with the corresponding notches on the bodice.
I start by doing this on one side, then pinning the sleeve and bodice notches together:
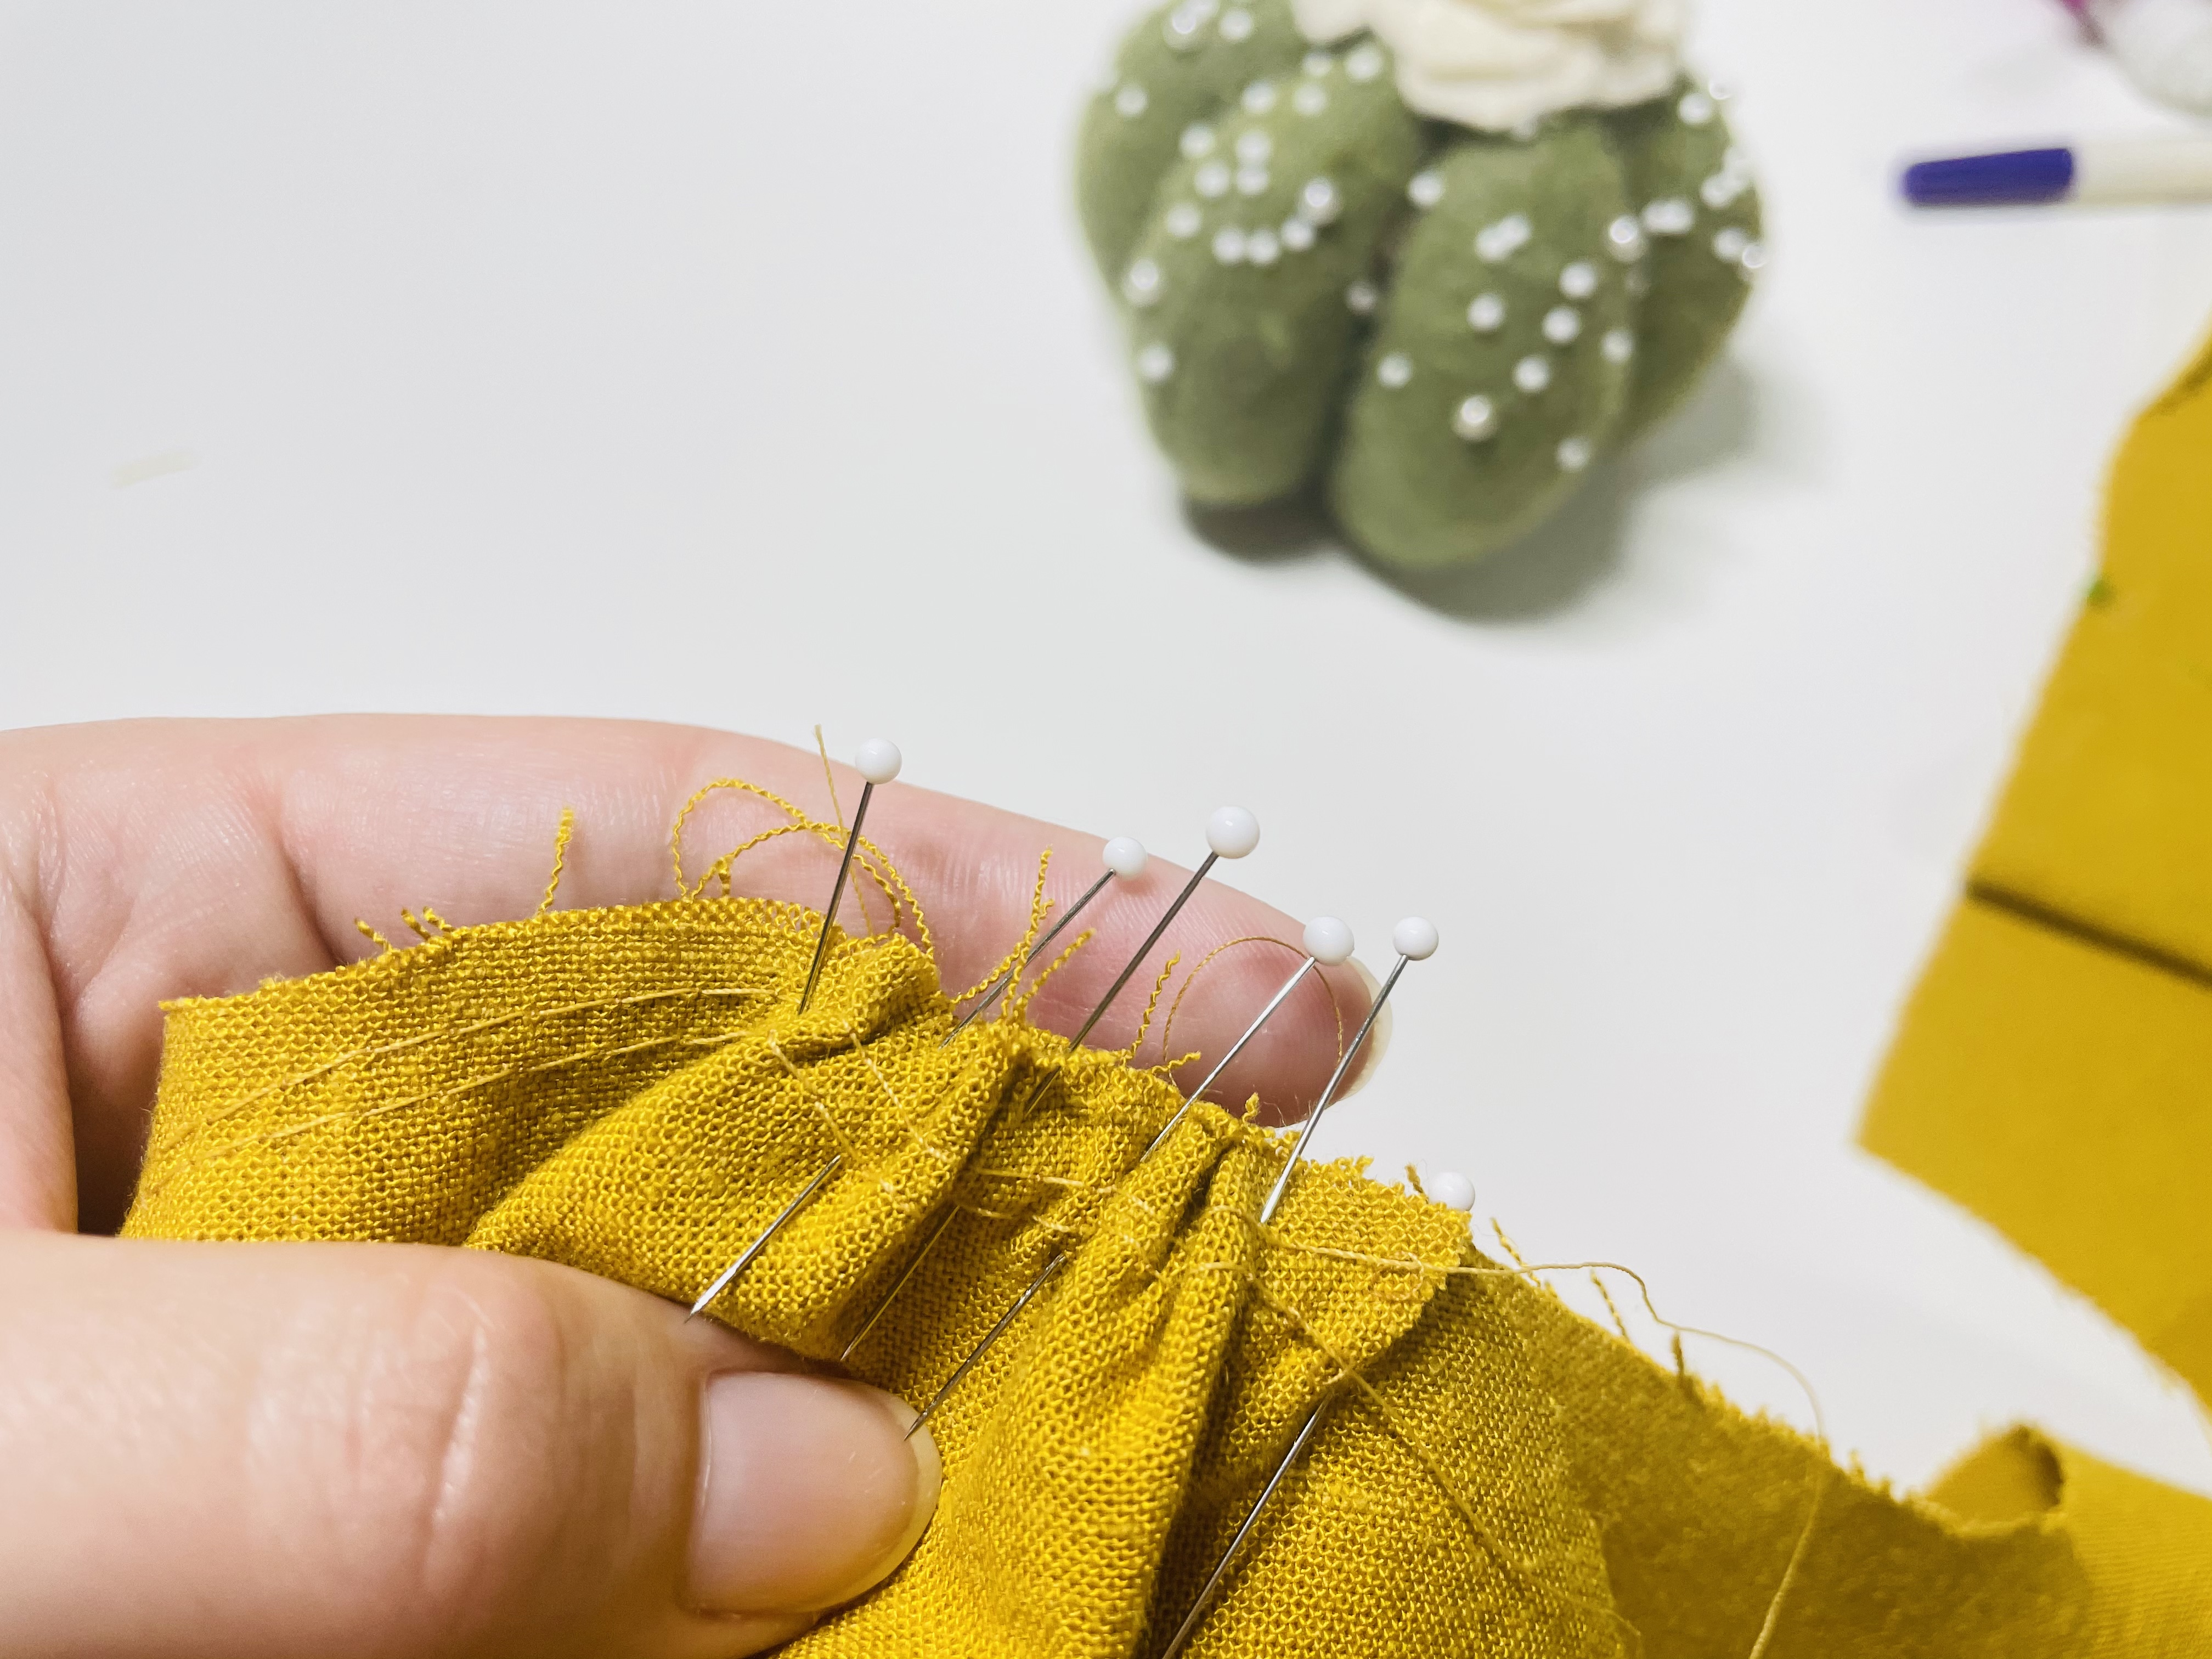
Then, repeat this on the other side of the center notch. Add more pins to secure the gathered sleeve to the bodice:
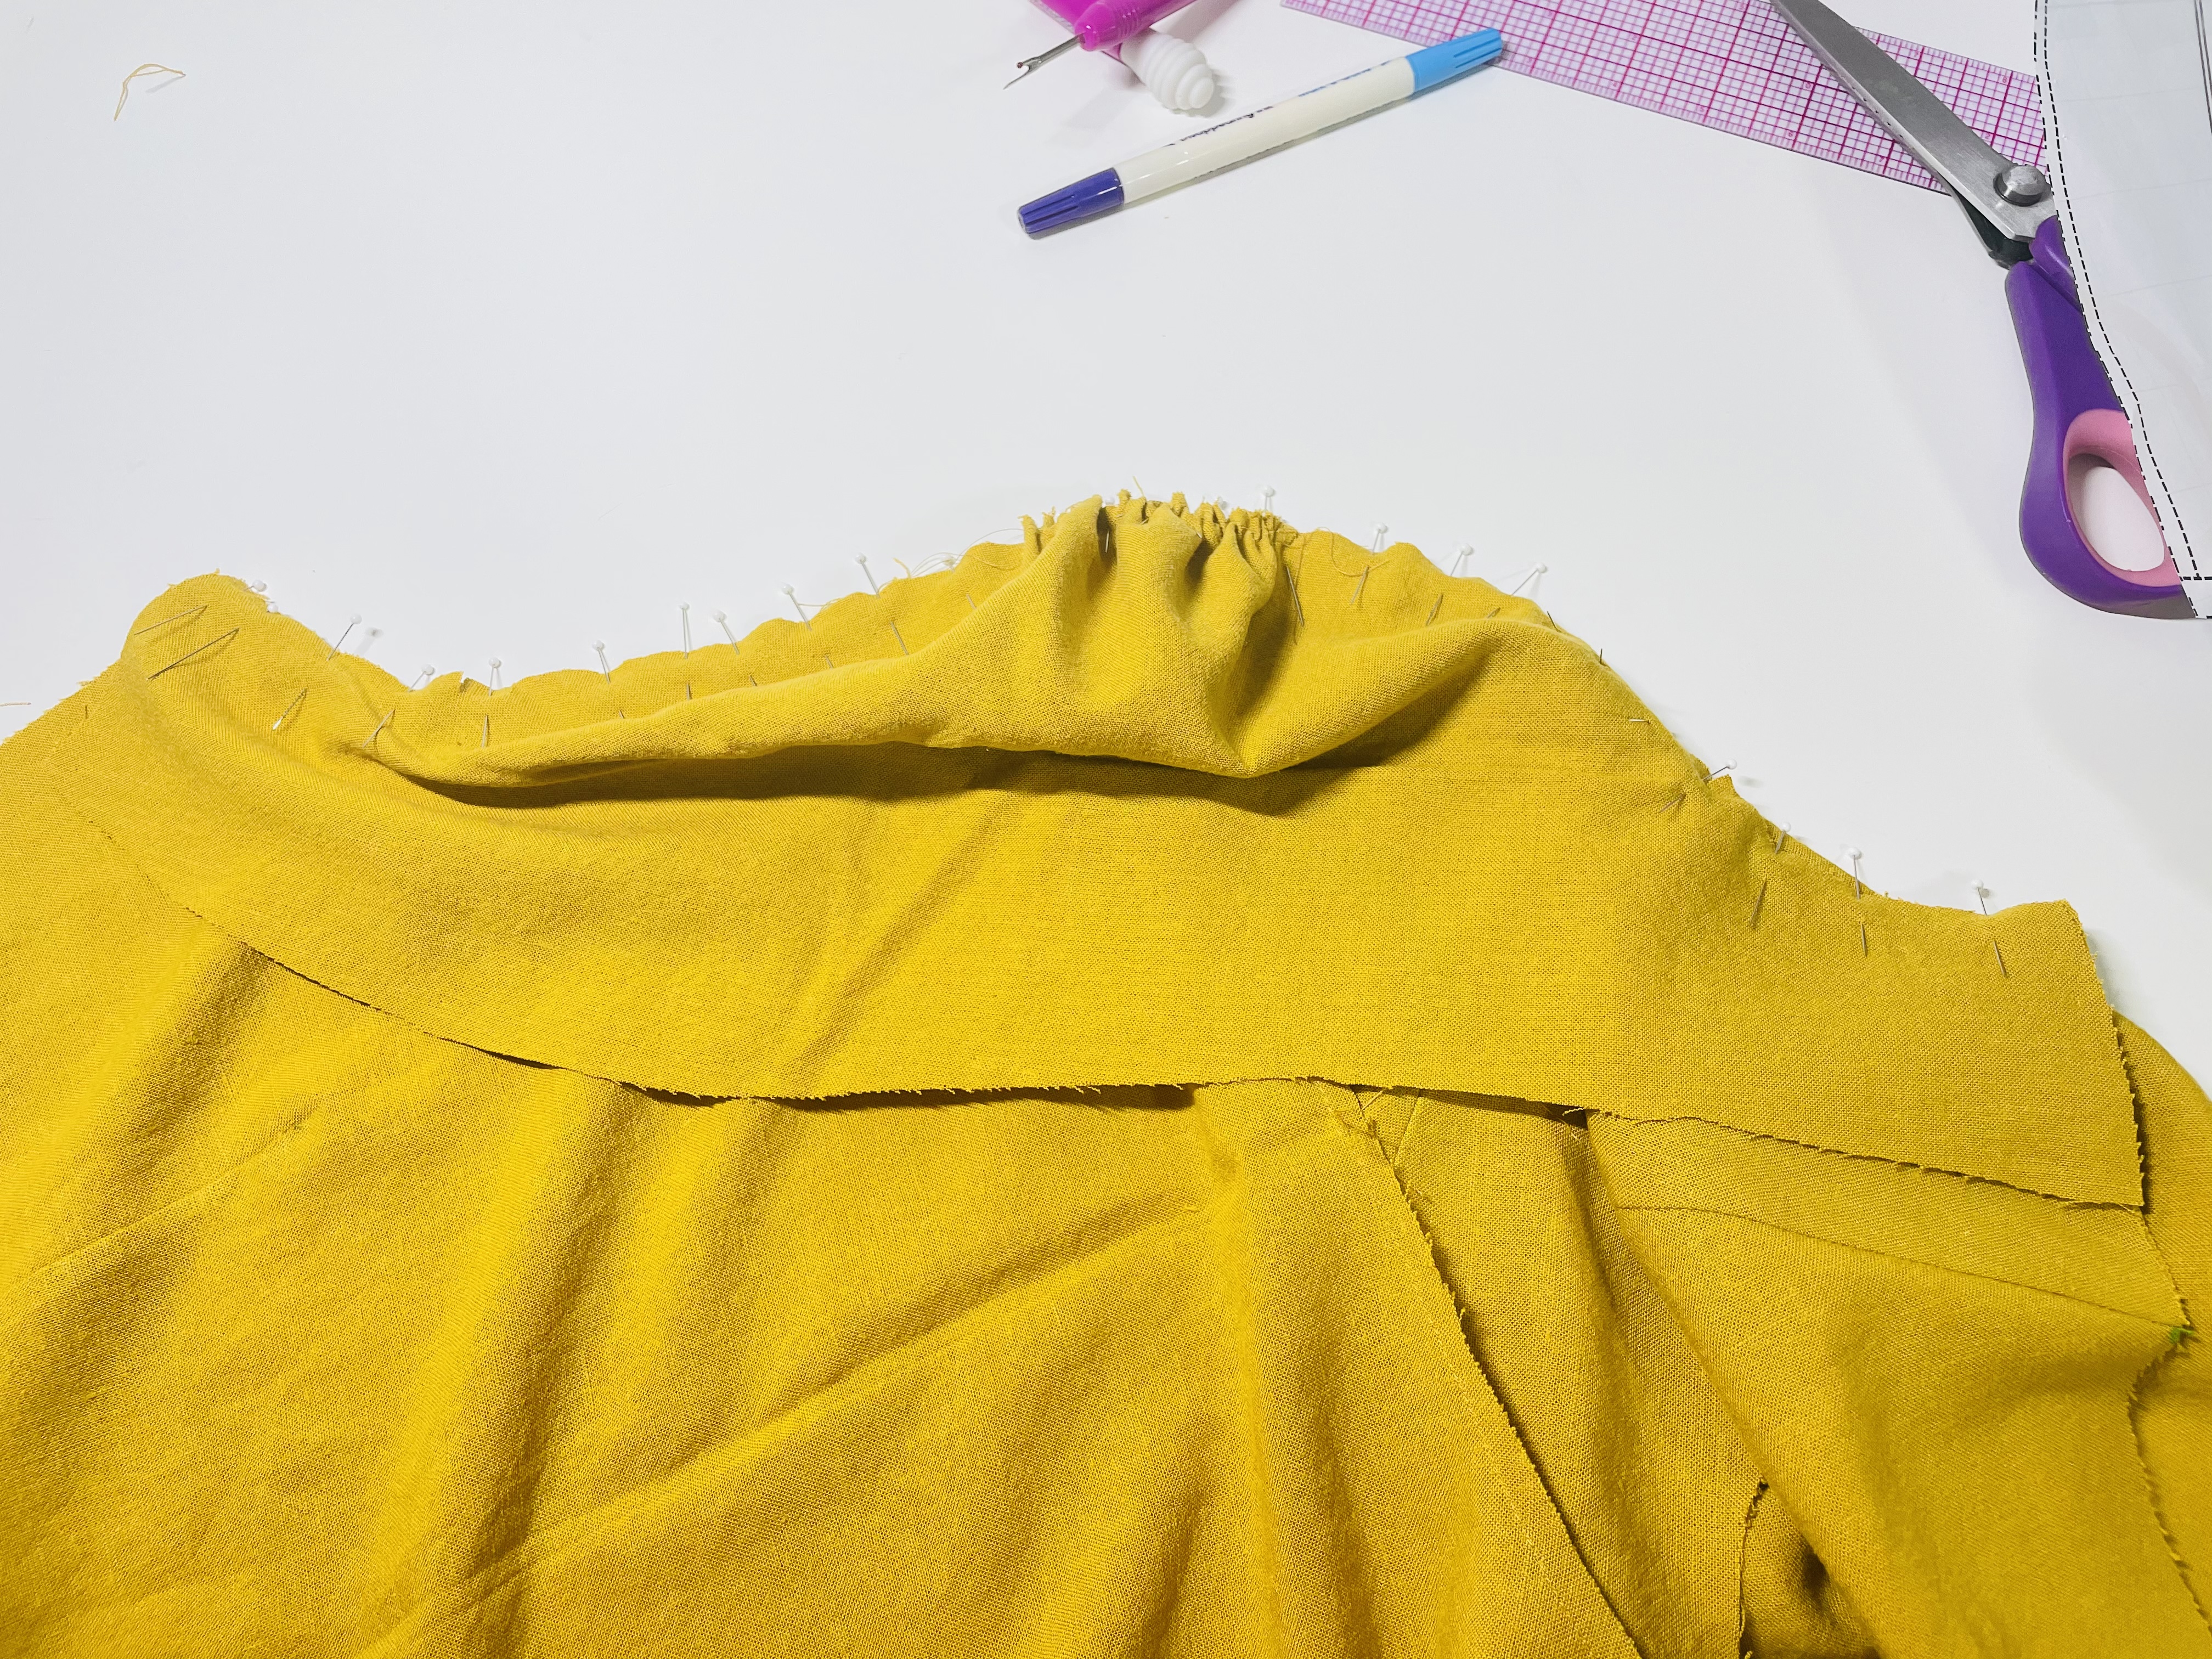
Now, on the rest of the sleeve, match the notches with the bodice and pin. Then, continue matching the edge of the sleeve with the bodice fabric edge, pinning throughout the seam, ending up with this:
Now, we need to stitch this into place. Use a 1/2″ seam allowance and your standard straight stitch, lockstitching or backstitching at the beginning and end of the seam. Important: Sew this seam with the bodice fabric up, and the sleeve down. Why? Your sleeve will wrap around the end of your sewing machines and is less susceptible to getting bunched up under your needle. The bodice, on the other hand, is keen on bunching if it’s the lower fabric.
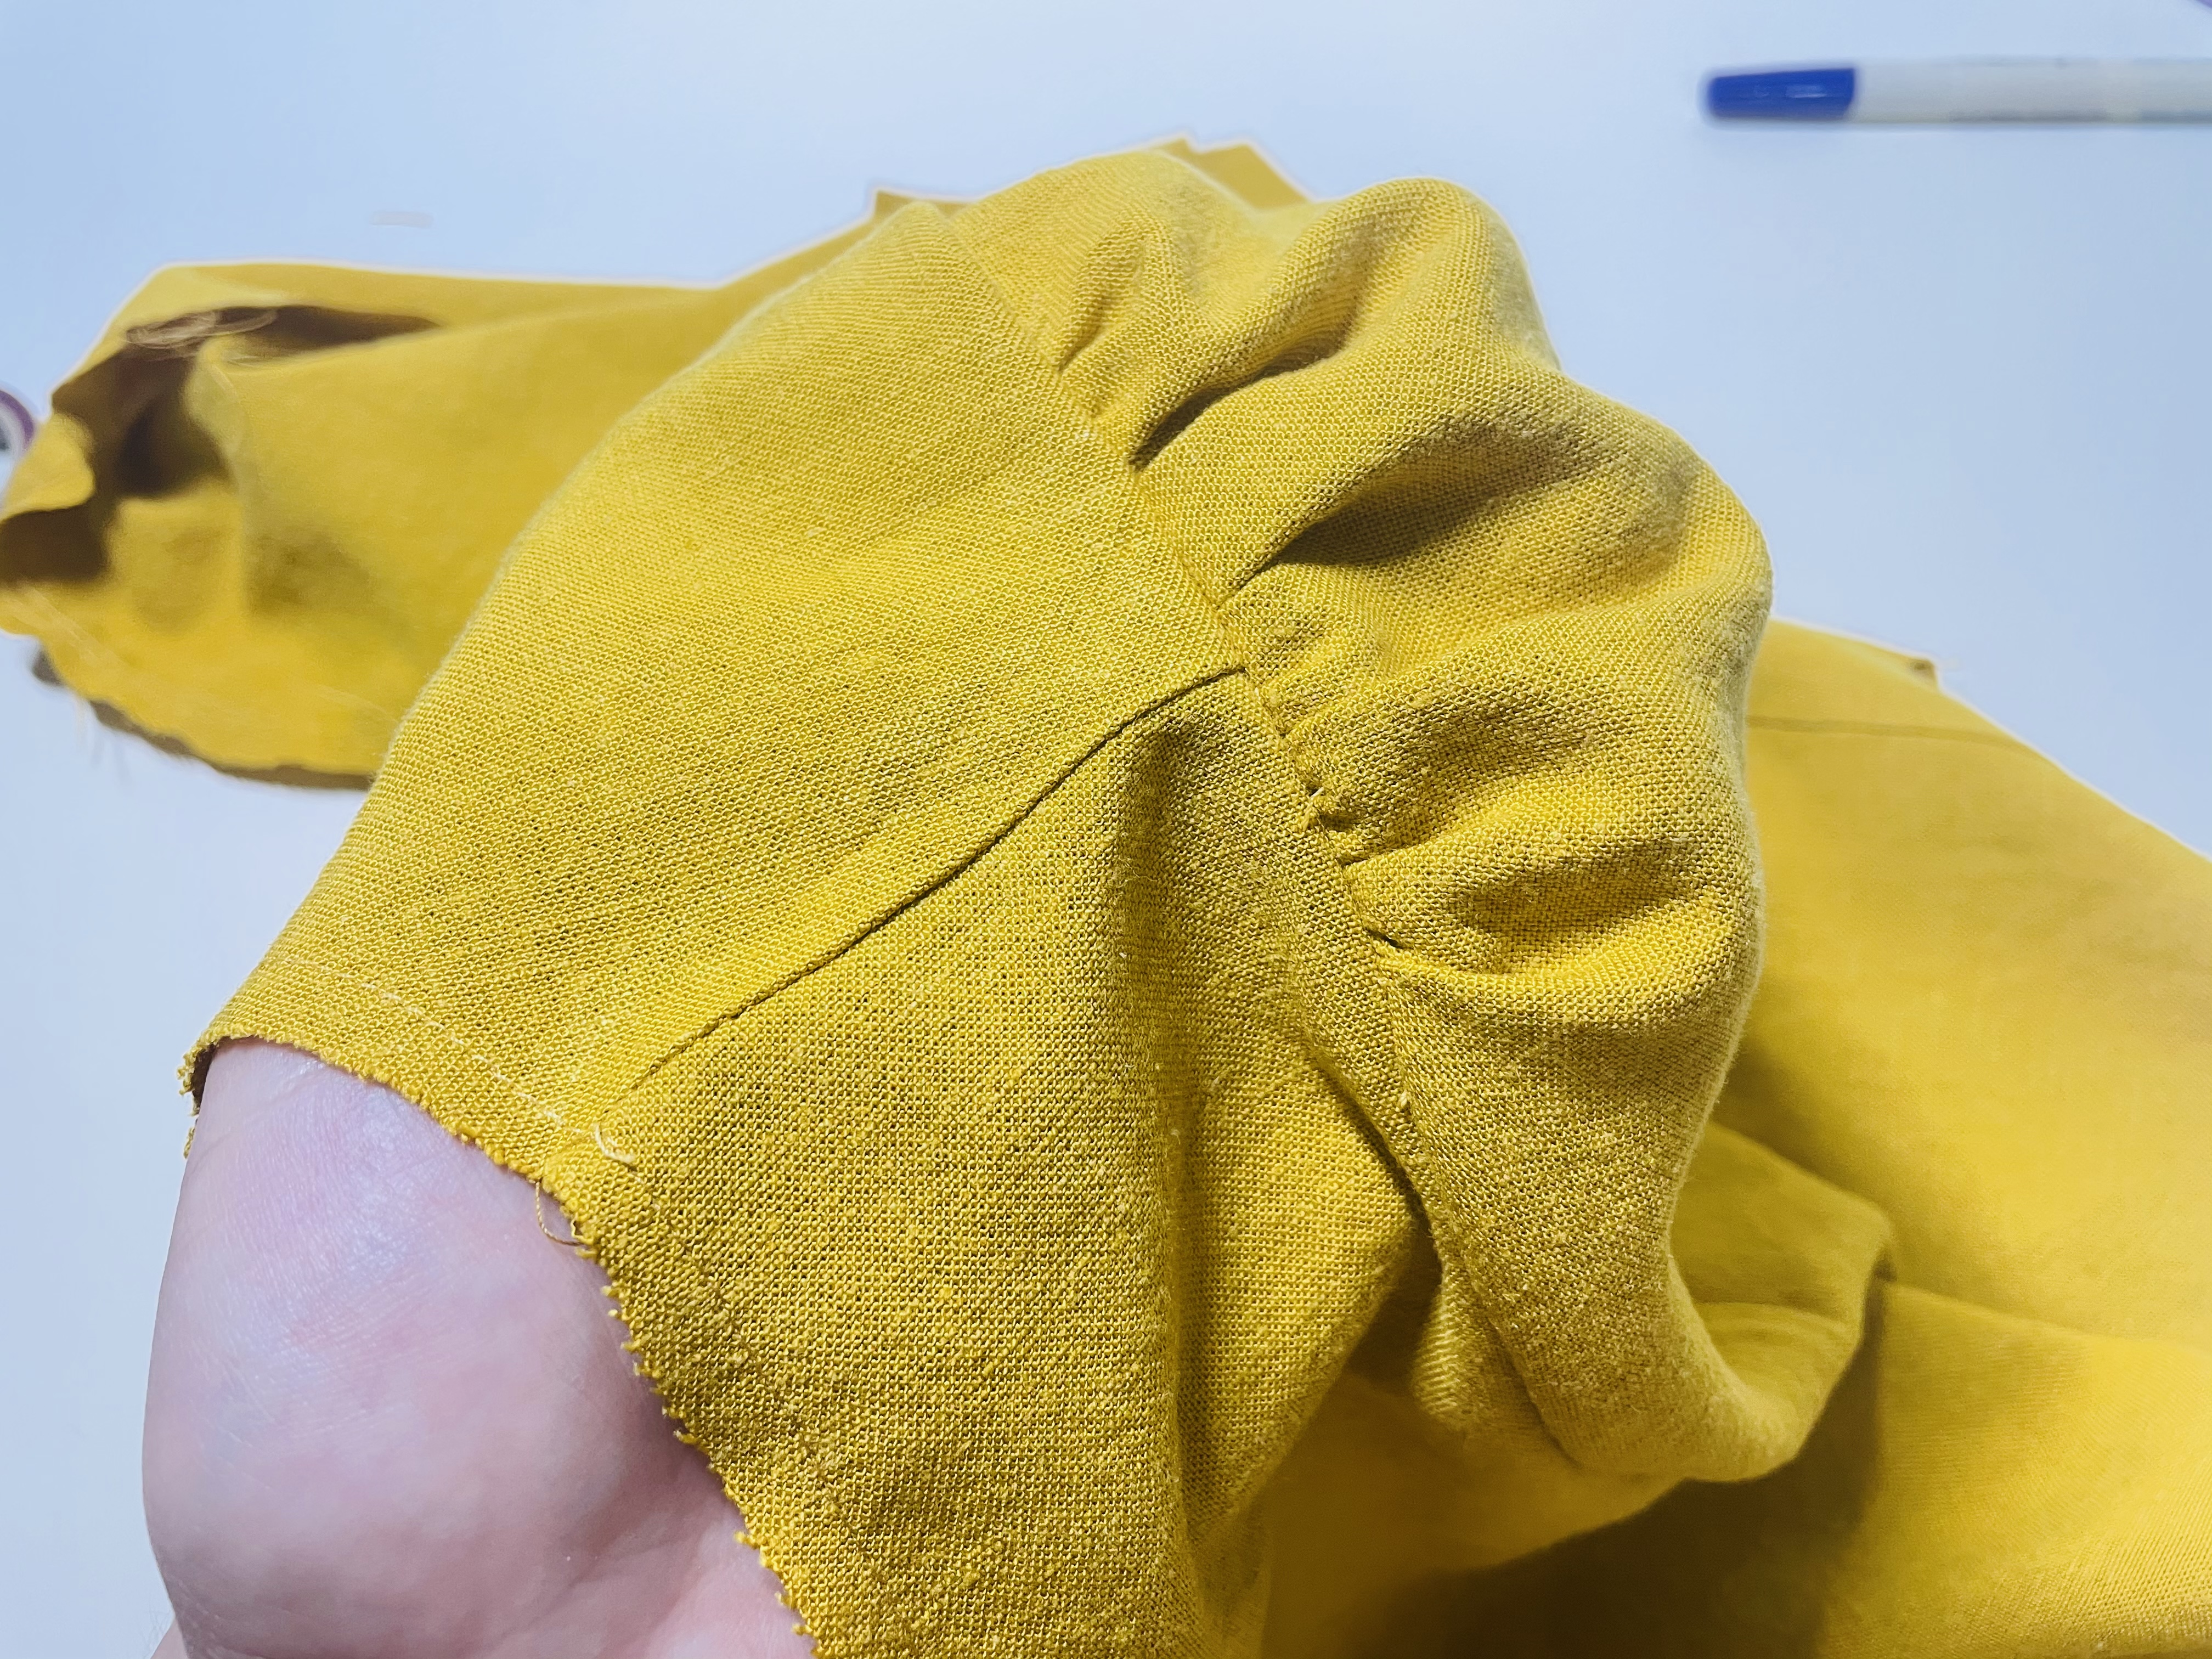
Repeat this process on the second sleeve. Finish the seam allowance as described above, by pinking, by zigzagging, or by using a serger. Then, press, the seam allowance toward the sleeve, being careful not to crush the gathers at the top of the sleeve.
And, from the outside, your sleeve will look like this:
Creating the Waist Ties
Now, don’t be like me and get super excited and jump right into sewing your side seams. Instead, you need to make your waist ties first!
Editor’s note: This is a great lesson in marking your pattern pieces when you cut your fabric! If you’re thinking that my waist ties look super wide, you’re right! I accidentally used the cuff piece (which I didn’t even need to cut, as it’s only for the long sleeve option) as my waist ties! The bonus? It’s a lot easier to see what I’m doing because the fabric is larger. But your waist ties should be longer and skinnier than mine!
pressing the waist ties
At your ironing board, press your first waist tie in half:
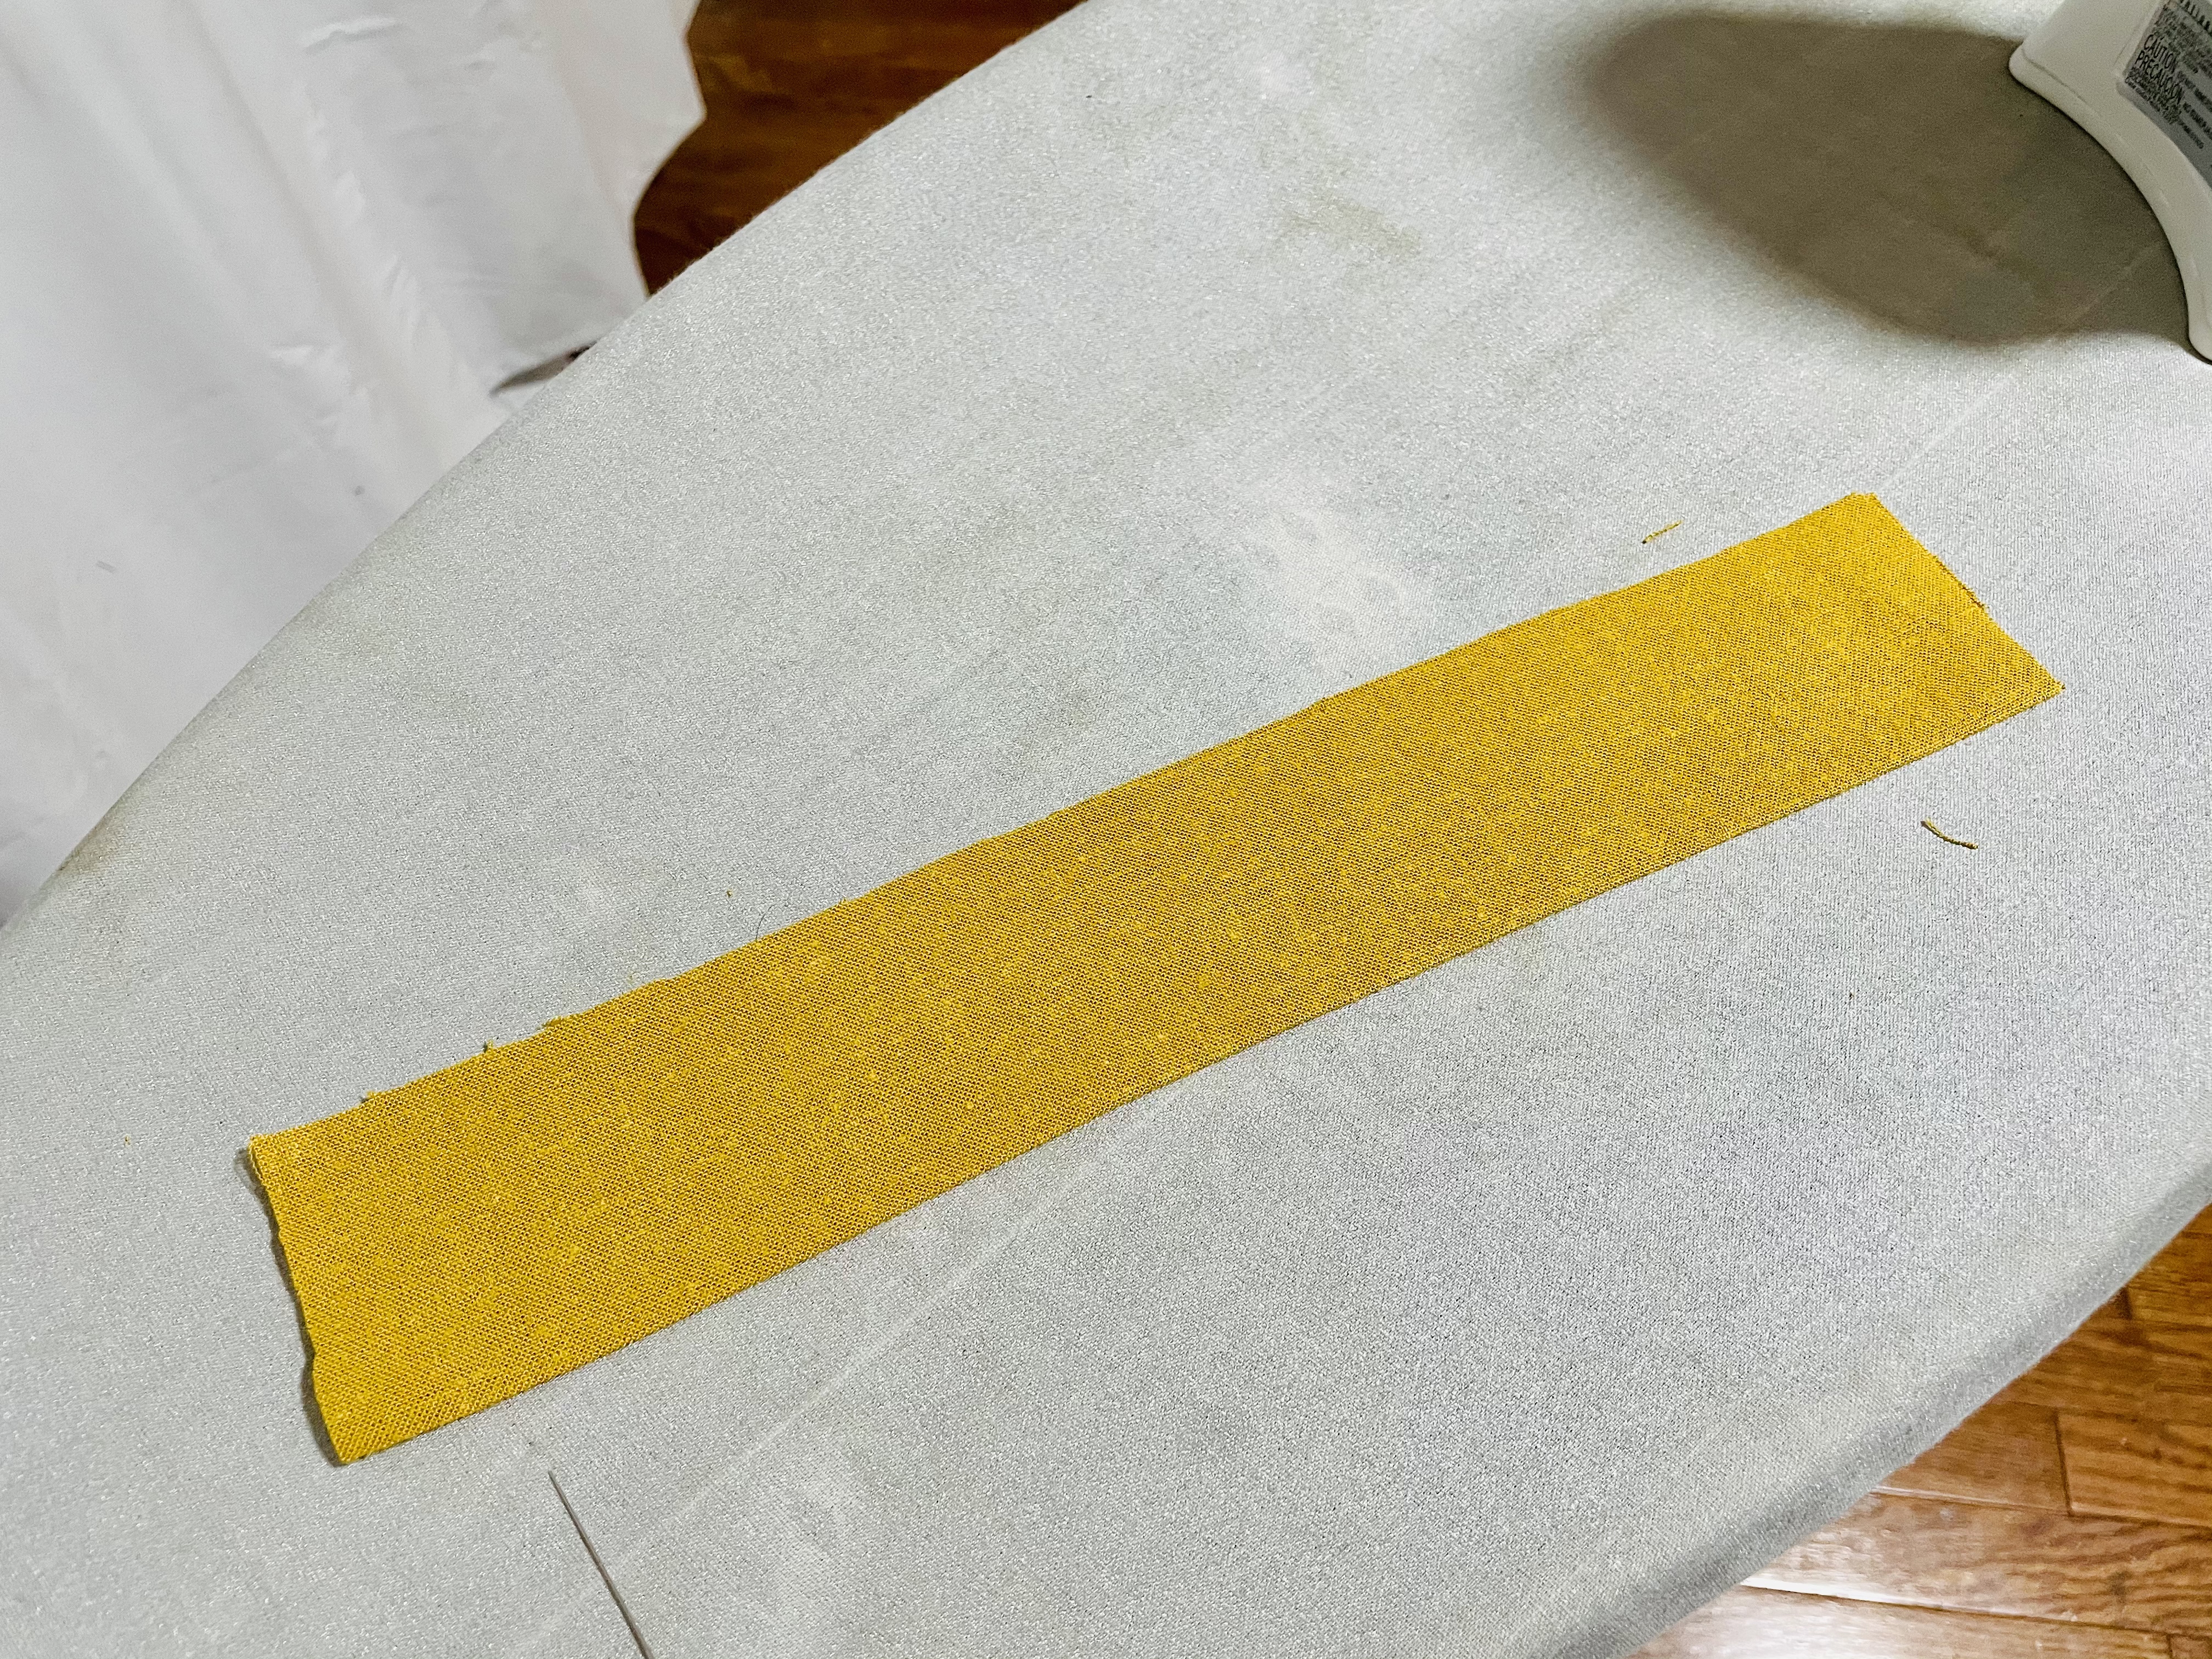
Now, unfold the waist tie, and press in the short edges by about 1/4″:
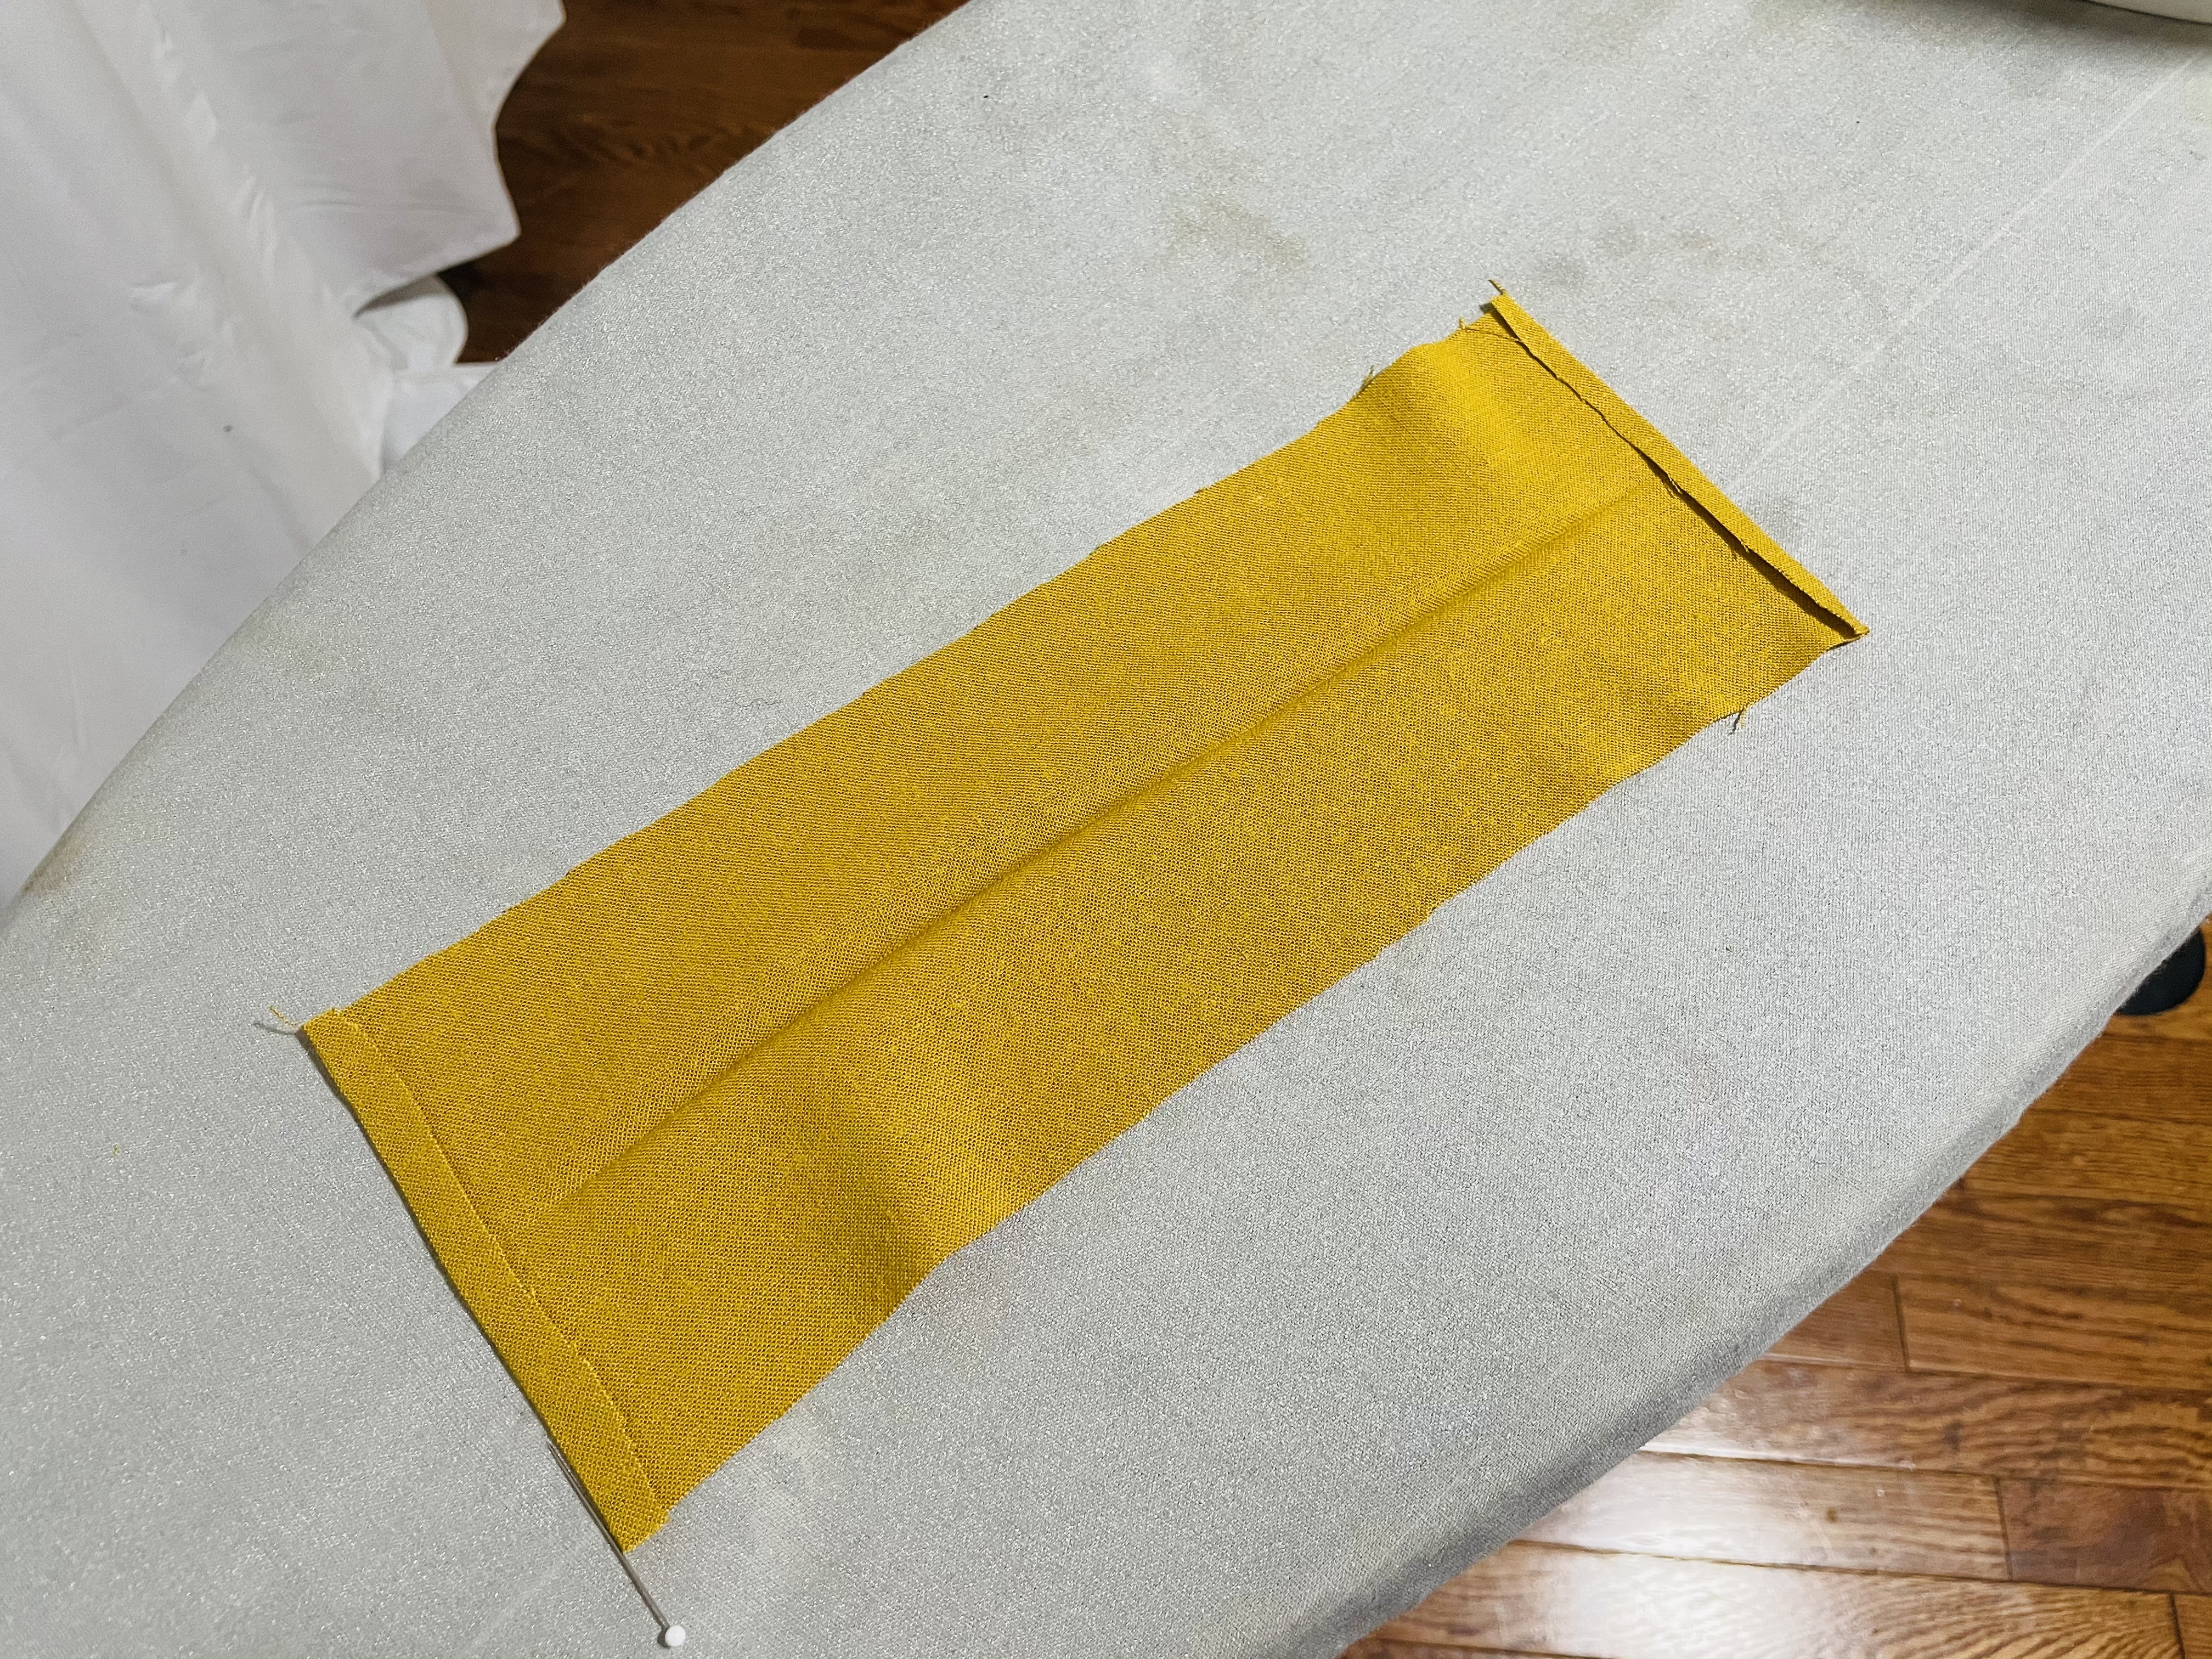
Now, fold each long end inward, just to the center fold line and press:
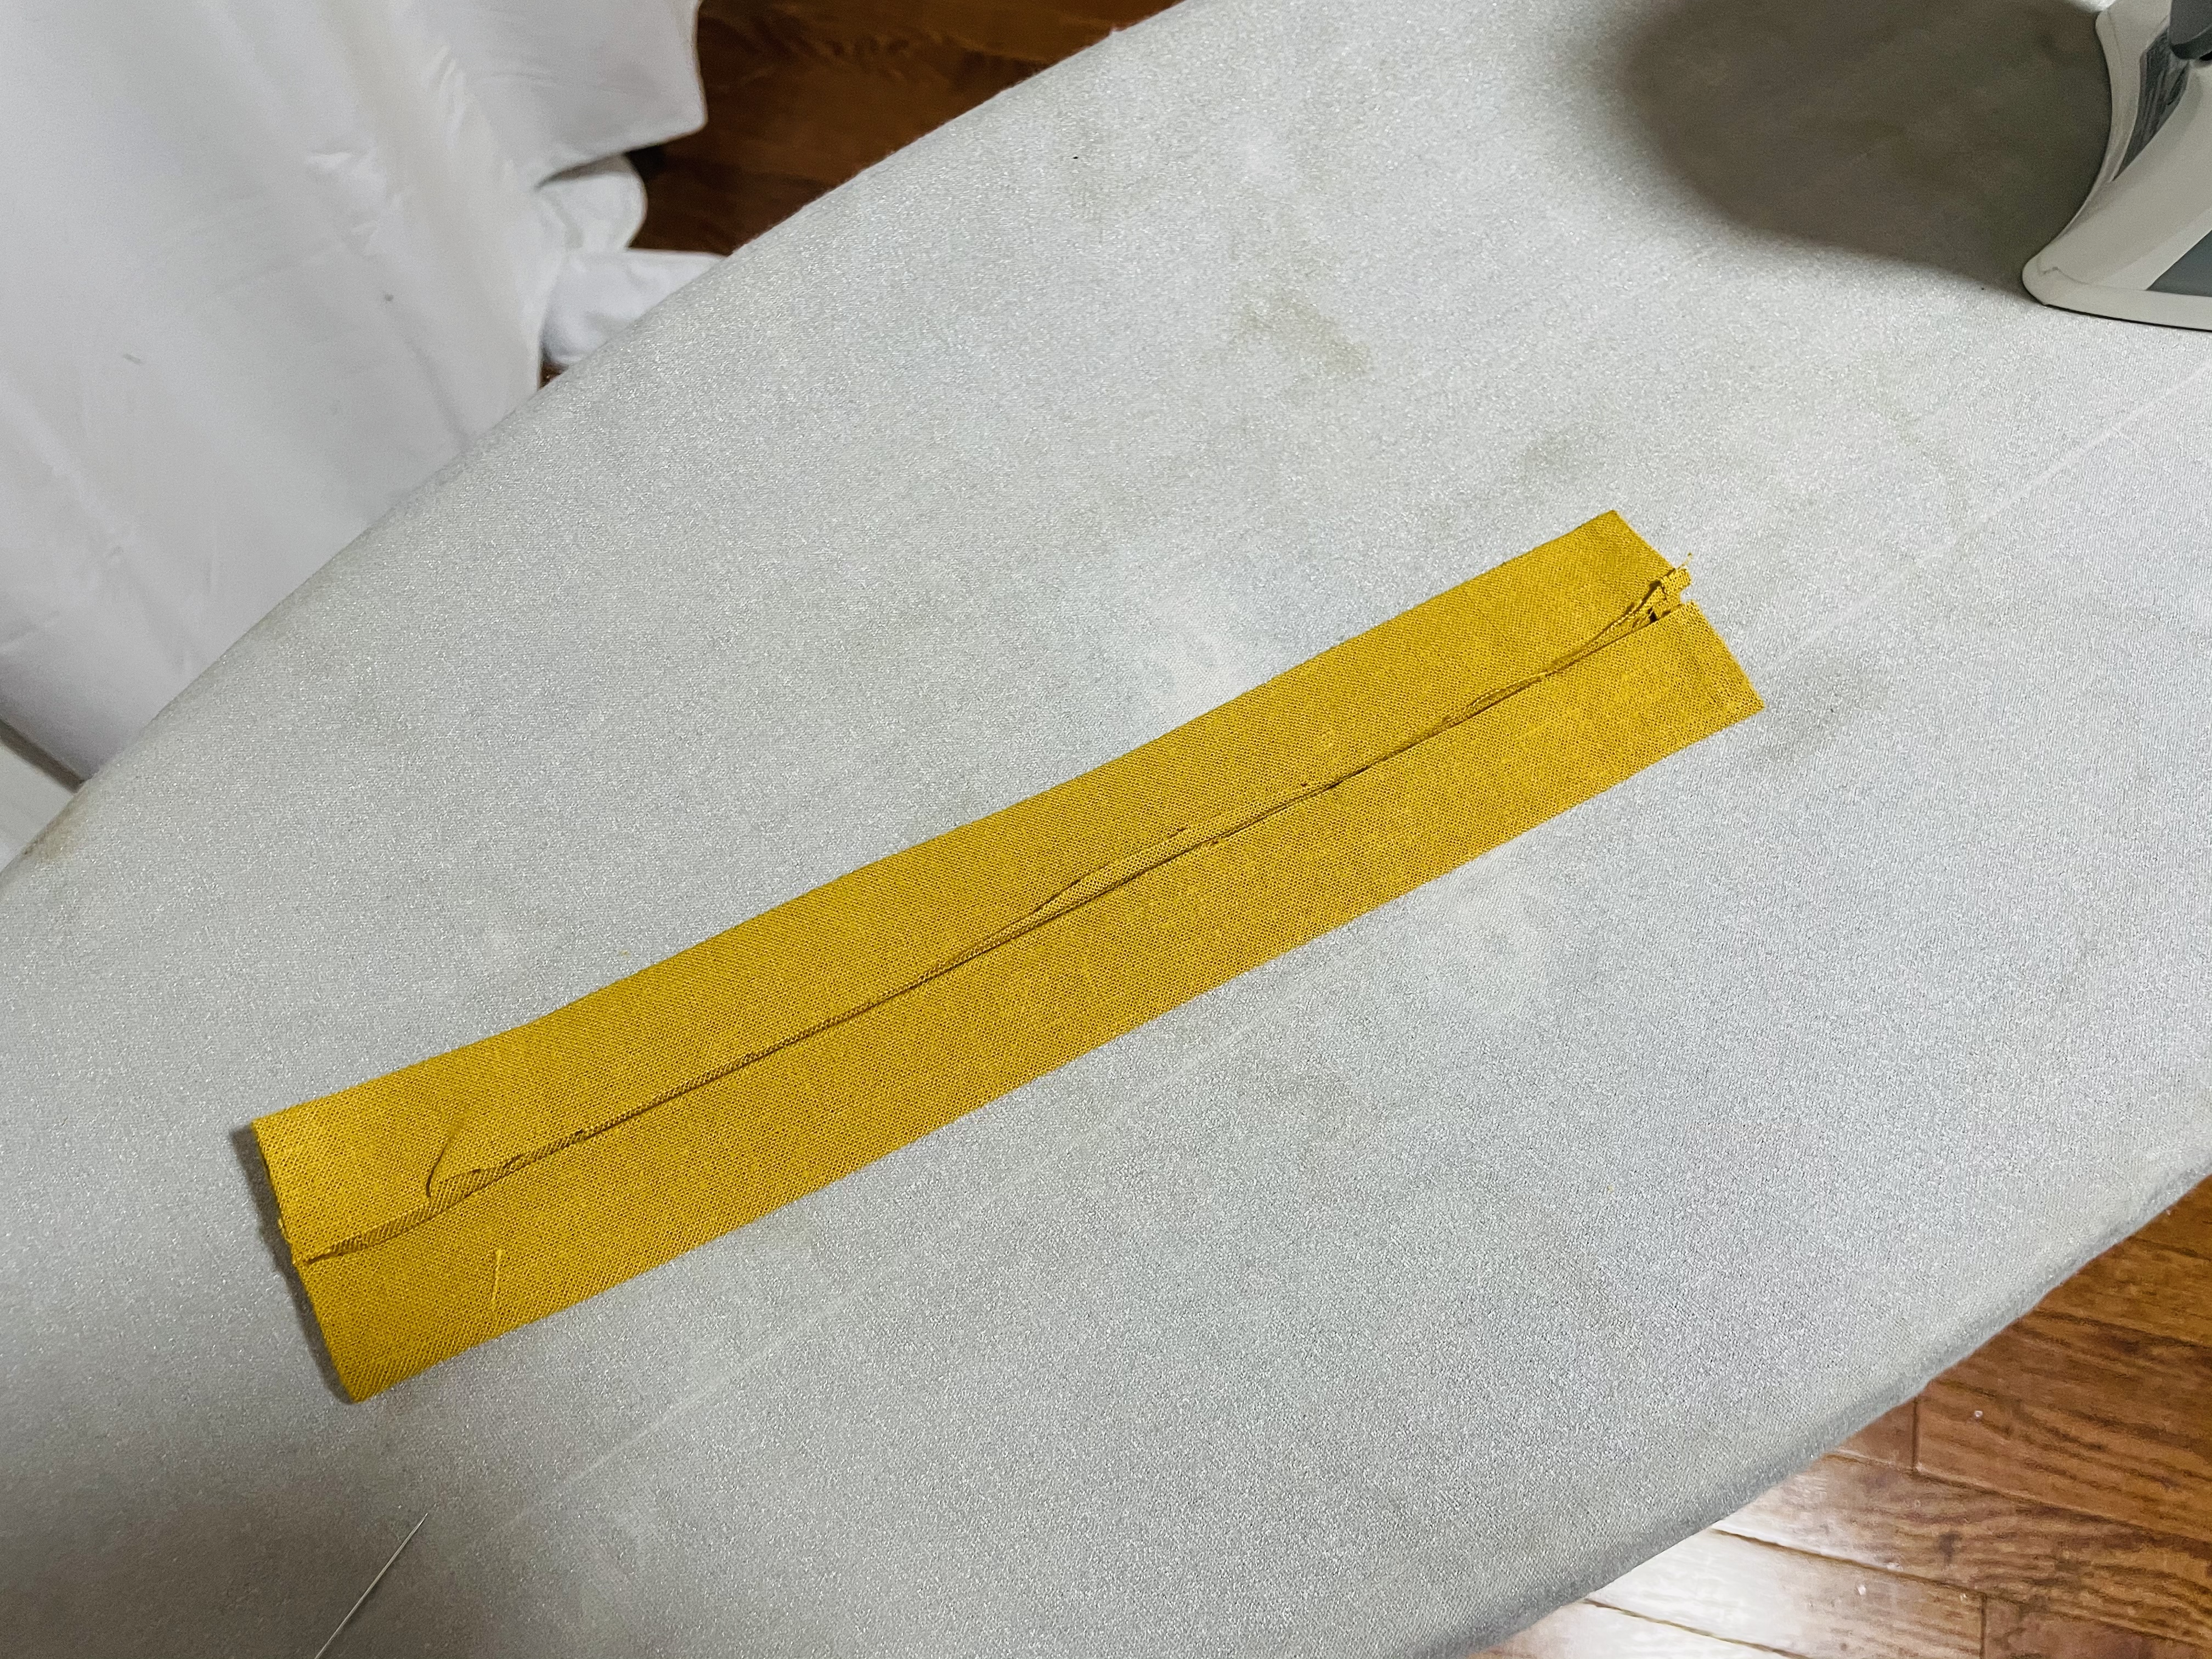
Re-fold on the center line and press once more:
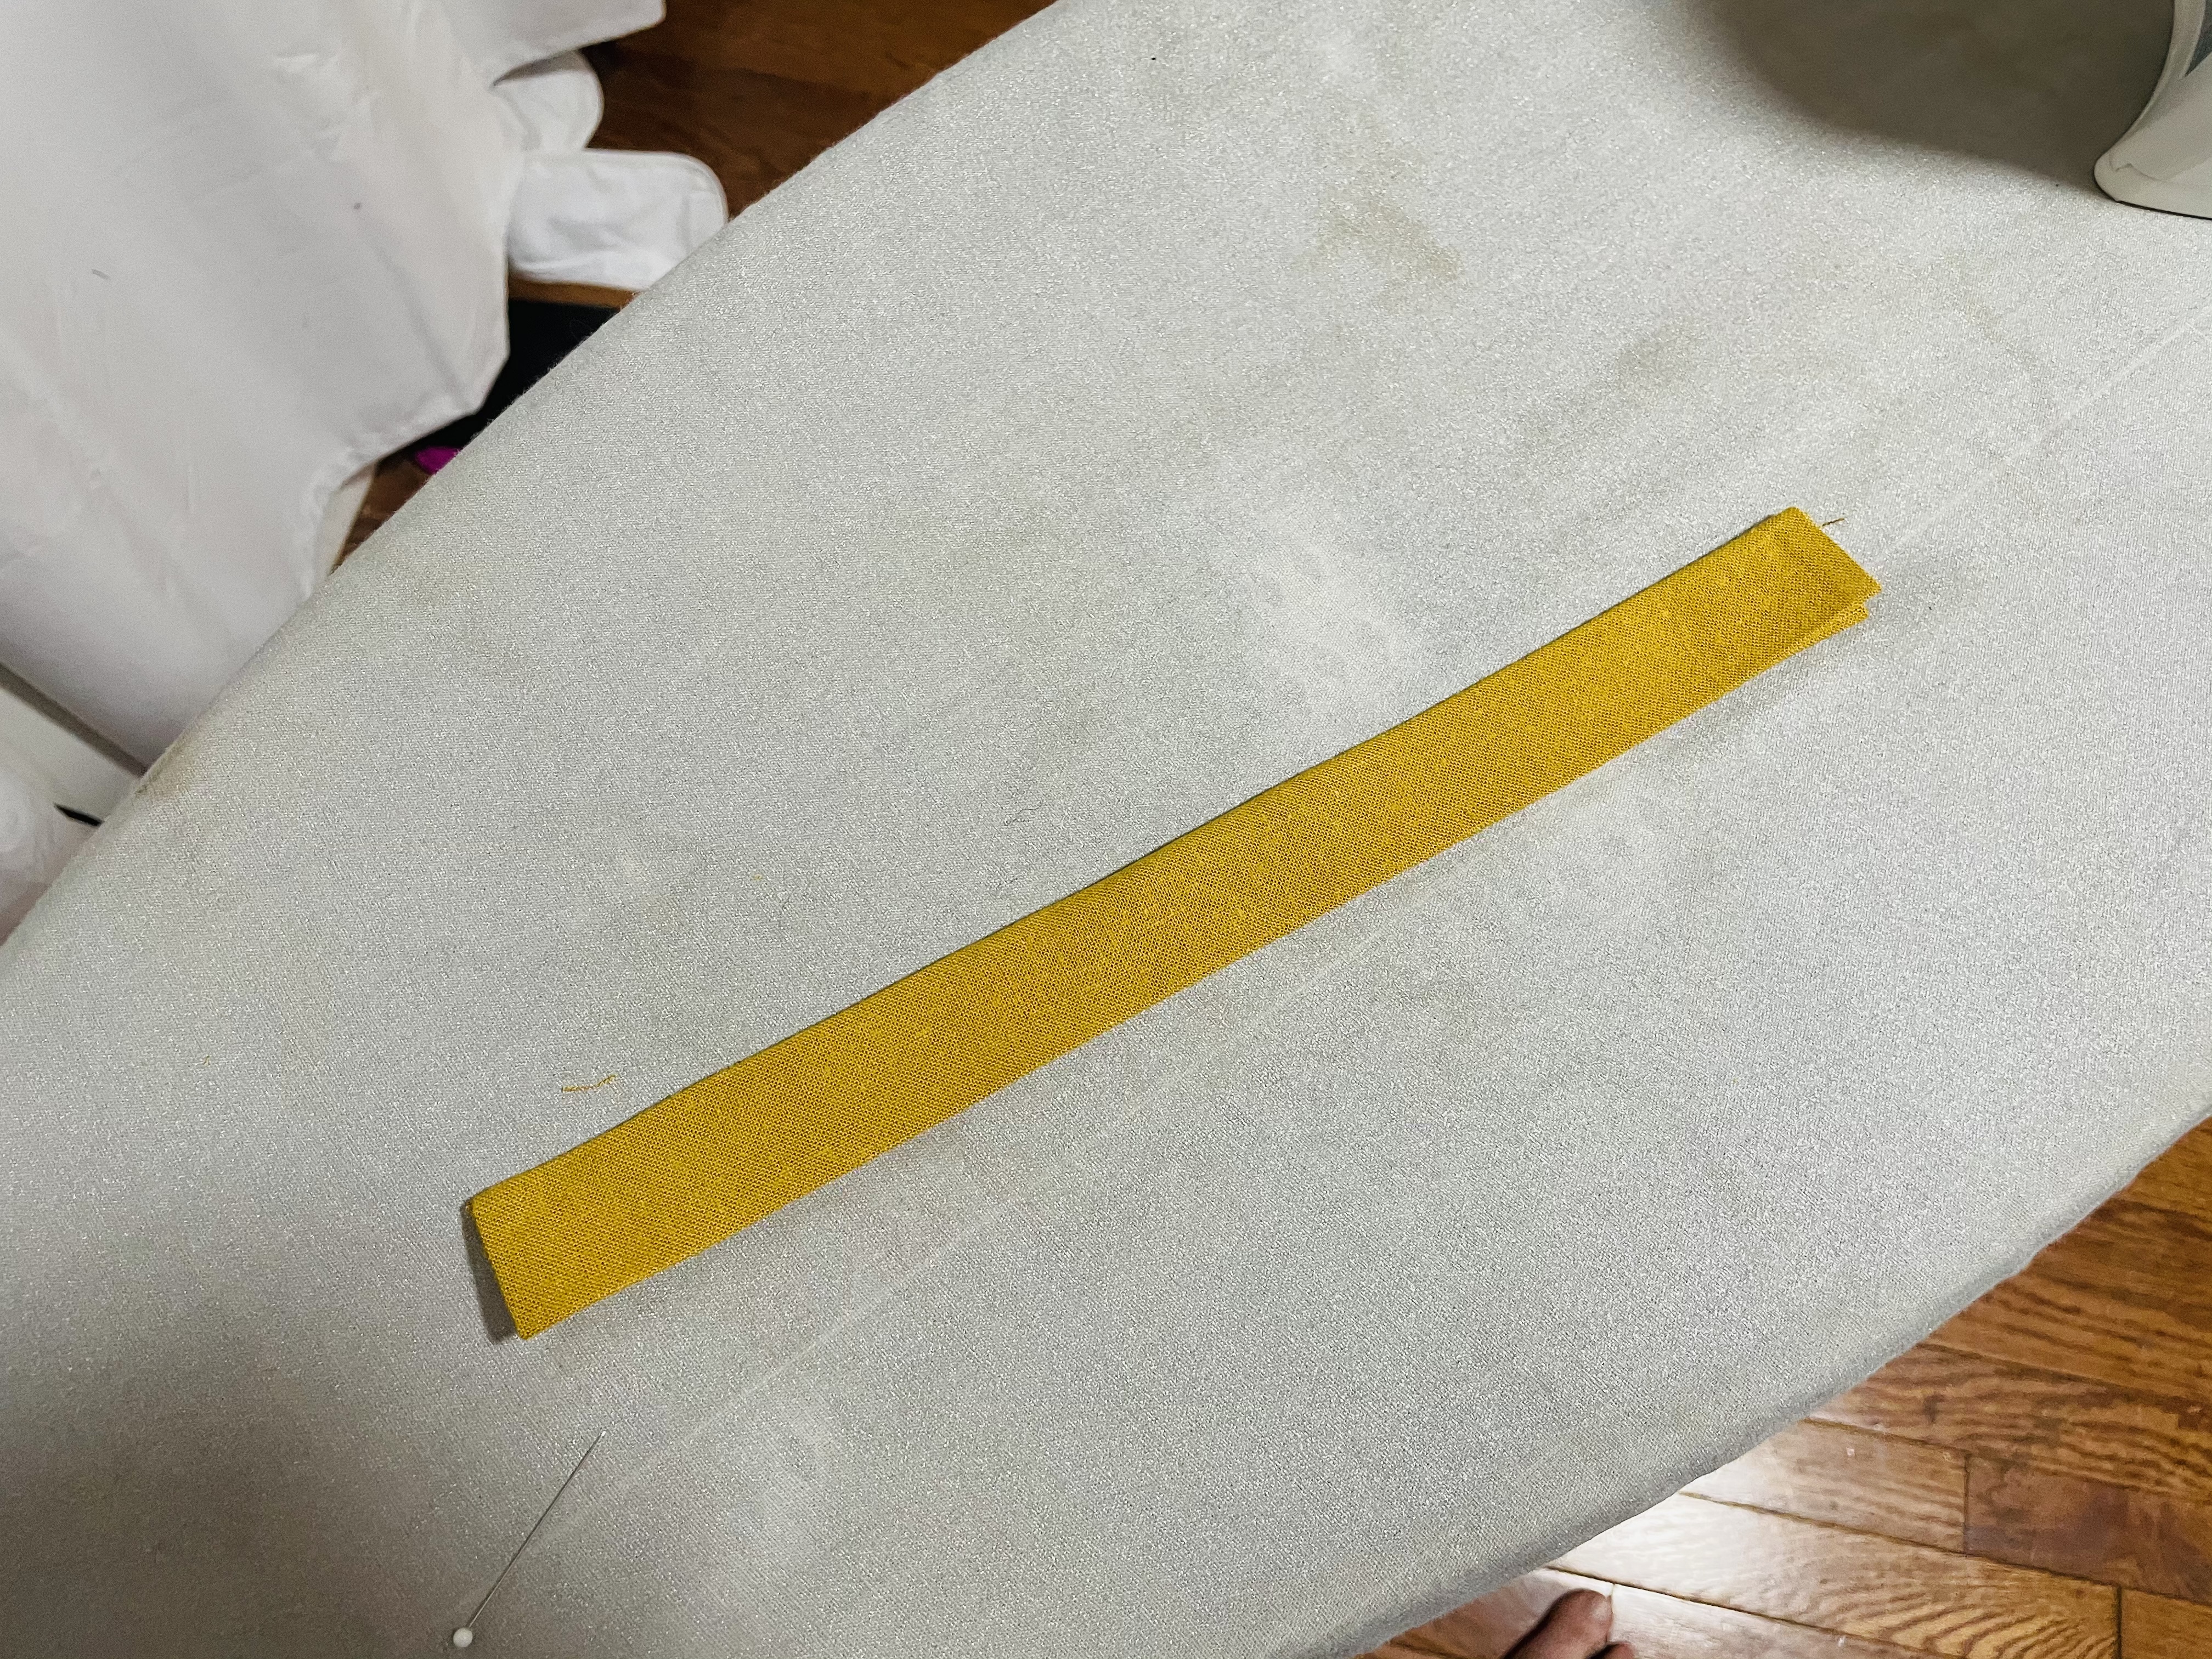
Repeat the above process for the second waist tie.
sewing the waist ties
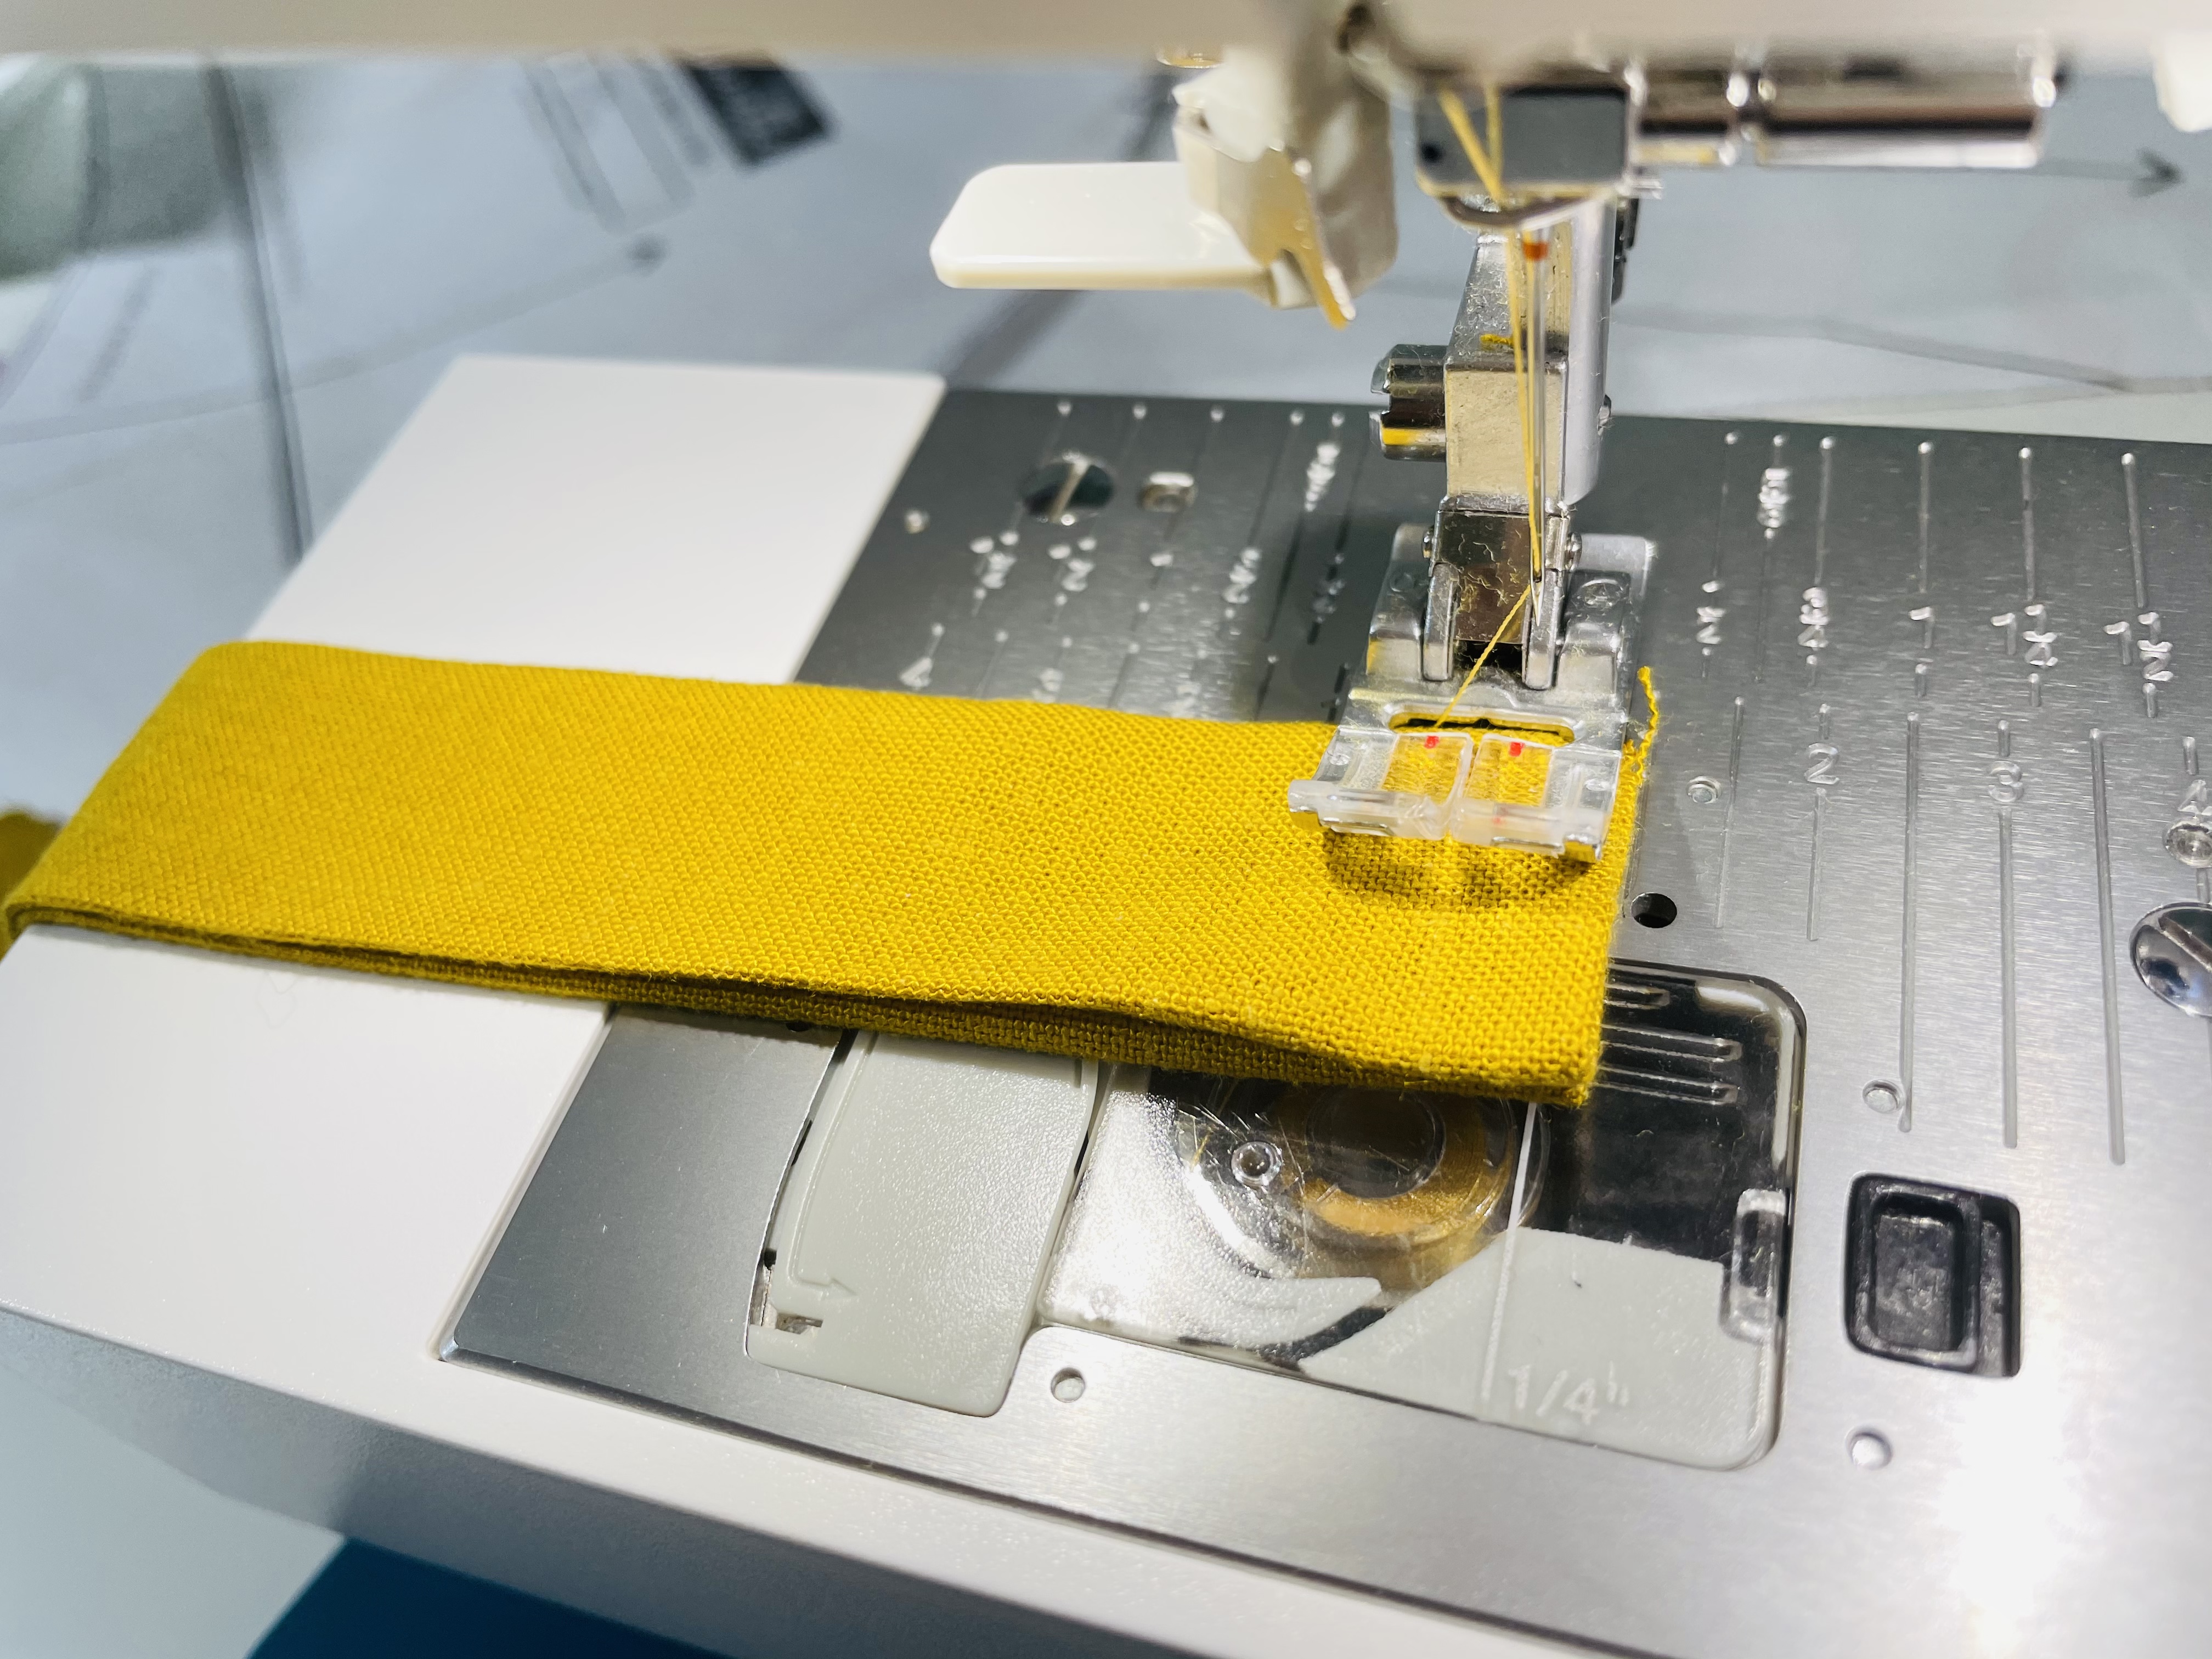
At your sewing machine, set your needle in the furthest right position and set your waist tie so its edge is just peeking out from under the edge of your foot:
The reason I do this is so I can get the stitching on my waist tie very close to the edge, but without my machine trying to eat my fabric. If I have the tie further left, not peeking out from under my foot at all, sometimes the needle will push it down into the machine, clogging things up.
Now, stitch along the open ends of the waist tie, resulting in this:
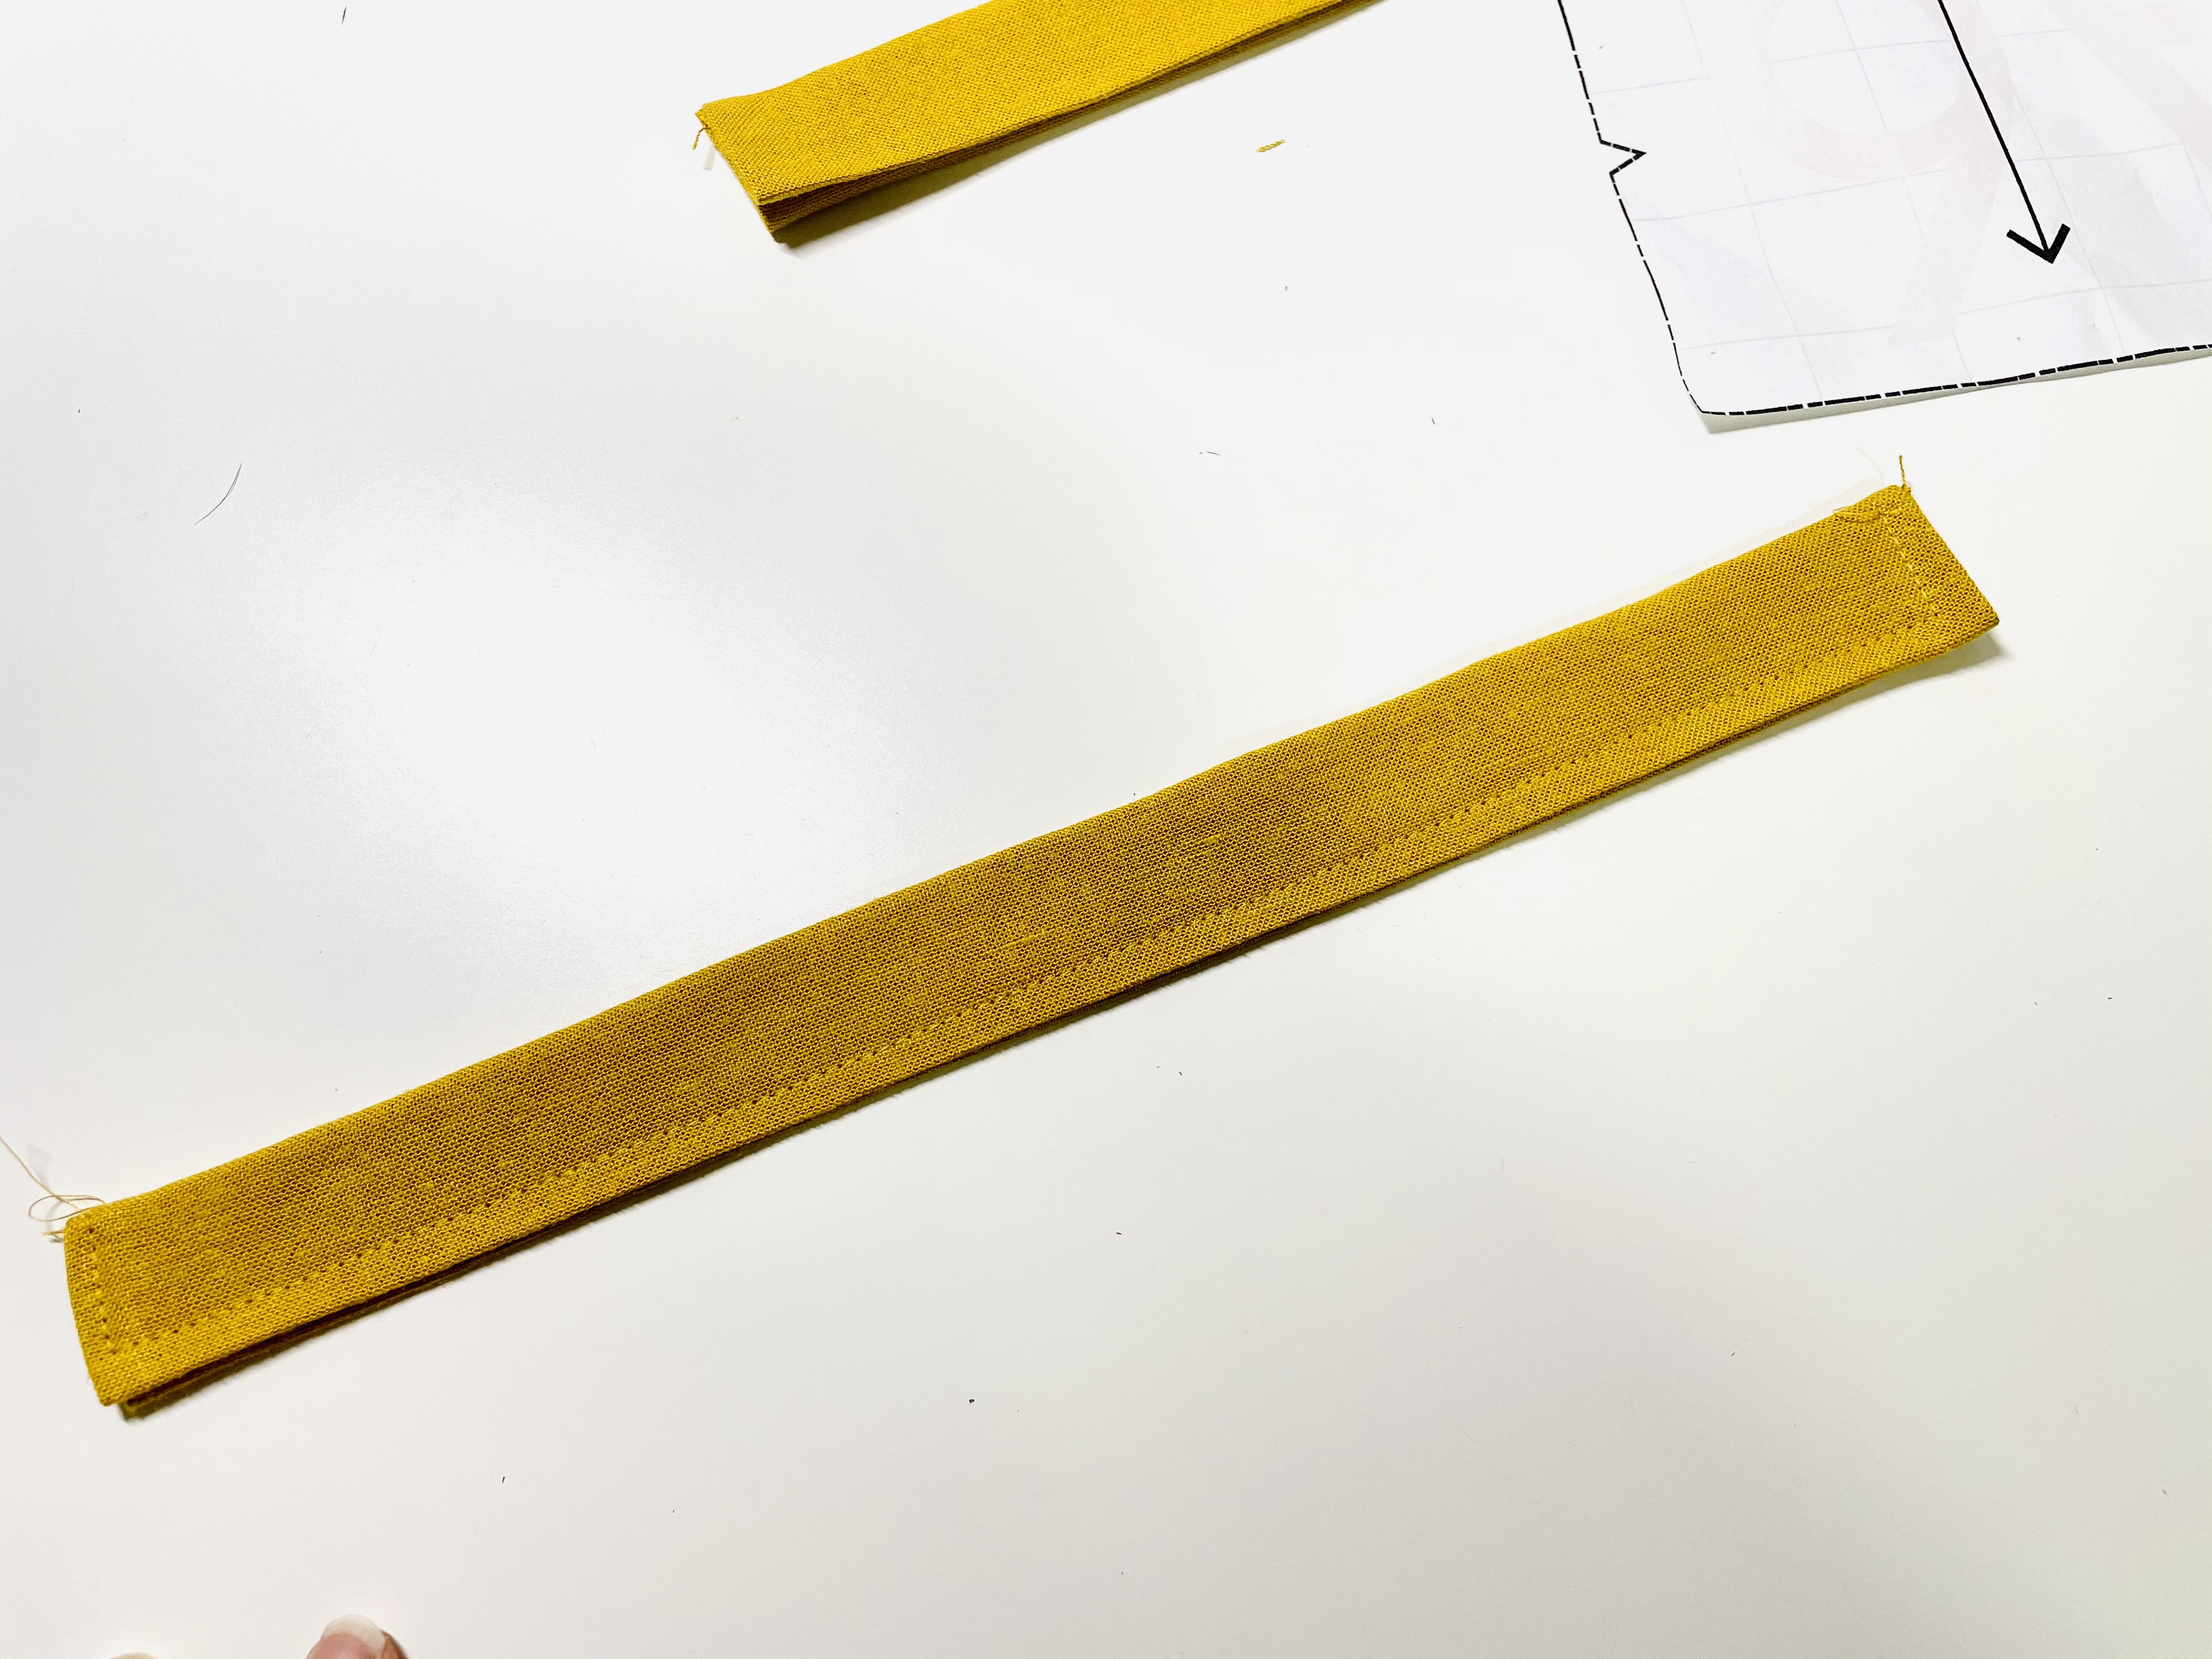
Repeat these steps on your second waist tie.
Stitching the first waist tie onto the bodice
Mark 1/2″ upward from the bottom of your bodice, along the right side seam. (The right side seam being the side seam that will be on the right side of your body when worn.)
Remember, when you do this, you will not have sewn the side seam yet. I had sewn my side seam, then realized I shouldn’t have, and then seam ripped.
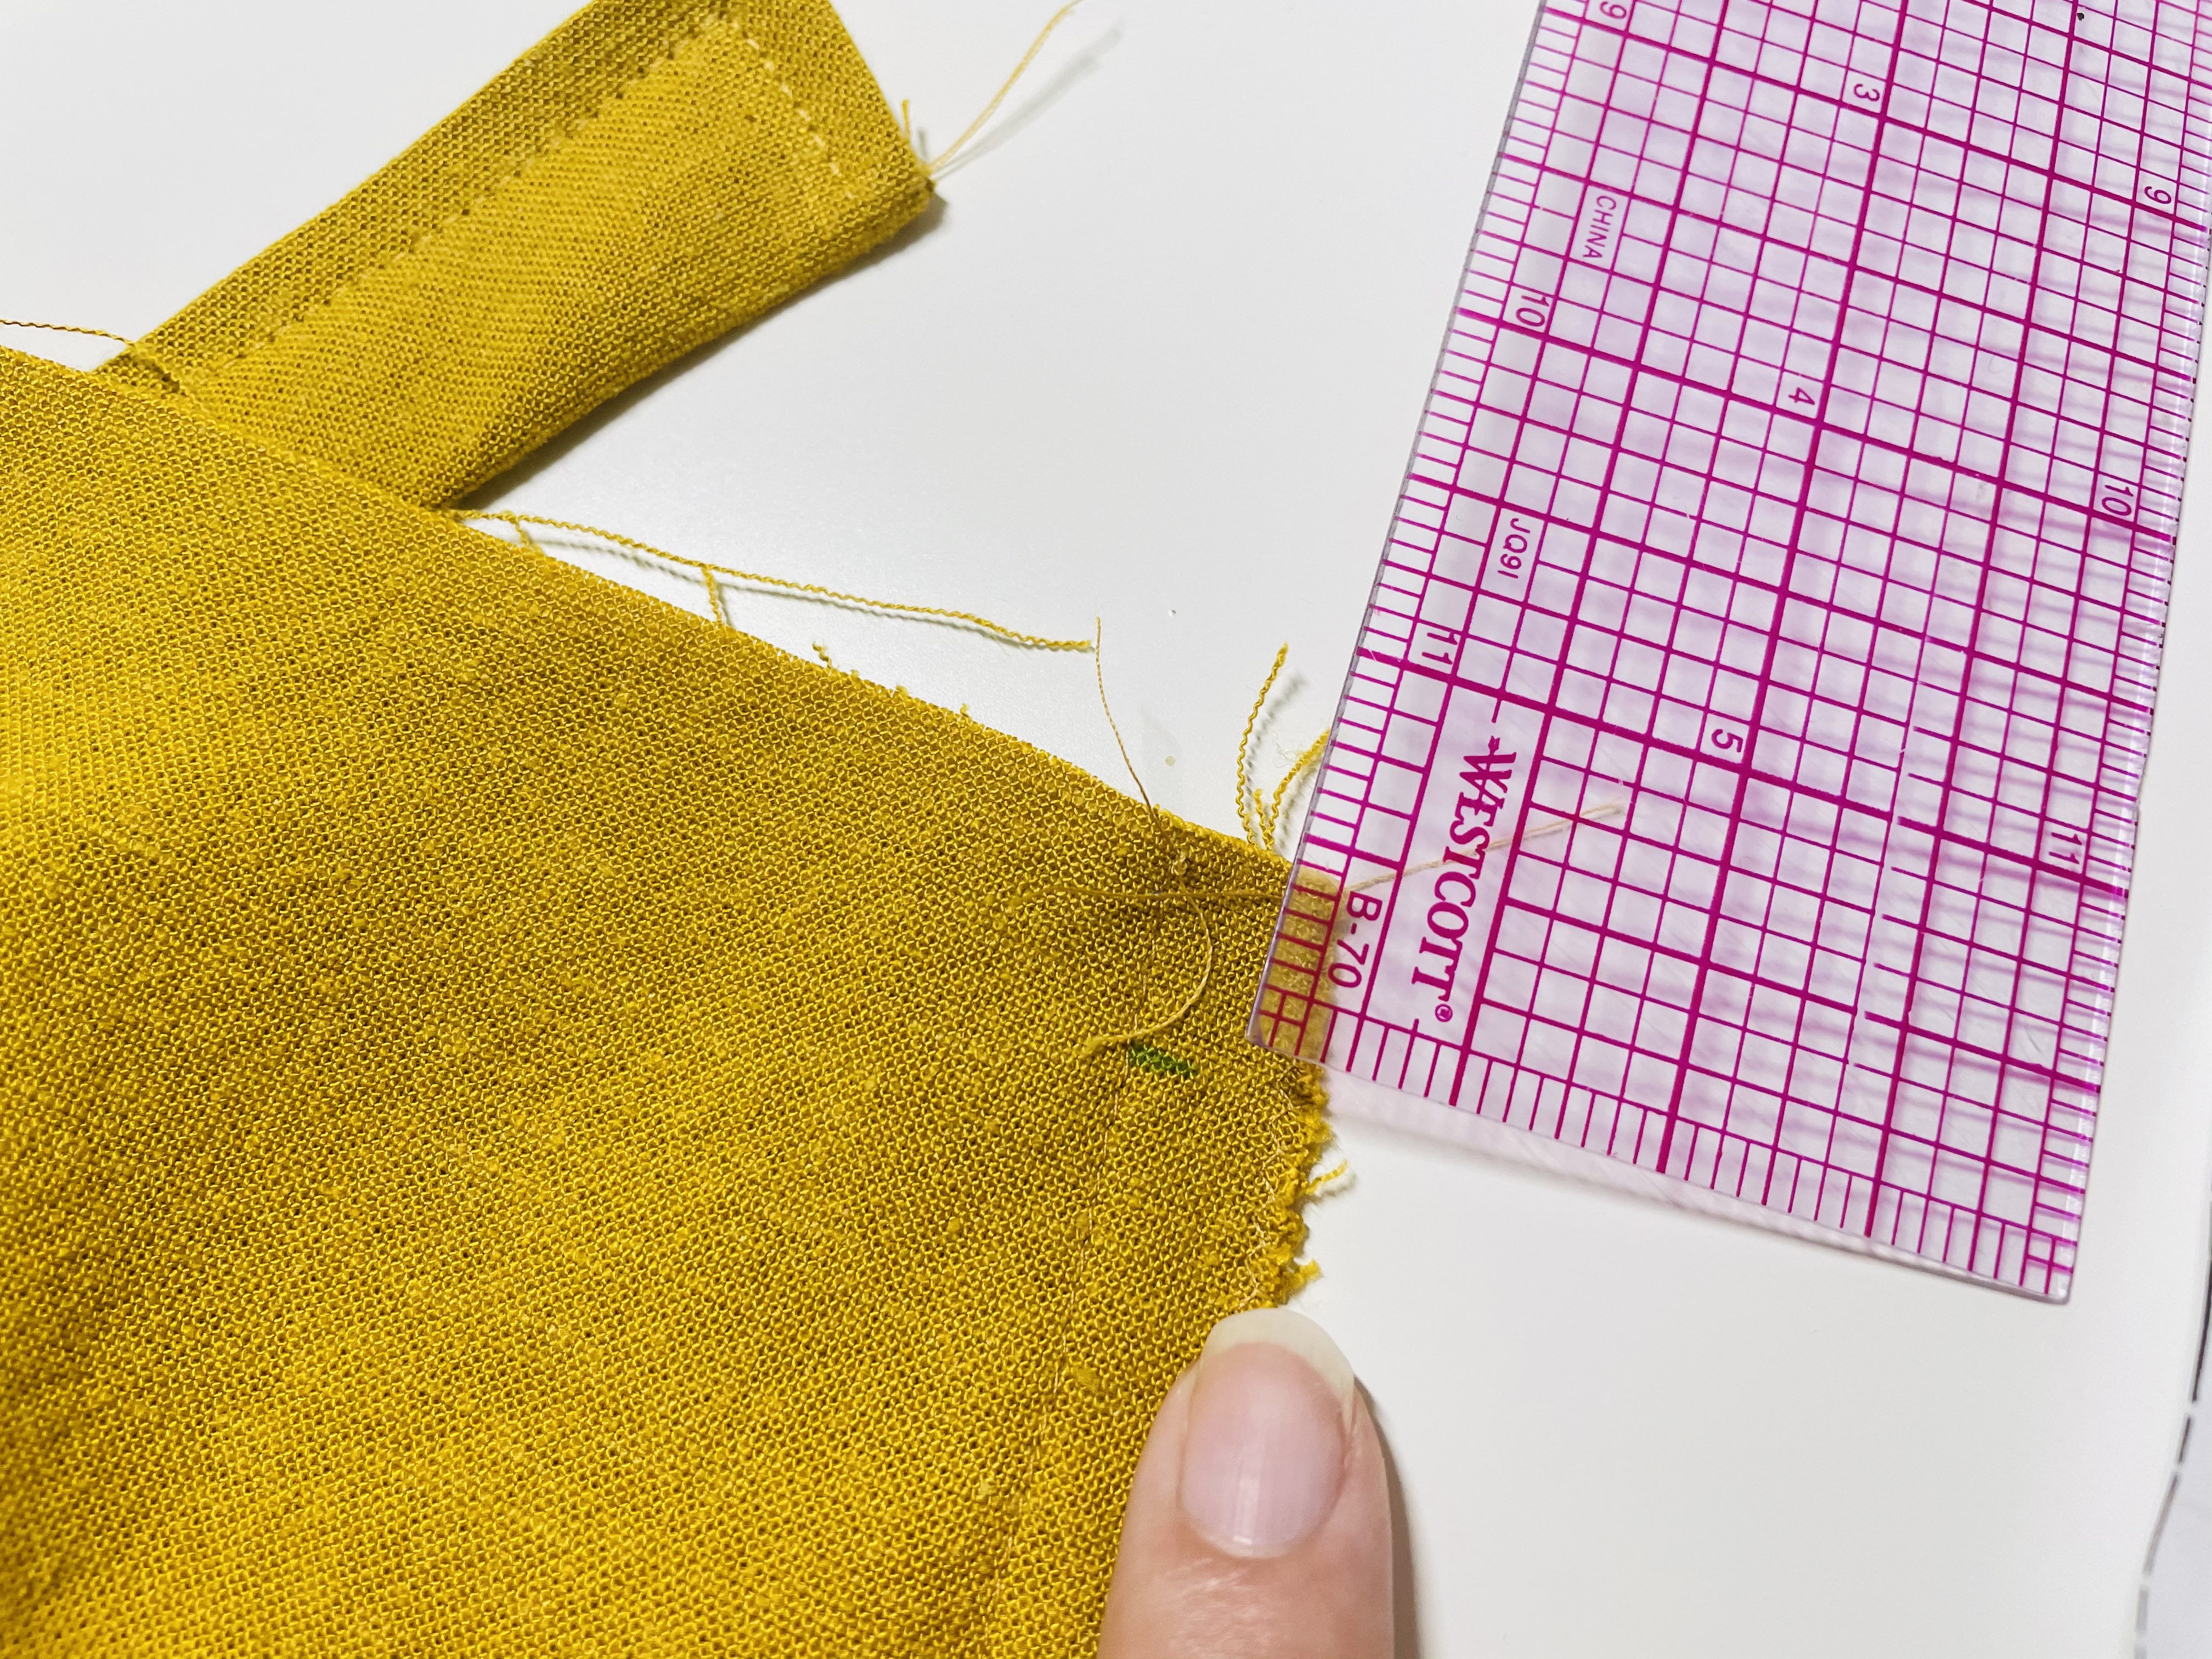
Align the edge of your first waist tie with the edge of your side seam on the right side of your fabric. Baste this into place, using a straight stitch at 5 mm stitch length, at 1/4″ from the edge of your fabric.
Sewing the Side Seams
Now, with right sides together and the waist tie on the inside of the sandwiched bodice pieces on the right side of your bodice (the left waist tie will be sewn in the next step), lay the side seams together and pin:
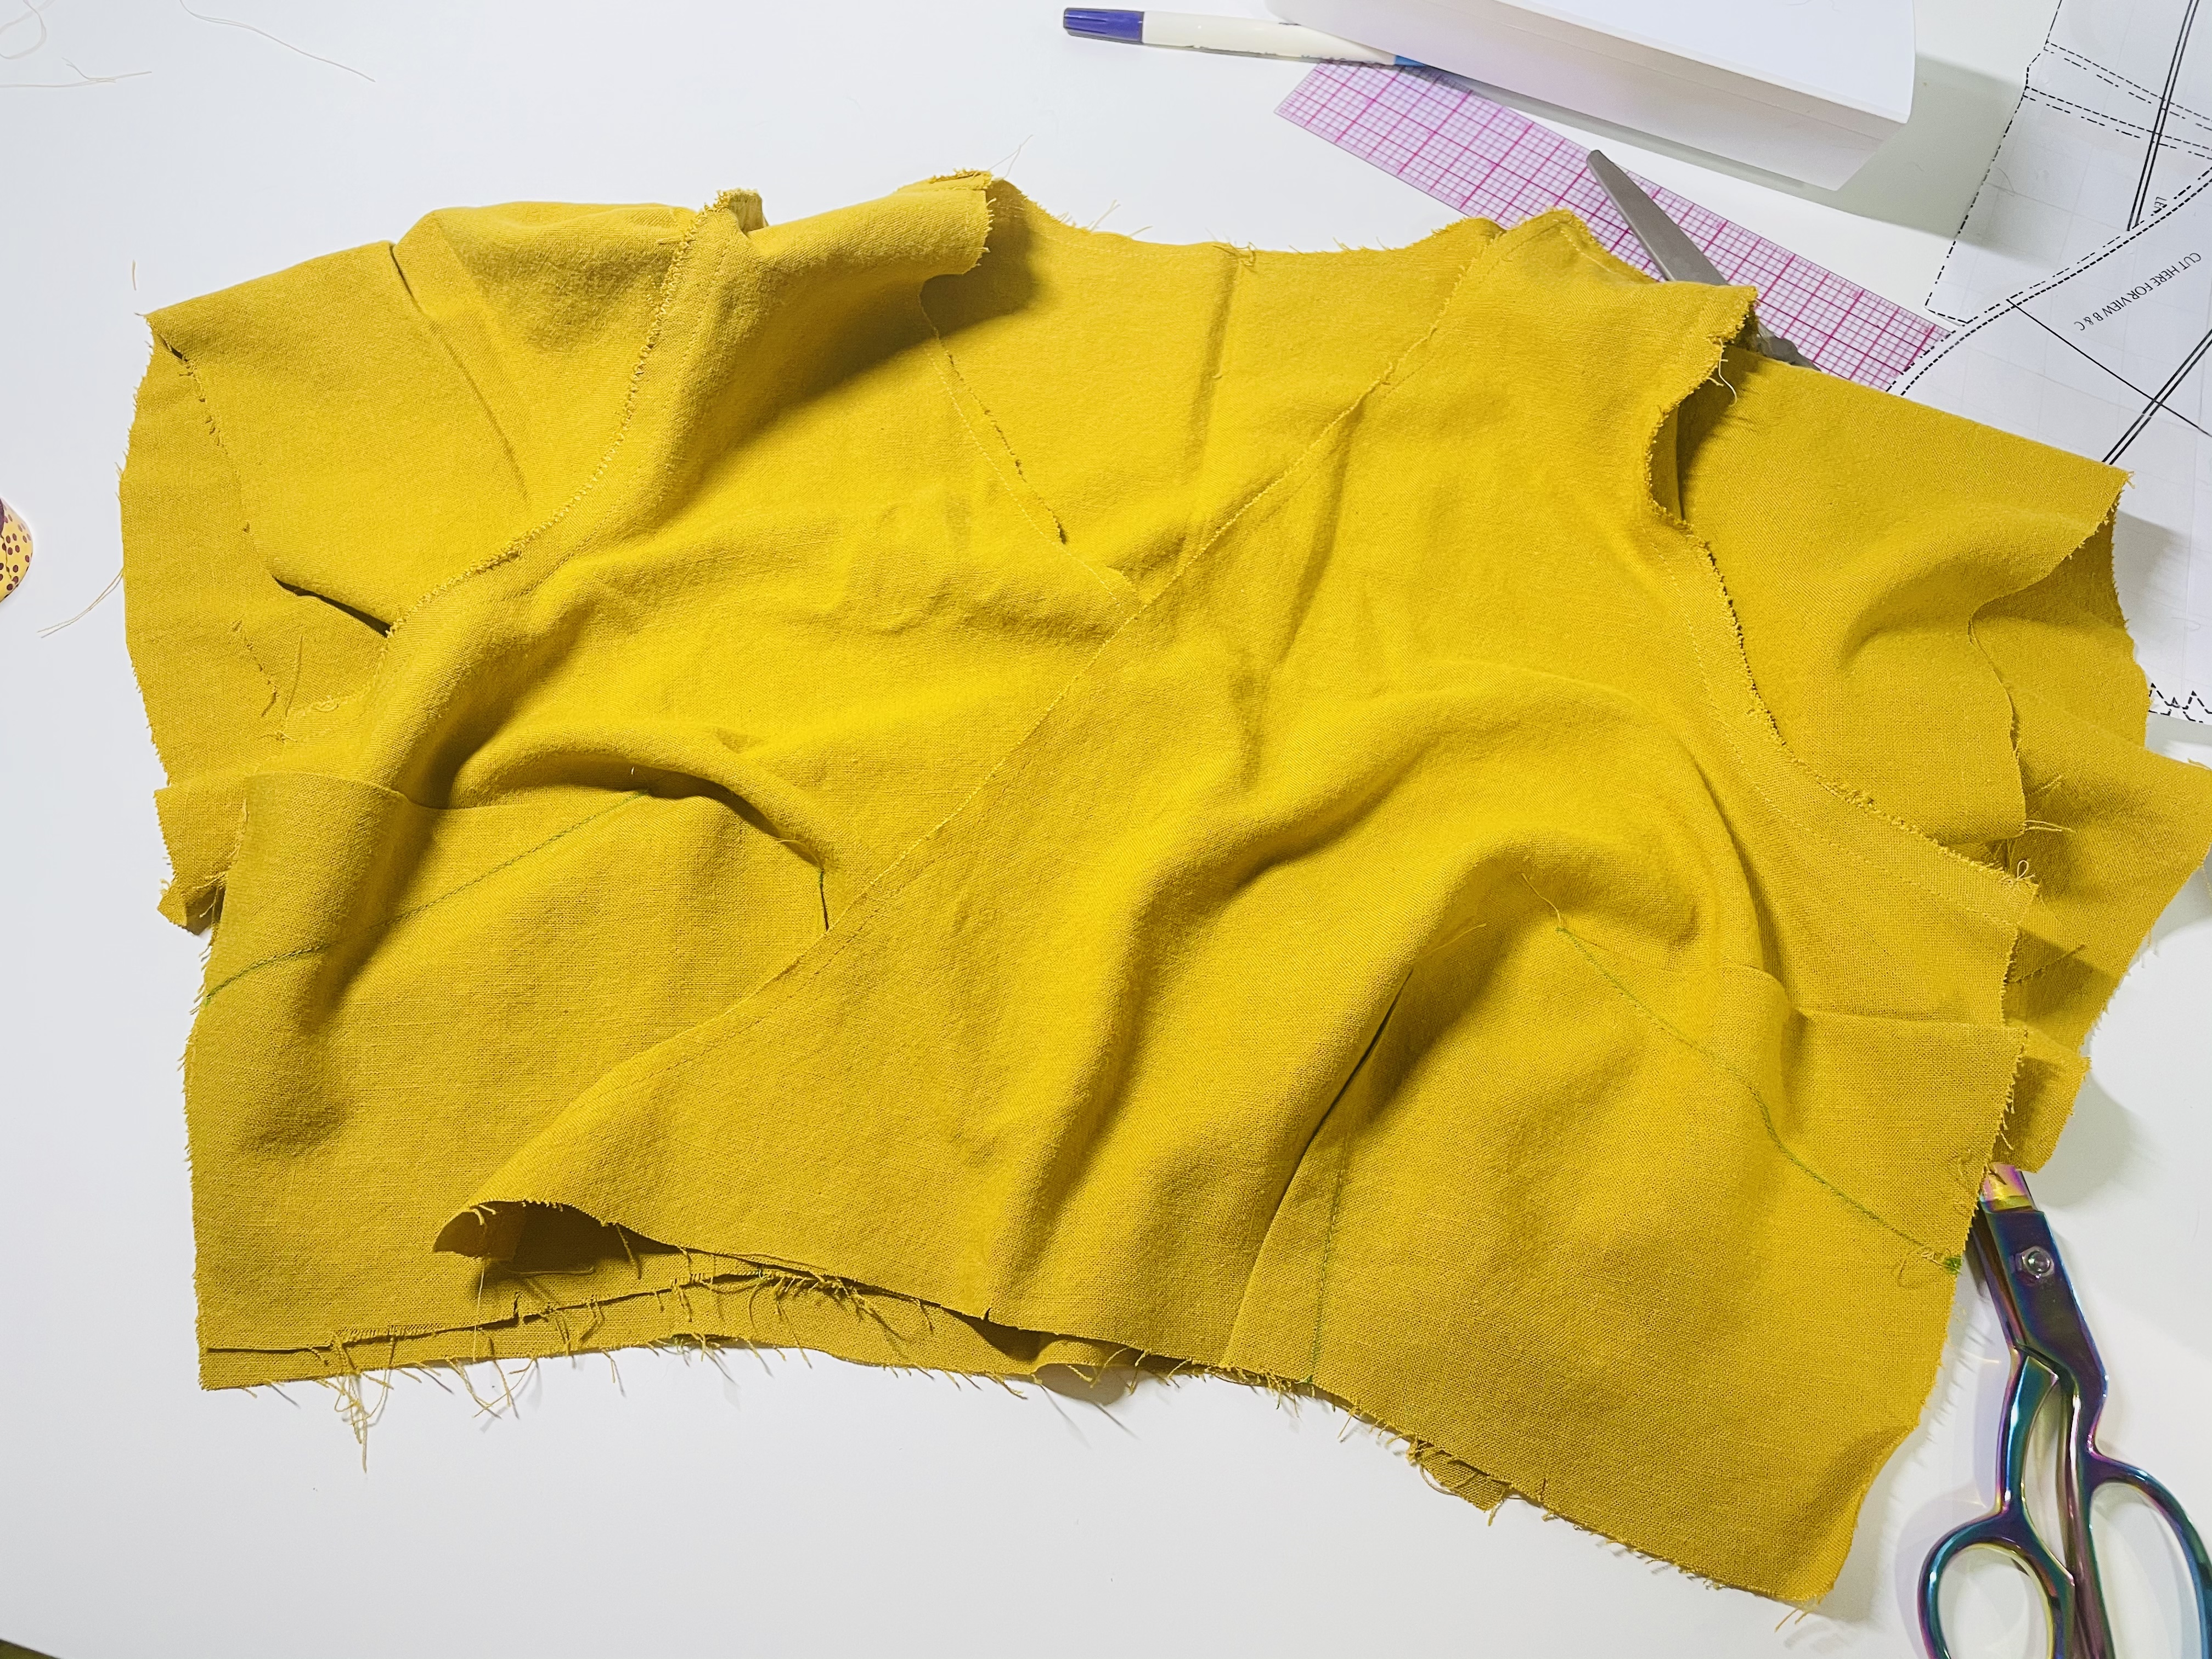
Sew this seam with a standard straight stitch at a 1/2″ seam allowance, making sure to either lockstitch or backstitch at the beginning and end of each seam. Your finished seam will look like this:
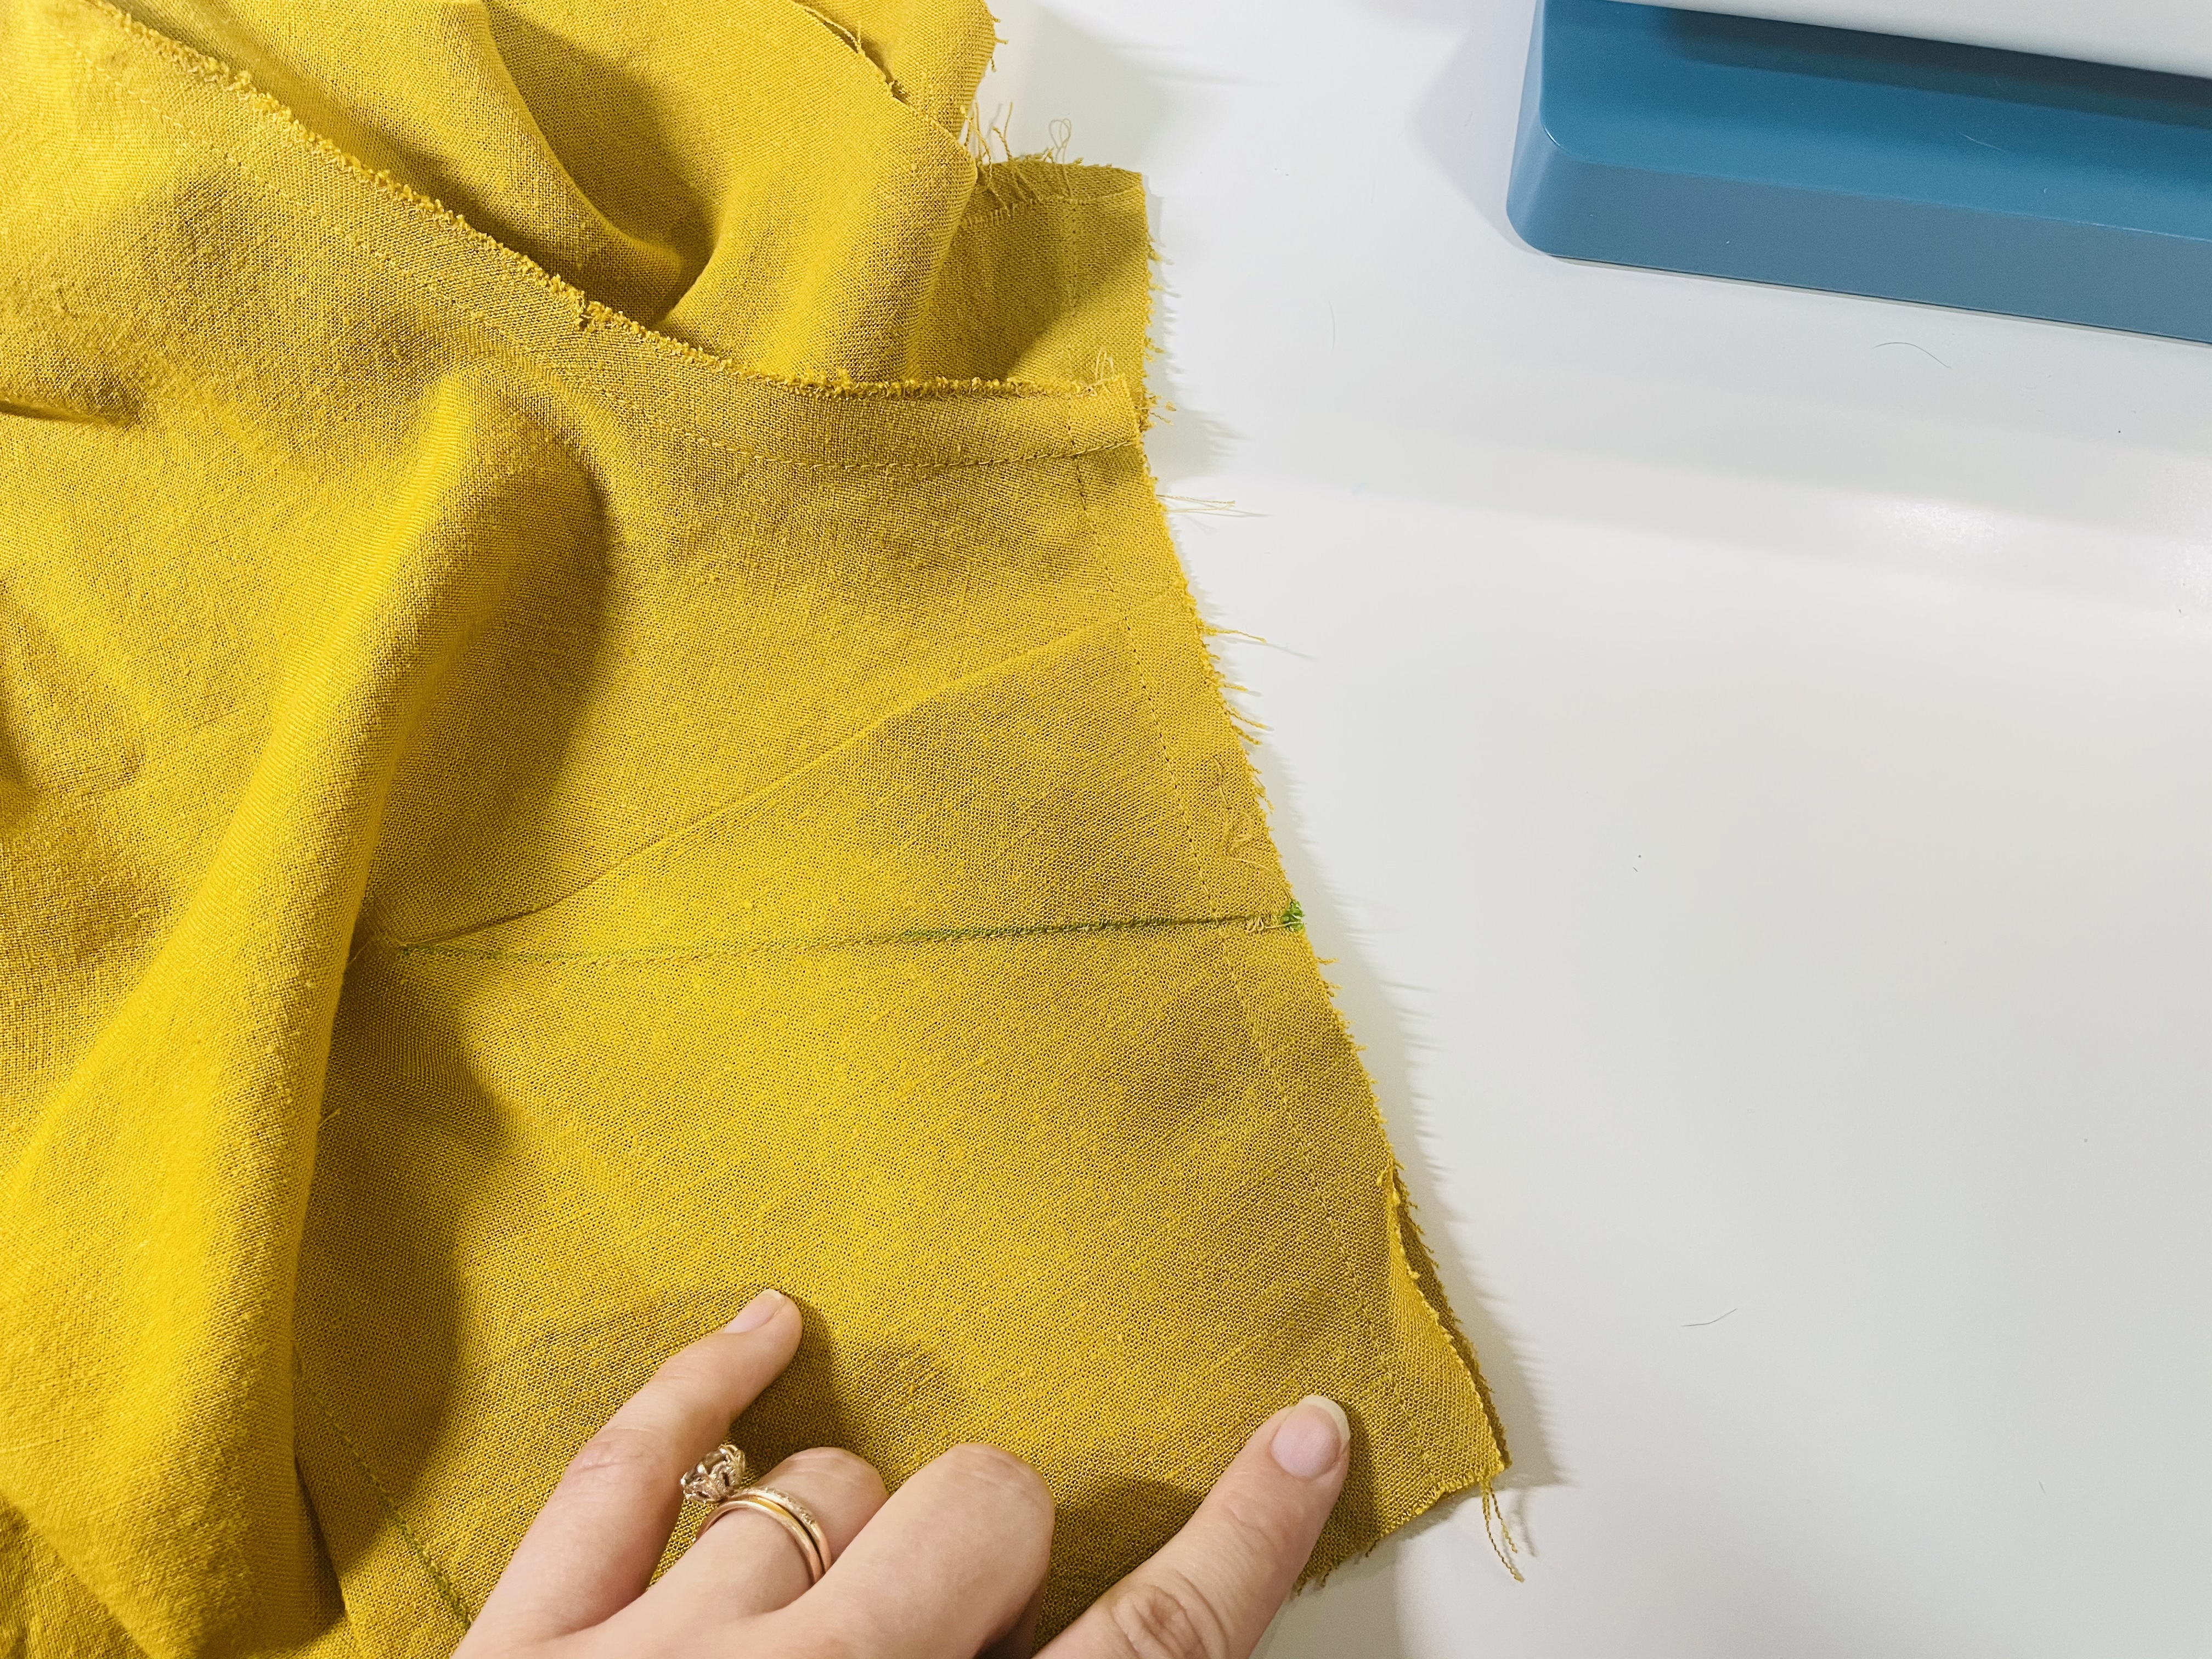
Finish this seam in the same way you’ve finished the other seams – by serging, pinking, or zigzagging.
Stitching the second waist tie to the bodice
Now, on the left side of the bodice (as in the left side when it’s on your body!), pin the second waist tie onto the seam allowance, 1/2″ up from the bottom of the bodice:
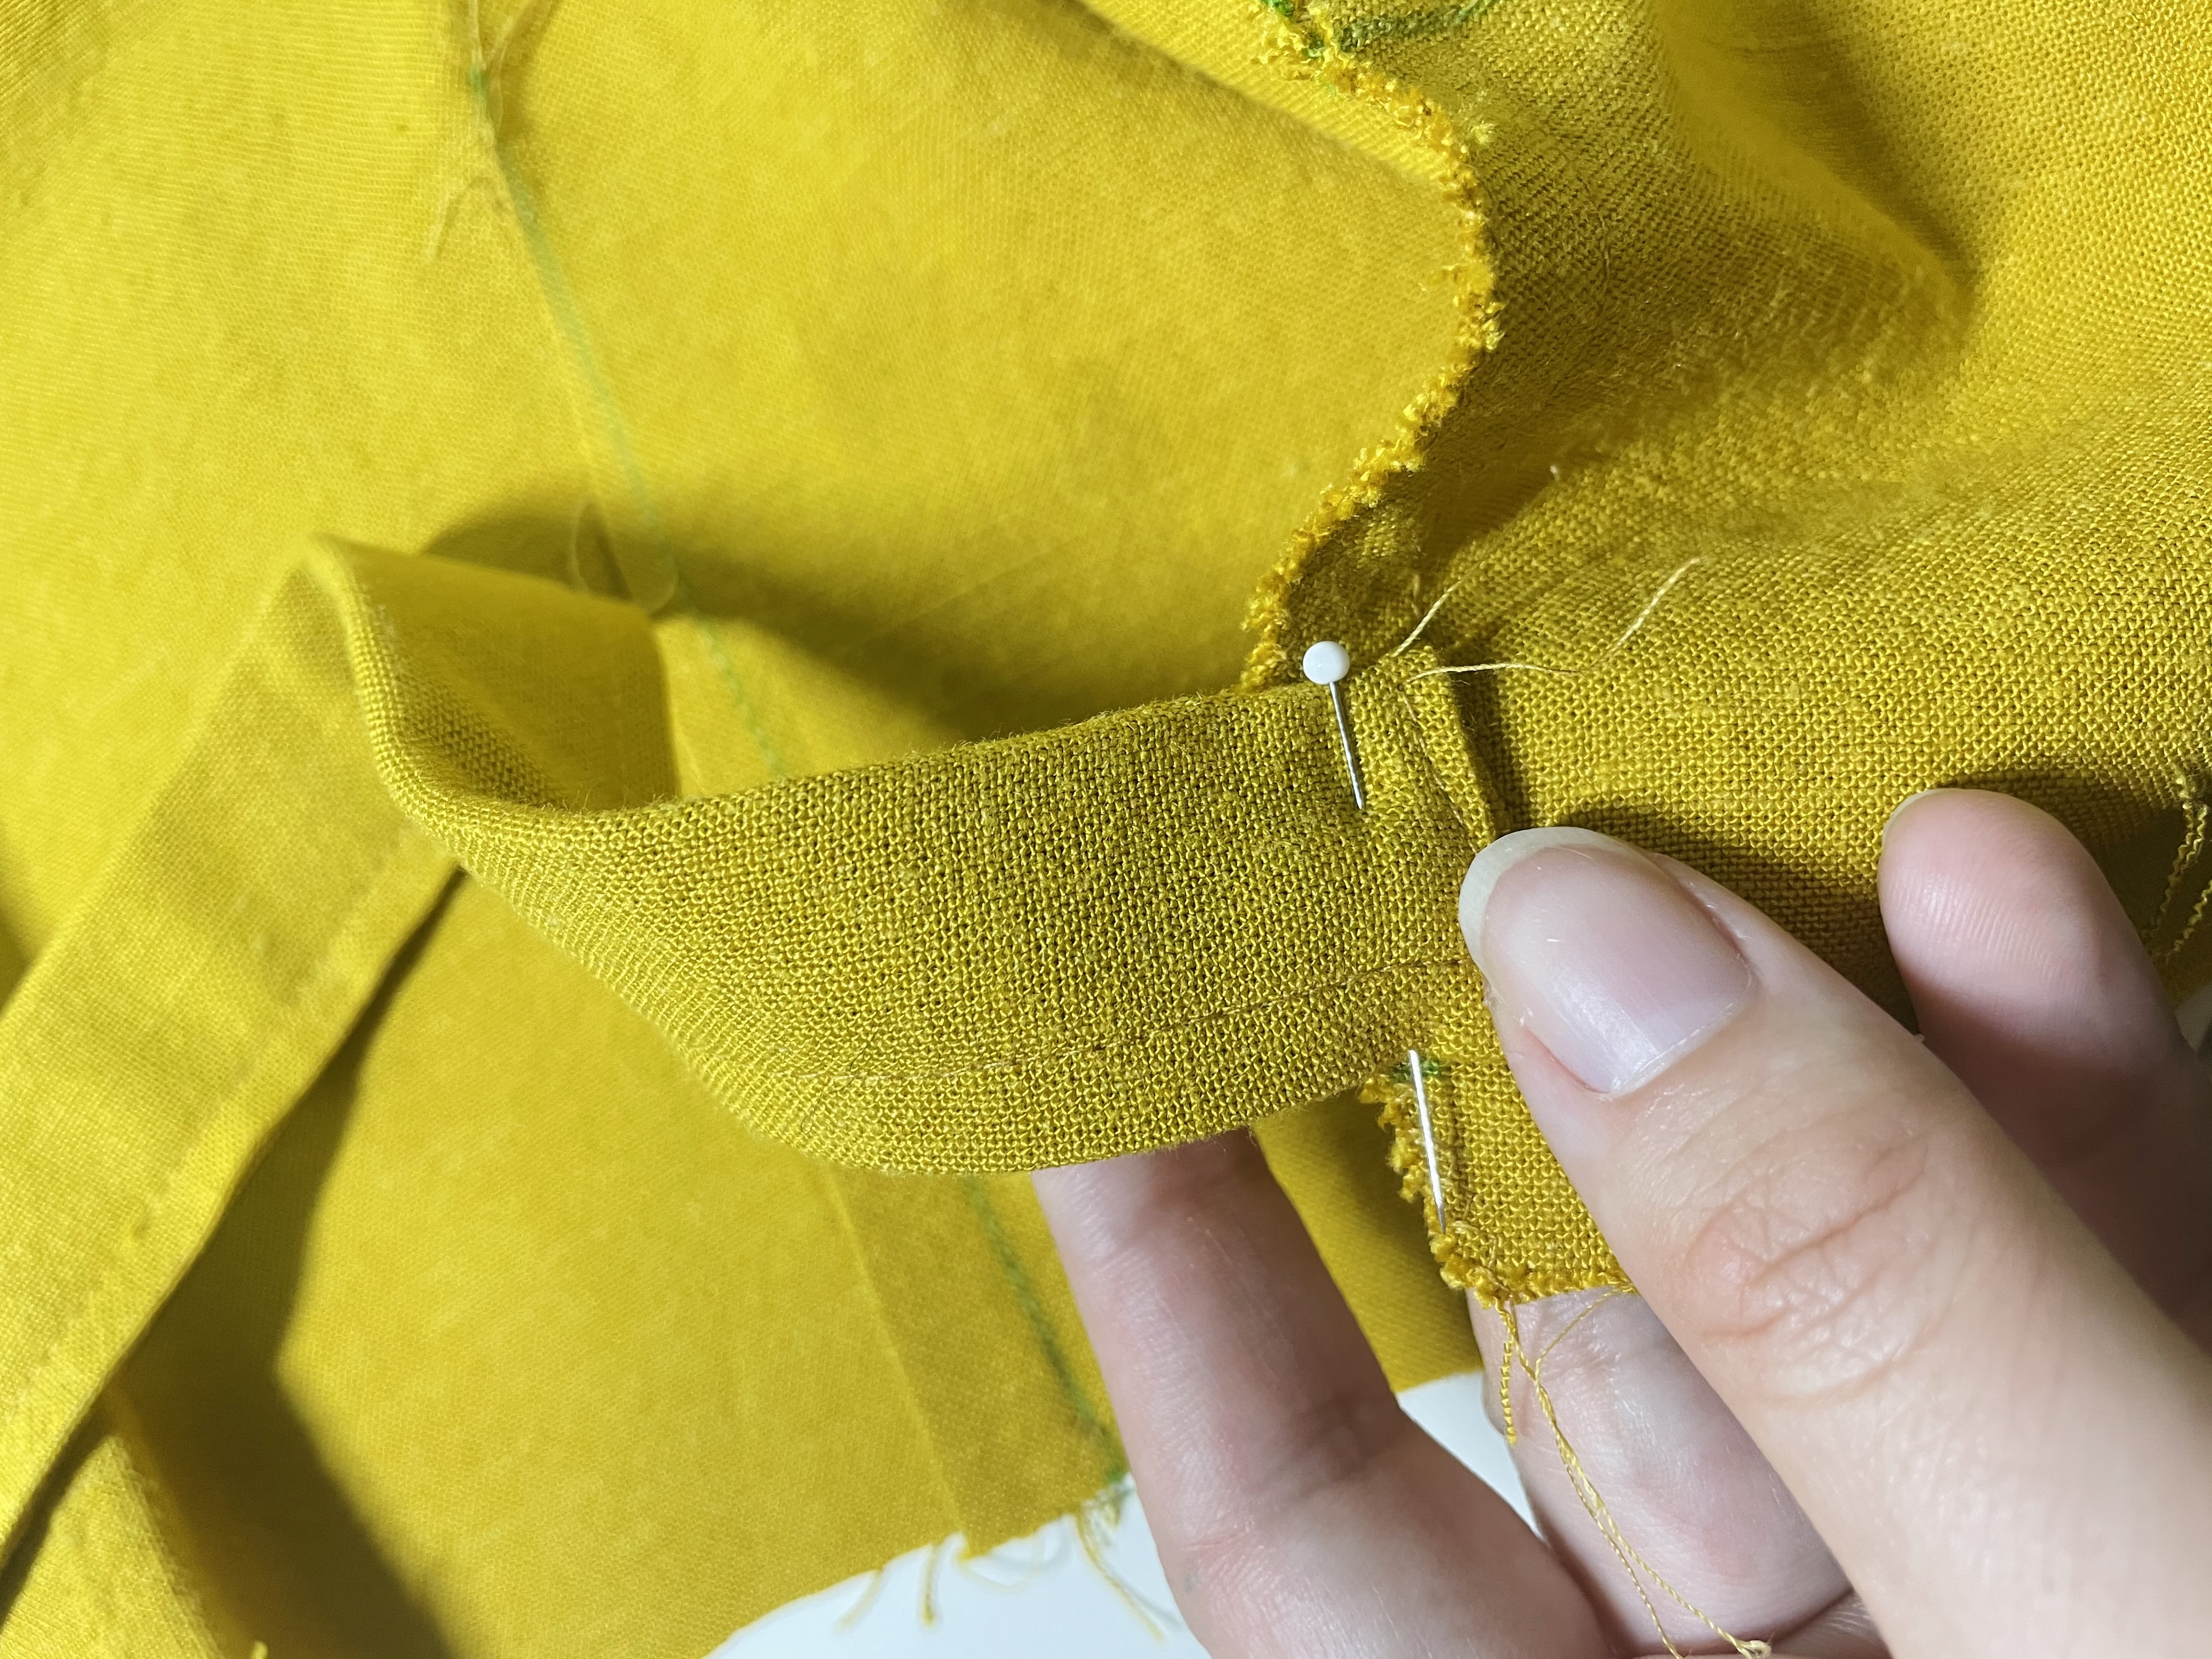
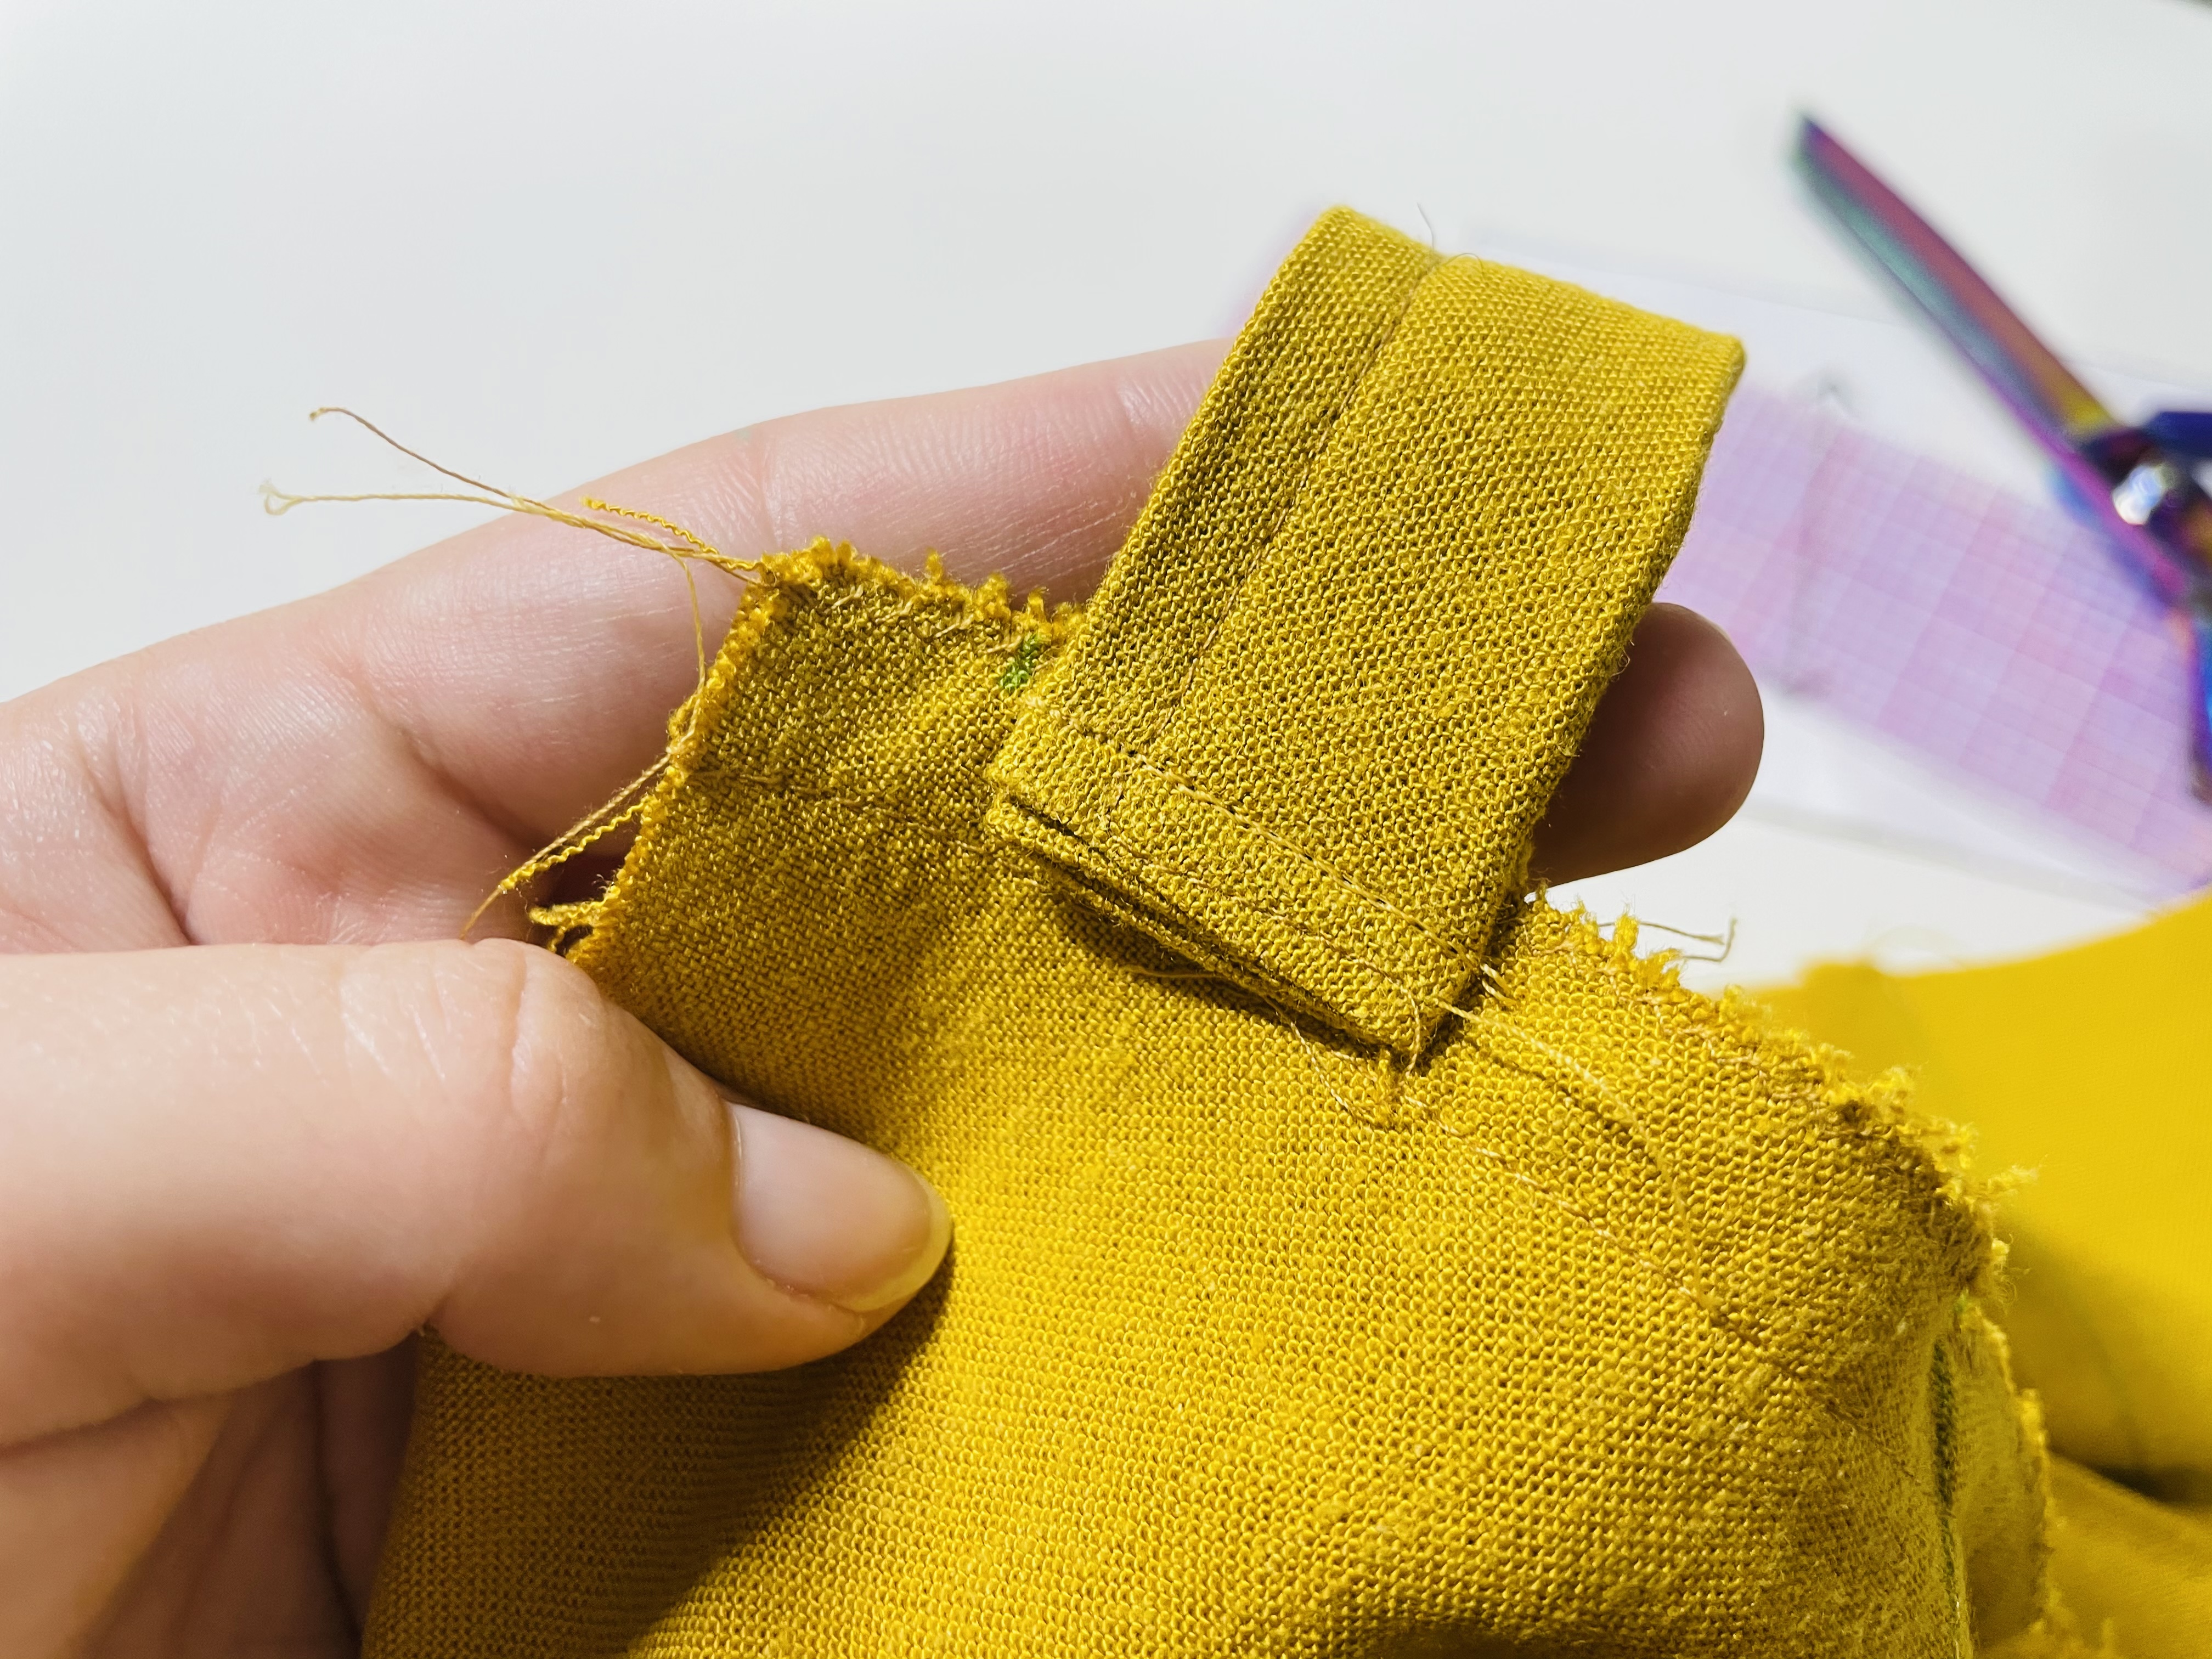
Stitch this two times, with the second pass being a backstitch. The resulting stitch will look like this:
Assessing Fit
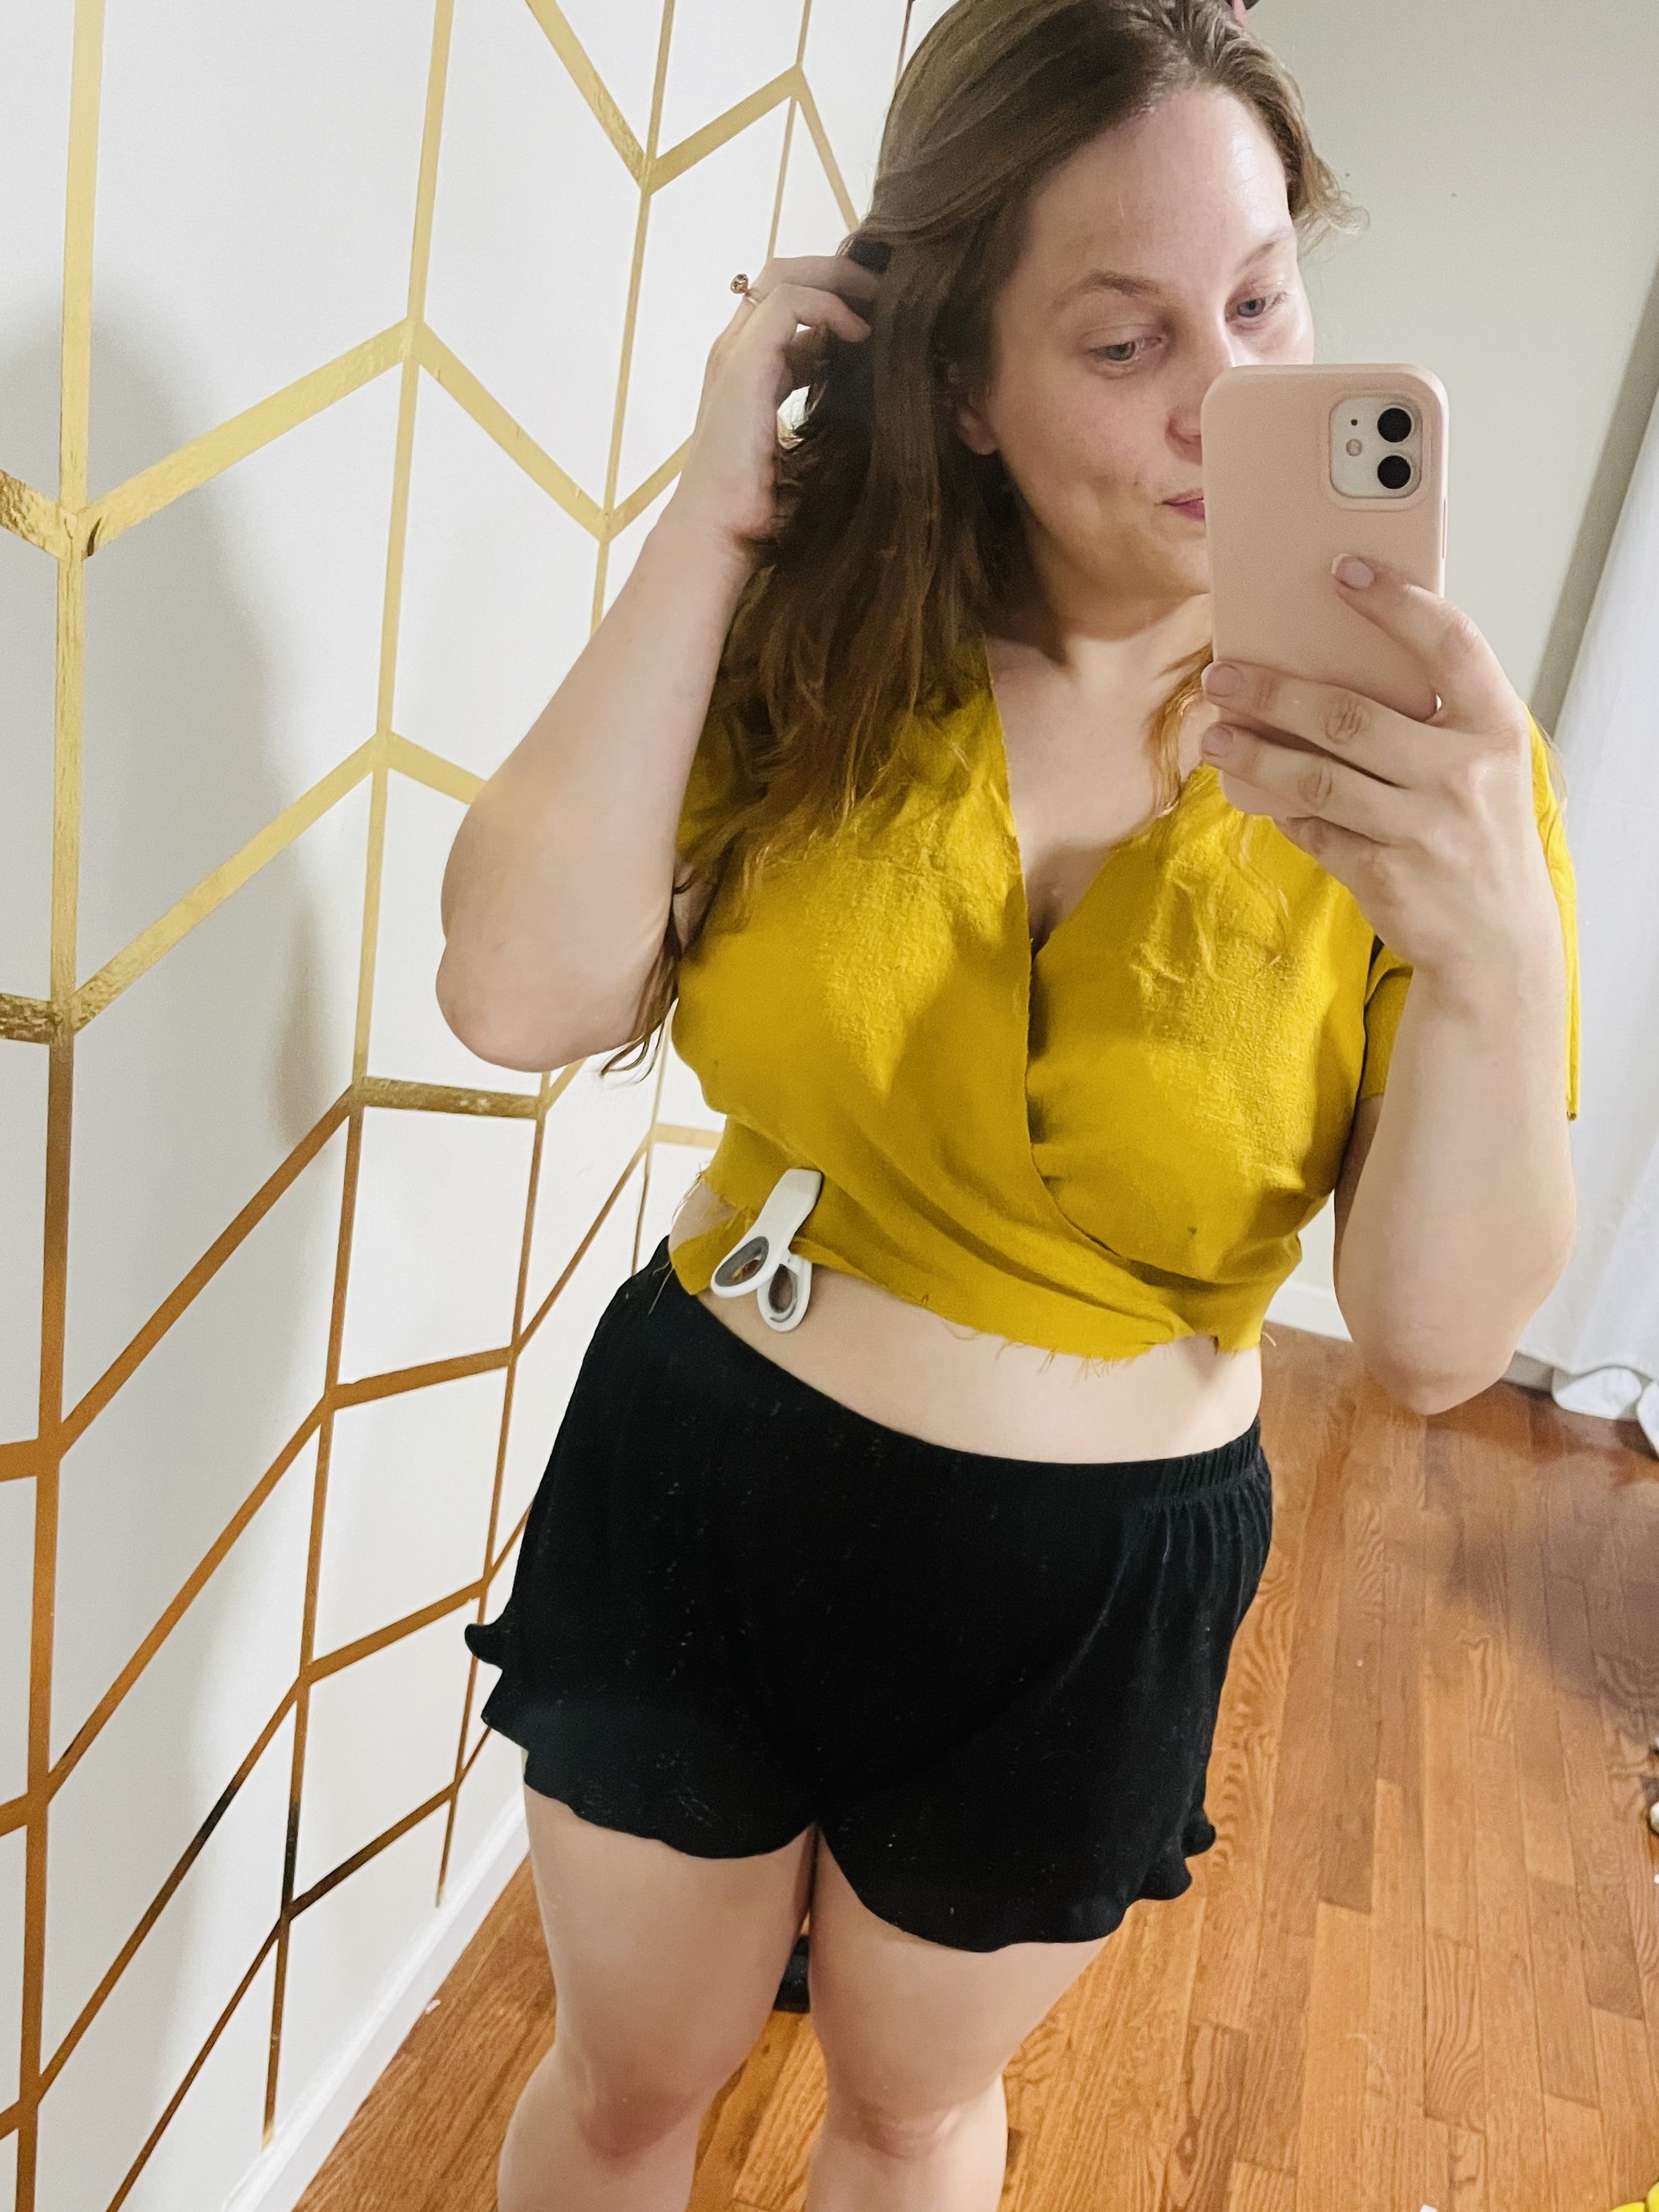
Wooohoo, that’s it for this week! Now is a good time to try on your bodice and asses the fit. Are the darts in the right place? Does it seem like the shoulders fall correctly? If something seems awry, please hop over to the Sew Sew Busty Facebook group or subreddit to ask questions!
Here’s my fit, and you can see more details on my instagram stories:
Your Homework:
- Prepare your pattern pieces by staystitching the neckline and sewing the darts
- Sew your bodice together at the shoulders
- Sew your sleeves onto your bodice
- Prepare your waist ties and stitch them to your bodice
- Sew your bodice side seams
- Finish all seams by serging, pinking, or zigzagging.
Questions about this week’s steps for the Roseclair dress? Drop a comment below, or ask on the Sew Busty Facebook group or subreddit.
Some of the links in this post are affiliate links. Using the affiliate links in Sew Busty posts is a great way to support the costs of running Sew Busty, as when you click on the link and purchase the item, I will receive an affiliate commission at no extra cost to you. This helps me pay for the hosting, domain, design, and other costs associated with administering this site. All opinions remain my own.

