Bra Month | Guide to Underwire Bramaking with Kristen | Part 1: Preparing for Sewing
Meet Kristen
Hello Busty Sewists!! As some of you may or may not know, I am Kristen Kemp and I do garment alterations for a living for the family business, Sewing by Carolyn (my mom is Carolyn). I am also a Certified Bra Drafter in the Bare Essentials Method and can be found (quite often) volunteering over in Support for Bare Essentials. I have a bra blog over at brasbykristen.blogspot.com, in case you’re looking for further reading. I won’t bore you with too much of my story, but I think it’s important to understand why I come at bra-making the way I do.
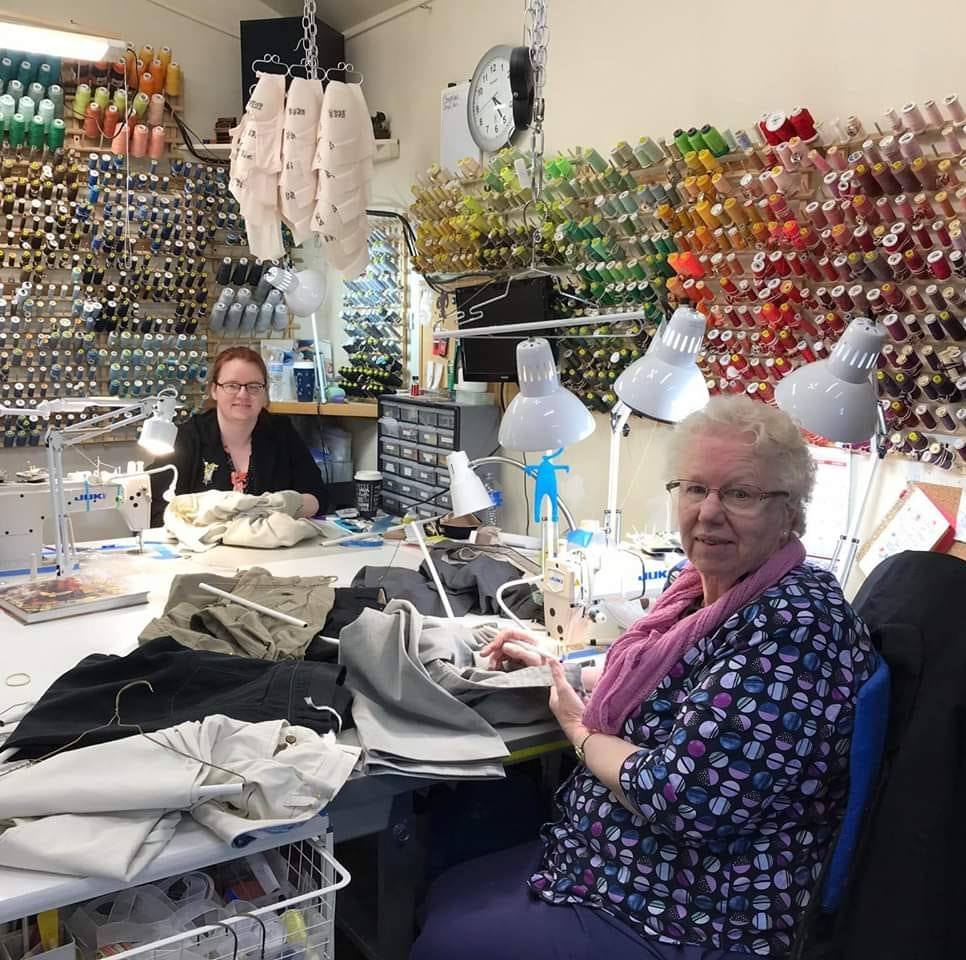
I come from the American Midwest and (still) live on the 400 acre farm that’s been in the family for 150 years. There’s something about growing up on the farm that teaches you the work ethic to stick a problem out until you find a solution. My husband is in the trades as well as several of my good friends, and even though I did go off to college for a bit, the apprenticeship idea in the trades has always made so much more sense to me than traditional school.
So, in my 20’s when I was pissed about the shape of the plus sized clothes that were available, I thought I might learn to sew my own clothes. (Check out one of my favorite rants on plus size clothes by Tim Gunn here.) I didn’t live near mom at the time, and everything I sewed looked like a TERRIBLE Home Economics project. When my circumstances moved me back to the neighborhood, I ended up working for mom. My thought process was that I could get a job sewing to be able to get enough skill so that I could make what I wanted to make for myself. Clothes have improved dramatically since then, but the one thing that hasn’t improved as quickly is the bra market (let’s start a riot about that … ok, probably not … let’s just boycott and sew our own!).
I wanted to sew bras (at first) so that I could make a whole outfit and say that I sewed everything I was wearing, but then it quickly turned into an endeavor to fit my friend into a bra. Her shape is so challenging that I’ve made bra after bra and finally got the sense to make testers with seam allowances so I had the ability to alter the bra on the fly when she would come over for fittings. I’ve passed that idea on to a few of our drafters in Bare Essentials and many have found it to come in handy, so that’s one of the things I’ll be focusing on with this series.
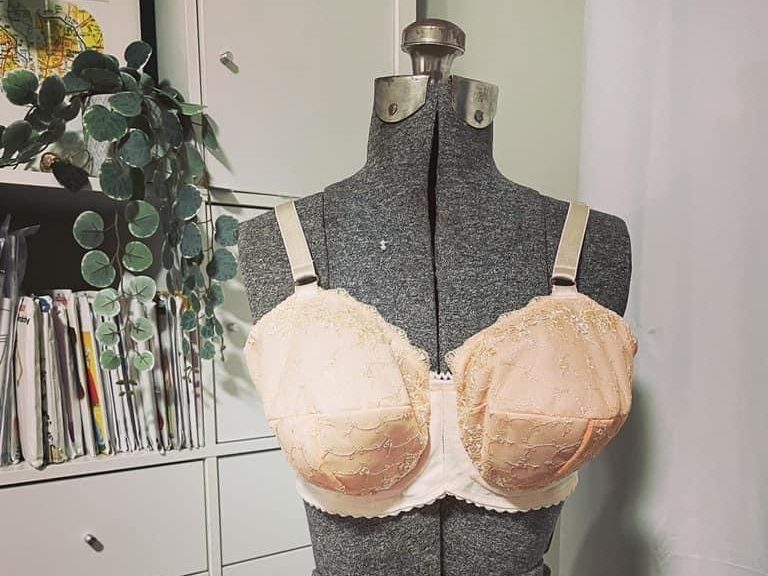
Bra Making and the Order of Operations
In all the reading I’ve done on the subject of bra-making, there’s a bit of an order of operations for getting the right fit. I’m not going to spend time on all of it or you’d be reading for years, but I do think that each of these things ought to be mentioned in case this is the first information you’re seeing on the subject. Here’s a brief overview of the order to work through things and incidentally most of these are the topics for how my blog is organized.
We’ll go over this information in 3 parts, with part one being in today’s blog, part two on July 6, and part three on July 13. Here’s an outline:
Sewing and Fitting Tester Bras
Part 1 – Preparation for Sewing:
- Proper Bra Wearing
- Choosing a Pattern (Method)
- Picking out Fabrics to match your pattern
- Measuring to pick out a size
- Wire Fitting
- Wire Alterations
Part 2 – Bands:
- Band Fitting
- Band Alterations
Part 3 – Cups:
- Cup Fitting
- Cup Alterations
Preparation for Sewing
Proper Bra Wearing
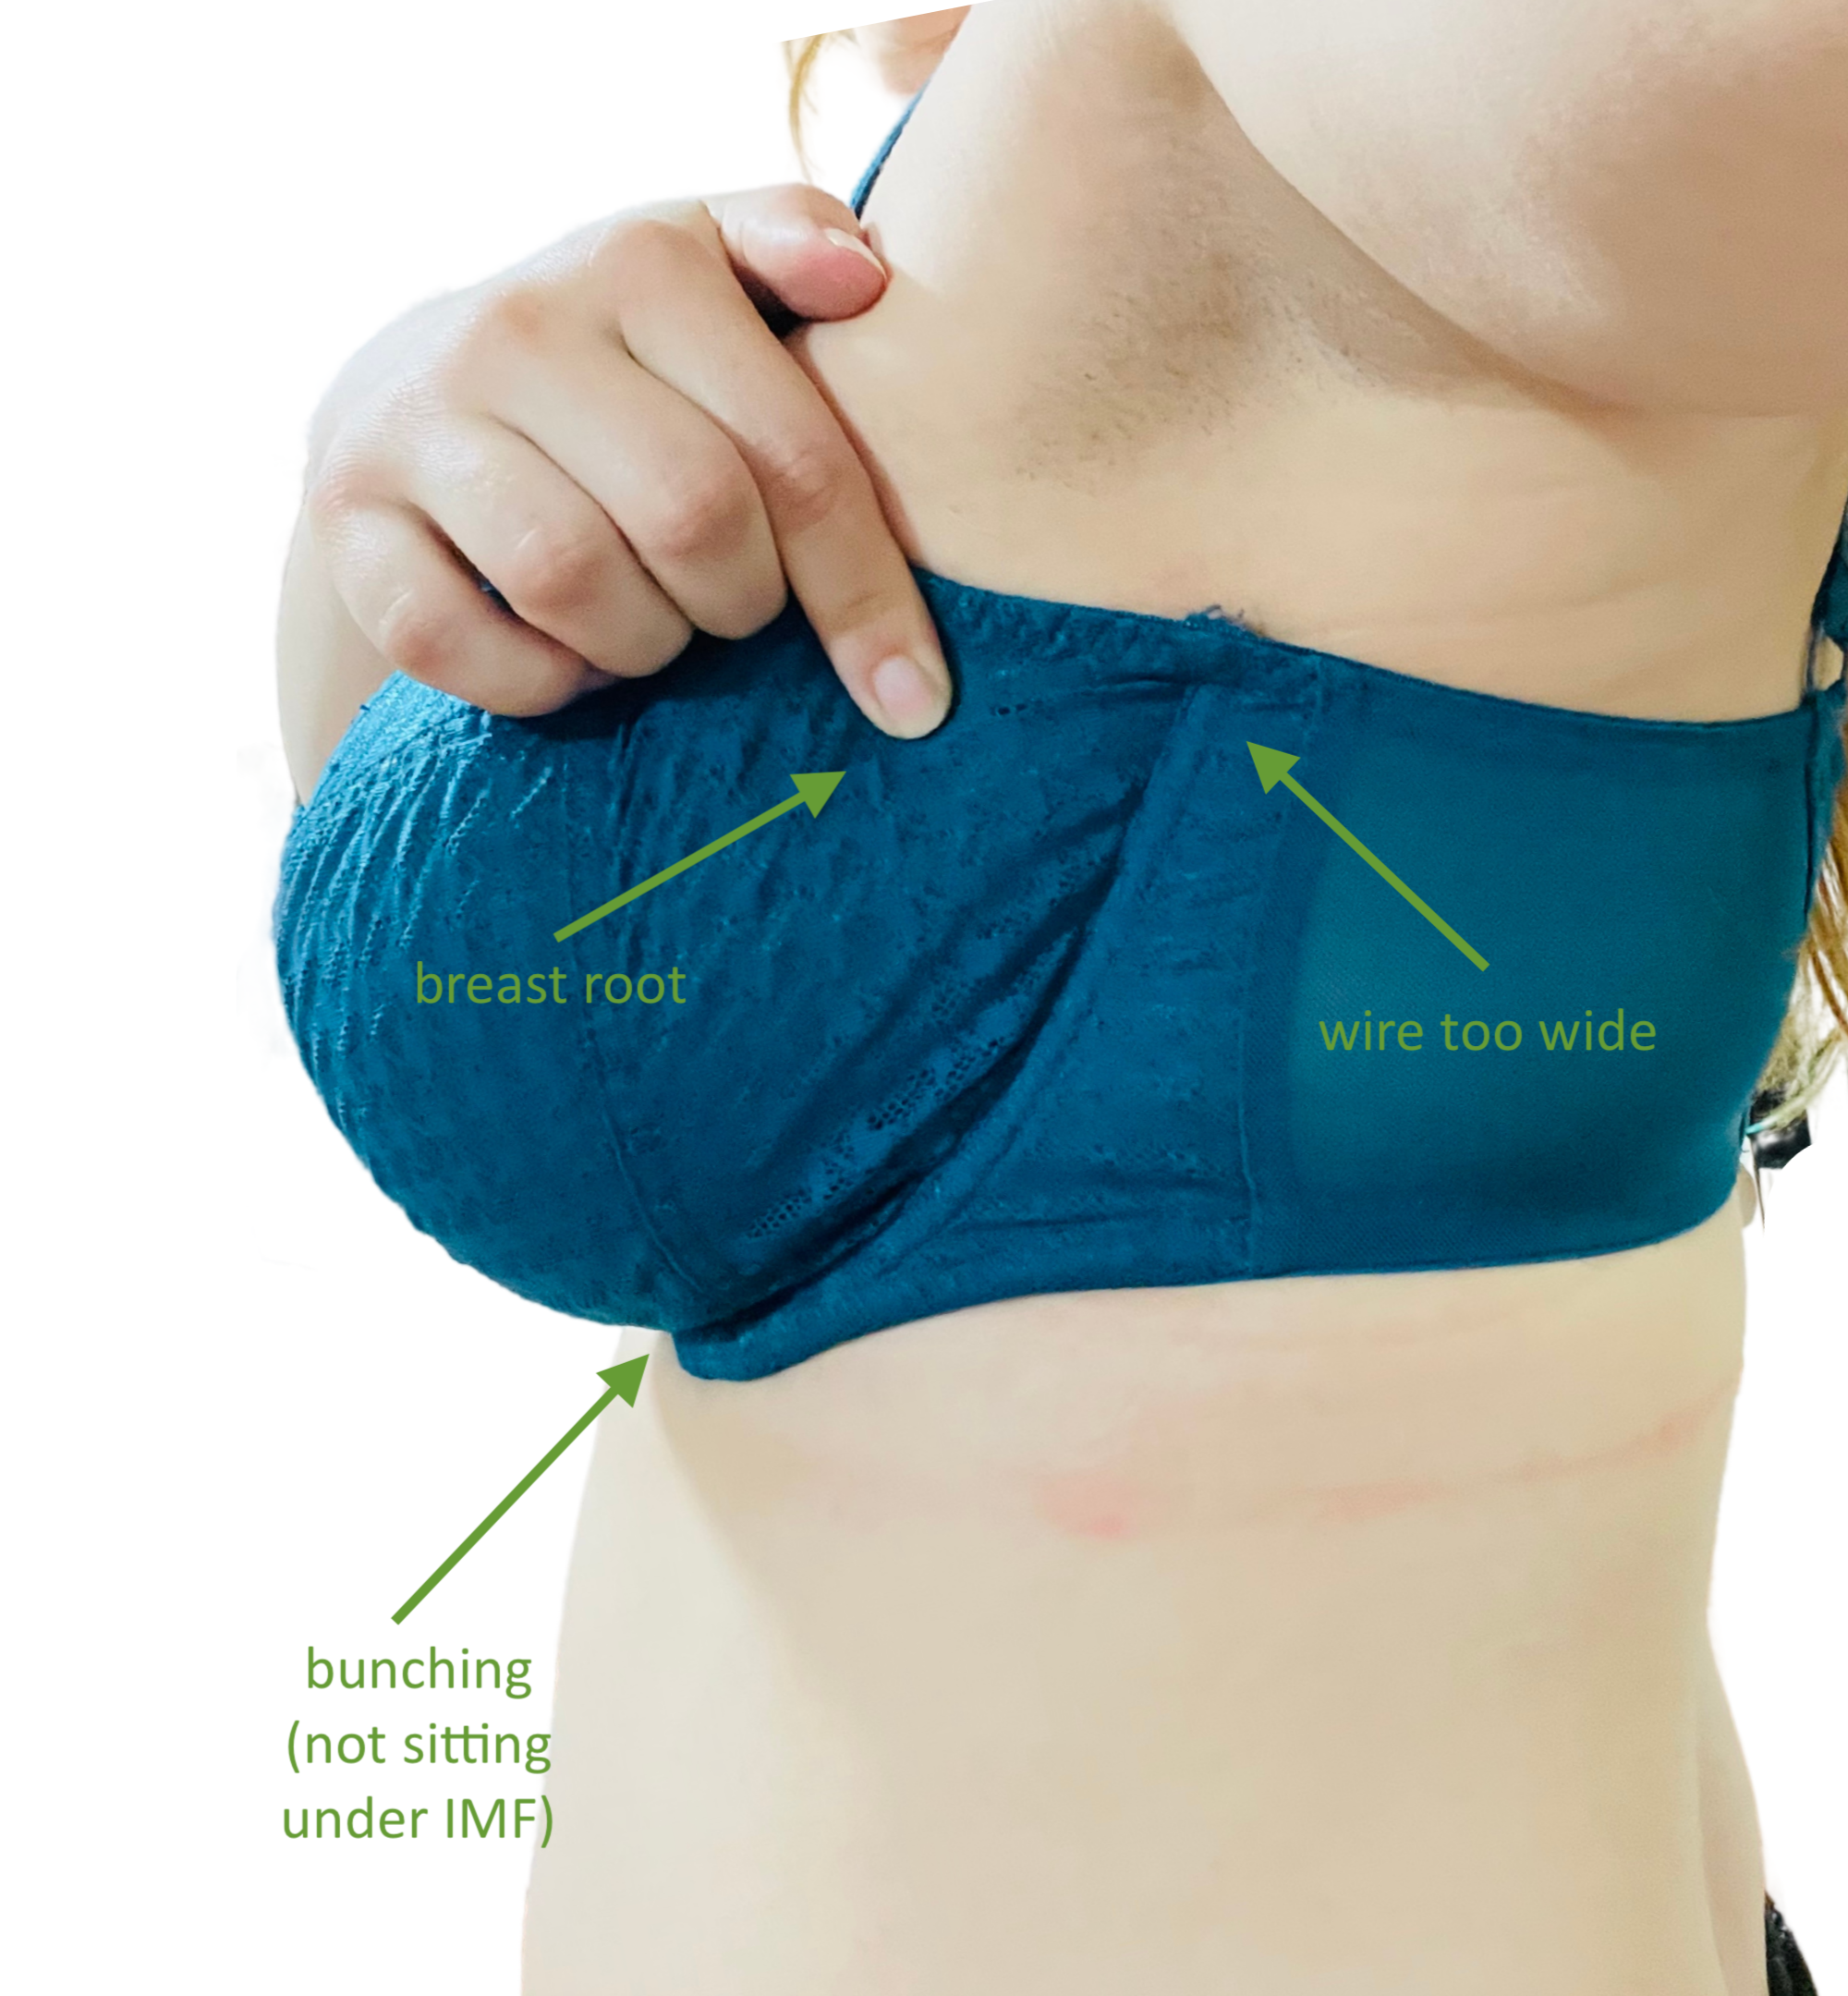
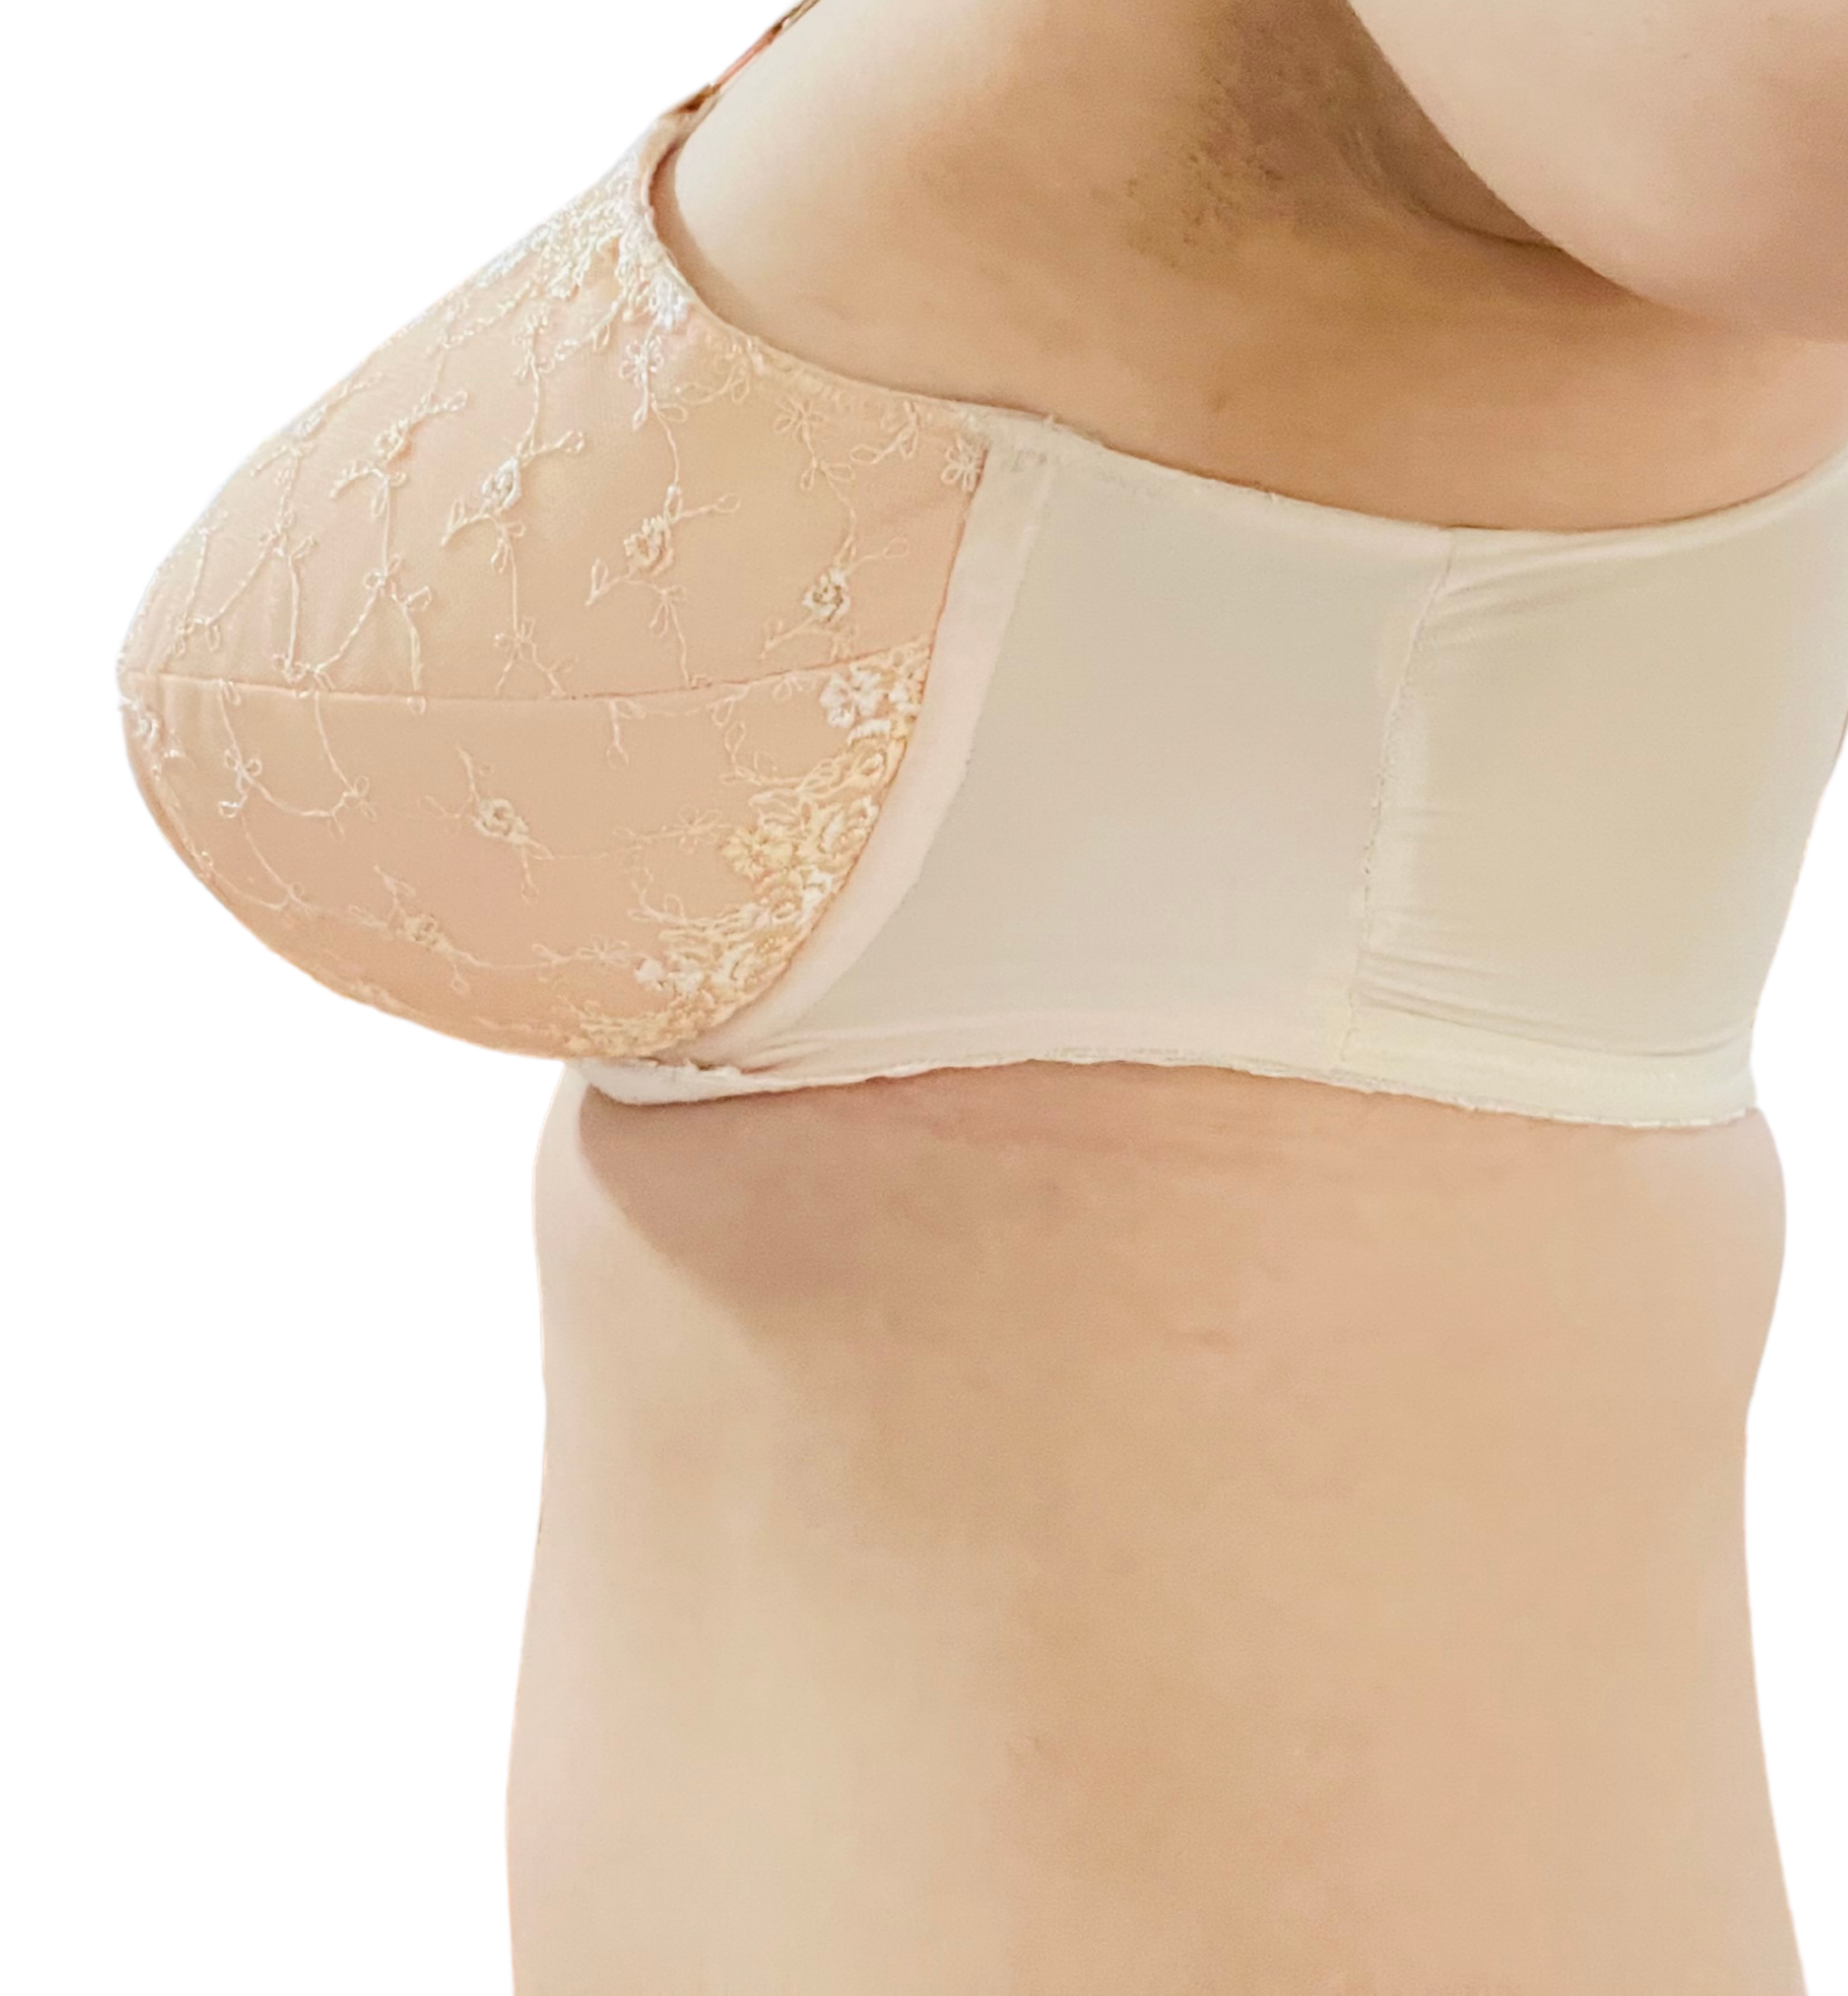
I’ll be brief on this one, but it’s super important to know how to really situate yourself into cups so that you’re not folded over and squished to the body. The underwire can’t properly provide support if it can’t get all the way up in the crease. This is one of my favorite illustrations of the internet and I encourage you to go check out all the photos explaining this concept over on the Bras and Body Image blog.
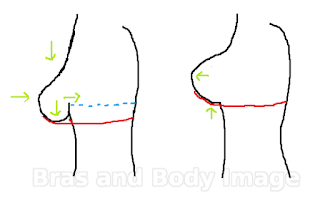
Every time you try on a bra for size, you must reach into the bra and really scoop up your breast tissue and pull it up in the cup to get an accurate sense of fit. The difficulty of measuring for a proper fitting bra is that you have to take the measurements for it in a properly fitting bra, so it’s a bit of a catch 22. If you have on what you *think is a well fitting bra, make sure you have scooped your breasts up into the cup properly before you get to measuring. You may end up making 2 or 3 sets of tester cups, each with larger sizes, and take new measurements. Because squashing in the cup is so common, large seam allowances in a tester allow you to go several cup sizes larger, rather quickly.
Choice of Pattern/Method
There’s tons of good patterns out there, but some are better suited to certain shapes than others. I personally am a huge fan of Porcelynne’s Eve Classic Modular Pattern, because it is as close to drafting a custom pattern as possible, without having to learn all the technical aspects of drafting. This pattern is drafted with a horizontal cup seam, which is more capable of fitting different breast shapes than cups drafted with more of a diagonal seam.

This is why you’ll often see cute patterns that stop at a certain size cup, because the capabilities of fitting more busty shapes is less with a diagonal pattern. The reason you pick a pattern at this stage of the order of operations is because different patterns are drafted for different fabrics. You wouldn’t want to pick a pattern designed for all stretch materials, and then use a stable fabric because it would NEVER FIT.
Don’t overthink your choice too much. Pick a pattern and jump in. There’s ALWAYS people on the internet that you can ask for fitting help and advice from and the important part is to get moving, try things, and reach out for help!
Bra Making Terminology & Fabrics
Most underwired bras are designed for a stable front cradle & cups, a stretchy back with powernet because of its strength, elastic for support, and hooks & eyes to fasten.
When you’re very new to bramaking, I recommend getting two kits that are recommended for the pattern you are using plus a yard of cup fabric. The first kit will be used for a fitting band, along with the yard of fabric for making tester cups until you’re happy with the fit. The second kit you save for your eventual bra after you have the fit sorted. Once you’ve got the feel for what you need for supplies, it will be less overwhelming to shop for the appropriate fabrics for bra making.
Editor’s Note: I love the muslin kits over at Gigi’s Bra Supply and LilypaDesigns for making tester bands and tester cups!
Here’s a couple videos from the Youtube Channel LizSews on bra terminology and on the different types of fabrics. There’s a wealth of knowledge in her channel and I highly recommend her tutorials on … well, anything. The bra terminology video is embedded below, and here are links to videos on bramaking fabrics:
Measuring for Bras
Measuring is often where mistakes are made and it’s incredibly important to measure how the designer intends you to measure. If you were having a bra made for you by a custom bra maker, they may take 20 (or more) different measurements to get an accurate pattern. That is waaaaaay too technical for the average home sewist, but there are a couple things that might be useful to know.
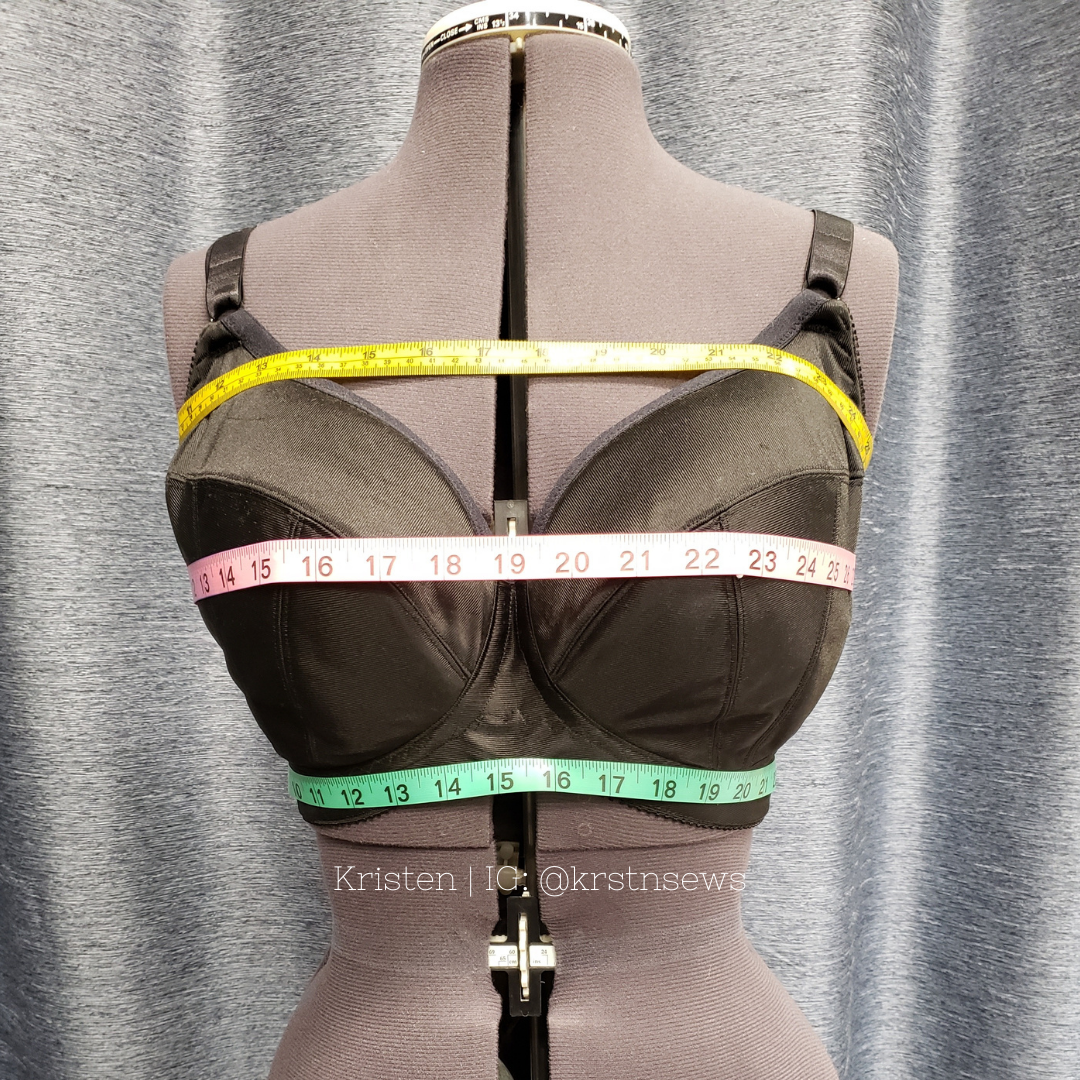
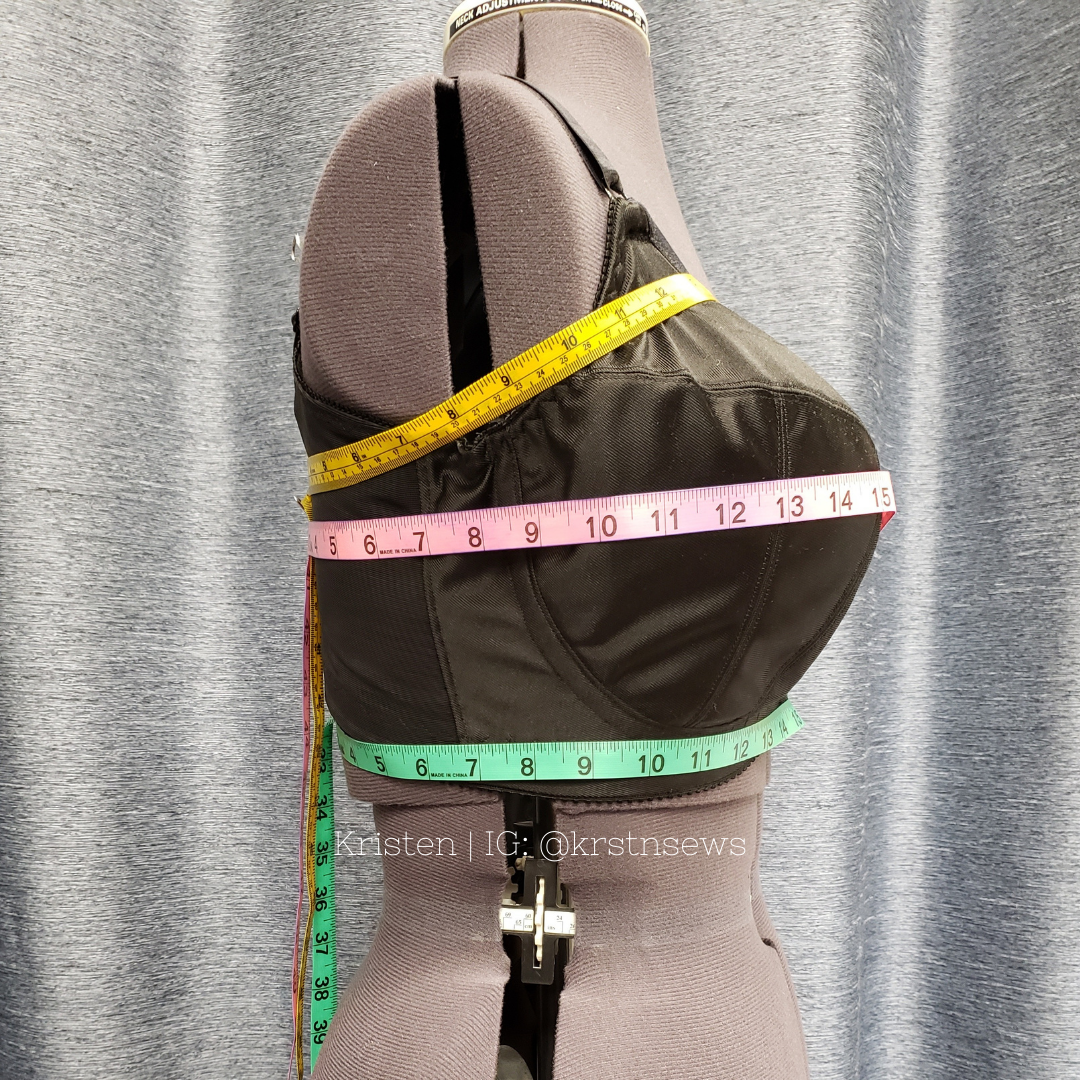
Many designers will have you take high/over bust measurements above the breast, your full bust measurement at the fullest part (usually across the nipples) and then under bust which is directly under the breast at the ribcage.
Editor’s Note: We talk more about these and many of the following measurements over in the Sew Busty bra measuring guide!
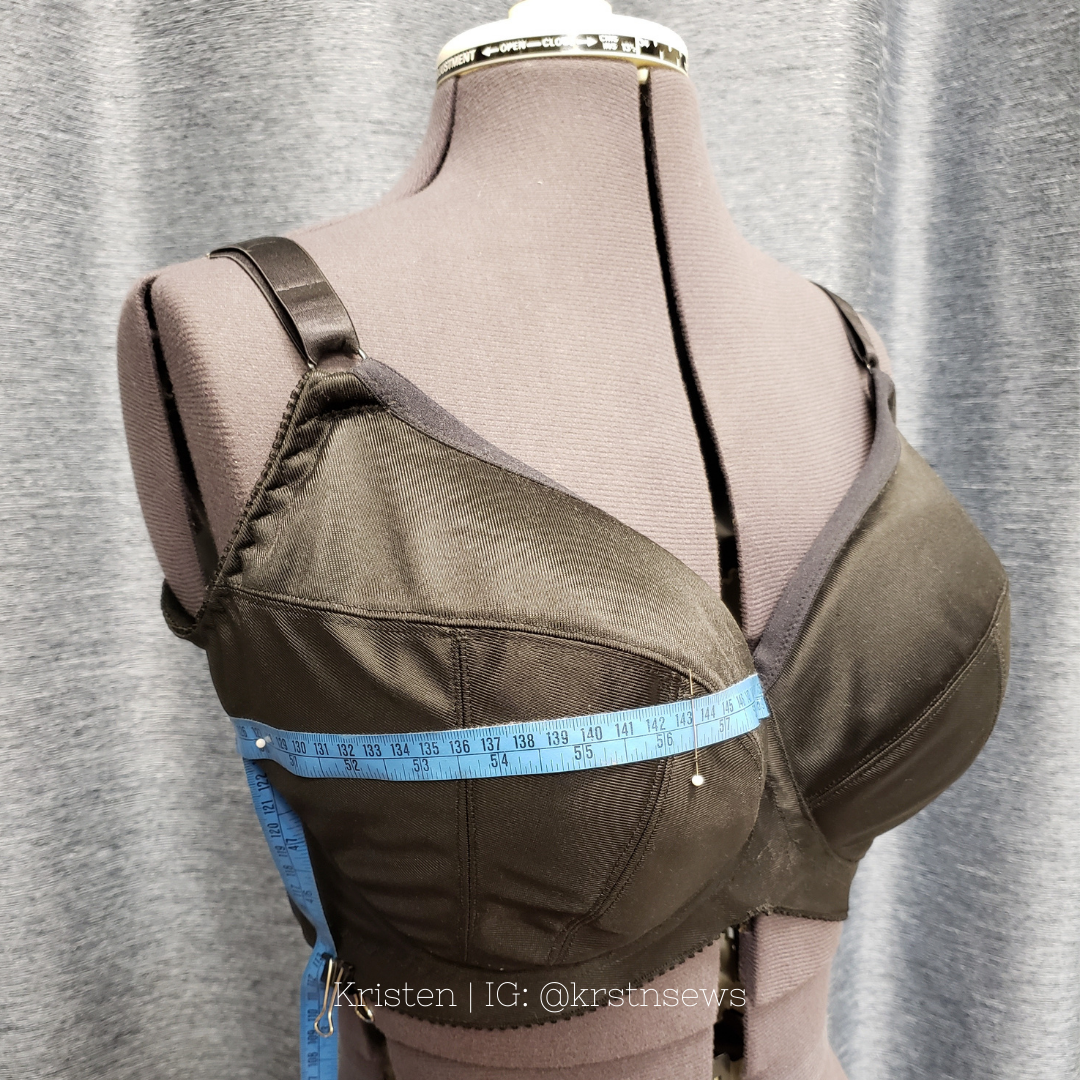
I recommend measurements of your body and match them up with the pattern pieces to double check the logic of the size you’re going to try. The first is from the wire at your center front, sternum area, horizontally over your nipple to your wire at your armpit, so you have some kind of idea how wide your cup should be in the flat pattern. This is often called the horizontal hemisphere measurement. While taking this measurement, it may also be helpful to notice where your nipple lands in this horizontal measurement to note if the apex of the pattern seems reasonable.
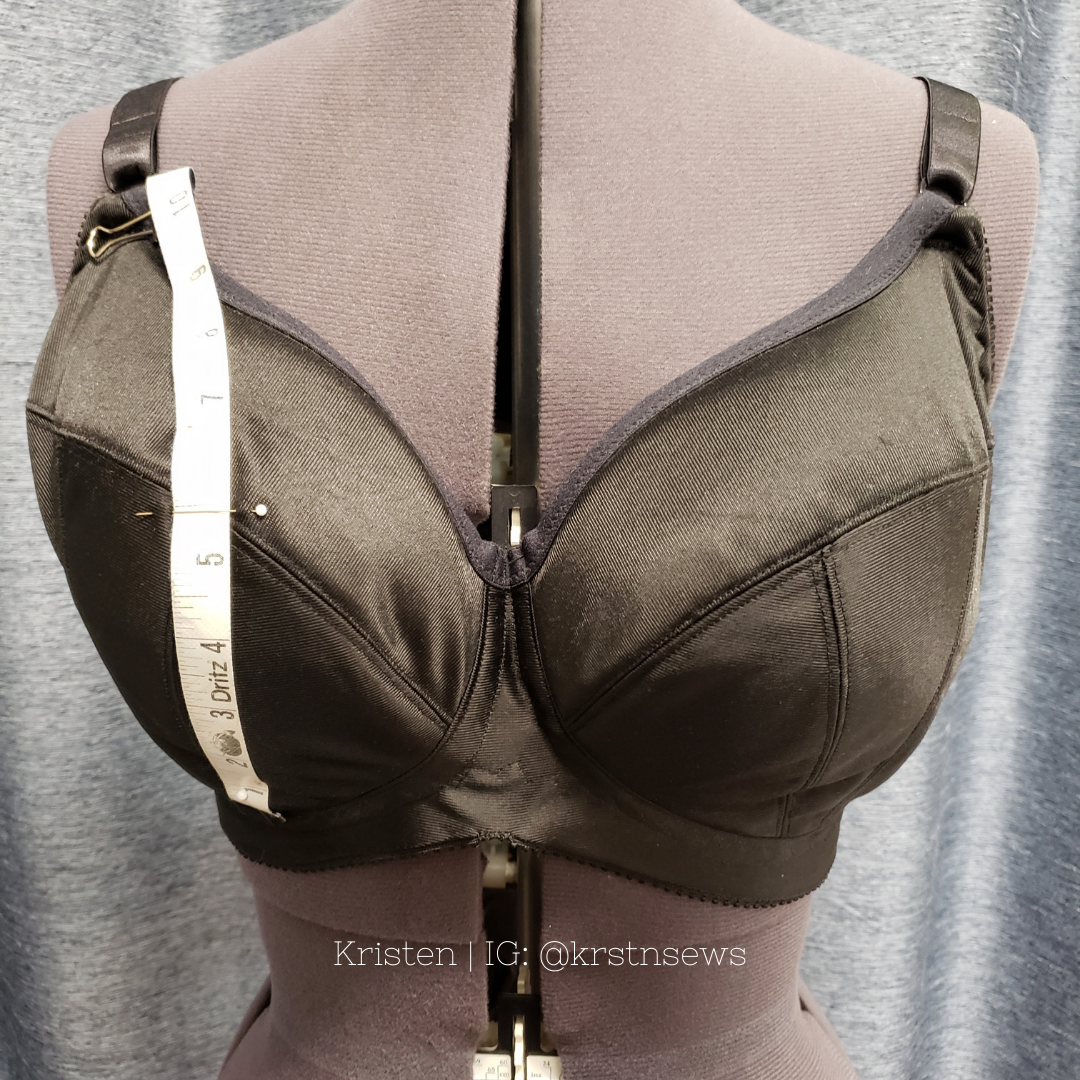
The second measurement I’d recommend knowing is from your wire directly below your breast at your ribcage vertically over your nipple and up to the top of the cup, so you have some kind of idea how tall your cup should be in the flat pattern. Noting where the apex is located in this measurement may also prove helpful as some designers sell their patterns using the measurement from the wireline to the nipple and call this bottom cup depth.
Overall, the best way to measure for a bra is to try bras on until they fit, but this is “impossible” to do when you’re sewing them, unless you make the whole size range. I’ve done it with one pattern, and I don’t recommend it unless you’re going into the bra making business. There’s more than 1500 sizing options in the Eve Modular patterns for good fit, hence why I say “impossible.” These measurements of your actual breast may help you assess the pattern pieces to see if the size you want to try looks logical.
Some patterns recommend a wire size that is typical for the proportions you have from over bust to full bust to underbust. However, this is what the ready to wear industry does, and it’s part of why so many people think that underwires are uncomfortable. The wire doesn’t actually fit the shape of where the breast attaches to the body if you just go with recommendations. I recommend doing a wire fitting as part of the measurement stage and sort of building your bra out from there.
Wires: Fitting them to the body
Wire fittings are an extension of the section on taking your measurements because the width of the wire is actually telling us how wide you need the frame/cradle to be to accommodate your breast tissue. I give it a separate section to emphasize just how important it is to the fitting process.
If you haven’t read Lindsie’s writeup about underwires, please do. It covered the basics pretty well and any truly custom fit bra starts with the wire first, and then we build the whole rest of the bra around the wire.
Without getting too technical about it, wired bras are a cantilevered support system (like bridges). The wire sits flush to the body with the stretch of the back band holding the wire in place and then the cup receives its support from being attached to the wire with the right tension. If the wire is the wrong size for the anatomy or is sitting in the wrong place or is the wrong shape, then it can press and poke in uncomfortable places.
A writeup on bramaking would not be complete without a mention of the concept known as wire spring. This is heavily debated amongst the bra-making community and it has to do with whether or not the band matches the shape of the wire exactly so that there isn’t extra tension placed on the wire.
The Eve Classic Bra Pattern is designed without spring and is intended to be a very custom shape for each person who wears it. Some home sewing patterns are drafted with Wire Spring to place more tension on the cup for the intended purpose of providing lift and is used by a great many ready to wear companies. If you’ve ever had a bra where the underwire has snapped in half directly underbust, the bra was probably drafted with wire spring and for a torso shape that might be different from your shape. I draft with Bare Essentials method, which has no wire spring, but I’ve had success with patterns that do have wire spring in them. I find that I prefer patterns that have little to no wire spring, rather than patterns that have a large amount. I encourage you to experiment and see what works for your body.
Wires: Alterations for Better Fit
People don’t often think they can alter wires, and sometimes altering the wire can make all the difference in whether or not the bra fits. What happens when you find the PERFECT wire shape and its the right width, but it’s just too tall? Well then you cut it shorter. If you’re going to cut it, though, you have to treat the cut edge of the metal so it isn’t sharp and can’t cut the fabric or puncture skin. Here’s a video with more information:
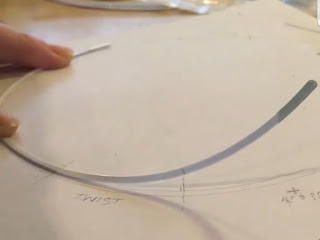
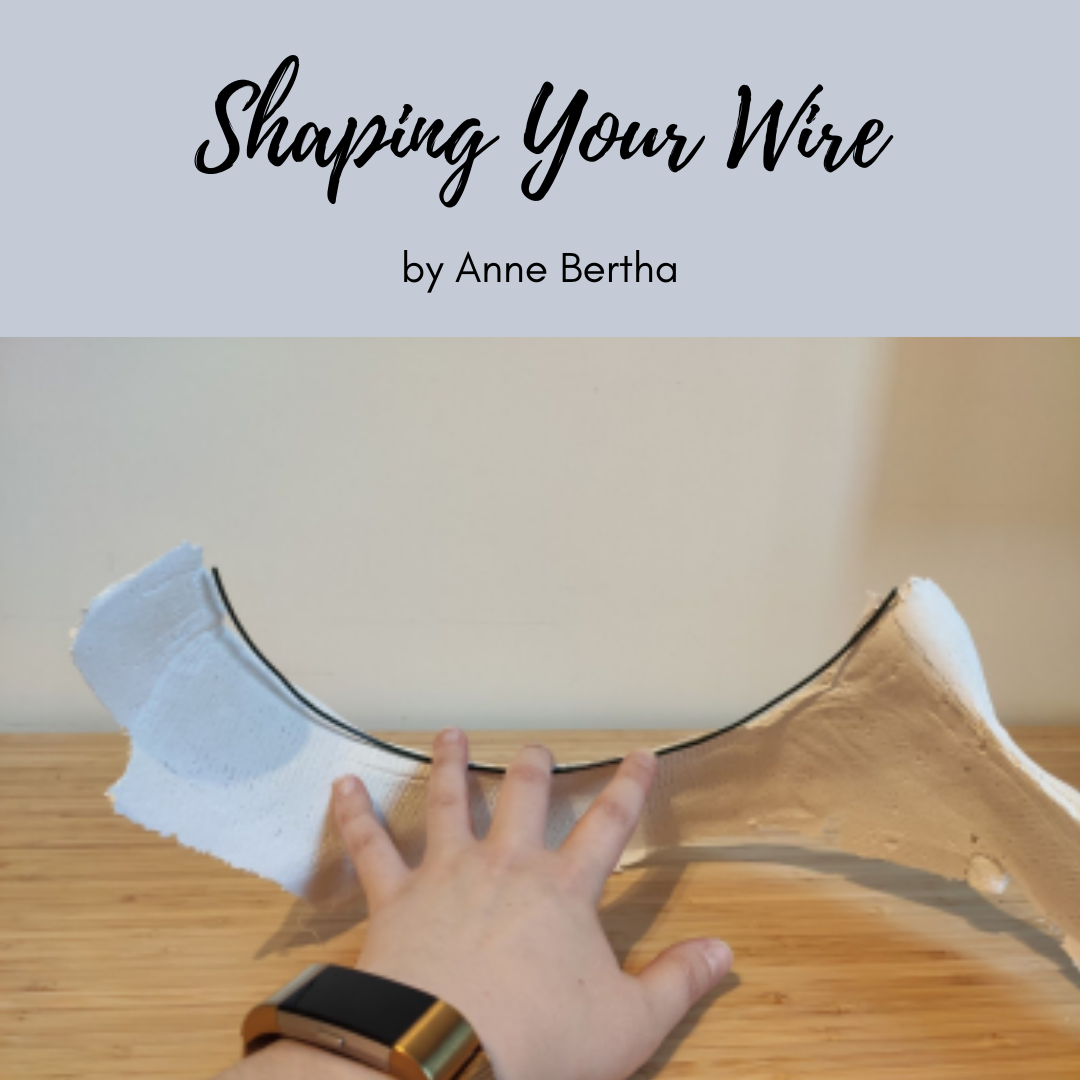
Another alteration that is sometimes necessary is to bend it into shape. Some bodies are very cylindrical at the rib cage and the wire can kind of tip over making the center front dig into the sternum and the side point toward your back. Wires come in a 2D shape where you could lay them flat on the table and some people desperately need a 3D shape to get the wire to sit where it belongs.
Here’s a video from Porcelynne on bending underwires:
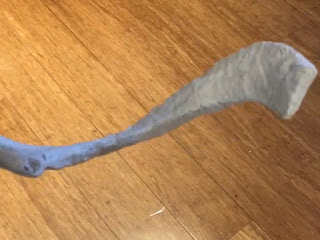
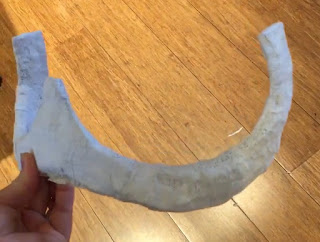
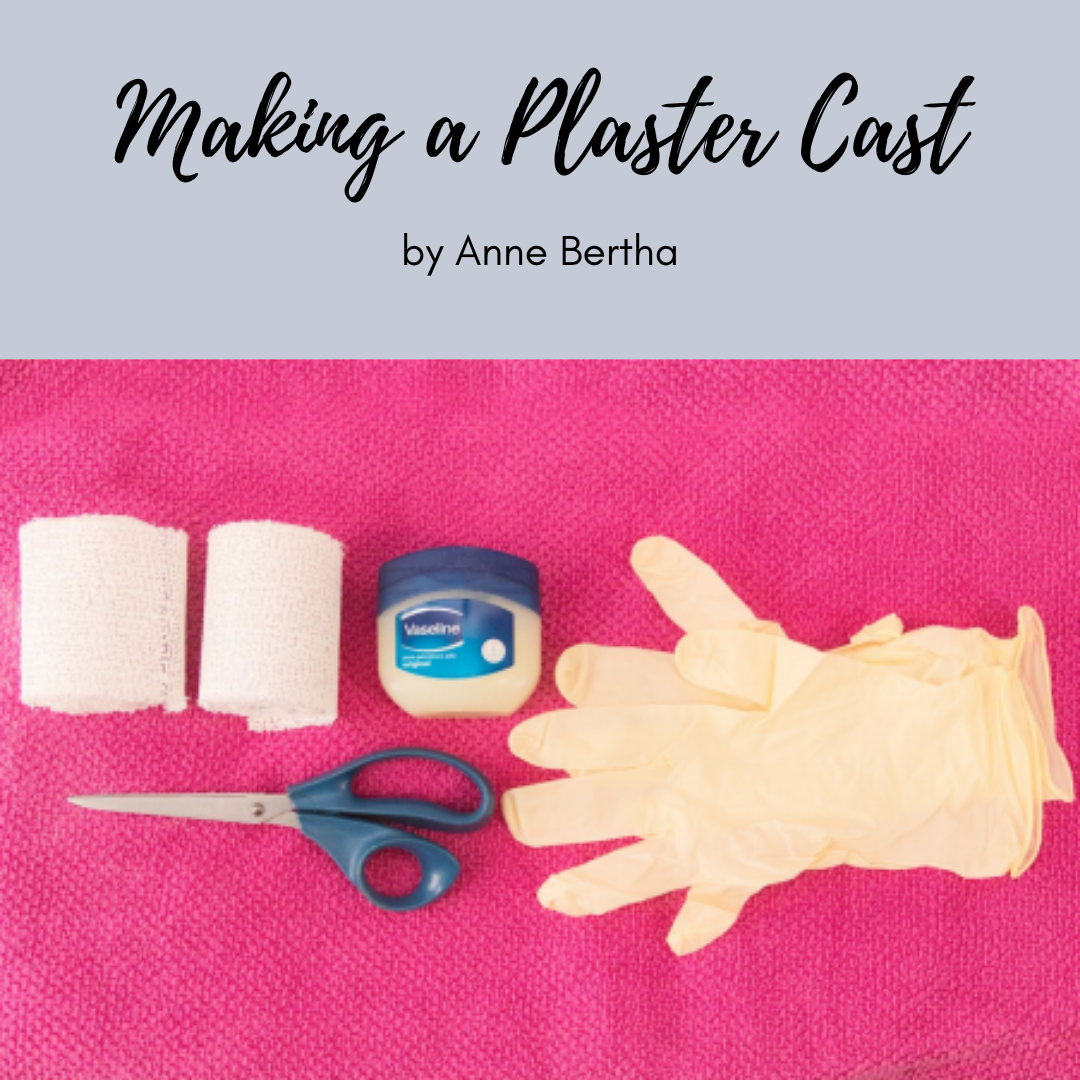
For those who have this cylindrical shape, the Bare Essentials group has been having people do plaster casting of their breast root to get a more accurate sense of how a wire should be bent, rather than just blindly bending.
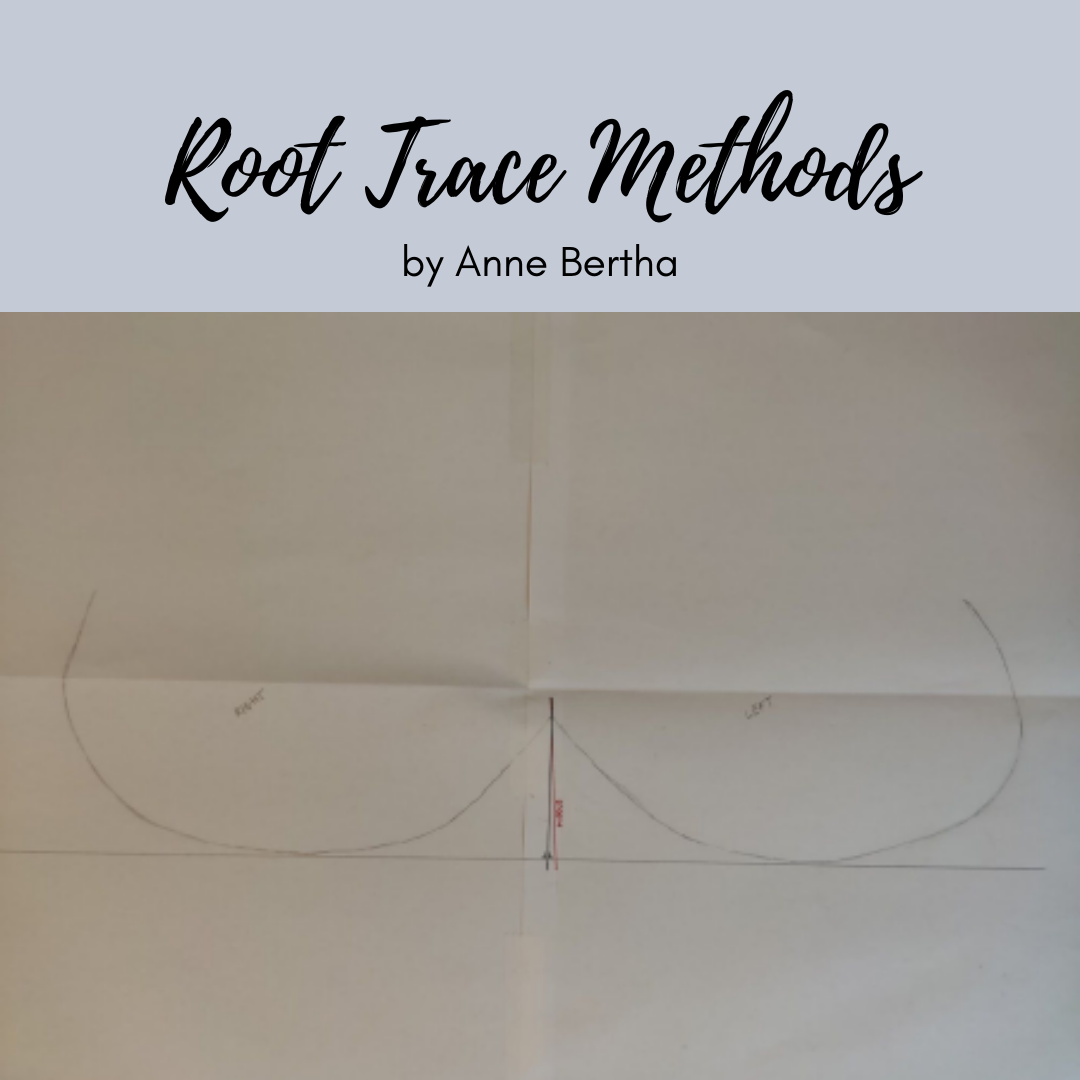
I must give credit where it is due, the Lovely Grace Horne is an expert knife maker and was the one that brought the need for this alteration to the forefront. Grace corresponded with Anne Bertha who wrote a couple of fabulous blogs on these alterations. Click the images below to see the blogs.
Sometimes you won’t know that you need to make wire alterations until you have the tester together and you can see how the tester behaves, but I list it first in the order of operations because we are starting with the wire and building the bra around it.
Stay tuned for part two of this series, which will hit Sew Busty July 6, where we discuss fitting bands and how to assemble them for alterations and for part 3 on fitting cups and how to assemble them for alterations.

Kristen is a Professional Sewist since 2010 in her family biz, Sewing by Carolyn, doing mostly clothing alterations, mostly wedding gowns and other formalwear. She like to say she became a Certified drafter in the Bare Essentials Method almost by accident. She just wanted a pattern that fit her friend and there is no pattern that’s shaped like her… And down the rabbit hole she went. 🐰

