
Bra Month | Community Blog | Fitting Considerations for Large Bra Cups with Carla
Editor’s Note: I’m excited to attend the Great Bra Sewing Bee here in about a month, and I’m excited to have Carla, one of the fantastic instructors for the Bee, on the blog today to talk about fitting bras for big boobies. The timing is especially fantastic as we wrap up bra month! As we get nearer to the GBSB, promo code SEWBUSTY will get you 10% off the Josey, Josey Plus, and Ingrid kits. Even better, for those new to bra sewing, you can go from following Sew Busty’s Jet Set Sew Along to learning EVEN more about bra making at GBSB’s Beginner Bee day!
When it comes to bra making, regardless of the cup size, we need to define a good fit before we can determine if a bra fits poorly. This is specifically for underwired bras.
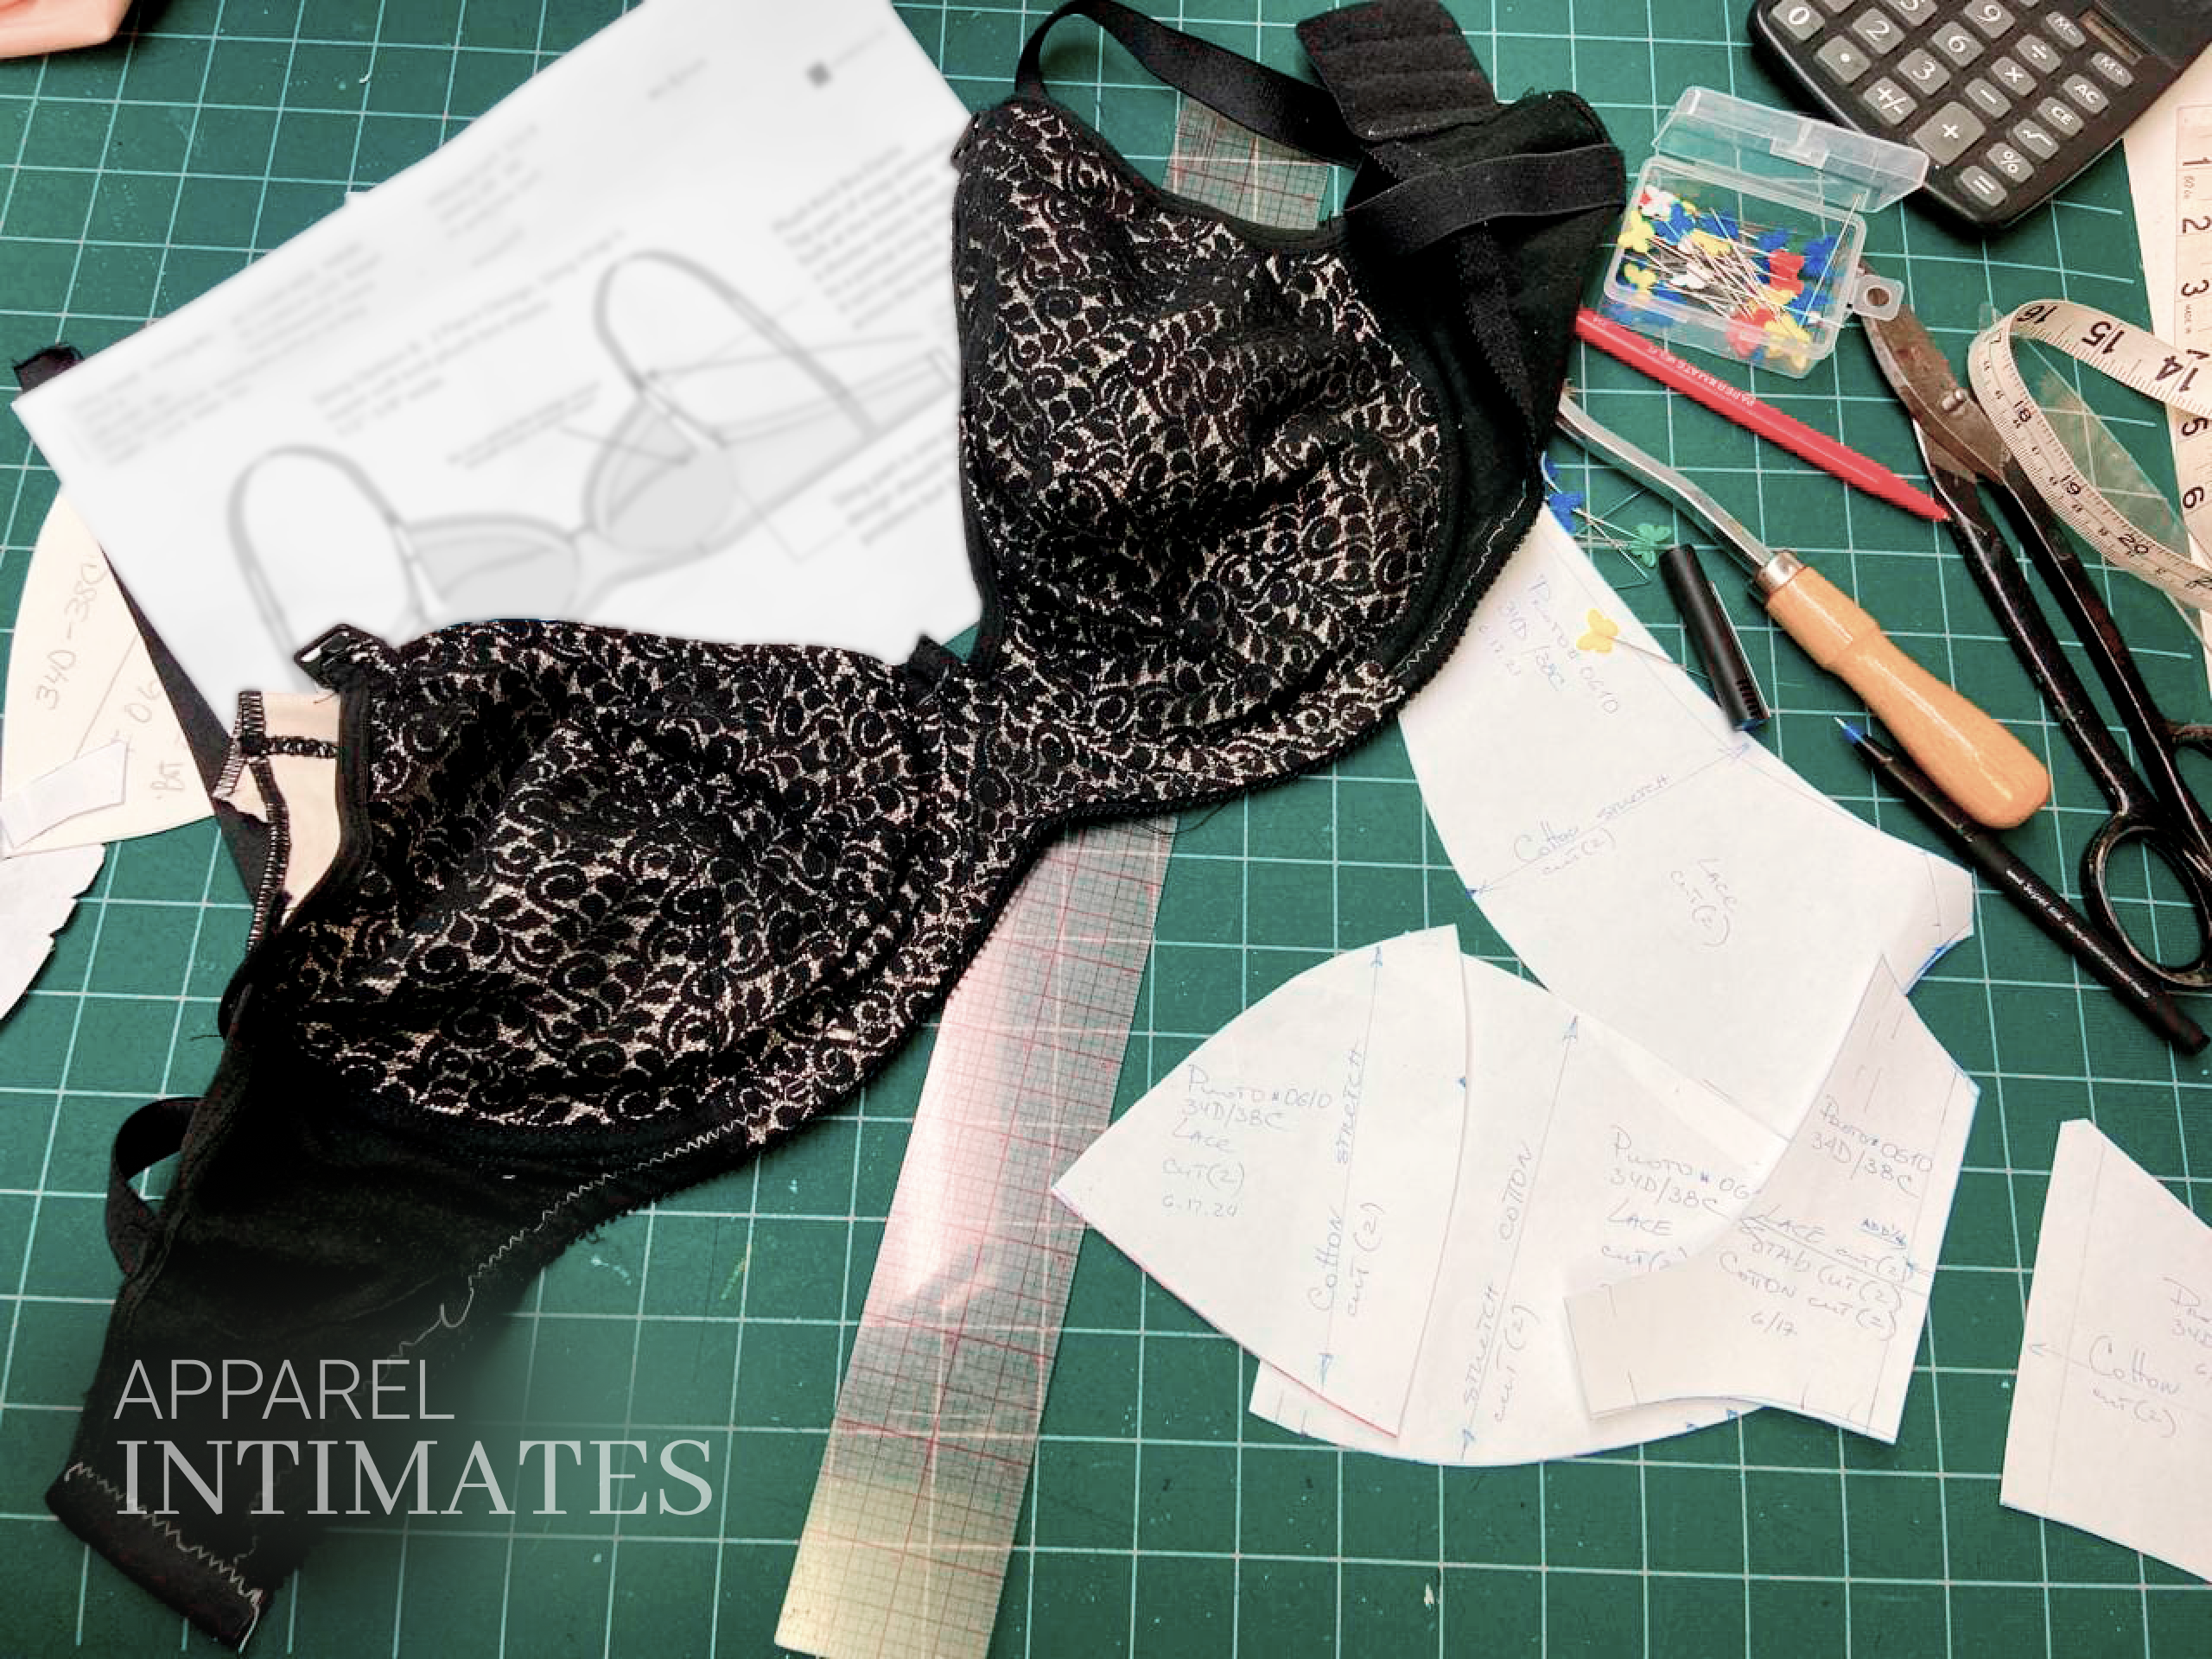
A well-fitting bra should provide coverage without spillage of breast tissue on the side, over the top, or from underneath. It should shape, lift, and corral the breasts according to the silhouette of the bra. Underwires should always fit in the inframammary crease under the breast and hug the side of the breast tissue. The straps should not slide off the shoulders, nor should the back ride up.
I have just a couple other nuggets to share before we discuss fit.
Your first bra will probably not fit. If you have large cups, your first few bras will probably not fit. Don’t’ be discouraged. This is normal.
A bra is the most structured article of clothing and must be made to fit a variety of bodies. As a pattern maker, I can tell you it is impossible to design a 36G cup pattern that will fit every 36G cup perfectly. We are all uniquely shaped, so of course we will all have different issues with fitting.
Additionally, and I can’t stress this enough, you must use your “final” fabric in all your bra making. You will never be able to get the same fit using cotton muslin that you will with a highly technical fabric. Bra fabric is unique and can’t be found at your local fabric store. Thankfully online vendors, such as BraBuilders.com, have made bra fabric shopping easy.
Now we can talk about what may be causing your bra not to fit.
Underwires
Having the right underwire shape for your breast root is one of the most important, yet overlooked factors in bra making.
Editor’s note: For more info on underwire fit, check out the Sew Busty guide to underwires and performing a breast root trace here as well as this post from our underwire bra making guide, which goes into even more detail on wire alterations.
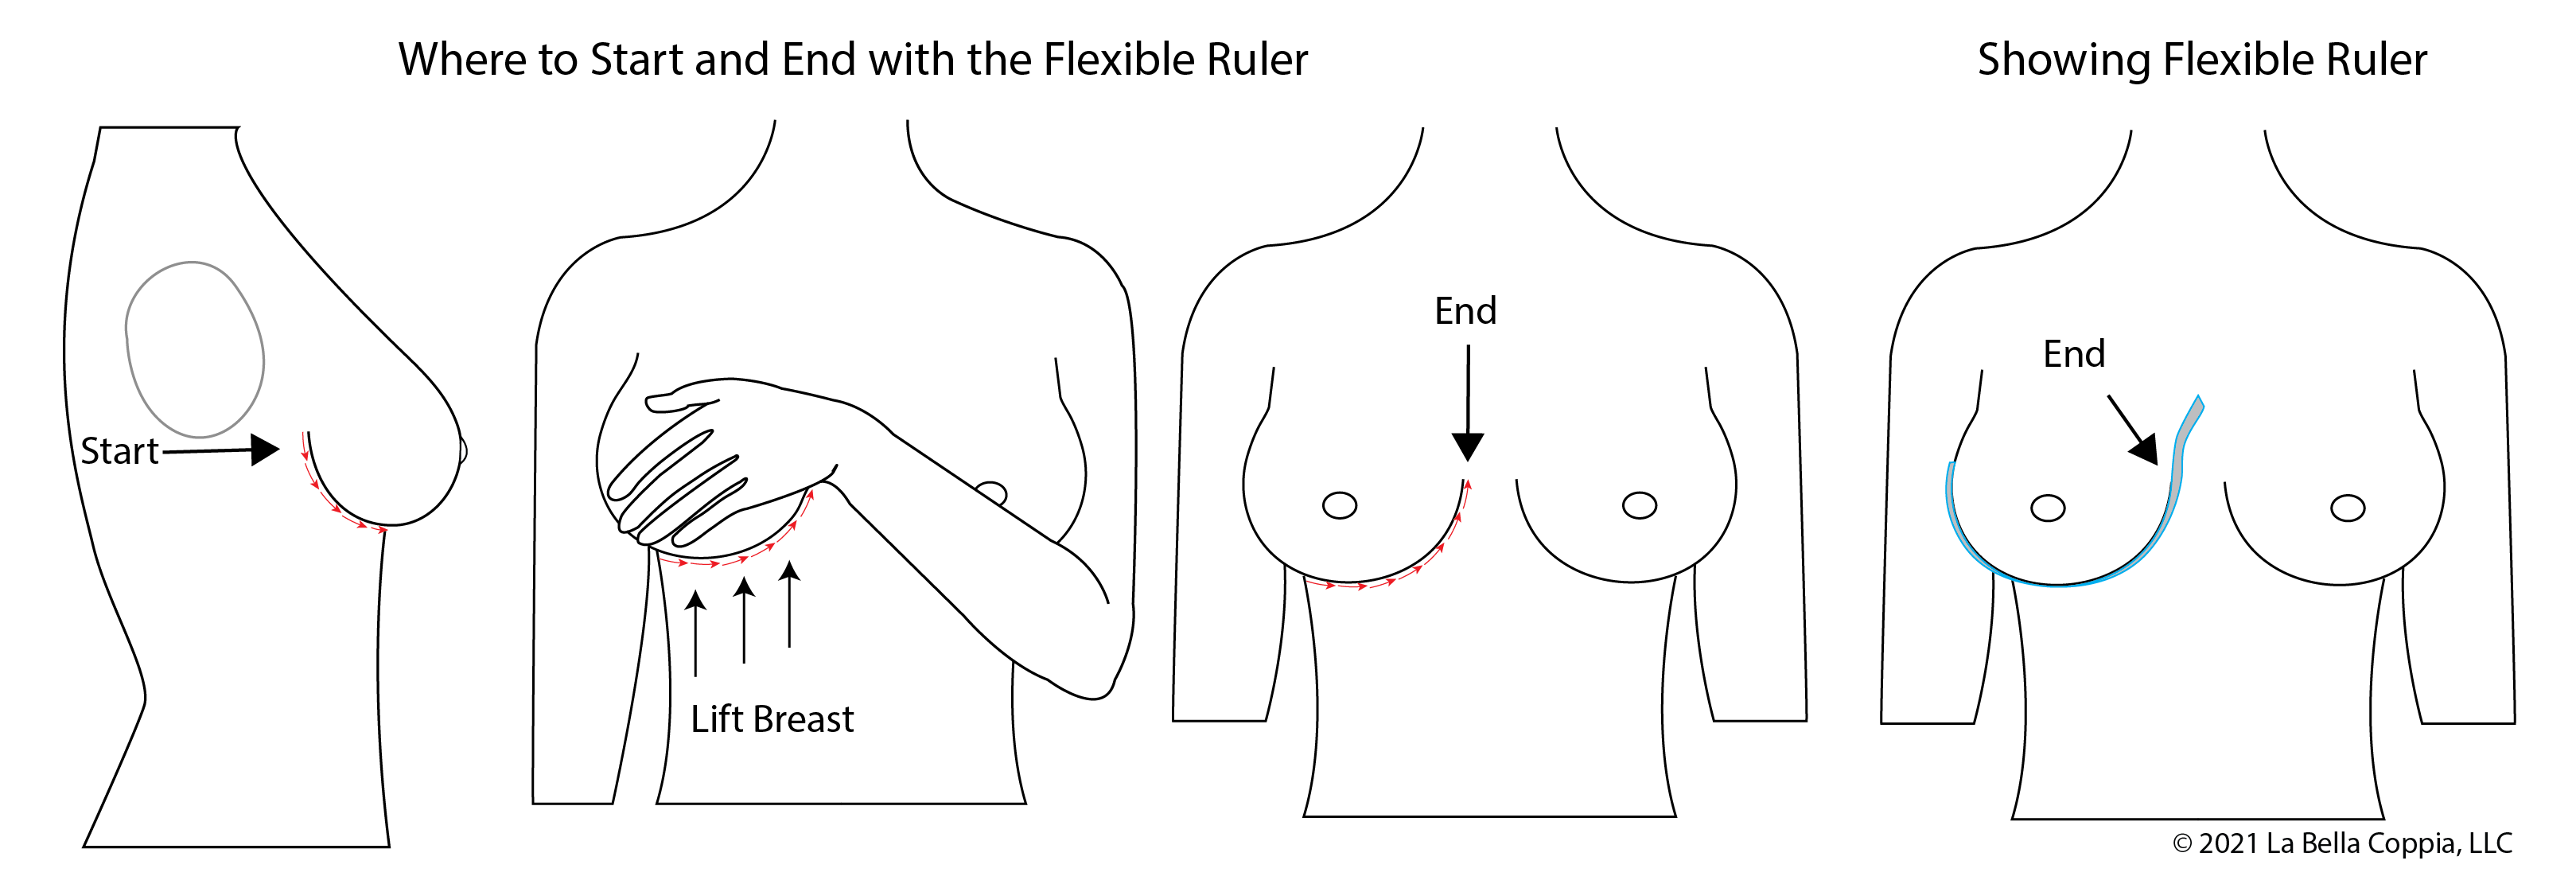
The underwire should fit precisely in your inframammary crease on the bottom and fit right next to your breast tissue on the side. The wire should not go wandering towards your back, past your breast tissue, nor should it sit on top of your breast tissue.
To find your breast root, get a flexible ruler and form it around your breast. Start from the side, go under the crease and around to the center. Without bending the ruler, take it over to a piece of paper and trace the inside curve. Then choose an underwire that most closely resembles that shape. Keep in mind the underwires will come in a variety of gauges and will splay open when the bra is worn. The underwire should never be wider at the top when compared with your breast root trace.
Center Gore or Bridge
This goes along with the underwires. The gore needs to be the same shape as the space between your breasts. If you have wide set breasts and a narrow gore, the underwire will not be encasing your breasts correctly. You may need to widen the gore at the bottom center. On the other hand, if you have narrow set breasts, you may need to lessen the width at the top center.

Direction of Stretch
Is the stretch in the correct direction? The stretch should go around the body and be directed toward the apex. If it’s not, that will create some distinctive warping in the cup shape.
Band
Is the band tight enough? It should fit snugly, but still be comfortable. If it rides up, it could be because the band is too loose and will not support the weight of the breasts. The band is responsible for about 80% of the support. Without a snug band, your breasts will sag, and you will feel this right away.
Another issue with the band that you will not feel right away is when the back straps are set too close to the center back. If the band is snug but it still rides up after a few minutes of wear, you may need to adjust the pattern to move the straps farther out. This will be discussed in further detail by Apparel Intimates in the class called Pattern Adjustments for Size Inclusivity at the Great Bra Sewing Bee.
Editor’s Note: Also check out the blog on July 6 for a post all about making what we call a fitting band, which helps ensure perfect band fit!
Straps
Are the straps adjusted properly? They should not be so tight that they are causing an indentation in your shoulders, but they should not be so loose that your breasts are sagging. See if your straps are too long or too short and adjust accordingly.
Cup Size
Sometimes you may just need to go up or down a size or half a size. I see many ladies taking darts here and there. If you have to take a half-inch dart or more, then I would suggest you just go down a cup size. Taking out darts can change the intended shaping.
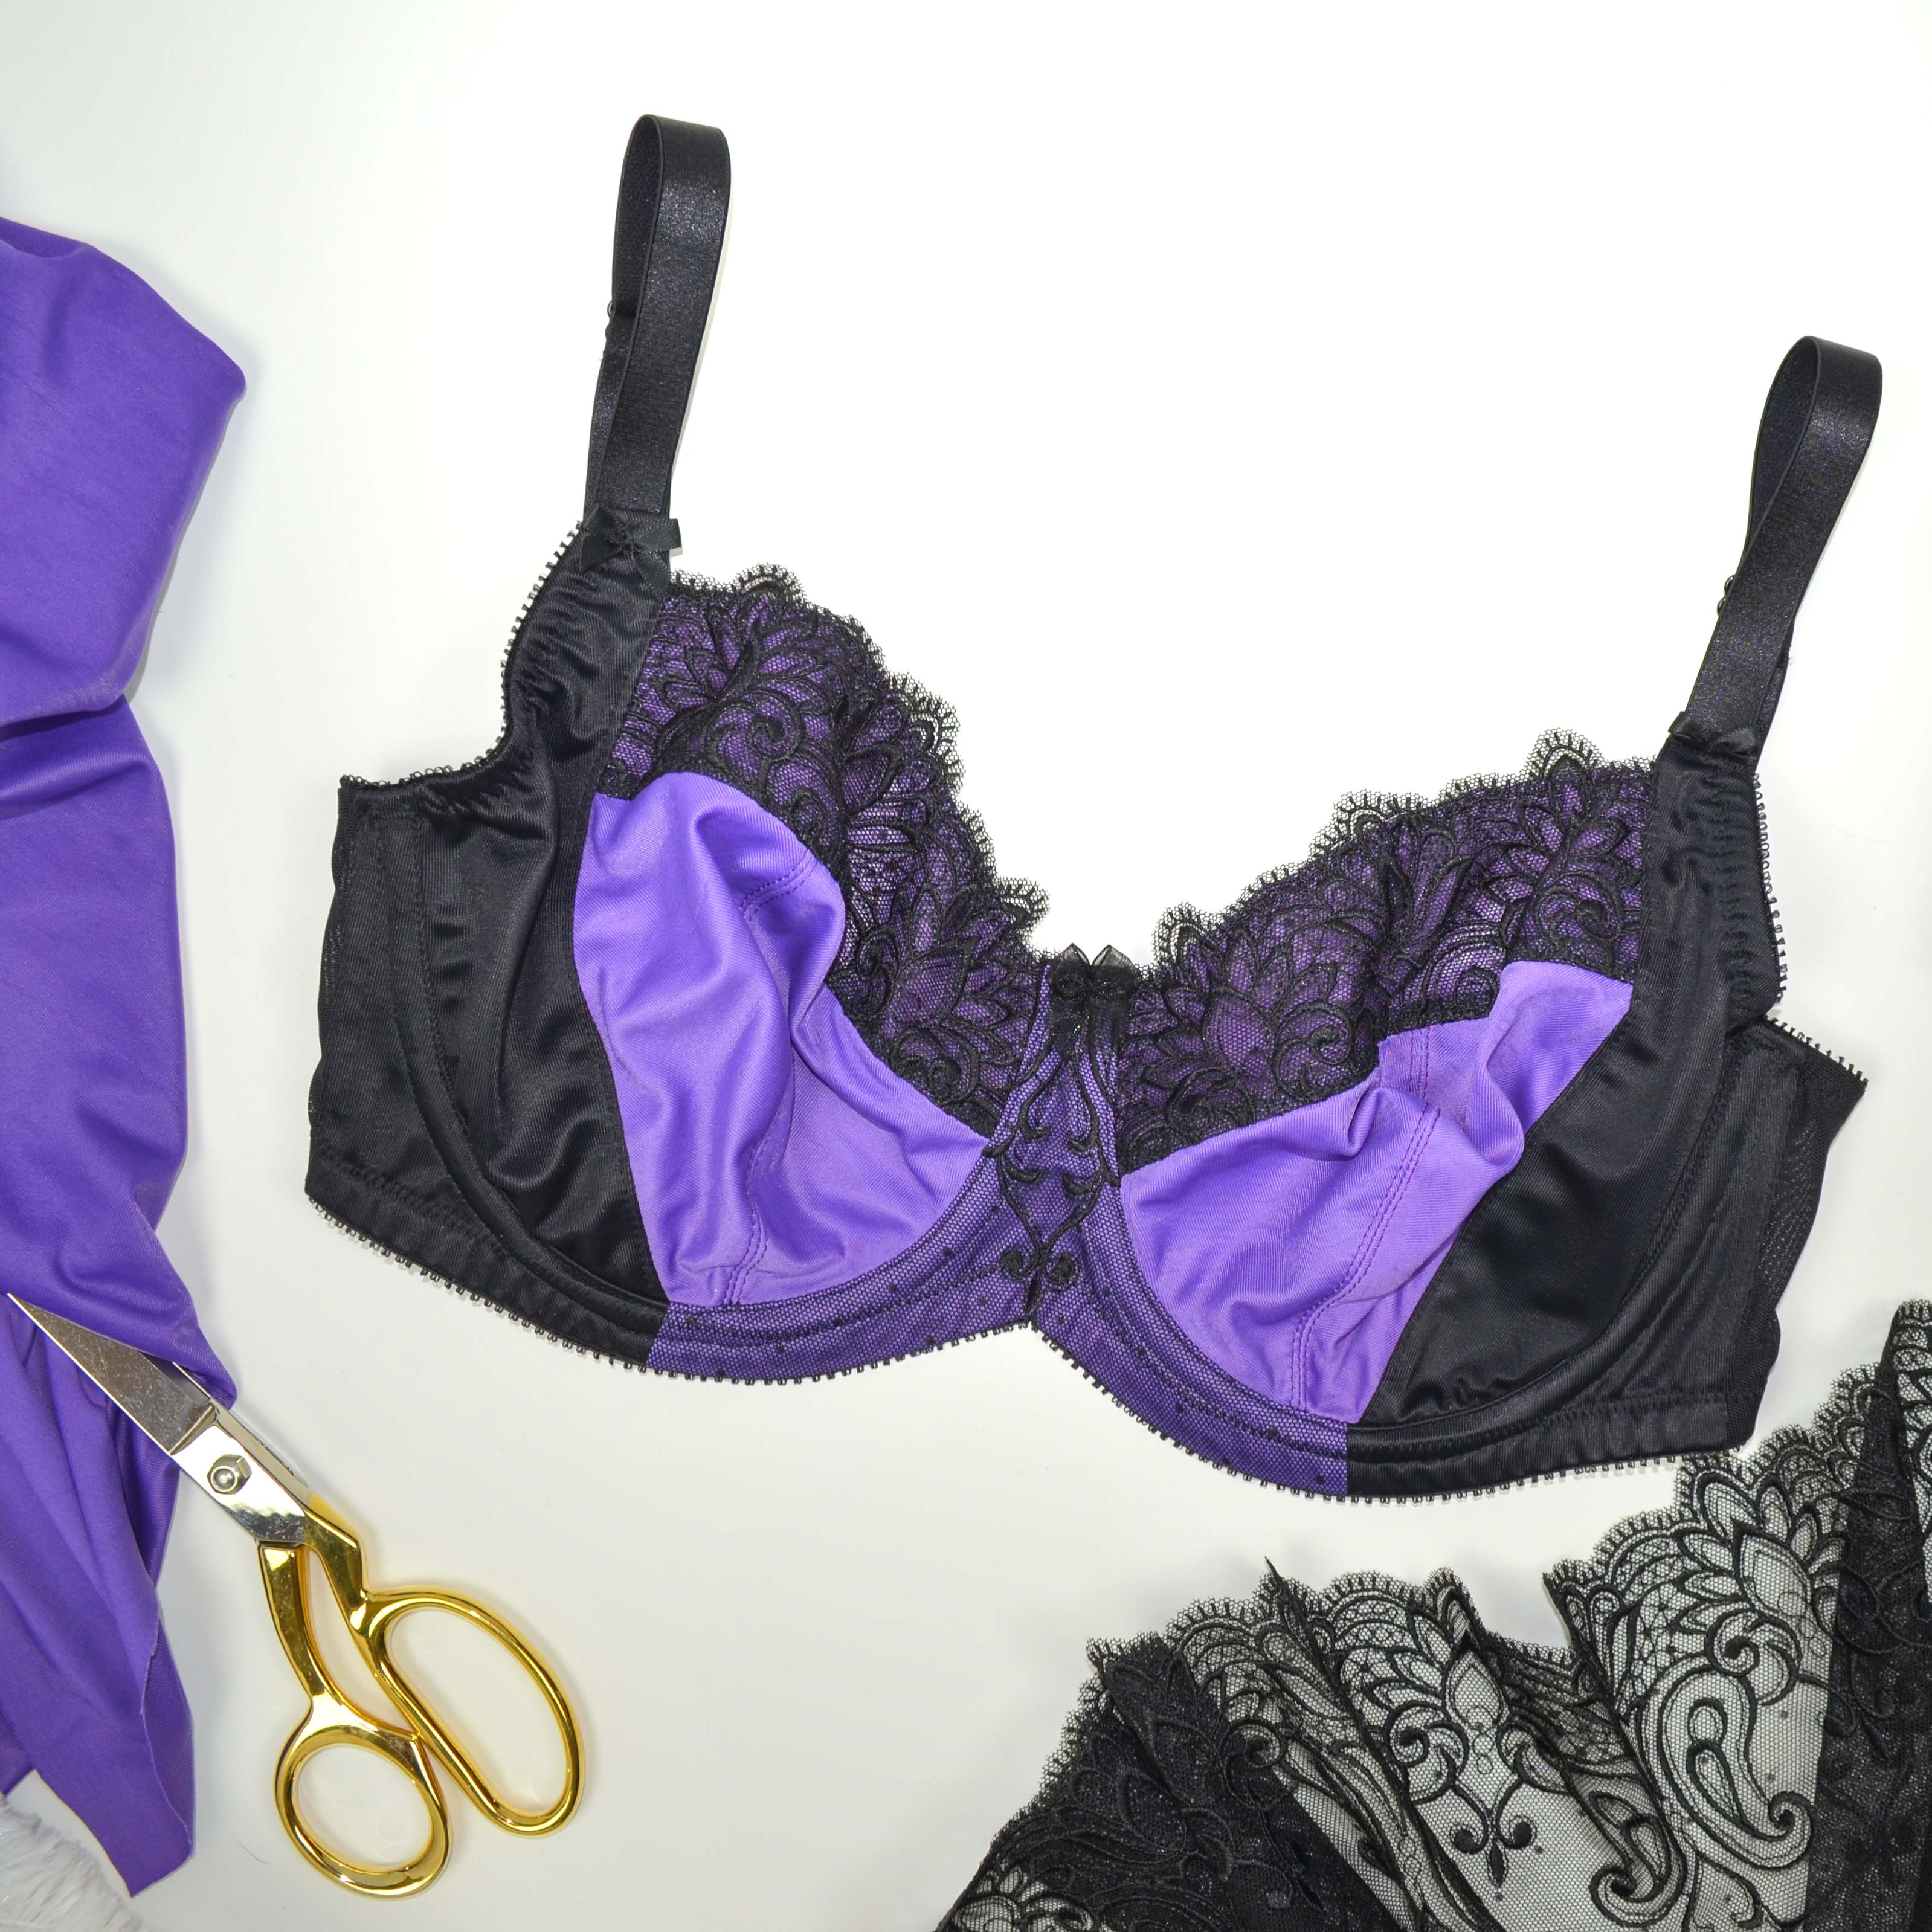
A note of caution: if you’ve already found your correct size underwire, it may not fit with the cup that usually goes with that size. In that case you will need to adjust your cup at the wire line to fit your size underwire. When the bust diameter at its fullest point is wider than the underwire, you will need to make the Omega adjustment, which you can learn more in my Making the Josey Bra online course or during the “All things Omega Boobs” class at the Great Bra Sewing Bee.
If your breast does not fall into the bottom of the cup, then you will need to add more volume. If the bottom cup is one piece, you can split the cup vertically, add a slight curve, and add 1/4” seam allowance. The curve will allow the breast more room to drop into the cup. Or you may need to increase the curve of an already two-piece bottom cup.
If the top cup is just a little too small and you have a slight cutting-in at the top (otherwise known as “quad boob”), you can just add 1/4”. Do this by cutting the pattern piece all the way to the edge without cutting it completely. Open it up the desired amount, then tape open and redraw the lines, similar to the gore procedure pictured earlier.
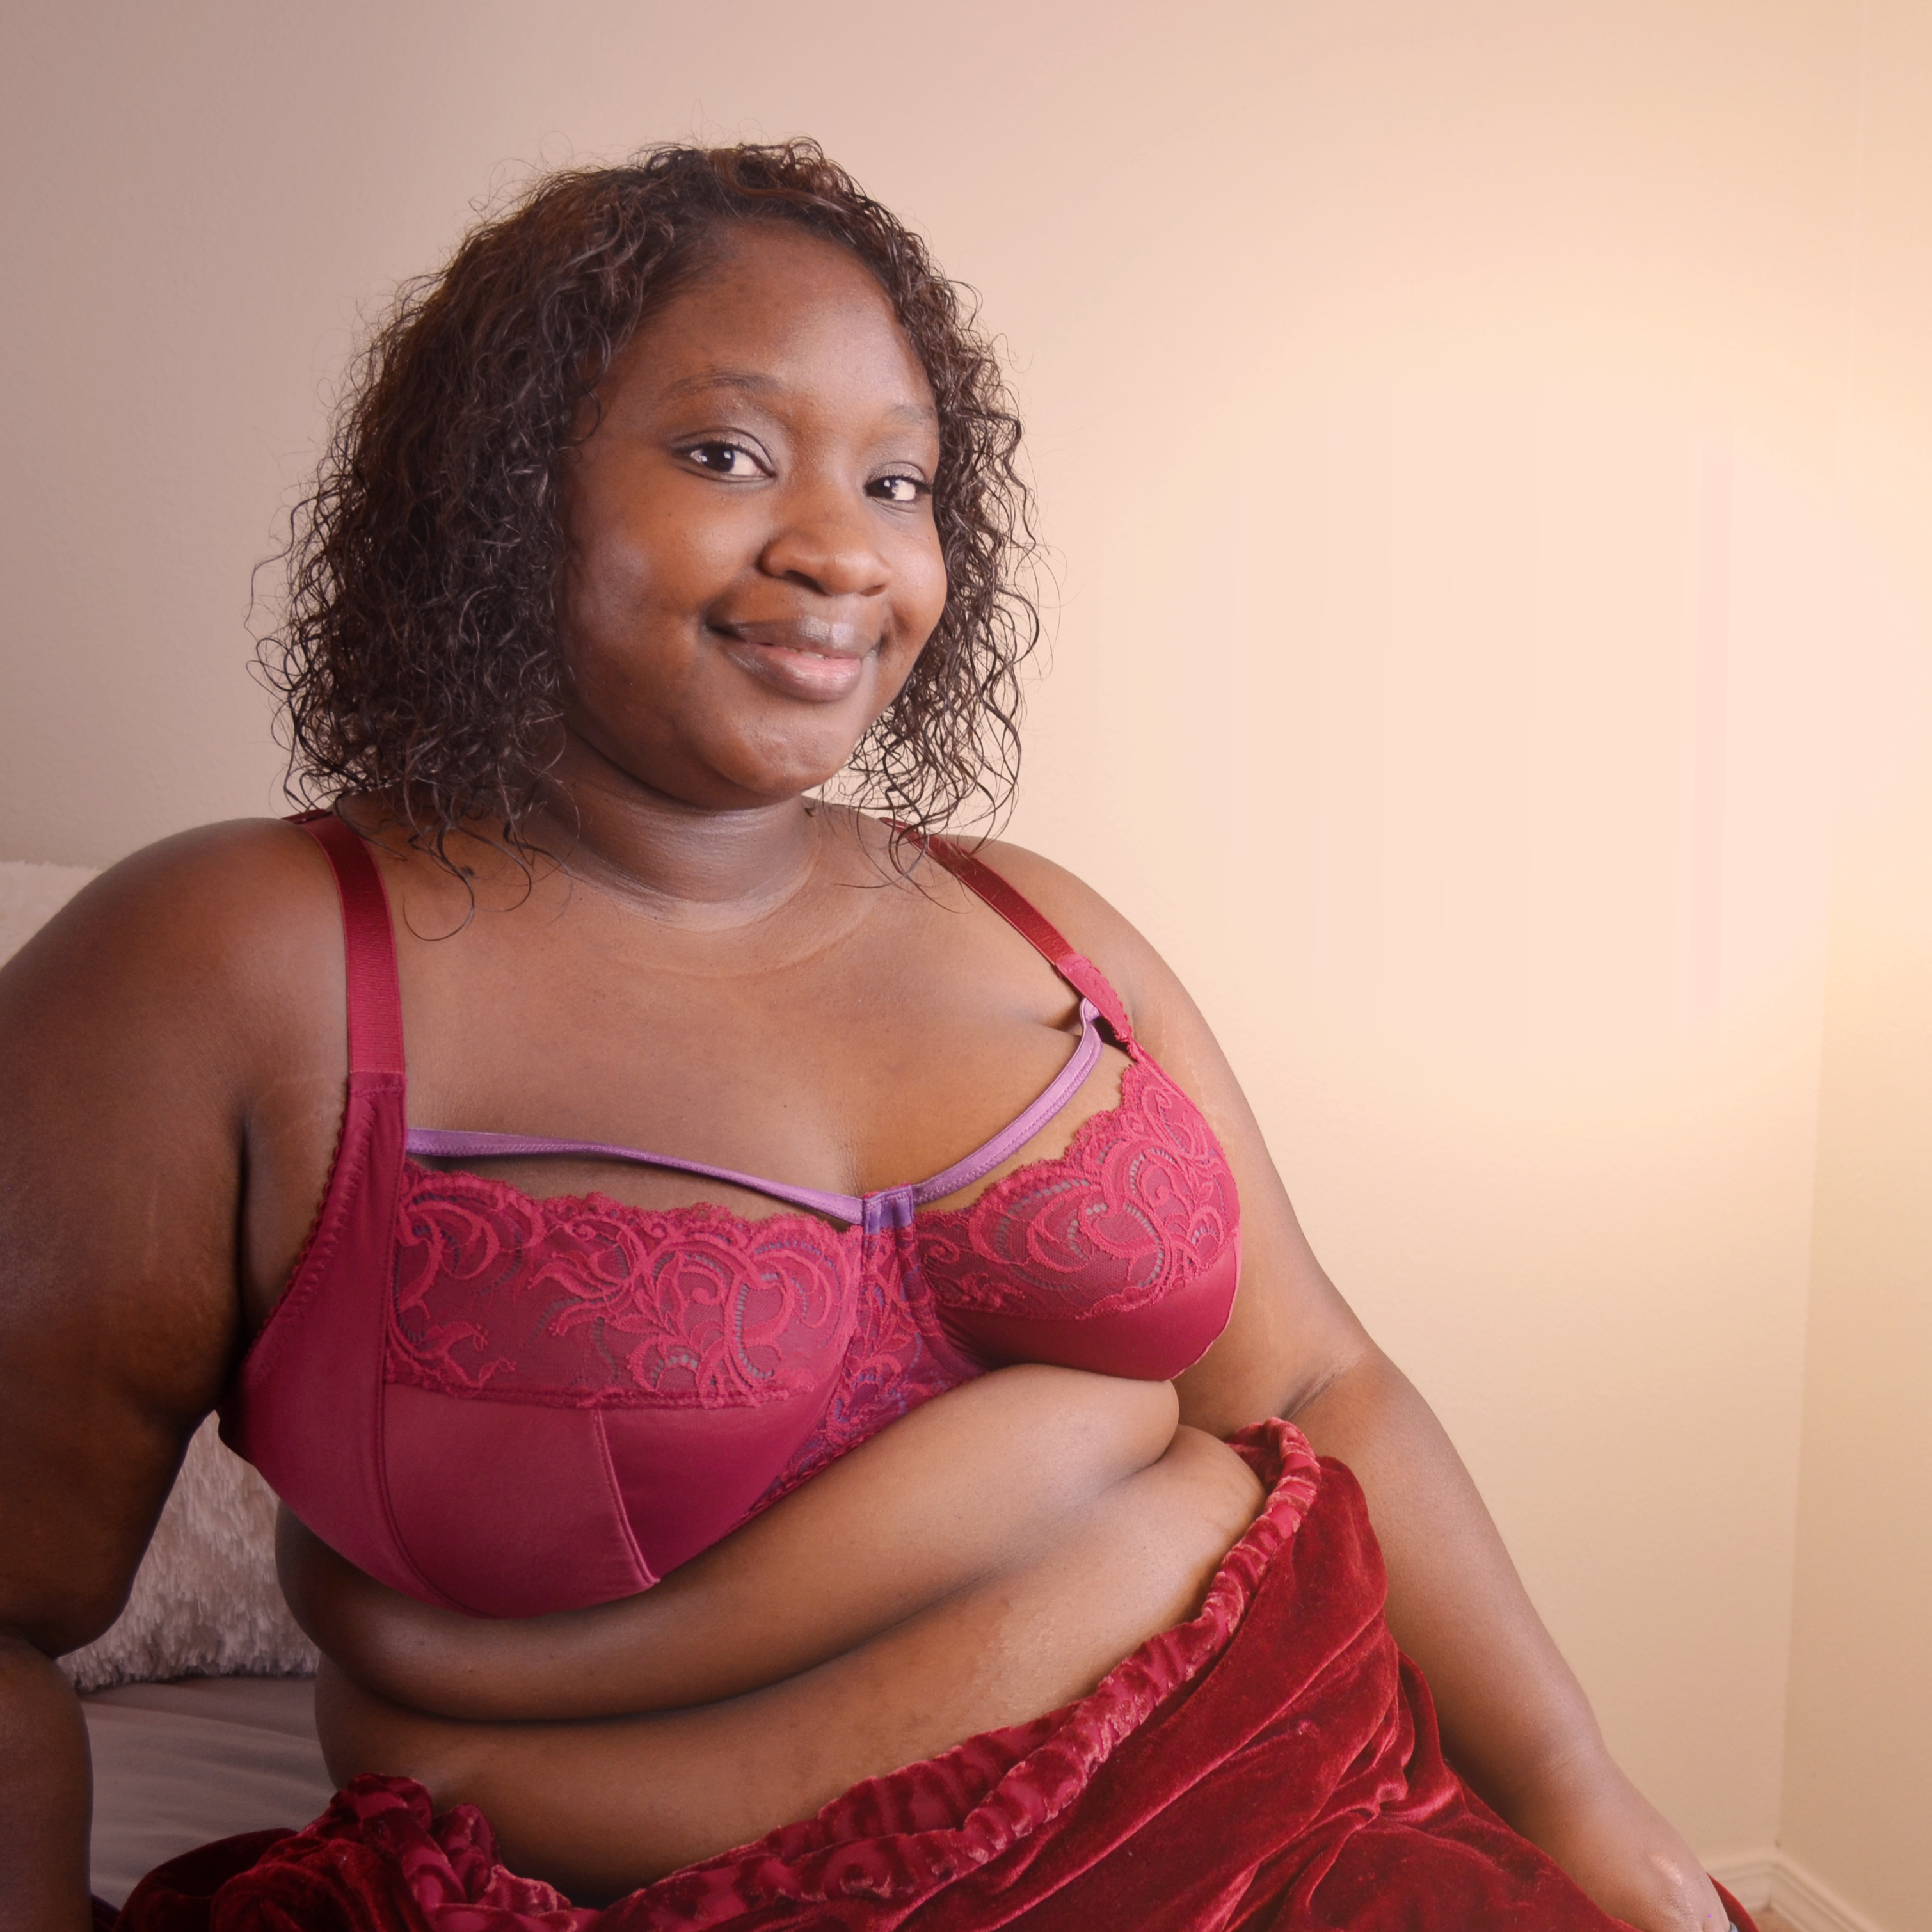
Want to learn more about fitting large bra cups? The Great Bra Sewing Bee is coming up August 4-8, 2021, and La Bella Coppia and Apparel Intimates will be some of the many teachers with sessions all about fitting. When it comes to fitting large cup sizes, you can never have enough patience and persistence. Don’t be discouraged if the fit isn’t just right. I started back when only a handful of bra patterns were available. It took me 33 tries to get the right fit. The great news is that once I got the right fit, I never went back to ready-to-wear bras again. You can do it. Just keep sewing. 🙂
By the way, if you are curious about my bra-making journey, join me during the “Beginner Bee” where I will be sharing my story.
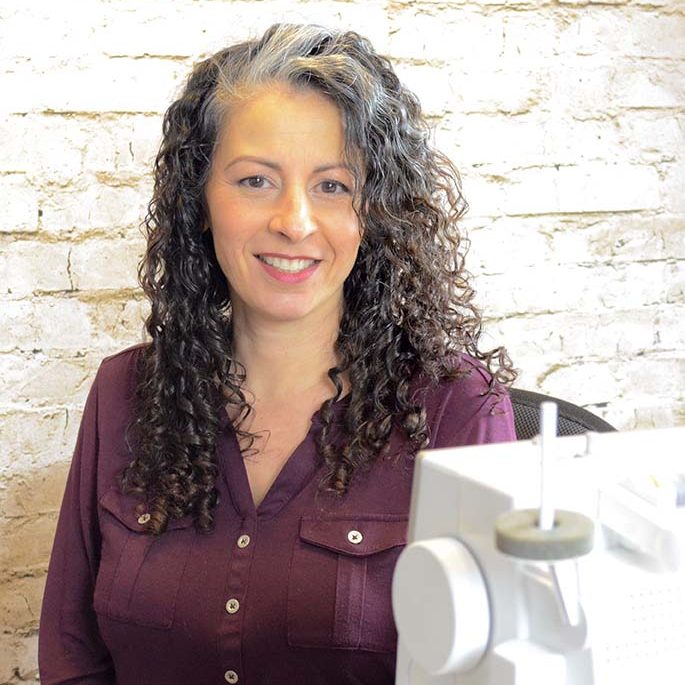
Carla Musarra-Leonard is a custom bra maker and lingerie designer. She also makes large cup bras to order under her own label, La Bella Coppia Lingerie. She is the designer of the Josey and Josey Plus bra patterns. This post was written in collaboration with Evyone Credle and Margarita Sheflyand of Apparel Intimates, LLC.


