
Beginners’ Sewing Series Part 1 | Tools of the Trade
Brand new to sewing? Start here. The Sew Busty Beginners’ Sewing Series will be your step-by-step guide to learning garment sewing. Each installment will build upon the last, getting progressively more advanced in skills and techniques. Catch up with the whole series here.
Let’s talk about step one: making sure you have all the tools you’ll need to start sewing.
A sewing machine
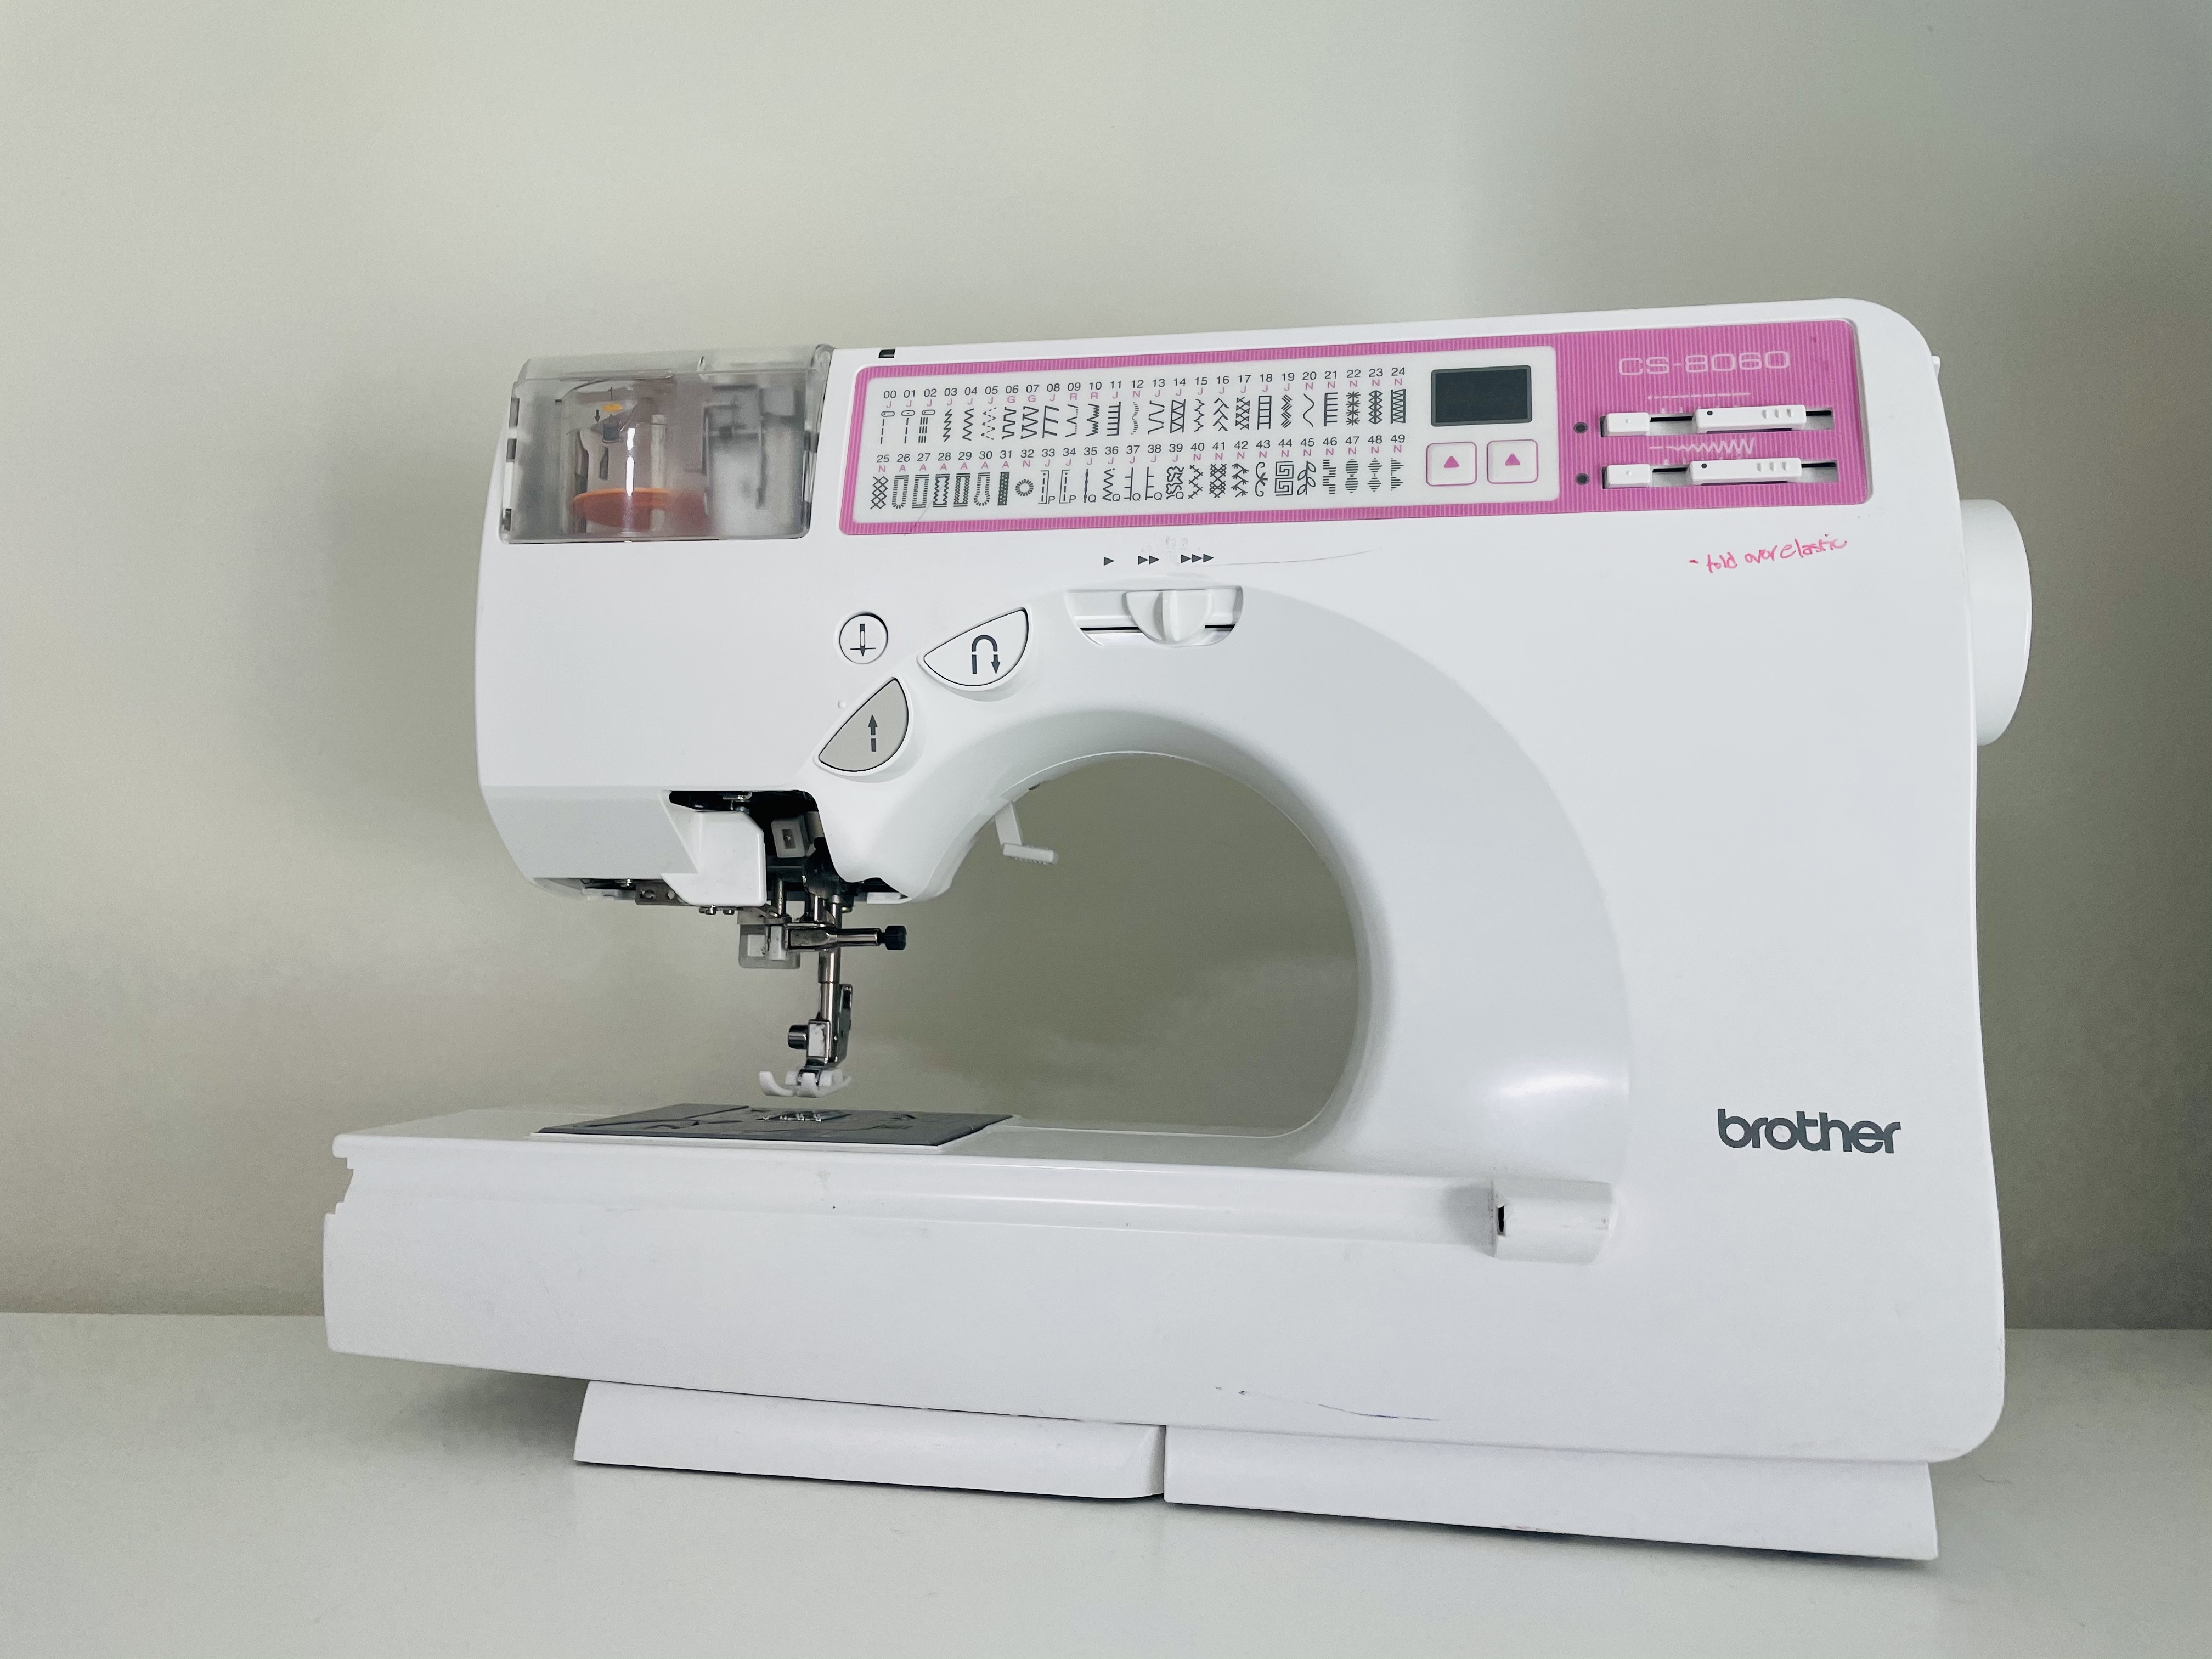
Let me be perfectly clear: You absolutely can sew with only a thread and needle. But it’s about a million times faster and easier on a sewing machine.
I tend to advise beginners steer clear of cheap machines, like mini machines or anything called “lightweight” or “essential.” These machines just tend not to be very well designed on the inside, and that can show in the stitches.
But that doesn’t mean you need to spend a lot to get a quality machine. My last sewing machine, pictured above, was purchased off Craigslist for $20. I used it for 4 years and never had any issues.
Cutting tools
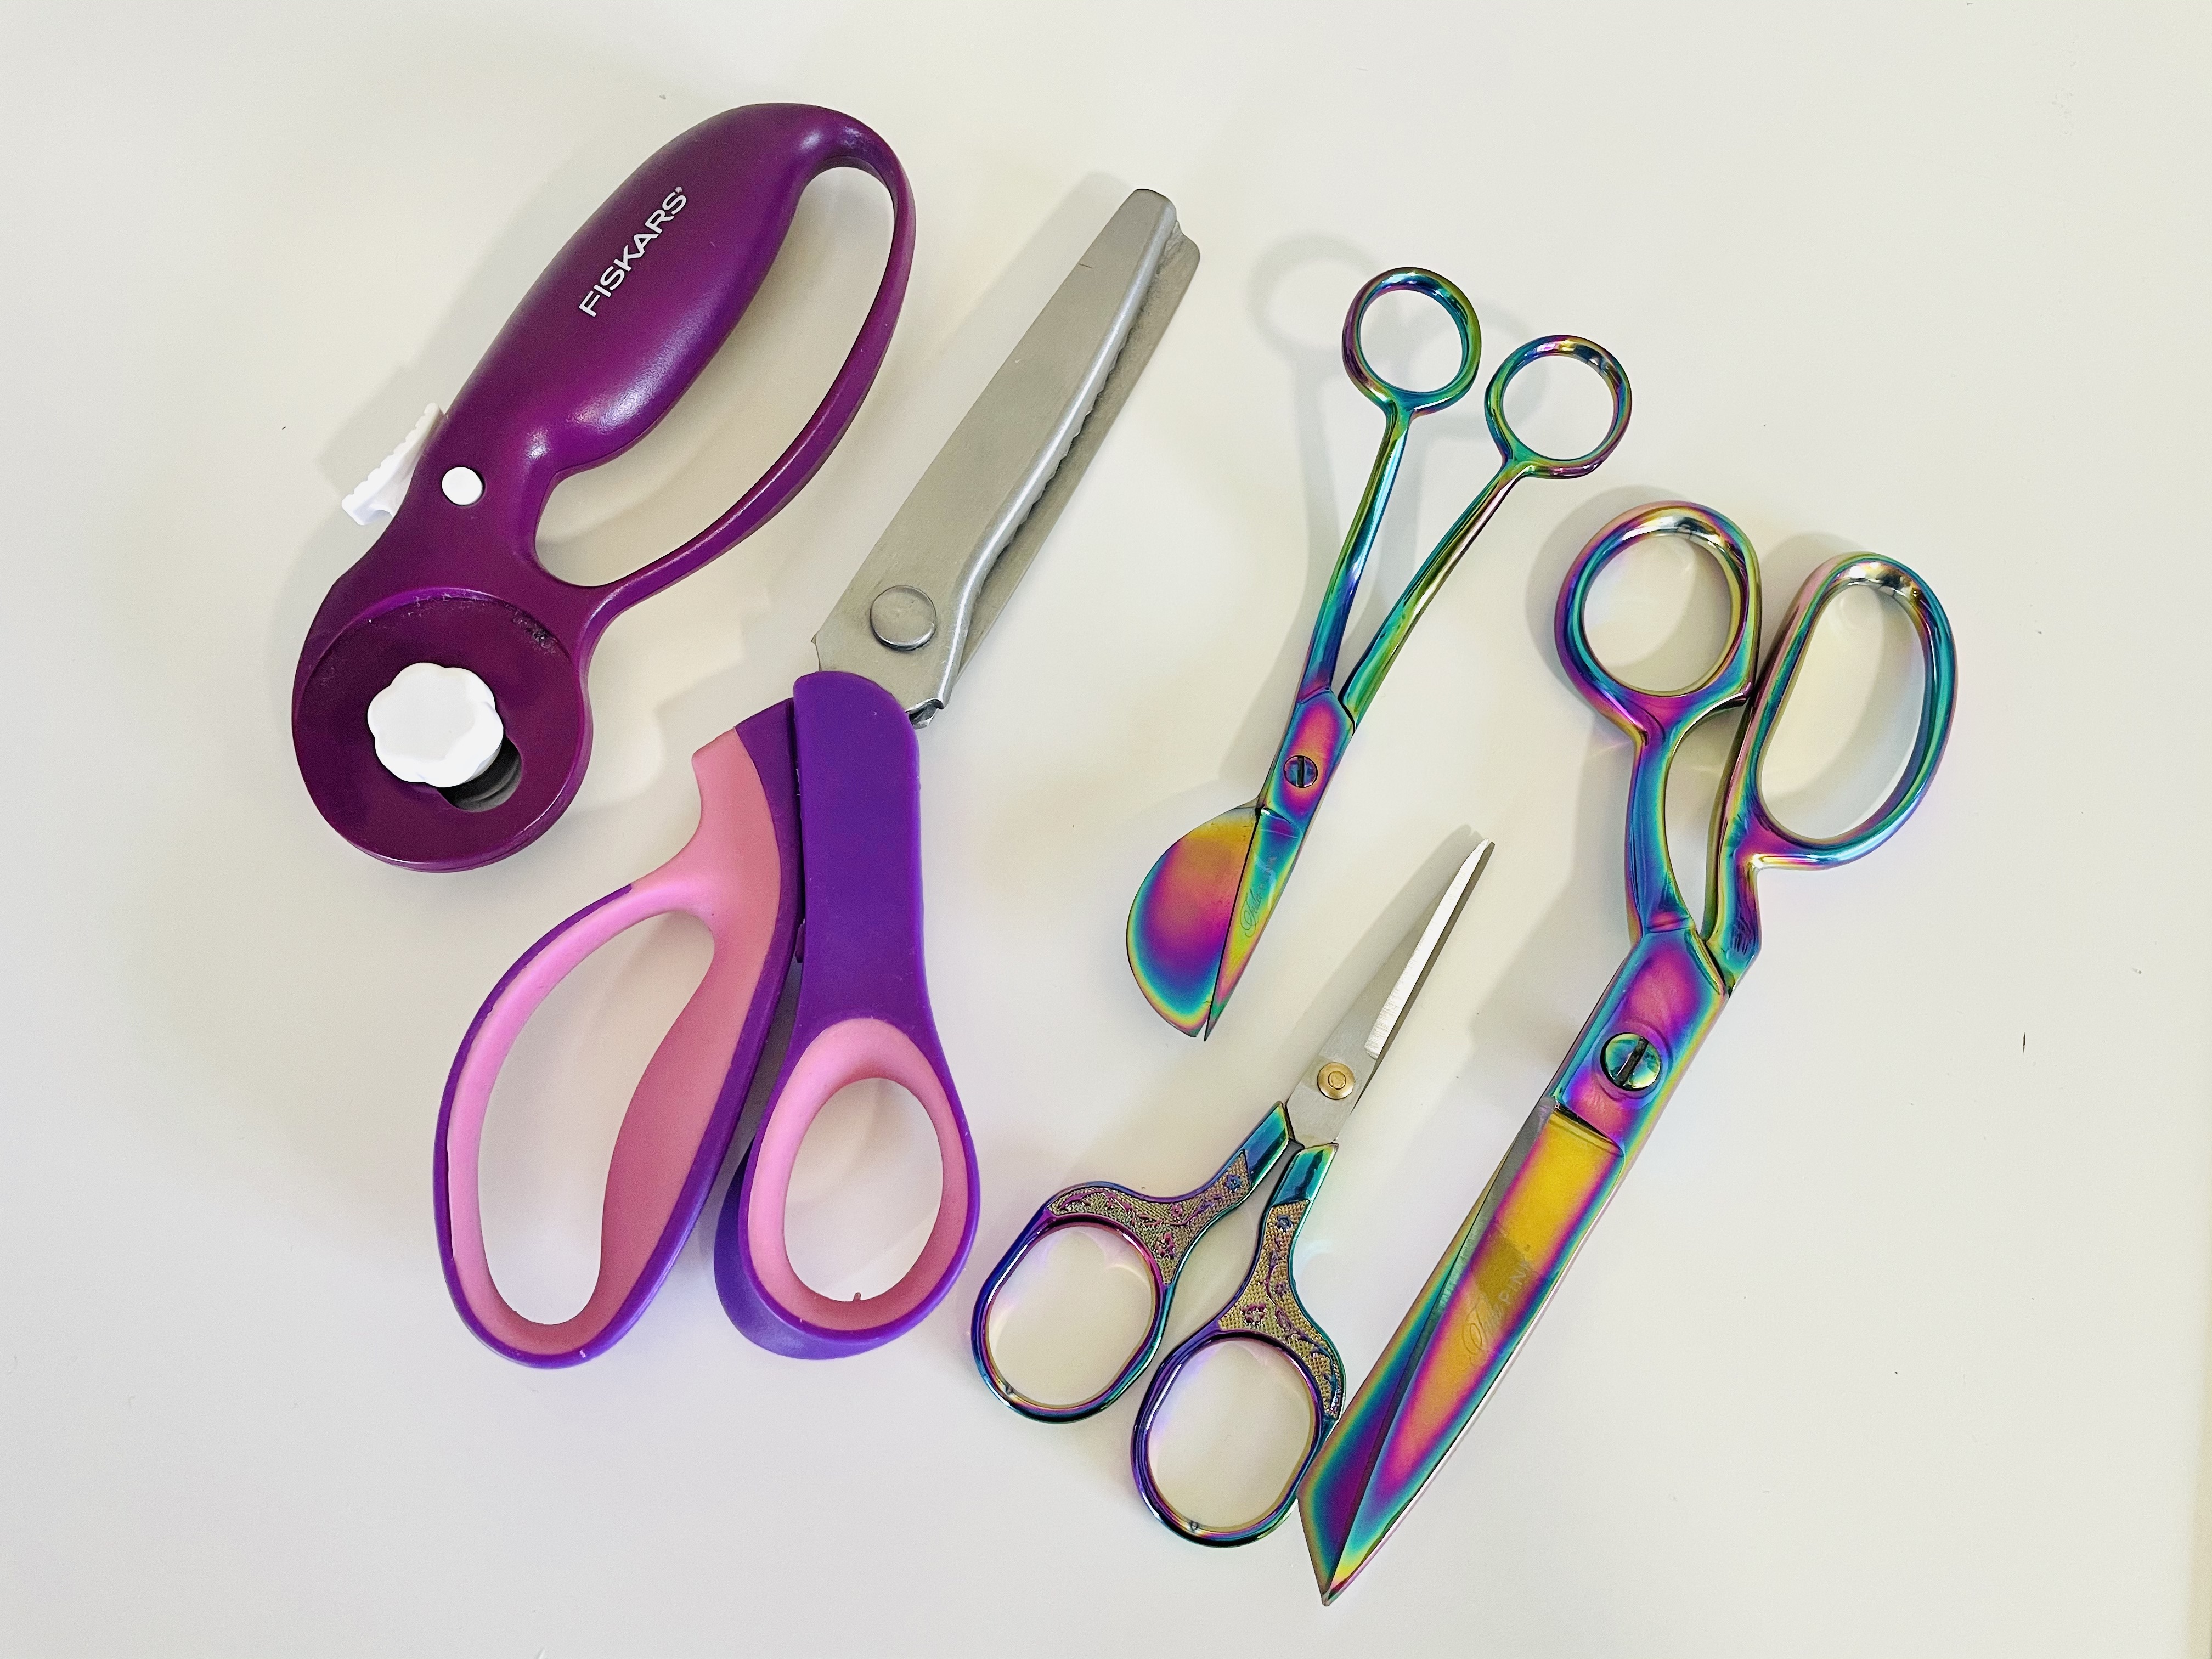
You’ll see that I have quite a few cutting tools, but you only need one: Fabric scissors.
A lot of people like to cut their pattern pieces with a rotary cutter. If you think you might be one of those people, a rotary cutter is a good idea too. Personally, I hate using a rotary blade, so I generally just stick to scissors.
Pins and a pin holder
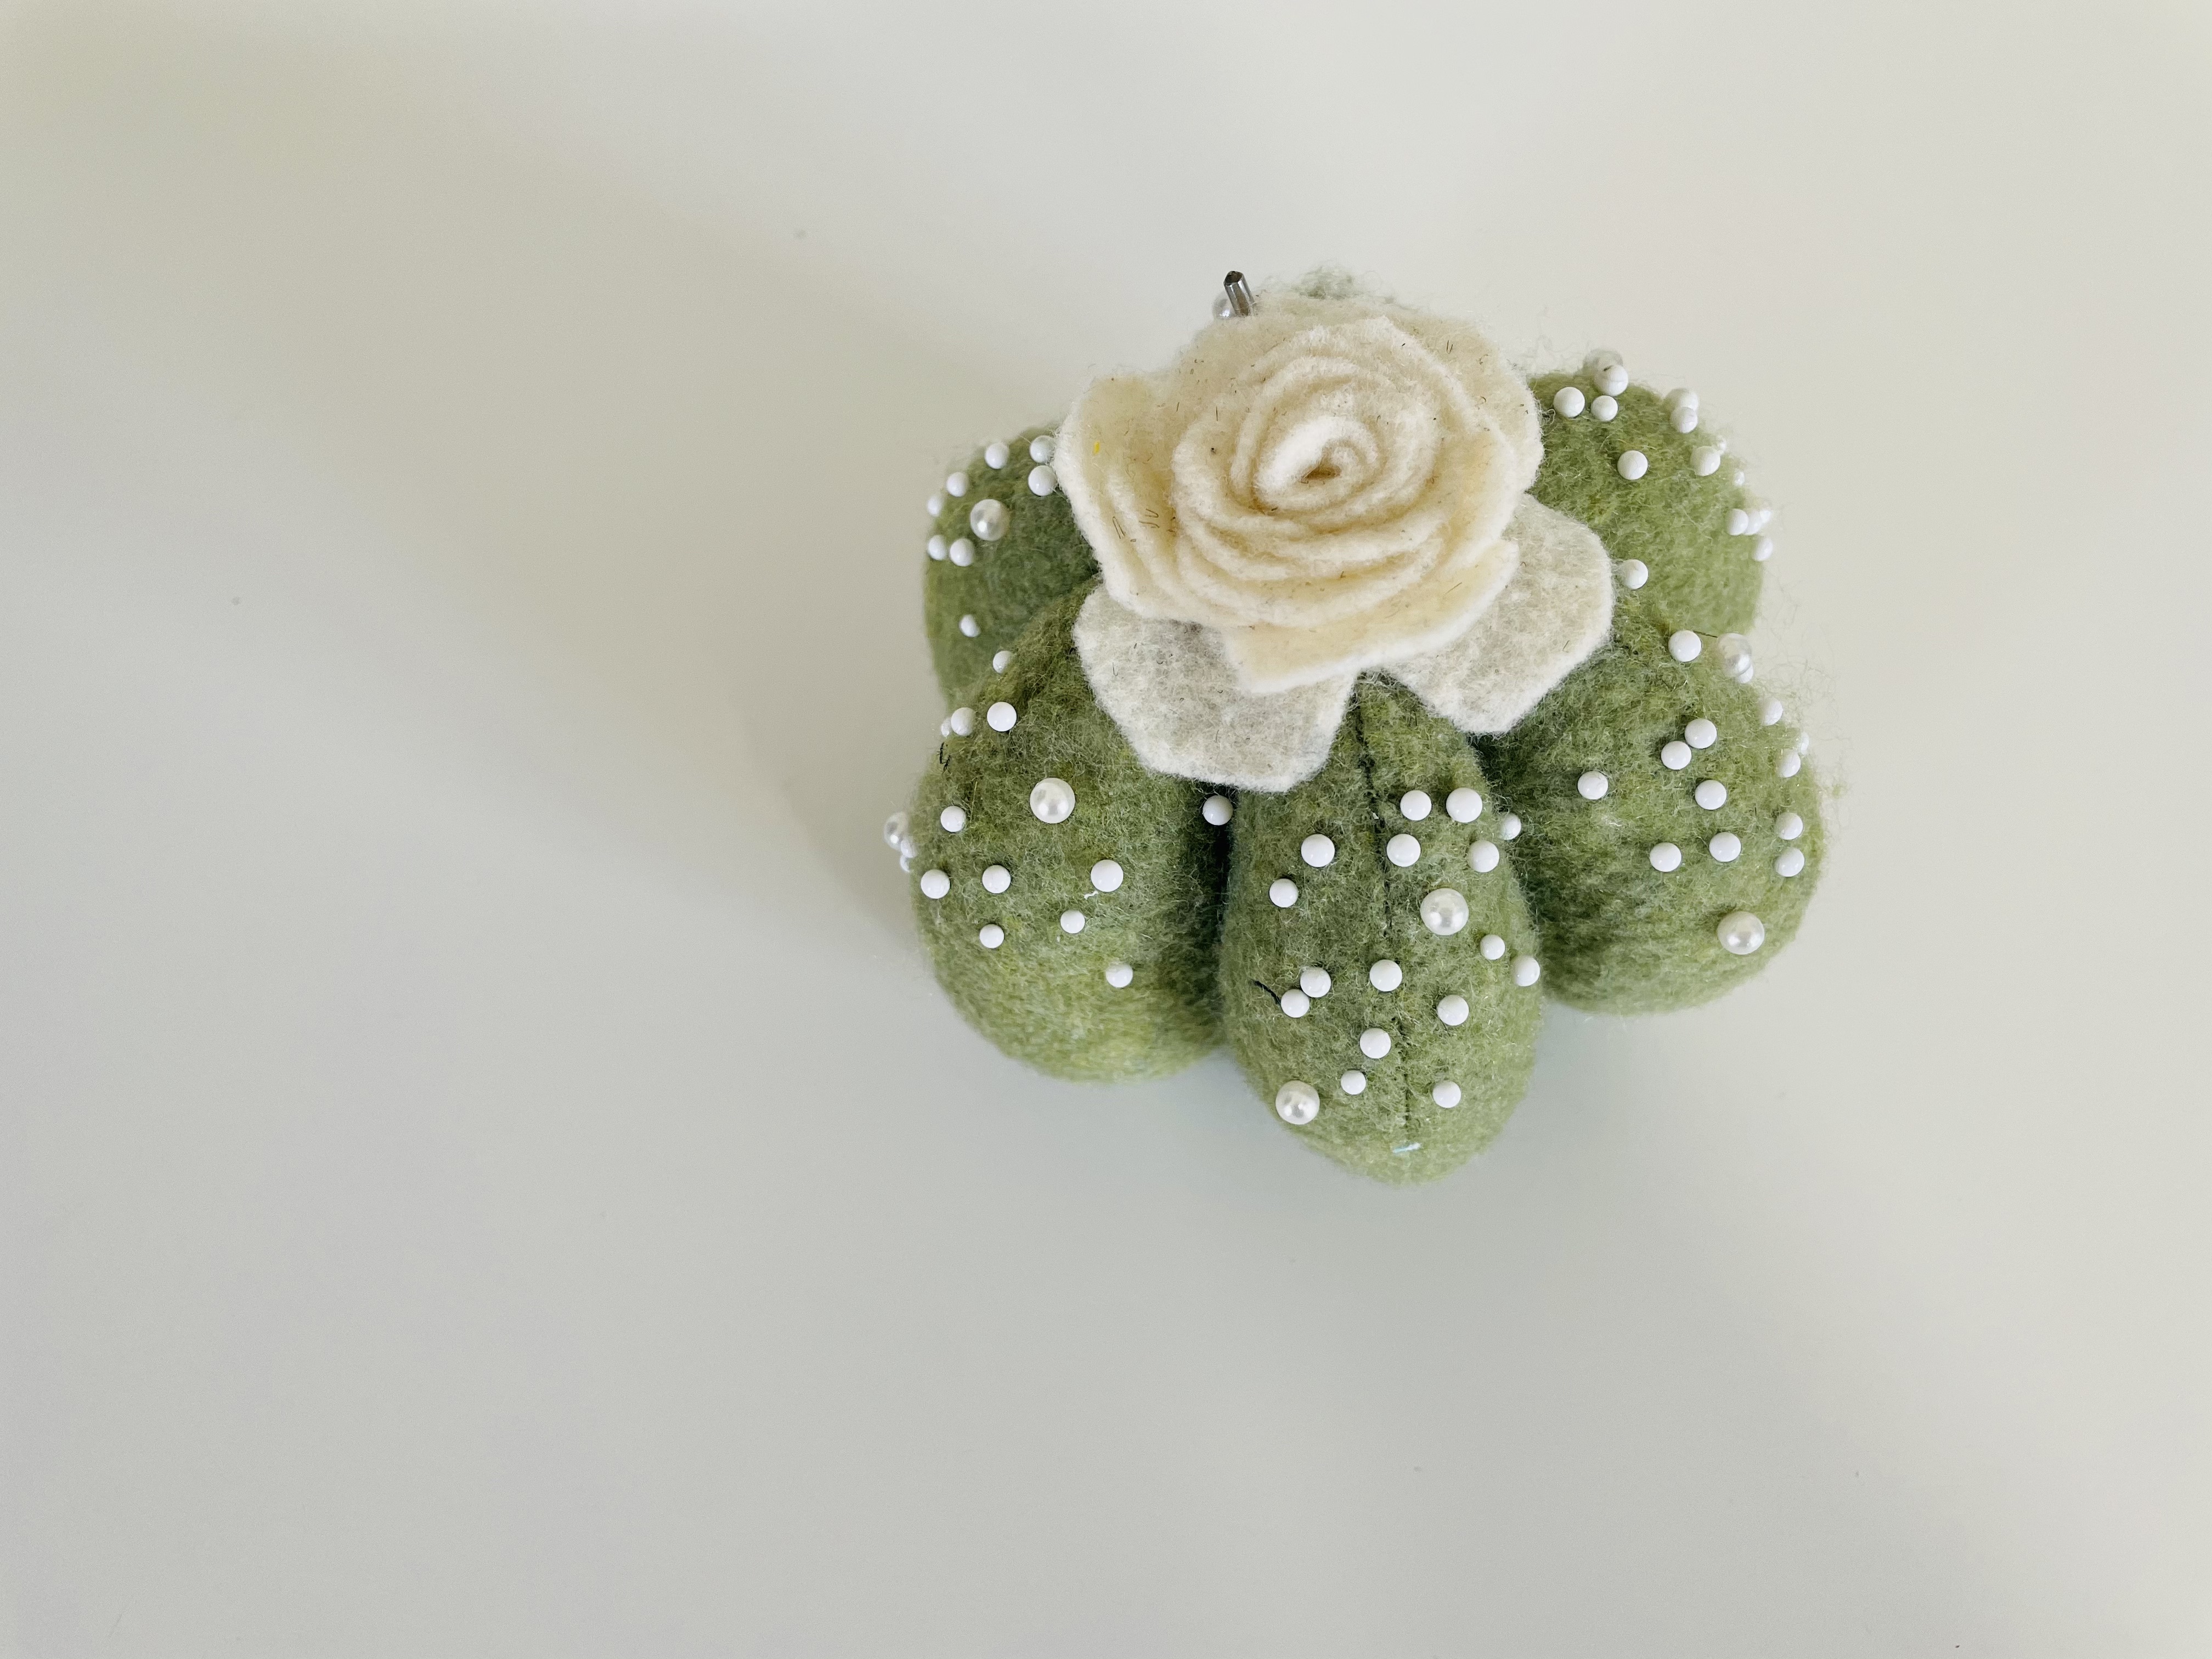
I personally like to use Clover brand silk pins for just about everything, but less delicate fabrics can use different pins. Some people also prefer to use clips instead of pins.
There are many options for where to keep your pins: pin cushions and magnetic pin holders are popular choices.
Seam ripper
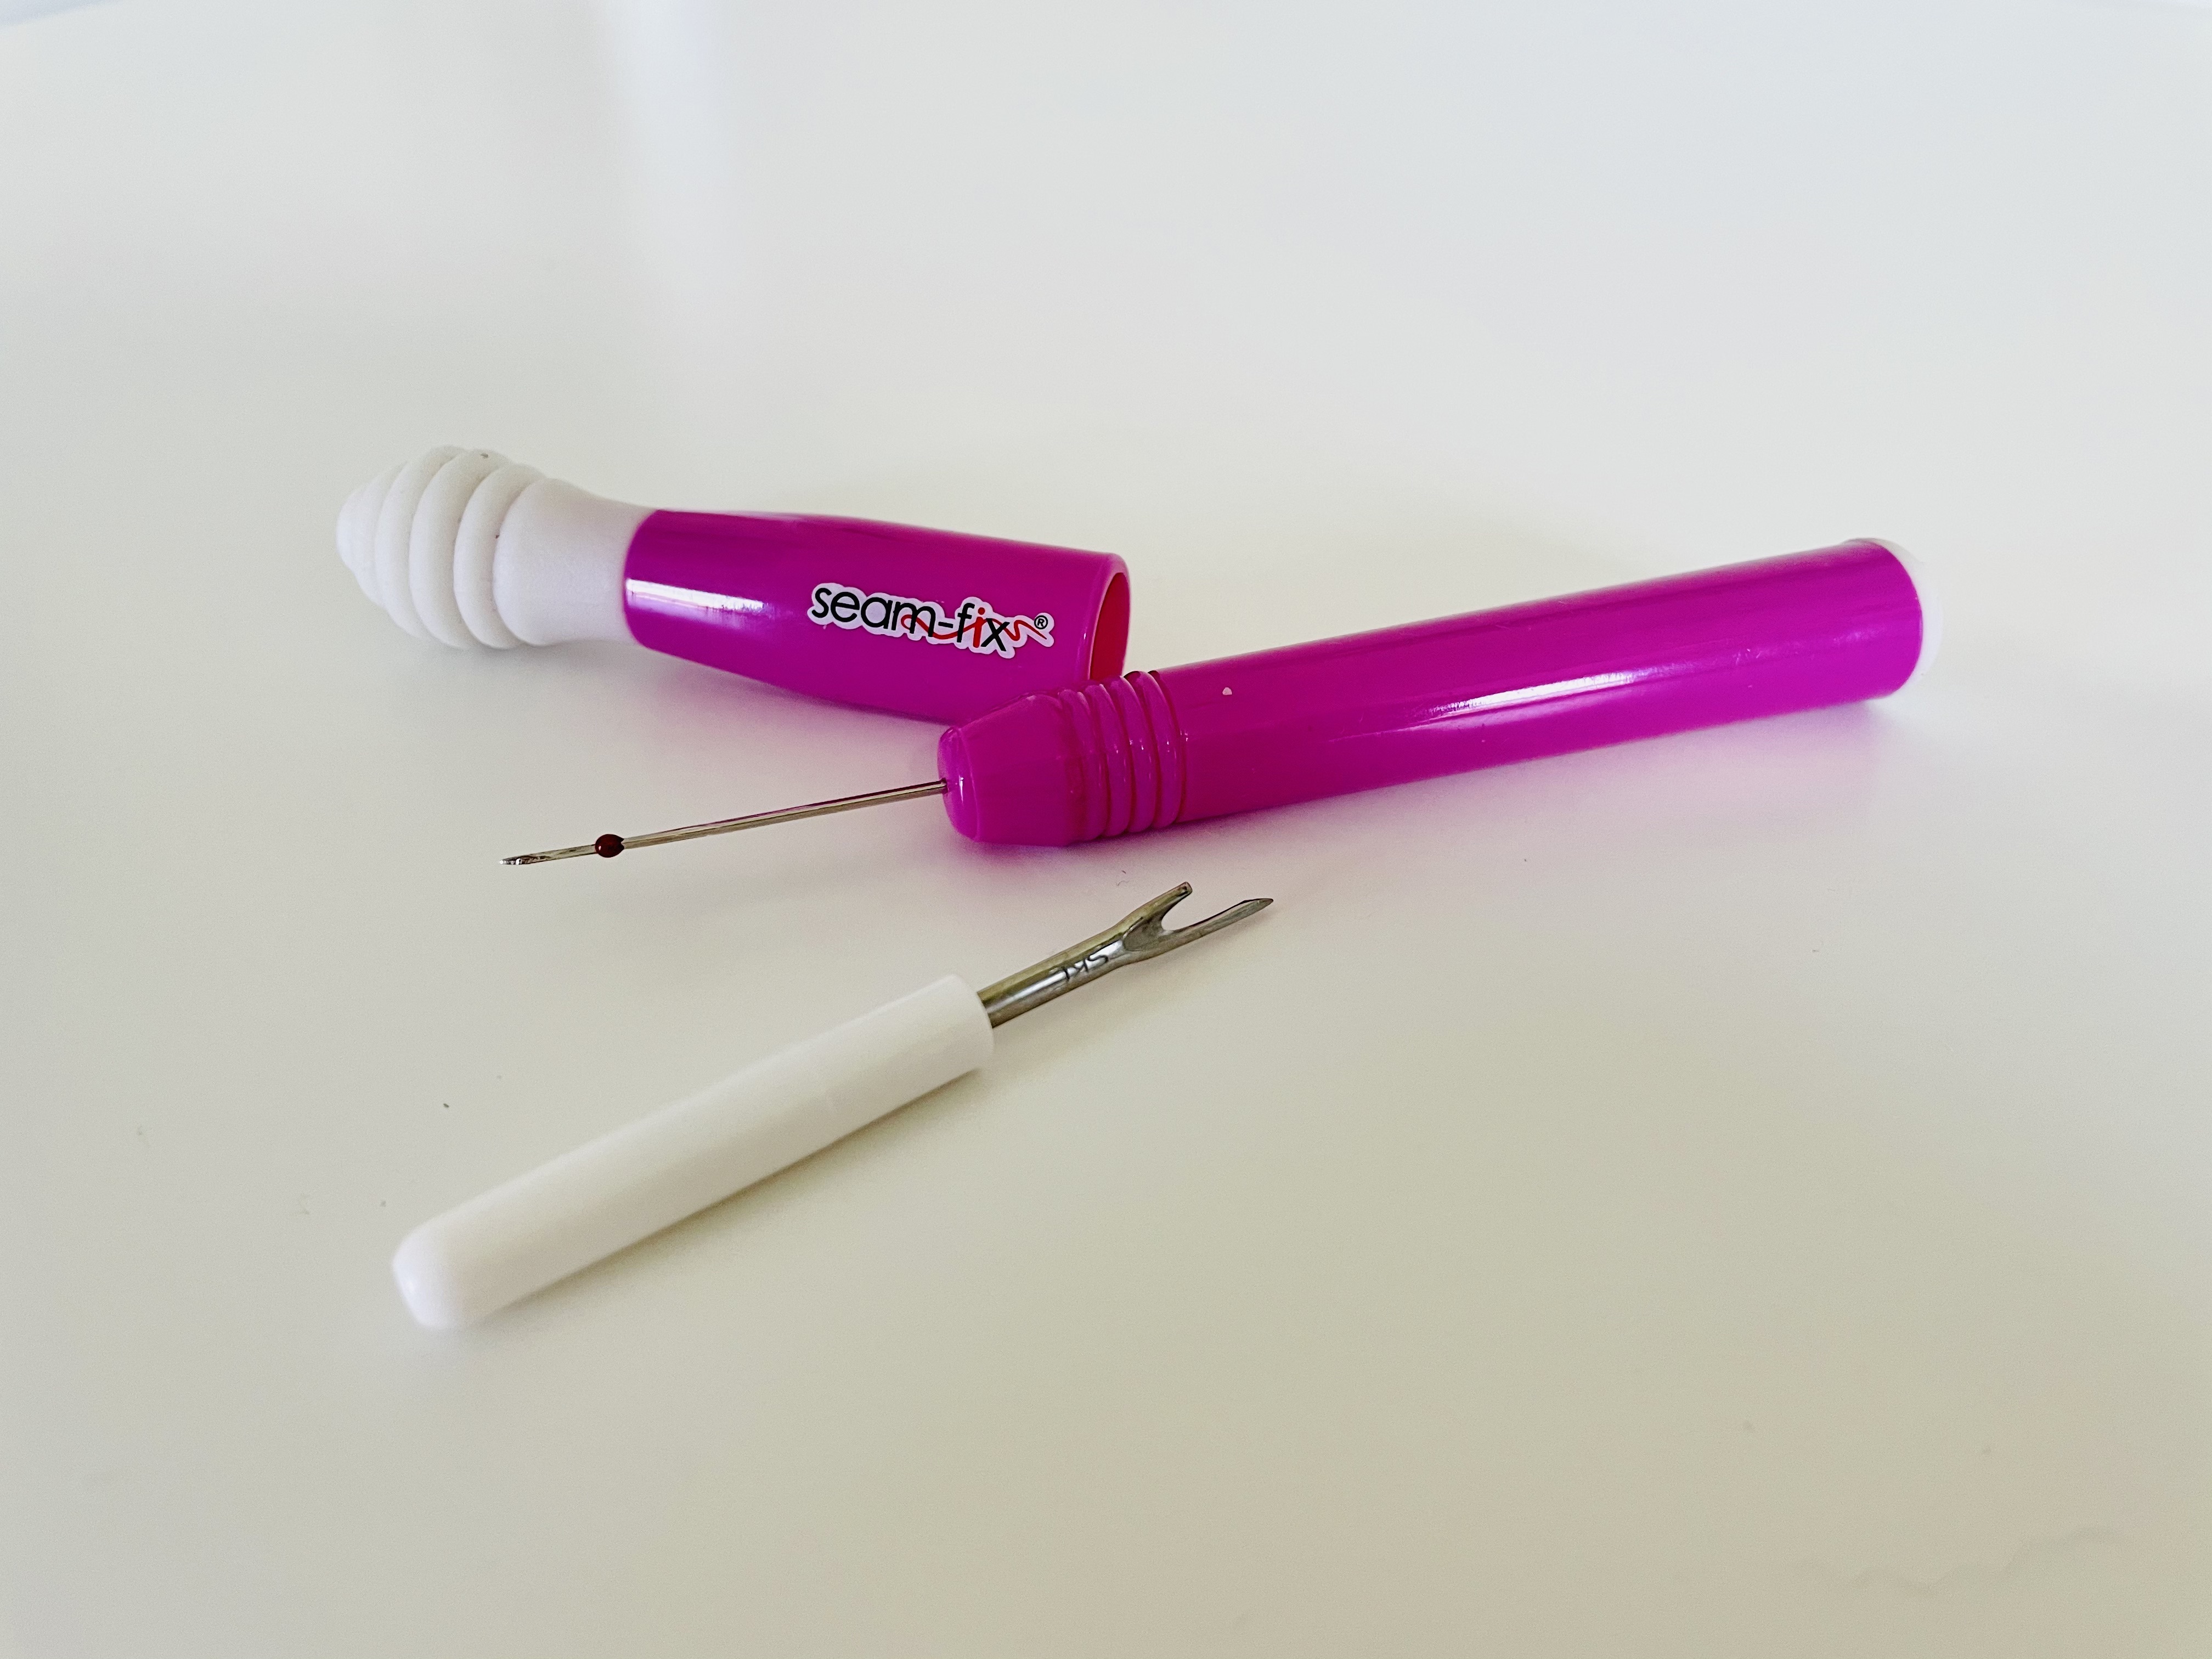
If I had to name the most important sewing tool, I’d unfortunately probably have to say the seam ripper. Think of it like an eraser for sewing mistakes. Didn’t get your seam quite straight? Rip that baby. Sewed with the wrong sides facing together? Rip it up.
I personally like having a longer, pencil-like seam ripper (like the pink one pictured), though most machines come with a small seam ripper (like the white one).
I’ve been sewing for decades and I still use the seam ripper on basically every project. #noshame
Measuring tools
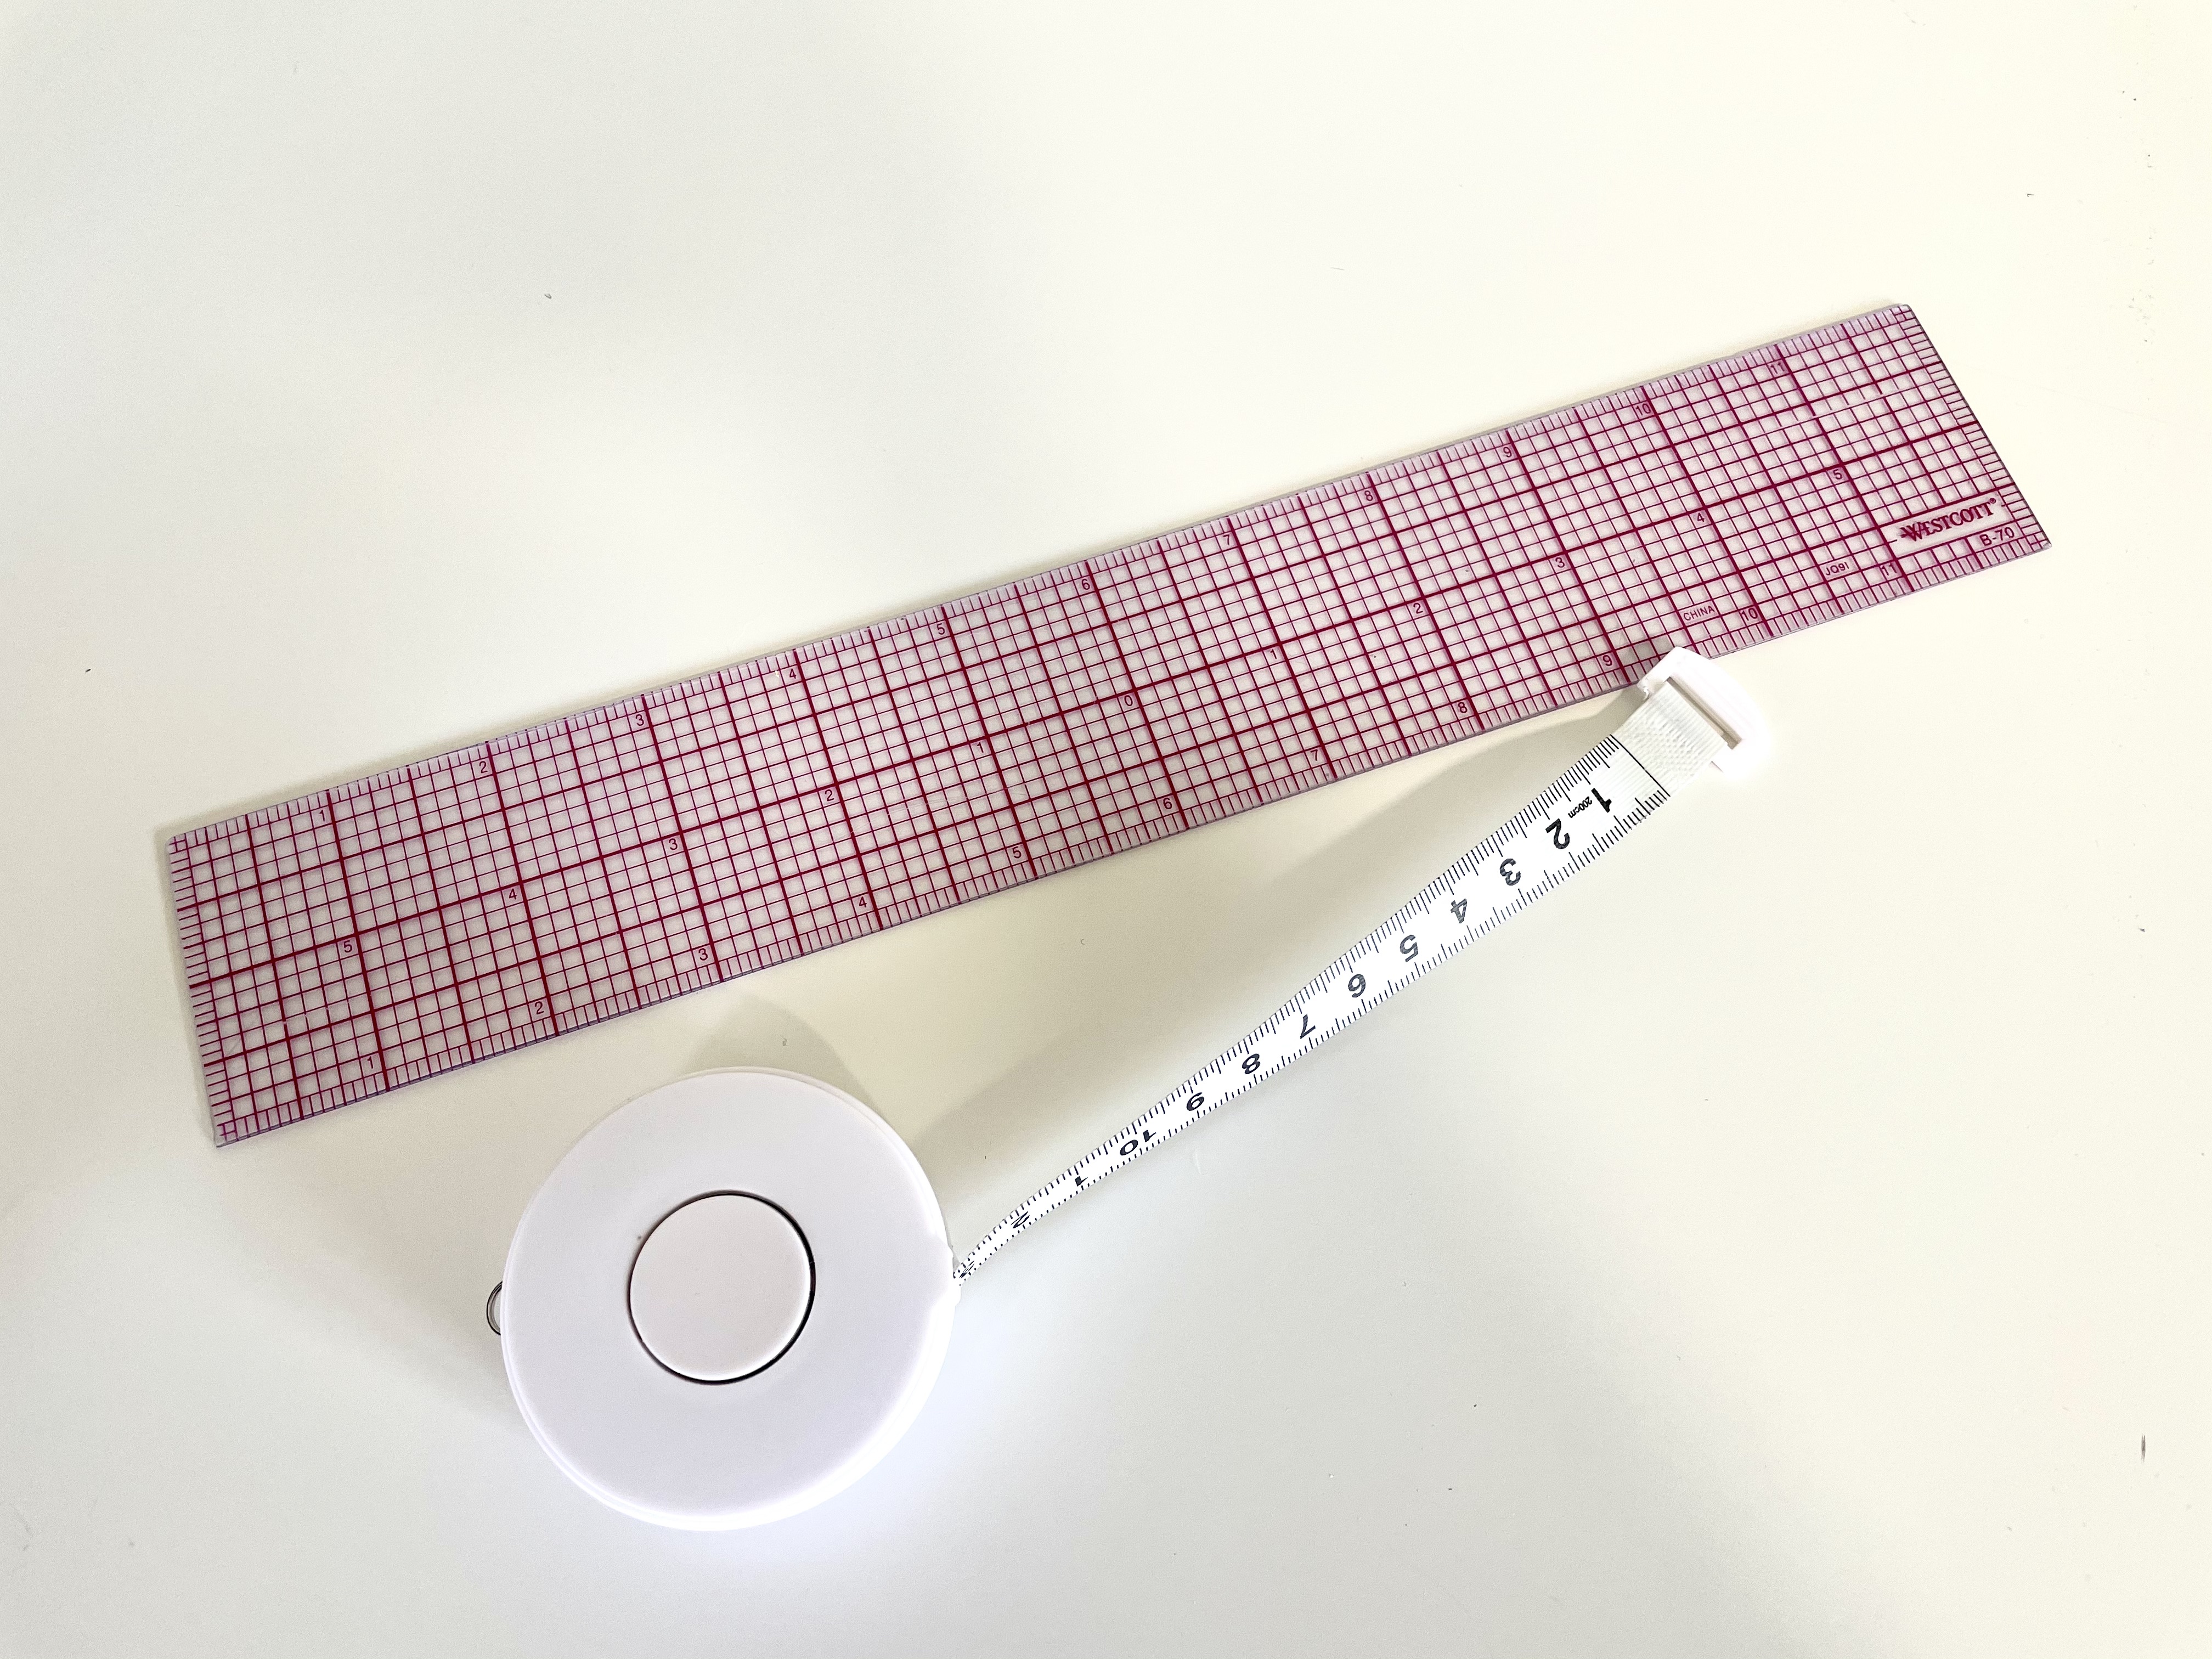
The most important measuring tool when you’re starting out is certainly a measuring tape. Most sewists will want a measuring tape that goes up to at least 60″, and some plus-size sewists may want a longer measuring tape.
I like to have both metric and imperial so that I can follow along with tutorials and patterns that use either system.
Needles and thread
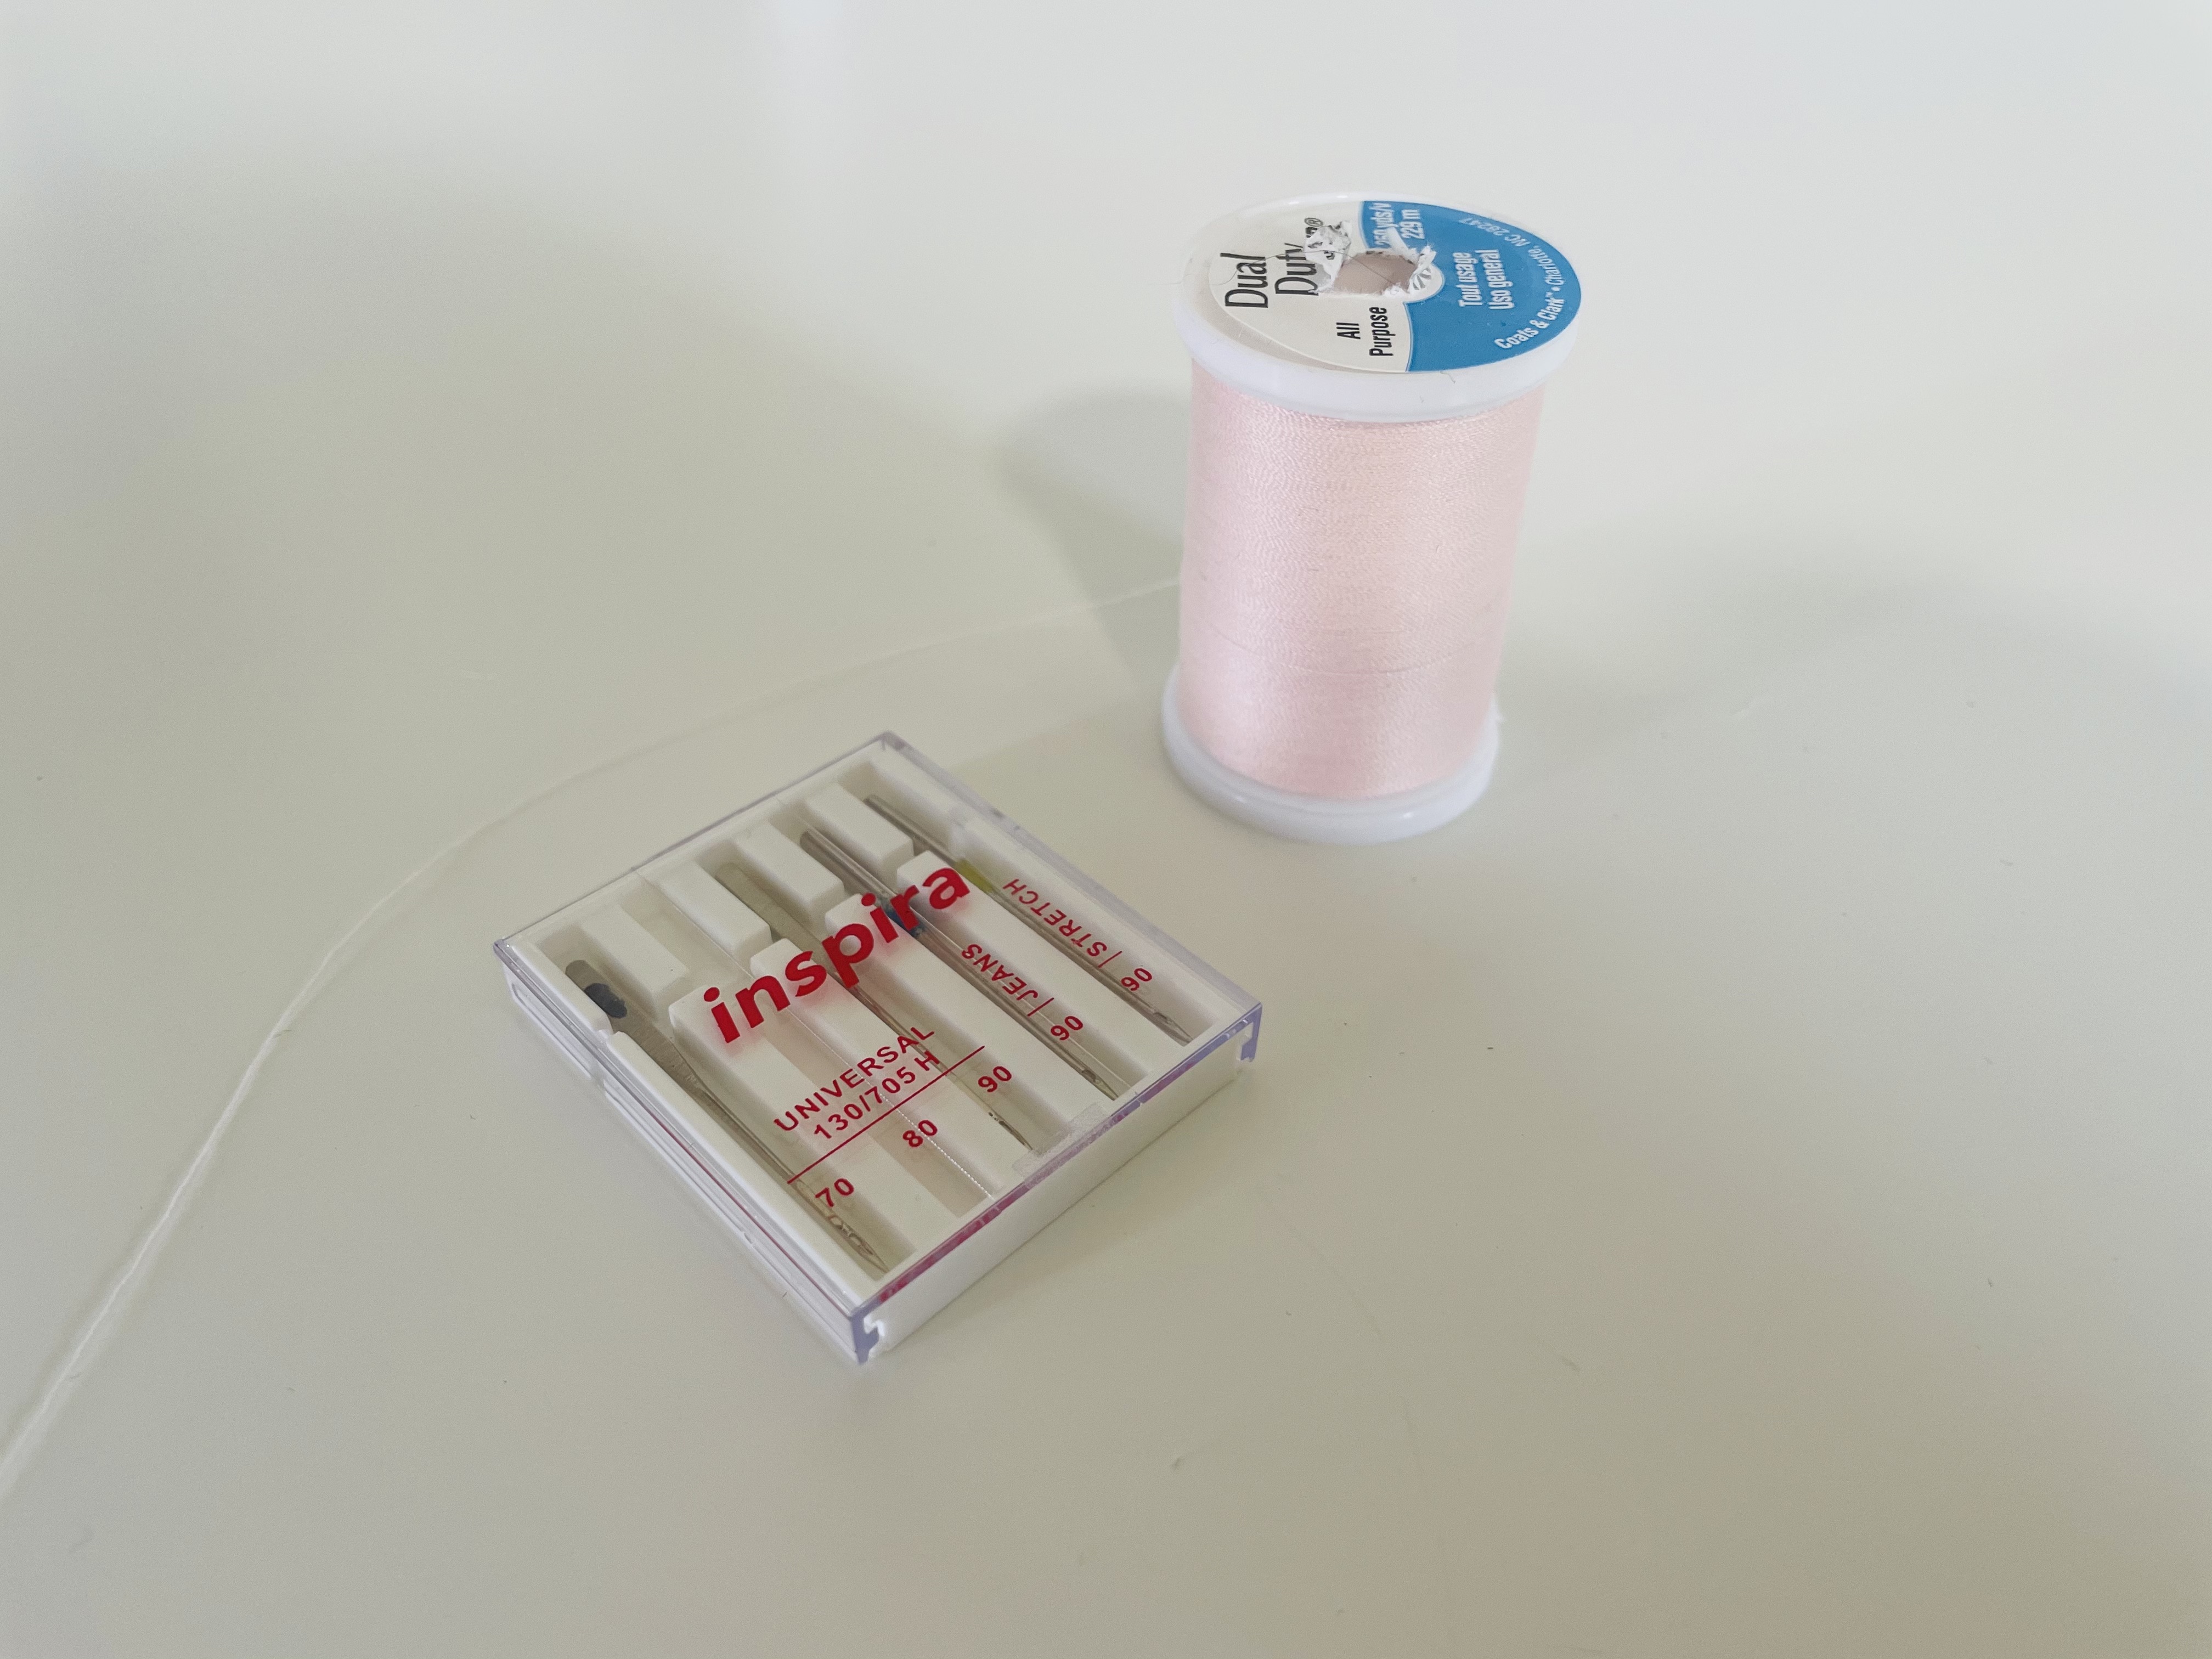
People have different favorites when it comes to thread. Gutterman, for example, has a faithful following. Personally, I tend to be a Coats & Clark gal.
For most clothing projects, you want to use either a polyester or nylon thread. Both have a little stretch to them, which allows your seams to move with your body.
Marking tools
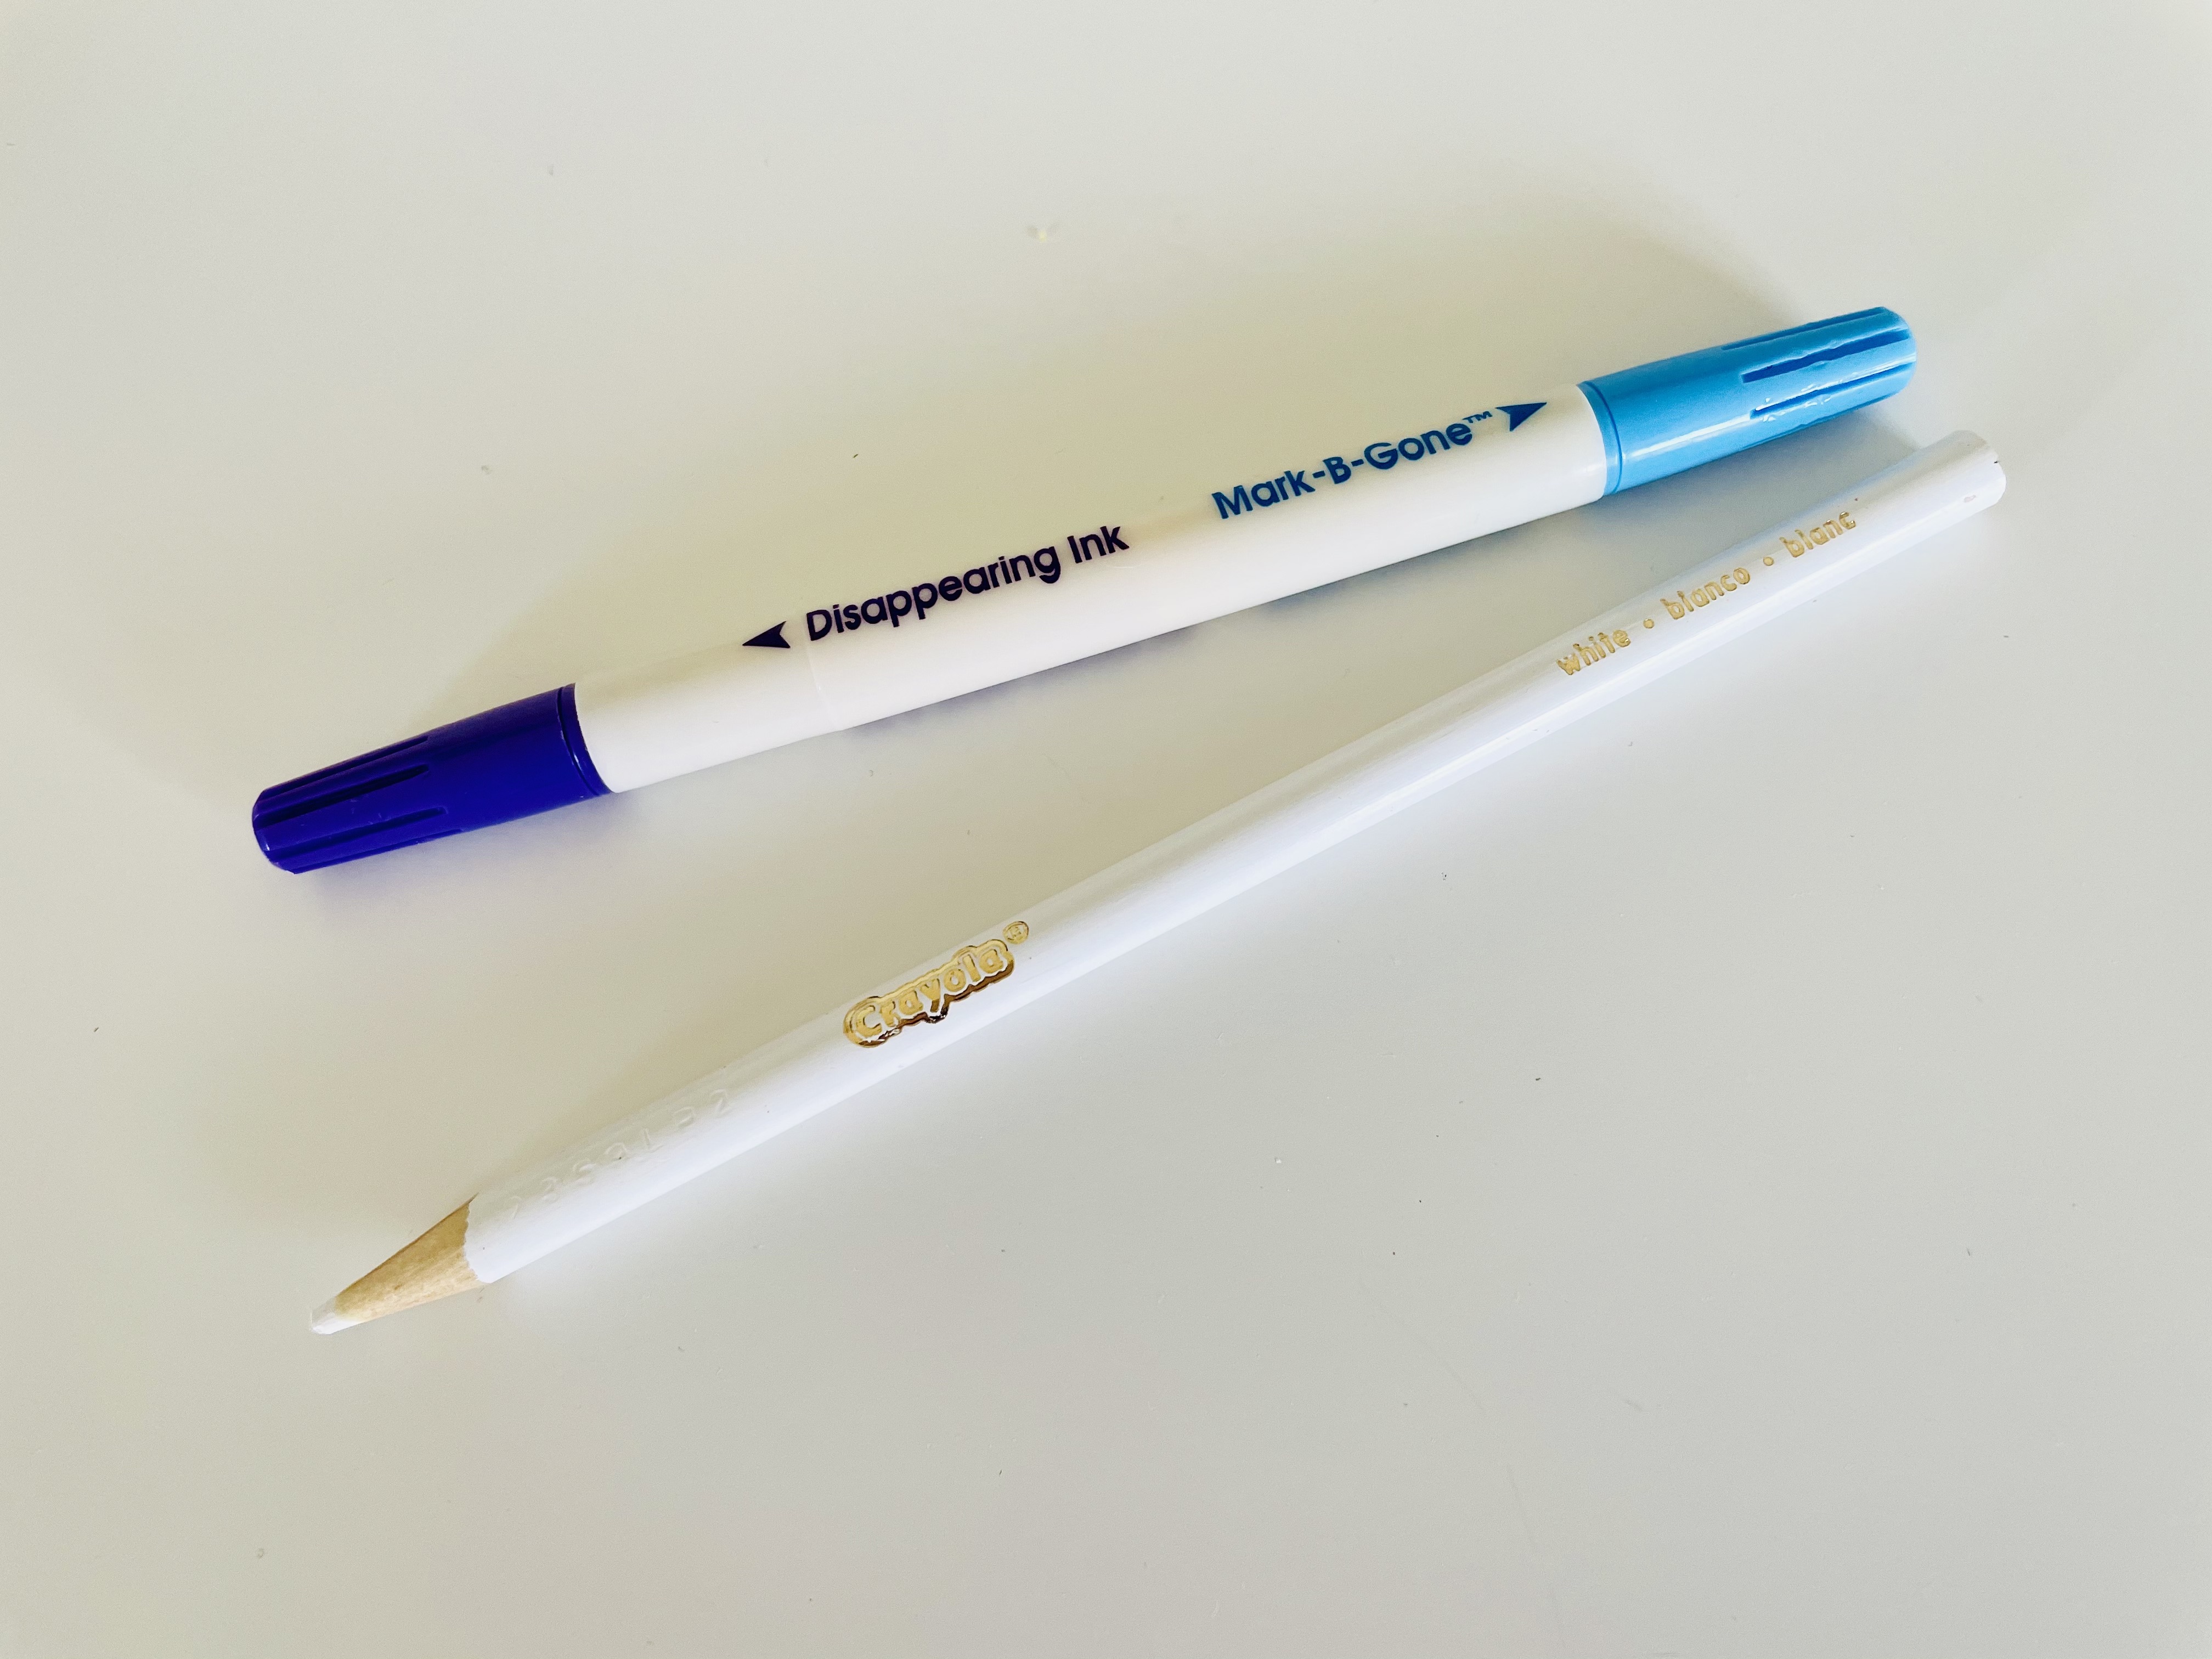
A marking tool will be helpful for marking darts, tricky seam allowances, and even pattern pieces.
My mom always used a double-sided Dritz marking pen, so that’s what I use too. The purple side disappears over time. The blue side washes out with water.
The other marking tool I keep around is a white colored pencil, for marking dark fabrics.
Other people like to use tailor’s chalk or heat erasable pens, which disappear when you iron them.
Bobbins
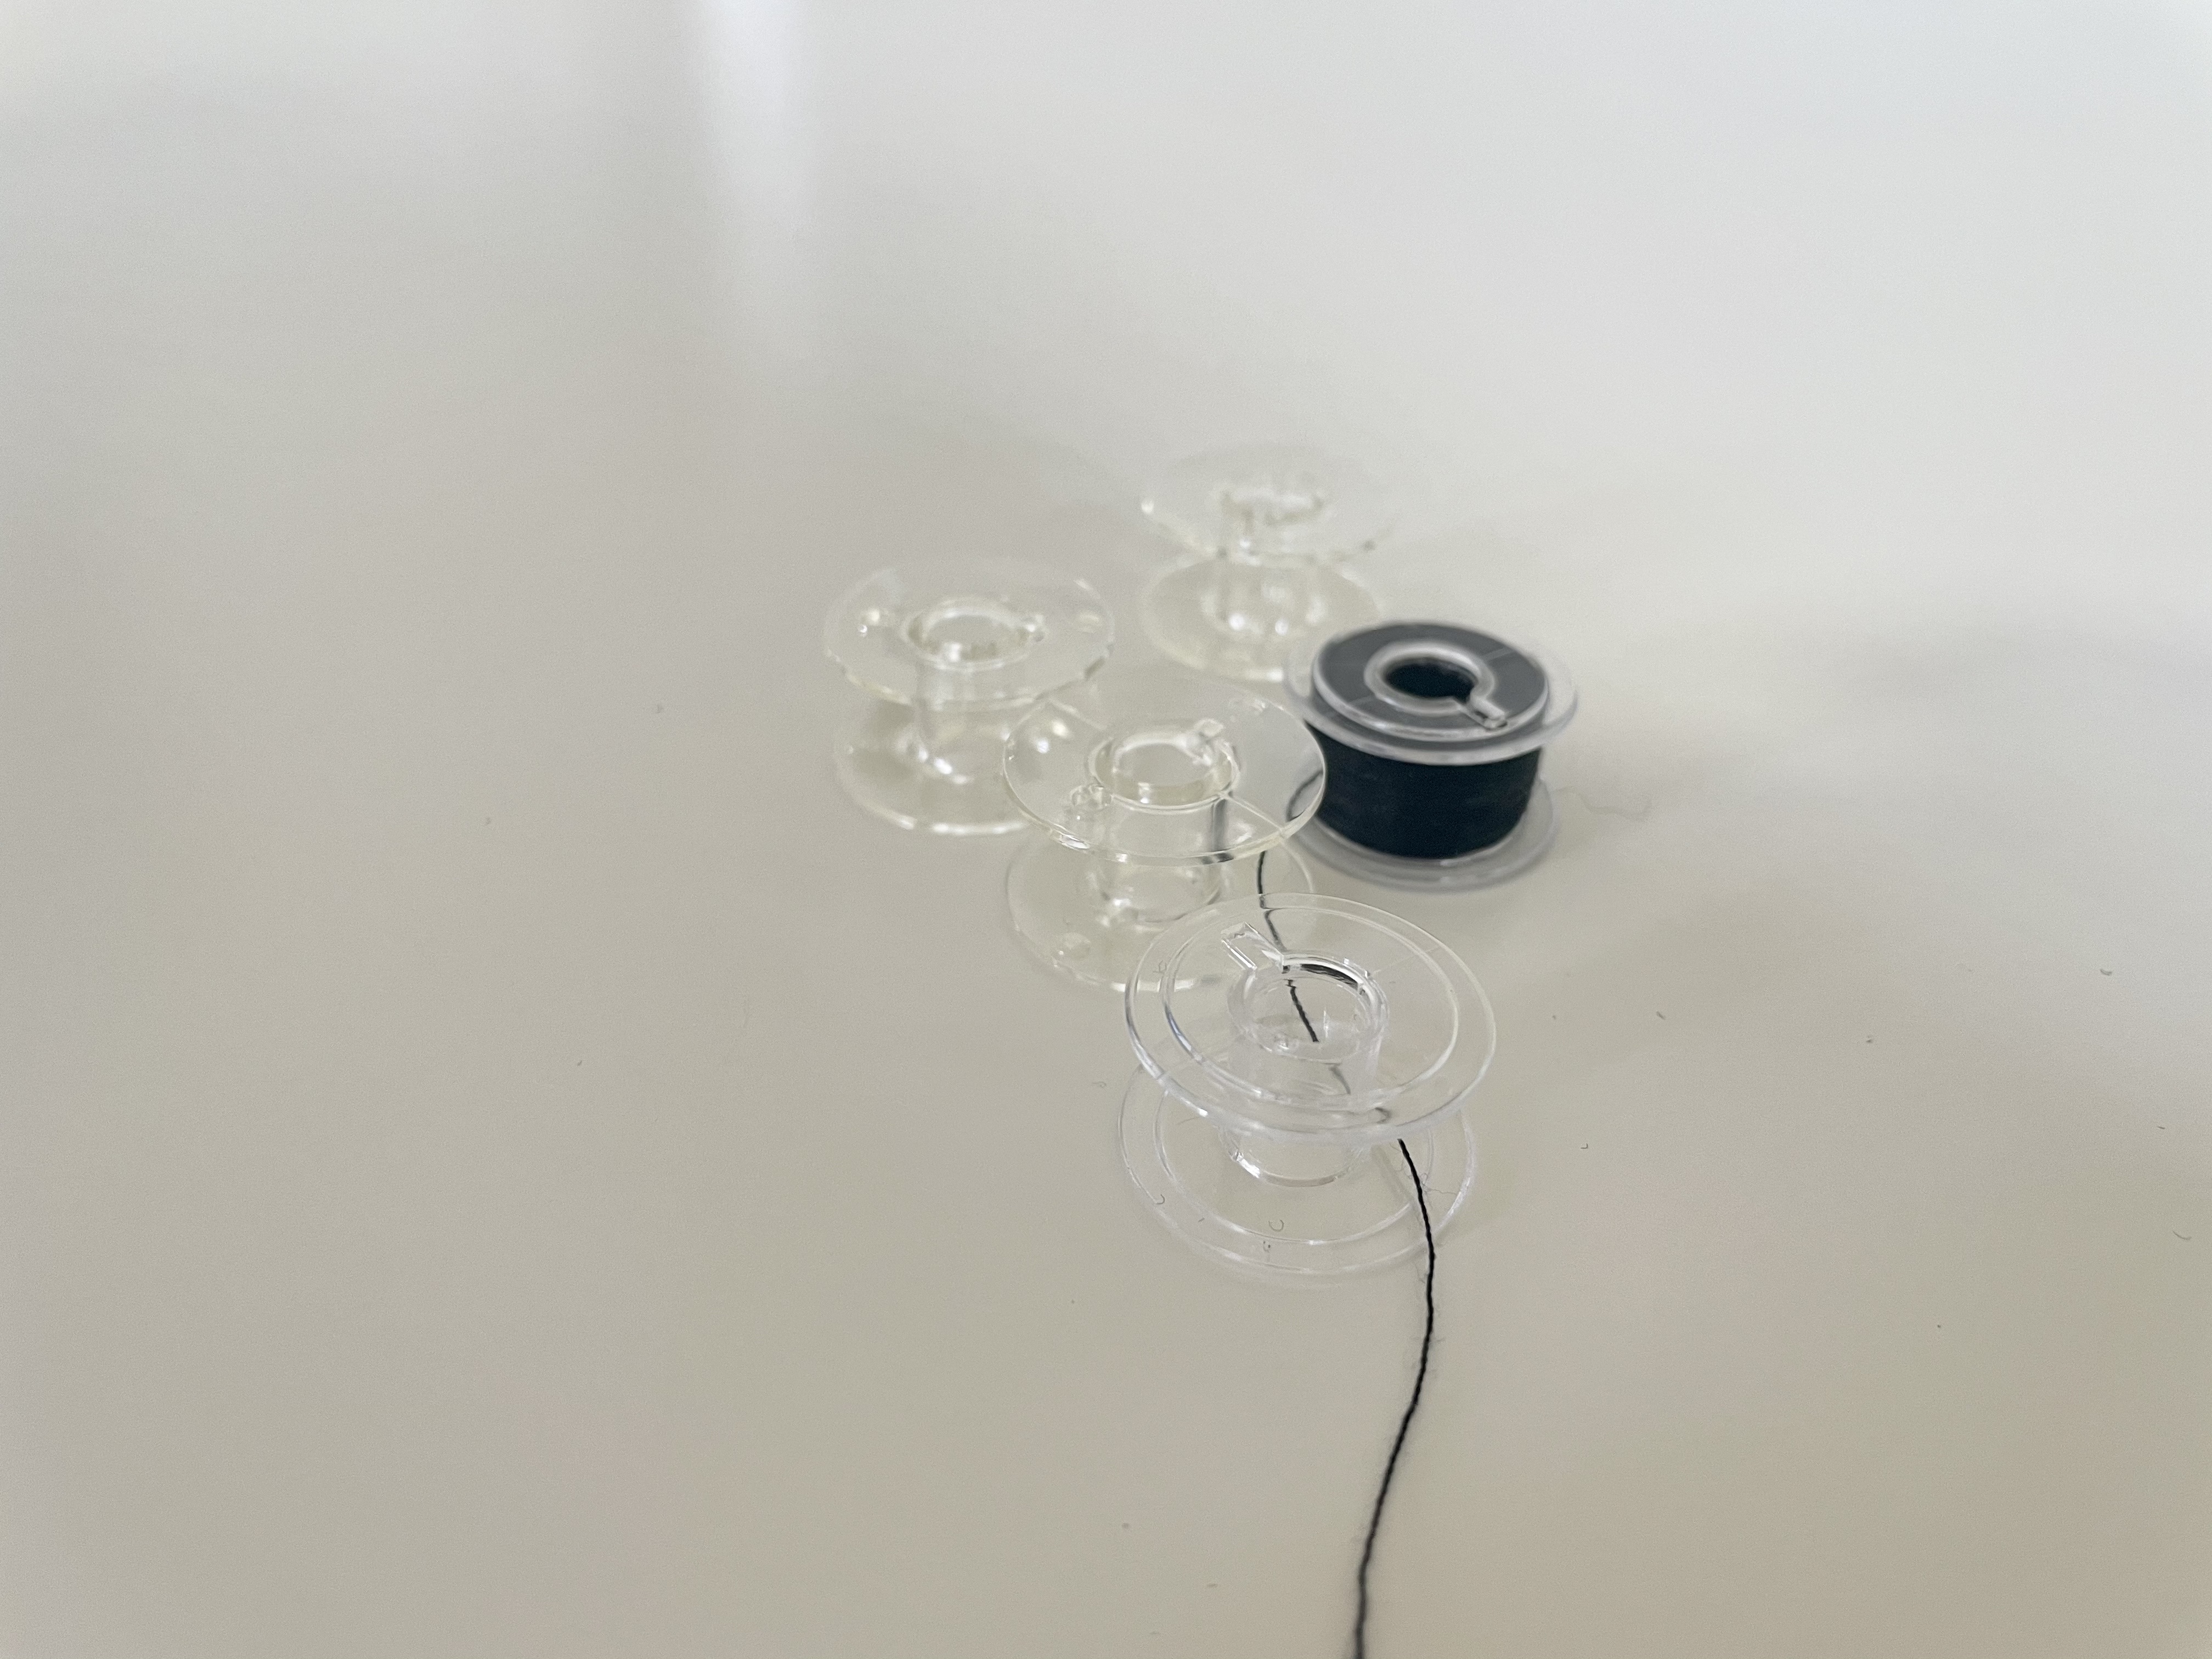
The most important thing I can say about bobbins is to make sure you get bobbins that are compatible with your machine. Bobbins come in different classes – usually class 15 and class 16. They also come in either metal or plastic.
My machine takes a plastic class 15 bobbin. That’s it. No metal. No class 16. Just plastic class 15.
Your machine will be different. Some machines take only proprietary bobbins made by the same brand as makes your machine.
It’s important to use the right bobbin for your machine, because using a different bobbin can harm the inner workings of your machine. You don’t want a broken machine on day one!
Iron and ironing board
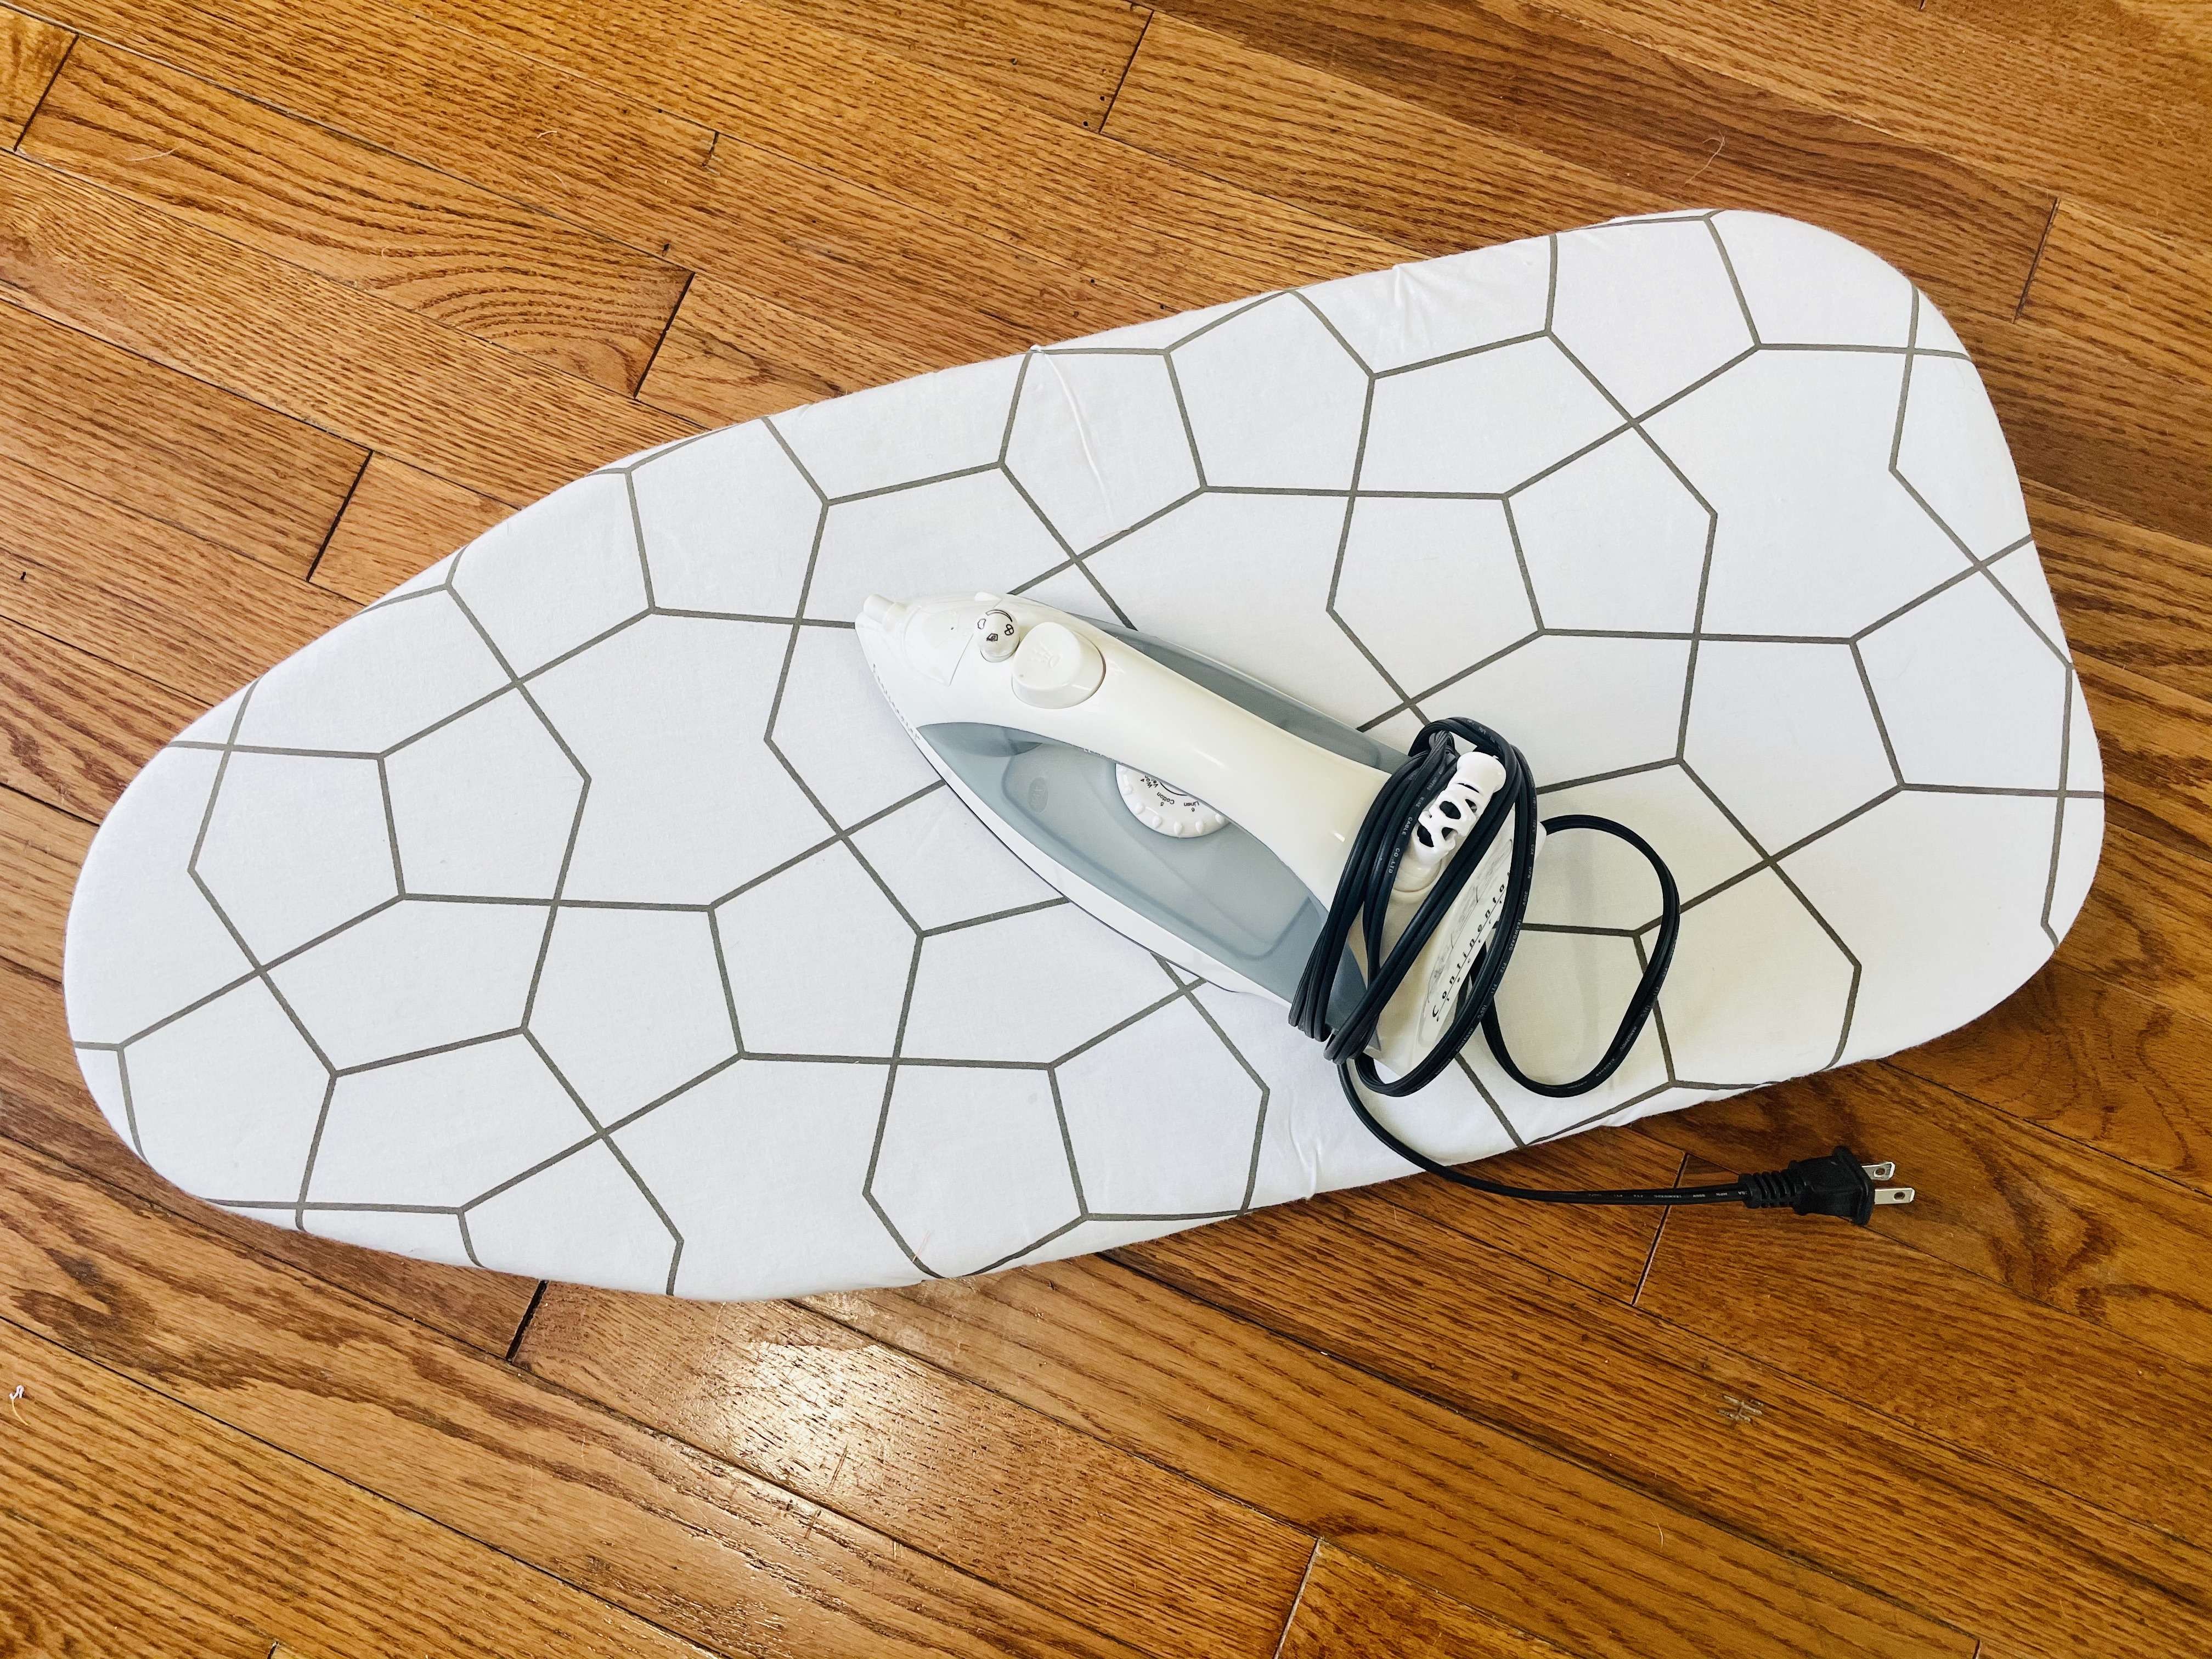
I hate ironing. But I reluctantly do it while sewing because it really does make your garment look better.
I’ll be honest with you and say what many sewing bloggers won’t tell you: With some fabrics, you can 100% get away with not ironing and with what we call finger pressing instead. For example, the duoplex fabric that bras are often made from is easily finger pressed. But with other materials, an iron is necessary.
Get yourself a cheap iron. I got this one for $5 off Facebook marketplace years ago. It still works beautifully.
Other helpful tools
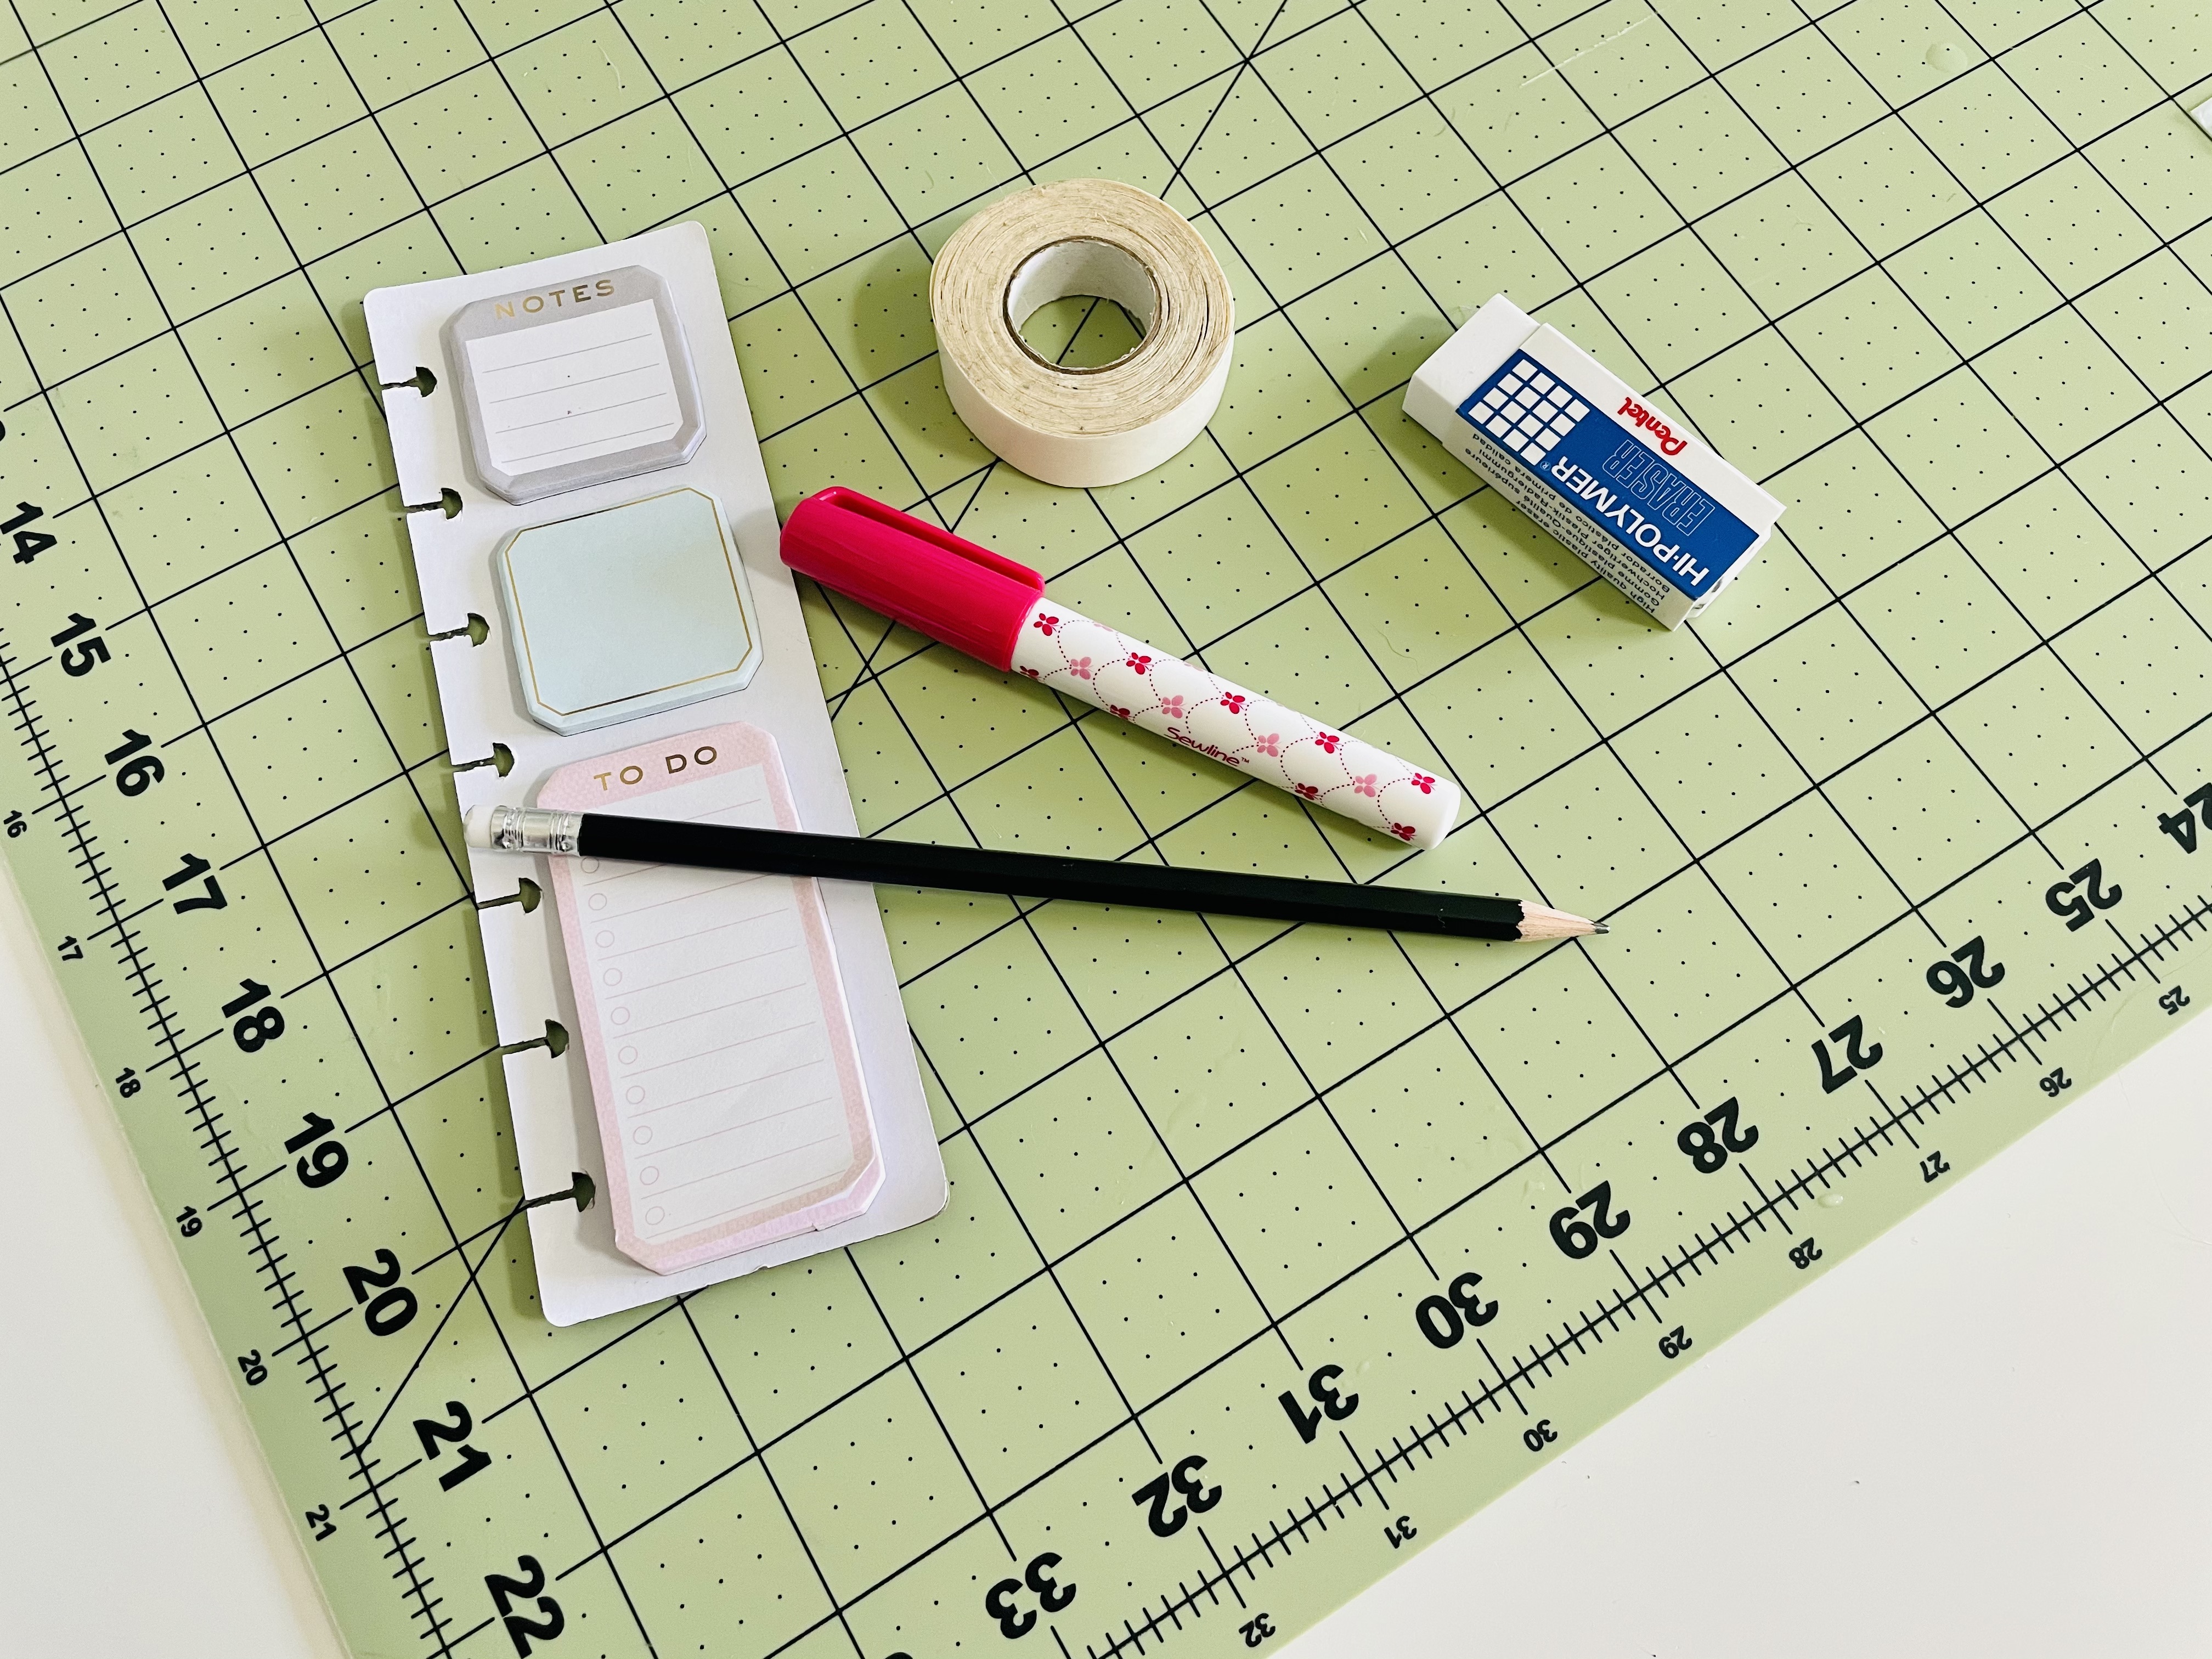
Here are some of my other must-haves:
- A pencil: For tracing patterns and making alterations.
- Tracing paper: Also for tracing patterns and making alterations. I use a roll of medical paper, which you can purchase on Amazon.
- A good eraser
- Scotch tape: For sticking patterns together and for making pattern alterations.
And here are some of my favorite tools that aren’t absolutely necessary:
- A printer: I didn’t have a printer for a long time, and the guys at Staples KNEW ME. It’s so much easier to just have a printer in my house so I can print my own patterns. I bought mine on Facebook marketplace for $30.
- Fabric glue stick: This will keep you from ripping your hair out when you do a hem on a shifty fabric.
- Hem tape: Marketed for lazy hems, this product is good for lazy hems (ha!), as well as sticking ornamentation onto garments (like bows onto bras)
- Sticky notes: I use these to keep track of what fabric piece is for what part of the pattern.
- A cutting mat: This will help you avoid scratching your cutting surface with your scissors. If you want to use a rotary cutter, a self-healing cutting mat is 100% necessary.
Experienced sewists, any other tools of the trade that you think beginners should know about? Let us know in the comments!


