
Community Blog | Making a Ruched Dress from the Allie Olson Kila Tank with Sasha
Hey it’s me, Sasha from Kingdom Daughter Makes and Im here with my first blog post with SewBusty.
With the help of the Sew Busty database, I was able to find this Allie Olson Kila tank. I had been on a hunt for patterns that accommodate a D Cup because I had just grown tired of doing full bust adjustments on every pattern. While I don’t mind learning and making sure I get the fit right, I’d like for the FBA to be one less step for me. So I was glad to see the tank came in a D cup.
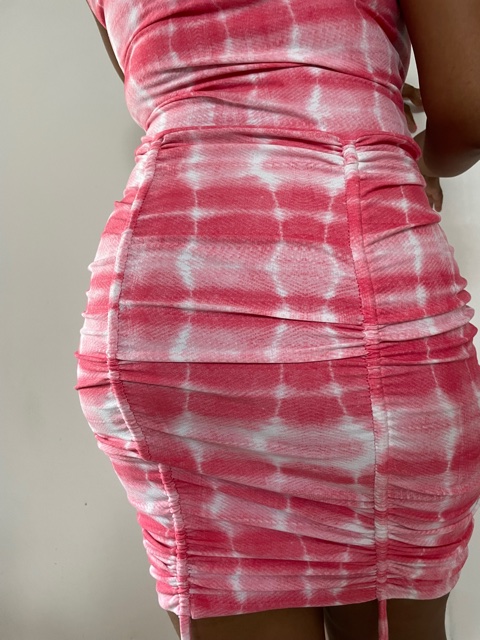
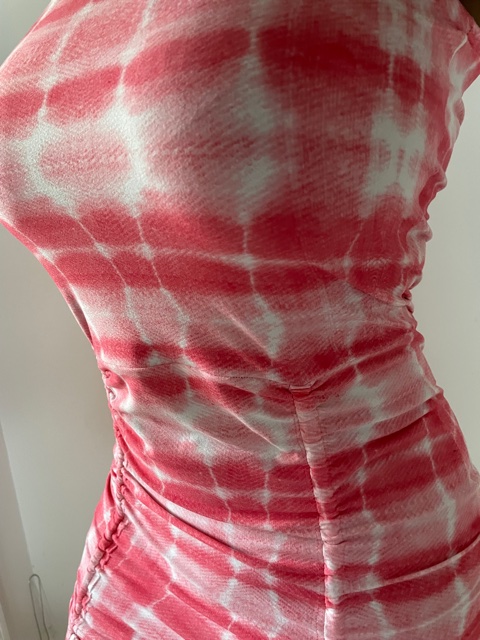
From there, I decided to design this ruched dress. Now this is not an original design and I’m sure we have all seen this dress somewhere on Instagram or pinterest. The top half of the dress is just the tank top chopped off at the waist.
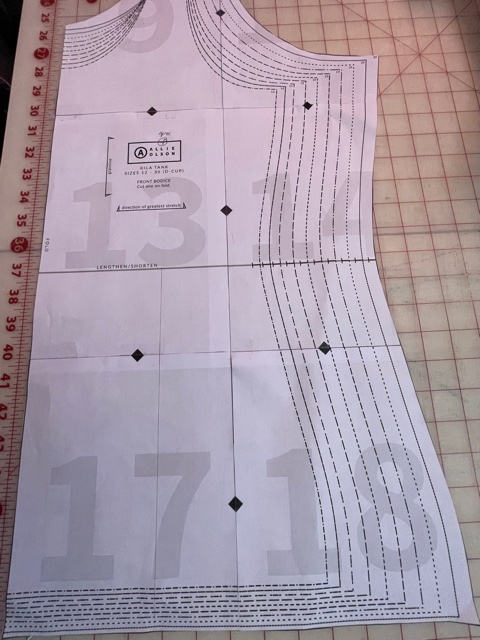
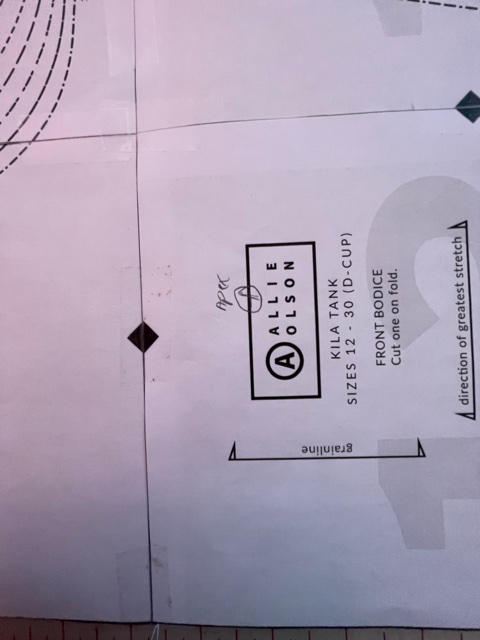
When it came to drafting the bottom pieces, I found the apex of my tank and then drew a straight line down from there. I looked for my apex by measuring down from the top of the sleeve cap. I also took my apex to apex measurement. There are a ton of videos that help you determine where your apex is on a pattern but my favorite people to watch are Made to Sew and Lifting Pins and Needles. Lifting Pins and Needles has a series of videos on pattern adjustments for tops and bottoms. Whoops! Looks like we may have gotten a little side tracked there, back to this dress.
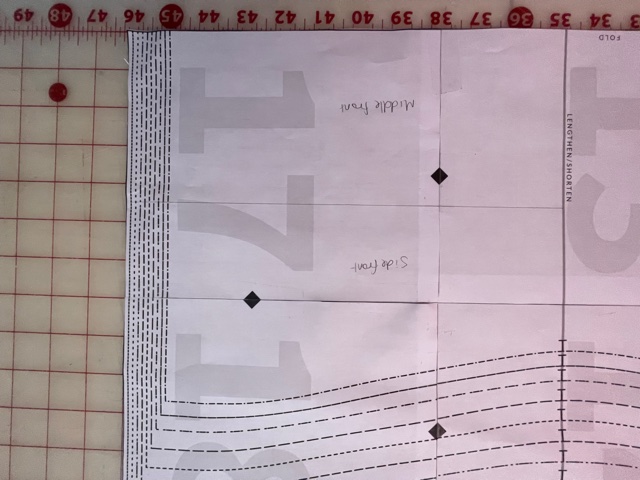
Then I cut the two pieces from the waist down and added a half inch seam allowance. This became my middle front and side front (same applied to the back). When lengthening my skirt portion I just decided to bring it down to just a few inches below my knee. I didn’t want a ton of ruching. And you will see in the pictures that my ruching is not nearly as exaggerated in most skirts you will see. This was an experiment more than anything. So I just drew straight line down. I’ve seen YouTube tutorials where they chop the patterns pieces into 2 inch slices and then spread them out to create a new pattern. I decided not to do that.
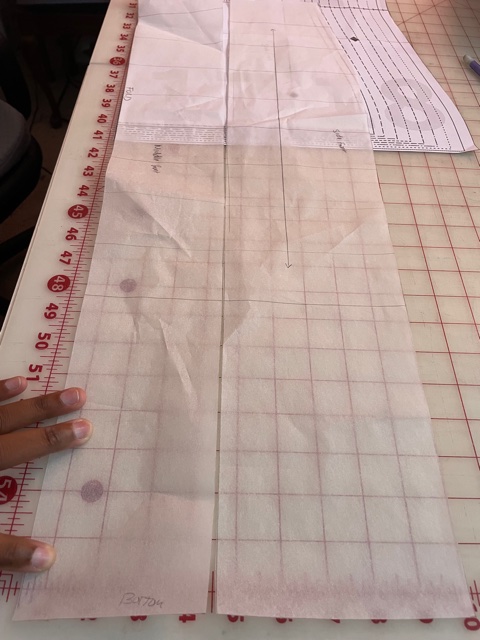
When I joined my middle and side pieces with a zigzag stitch, I stitched down the seam allowances to the dress to create a casing. You can see here that I was undecided on if I was going to create two channels or one for each panel. But I thought one channel was easier. I created my drawstrings by just cutting long strips of fabrics and sewing them down. I found out quickly that the zig zag stitch was best to prevent thread popping. I chose to leave my edges raw on this dress but you can also create a hole on the right side of the dress at the bottom where sits so that you can hem it properly.

Sasha is from New Jersey and has been sewing since 2015. To her, the most fascinating part about sewing is pattern adjustments and fit. You can find her website here, and see her makes on insta @kingdomdaughtermakes.


