
Community Blog | No Gape Roseclair with Karey
This post documents the lessons I applied from ‘Cross your heart woes’ to fitting the Cashmerette Roseclair peplum blouse.
Cashmerette Size Calculator recommends that I “start with a size 6 G/H with a 1″/2.5 cm full bust adjustment, size 10/12 waist and size 8 hip.”
What I did to start with was print sizes 6, 8, 10 and 12, and tissue fit my tracing of the pattern. I followed the Palmer/Pletsch Complete Guide to Fitting (PP) process to double check the size calculator recommendations and identify any other fitting issues.
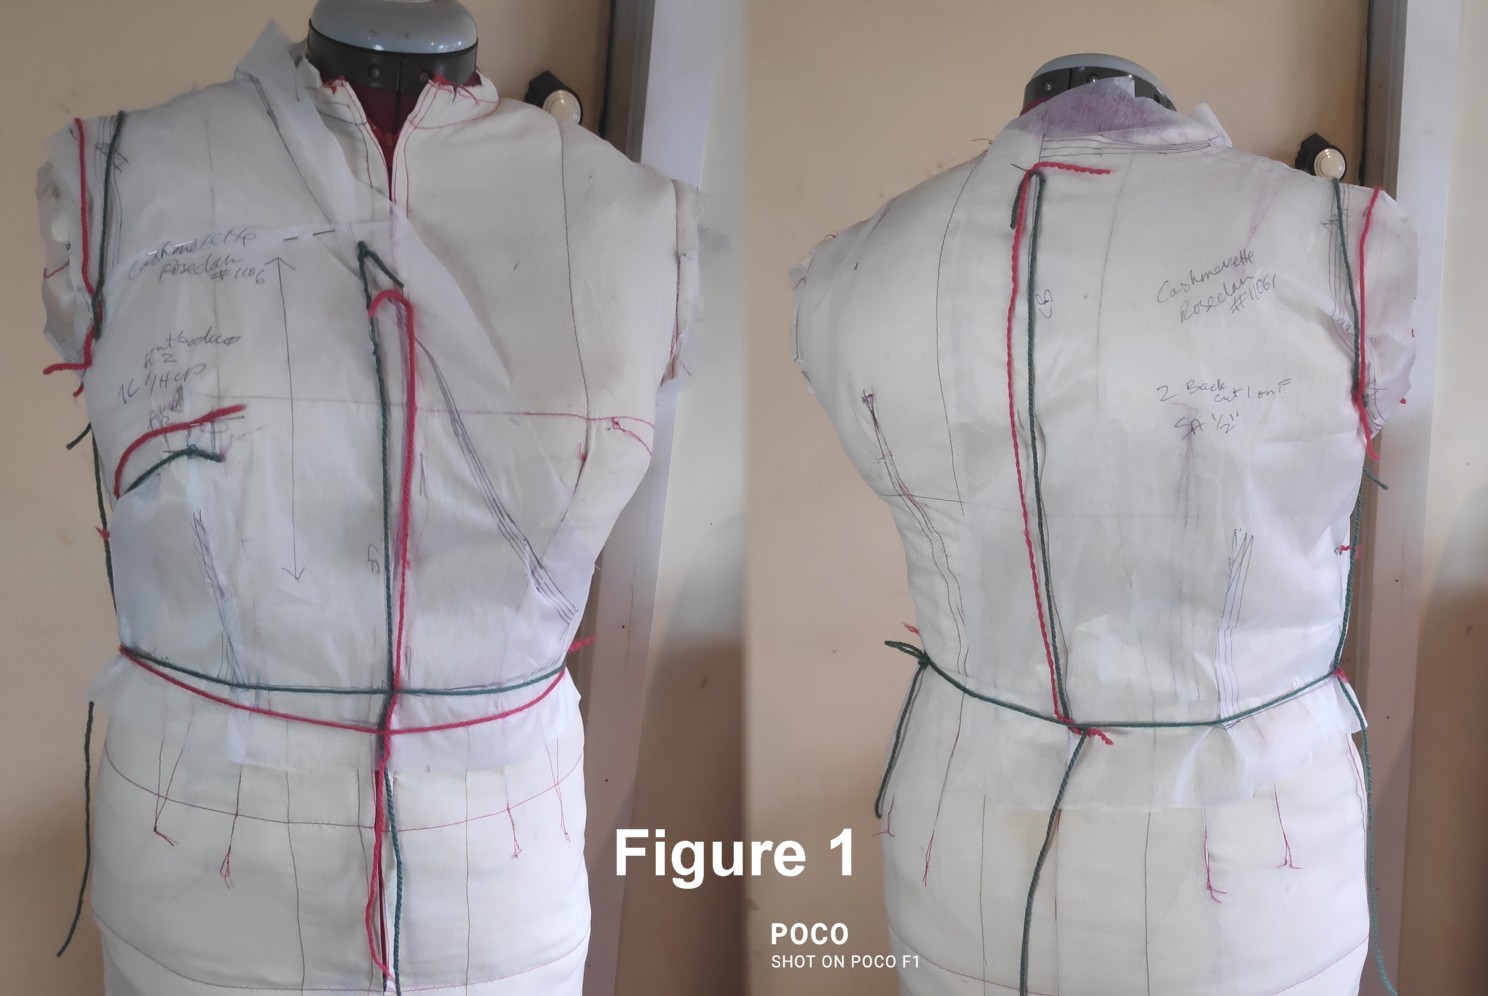
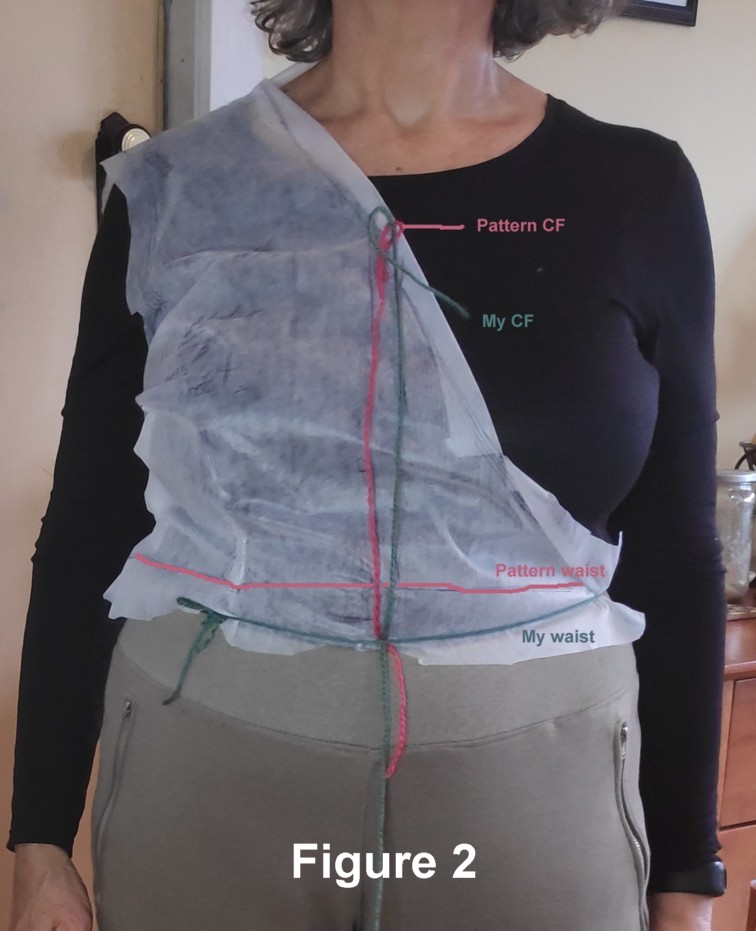
I expected to have to do an FBA, and I usually need wide round back adjustment. PP shows how to use gap between pattern and body centre front (CF) to measure size of FBA required, and gap between pattern and body centre back (CB) to identify width of wide back adjustment needed. Placing the pattern on my dummy suggested I needed to raise dart, but my dummy has perkier bust than me. My shoulders are wider than pattern shoulder width, but looking at armscye height on pattern, and gathering at top of sleeve, I left that for muslin fit, as it looked like sleeve sat over shoulder.
Figure 1: tissue fit on dummy – green thread marks pattern seams, pink thread marks my seam locations (I got my colour code mixed up between dummy & body fit 🙂
Figure 2: tissue fit me – green thread marks seam locations, pink thread marks pattern seams
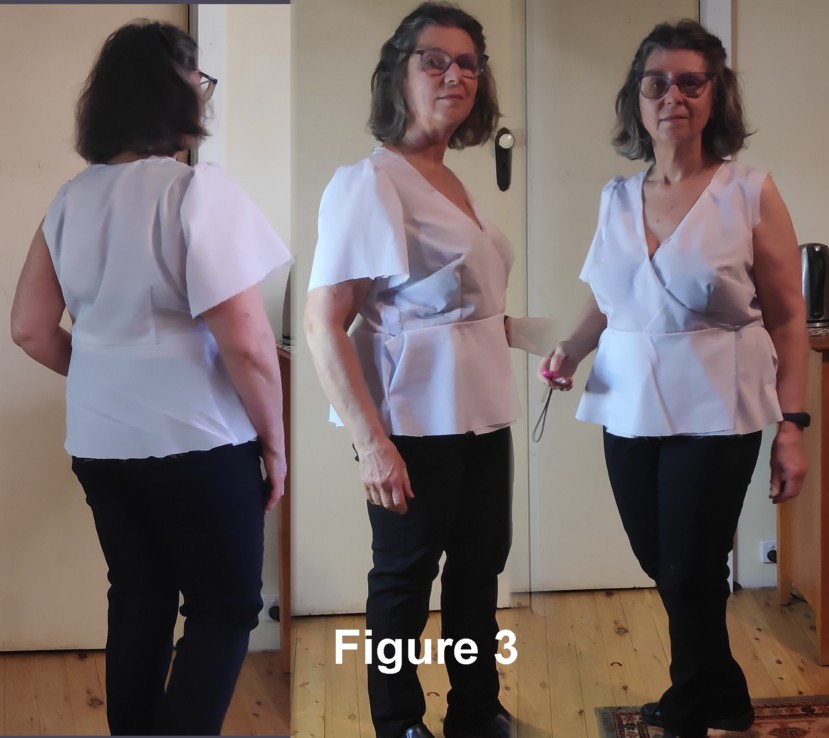
Once I had made these adjustments on the traced pattern I made up a muslin, to check fit and see whether the FBA had created gaping in the bodice front.
Figure 3: Muslin to check FBA, wide back adjustment, and sleeve fit
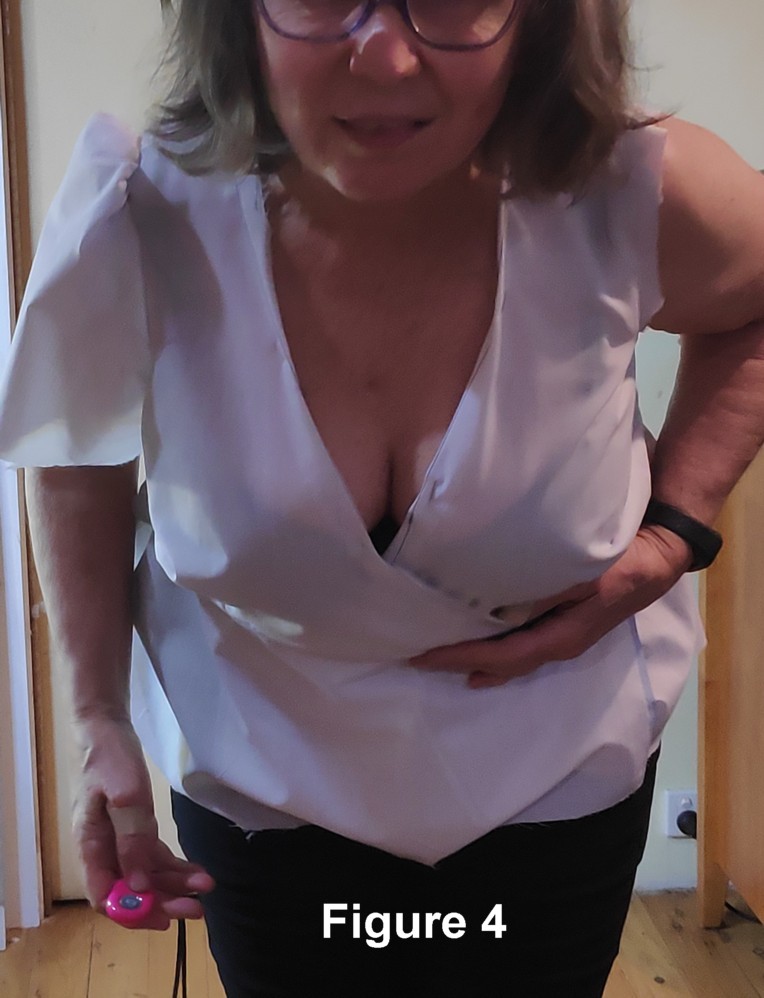
Figure 4: A little too much cleavage shows
Figure 4 shows the extra length over the center front created by the FBA did create gaping.
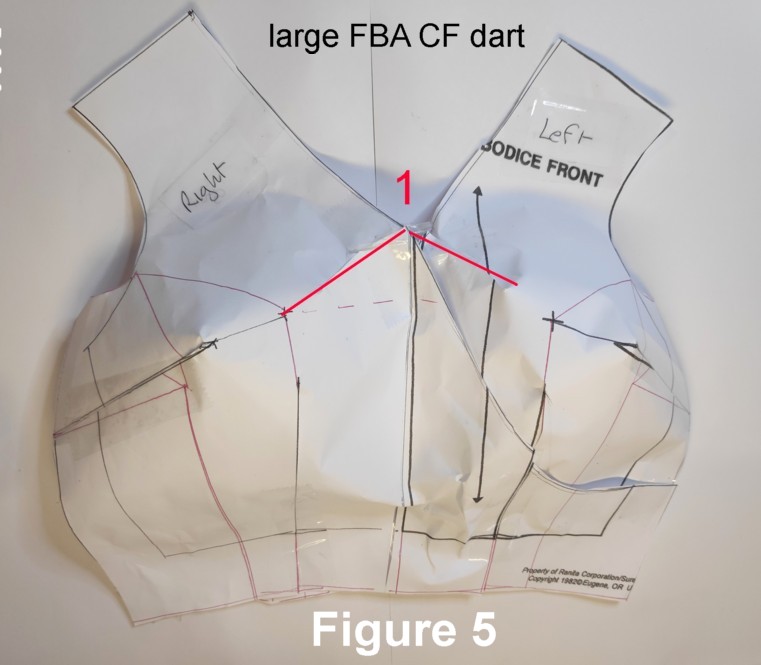
In the previous ‘Cross your heart woes’ blog post, I controlled the gaping by taking a wedge out from the apex to the cross over point on the CF:
Figure 5: high CF wedge
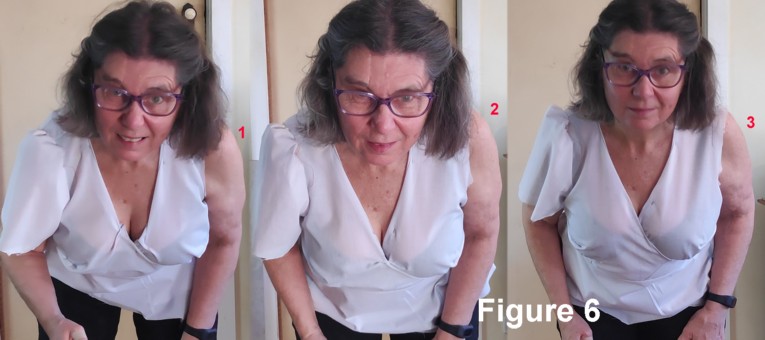
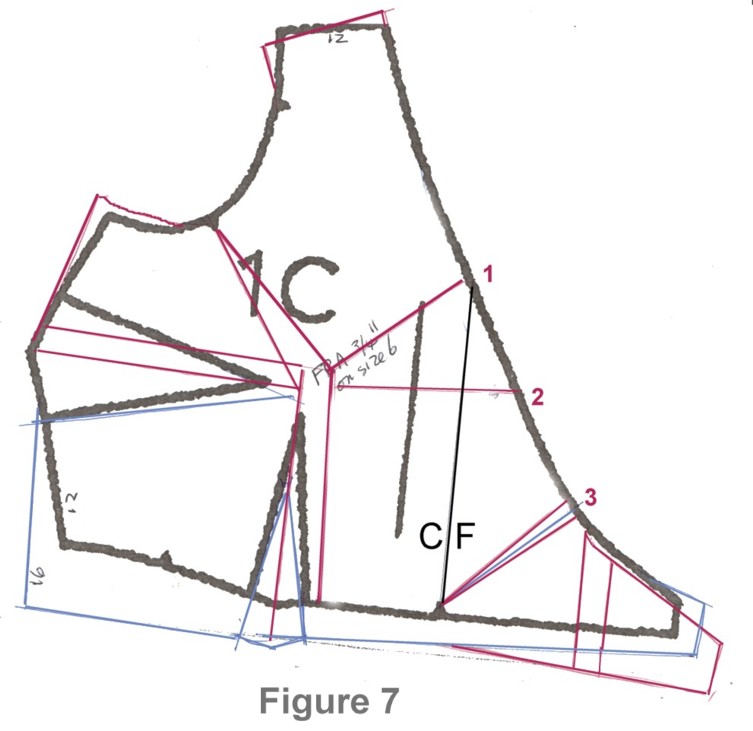
Figure 6: 1 – high CF wedge; 2 – mid CF wedge; 3 – low CF wedge. These correspond to the dart lines 1,2, & 3 drawn on Figure 7
What I discovered was that the high (1) and mid (2) CF wedges took length out of the vertical CF measurement as well as shortening the cross over length as required to reduce gaping. The low wedge, however, did not affect the vertical CF length, and did not go to the apex, so did not have to be rotated to other darts, simplifying the fitting of all the darts.
Figure 7: locations of wedges 1, 2, & 3
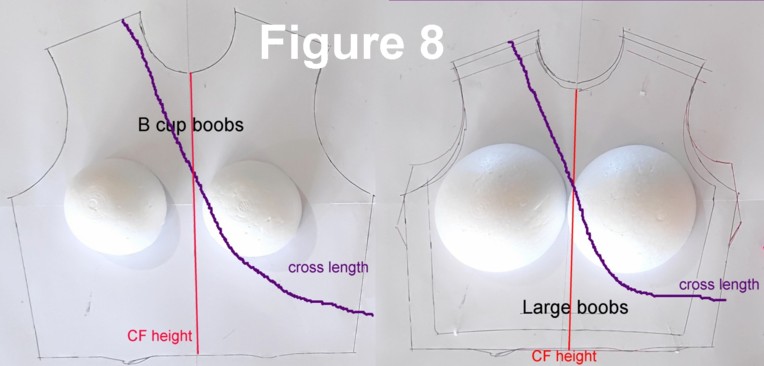
Figure 8: CF height and cross over length on B cup & large boobs
Figure 7 shows that the location of wedges 1 and 2 cuts through center front, so shortens center front as well as shortening cross over length. In order to remove them, these darts have to be rotated into another dart. Wedge 3, on the other hand, gets folded out through the waist line, so does not remove length from the CF but does remove length from the cross over.
Figure 8 shows that in order to fit around large boobs, the cross over needs to go lower before turning around bust and turn more sharply. The red tie drawn on Figure 7 shows where the tie end of the bodice was after the FBA adjustment as compared with the original black line. After wedge 3 was removed, the tie end moved up to where it is marked in blue on Figure 7, wrapping the tie better around the large boob, like in Figure 8.
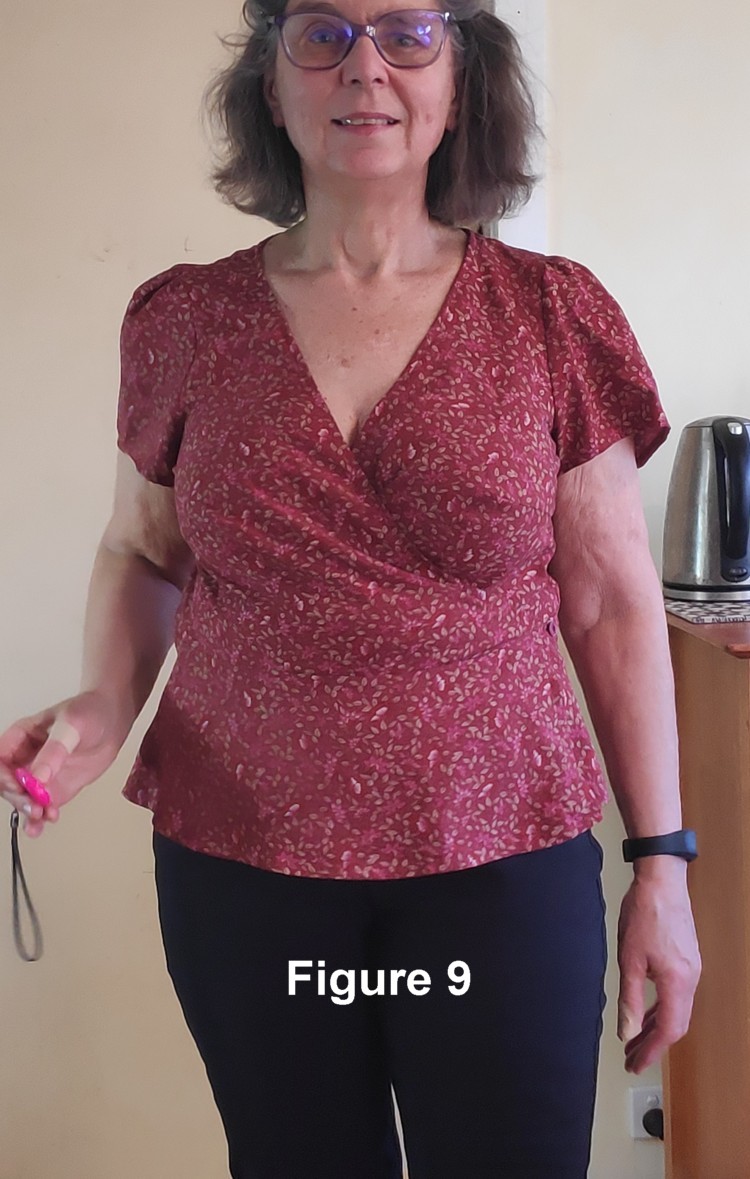
Figure 9: final front
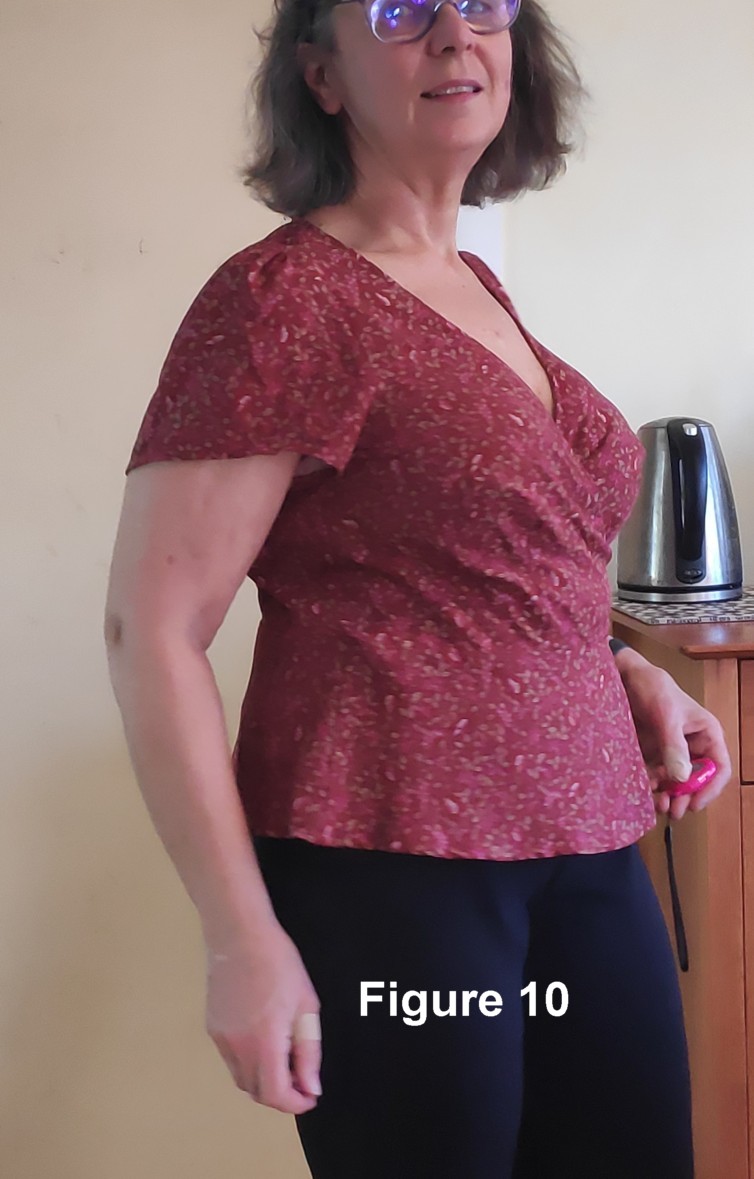
Figure 10: final side
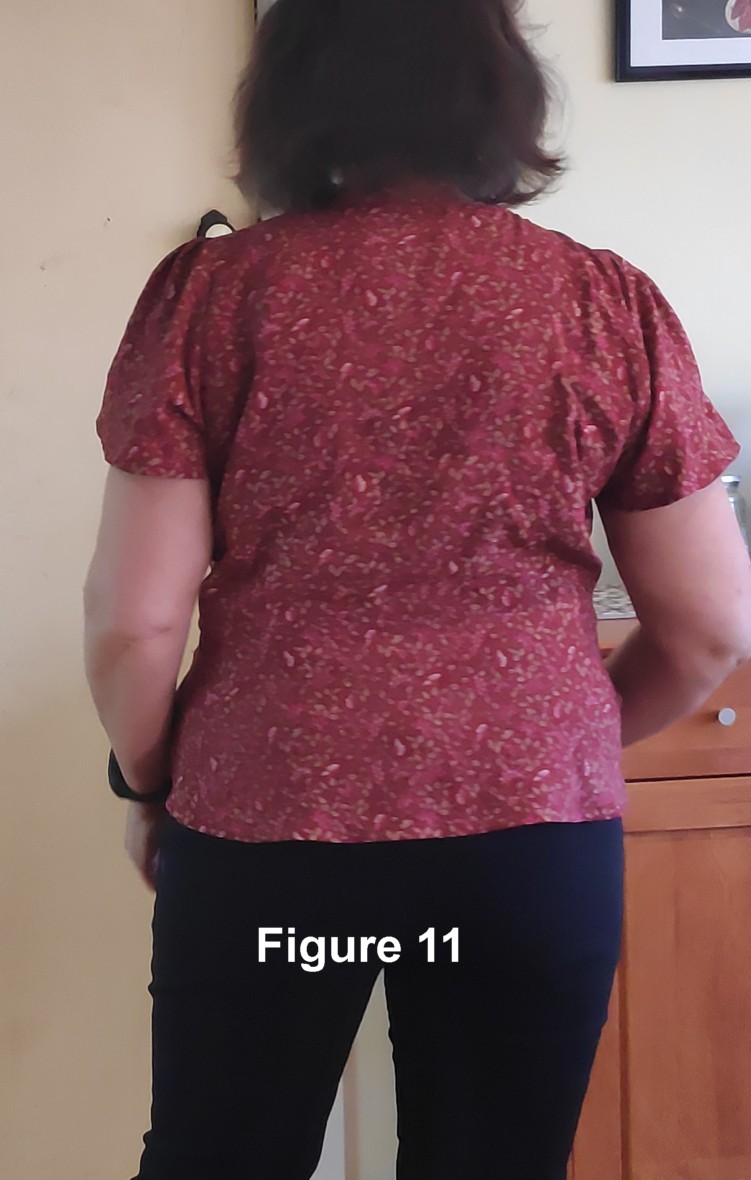
Figure 11: final back
Once I was happy with fit, sewing up this top was one of the quickest and easiest I’ve made. I love how it feels and looks. See Figures 9, 10 and 11.
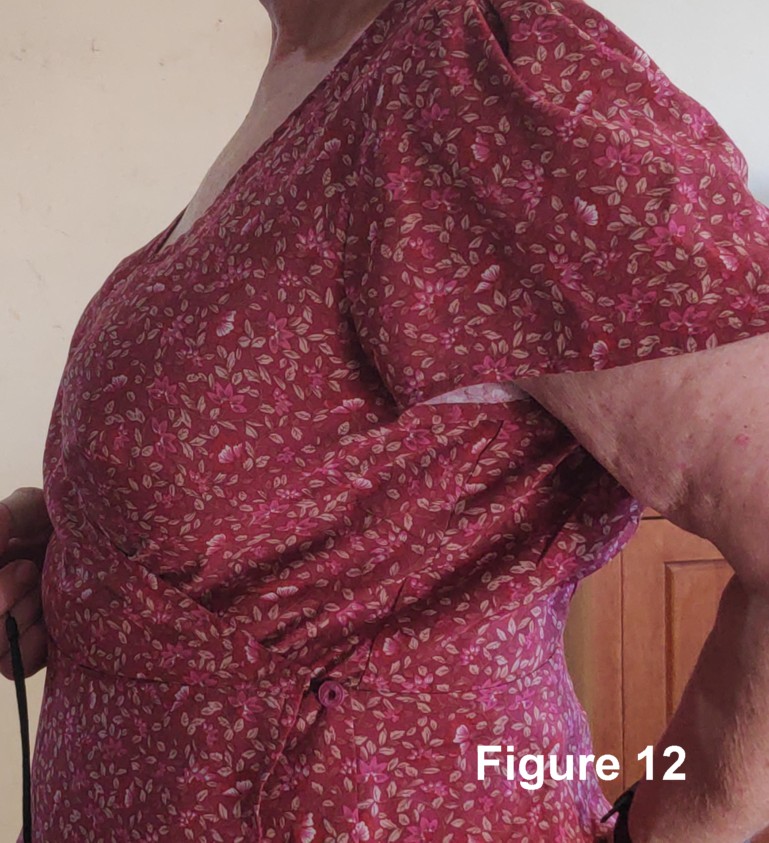
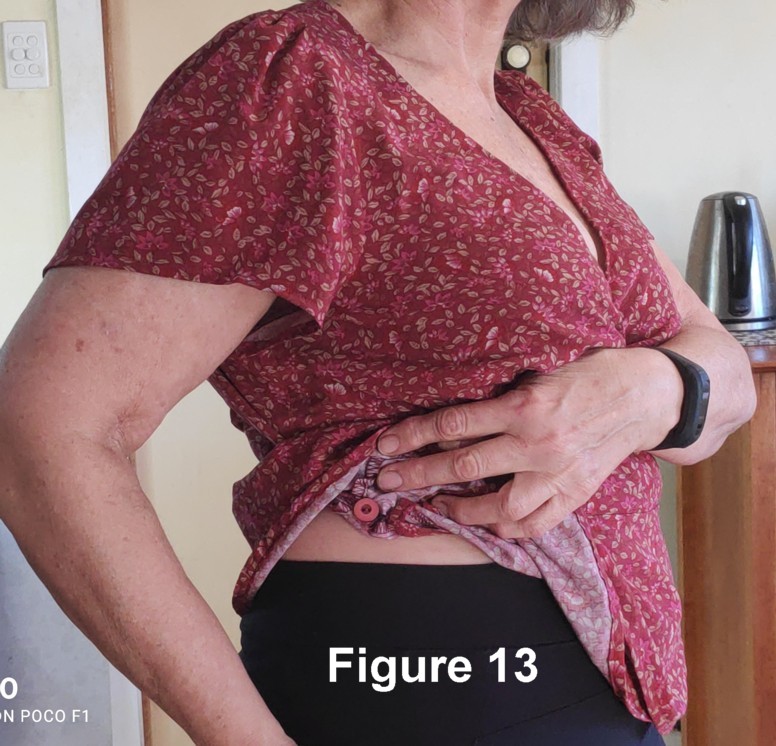
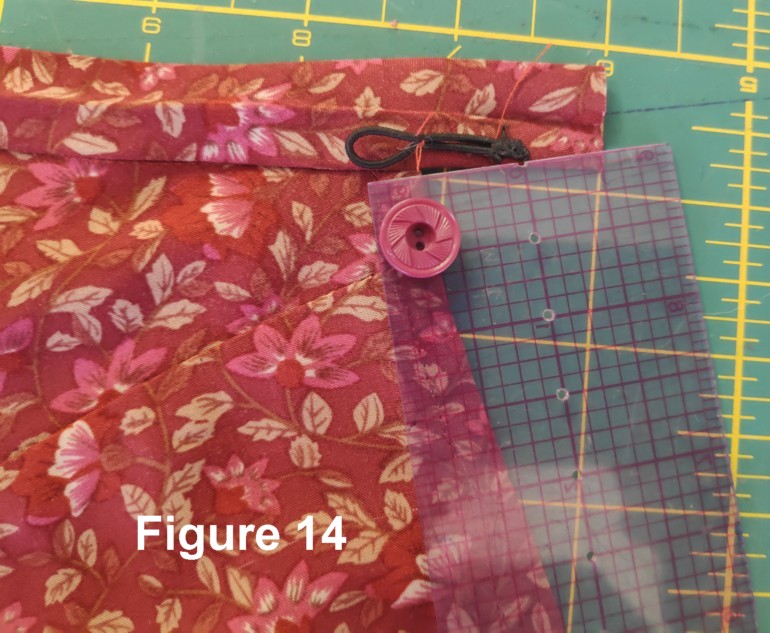
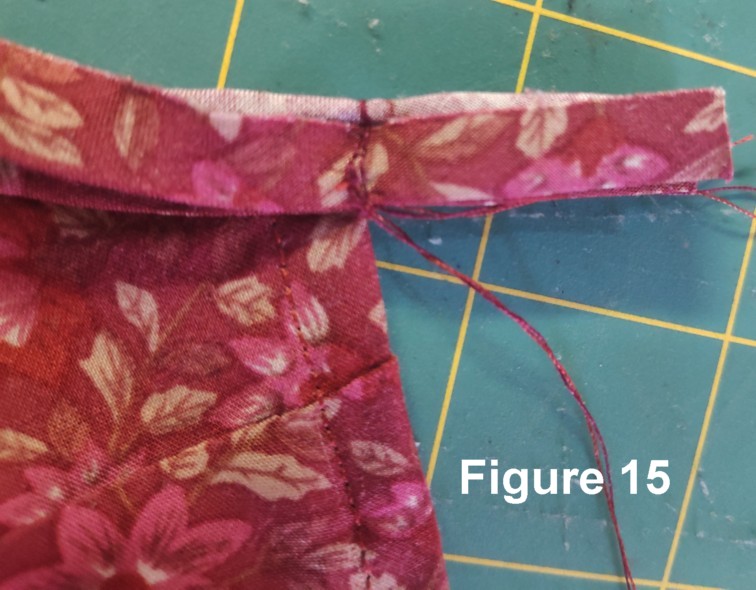
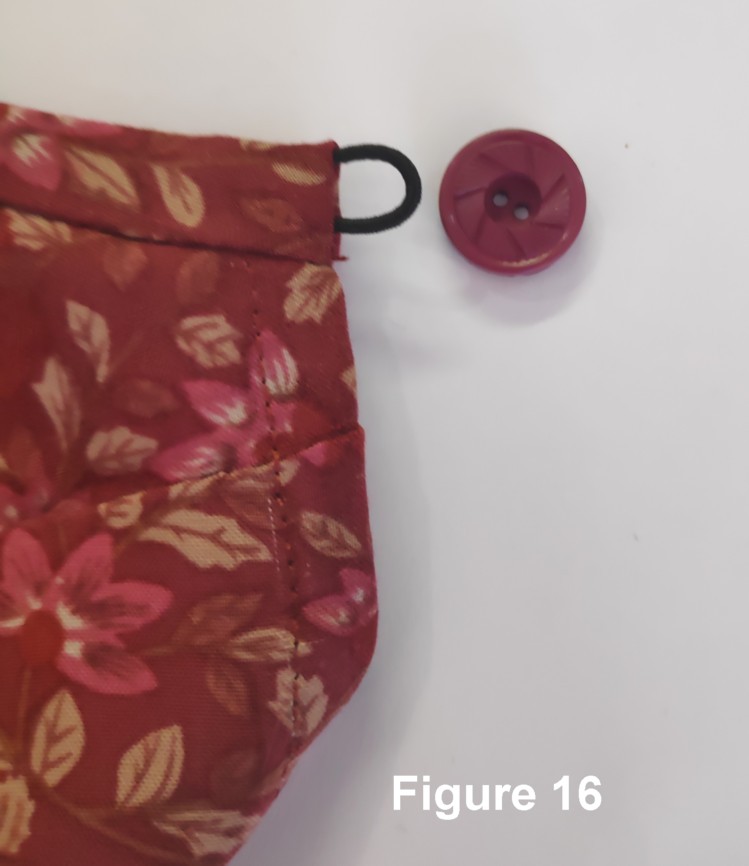
I left off the ties and replaced them with hat elastic button loops and buttons. Figures 12 and 13 show the outside and inside buttons. Figure 14 shows the elastic loop in place on what will be the outside of the binding; Figure 15 shows the bias folded with the button loop inside, and stitched through; and, figure 16 shows the button loop completed.
Figure 12: outside button
Figure 13: inside button
Figure 14: Inserting hat elastic loop
Figure 15: bias band folded out and stitched through button loop
Figure 16: button loop attached
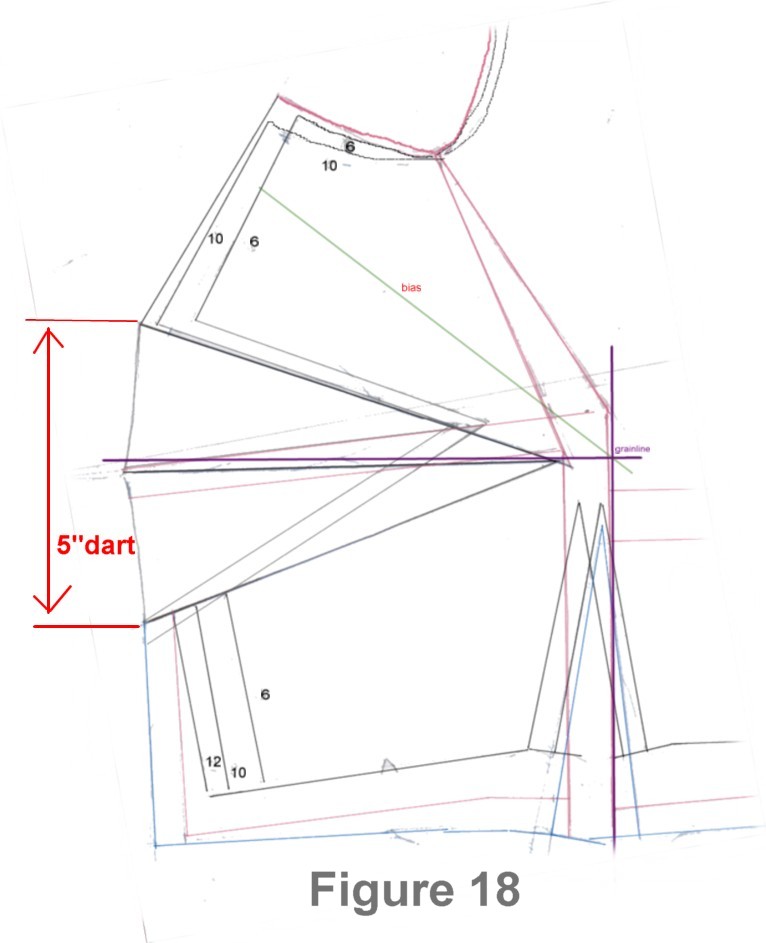
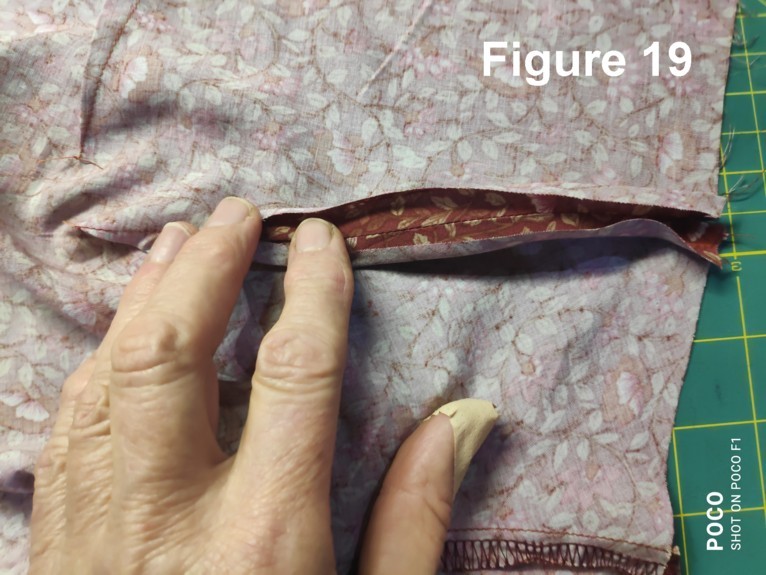
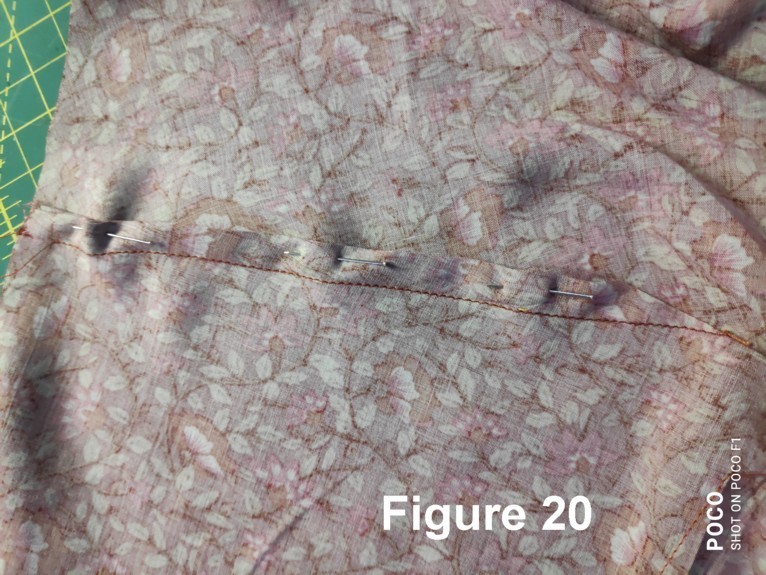
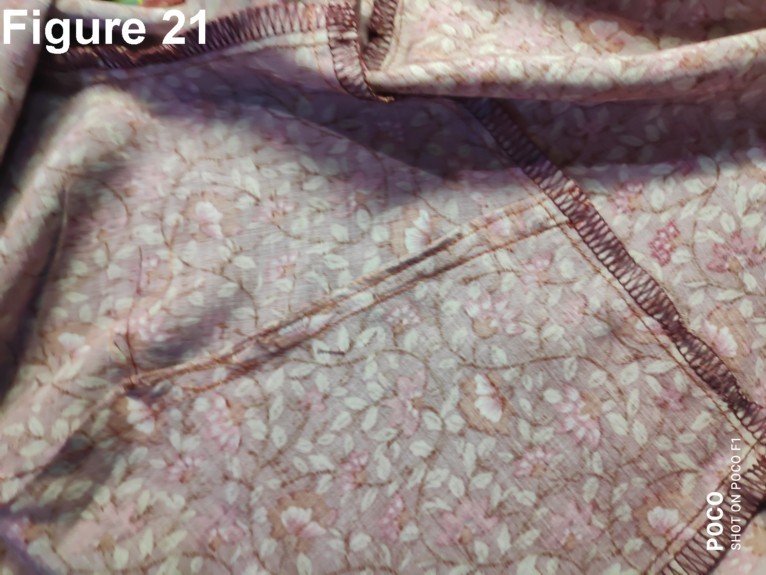
The ¾” FBA I did on top of the Cashmerette G/H cup gave me a dart that measured 5” (12.5cm) along the side seam. This means that while the fold of the dart is almost on the straight of grain and, once the dart is stitched and folded up, the straight of grain fold of the dart lies under the bias of the outer layer. This means the outer fabric can stretch along the grain, but the dart edge cannot. If the leg of the dart is sewn to the side seam it will pull on the outer layer when you move. To stop this happening I trim dart leg to 5/8”. In this fine rayon I finish the dart edge as a faux French seam. With non-fraying fabrics I would just cut the edge.
Figure 17: Watch video to see how and why large dart pulls on outer layer, and how to fix it.
Figure 18: 5”dart
Figure 19: trimmed, edges folded in
Figure 20: pinned
Figure 21: top-stitched
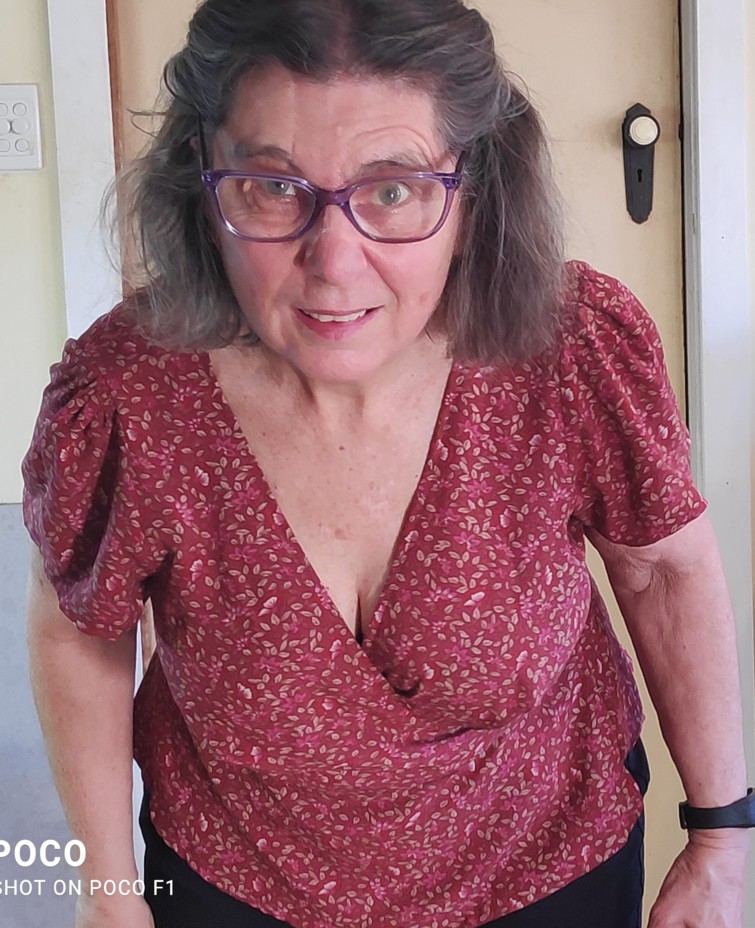
Finally, no gape Roseclair:

Karey Harrison is a feminist philosopher of science and linguistics, environmentalist, retired academic, home baker, sewist, gardener. Karey also wrote the guest blogpost: #AllButtsWelcome: Unmentionables: Crotch Variation in Pantie Fitting. You can catch Karey on instagram @kareylea and see Karey’s academic profile here.
Images: unless otherwise noted, images are by Karey Harrison (CC BY-SA 4.0).



Karey
August 1, 2021Thanks Lily. I hope people find it useful.
onelilypad
August 2, 2021Nicely done Karey! You have done a fabulous job of illustrating what happens to a wrap top with a FBA without an additional wrap adjustment. This additional post where you found the best/easiest location for that additional dart is the cherry on top.
Karey
August 1, 2021PS. there is no one right solution. Different bodies need their own approach, so experimentation is the key.