Community Blog | Stitch Witch Tudor Wrap Blouse with Kei
Editor’s Note: For today’s community blog, Kei has been so kind as to share with us her experience making the Tudor Blouse (wrap front version) by Stitch Witch Patterns! This pattern comes in sizes 0-16 (waists 24-43″). Kei’s measurements are:
- High Bust: 41”
- Bust: 43”
- Waist: 33”
- Height: 5’3”
About the pattern:
The base pattern is a button front blouse, in either a cropped or regular length, with cute puffed, elasticated sleeves that you can wear up on your shoulders for a square neck look or dropped down your arms for an off-the-shoulder look. The pattern designer also includes pattern pieces for a wrap front version with long tails that tie in the back AND pattern pieces for a full bust version (“C and up”). There are full bust pieces for both the button front option and the wrap front option! Just a warning though, the size chart does not include measurements for the full bust pieces.
I have been seeing this top all over instagram and quite frankly, I’ve been obsessed. Especially with the wrap version. The wrap feature creates more of a sweetheart shaped neckline and with the off the shoulder puffy sleeves, its an ultra romantic and pretty effortless look. Truthfully, most examples I came across seemed to be on sewists with less busty silhouettes so I had no idea how it would actually turn out for me!
Choosing a size:
My measurements put me inbetween the 18/20 at my bust but squarely in a 16 for the waist. The pattern designer suggested I choose the size 18 and add 1” to the bust area and bring the waist in. I wasn’t sure exactly how to go about adding an inch at the bust (can’t wait to dig into the wrap bodice blog post from July 15th to help inform my second go!). There was no mention of upper bust measurements so I’m not entirely sure how to determine which pattern pieces will work best for you. But I decided to cut the full bust pieces in a straight 18. From looking at the pattern pieces it seemed like a full bust adjustment (FBA) already accounted for more volume at the bust compared to the same size for the small bust pieces.
Editor’s Note: From my conversations with the designer, the full bust pieces are drafted for a 3″ difference between high and full bust. 🙂
For reference, there’s not a huge discrepancy between my full bust and high bust measurements. My measurements don’t typically dictate using a FBA because I still need room in my upper bust area width wise. I almost always need material pinched out horizontally above my bust because I’m on the shorter side. I generally need more waist shaping below the bust.
Sewing:
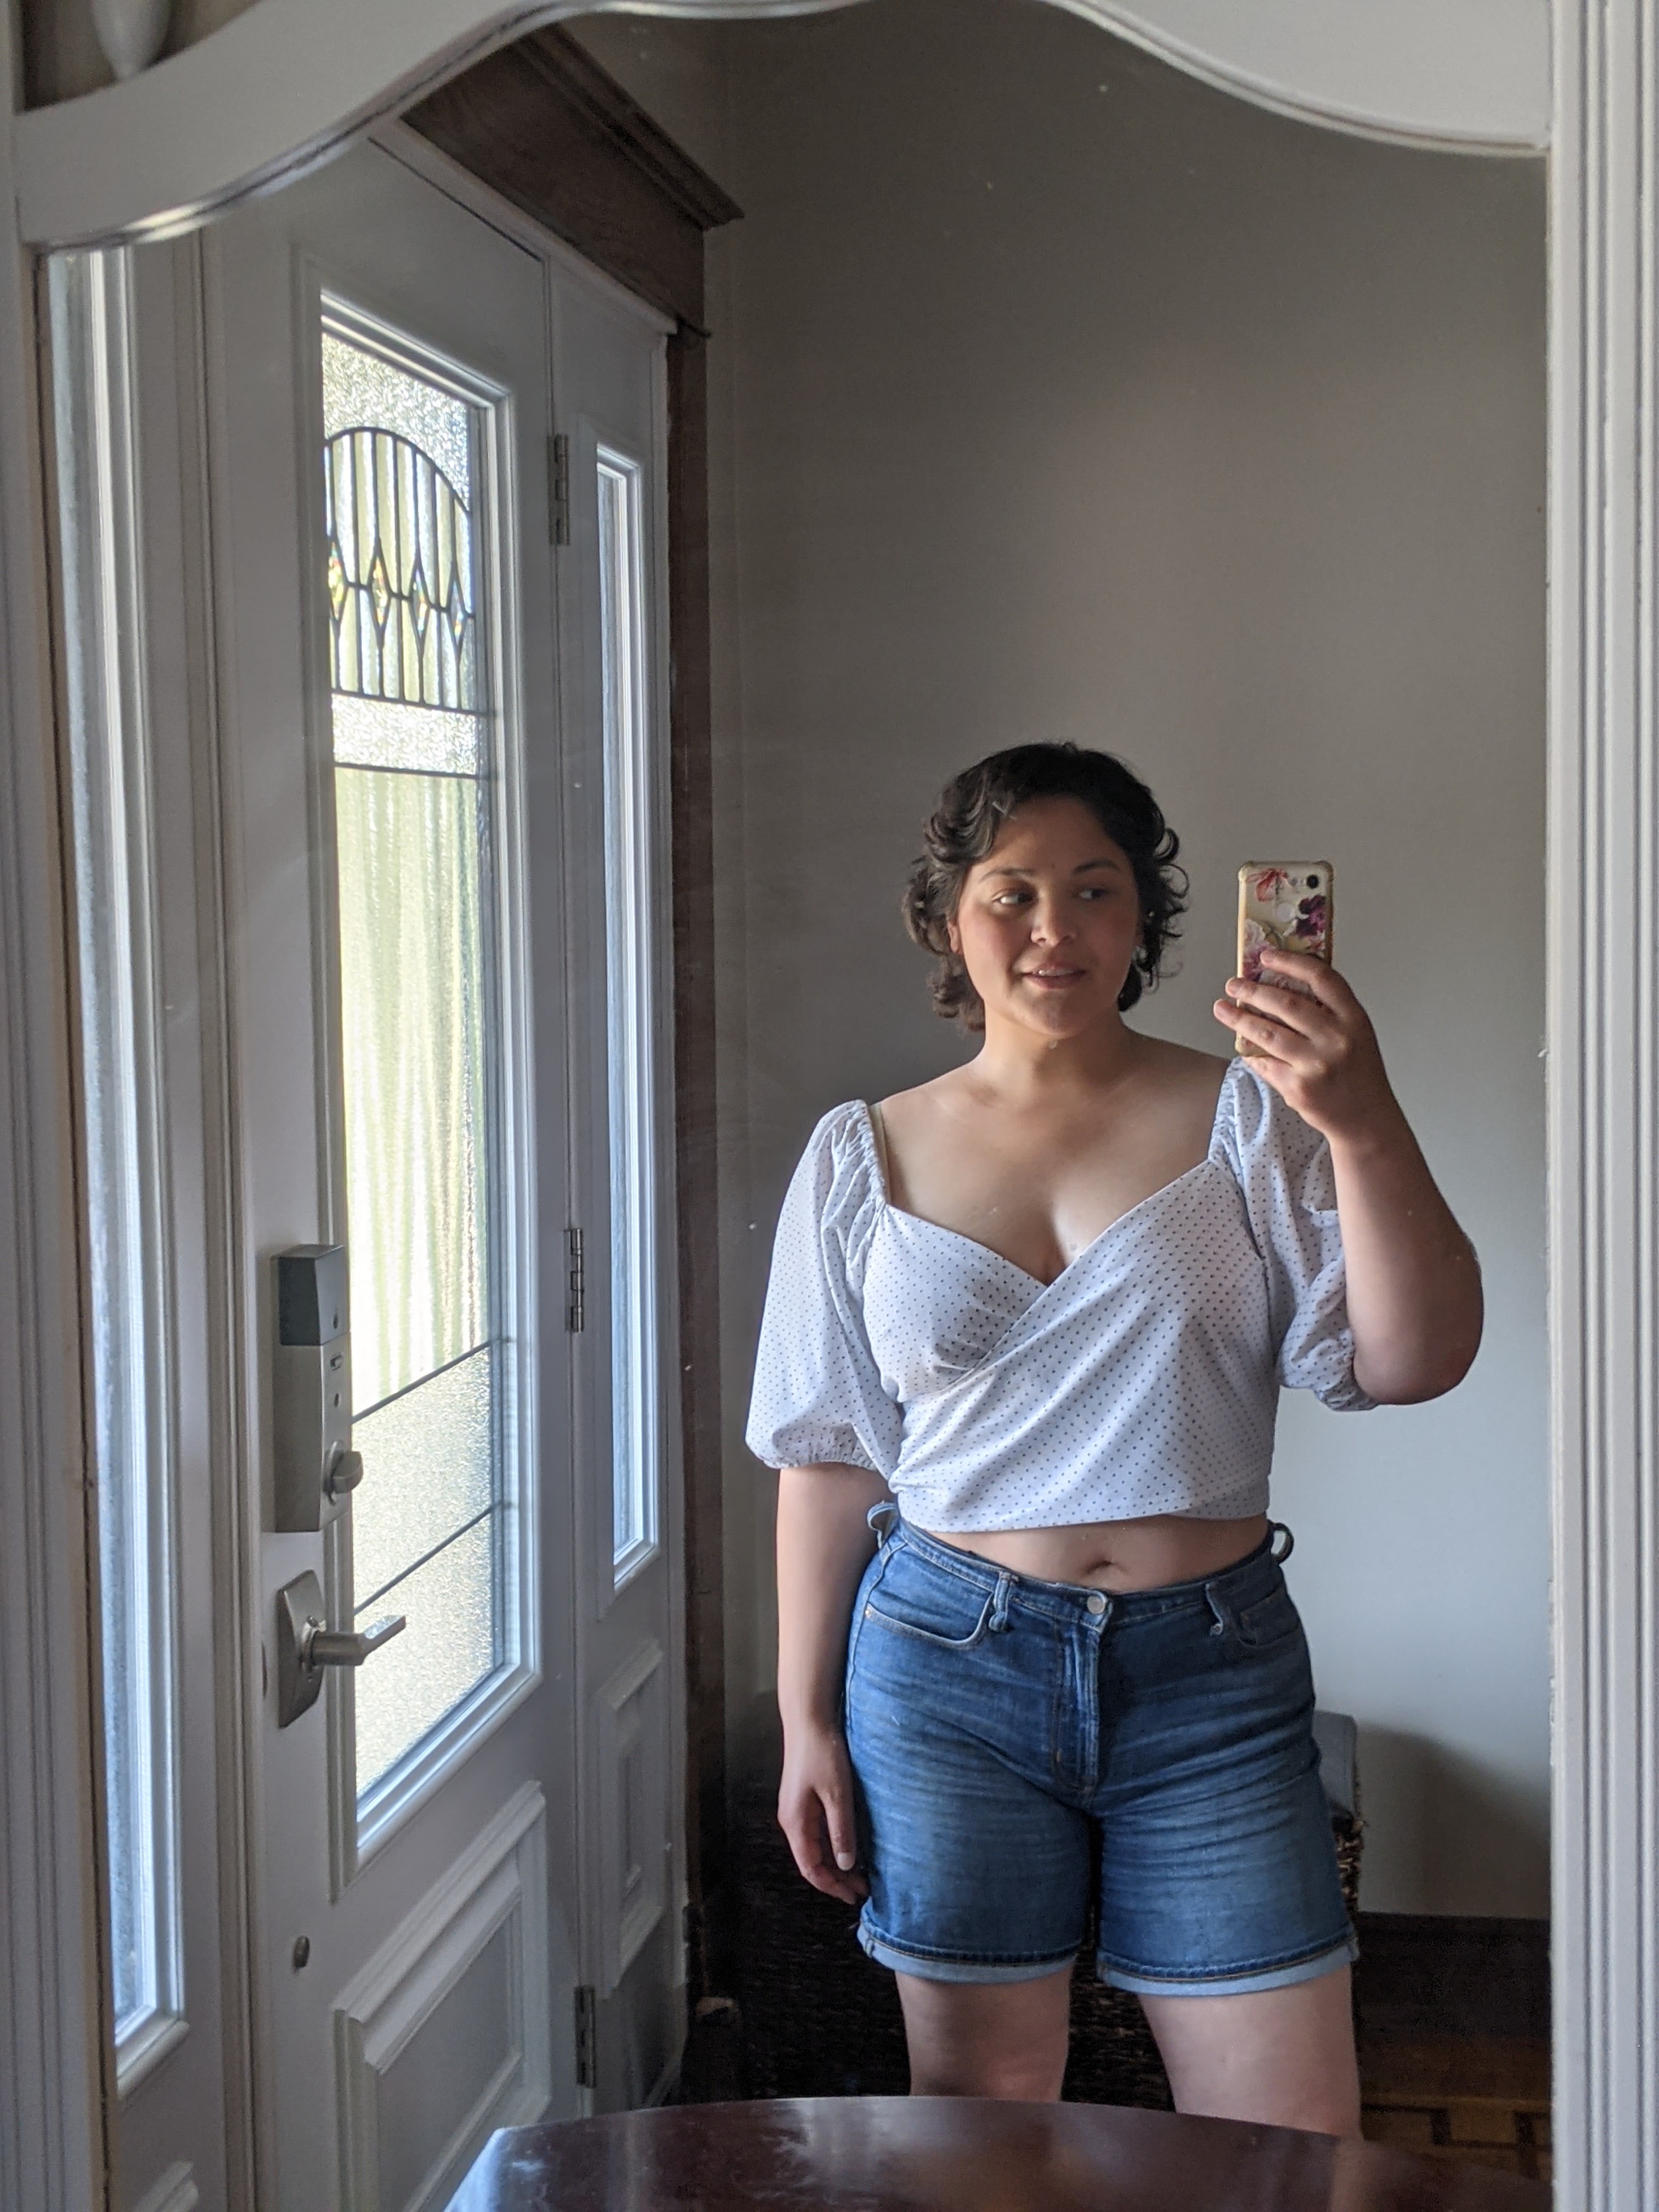
I used a light, white cotton voile with little black polkadots. The wrap front pieces are fully lined by design and since the fabric was so sheer, I ended up fully lining the back and sleeves to match.
This was a super quick and satisfying sew! It came together quickly and I was wearing it within a couple of hours. Woo!
Fit:
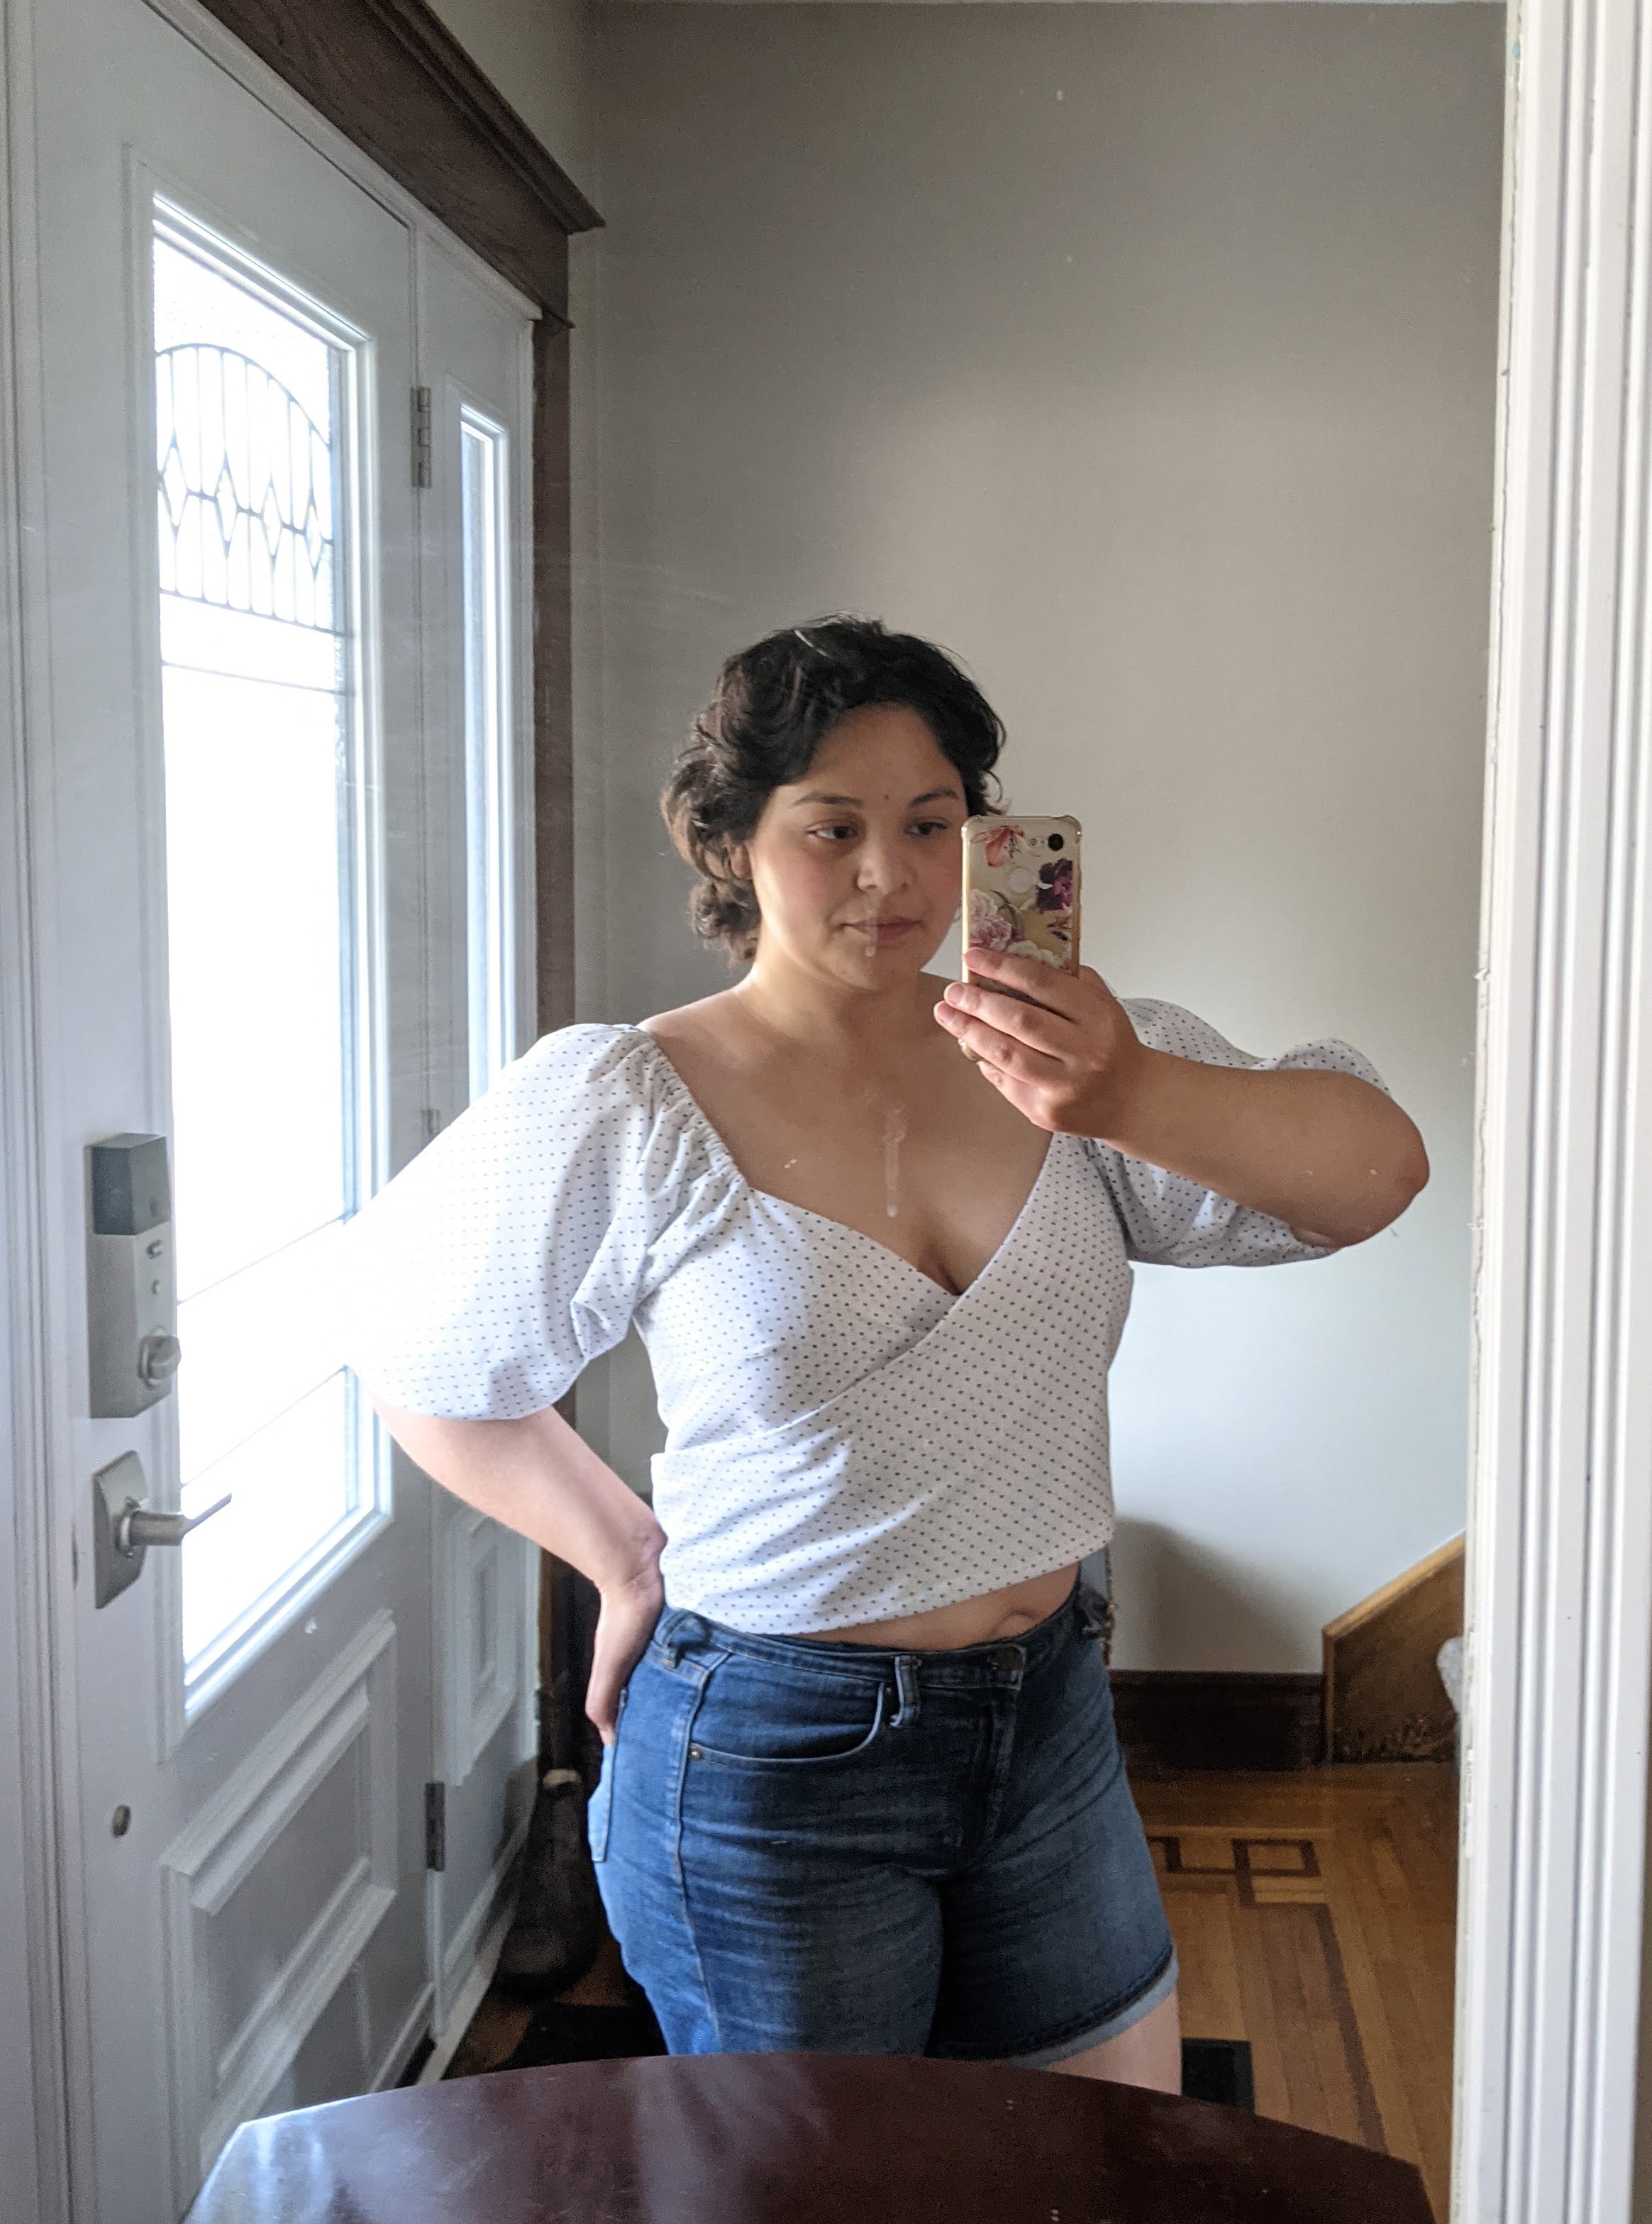
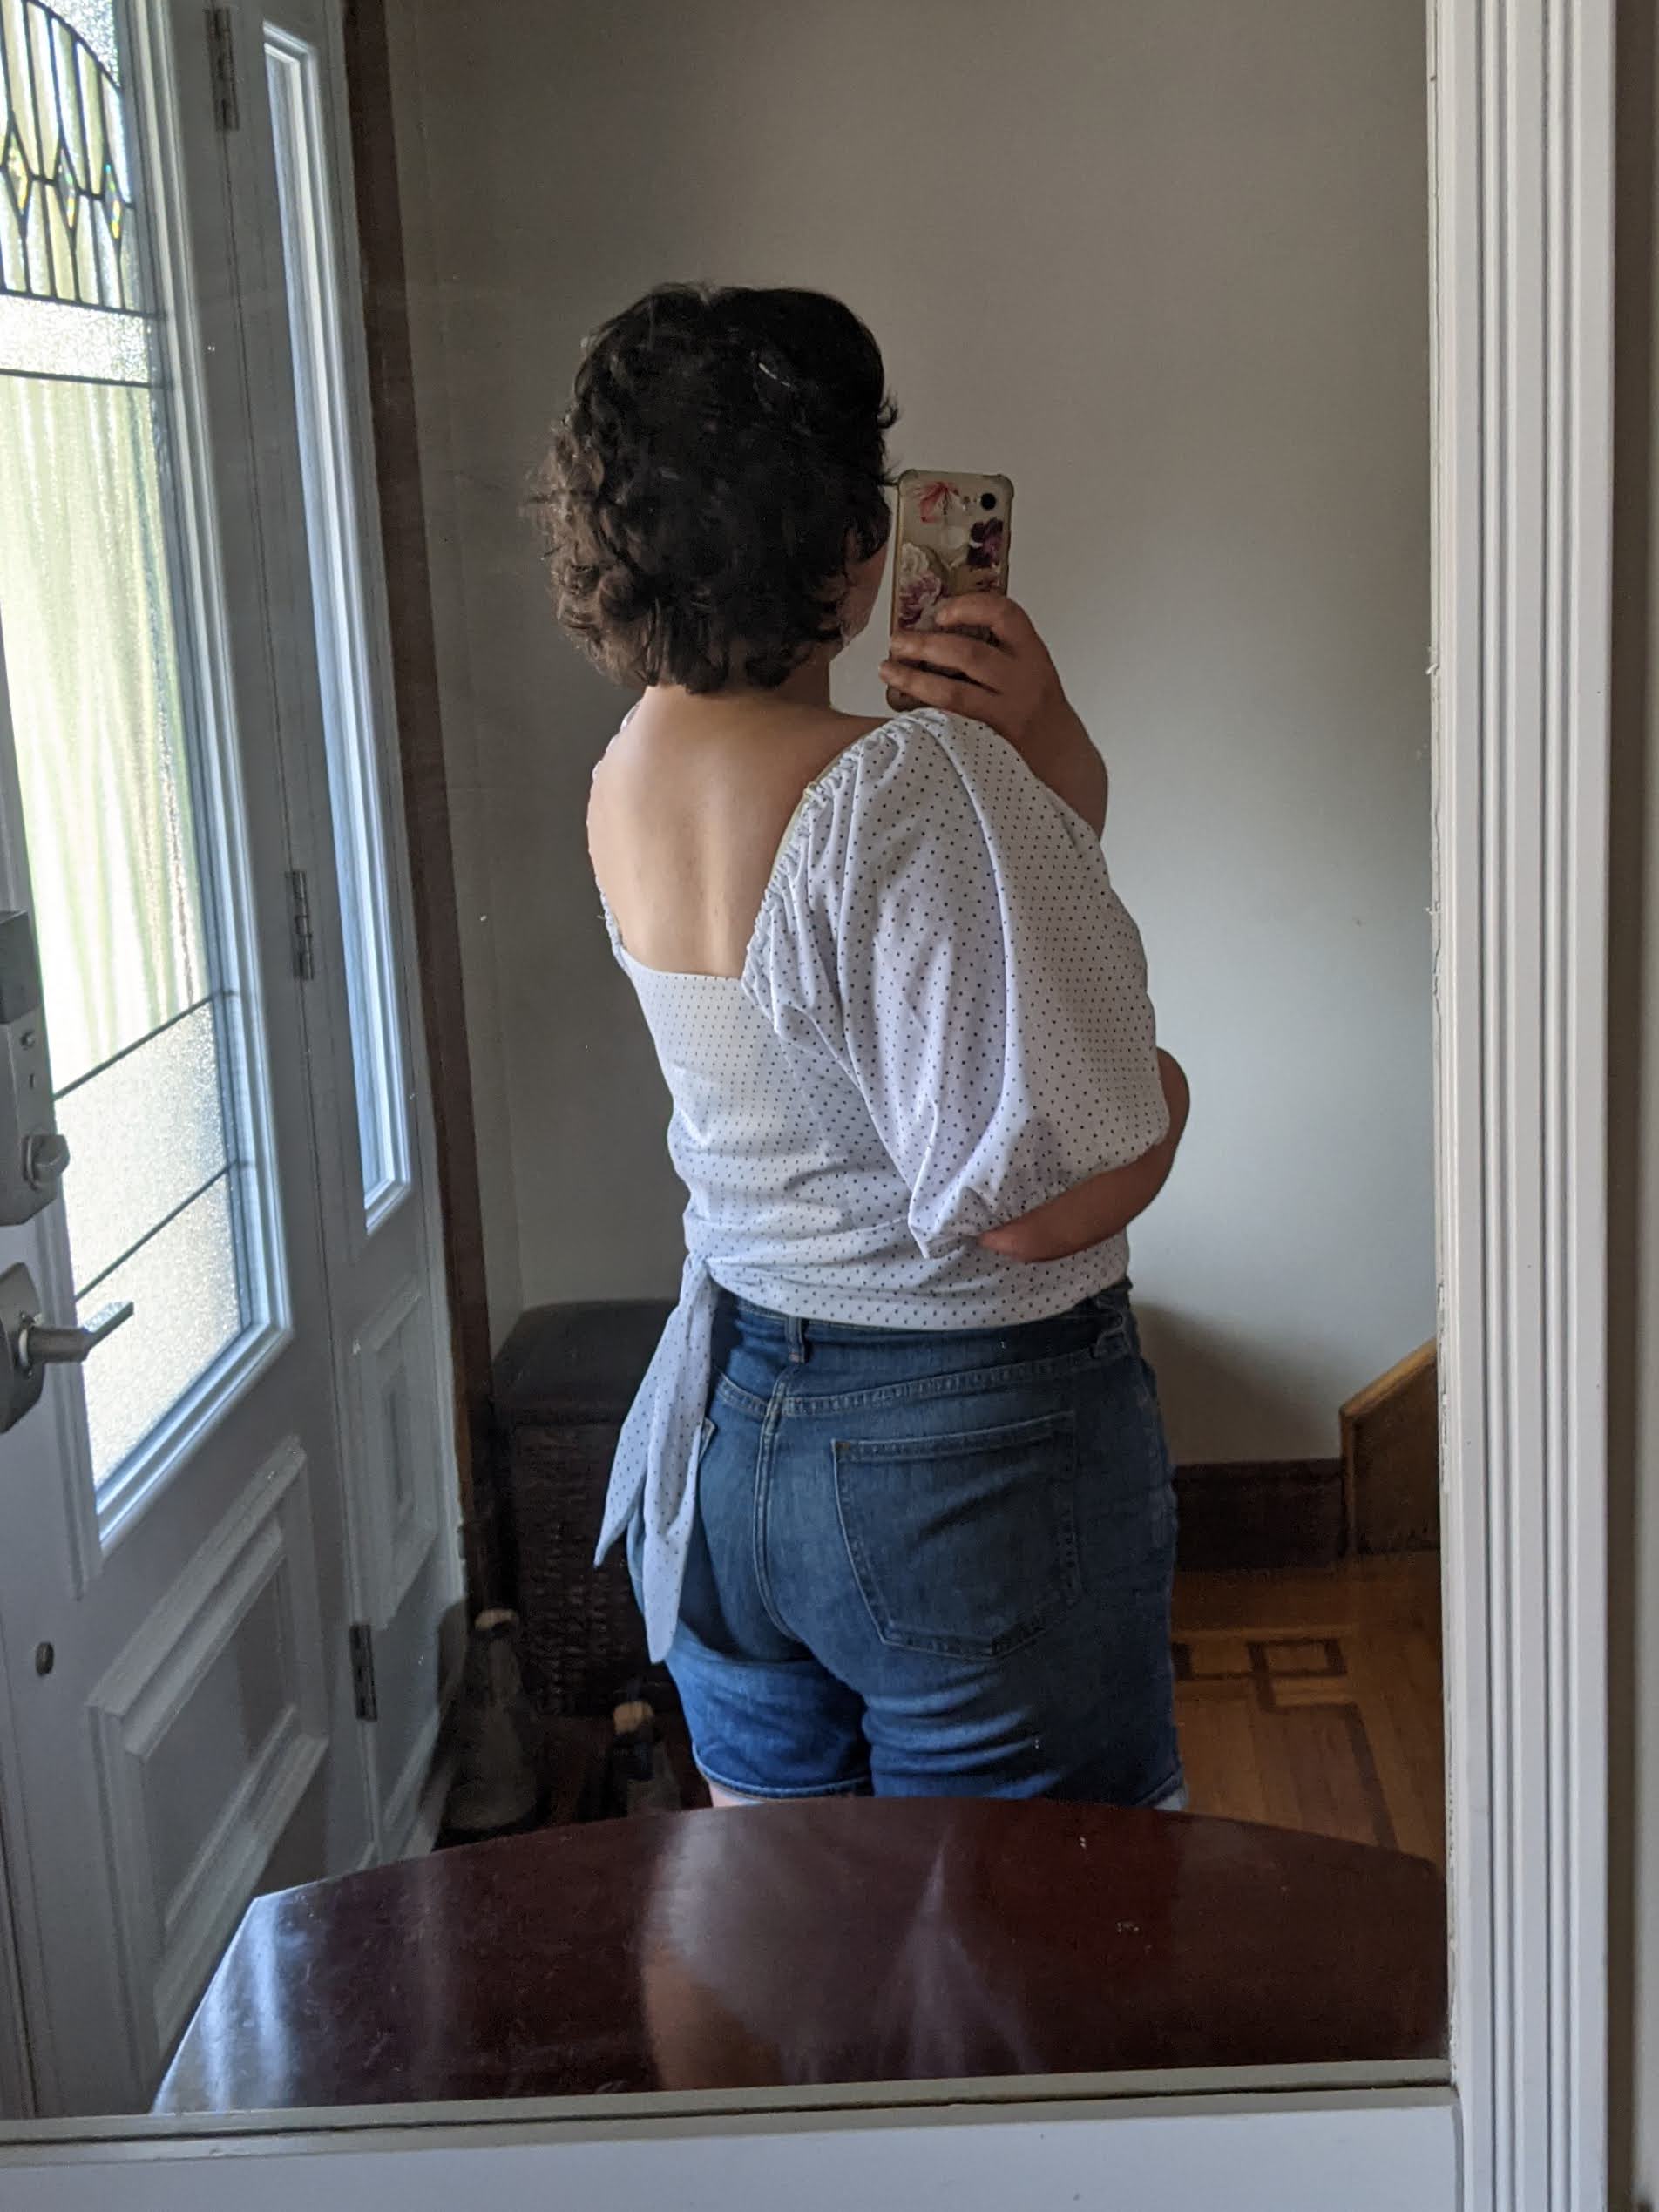
This top is super cute, especially when I’m standing still. But as soon as I start to move the neckline shifts/opens and the sleeves start dropping off my shoulders. Tying the top a bit more snuggly helped to reduce shifting and helped define my waist. Unfortunately, the wrap would either cut across the opposite boob or bunch up underneath it awkwardly. My shoulders are not narrow by any means but I do have a bit of a downward slope. I always have to bring my bra straps inward to keep them from slipping off so it doesn’t surprise me that I’d need the same adjustment here.
It’s Instagram ready but I would not feel comfortable wearing it out of the house much or for any activity beyond lounging. I’d need some real adjustments to make this something I’d want as a standard piece in my wardrobe but heck, it’s so cute it might be worth the tinkering needed to get it there!
Adjustments for Version 2:
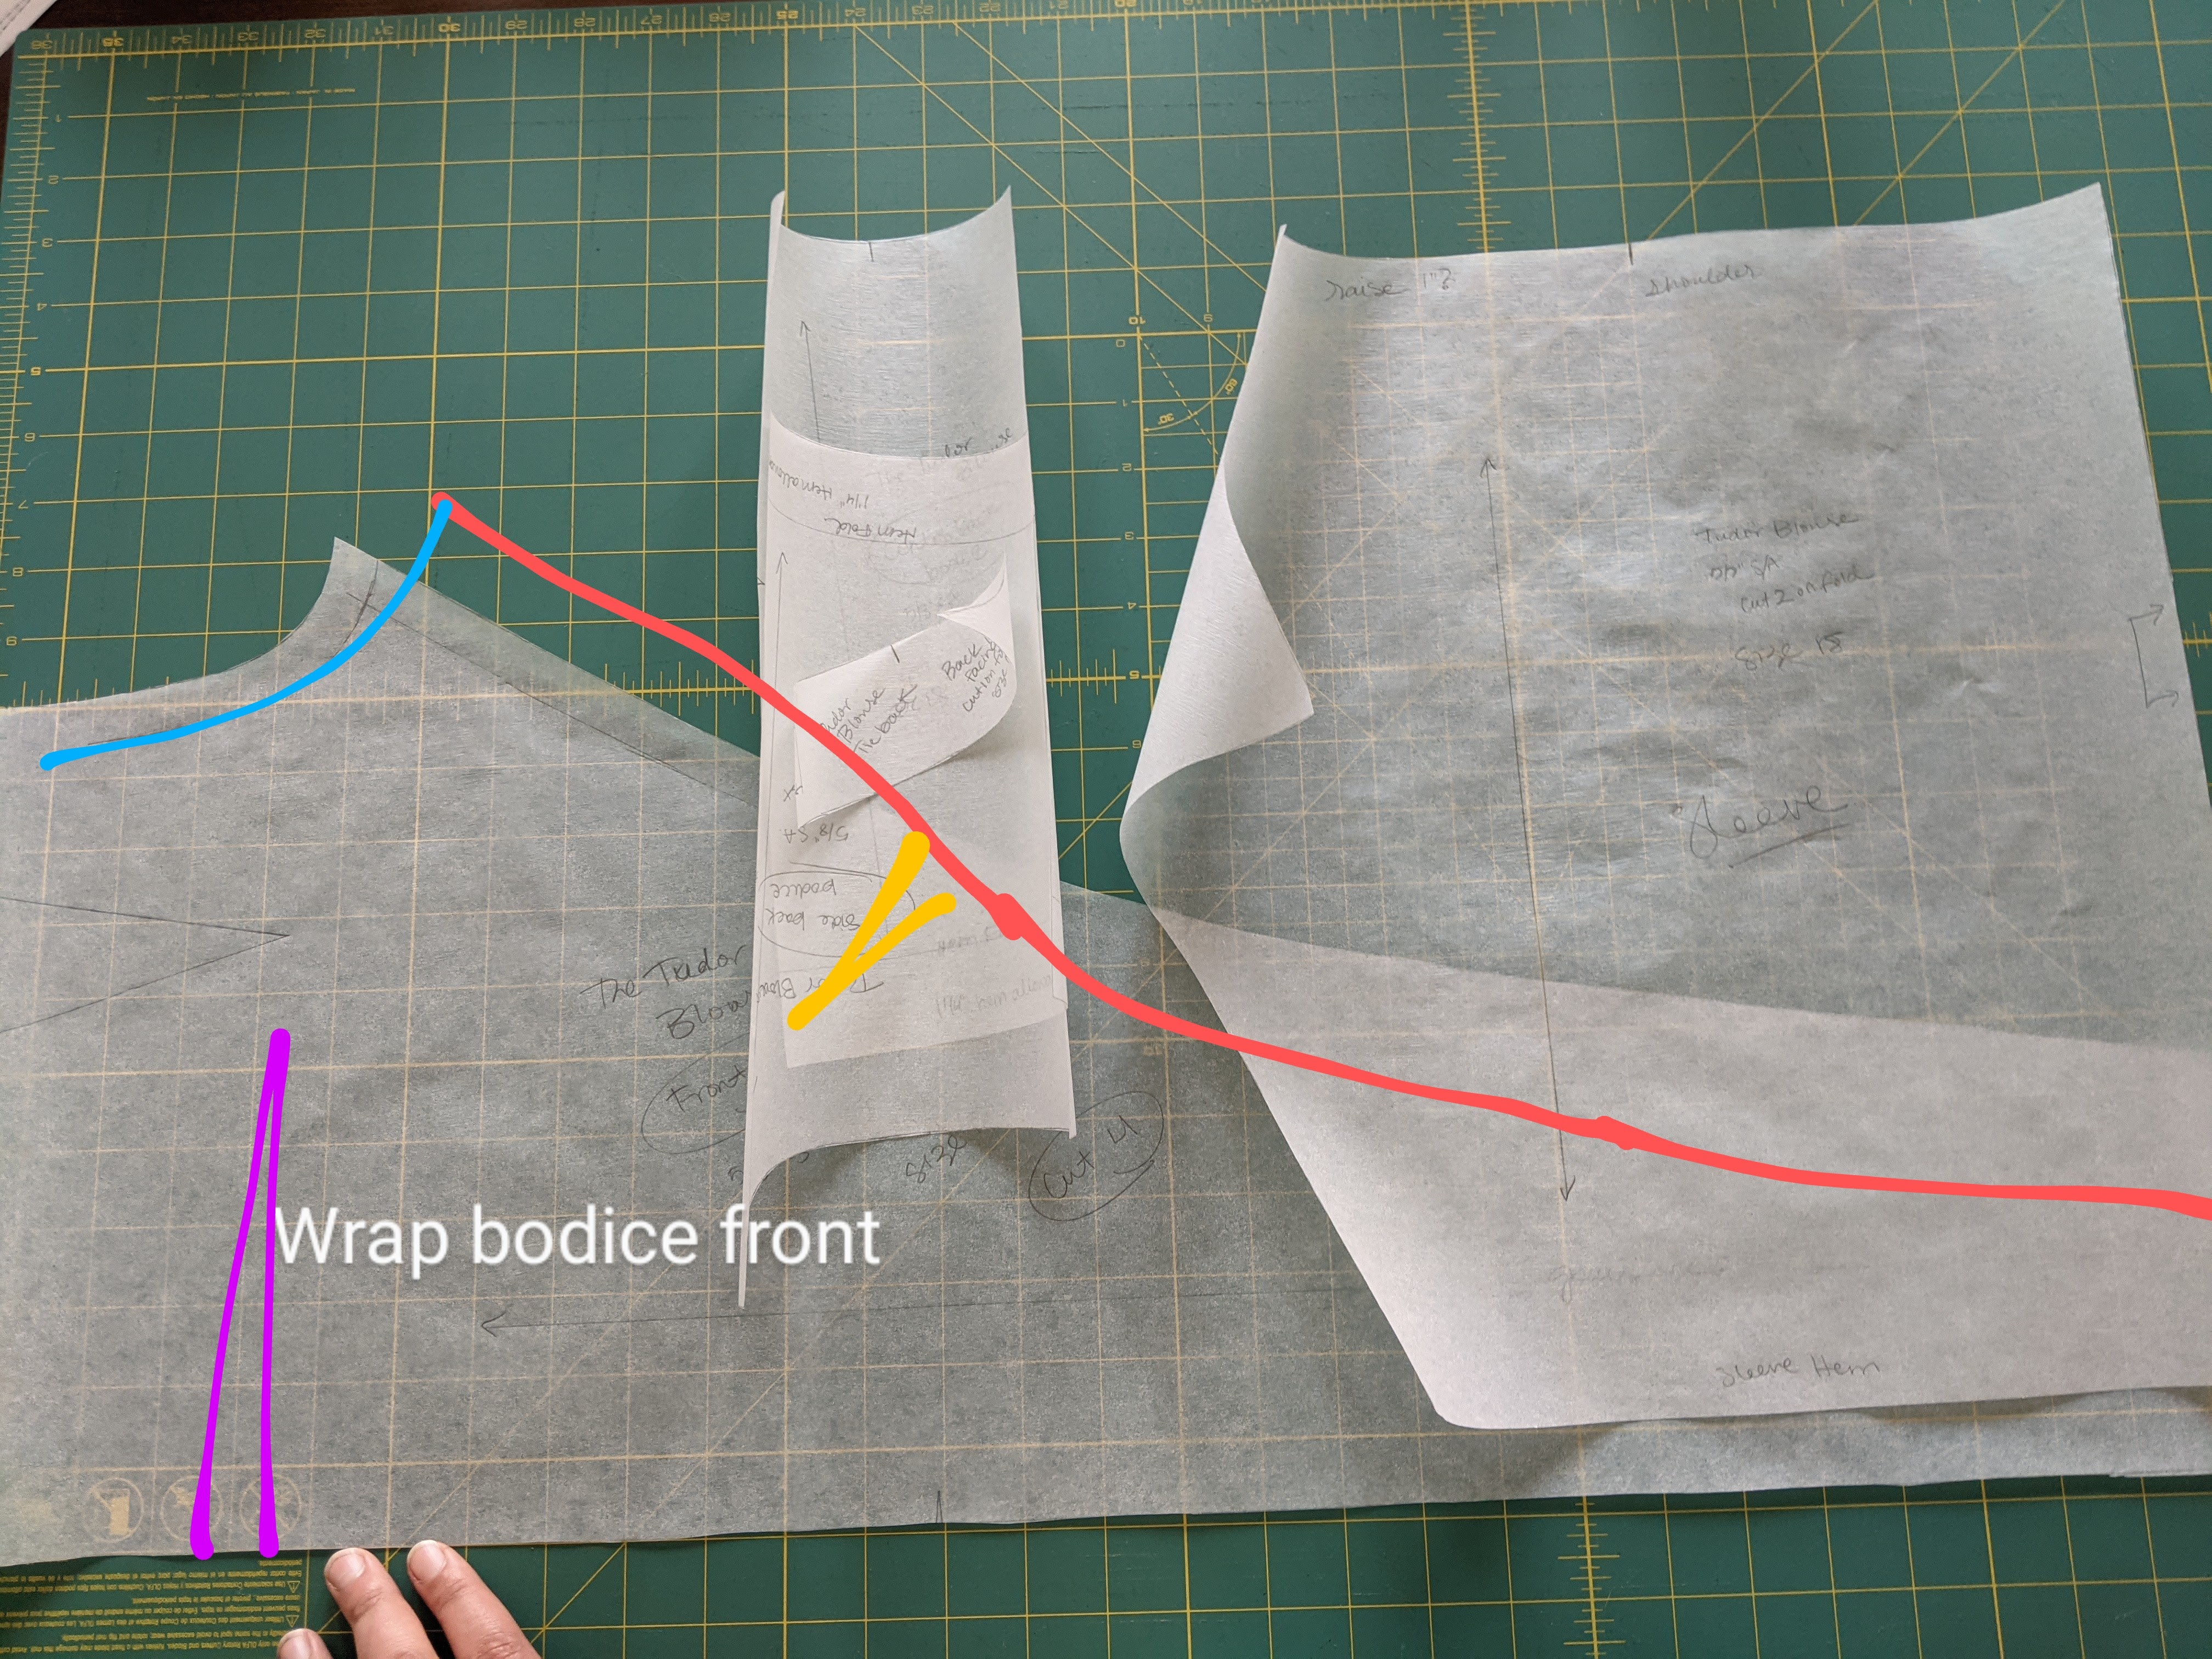
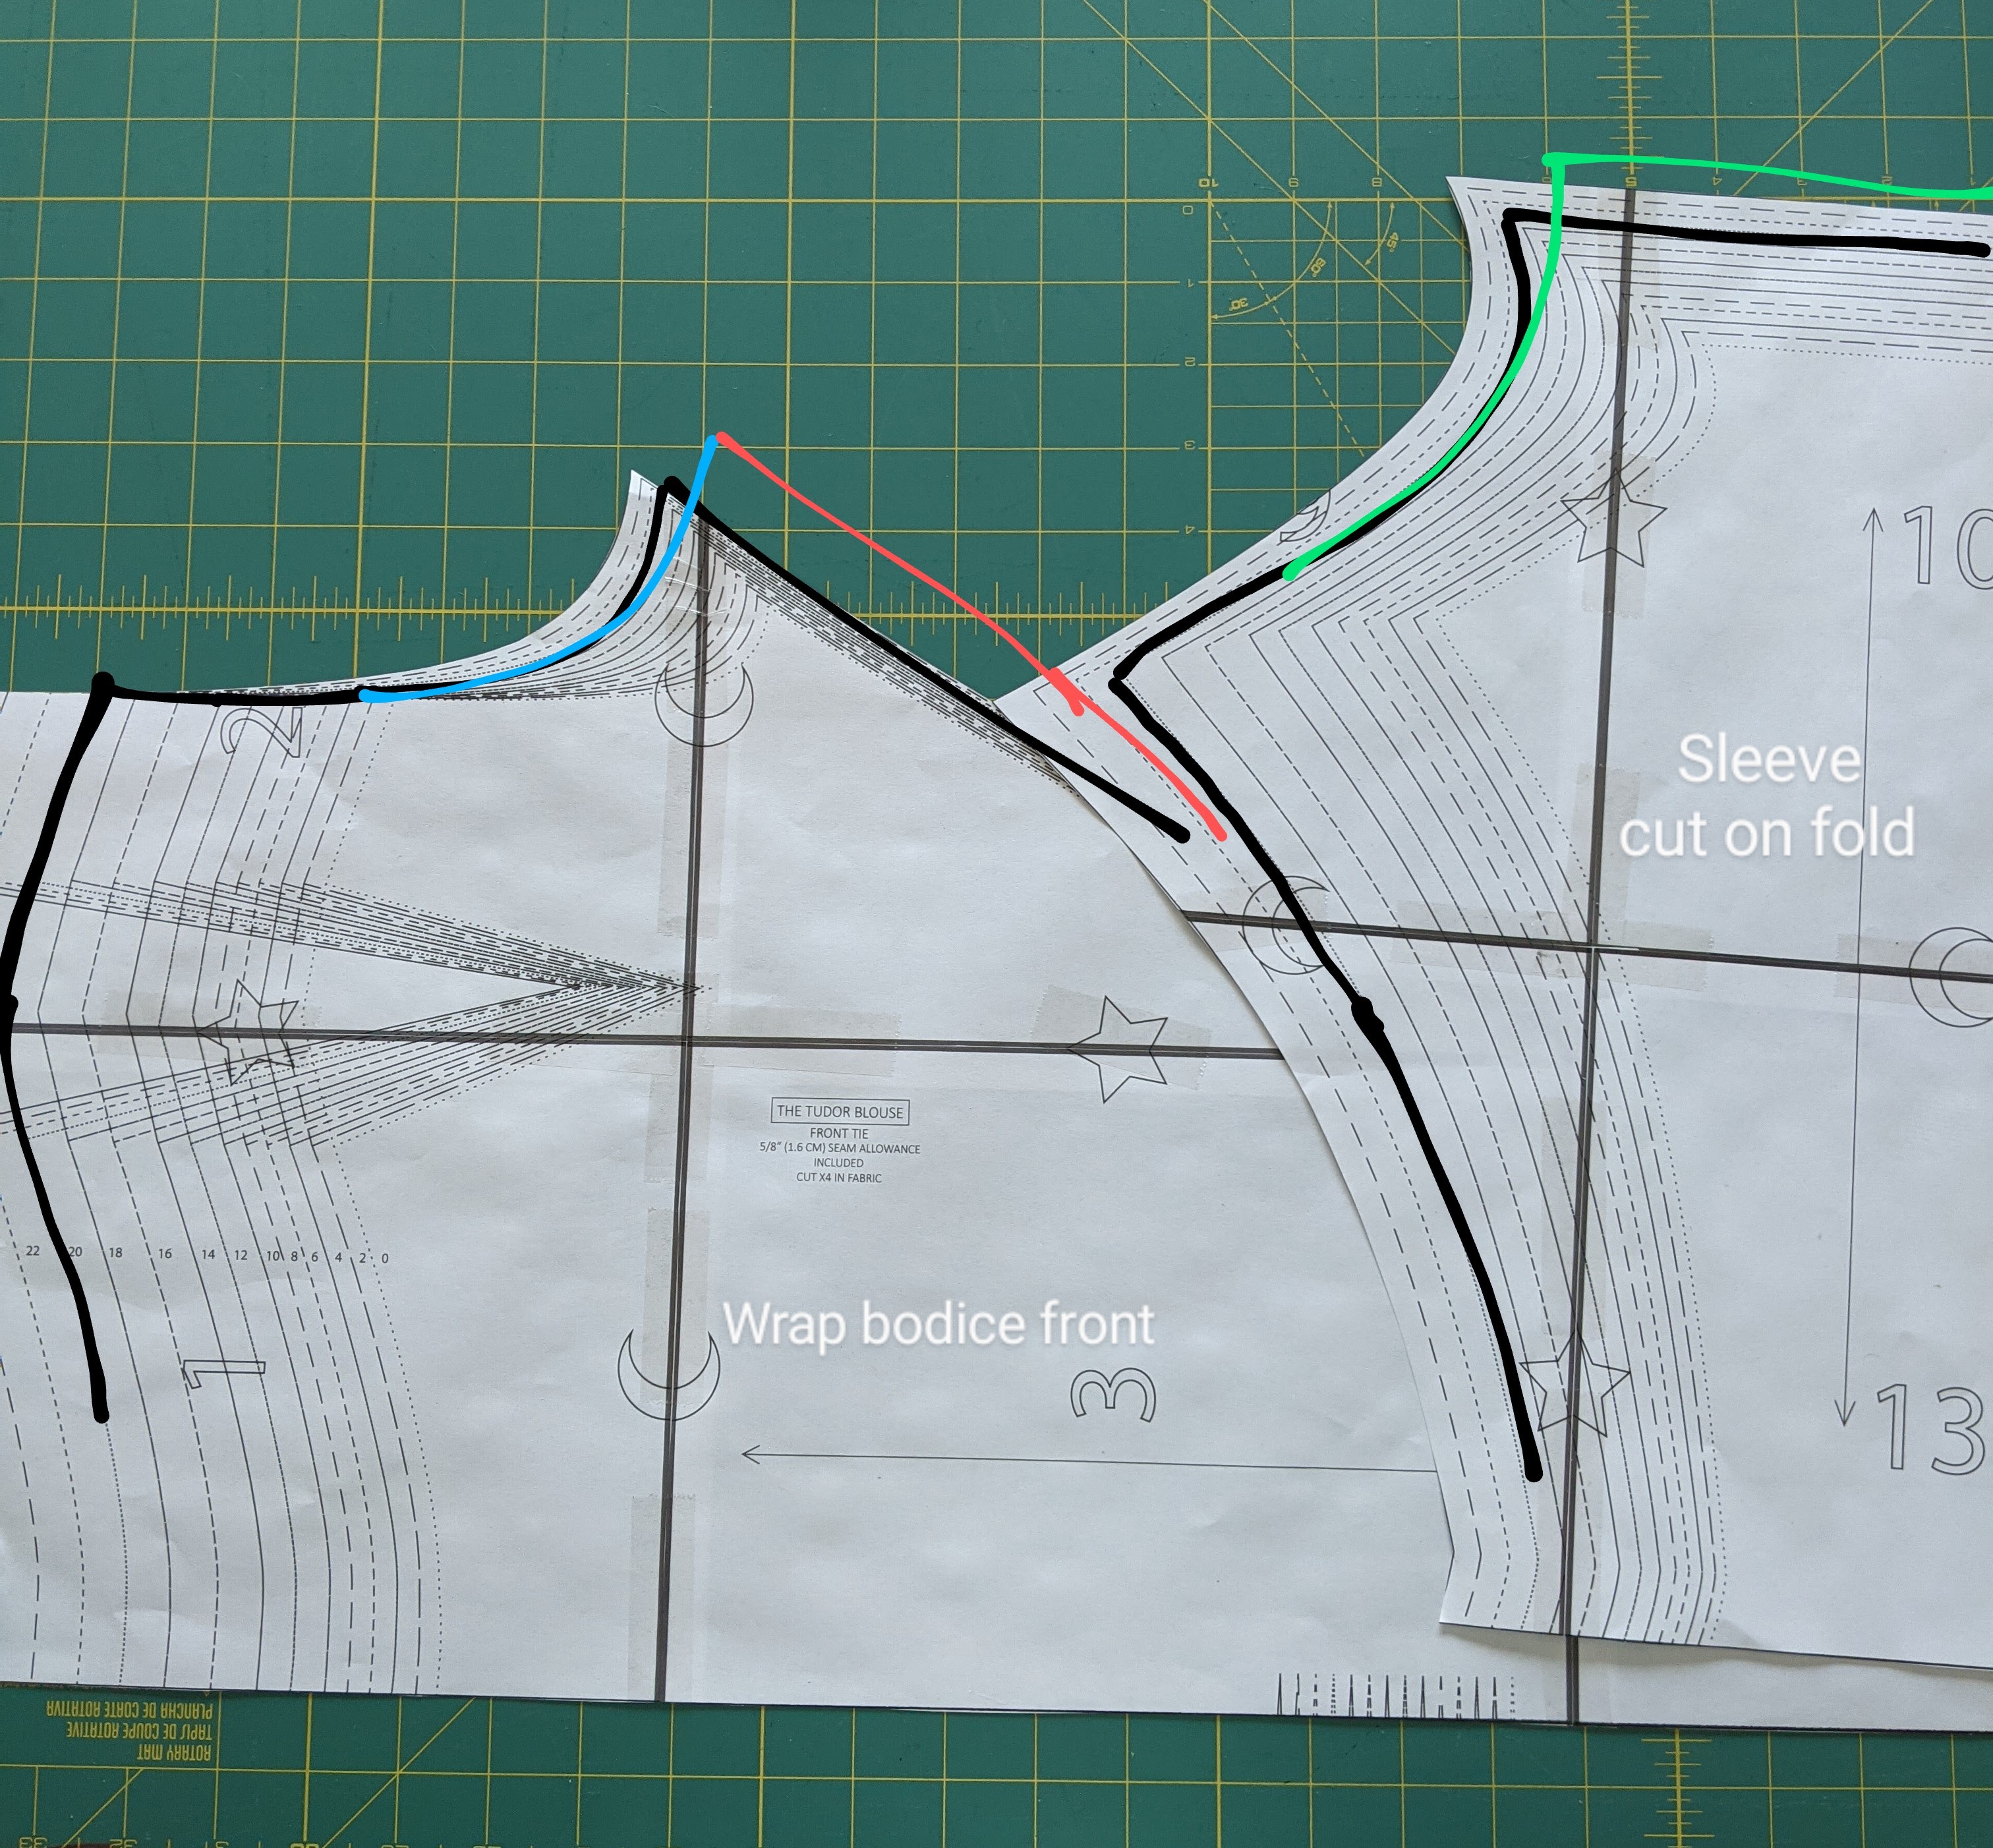
I’ve thought about how I would approach Version 2 for a while and my thinking keeps evolving. Currently, I’ve landed on making the following changes (as drawn on the images below – click to zoom in):
- Start with a size 20 full bust piece. I definitely need a bit more room across my full bust.
- Raise the neckline to give a bit more coverage but drop the centre front to more easily cross under my bust. (Red)
- Add a dart at the neckline to reduce any additional gaping. (Yellow)
- Add length and change the angle at the end of the armscye to bring the sleeve inward on the bodice and hopefully on my shoulders. (Blue)
- Add waist darts. (Purple)
- Adjust the sleeve to match bodice armscye, narrow the top of the sleeve and shorten the elastic at the top of the sleeve to help bring the bodice up a little higher and hopefully keep the sleeves up. (Green)
Advice for other sewists:
I think most busty sewists would want to add more coverage by raising the neckline as there is quite a lot of decolletage on display! One other busty sewist who made this also mentioned the sleeves slipping off her shoulders. I’m guessing this would be especially important if you have a comparatively small upper bust measurement as the sleeves are very wide set and attach right at the upper bust.
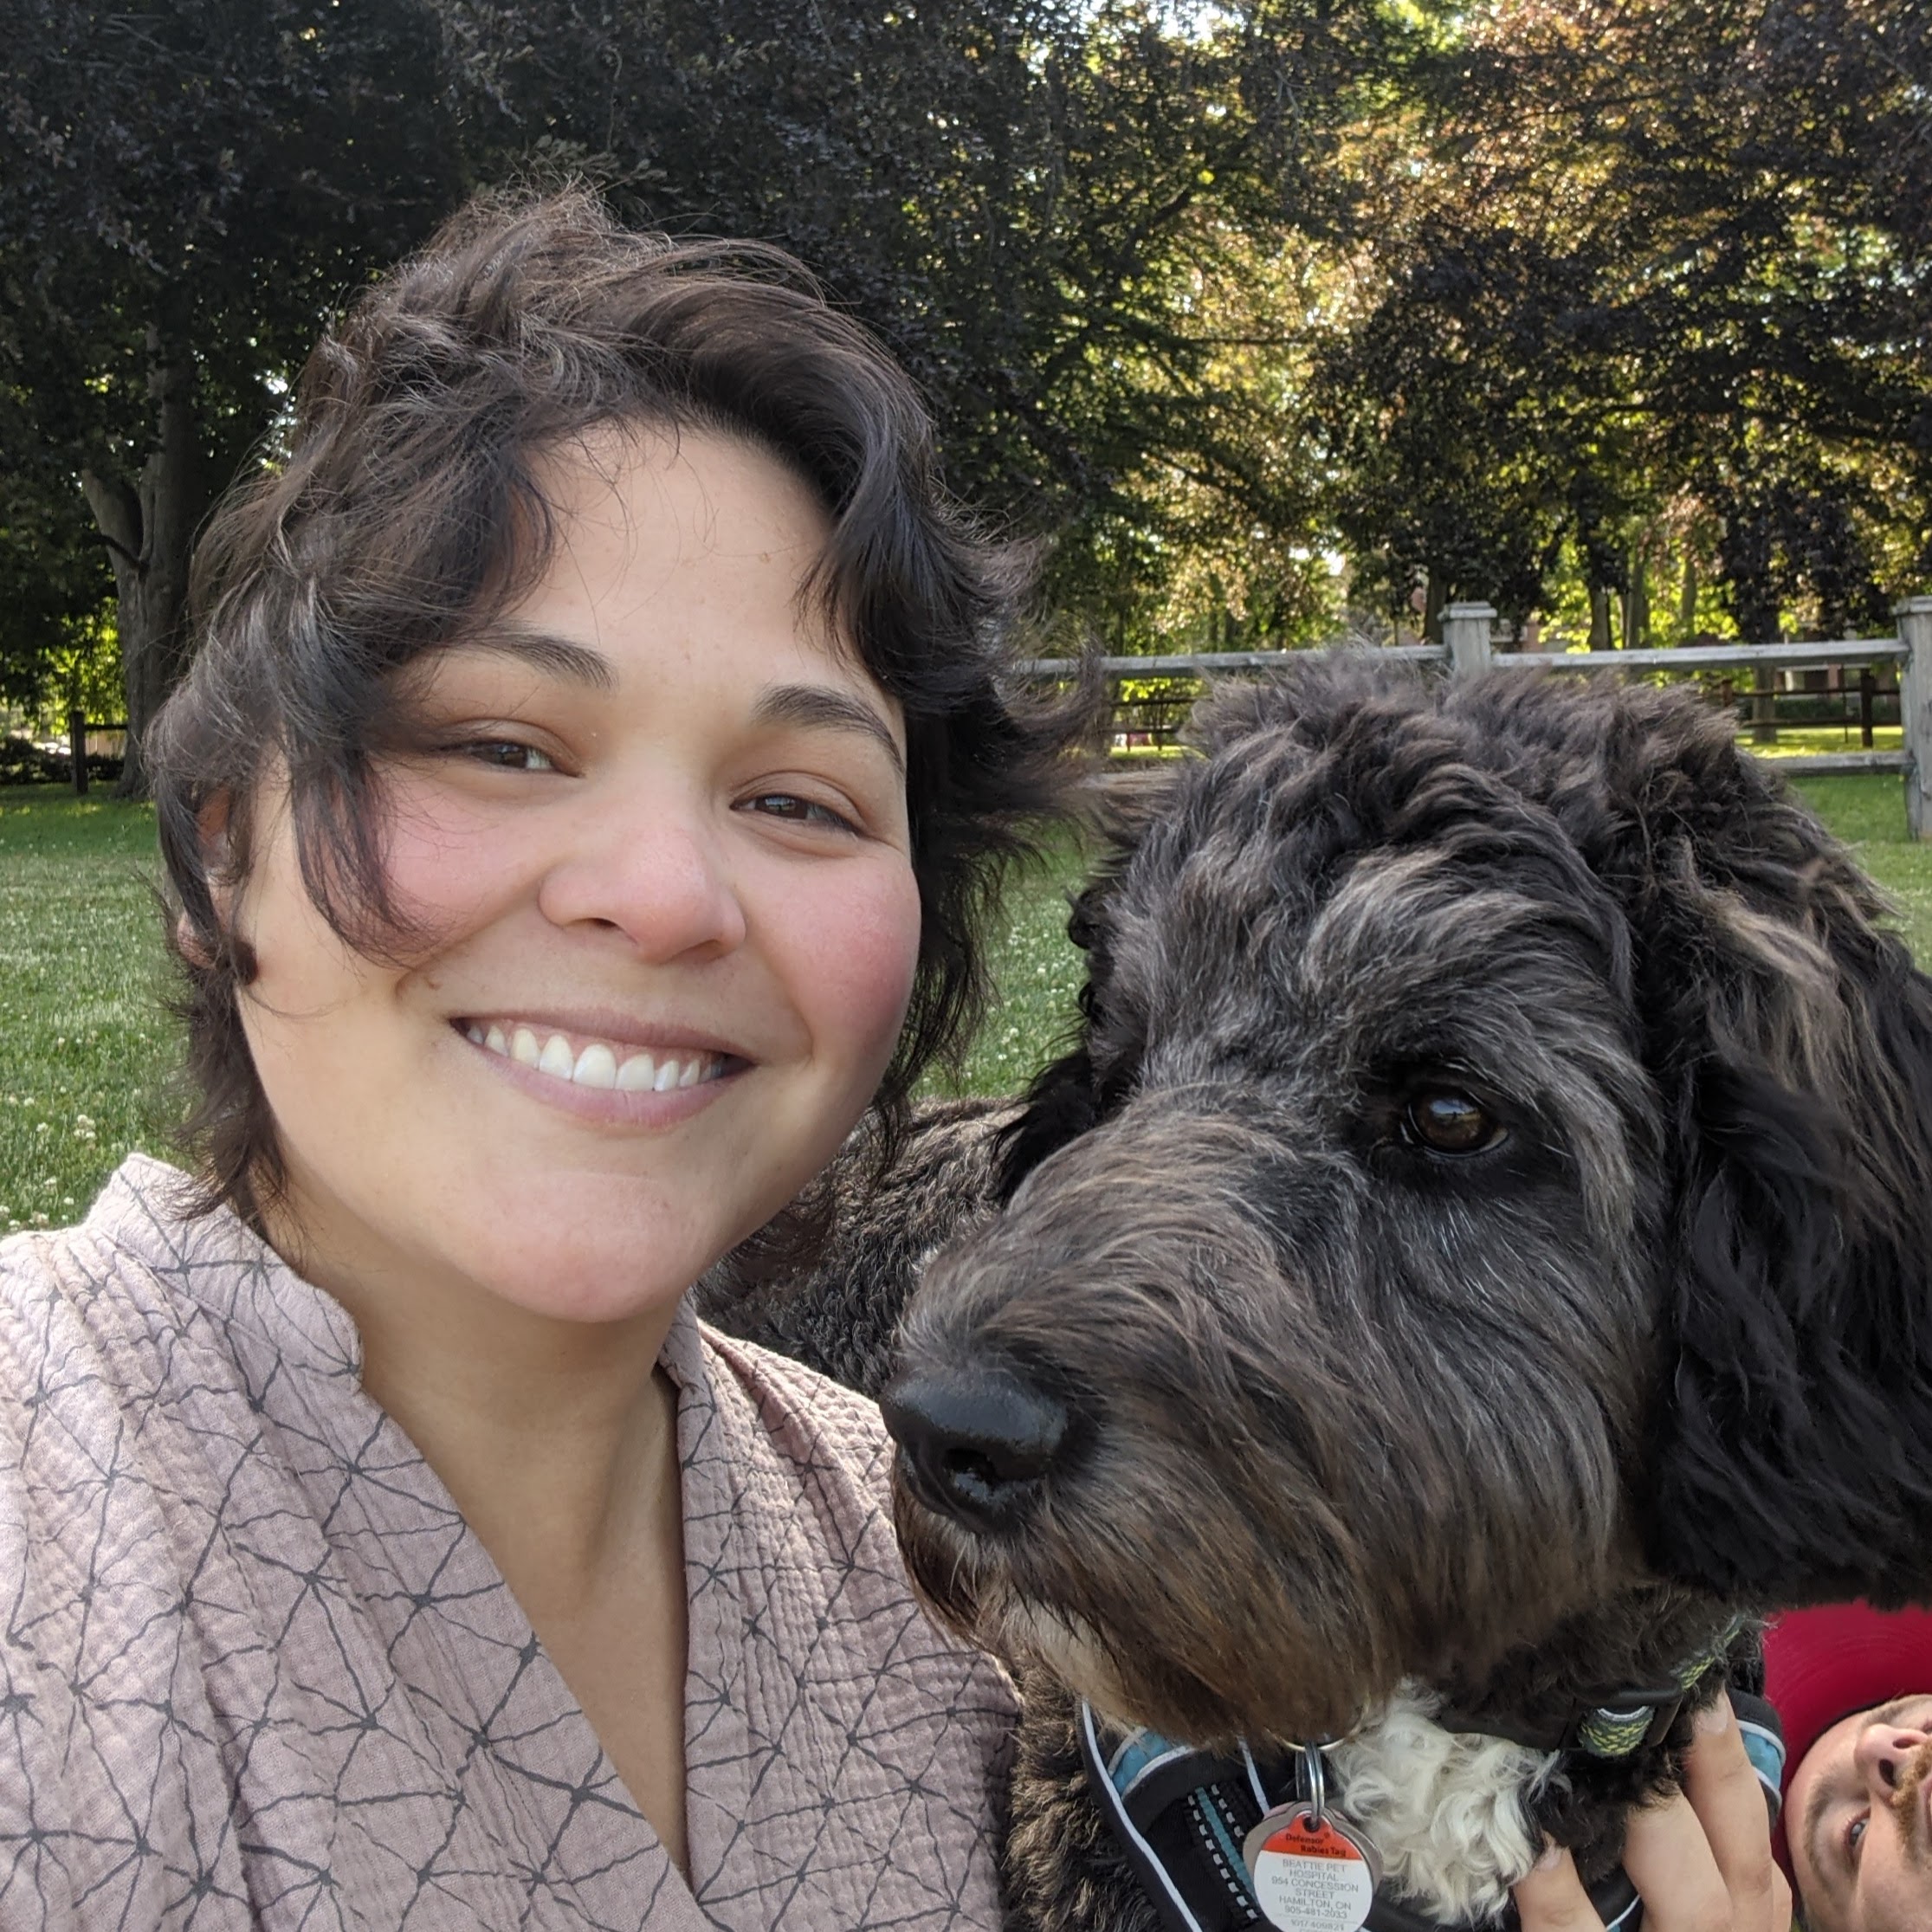
Kei Muto is a wedding florist in Hamilton, Ontario who has been sewing for 1 year. She’s happy to tackle all kinds of garments when she’s not sewing bras for herself and friends. You can find her makes on instagram @stuffkeimakes.

