Community Blog | The Selina Blouse and history-inspired sewing with Astrid
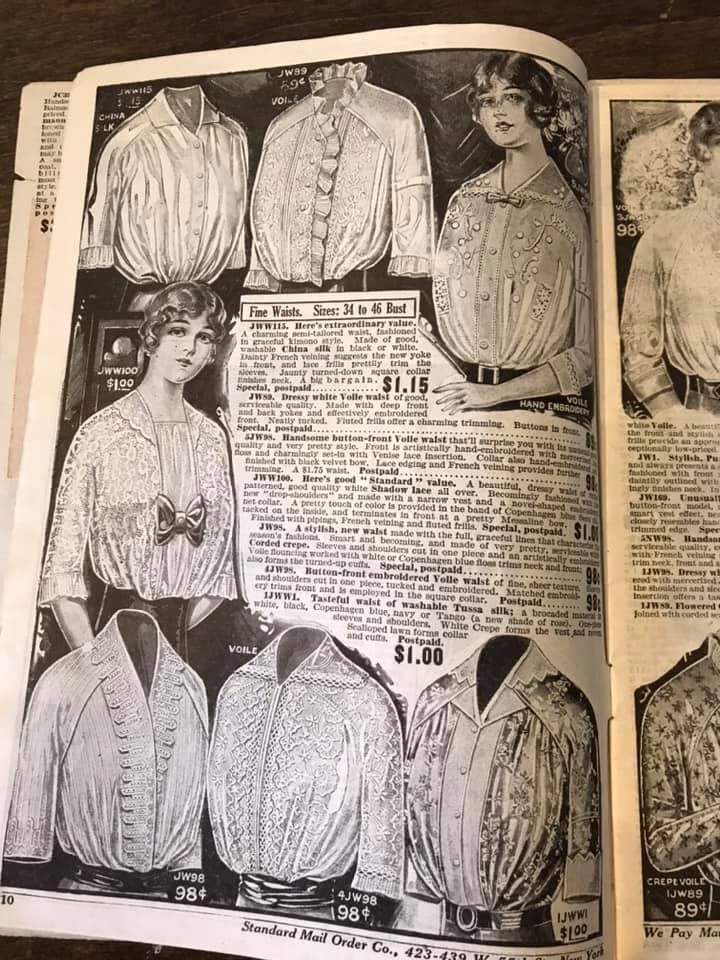
The Selina Blouse by Scroop Patterns is a perfect top for history bounding or for anyone interested in historical dress. It’s unusual compared to many shirtwaists that were common leading up to the late Edwardian era in that this shirt has raglan sleeves. They became popular from around 1913 to 1917 and can be seen featured in this mail order catalogue.

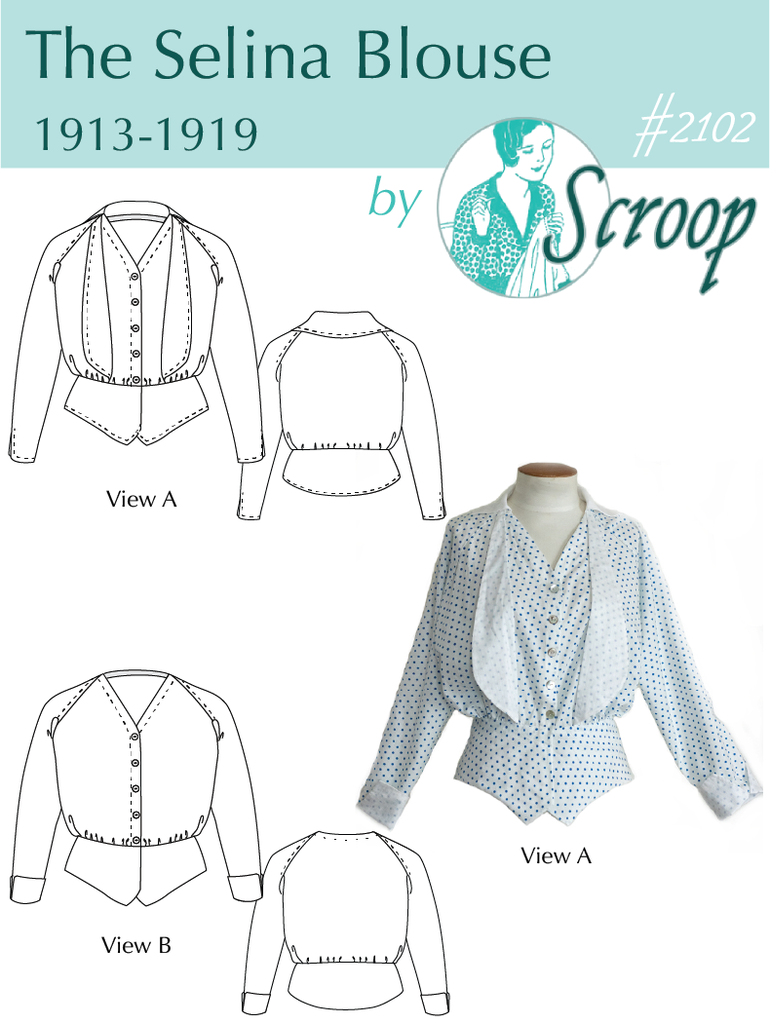
View A of the Selina Blouse is designed with a faux waistcoat effect and stand out collar, and View B – which is the option I chose – is without either of these options.

The fashions of the 19-teens still required people to wear corsets, and as the Selina is based off an extant garment, it too is best worn with a corset. If you want to make your own teens era corset I can personally recommend Scroops’ Rilla Corset, I’ve made it and it’s an excellent pattern. (No, Scroop is not paying me to say this.)
I don’t intend to wear the shirt in a historical manner, so no corset required. I want to wear it in a modern way and so there are two changes I made to the pattern: I added extra length to the bodice, so the waist sits lower, and I did a full bust adjustment (FBA) to give me more room in the bust.
I spoke with Scroop’s designer, Leimomi, about the best way to do an FBA on this blouse, and she advised against a traditional raglan sleeve FBA:
“You can create more space for the bust by drawing a gentle curve out from the side seam to the centre front. This will help the blouse to retain the looseness over the bust characteristic of 1910s fashion, without the excessive fullness under the arms that a standard Raglan FBA would create.
Doing this instead of a modern Raglan FBA more closely matches fit adjustments shown in period sewing manuals and works better with the way the blouse is cut (which is different than modern pattern drafting standards).”

Due to the shape and intended fit of the blouse, it is not advised to choose your size based on your high bust measurement and then do an FBA. Instead, measure your full bust and pick a front bodice pattern one size larger than your corresponding measurement, and then adjust the bottom curve of the pattern piece to be longer at centre front.
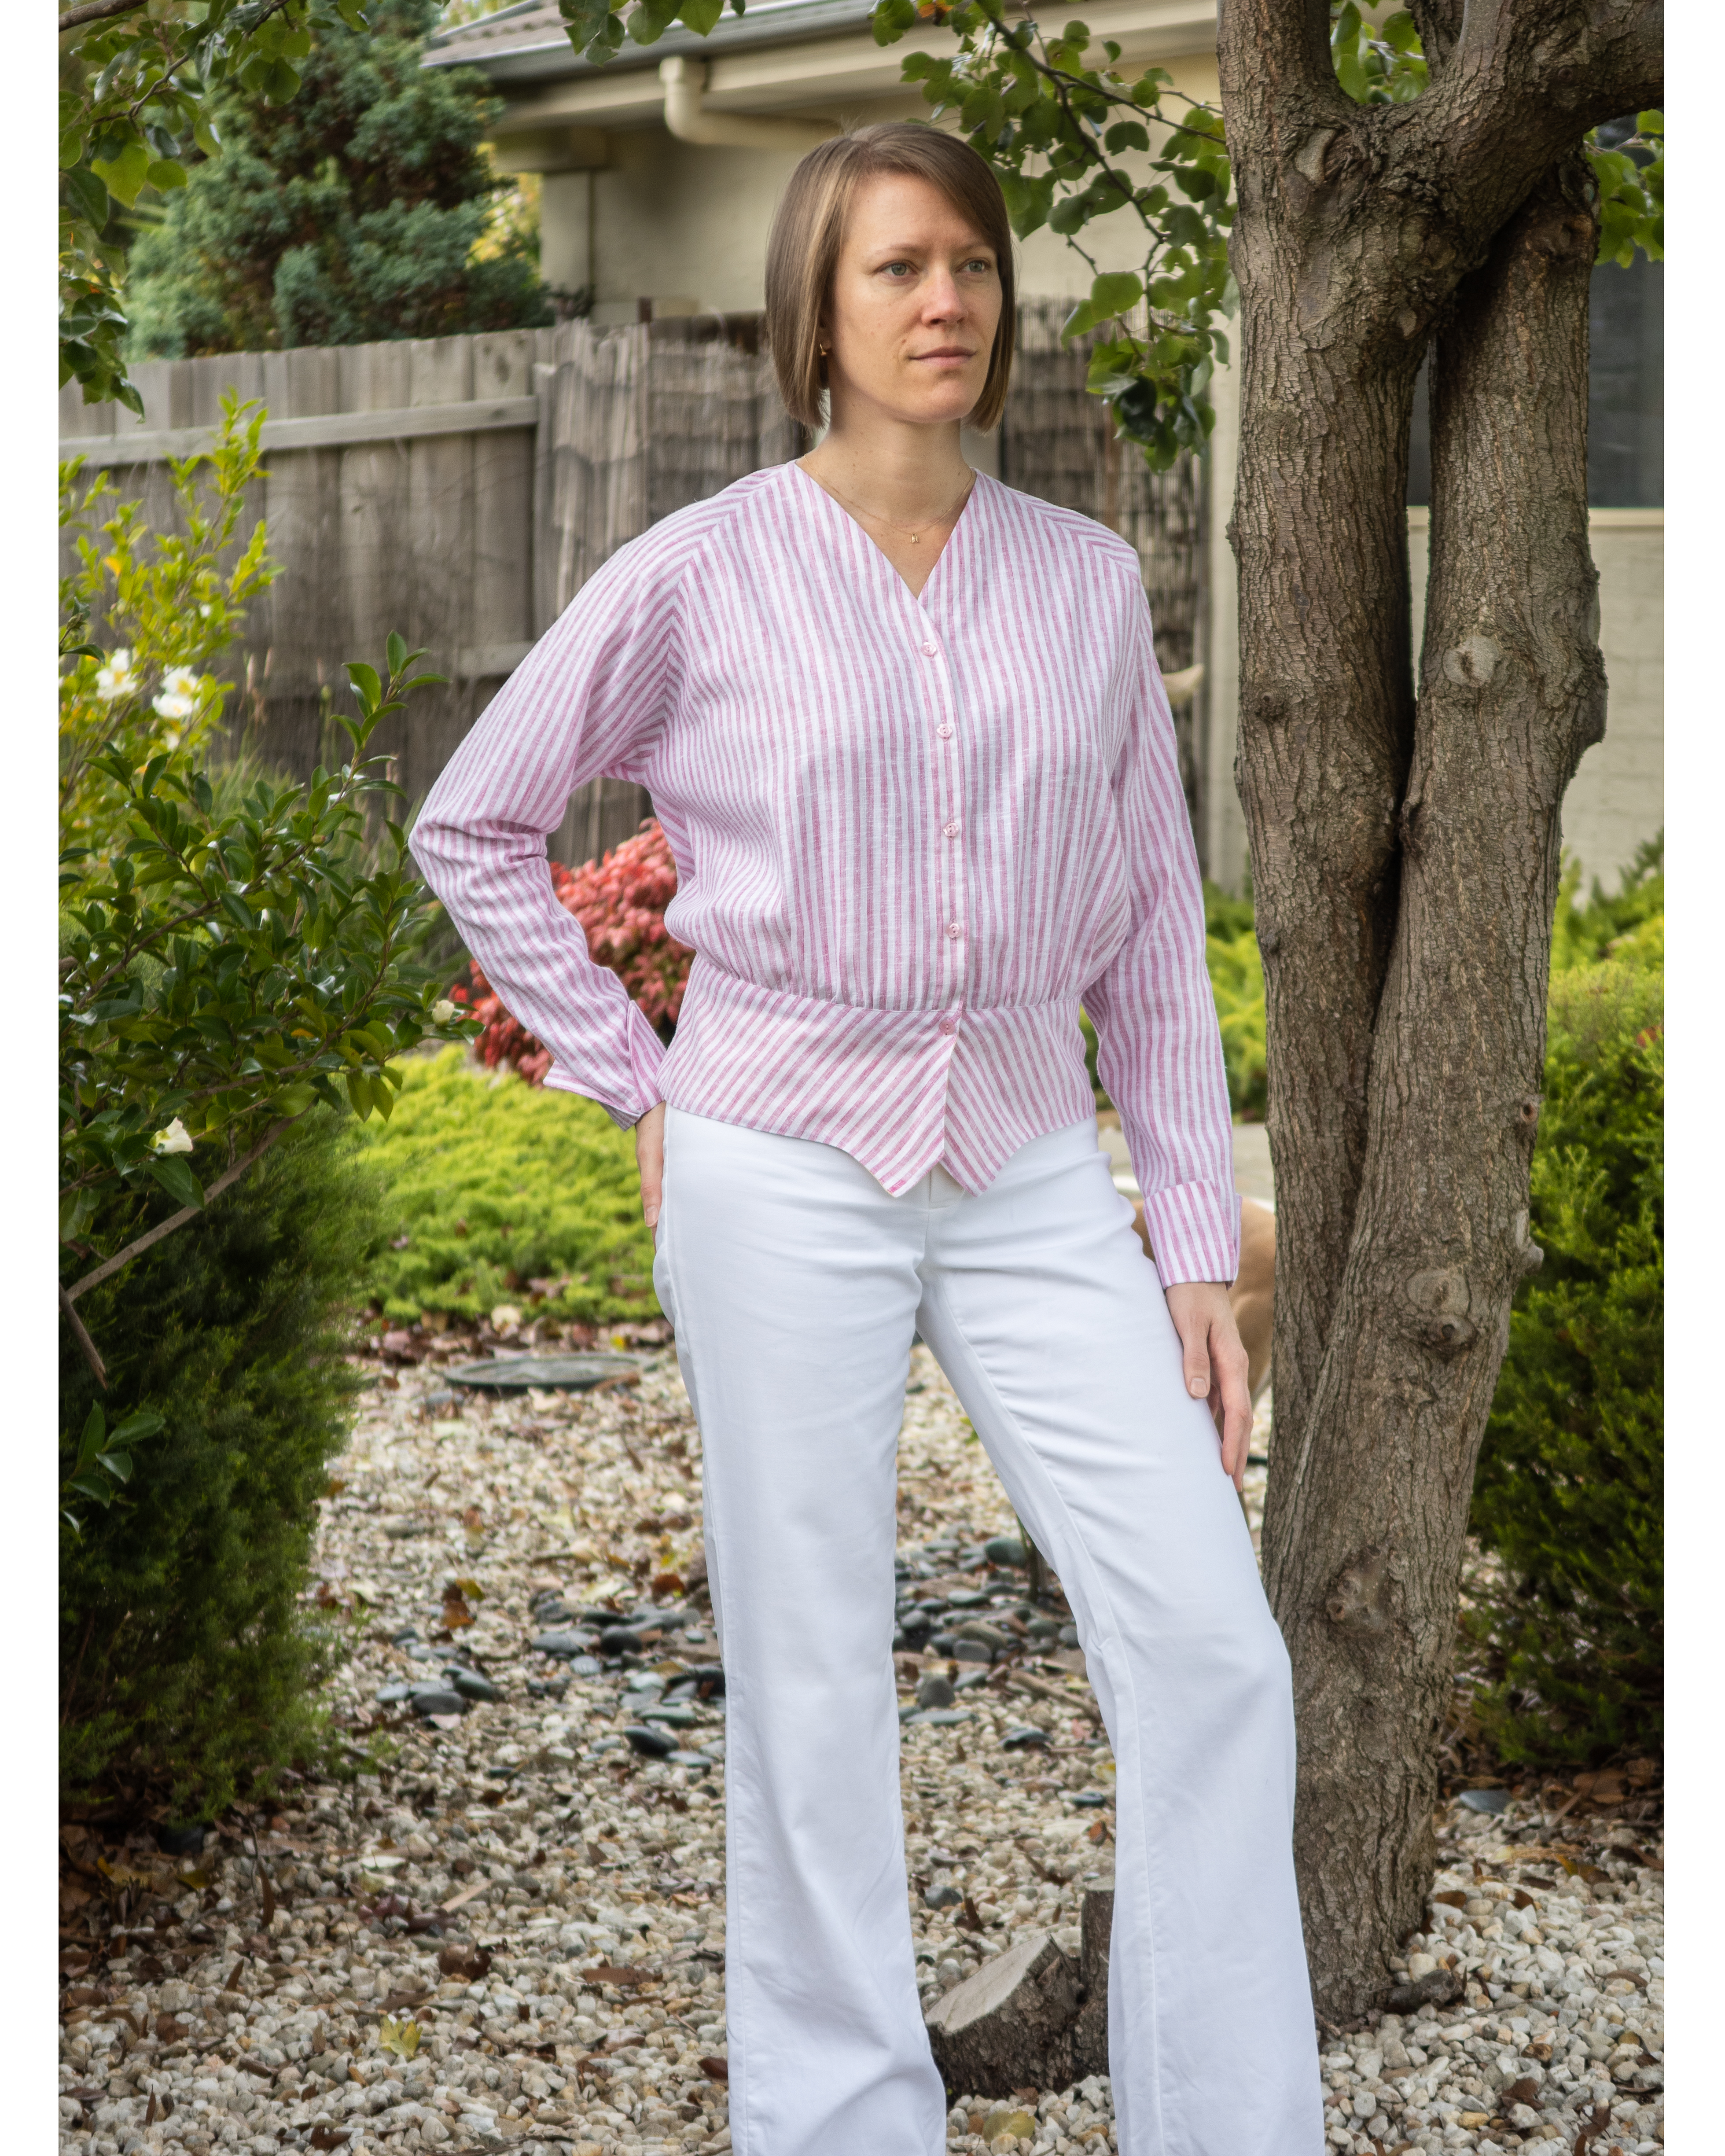
I measured as a size 38, so I picked a size 40 front, and size 38 back. I lengthened the bodice at the lengthen/shorten line on the pattern by 5cm (2”) and because adding more length was also giving more volume at the front, I only added an additional 1.2cm (1/2”) to the centre front length for bust projection.
My fabric choice was a light weight woven striped cotton and I faced it with a tan fabric so that the peplum and neckline wouldn’t look brighter than the rest of the shirt where the fabric is doubled. I am already planning a second version, and for that I intend to change the V-neck into a deeper V, which is more flattering for a larger bust. It’s a lovely blouse, a perfect top for modern, historical or history bounding wear. I’m a fan of the peplum, which is flattering on so many body shapes, and I can highly recommend giving this blouse a try.


Astrid is a technical sewist, the more complicated it is, the more she likes it! Find all of Astrid’s makes on her instagram: @astridpiepschyk


