Beginners’ Sewing Series Part 6 | Lago/Saybrook Tank Part C: Sewing Seams & Bands
Brand new to sewing? Start here. The Sew Busty Beginners’ Sewing Series will be your step-by-step guide to learning garment sewing. Each installment will build upon the last, getting progressively more advanced in skills and techniques. Catch up with the whole series here.
As part of the Beginners’ Sewing Series, we’re starting with a sew along of the Itch to Stitch Lago Tank and the Cashmerette Saybrook tank (with an exclusive 20% off using code SEWBUSTY20). Check out the full sew along here.
Over the past week, you should have created your cheater FBA, graded your pattern, and cut your material per last week’s post.
This week, we’re going to work on sewing the side seams and bands for your tank! By the end of this week, you’ll have something that looks and feels like a tank. (But it won’t quite be done!)
Getting Your Machine Ready
First thing’s first: You gotta get your machine ready to sew! Pull out your handy-dandy machine manual! (Don’t have your manual? Google it; trust me.) Per your need to:
- Install your 70/10 jersey/ballpoint needle
- Thread your main thread and your bobbin
In the below video, I’ll show you how I thread my machine, but, the truth is, it really depends on your machine. I can’t possibly explain how to do these things on every machine.
Sewing Your Side Seams
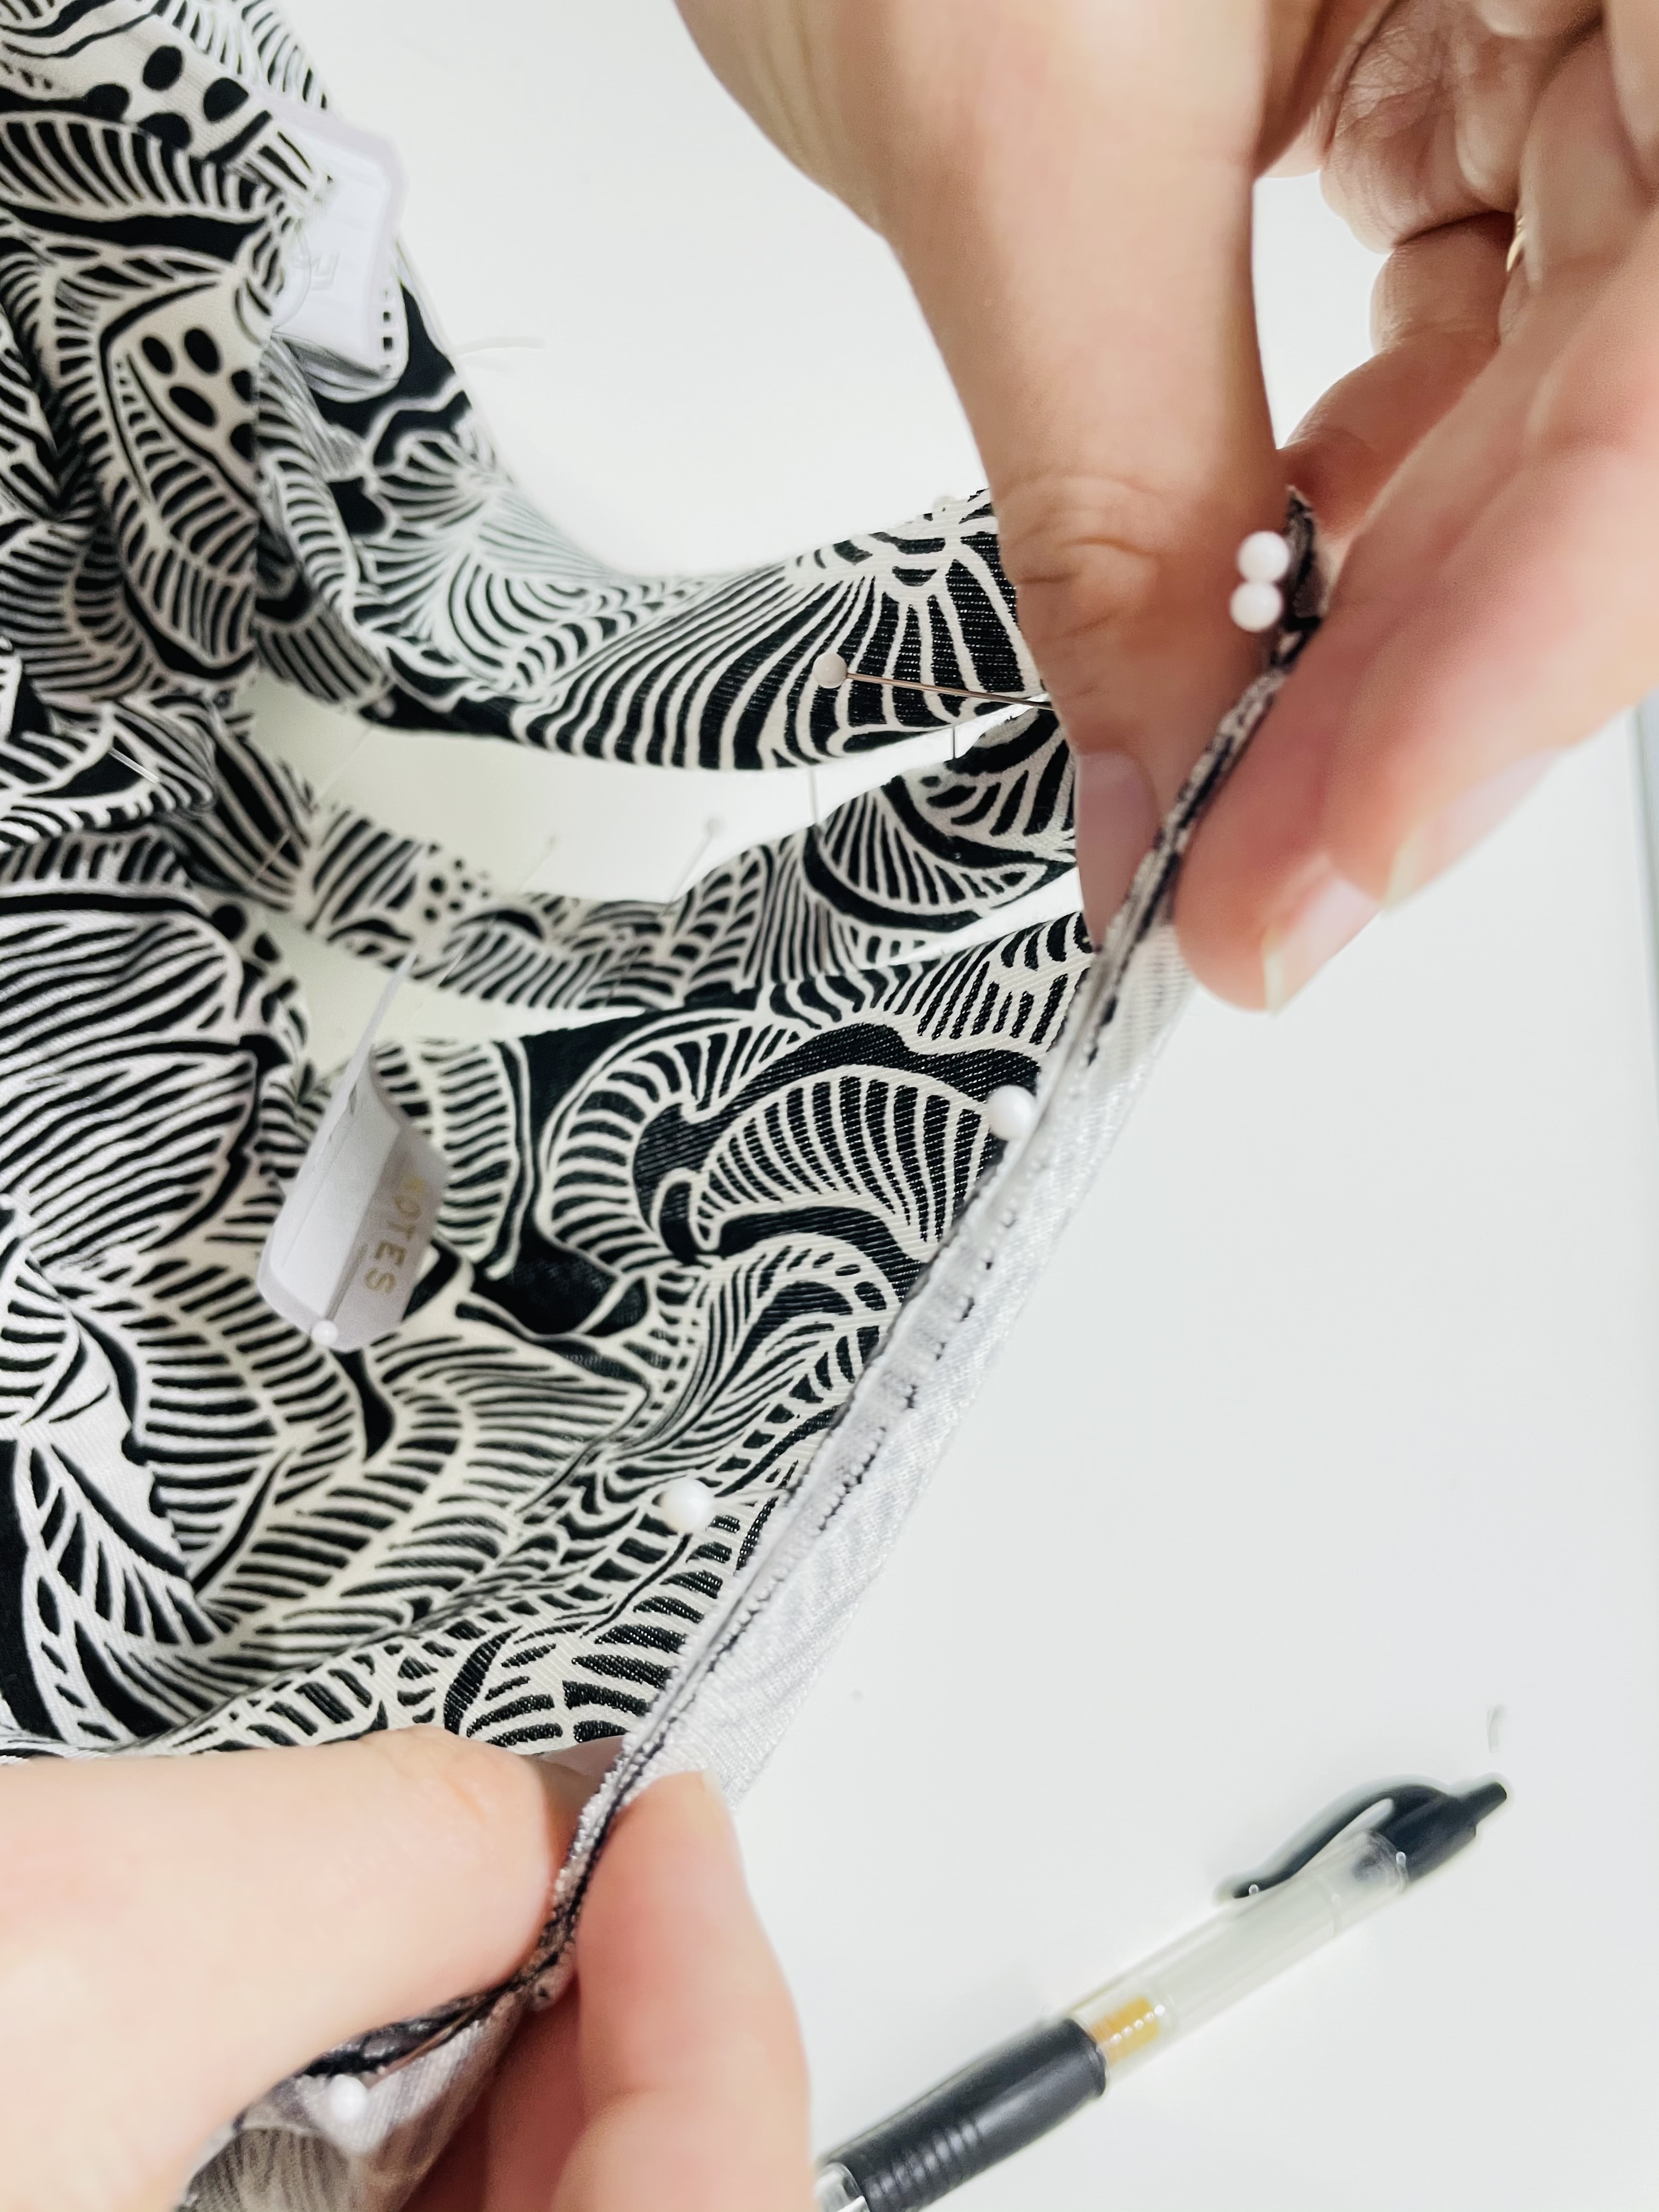
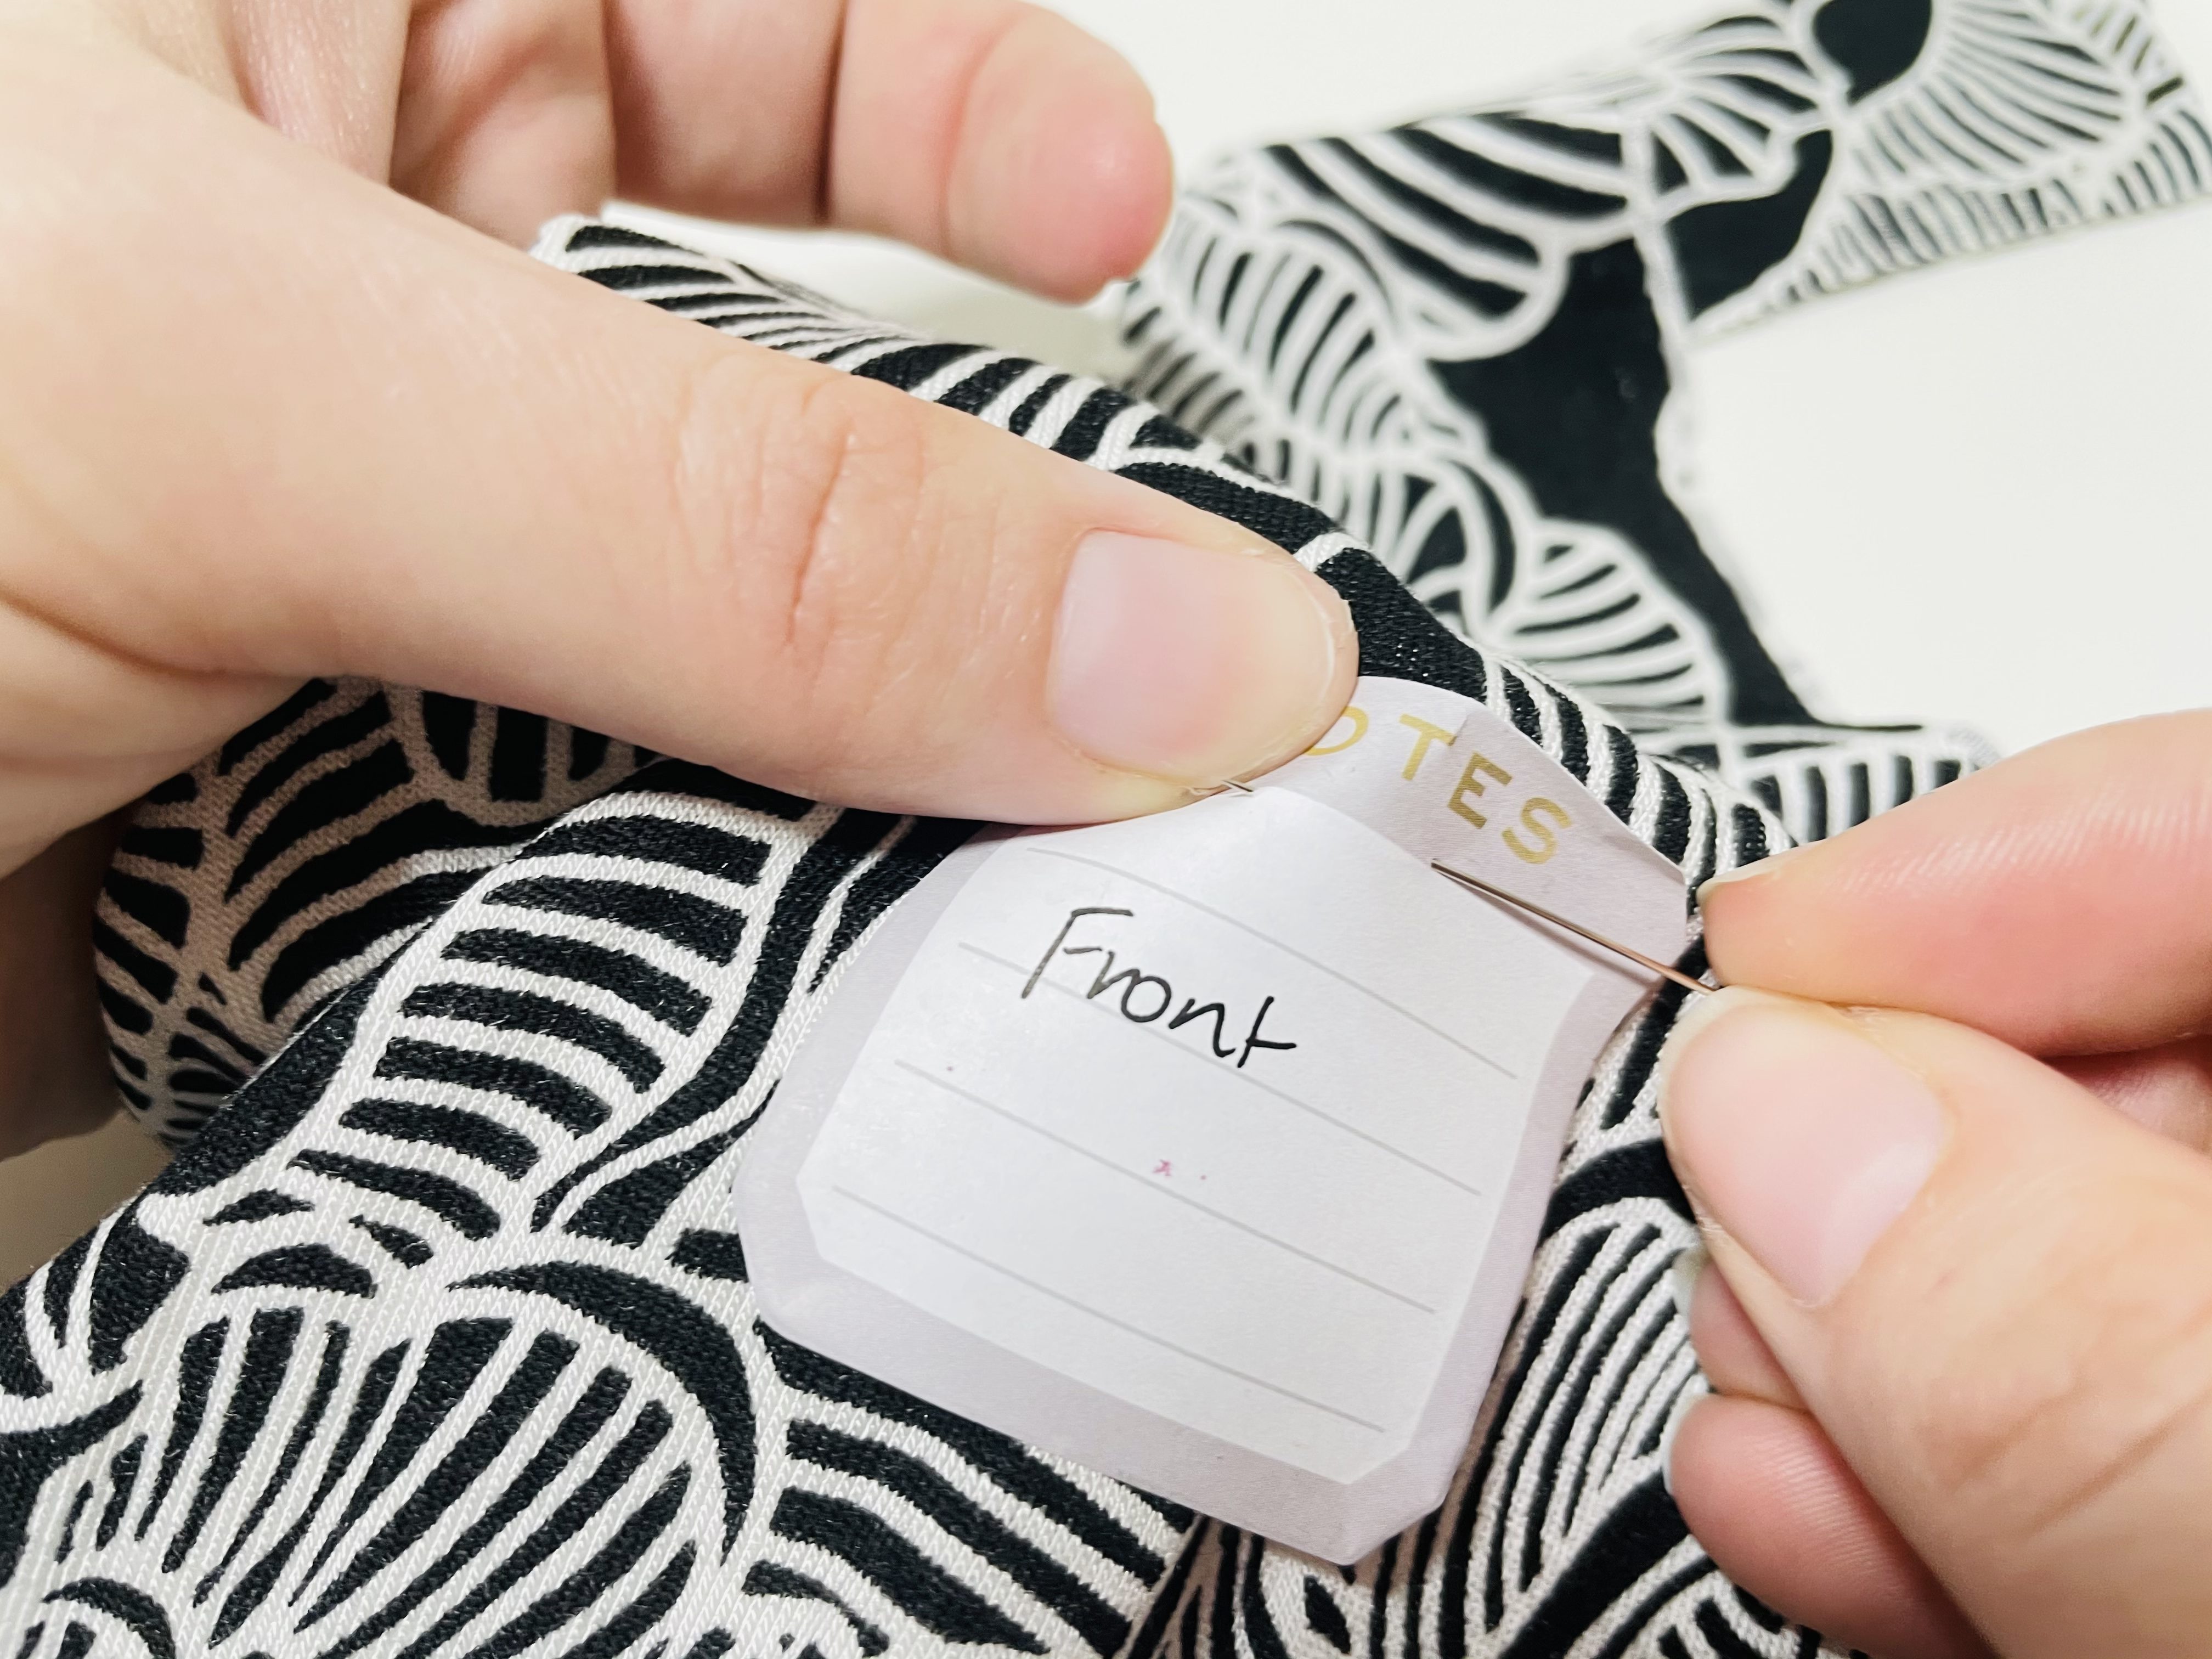
Unpin your fabric from the pattern. I like to use little sticky notes to keep track of which fabric piece is which – I just pin the sticky note to the corresponding piece.
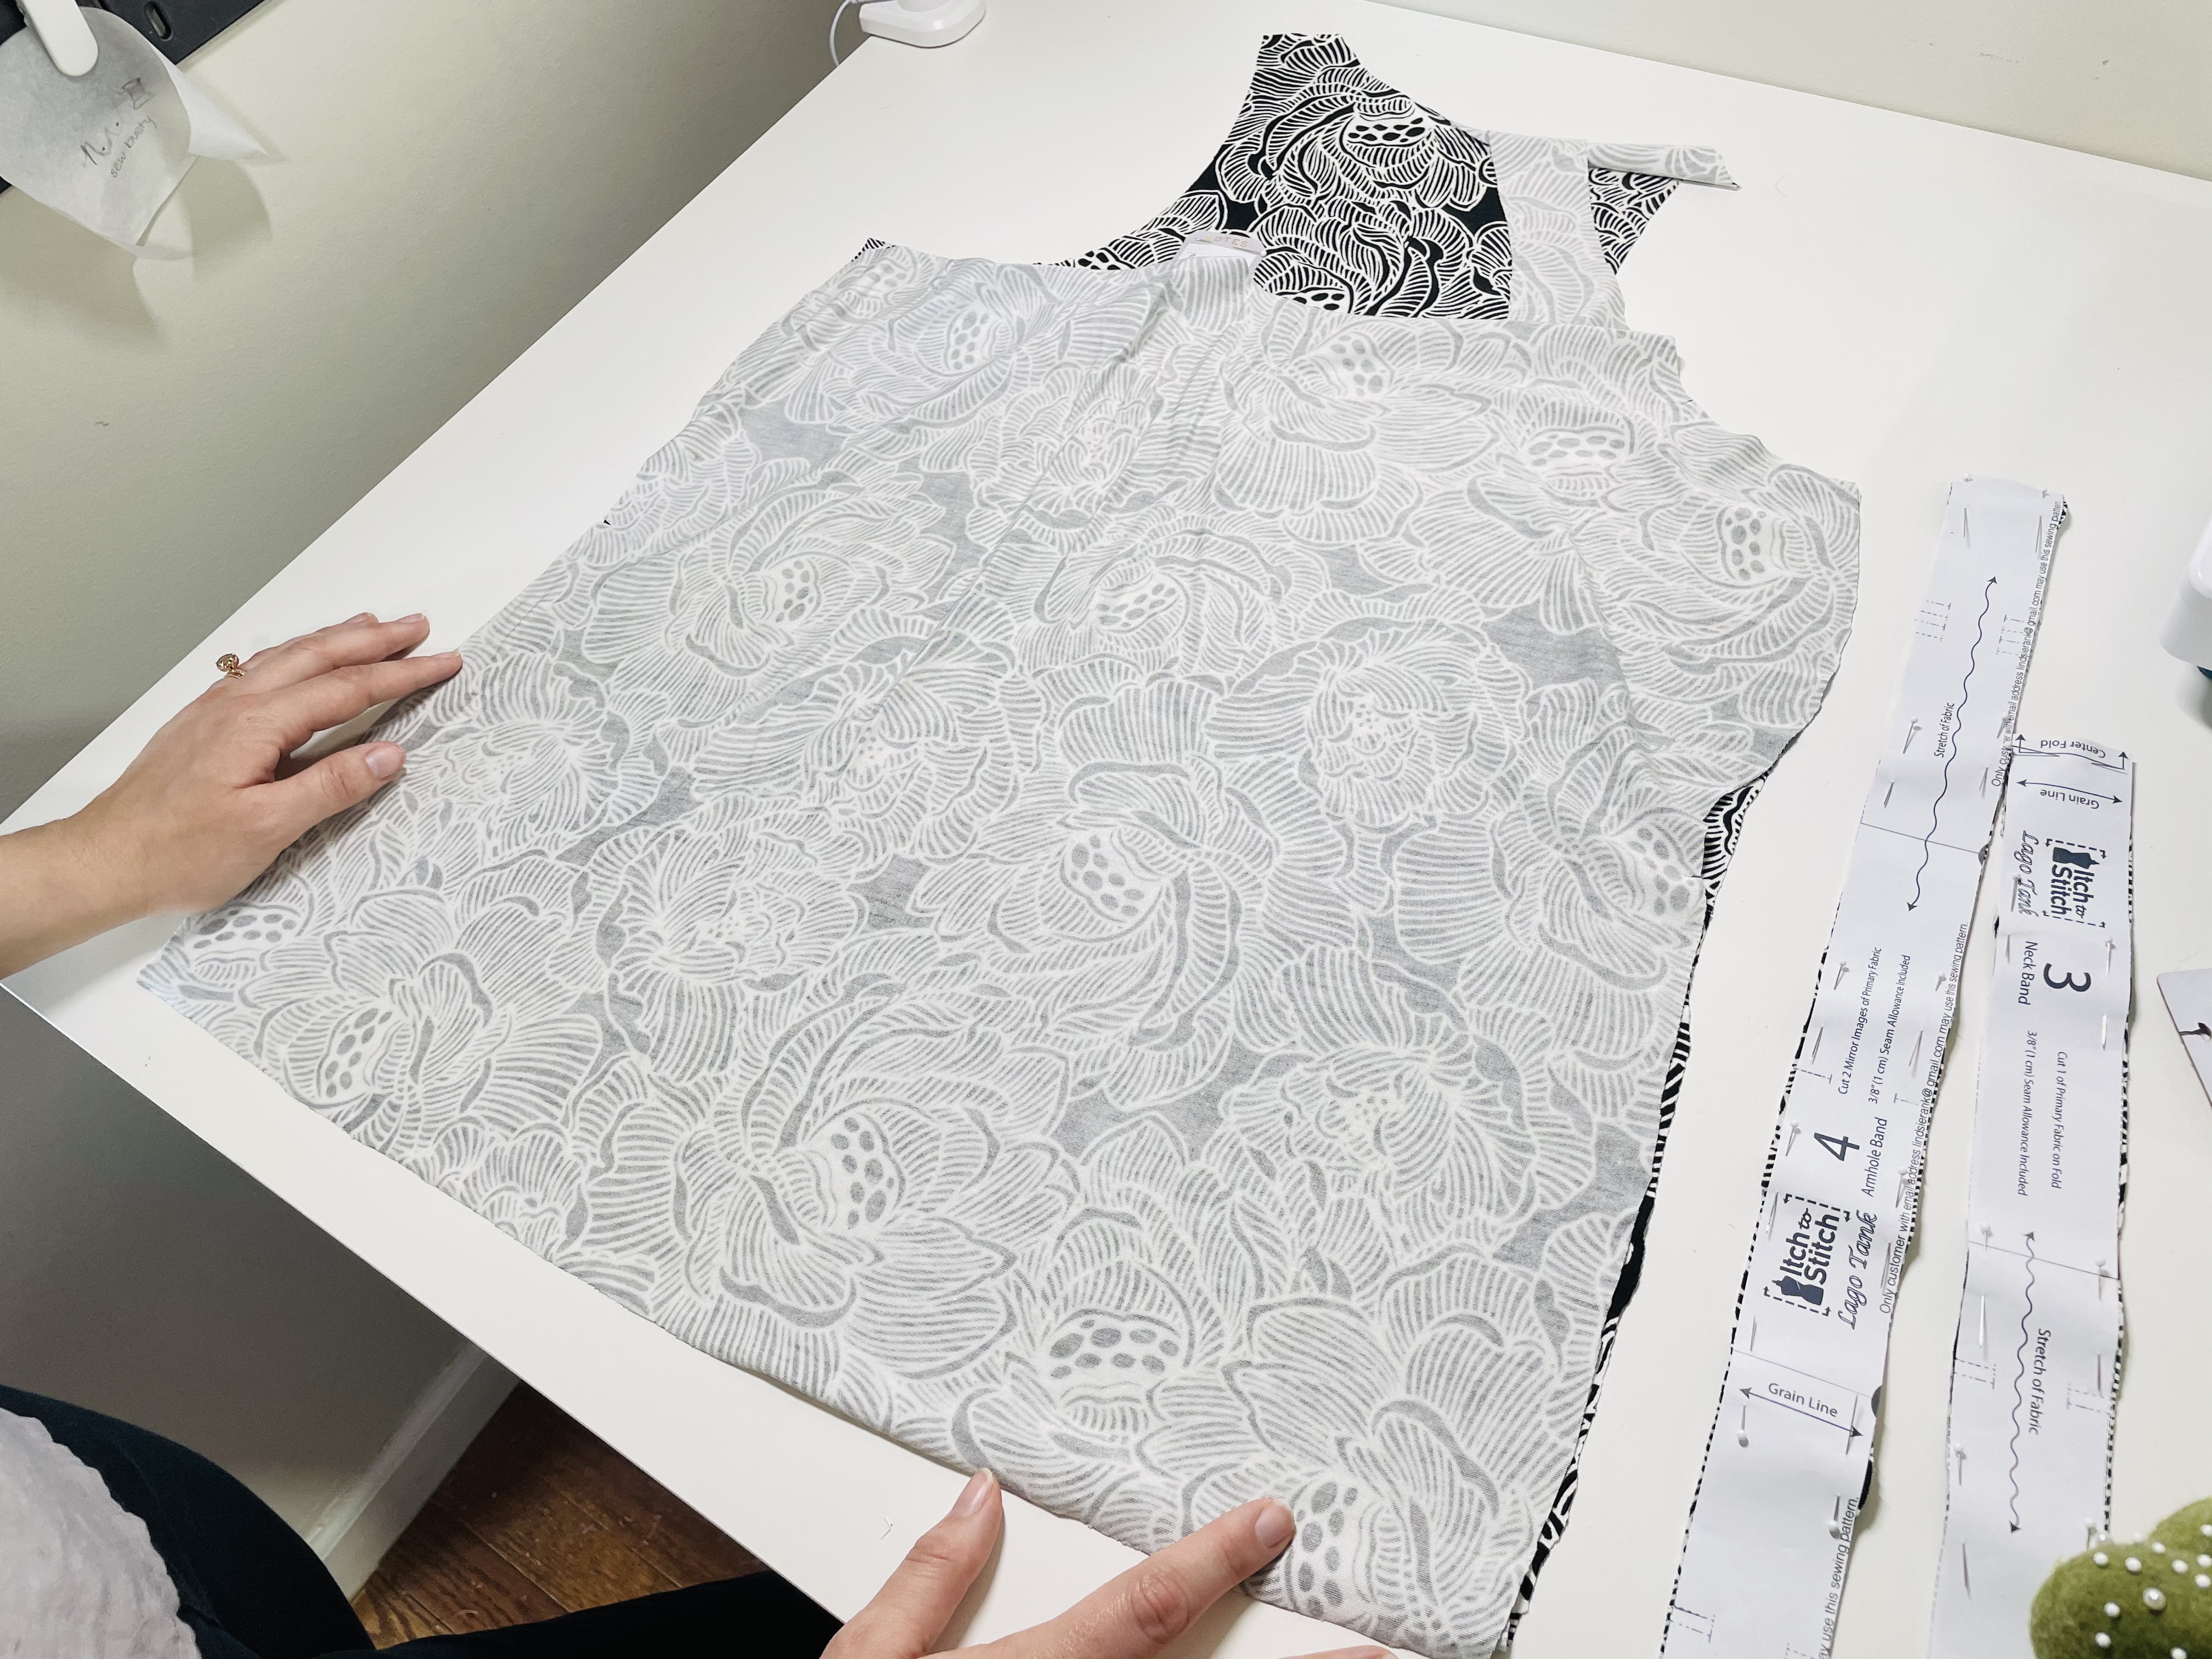
Now, we’re going to lay the back of the tank right side up on the table, right side of the fabric facing up. Then, we’re going to lay the front of the tank on top of the back, right side of the fabric facing down. In other words, the right sides of the fabric should face each other.
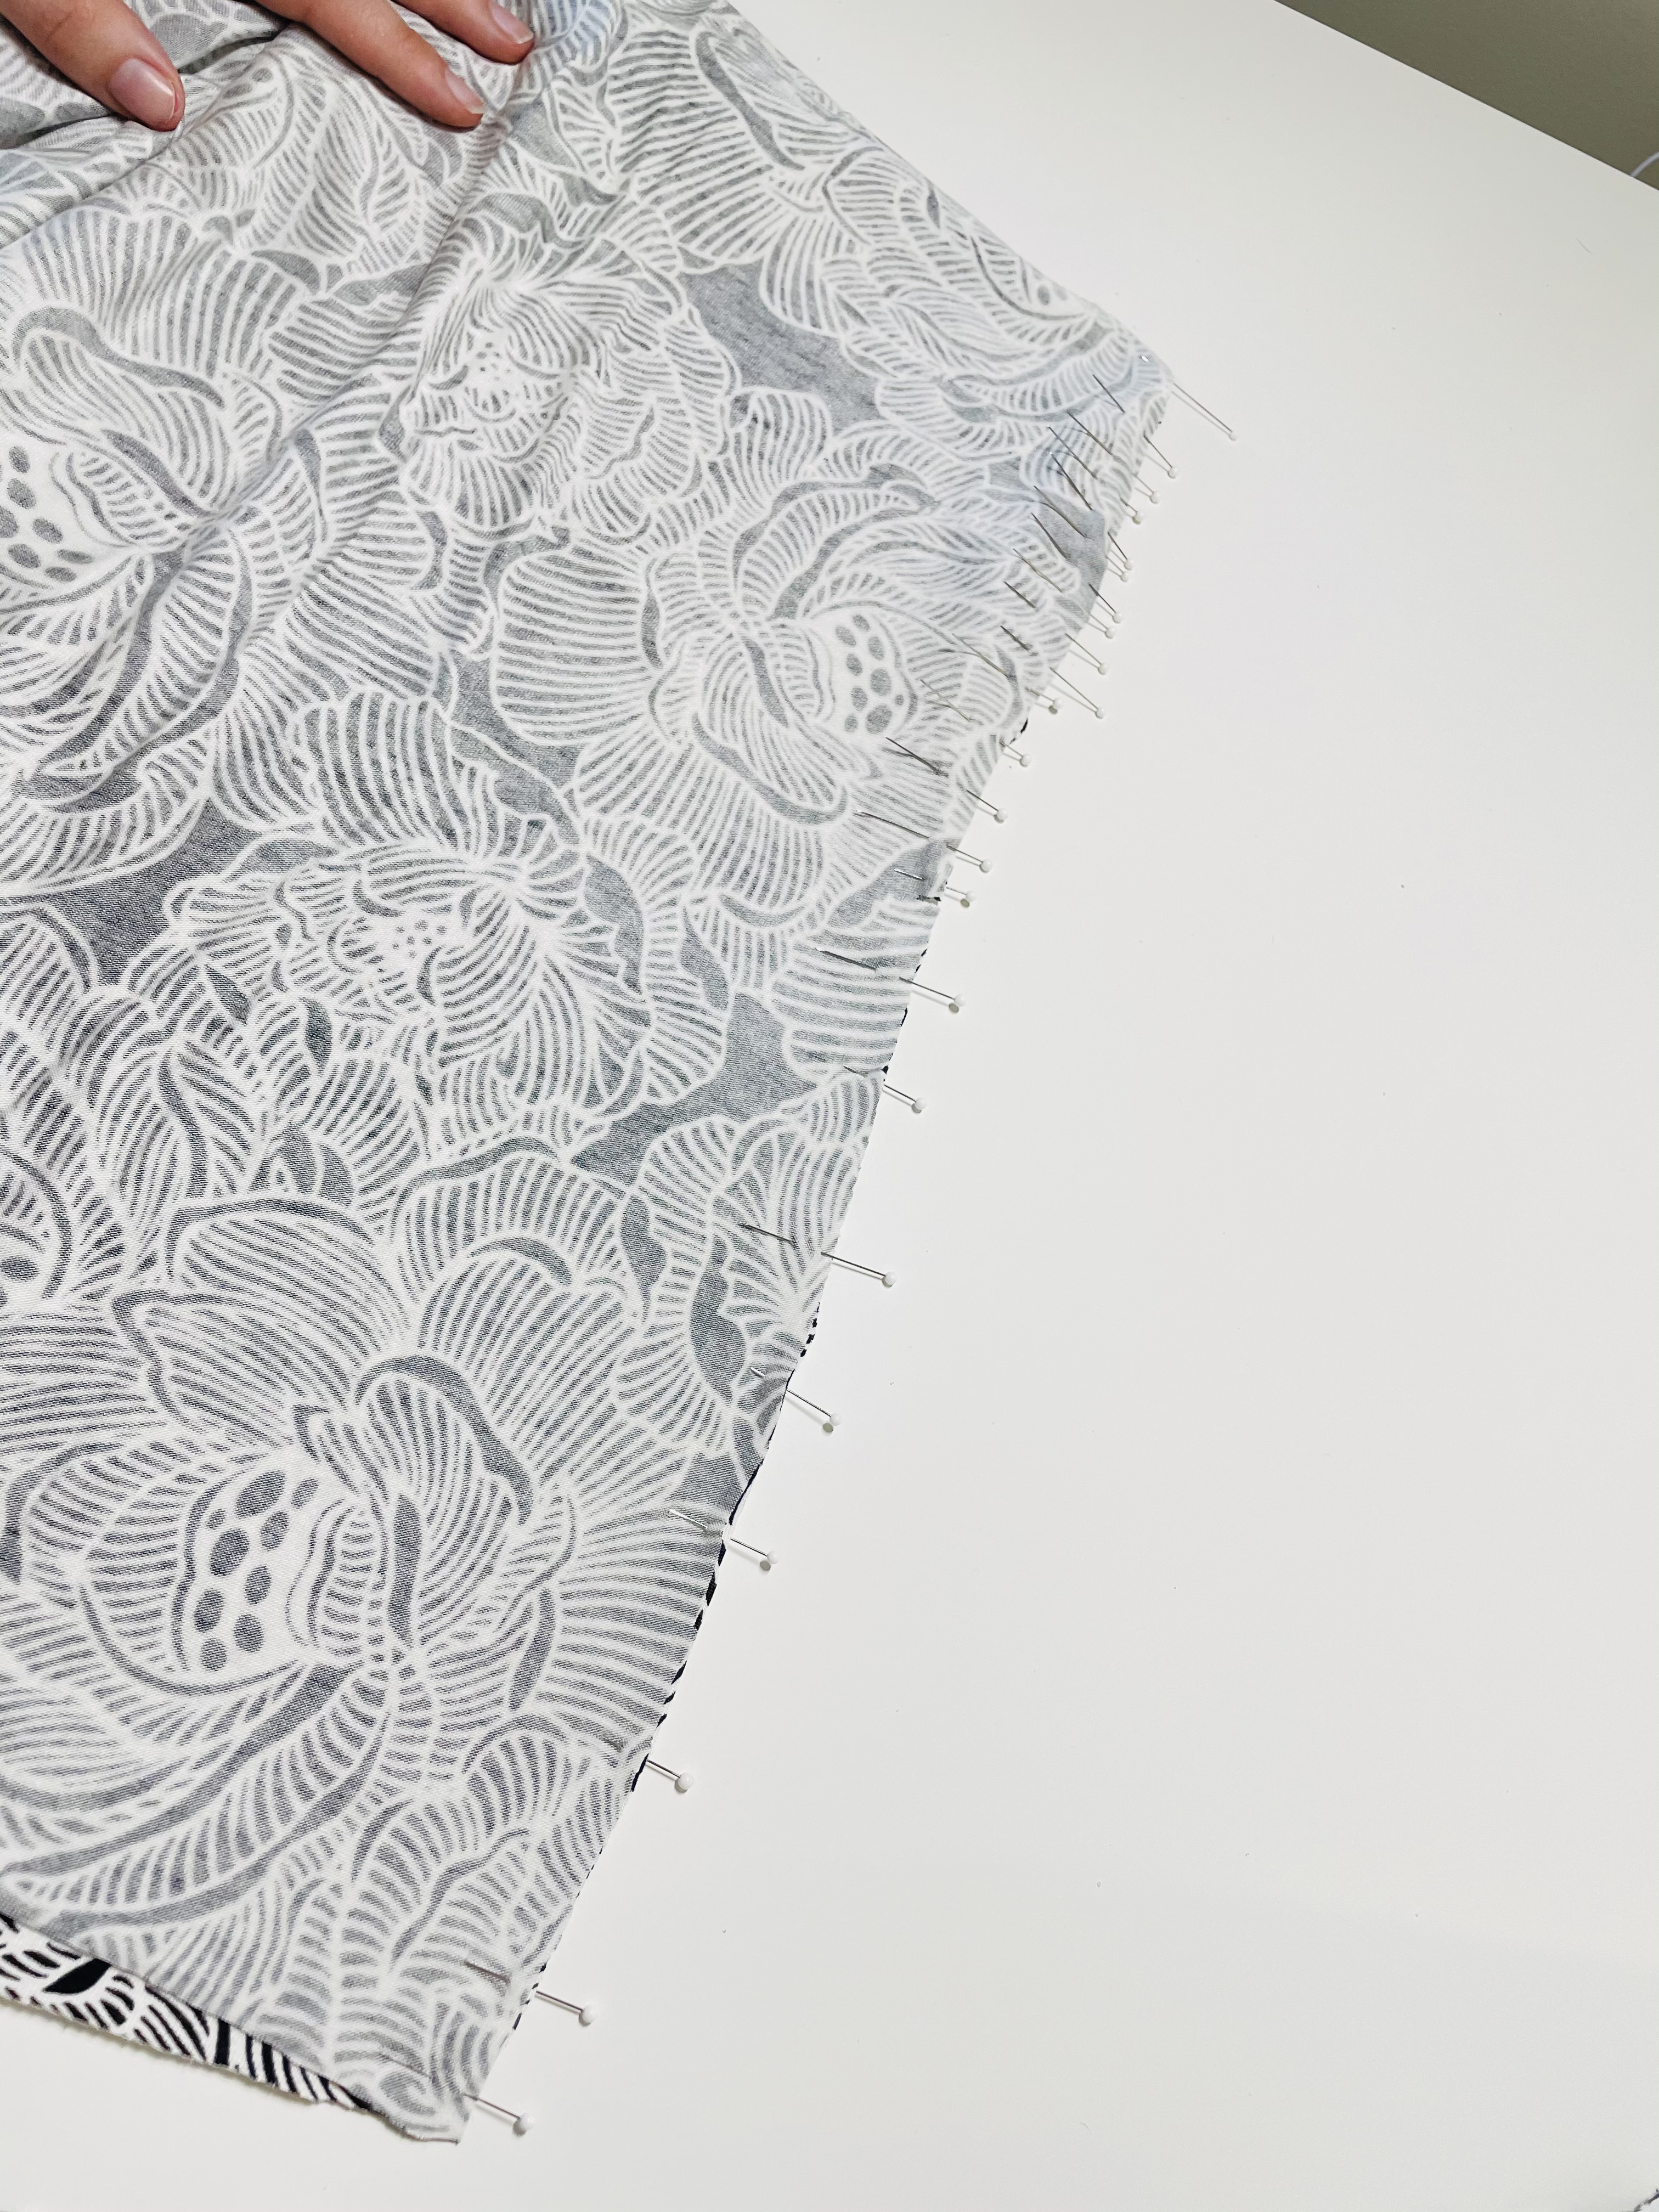
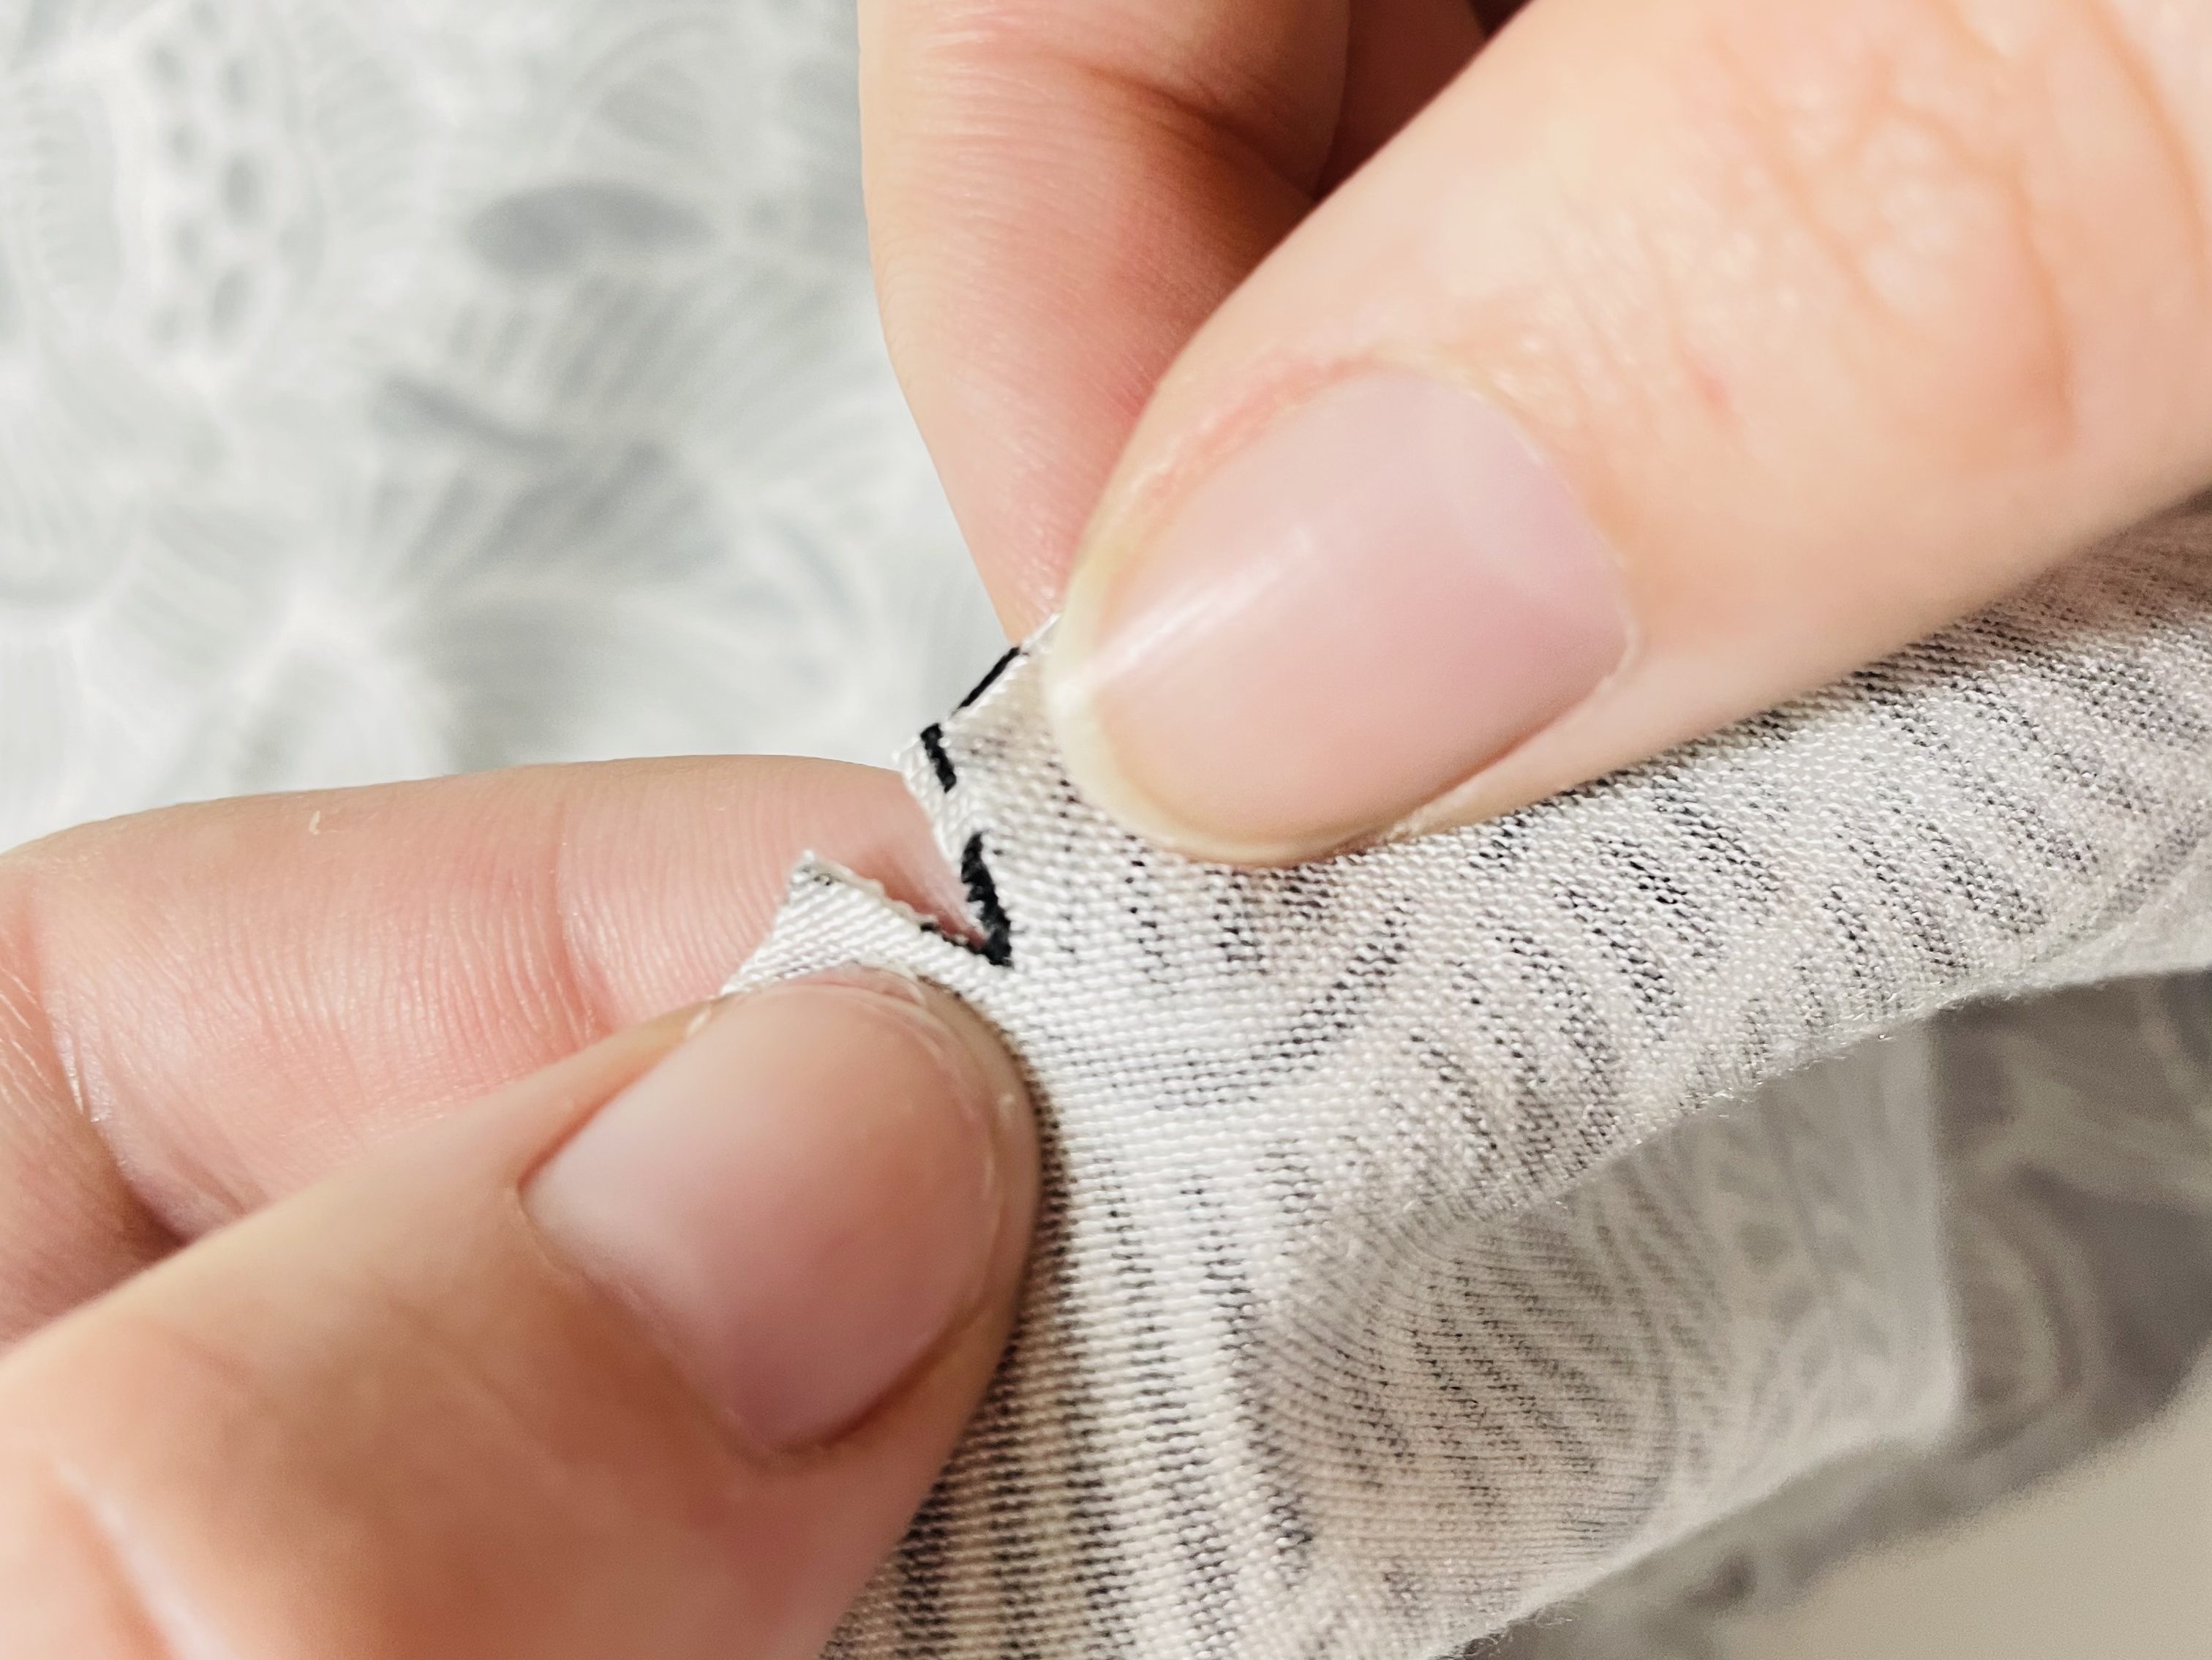
Start pinning your side seams. Start by pinning the bottom corner, then the top corner, then where the notches align. I like to pin perpendicular to the edge of my fabric and my eventual seam. This way, if I accidentally miss pulling a pin out as I sew, I’m less likely to break my needle.
From the bottom corner to the notch, the side seams should match up very closely. Once you get to the notch, though, you’ll have to do some wiggling of fabric to get the side seams to match up.
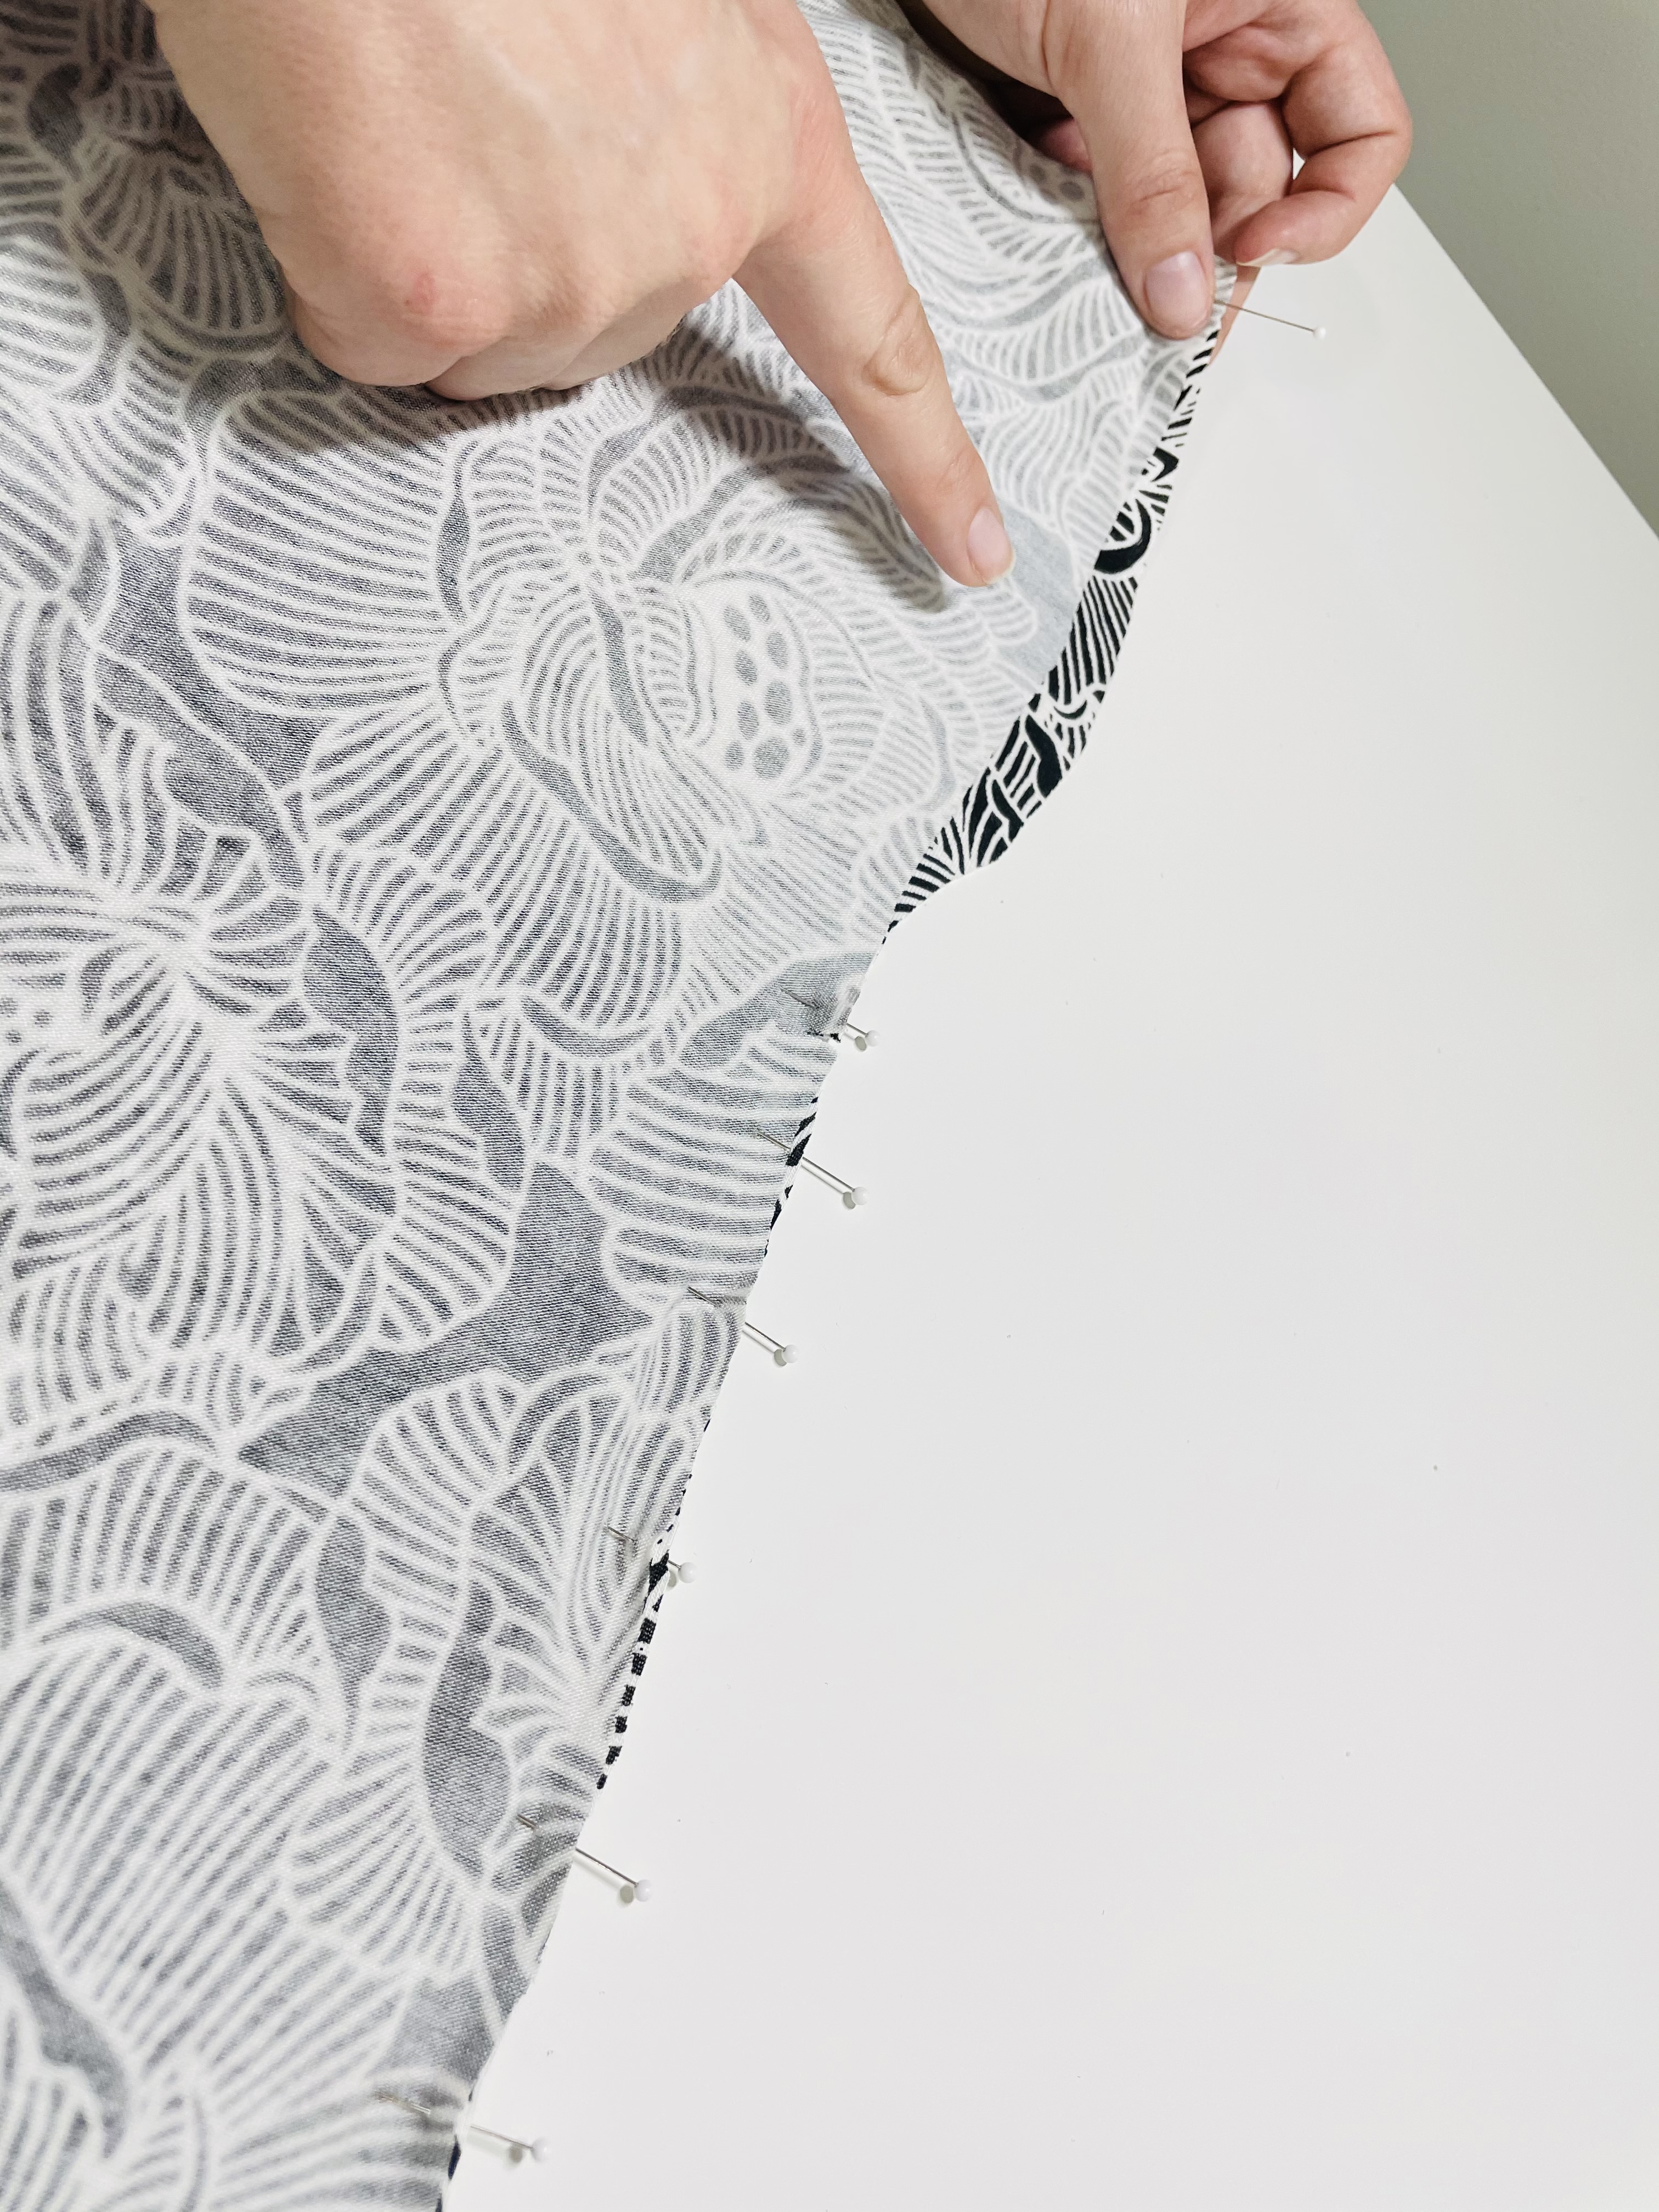
I like to start by finding the center between the notch and the armpit on each piece, and matching those. Then I find the center between those pins and once again match those. This will involve stretching the back piece to match the length of the front piece. This is because your front side seam is longer than the back, due to the boobs. I repeat this process until the seam is pinned together, as shown:
Check your pinned seam to make sure no spots are bubbling by continuing to stretch the back piece slightly to meet the front and pin.
You’ll do this on both sides of the tank. Now, it’s time to sew!
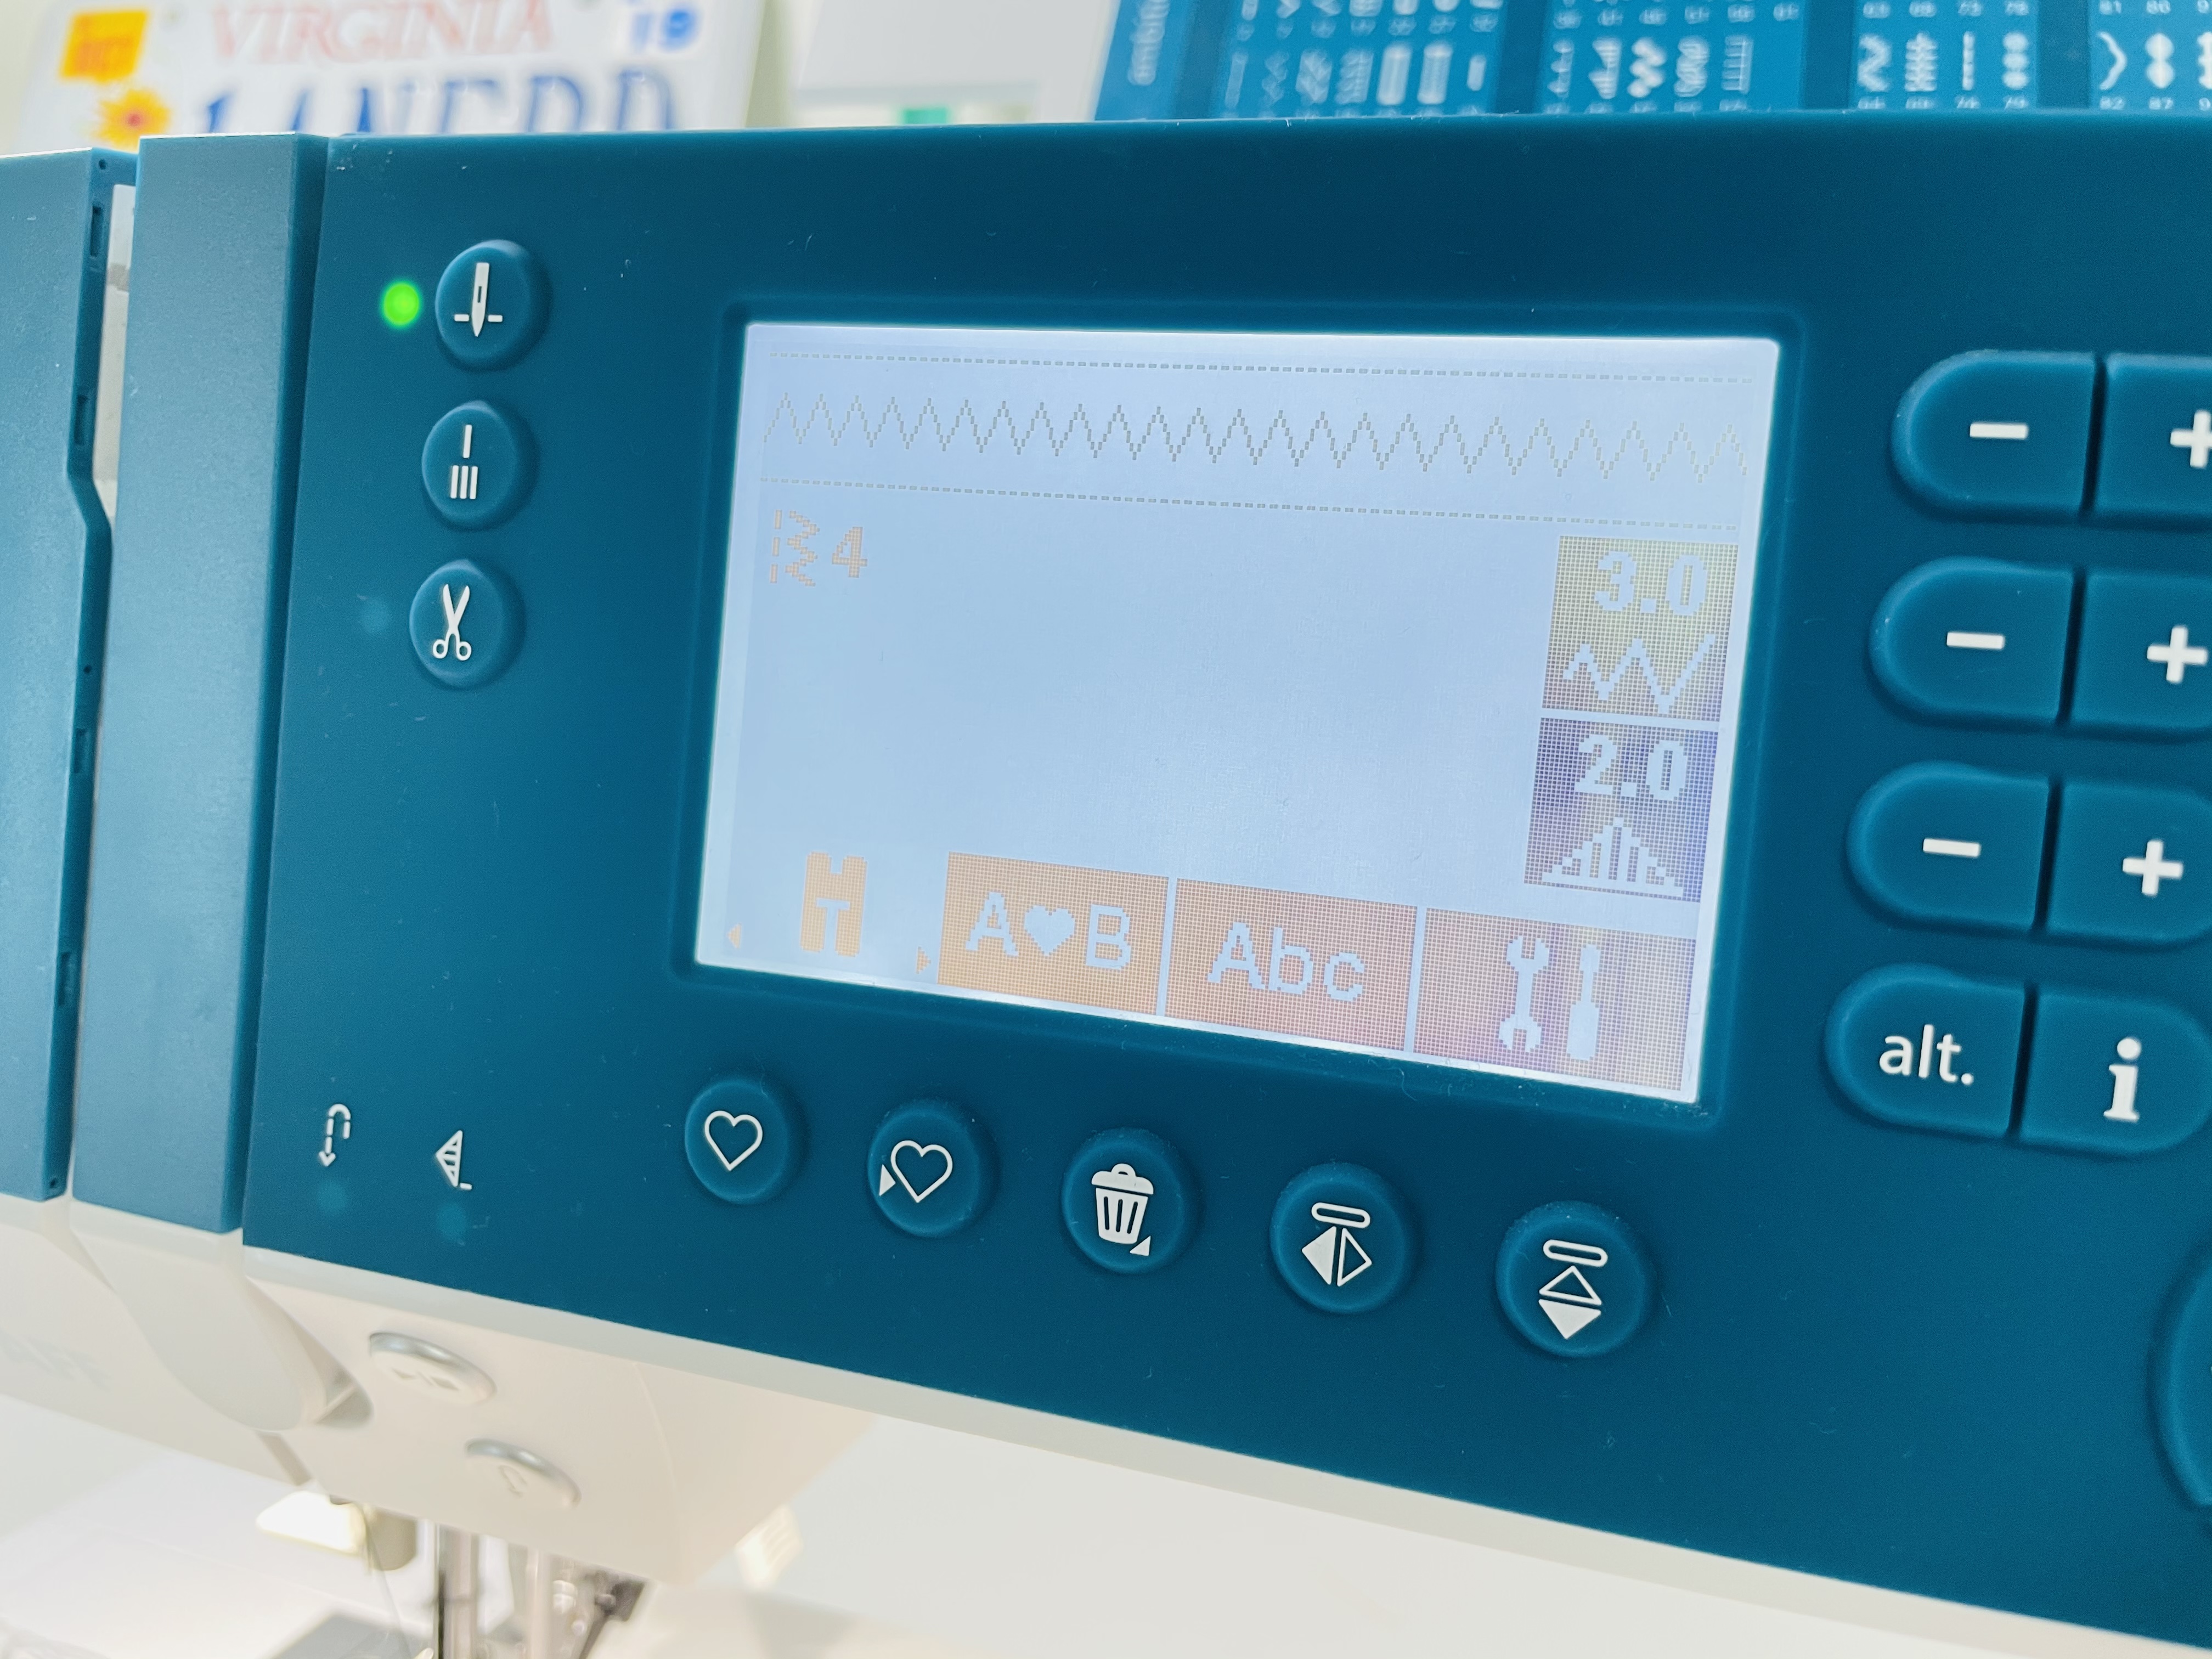
I like to set my machine to a zigzag stitch with a width of 3 and a length of 2. I find this does a good job of retaining stretch, but is also easy to seam rip if something goes awry. If you’re more advanced, you can choose a lightning stitch or other stretch stitch.
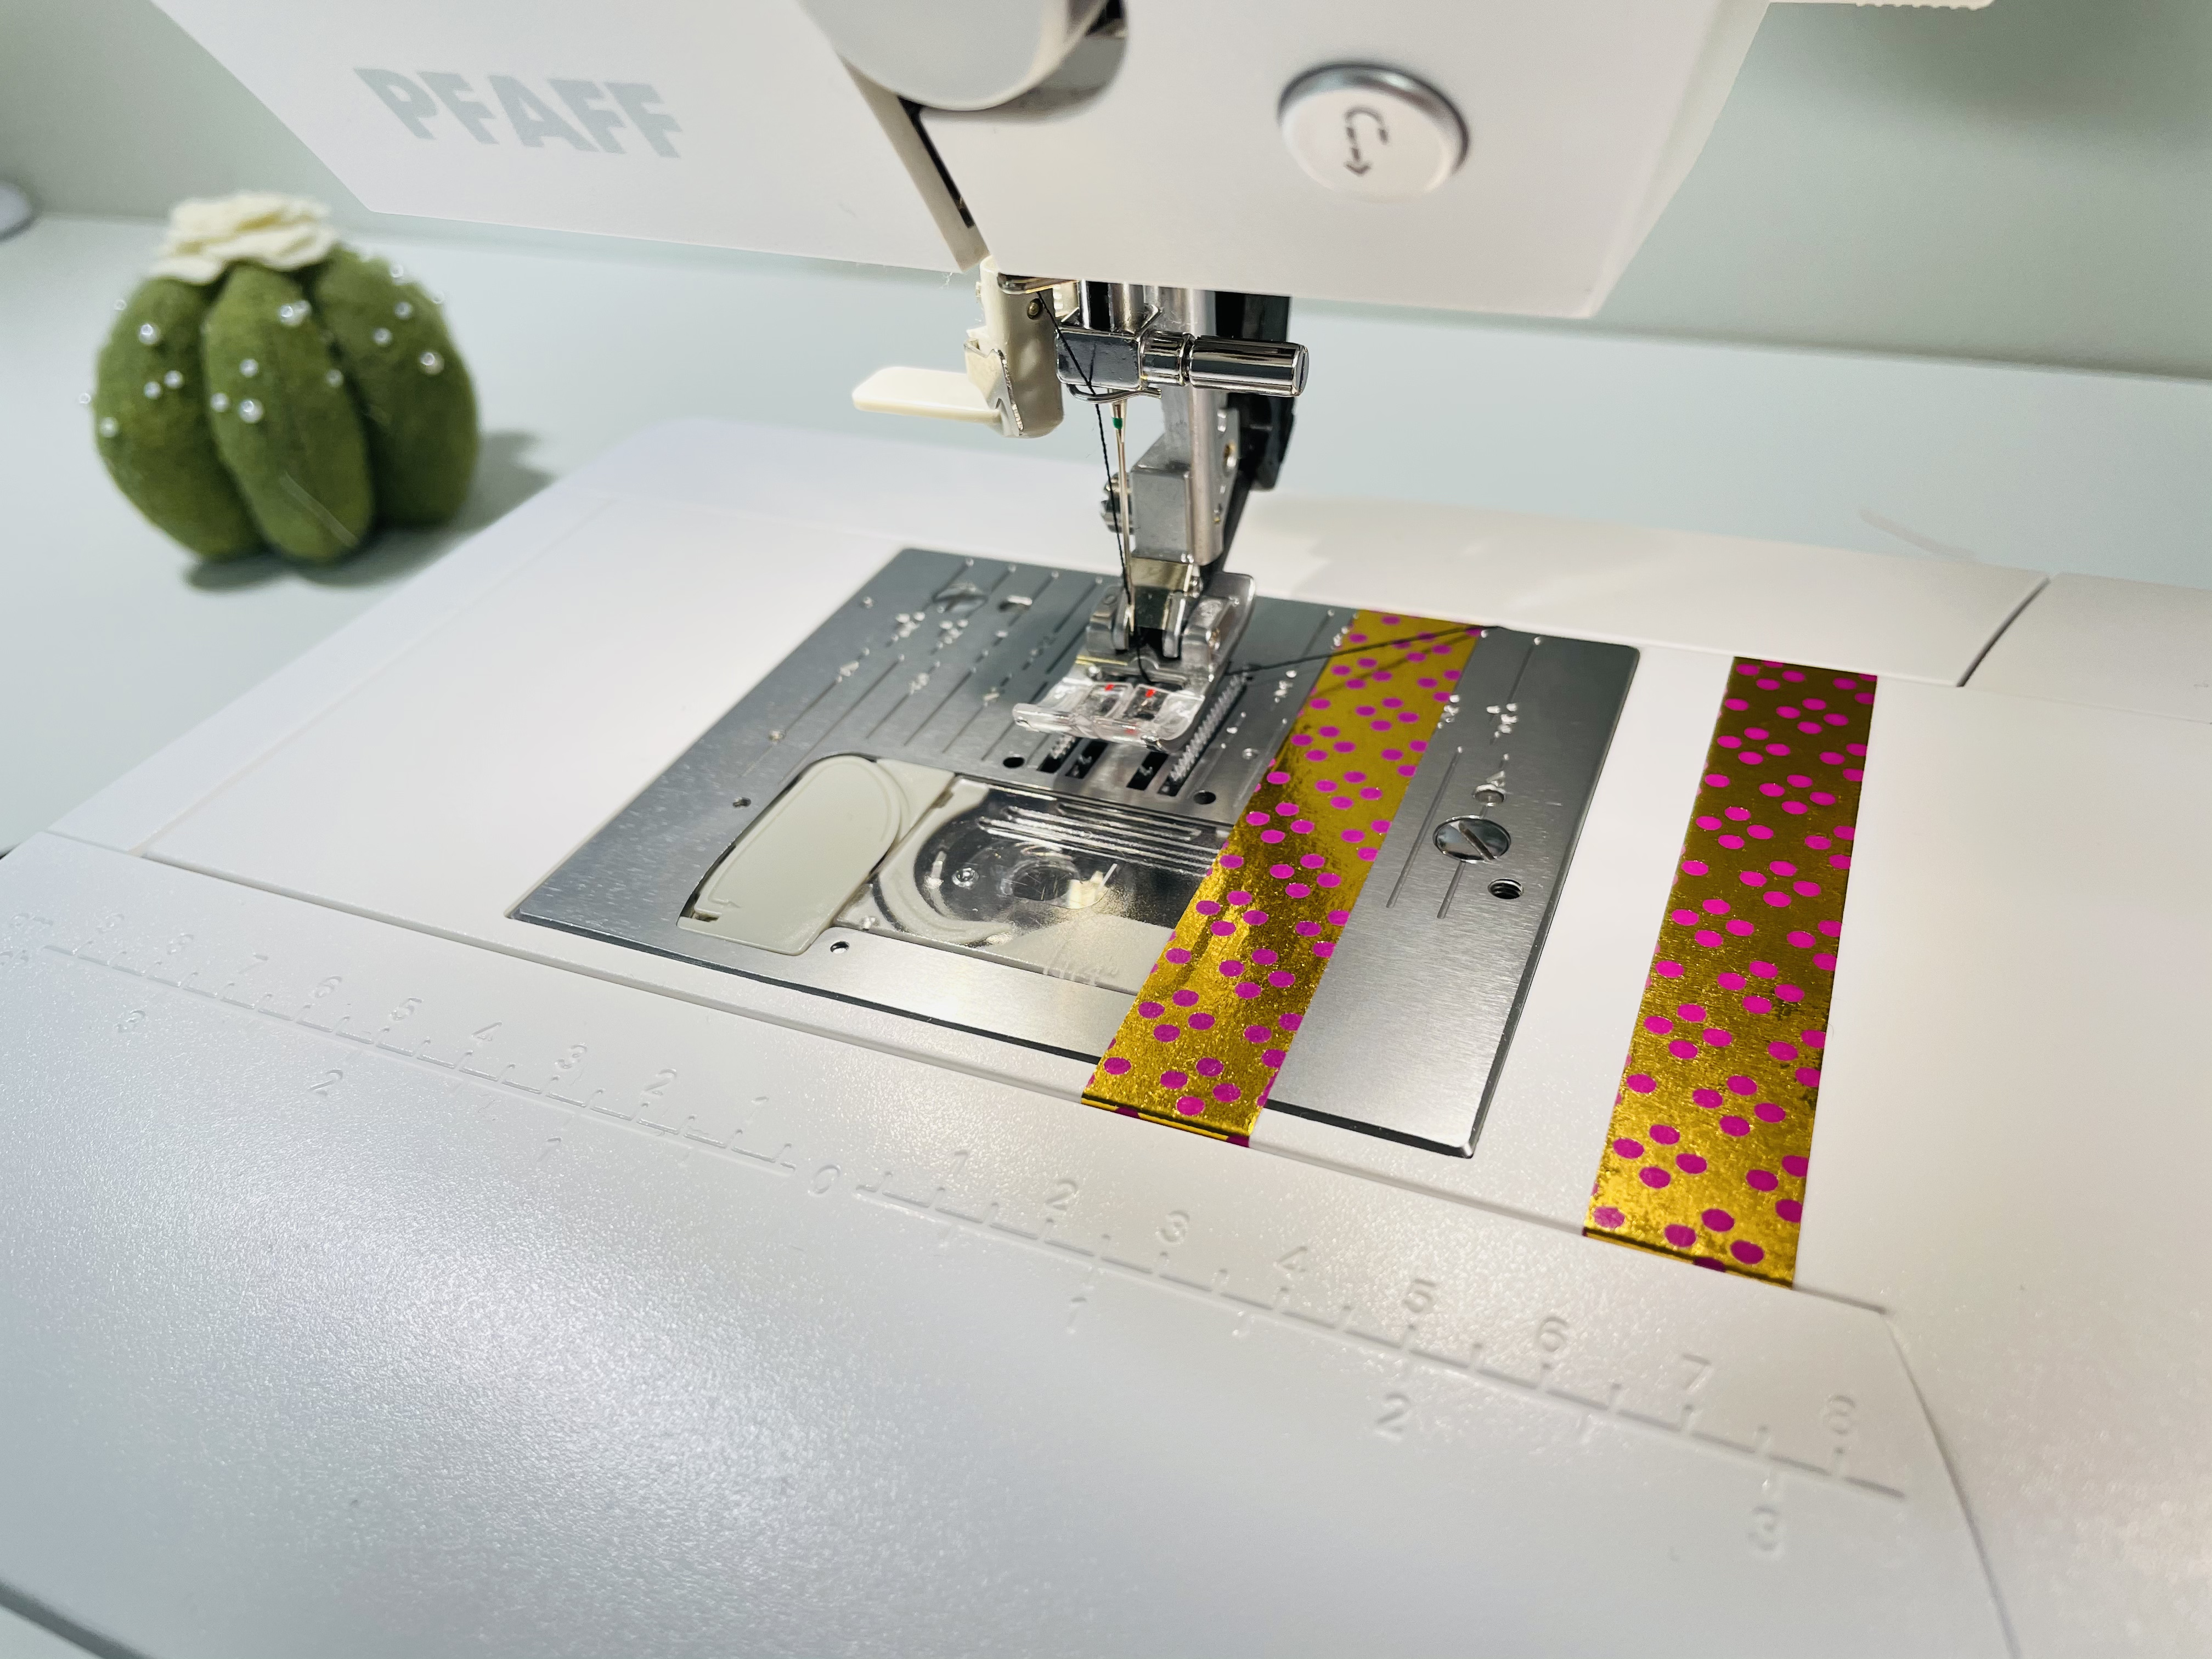
Another way I get my machine ready is by using washi tape to mark my seam allowance. On the Lago and Saybrook tanks, the seam allowance is 3/8″. (Please ignore the fact that I’ve marked and sewn a 5/8″ seam allowance. Don’t repeat my mistake! Do as I say, not as I do!)
What is a seam allowance? It’s just the distance between the edge of your fabric and where your needle will go down. So, if you measured 3/8″ from the edge of your fabric, that’s where the seam should be. On the machine, I place washi tape 3/8″ from the needle’s center point. During a zigzag, the needle will go back and forth to each side of this center point, but I generally measure from the center of the stitch.
Washi tape is great for this purpose, because it peels right off when you’re done and doesn’t leave a residue.
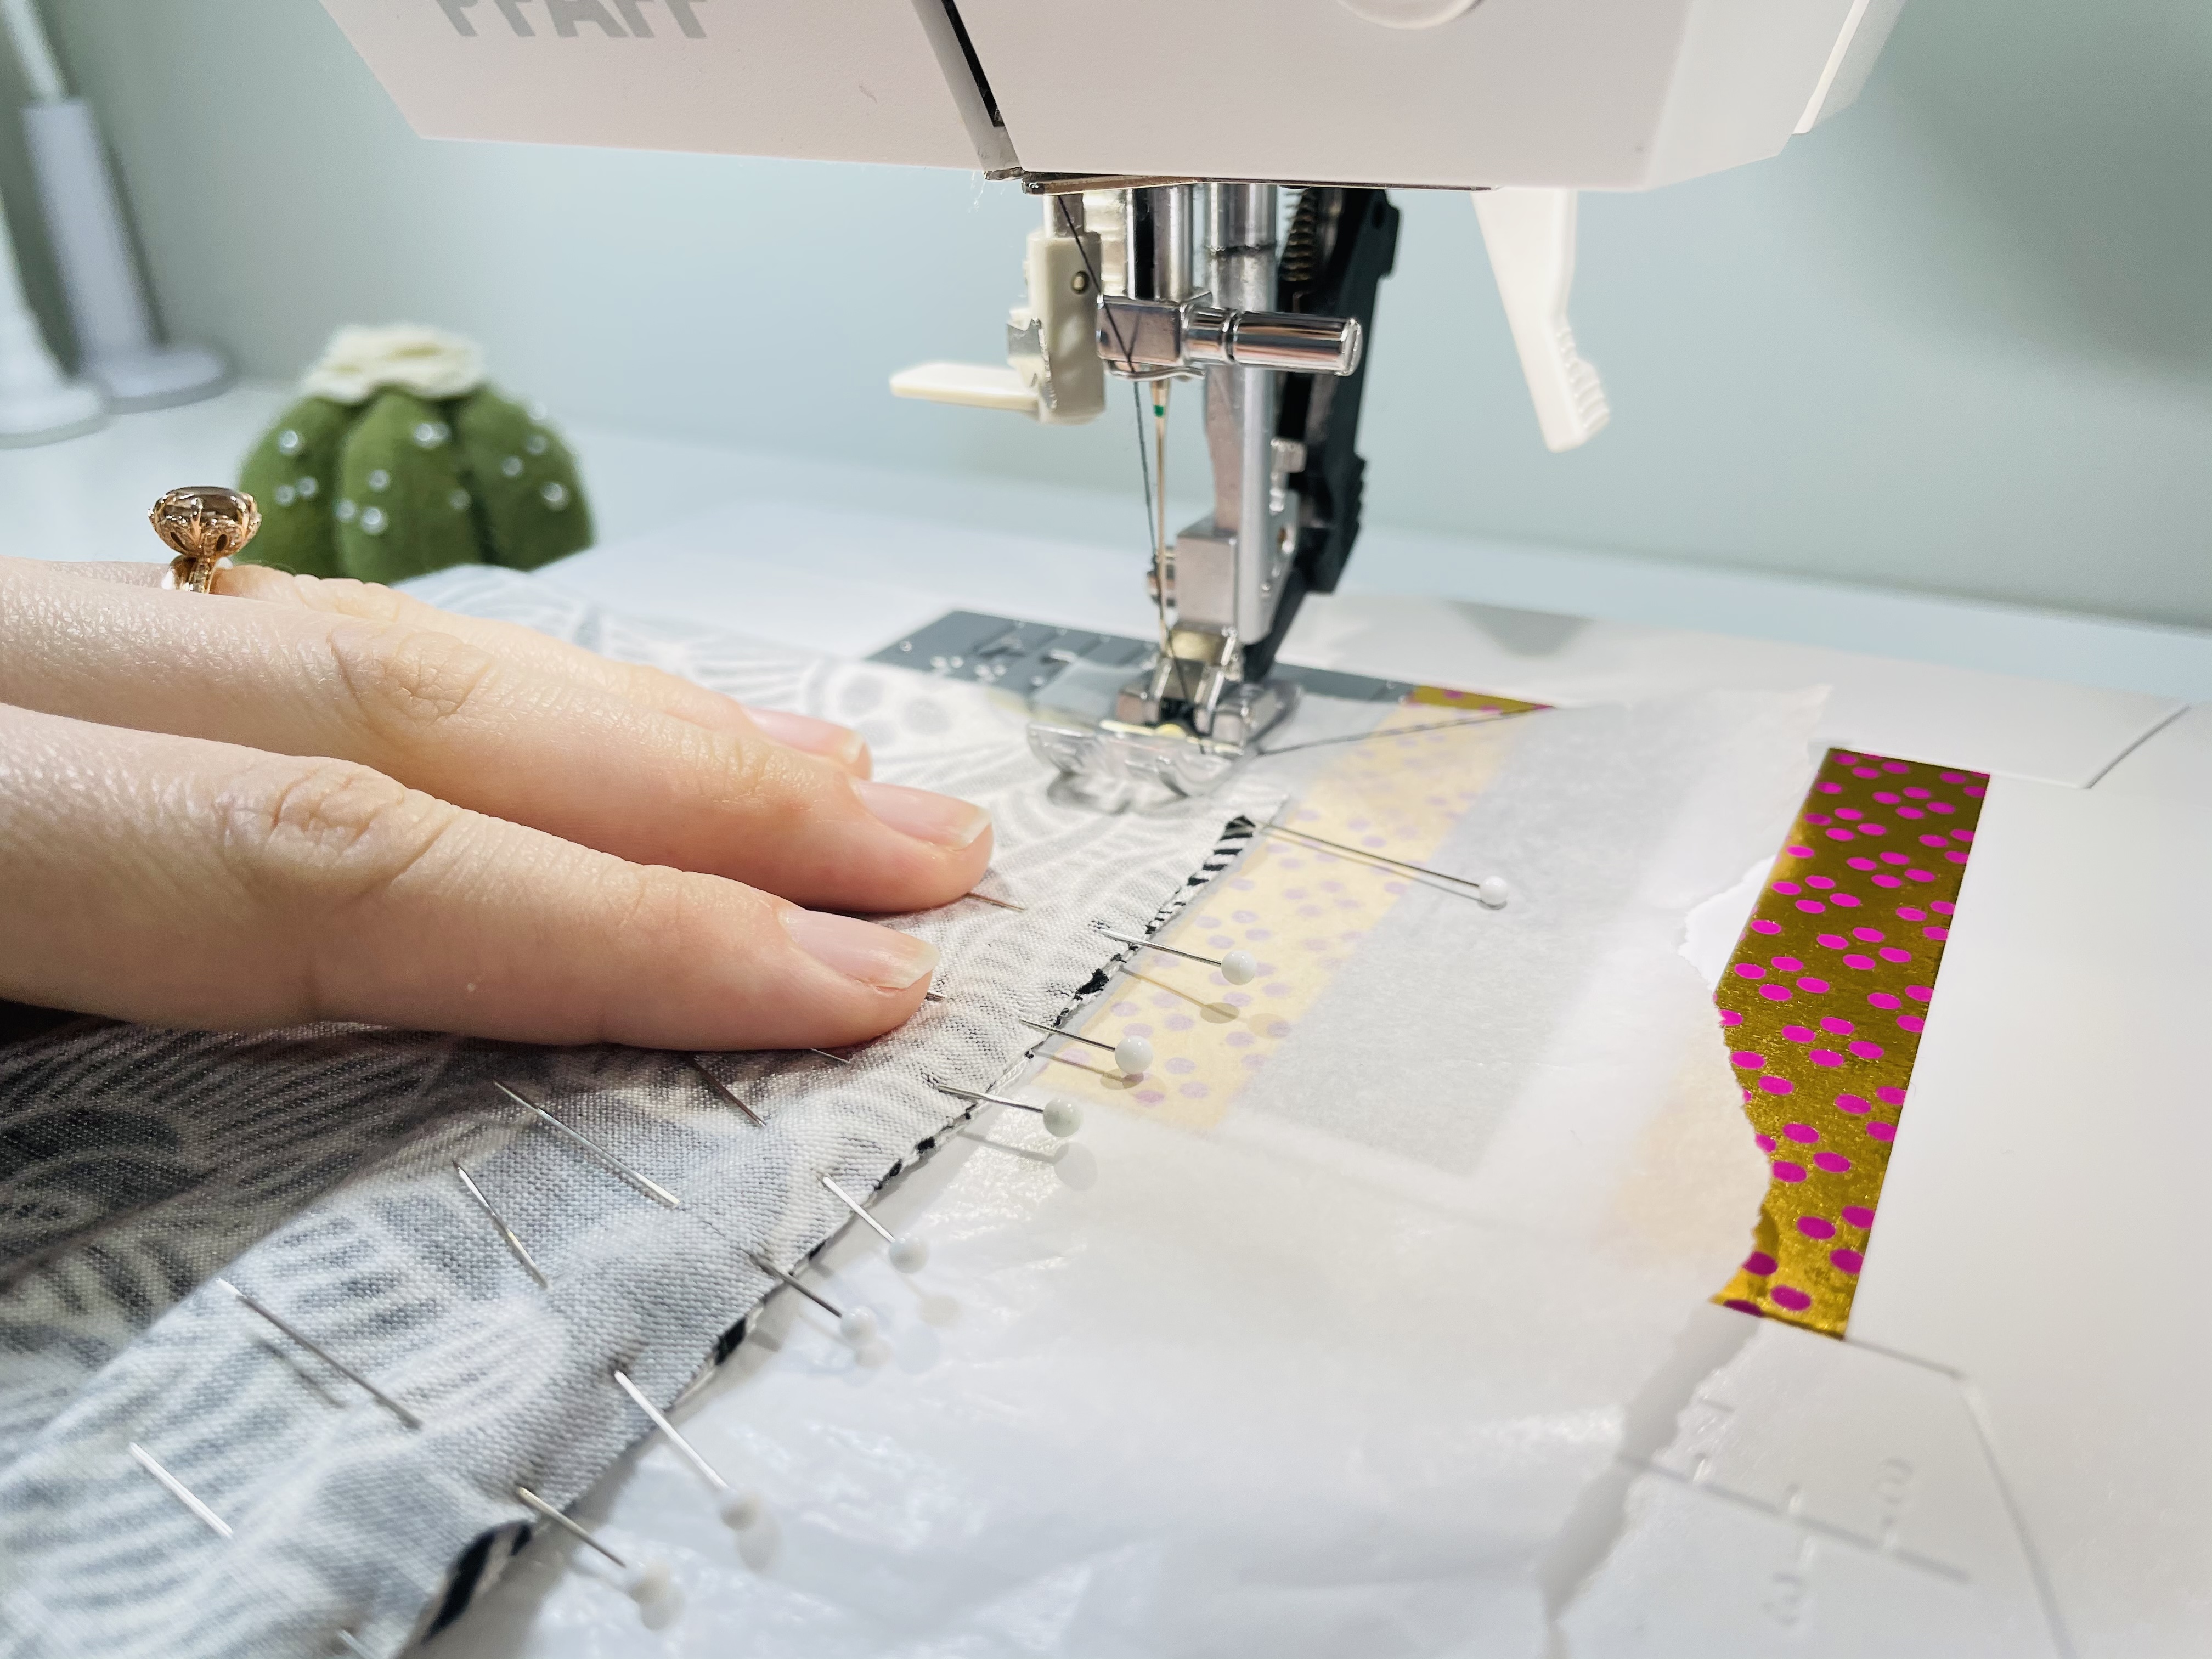
My next tip is to use tissue paper under your jersey! This will prevent the machine from eating your fabric, and will also help prevent the fabric from stretching too much as you sew.
I don’t always use tissue, because I have a built-in walking foot that does a lot of the same work, but I recommend that beginners use tissue throughout the process of sewing this tank. Once you’ve sewn the seam, you simply rip off the tissue.
As you sew, you’ll stop when your foot – that’s the little piece that attaches to your sewing machine and presses down on the fabric – approaches each pin. Pull the pin out, then proceed to the next pin. Eventually, you might become a fancy pants and be able to sew and pull pins simultaneously. I’ve been sewing for 20+ years and still am not coordinated enough to do this, but many people are!
How do I sew straight?
My best advice is to keep an eye on two places. I know, I know. That sounds like a lot. But it’s going to be okay. It’s a bit like driving: When you drive, you keep an eye on the road, but also on your speedometer. When sewing, you keep an eye on the spot next to your needle, but also on the fabric that’s coming up.
The important thing to keep in mind is that your needle is the spot. Nothing else matters that much. If you maintain the same distance between your needle and the side of your fabric as you sew your seam, your seam will be straight.
The best way to learn is by doing, so set your machine to a slow speed, and let’s go! Sew the entire side seam on each side.
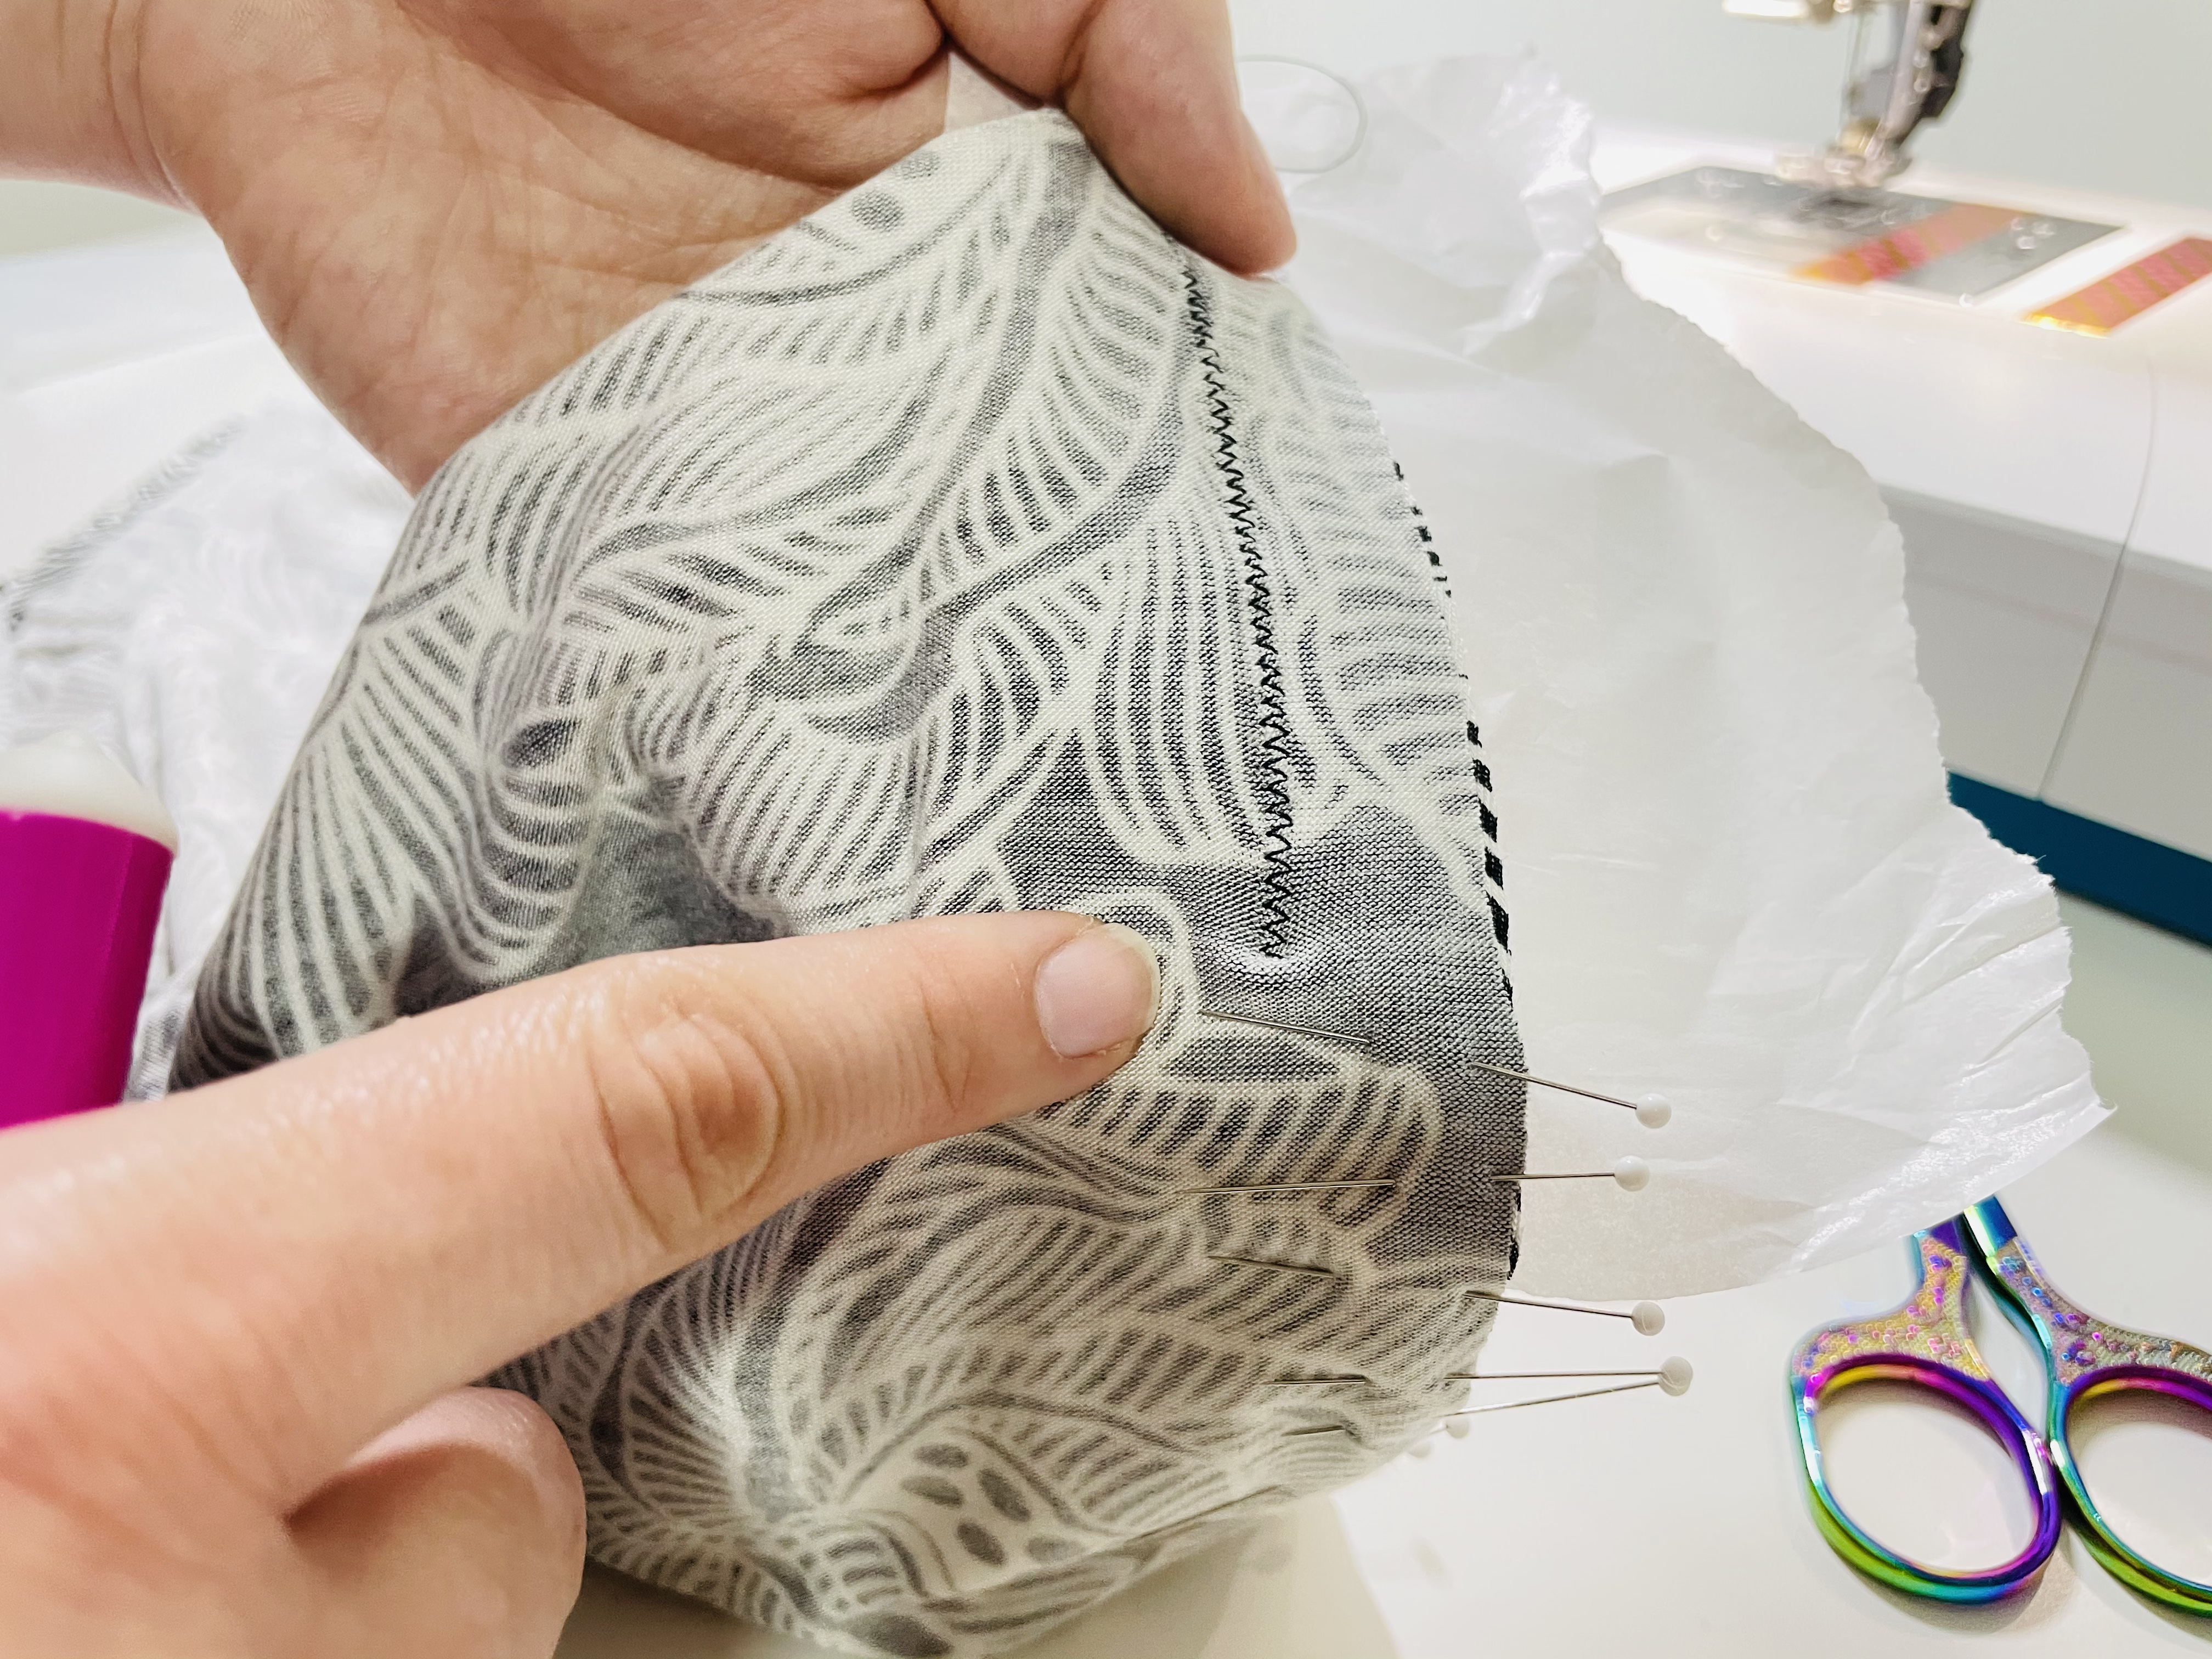
Oops! Get a little off track?! Me too. Just seam rip the awry stitches and keep going!
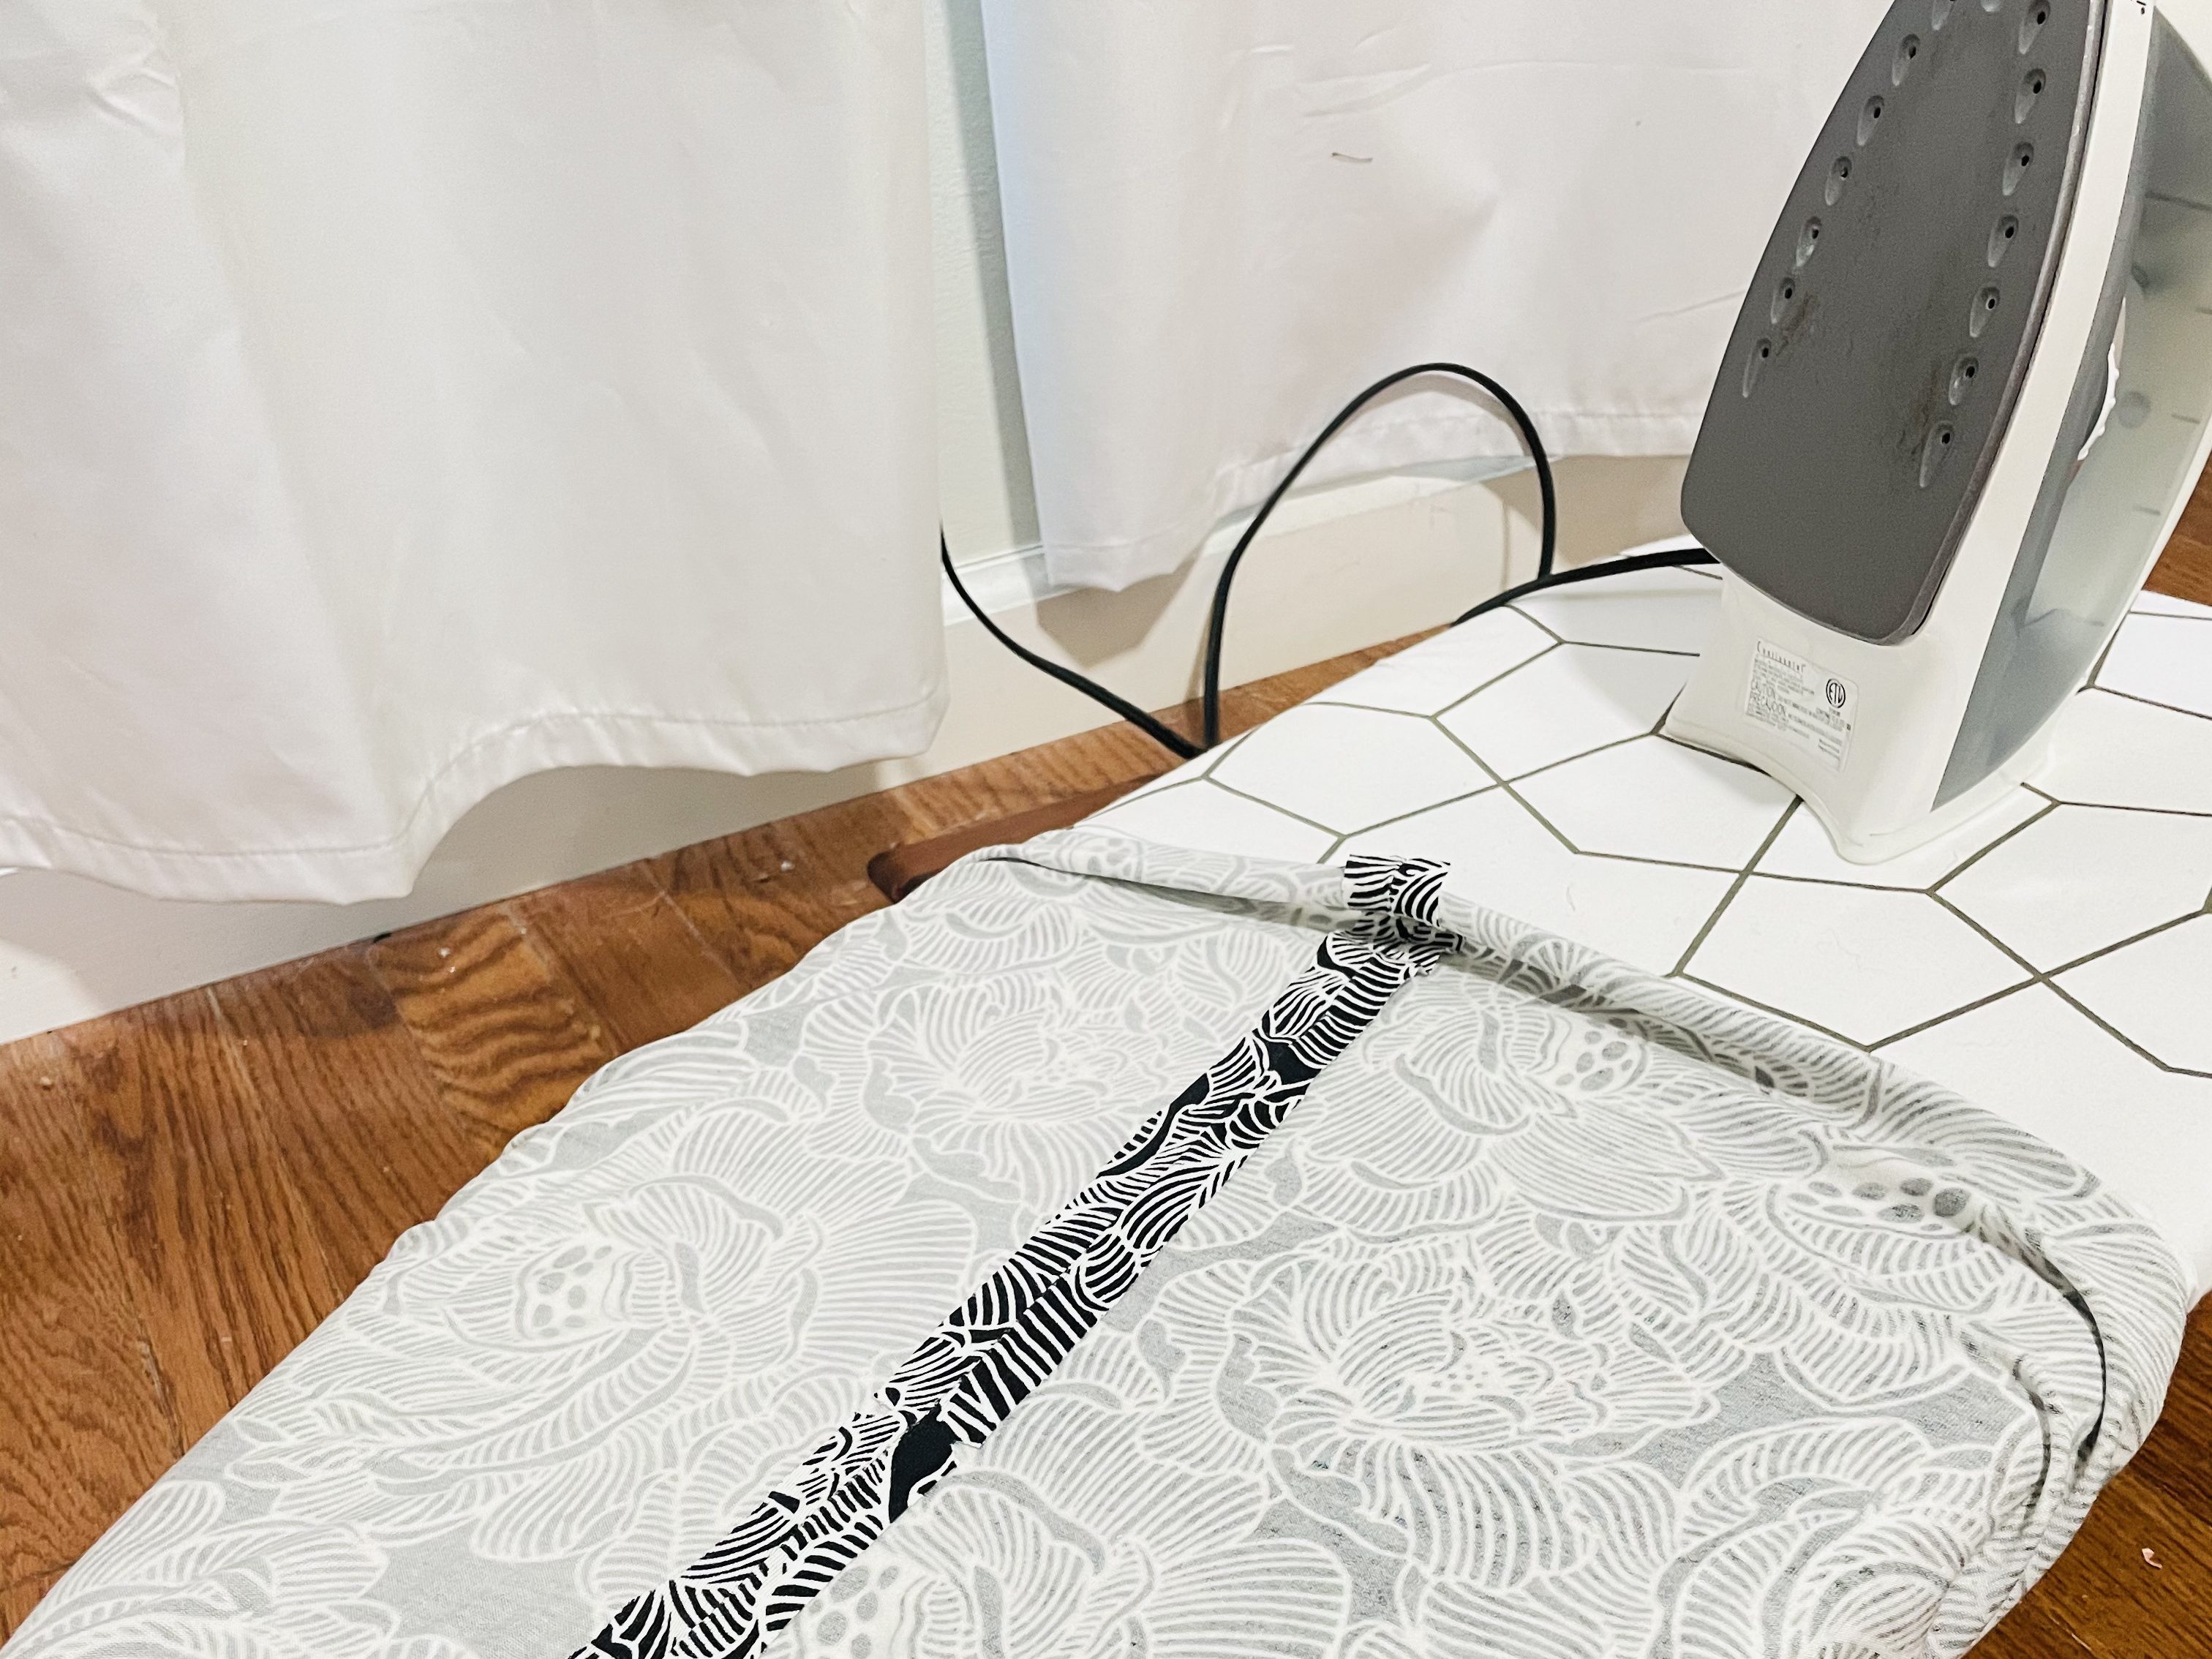
The last step for the side seams is to iron them open. Now, onto the shoulder seams!
Somehow, I missed taking pictures of the shoulder seams. But the method is exactly the same as the side seams:
- Pin the fabric, right sides together, matching corners
- Use tissue and a zigzag stitch to sew, sticking to the 3/8″ seam allowance
- Iron your seam allowance open
At this point, you can try your tank on for a rough idea of fit! The bands will change the way it hangs a bit, so don’t get too excited and start changing a bunch of things! But, you should be able to see if it’s way too big or small, and you can make small changes based on that.
For example, if you find that you’re getting a pucker in your side seam where it’s a bit big on you, you can go back under the sewing machine and sew a bit further from the fabric edge in that spot to make the shirt smaller there. If it feels tight anywhere, you can try to sew a bit closer to the edge of the fabric (seam ripping your original stitches) to make it a bit bigger.
Sewing the Bands
Time to sew the bands! Let’s start with the neck band.
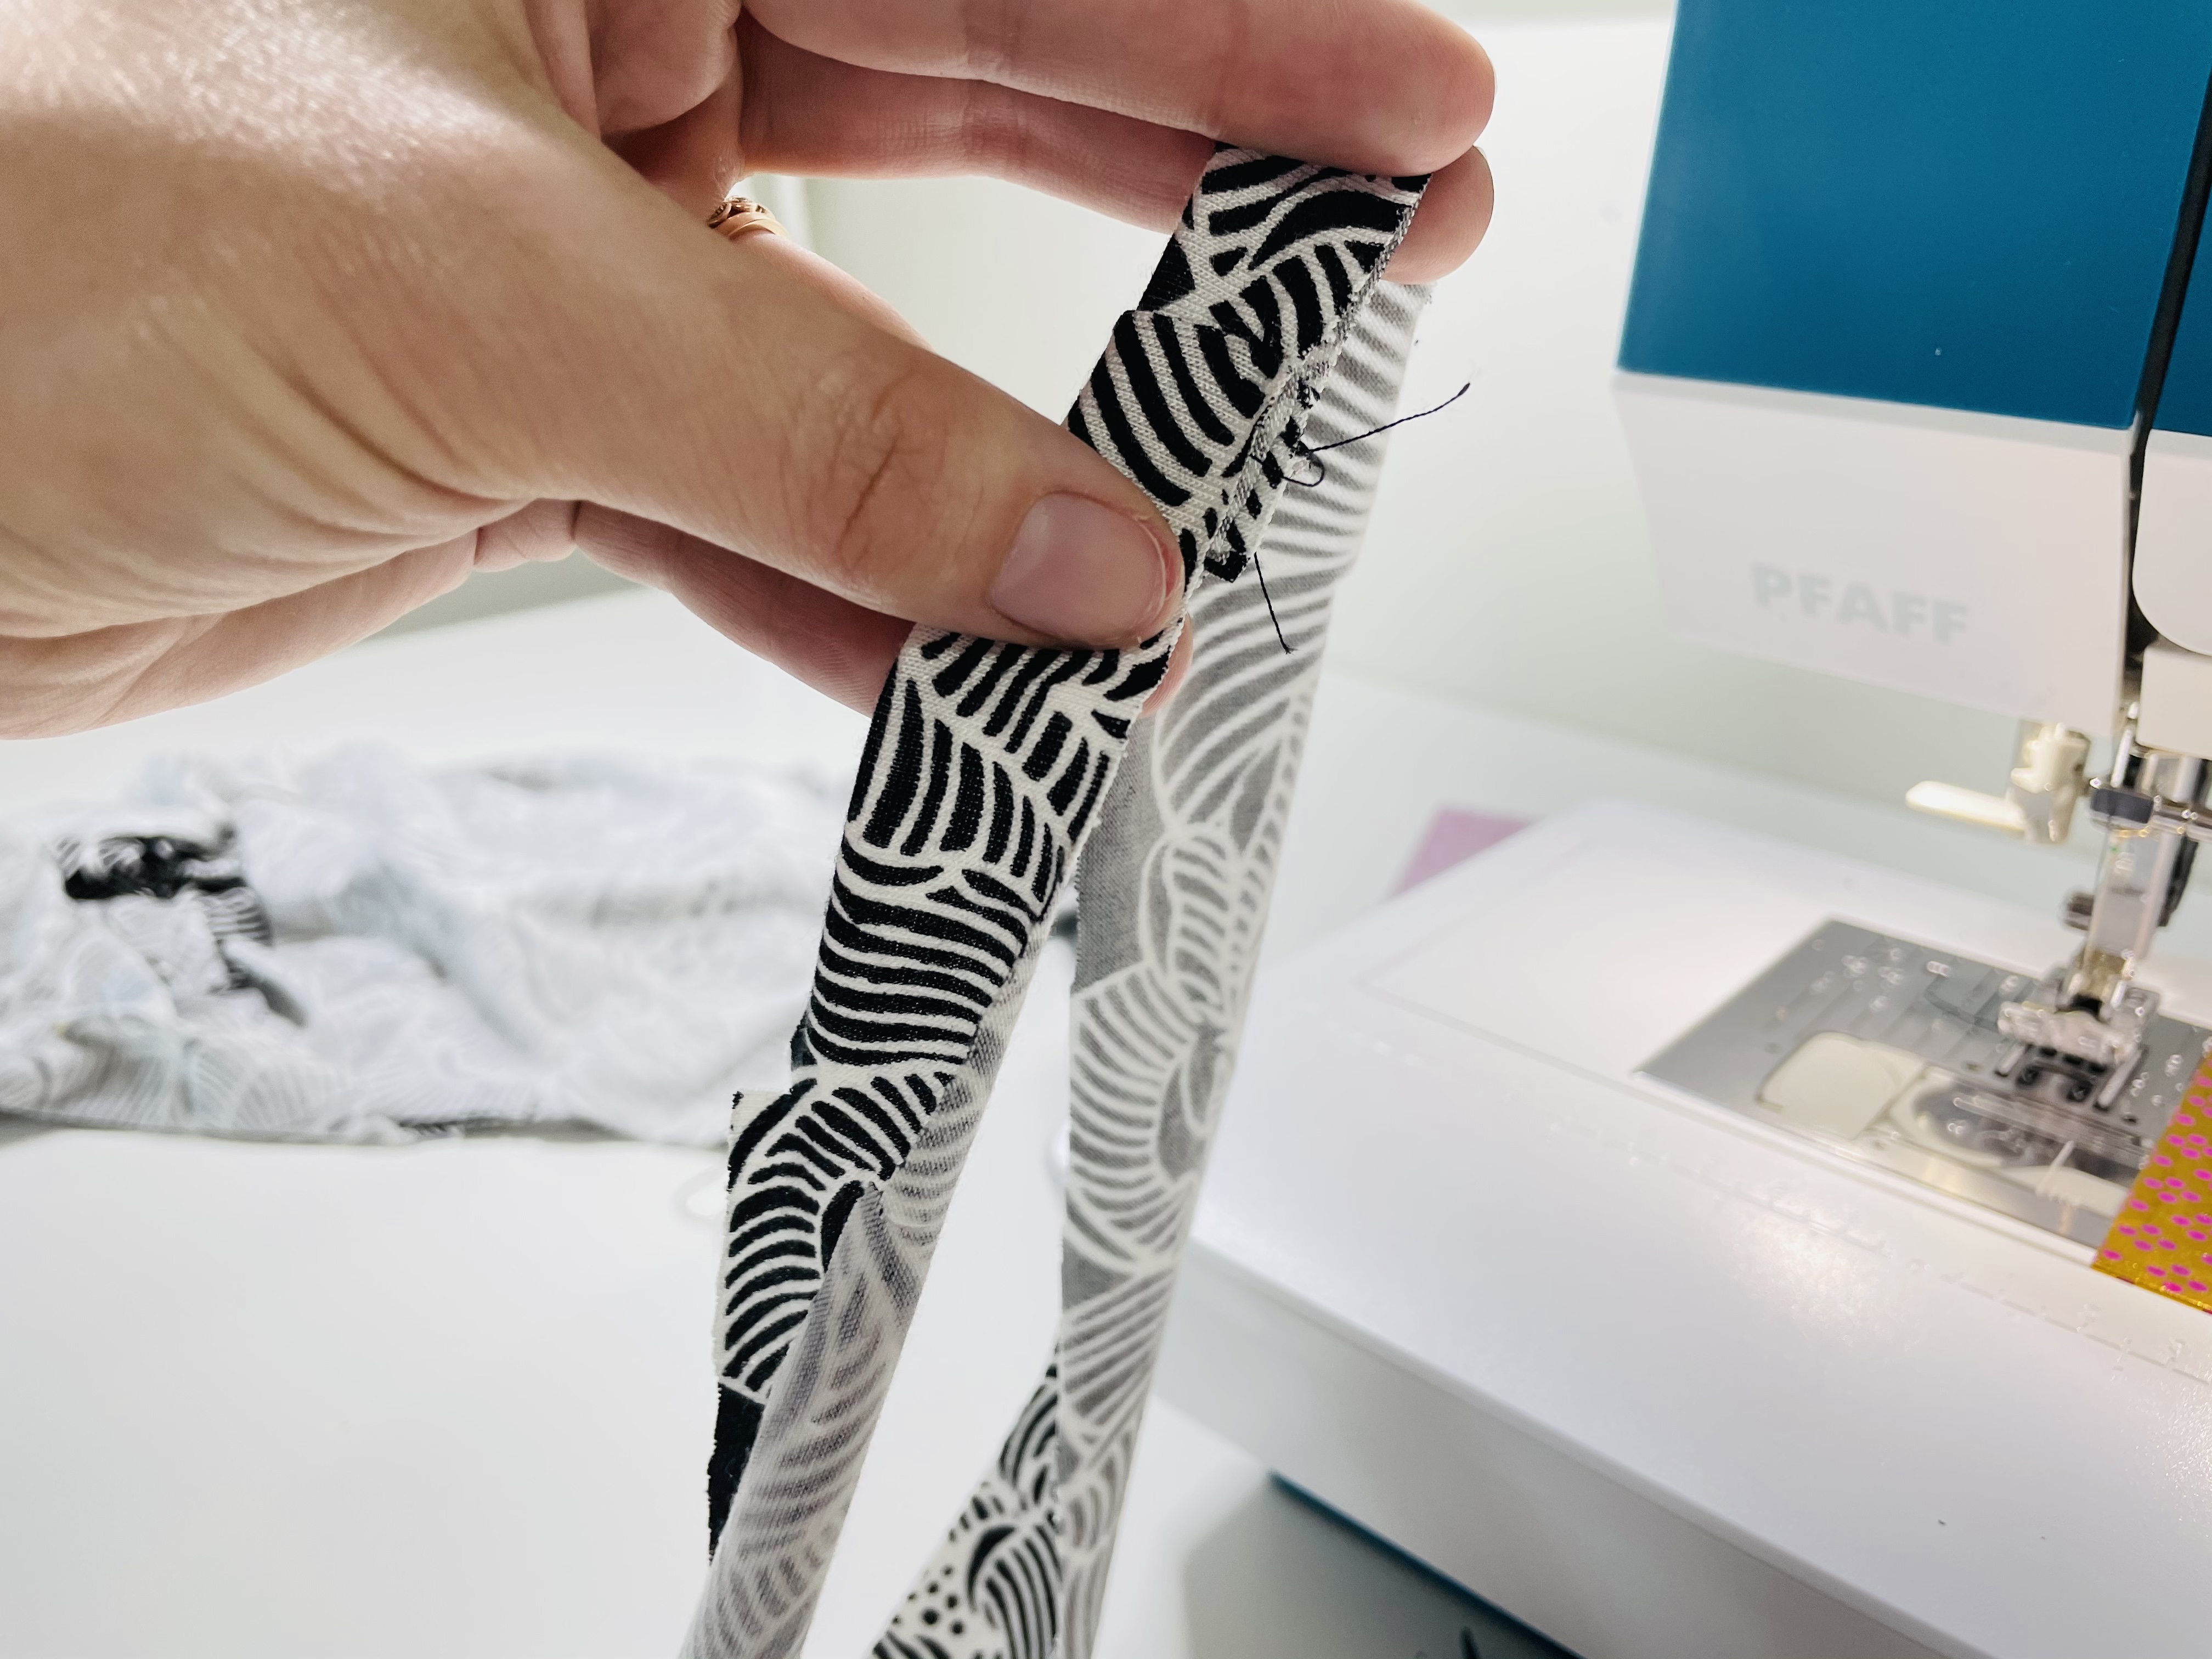
Start by folding the band in half along the short side. Pin the short ends together and sew (again, using tissue and that sweet zigzag).
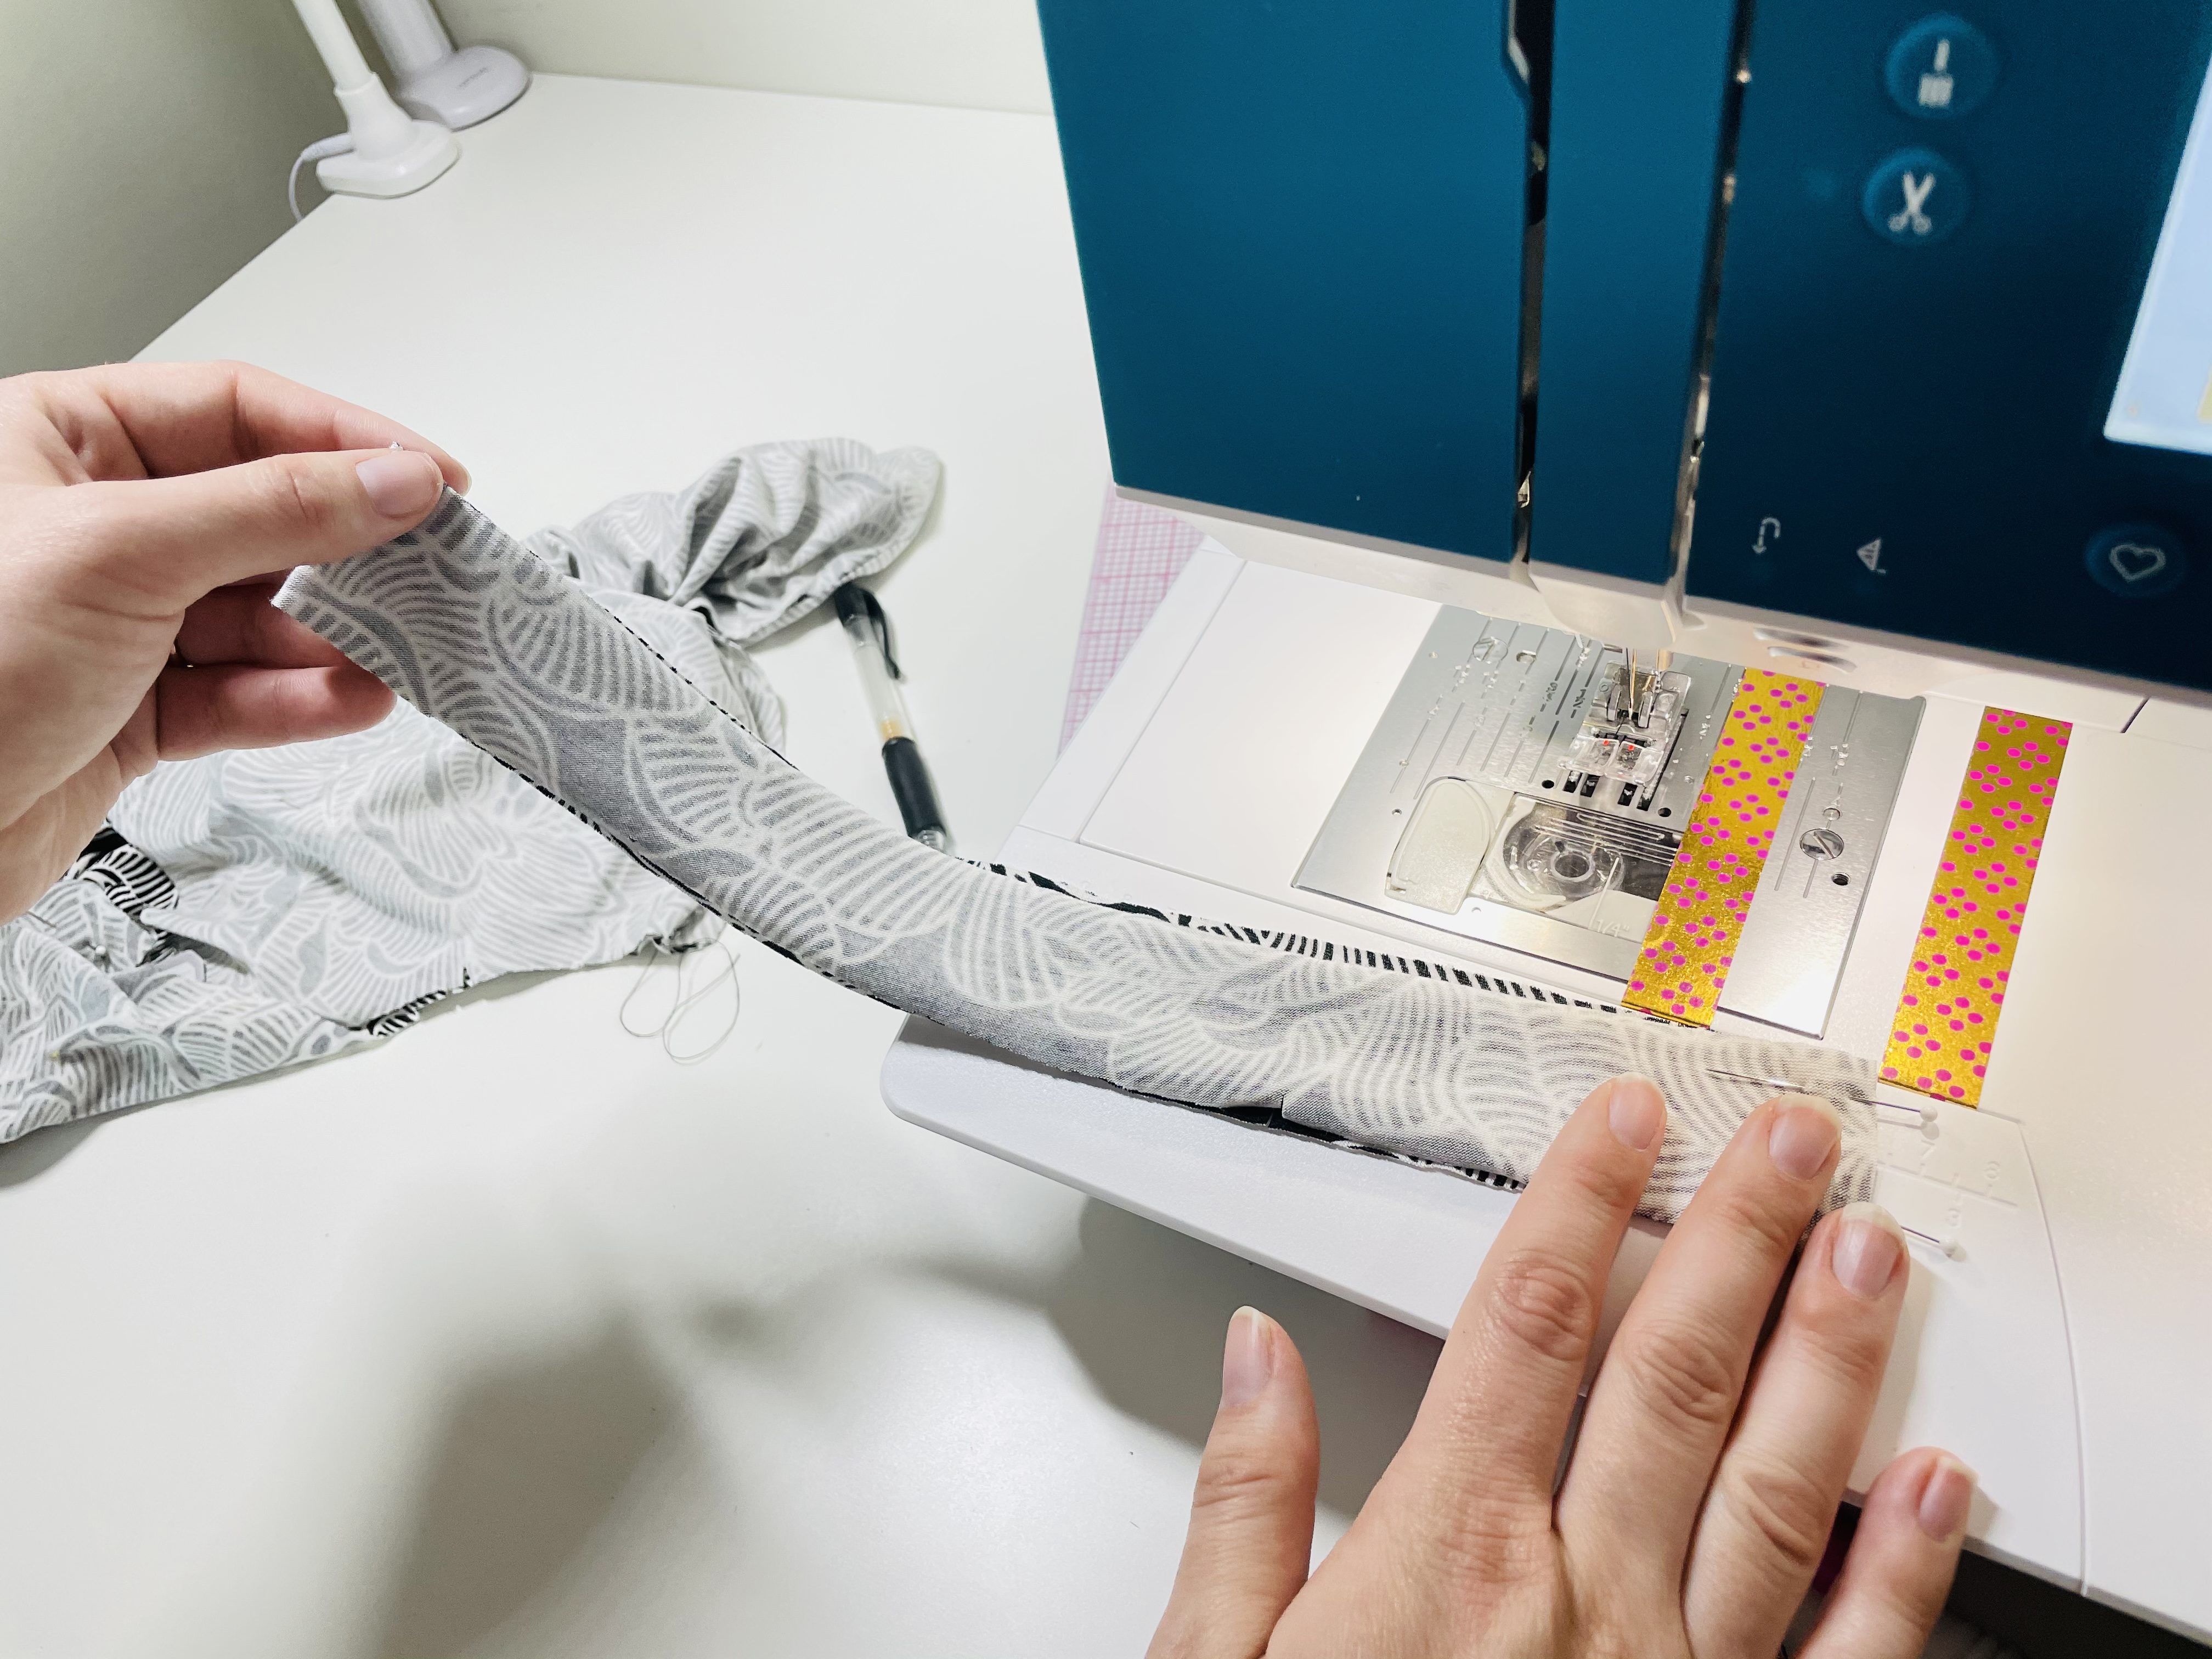
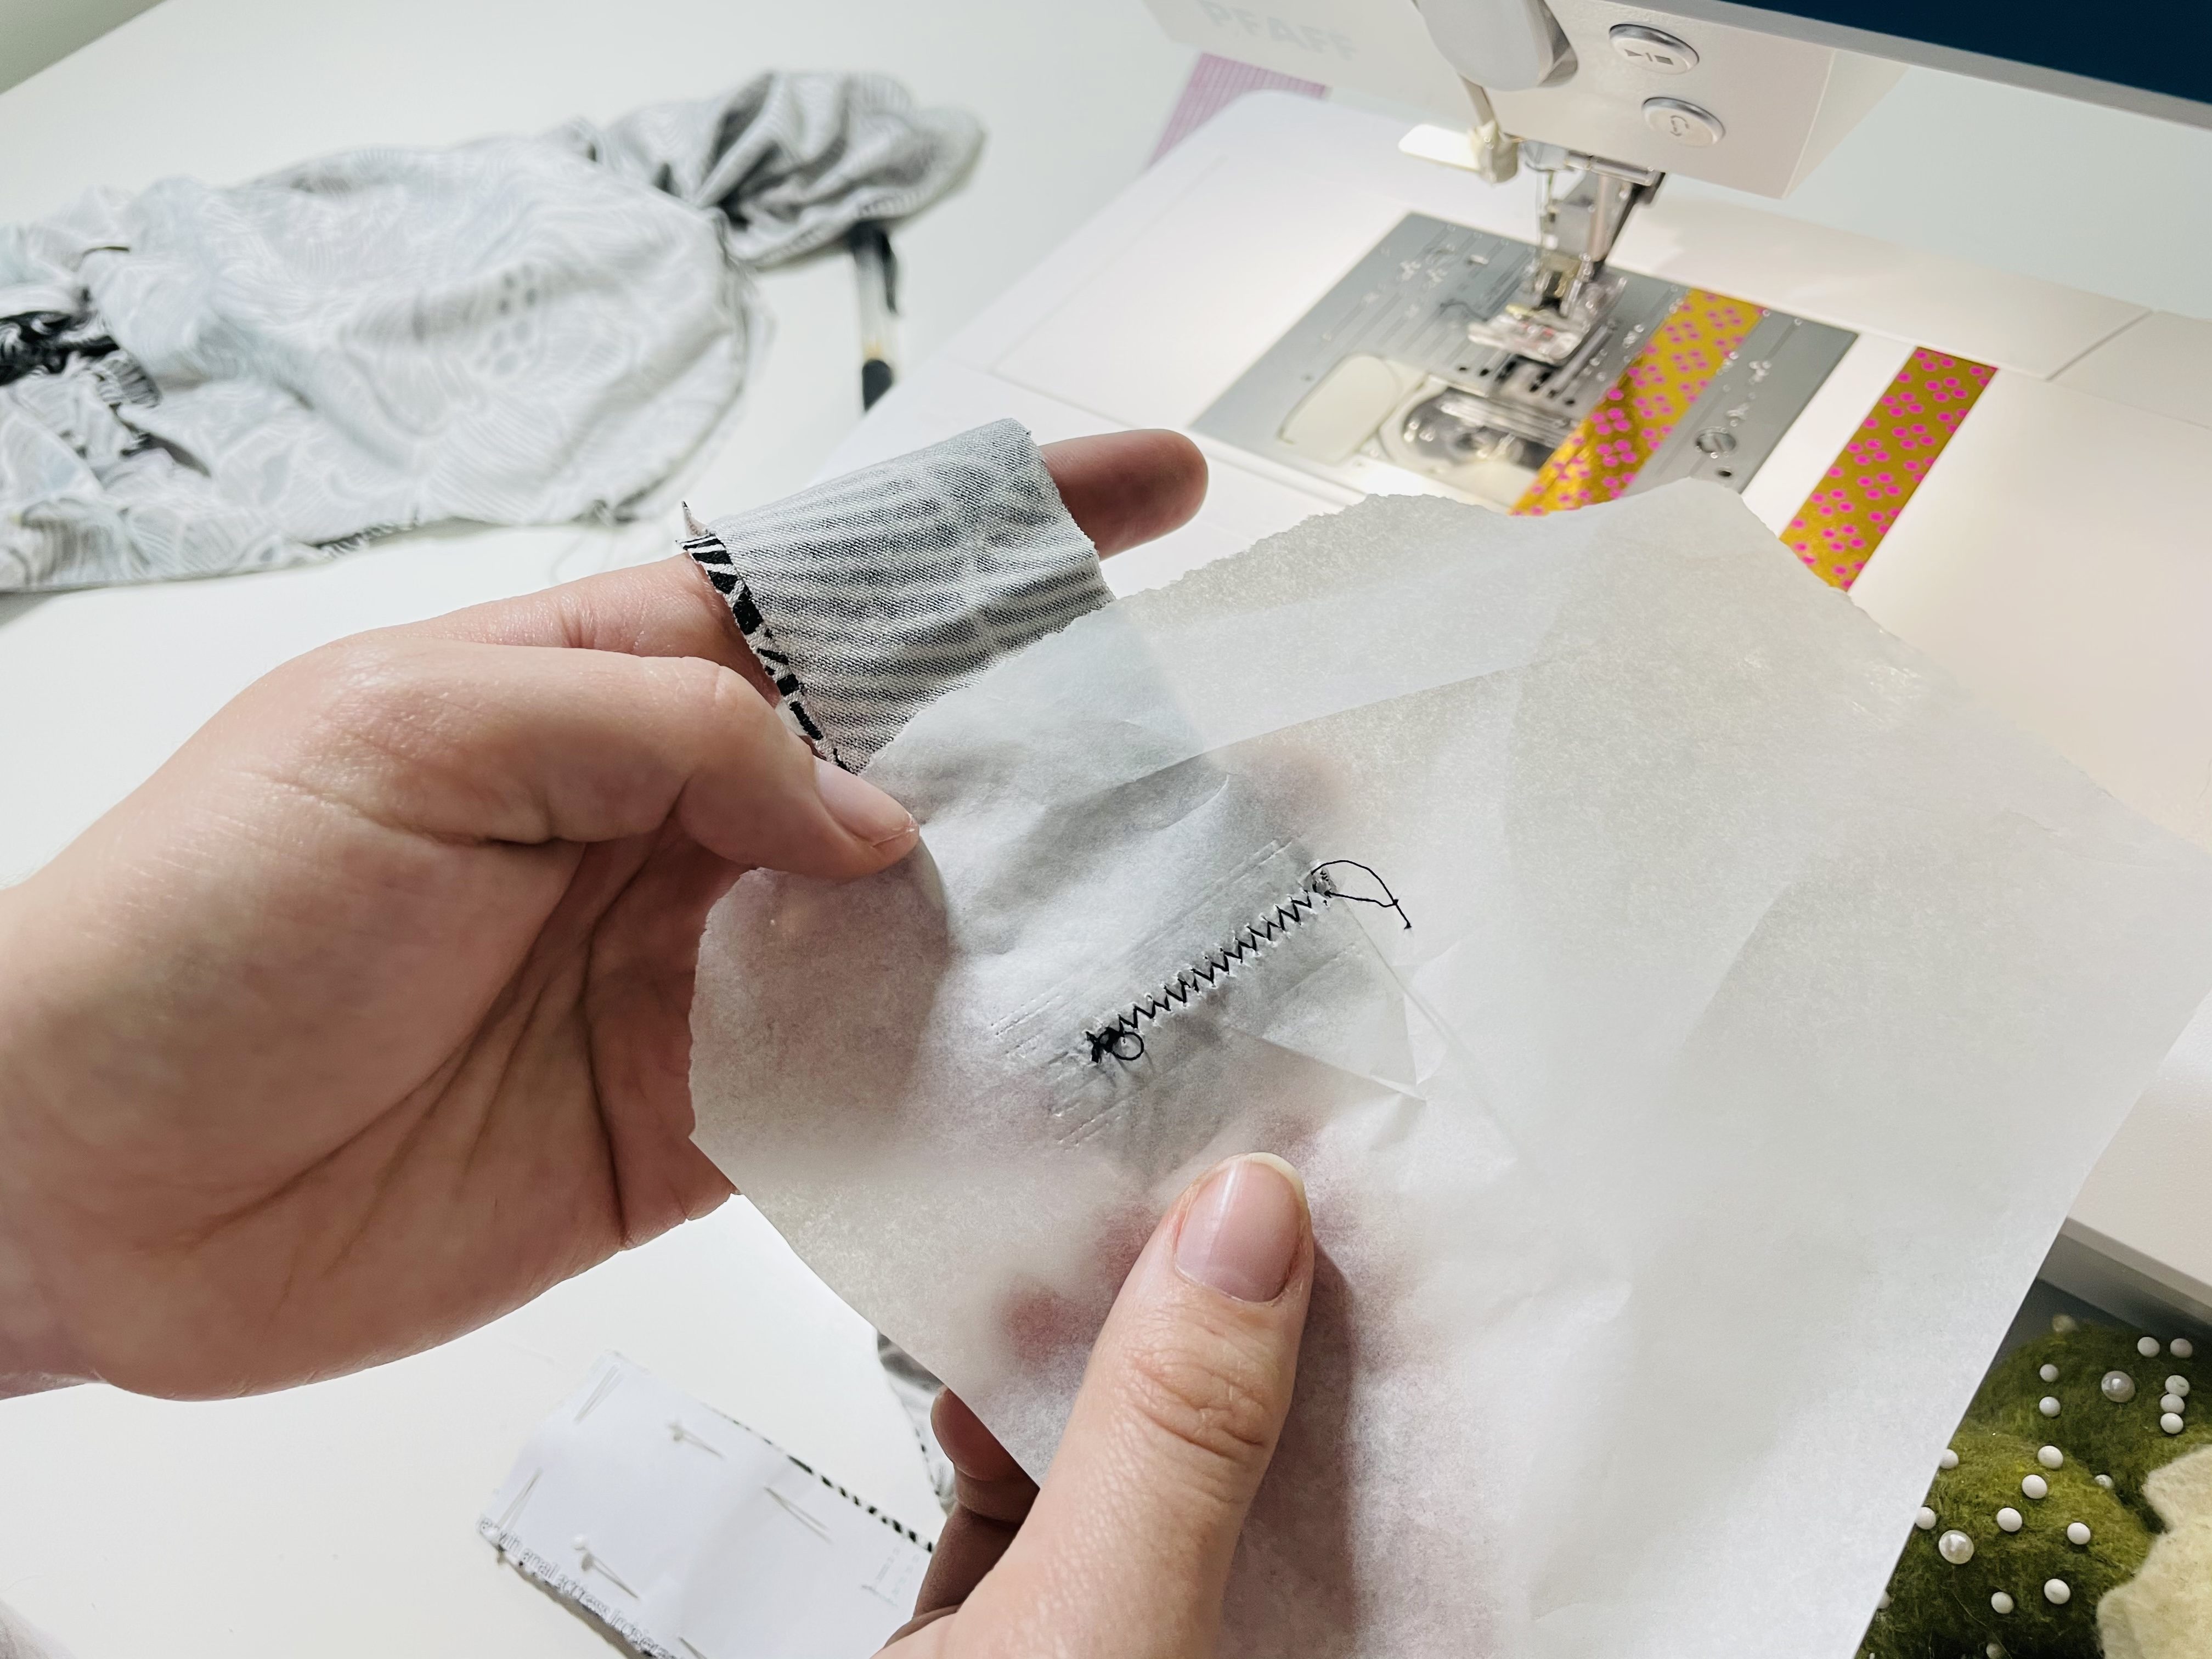
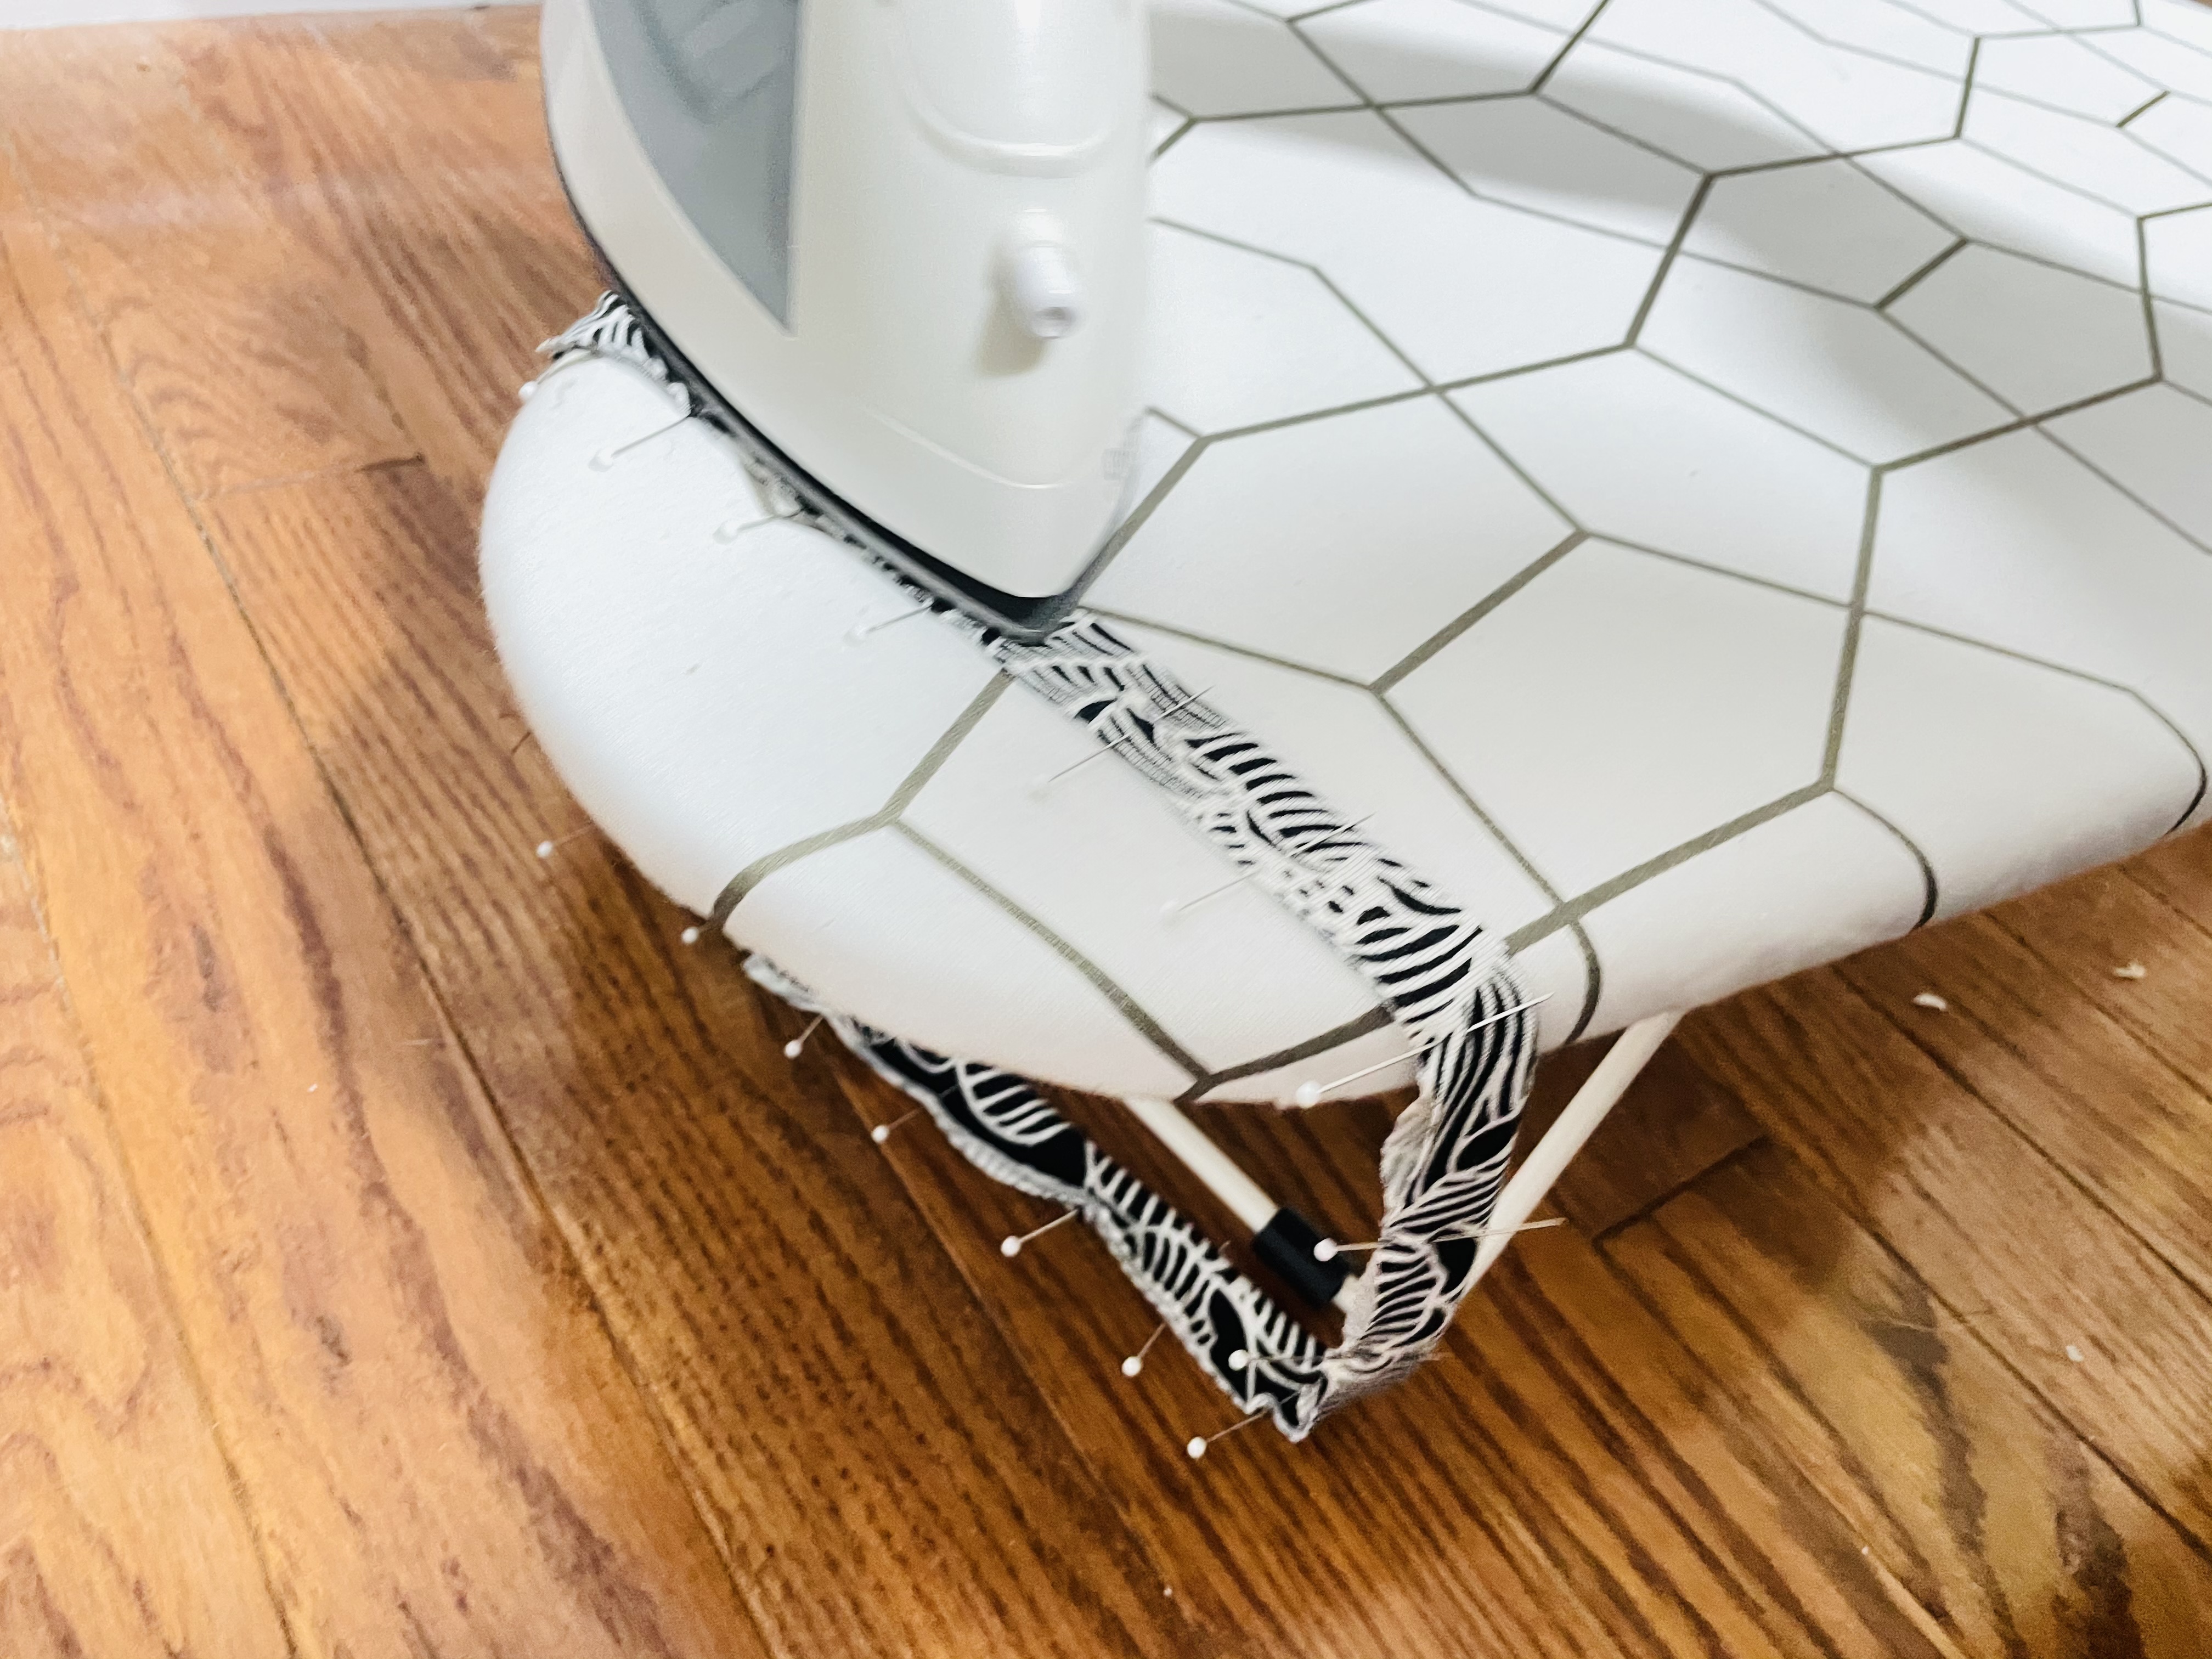
Now, fold the band down the long side and pin all the way around. Iron!
Now, for this next step, we’re going to diverge from the instructions provided for the Saybrook and go a slightly easier route. If you’d like to follow the original instructions for a slightly different look, check out Cashmerette’s sew along here.
We’re going to pin the neck band to the neck opening on the tank to the outside of the tank, matching the raw ends together. Match the seam on the band to the center back line and match the notches.
Here, I’m holding the band to the neck opening, behind the tank, which is right side out.
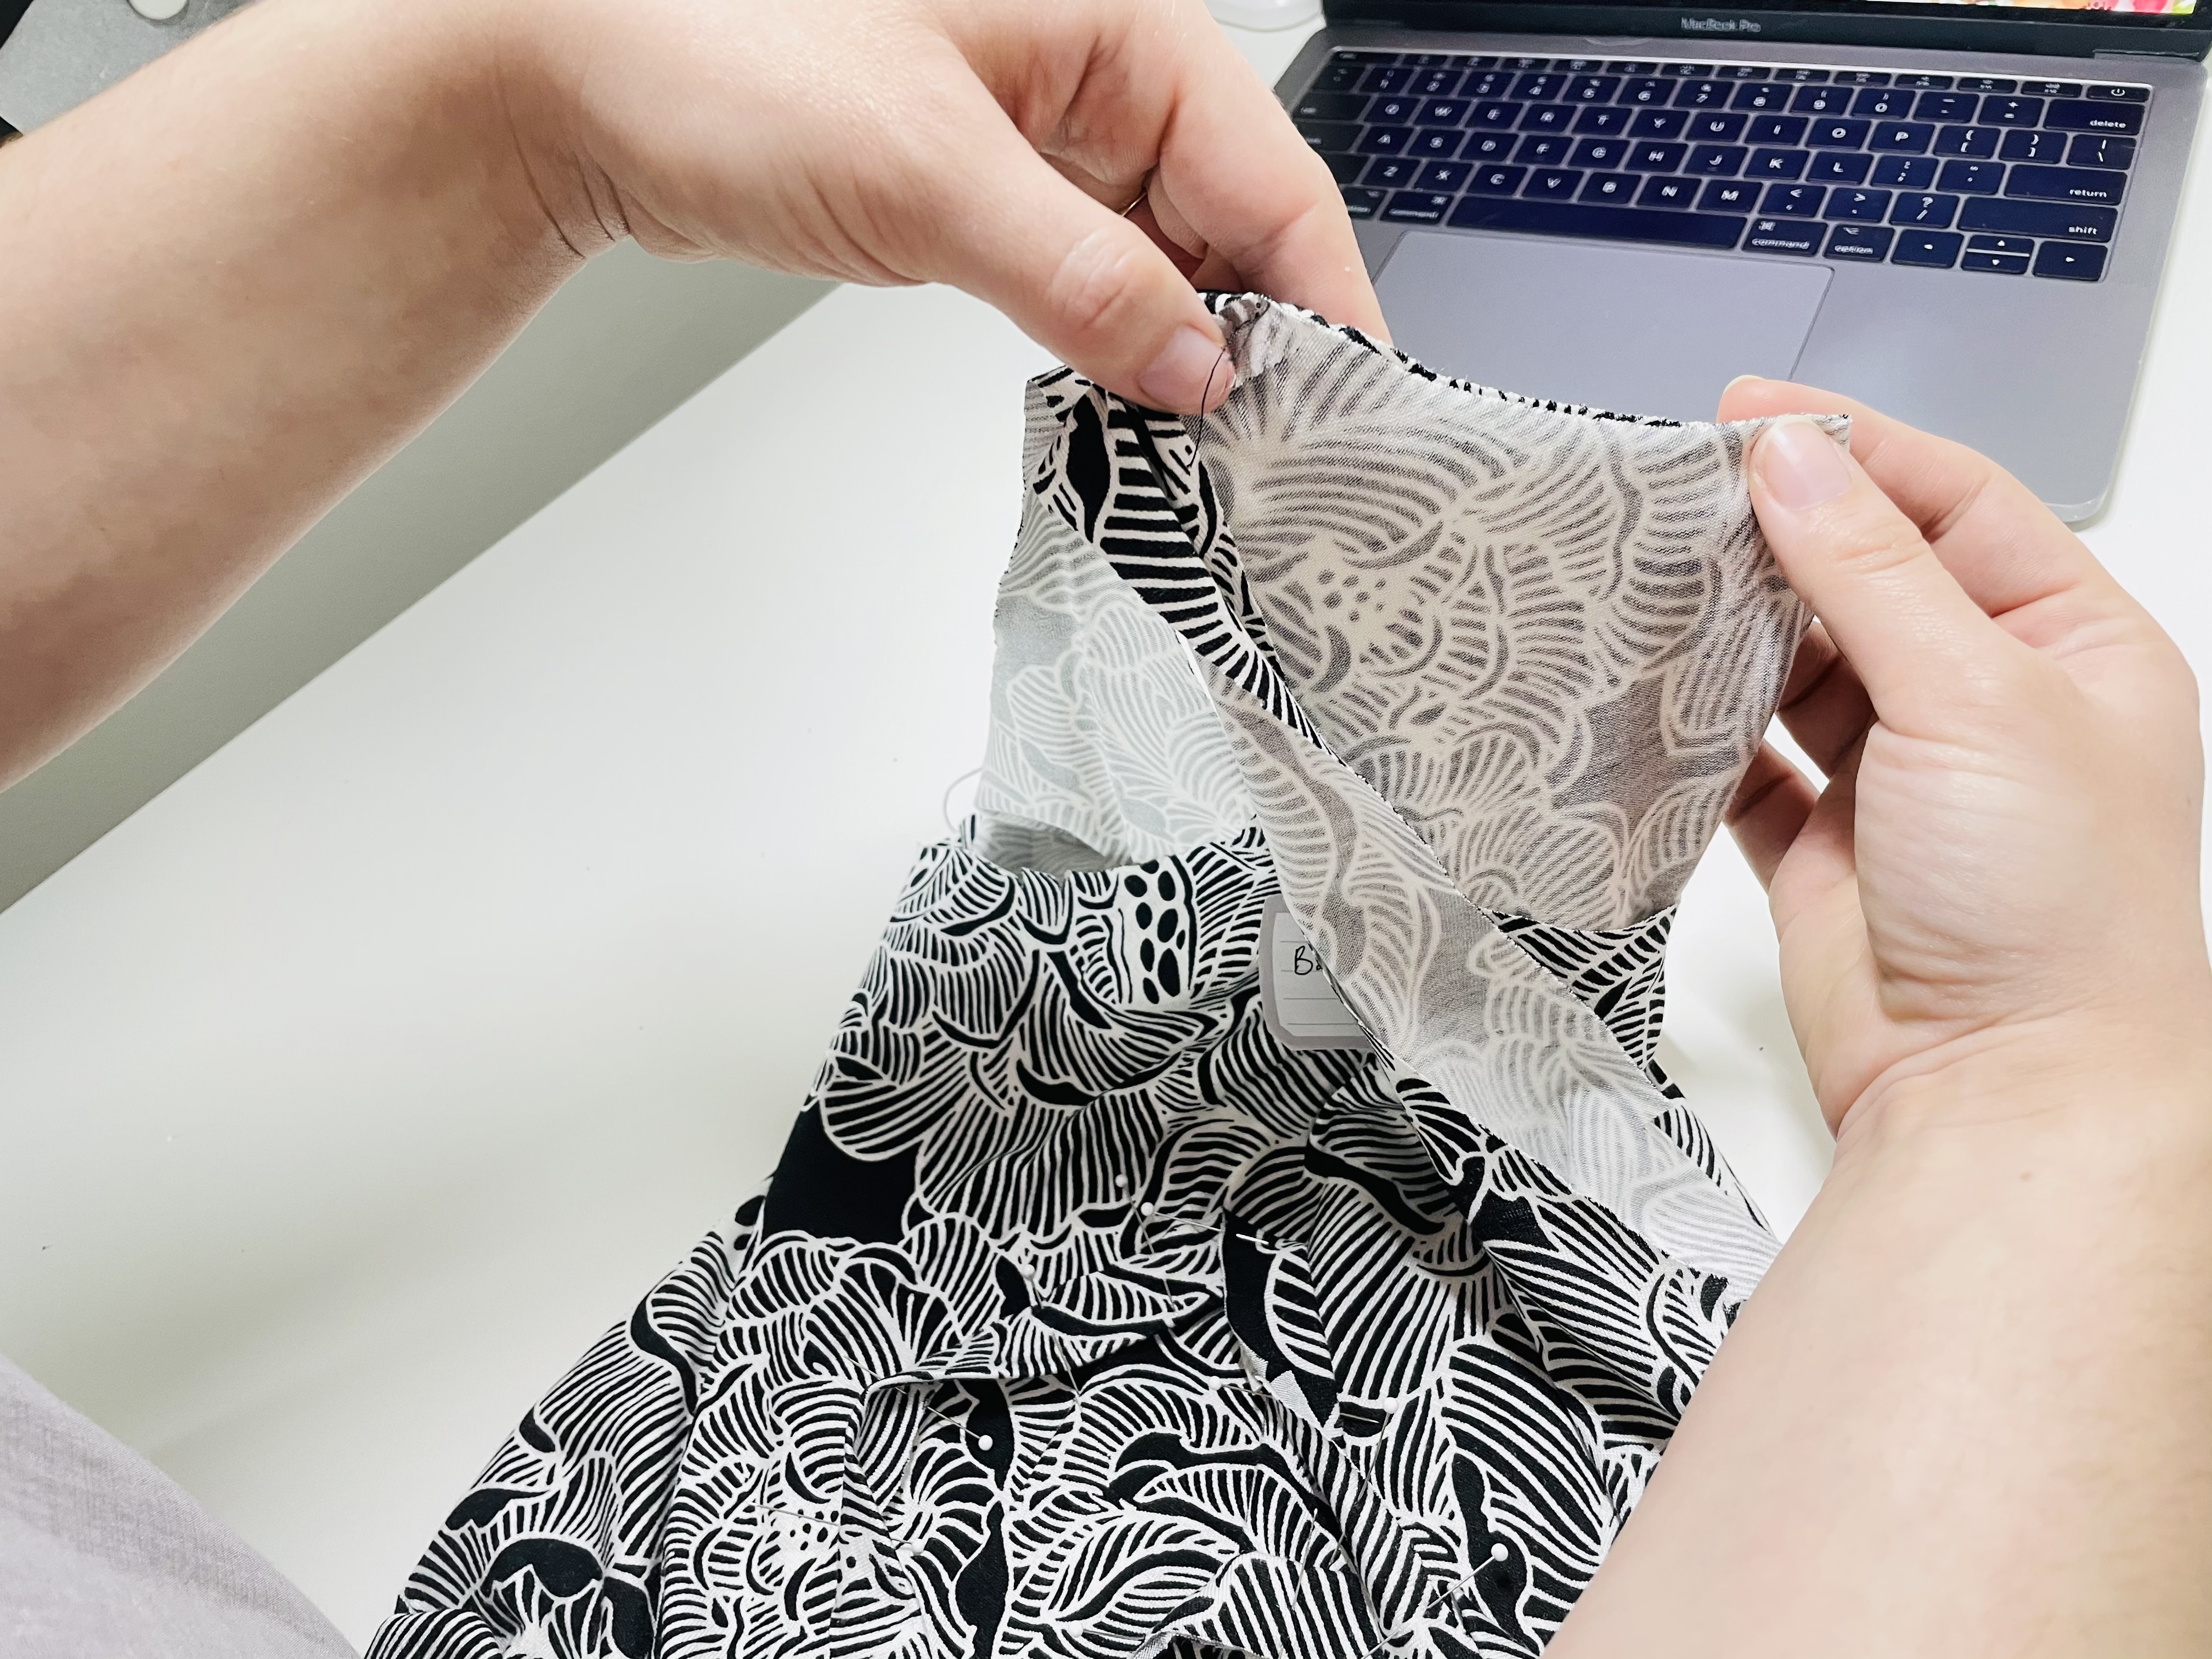
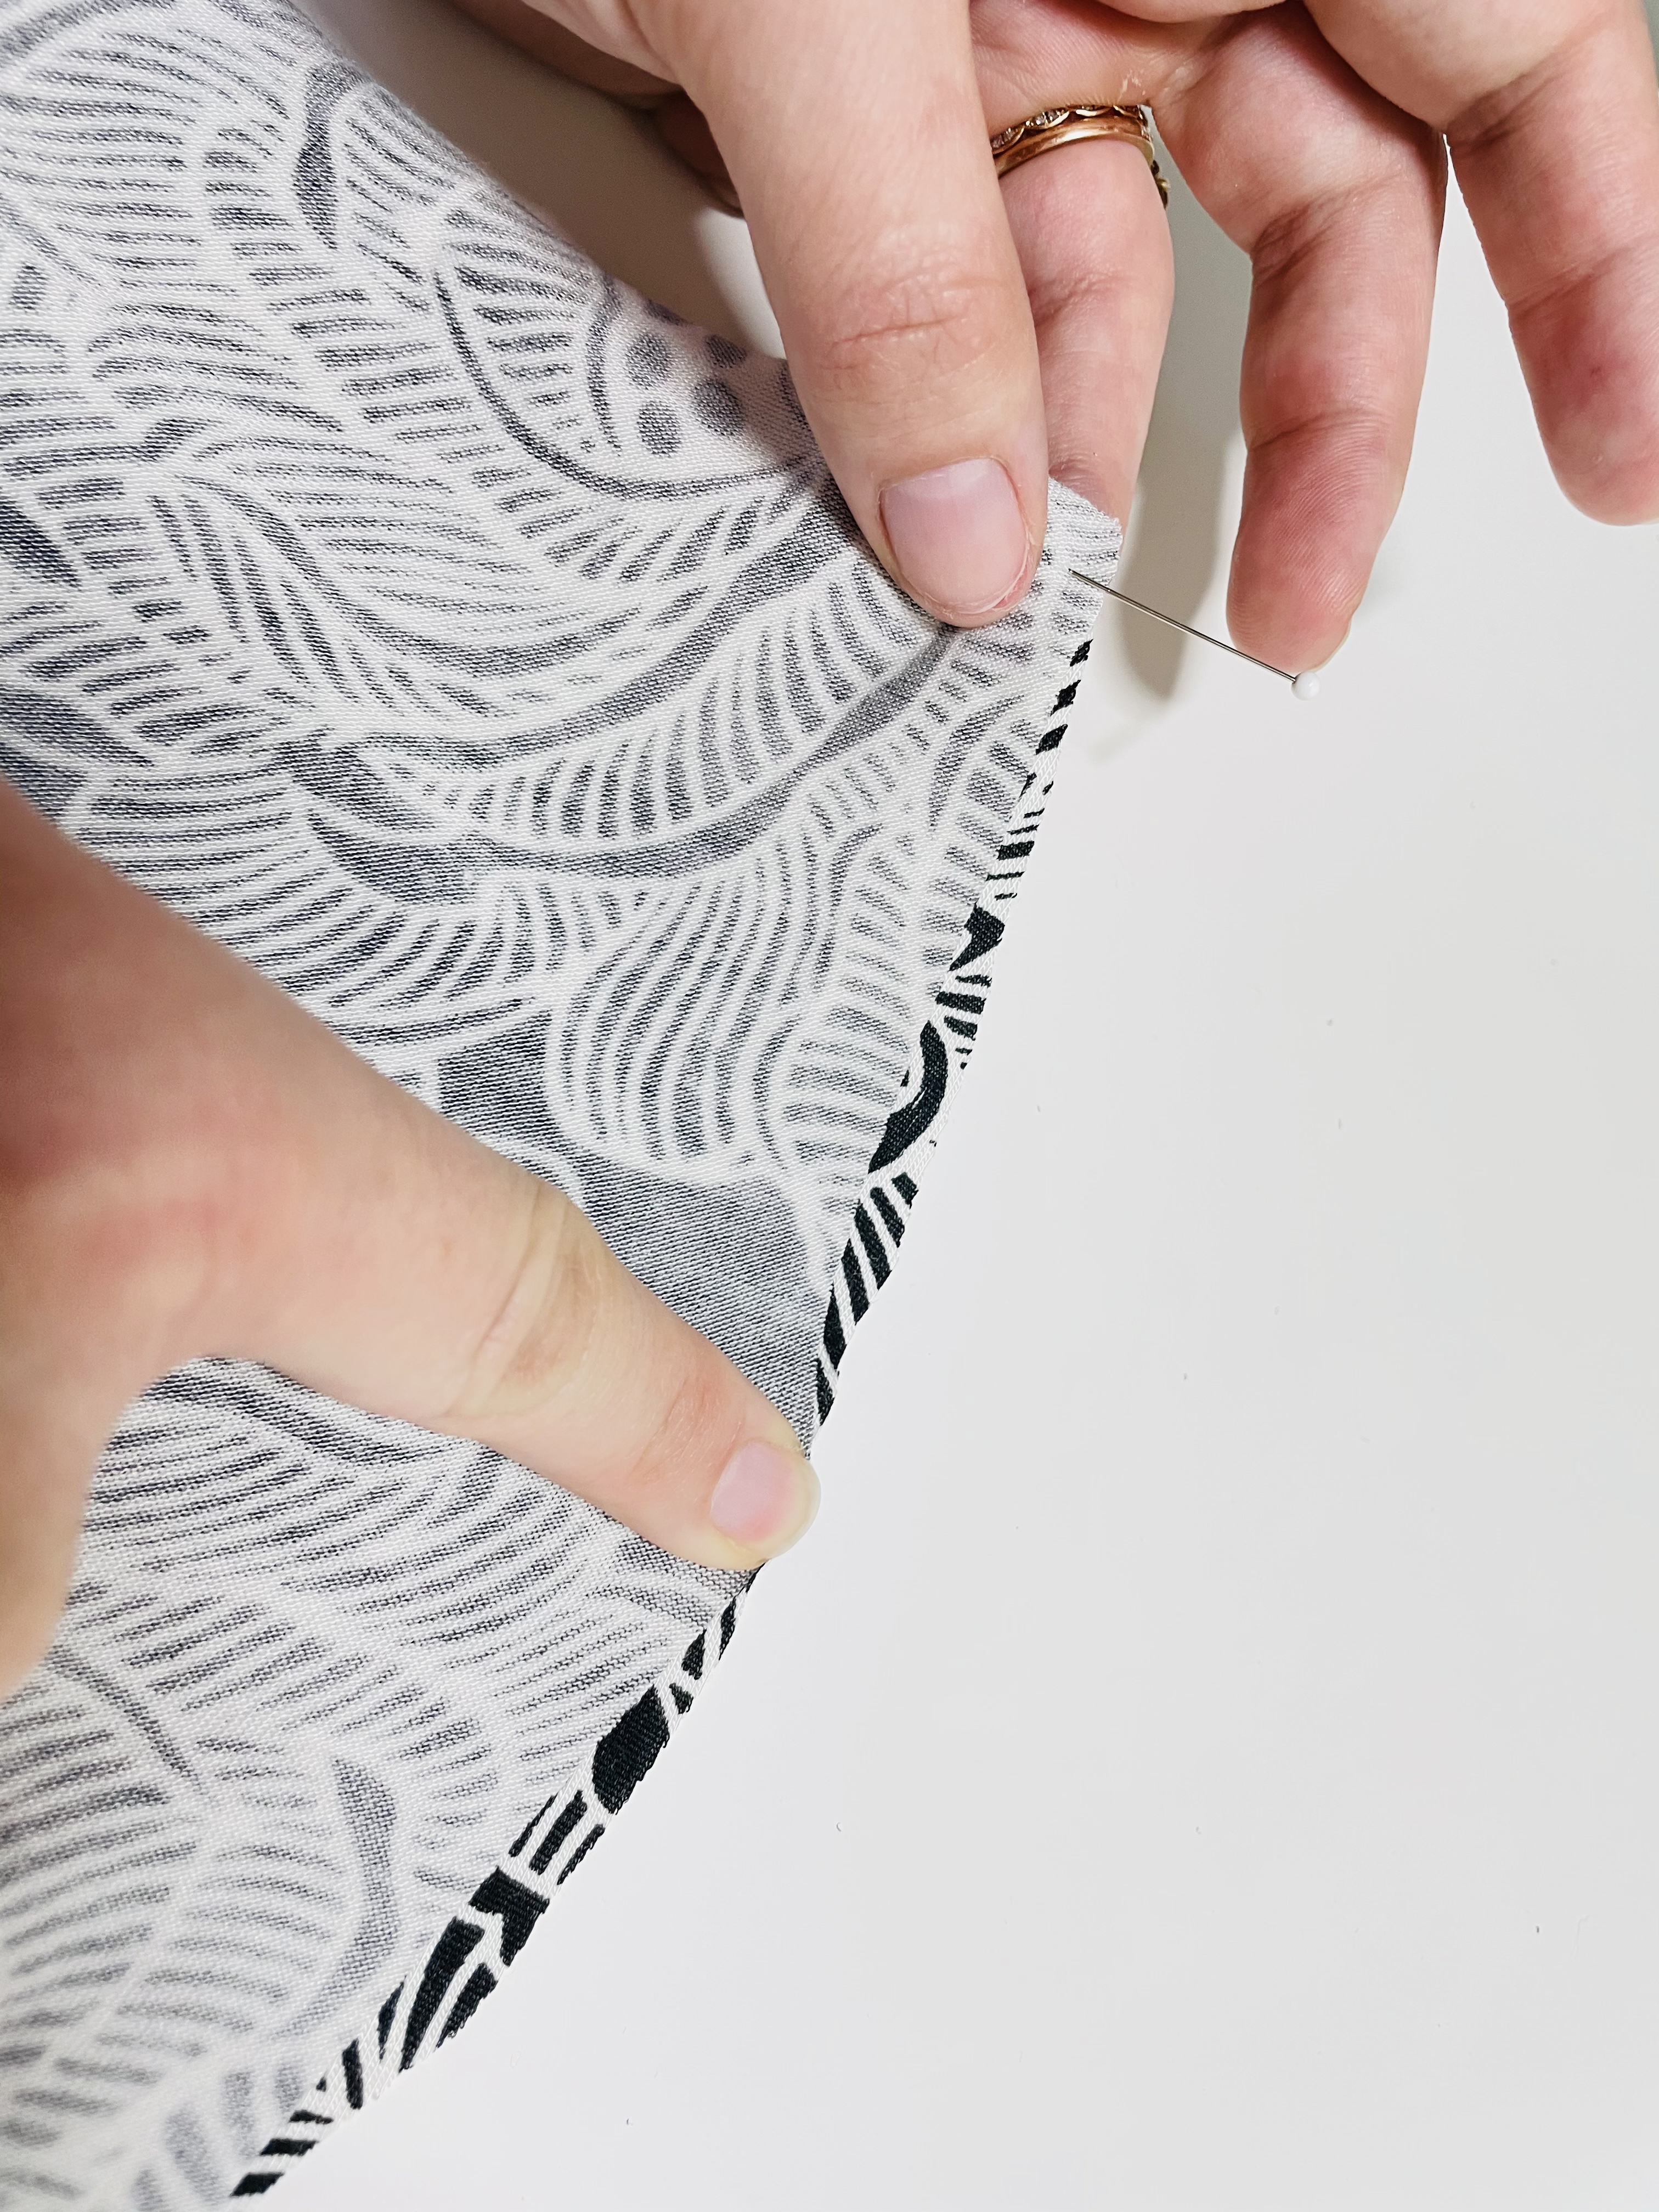
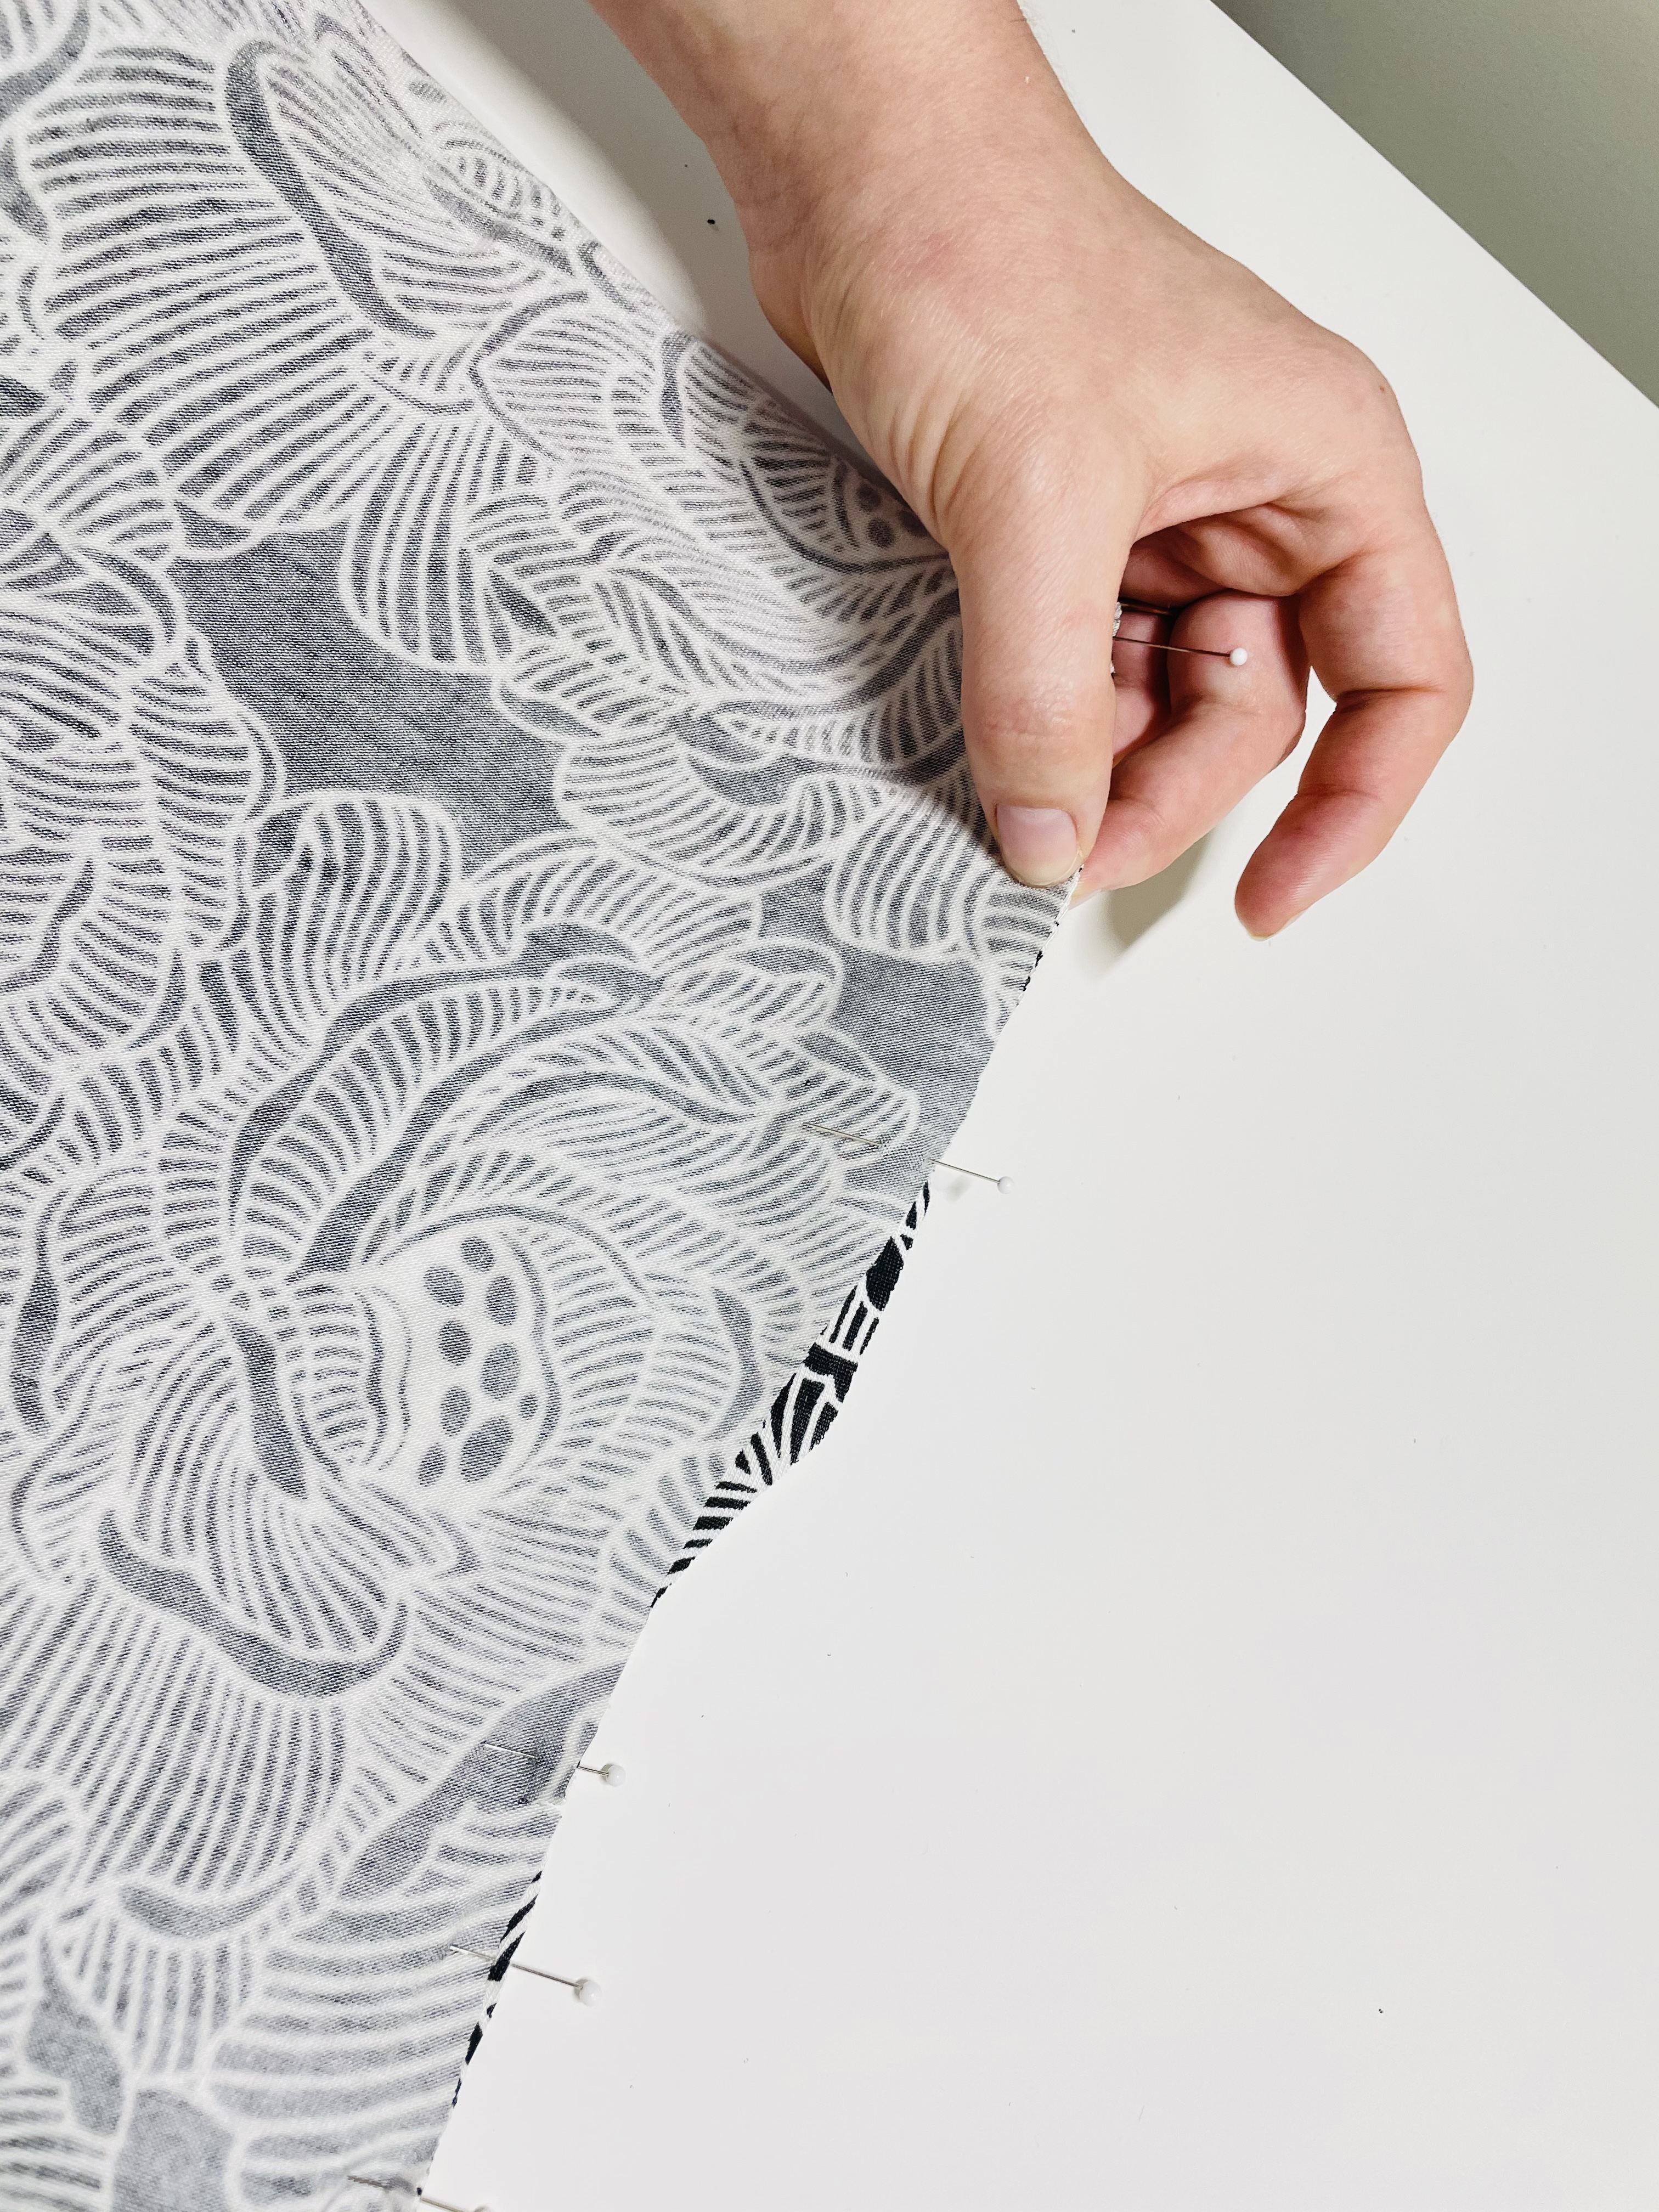
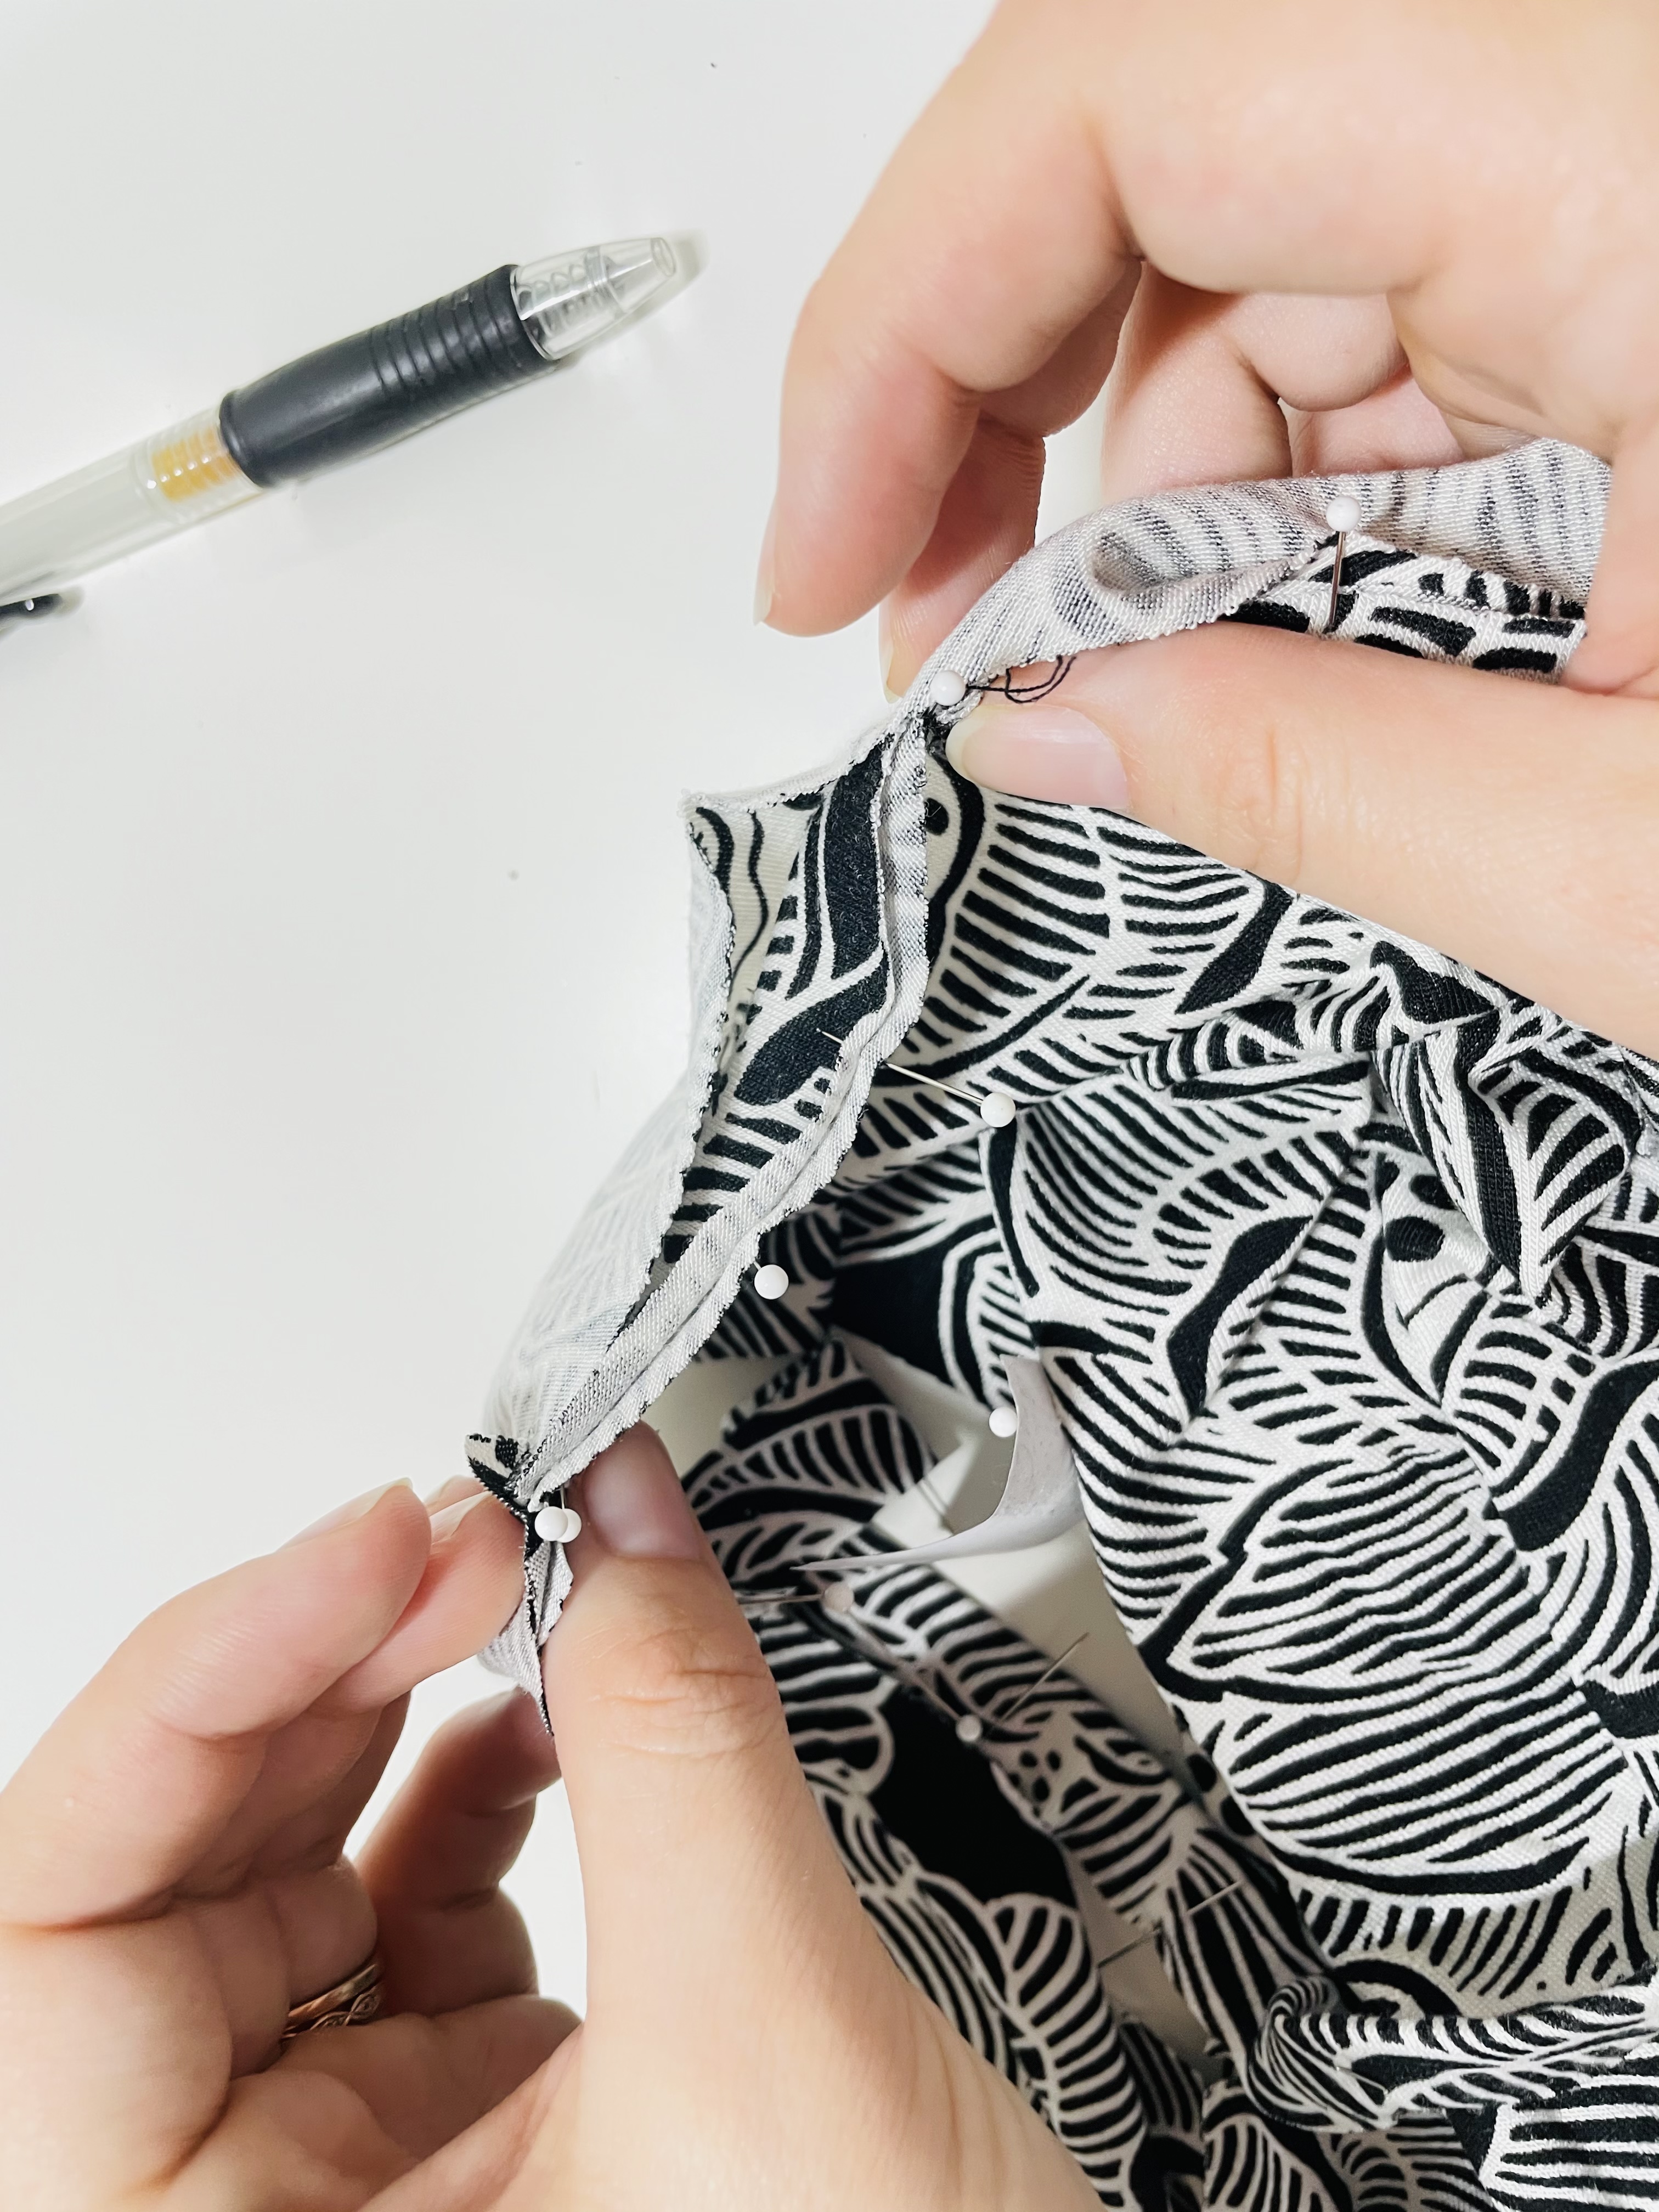
Once you’ve matched the center back to the band seam and have matched the notches, you’re going to want to find the center points on the band and the tank, pin that point. Then find a center point again, pin that, etc. You’ll end up needing to stretch the band slightly to match the length of the neck opening. By doing this, eventually you should make it all the way around your neckline.
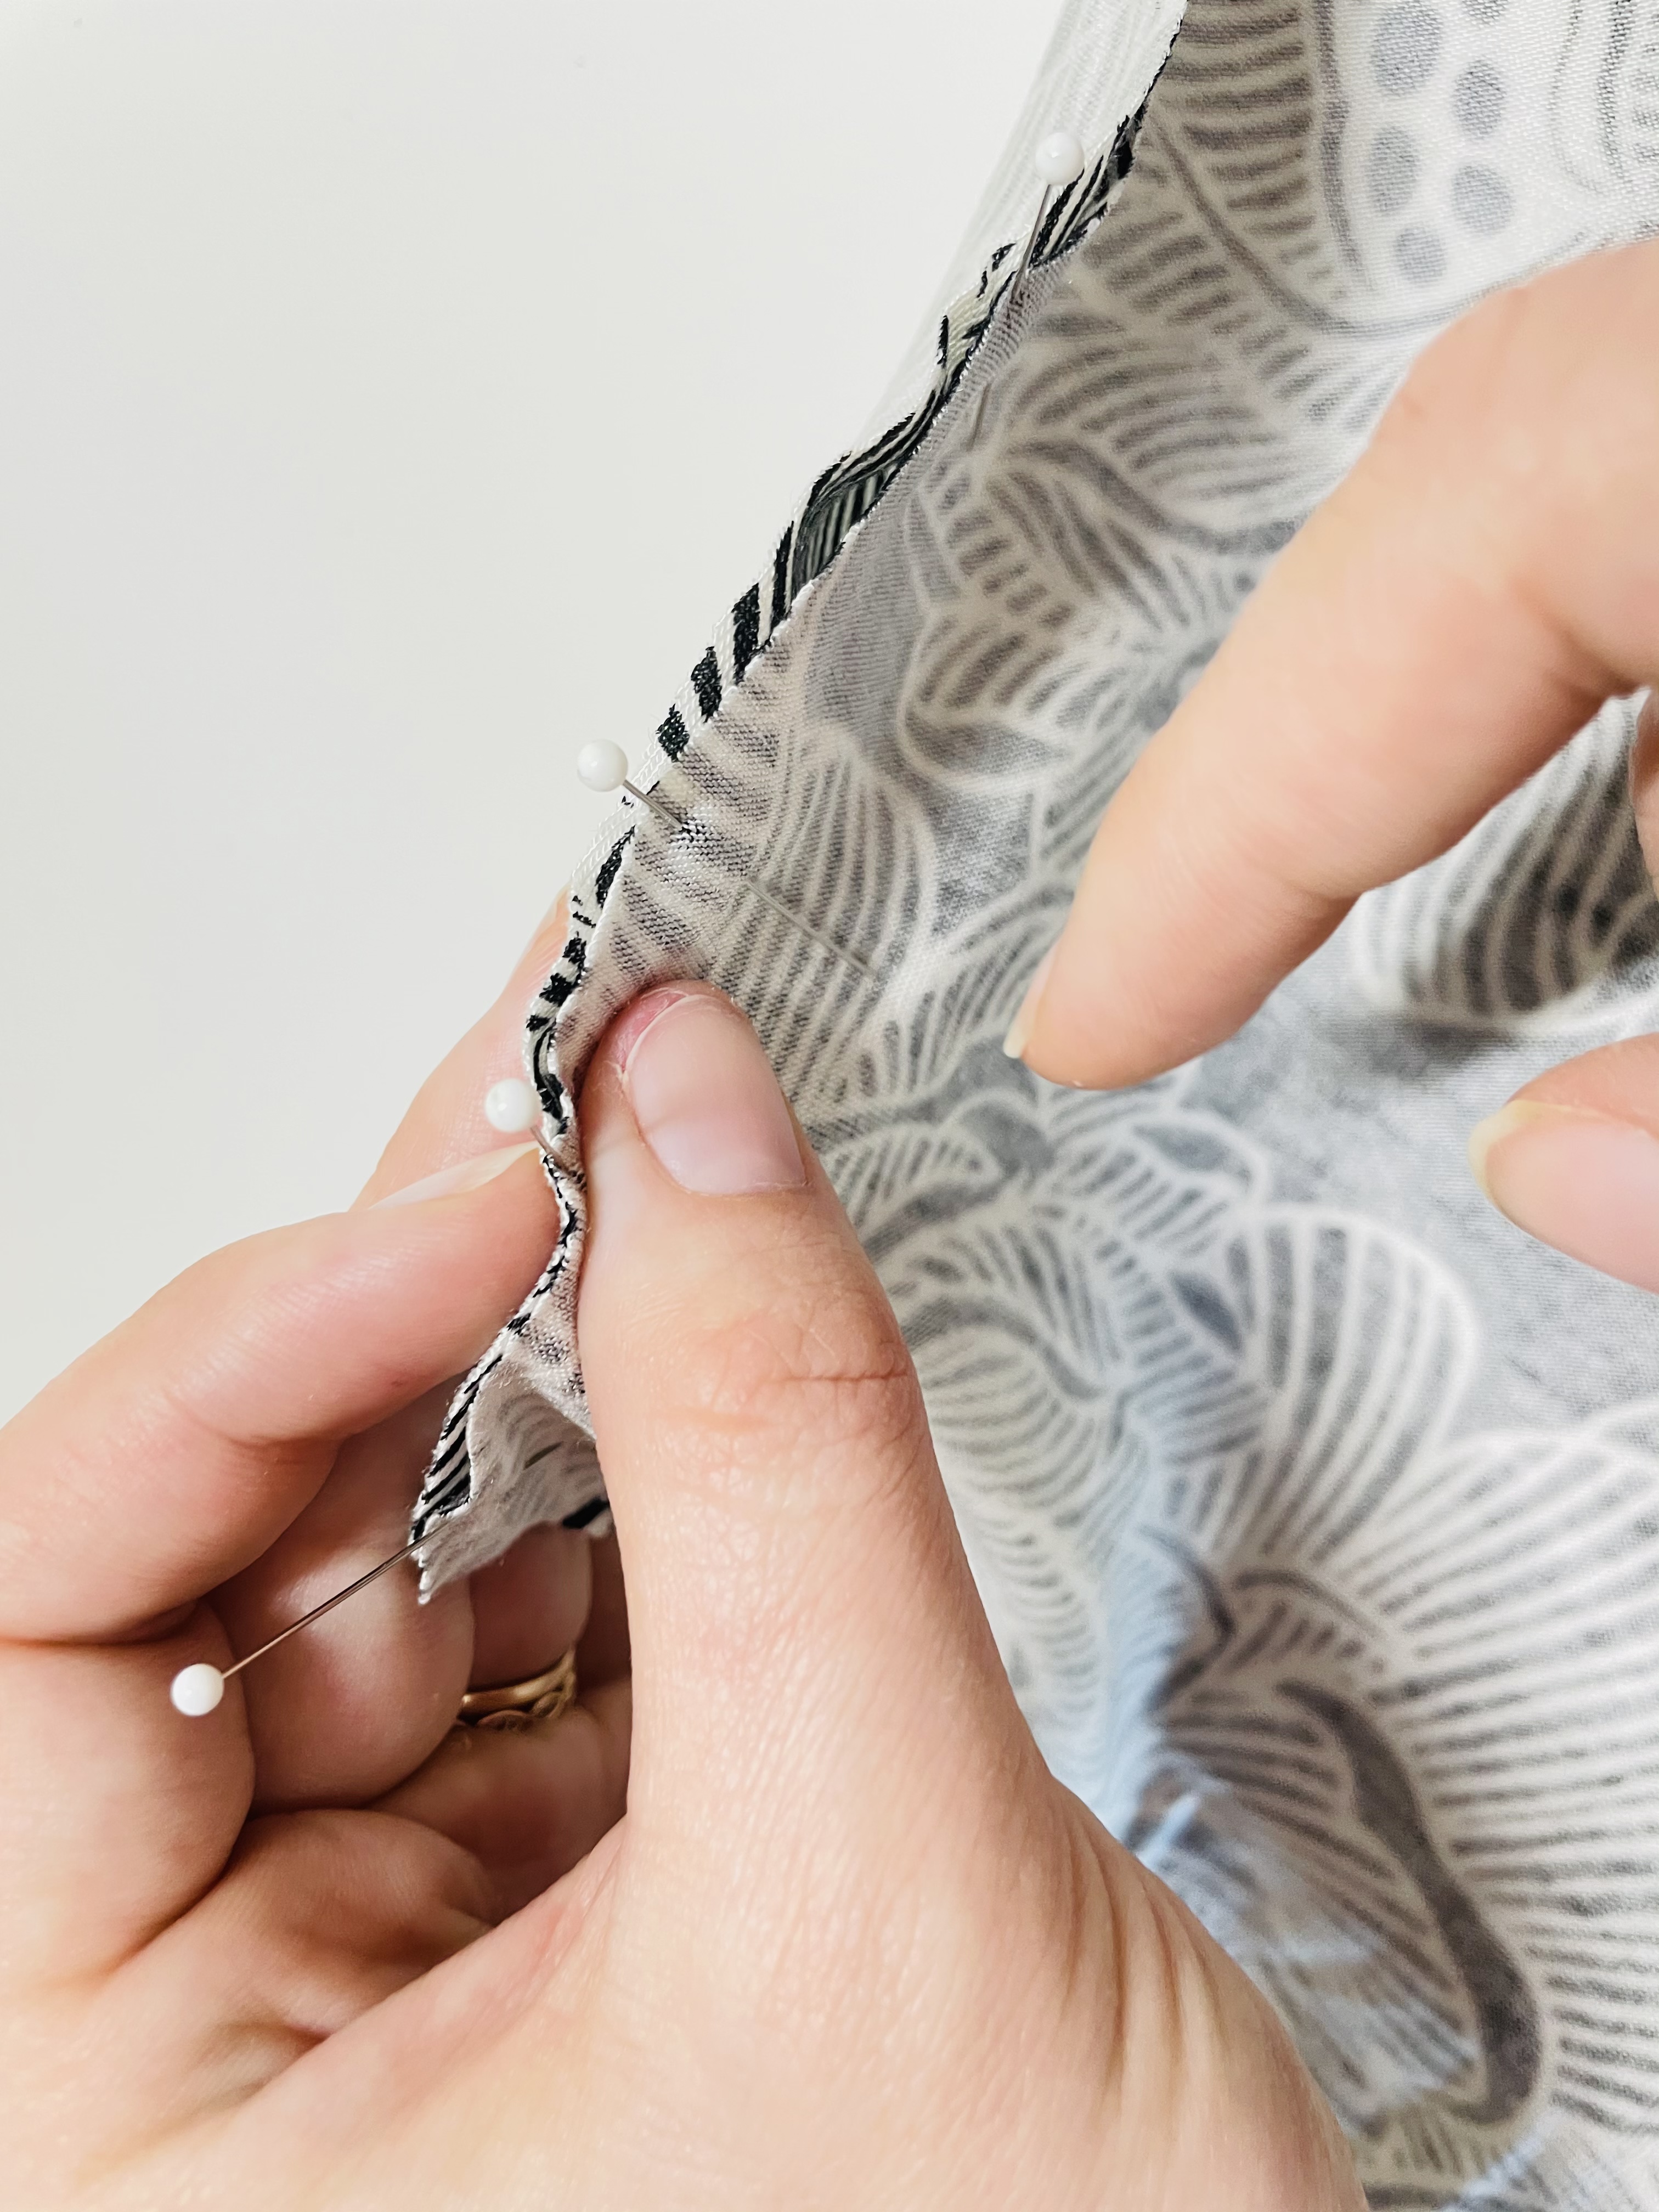
If there’s any bubbling, that’s a sign you need to add more pins. Here’s an example:
See how, in the first picture, the tank fabric is bubbling away from the pinned neck band fabric a bit? In the second picture, I’ve added more pins, and the bubbling is gone.
Now, we’re going to sew again! In the same way that you did the side seam, sew at a 3/8″ seam allowance using the zigzag stitch with tissue underneath.
Sewing the Armhole Bands
You’re going to repeat the exact same process from the neck band to apply the armhole bands:
- Sew the short ends together with the right side of the fabric facing in
- Fold the long way, pin, and iron
- With the band against the right side of the tank, match the seam on the band to the underarm side seam, with the raw ends of the fabric matching; pin
- Match the notches to their corresponding notches (single or double notch) and pin
- Using tissue, a 3/8″ seam allowance, and the same zigzag stitch we’ve been using, sew the armhole bands onto the main tank
Wooohoooo! You now have a mostly-done tank top!
Your Homework
This week, you should:
- Sew your side seams and shoulder seams
- Try your tank on for general fit before sewing on the bands
- Sew the neck and arm bands onto your tank
The next installment of the Lago/Saybrook Tank sew along will take place May 29! We’ll be talking about hemming and topstitching!
Have a question? Feel free to drop a comment below, or ask on the Sew Busty Facebook group or subreddit.
Some of the links in this post are affiliate links. This means if you click on the link and purchase the item, I will receive an affiliate commission at no extra cost to you. All opinions remain my own.

